Articles
What Is A Drip Edge On A Roof
Modified: January 6, 2024
Learn all about drip edges on roofs in this informative article. Discover the purpose, benefits, and installation of drip edges for optimal roof protection.
(Many of the links in this article redirect to a specific reviewed product. Your purchase of these products through affiliate links helps to generate commission for Storables.com, at no extra cost. Learn more)
Introduction
When it comes to roofing systems, there are several vital components that play a crucial role in protecting your home from water damage and ensuring its longevity. One such component is the drip edge. While often overlooked, a drip edge is an essential element of any well-built roof.
A drip edge is a small, often unnoticed, piece of metal that is installed along the edges of a roof. It is typically situated under the roofing material, such as asphalt shingles or metal panels, and extends slightly over the edge of the roof. Although its appearance may seem insignificant, a drip edge serves multiple important purposes and offers valuable benefits for your roof. In this article, we will delve deeper into the world of drip edges, exploring their function, installation process, materials used, benefits, and potential issues.
Understanding the importance of a drip edge is crucial, as it can significantly impact the overall performance and longevity of your roof. By providing a barrier between the roof deck and the fascia, a properly installed drip edge helps prevent water damage, rotting, and other potential issues that can arise from water infiltration.
Now that we have set the stage, let’s dive into the world of drip edges and uncover the hidden significance behind this small yet mighty component.
Key Takeaways:
- The drip edge, often overlooked, is a powerful defender against water damage, ice dams, and rotting. Its proper installation and maintenance are crucial for safeguarding your home and extending your roof’s lifespan.
- Choosing the right material, positioning, and maintaining the drip edge are vital for optimal performance. Embrace the drip edge’s significance to fortify your roof and protect your home from potential water-related issues.
Read more: How To Install Roof Drip Edge
What is a Drip Edge?
A drip edge is a roofing component that is installed along the edges of a roof to help protect the underlying structure from water damage. It is typically made of metal, such as aluminum or galvanized steel, and is designed to direct water away from the roof and into the gutters or away from the foundation.
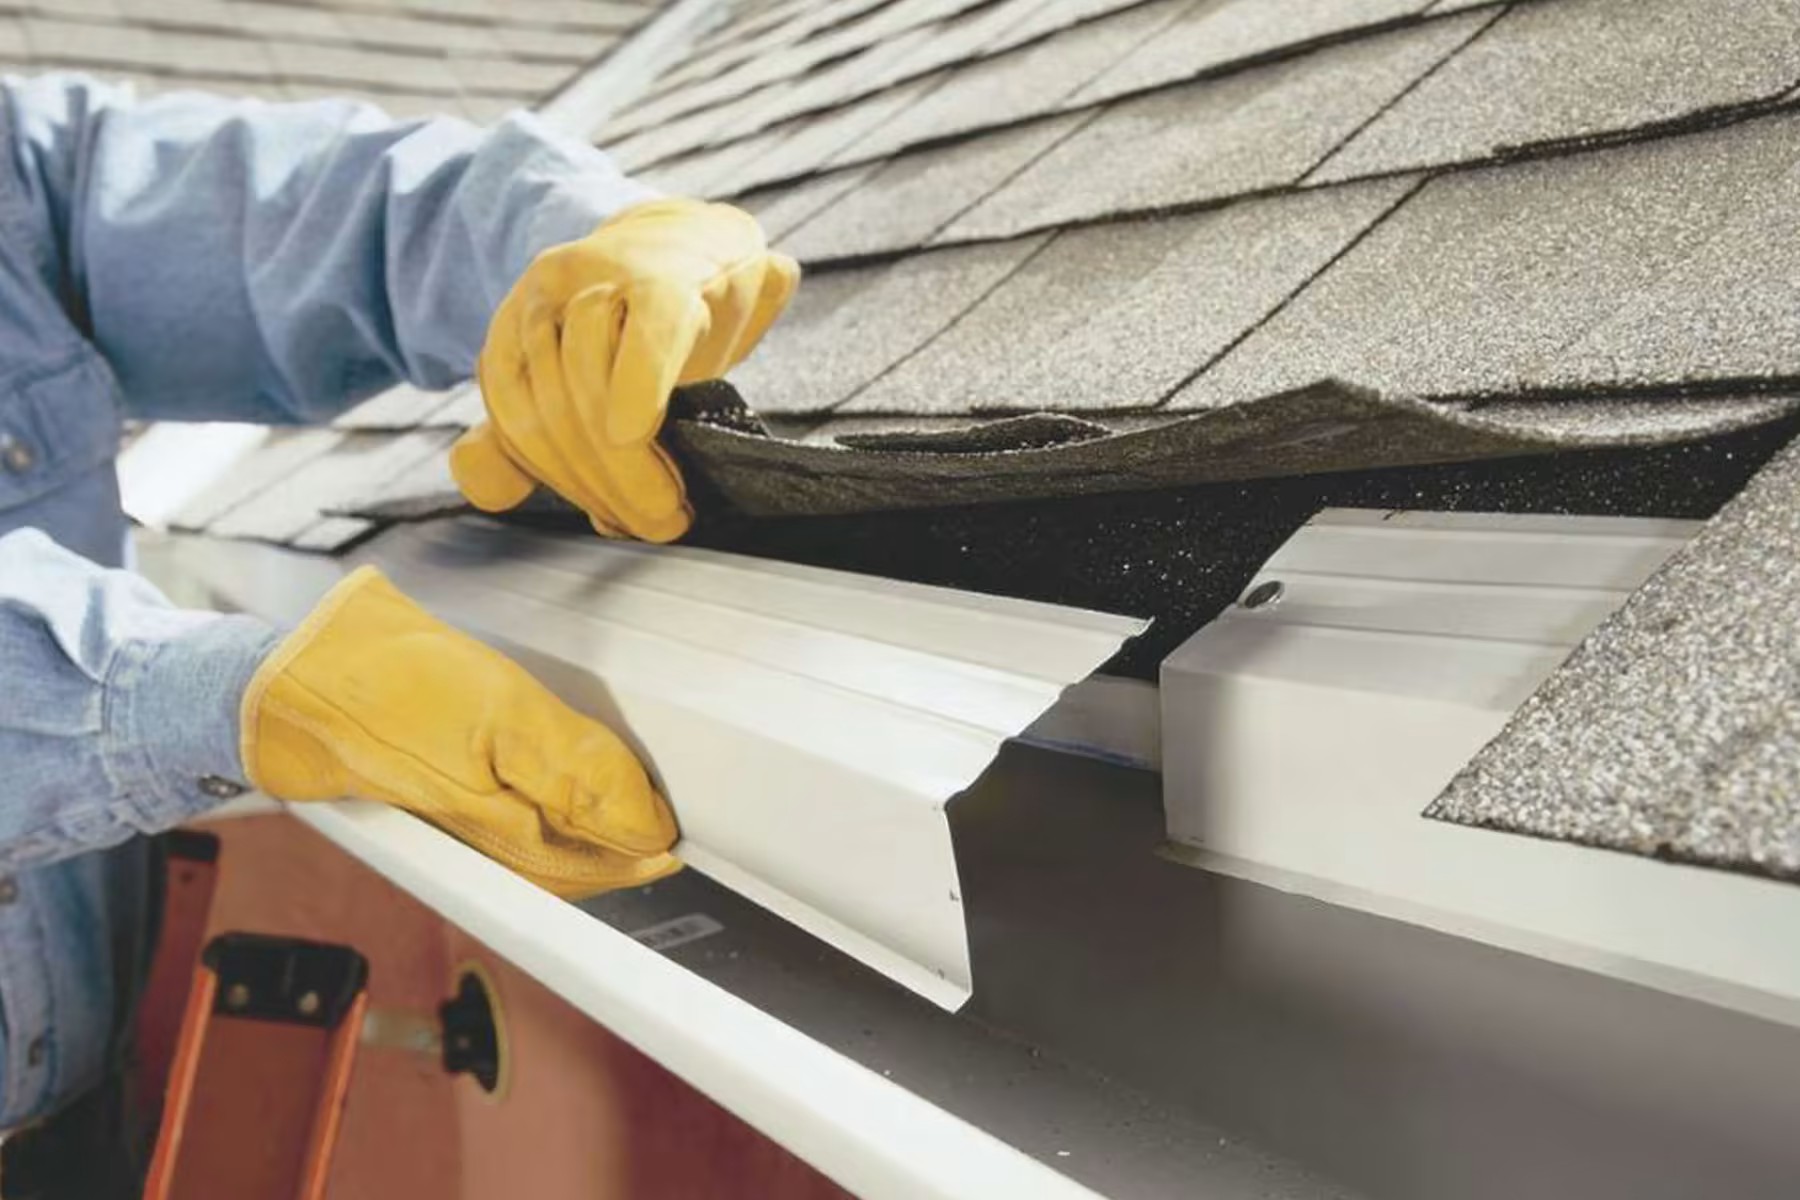
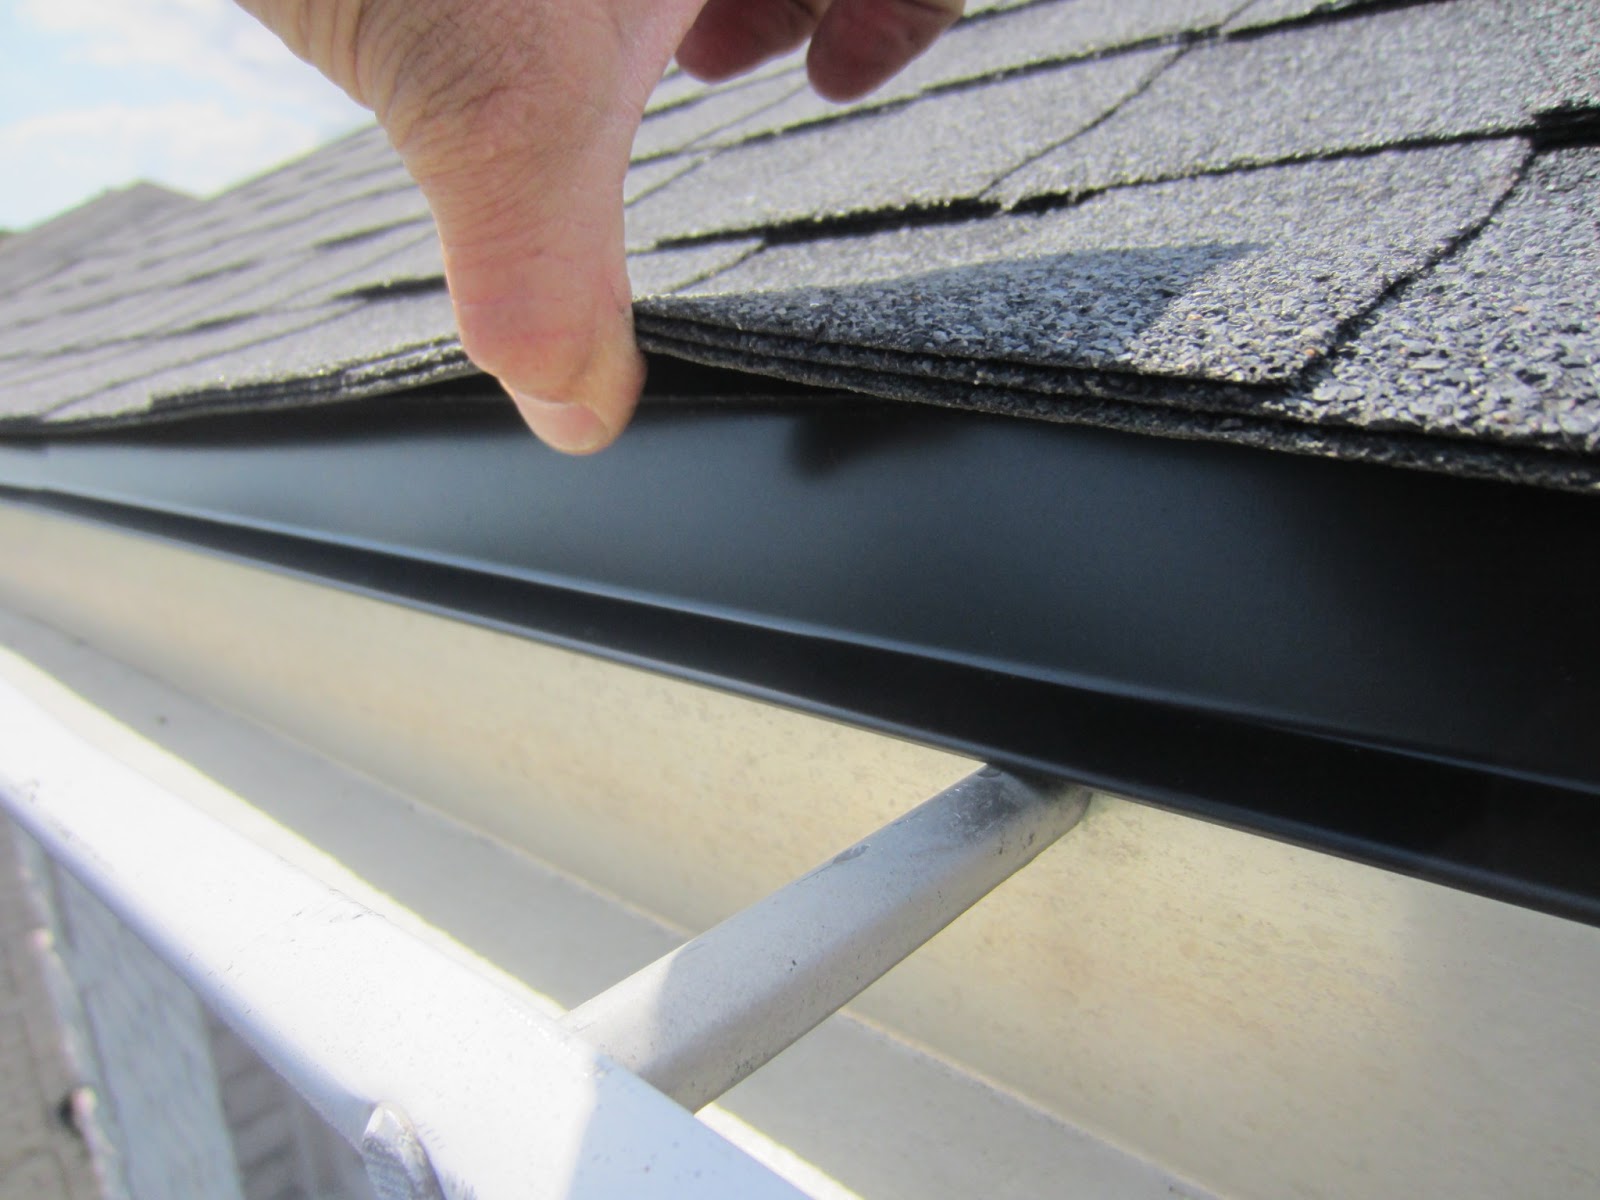
The drip edge is installed under the roofing material, extending slightly over the edge of the roof. It is shaped like an “L” or “T”, with one side placed on top of the roof deck and the other extending down over the fascia board.
One of the distinguishing features of a drip edge is the small flange or lip that extends outward. This flange creates a barrier that prevents water from flowing backward and getting under the roof, protecting the underlying layers, including the roof deck and fascia, from water damage.
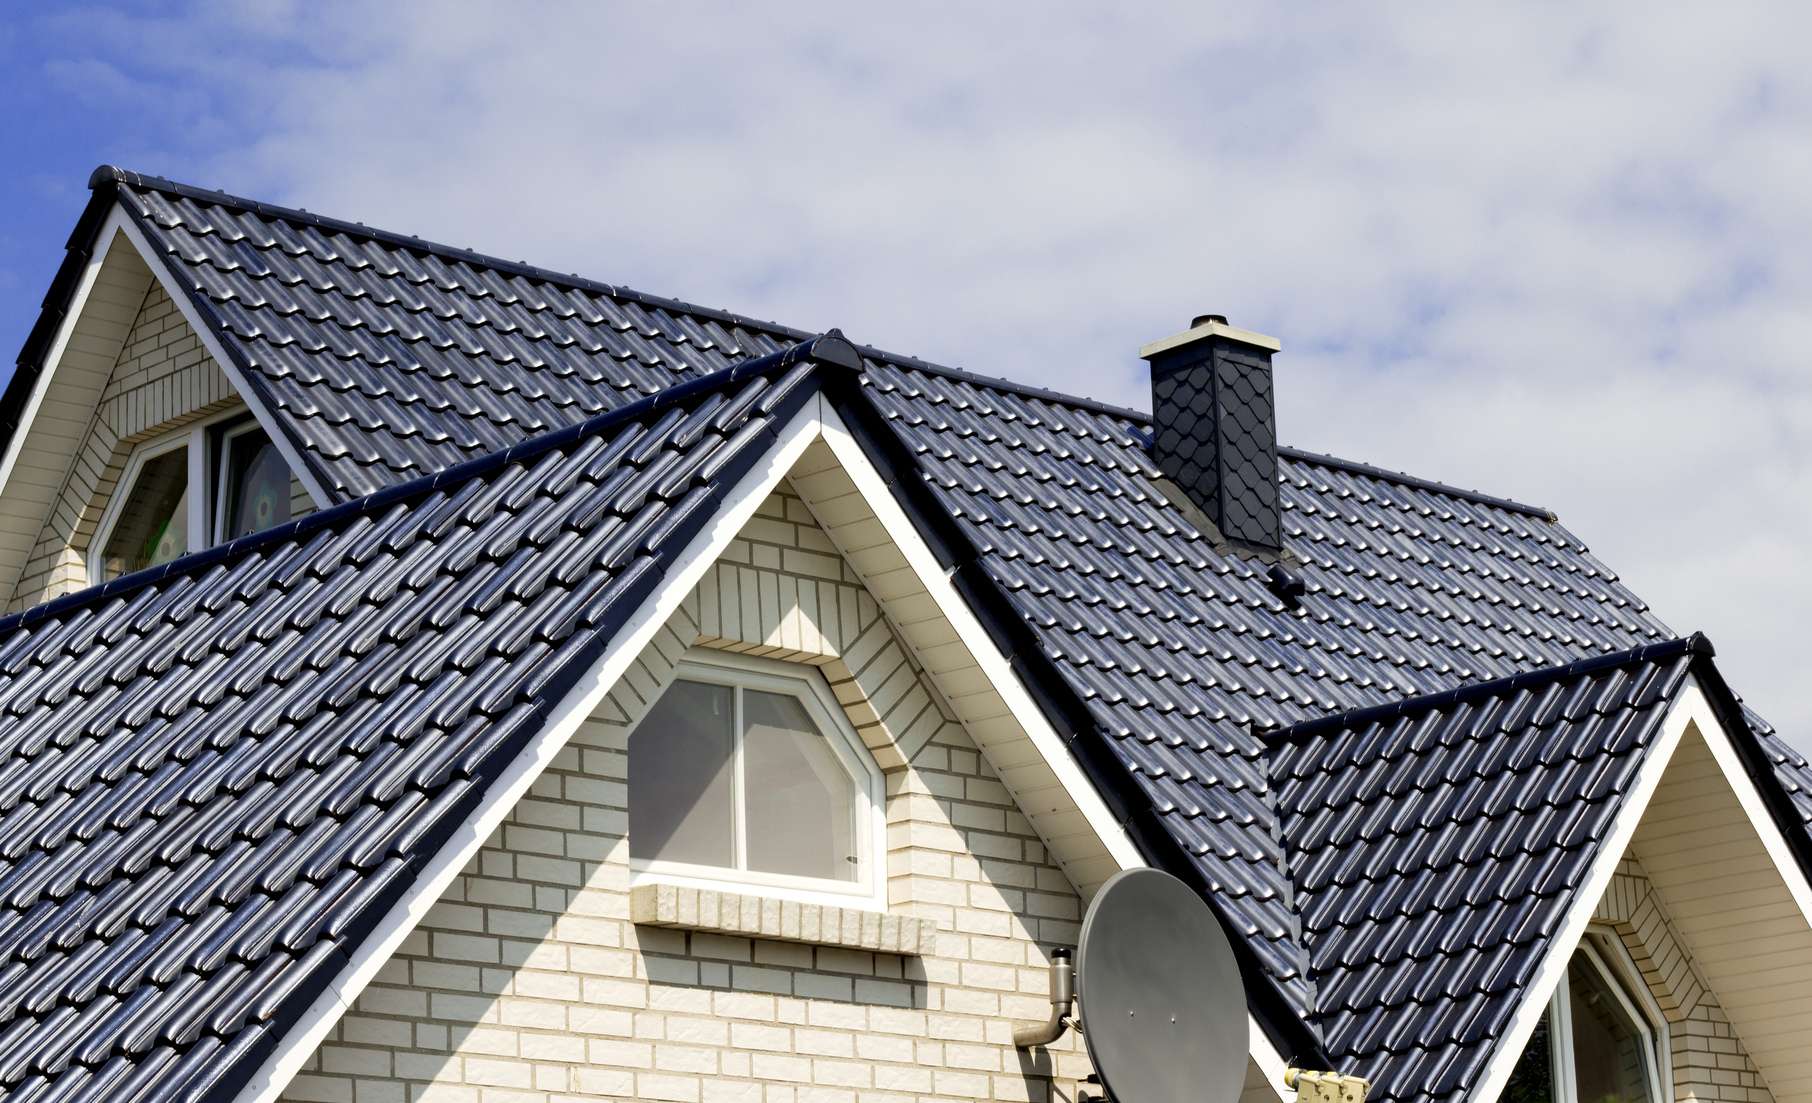
Drip edges come in various sizes and profiles, allowing for compatibility with different roofing materials and architectural styles. They are available in different colors to blend seamlessly with the overall aesthetic of the roof.
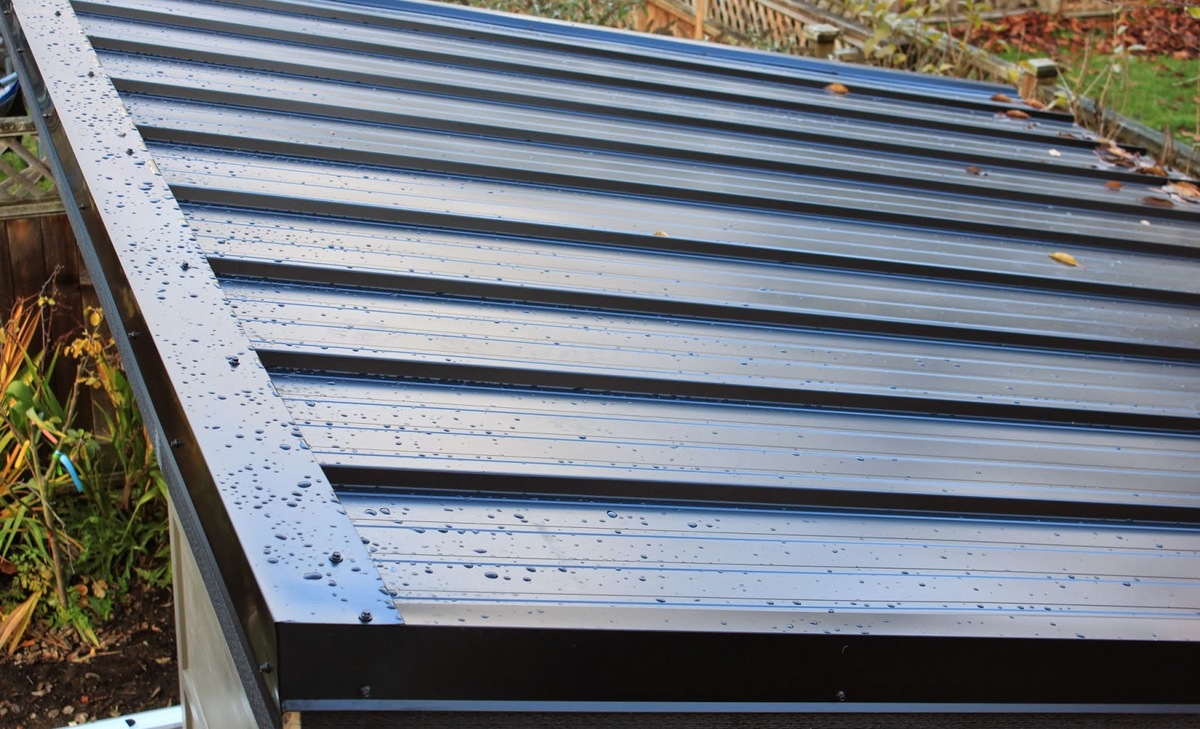
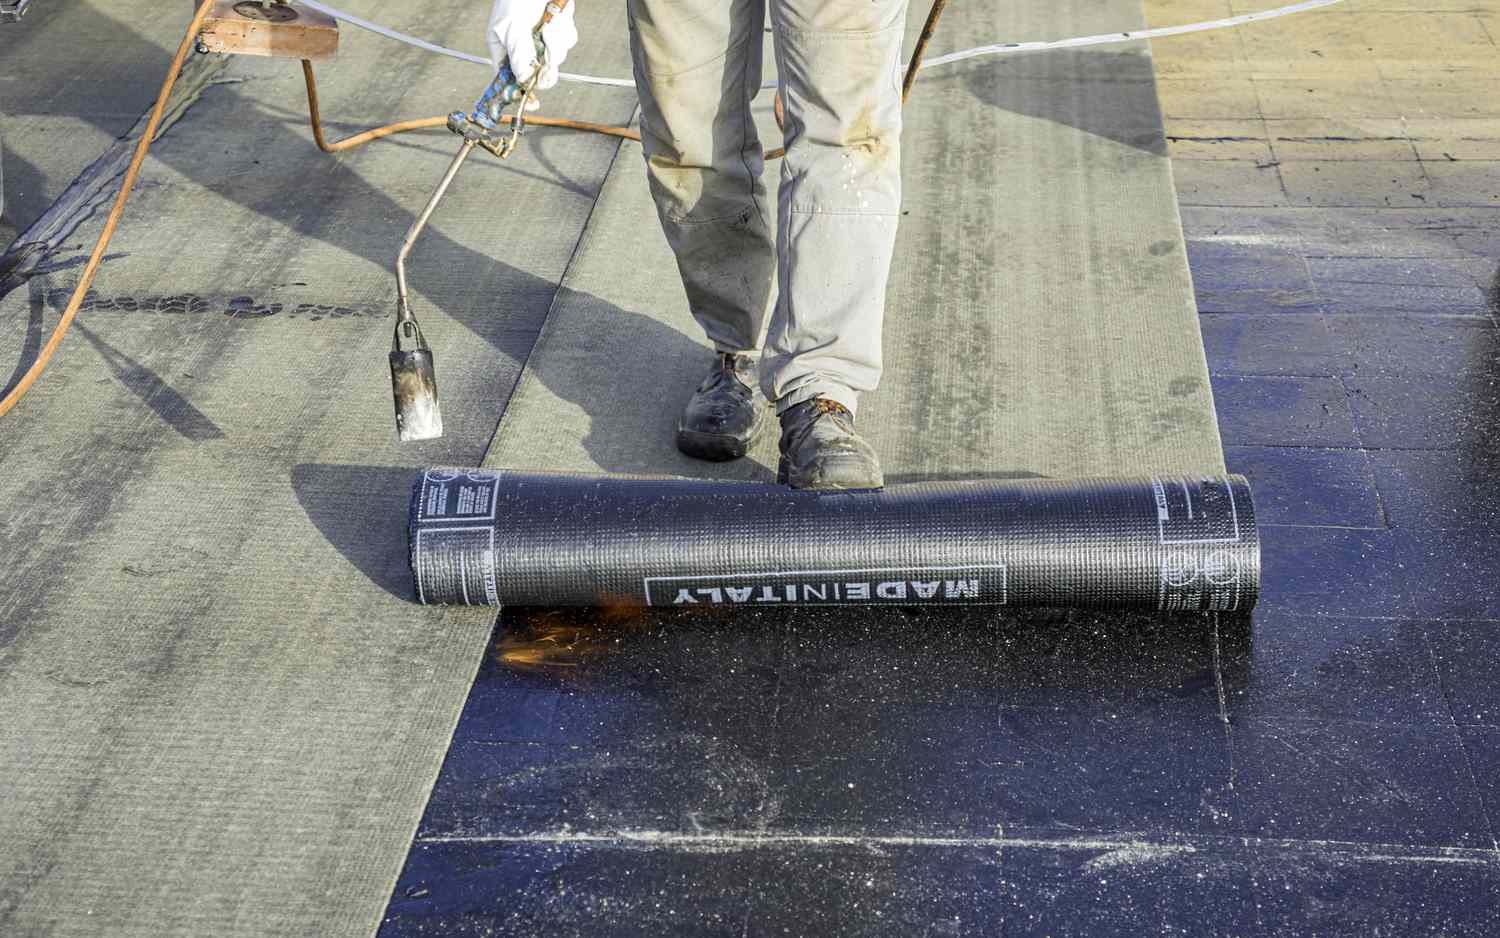
While most commonly found on sloped roofs, drip edges can also be used on flat roofs to prevent water from pooling and causing damage. In these cases, they are often installed along the perimeter of the roof to facilitate proper drainage.
Overall, a drip edge acts as a first line of defense against water intrusion, providing an extra layer of protection for your roof and home.
Purpose of a Drip Edge
The primary purpose of a drip edge is to protect the roof and the underlying structure from water damage. Here are some key purposes that a drip edge serves:
- Redirecting Water: One of the main functions of a drip edge is to redirect water away from vulnerable areas of the roof, such as the fascia and soffit. By extending over the edge of the roof, the drip edge ensures that water drips off the roof and into the gutters, preventing it from pooling on the roof or seeping into the underlying layers.
- Preventing Ice Dams: In colder climates, ice dams can form along the edge of the roof, causing water backup and potential roof damage. A drip edge helps minimize the formation of ice dams by providing a barrier that prevents water from seeping under the roof and freezing.
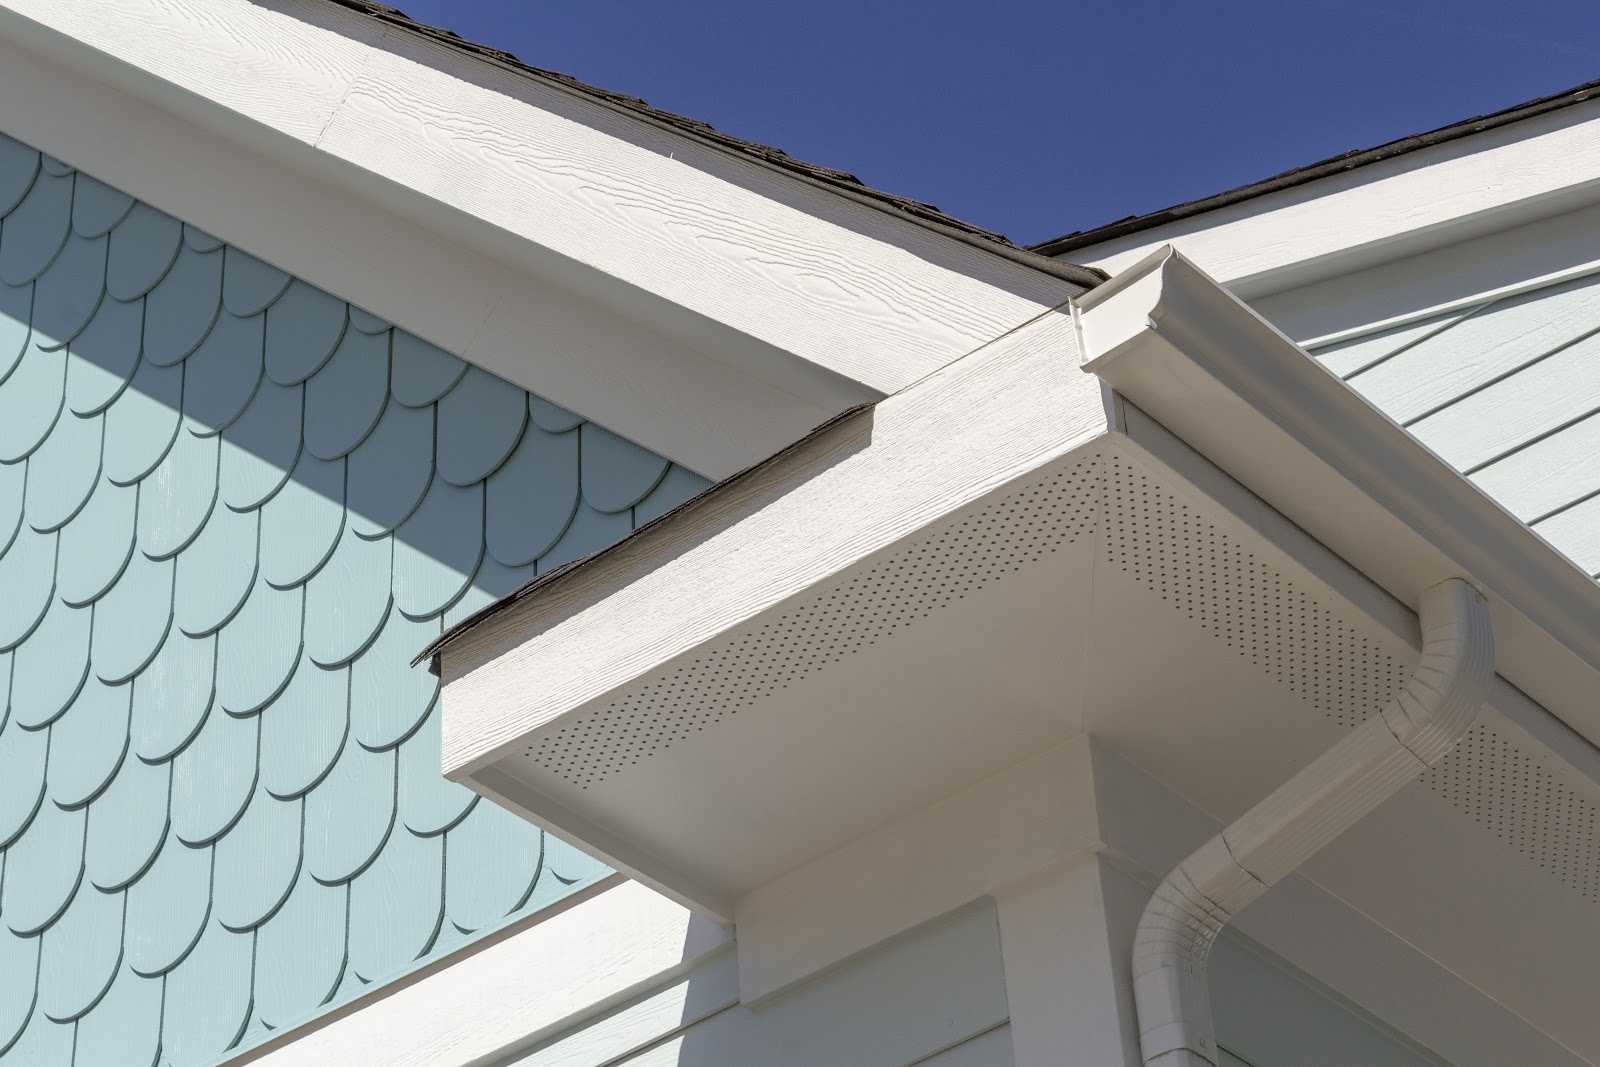
- Protecting Fascia and Soffit: The fascia and soffit are susceptible to water damage if not properly protected. A drip edge acts as a shield, directing water away from these areas and preventing rotting, warping, and other structural issues.
- Promoting Proper Drainage: By channeling water into the gutters or away from the foundation, a drip edge facilitates proper drainage, preventing water from seeping into the roof deck or causing damage to the surrounding areas.
- Preserving the Roof’s Aesthetic: In addition to its functional benefits, a drip edge also contributes to the overall appearance of the roof. It provides a neat and finished look to the edges, enhancing the visual appeal of the roofing system.
Overall, the purpose of a drip edge is to safeguard your roof and home by preventing water damage and promoting proper water drainage. It is a vital component of a well-built roofing system, providing added protection and prolonging the lifespan of your roof.
Installation Process of a Drip Edge
The installation process of a drip edge involves several steps to ensure proper functionality and effectiveness. Here is a general guide on how to install a drip edge:
- Prepare the Roof: Before installing the drip edge, make sure the roof deck is clean and free of debris. Remove any old roofing material or nails that may hinder the installation process.
- Measure and Cut: Measure the length of each roof edge where the drip edge will be installed. Use tin snips or metal-cutting shears to cut the drip edge to the appropriate length.
- Position the Drip Edge: Start at one corner of the roof and position the drip edge along the eave edge, ensuring that the flange extends over the roof deck and the other side hangs down over the fascia board. Align the drip edge parallel to the roof’s slope.
- Secure the Drip Edge: Fasten the drip edge to the roof deck using roofing nails or screws. Place nails or screws at regular intervals, typically around every 12 to 18 inches, ensuring a secure attachment.
- Overlap at Corners: When reaching a corner, cut the drip edge at a 45-degree angle to allow for a clean overlap. Apply roofing cement or sealant on the overlapping section to create a watertight seal.
- Continue Installation: Repeat the process along the remaining roof edges, ensuring a consistent and secure installation of the drip edge.
- Seal the Joints: Inspect the joints where the drip edges meet and apply roofing cement or sealant to create a watertight seal. This further enhances the protection against water infiltration.
- Install Roofing Material: Once the drip edges are securely in place, proceed with the installation of the roofing material, such as asphalt shingles or metal panels. Ensure that the roofing material overlaps the drip edge, providing a seamless and cohesive barrier against water.
- Inspect and Maintain: Regularly inspect the drip edge for any signs of damage or wear. Keep the gutters clean to ensure proper water drainage and prevent any clogging that could compromise the effectiveness of the drip edge.
It is important to note that the installation process may vary slightly depending on the type of roofing material used and the specific requirements of your roofing system. It is always recommended to consult with a professional roofer or refer to manufacturer guidelines for the specific installation instructions.
By following these installation steps and ensuring proper placement and fastening of the drip edge, you can enhance the functionality and durability of your roofing system, providing long-lasting protection against water damage.
A drip edge is a metal flashing installed along the edges of a roof to direct water away from the fascia and prevent it from seeping under the shingles. It is an important component for protecting the roof and preventing water damage.
Common Materials Used for Drip Edges
Drip edges are typically made from durable materials that can withstand exposure to the elements and provide long-lasting protection for your roof. Here are some of the most commonly used materials for drip edges:
- Aluminum: Aluminum is a popular choice for drip edges due to its lightweight nature, corrosion resistance, and affordability. It is easy to work with and can be shaped to match the profile of the roof. Aluminum drip edges are available in various thicknesses and colors, providing flexibility for different roofing applications.
- Galvanized Steel: Galvanized steel is another common material used for drip edges. It offers excellent durability and strength, making it suitable for areas prone to harsh weather conditions. Galvanized steel drip edges are coated with a layer of zinc to prevent rust and corrosion, increasing their lifespan and performance.
- Copper: Copper drip edges are often chosen for their aesthetic appeal and natural resistance to corrosion. Copper develops an attractive patina over time, adding an elegant touch to the roof. While more expensive than aluminum or galvanized steel, copper drip edges are highly durable and can last for decades with proper maintenance.
- Vinyl: Vinyl drip edges are gaining popularity due to their affordability and versatility. They are lightweight, easy to install, and resistant to damage from UV rays and moisture. Vinyl drip edges are available in various colors, allowing homeowners to choose an option that complements their roof’s aesthetics.
- Composite Materials: Some drip edges are made from composite materials, which are engineered to provide the benefits of different materials. These materials can combine the durability of metal with the flexibility and affordability of plastic, offering a viable alternative for homeowners seeking a balance between performance and cost.
It is important to choose a drip edge material that is compatible with your specific roofing system and climate conditions. Consider factors such as durability, cost, aesthetic appeal, and maintenance requirements when selecting the appropriate material for your drip edge.
Remember, the quality of the material used for your drip edge will directly impact its ability to effectively protect your roof from water damage and ensure the longevity of your roofing system.
Read more: How To Install Drip Edge On A Shed
Benefits of Installing a Drip Edge
Installing a drip edge on your roof provides several important benefits that contribute to the overall protection and longevity of your home. Here are some key advantages of having a drip edge:
- Prevents Water Damage: The primary function of a drip edge is to redirect water away from vulnerable areas of the roof, such as the fascia, soffit, and roof deck. By guiding water into the gutters or away from the foundation, a properly installed drip edge prevents water infiltration, which can cause rotting, warping, mold growth, and other forms of water damage.
- Protects Against Ice Dams: In colder climates, ice dams can form along the edges of roofs, leading to water backup and potential roof damage. A drip edge helps prevent the formation of ice dams by creating a barrier that keeps water from seeping under the roof, reducing the risk of ice dam-related issues.
- Promotes Proper Drainage: By directing water into the gutters or away from the foundation, a drip edge ensures efficient water drainage, minimizing the risk of water pooling on the roof. This helps maintain the structural integrity of the roof and prevents water-related issues, such as leaks and moisture damage.
- Preserves Fascia and Soffit: The fascia and soffit are vulnerable to water damage if not properly protected. A drip edge acts as a shield, directing water away from these areas and preventing rotting, warping, and other forms of damage. This helps maintain the aesthetics and structural integrity of the roof.
- Enhances Roof Aesthetics: In addition to its functional benefits, a drip edge also improves the overall appearance of your roof. It provides a clean and finished look to the edges, enhancing the visual appeal and curb appeal of your home.
- Extends Roof Lifespan: By preventing water damage and promoting proper water drainage, a drip edge helps extend the lifespan of your roof. It protects the underlying layers, such as the roof deck and fascia, from moisture-related issues that can lead to premature deterioration.
- Eases Gutter Installation: When installing gutters, a drip edge provides a smooth and stable surface to attach the gutter system. This simplifies the gutter installation process and ensures a secure connection between the drip edge and the gutter, further enhancing water management and protection.
Overall, the installation of a drip edge offers multiple benefits, ranging from preventing water damage and ice dams to promoting proper drainage and enhancing the aesthetics of your roof. It serves as an essential component of a well-built roofing system, providing long-lasting protection for your home.
Potential Issues and Solutions with Drip Edges
While drip edges are an important component of a roofing system, there can be potential issues that arise. It’s essential to be aware of these issues and their respective solutions to ensure the proper functioning of your drip edges. Here are some common issues and their solutions:
- Poor Installation: If the drip edge is not properly installed, it may not effectively redirect water away from the roof and could lead to water damage. The solution is to ensure that the drip edge is correctly positioned, securely fastened, and properly sealed at all joints. It’s best to hire a professional to install the drip edge to avoid installation mistakes.
- Clogging of Drip Edge: Over time, debris, leaves, or pests may accumulate and clog the drip edge, preventing water from flowing freely. The solution is to regularly inspect and clean the drip edge, removing any debris or obstructions. This will ensure proper water drainage and prevent potential water damage.
- Improper Overhang: If the drip edge does not extend far enough over the edge of the roof, water can still seep in and cause damage. The solution is to ensure that the drip edge has an adequate overhang, typically around 1 to 1.5 inches, to effectively direct water away from the roof and into the gutter system.
- Incompatibility with Roofing Material: Certain roofing materials may require specific drip edge profiles or materials for proper installation. The solution is to choose a drip edge that is compatible with the type of roofing material you have. Consult with a roofing professional or refer to manufacturer guidelines to ensure the correct drip edge selection and installation.
- Lack of Maintenance: Neglecting routine maintenance can lead to issues with the drip edge, such as corrosion, damage, or detachment. The solution is to regularly inspect the drip edge for any signs of wear or damage, and promptly address any issues. Additionally, keeping the gutter system clean and free of debris will ensure proper water flow and prevent potential overflow onto the drip edge.
- Incorrect Sizing: Using incorrect drip edge sizing can lead to gaps or ineffective water redirection. The solution is to carefully measure the roof edges and select the appropriate size of drip edge for your specific roof. Properly fitting drip edges will ensure optimal performance and protection.
By being aware of these potential issues and implementing the corresponding solutions, you can maintain the functionality and effectiveness of your drip edges, ensuring long-term protection for your roof and home.
Conclusion
A drip edge may be a small and often overlooked component of a roofing system, but its importance cannot be understated. It serves as a crucial line of defense against water damage, preventing issues such as rotting, mold growth, and structural damage to your home.
By redirecting water away from vulnerable areas, promoting proper drainage, and protecting the fascia and soffit, a well-installed drip edge plays a vital role in preserving the longevity and integrity of your roof.
When installing a drip edge, it is important to choose the right material, properly position and secure it, and regularly maintain it to ensure optimal performance. This includes keeping the drip edge free from debris, inspecting for any signs of wear or damage, and addressing any issues promptly.
With the numerous benefits that a drip edge offers, including preventing water damage, reducing the risk of ice dams, maintaining the aesthetics of your roof, and extending its lifespan, it is clear that this seemingly small component plays a significant role in the overall health and protection of your home.
Whether you are installing a new roof or considering an upgrade to your existing roofing system, don’t underestimate the importance of a drip edge. Consult with a professional roofing contractor to ensure proper installation and to choose the right drip edge material and profile for your specific needs.
By investing in a quality drip edge and properly maintaining it, you are taking an important step towards safeguarding your home and ensuring the long-term durability and performance of your roofing system.
In conclusion, the drip edge may be a humble component, but its impact on your roof’s protection is significant. Embrace the power of the drip edge and give your roof the added defense it deserves.
Frequently Asked Questions about What Is A Drip Edge On A Roof
Was this page helpful?
At Storables.com, we guarantee accurate and reliable information. Our content, validated by Expert Board Contributors, is crafted following stringent Editorial Policies. We're committed to providing you with well-researched, expert-backed insights for all your informational needs.


0 thoughts on “What Is A Drip Edge On A Roof”