Home>Gardening & Outdoor>Outdoor Structures>How To Finish The Top Edge Of A Shed Roof
Outdoor Structures
How To Finish The Top Edge Of A Shed Roof
Modified: August 28, 2024
Learn how to finish the top edge of a shed roof to protect your outdoor structures from the elements. Get expert tips and techniques for a durable and weather-resistant solution.
(Many of the links in this article redirect to a specific reviewed product. Your purchase of these products through affiliate links helps to generate commission for Storables.com, at no extra cost. Learn more)
Introduction
When it comes to constructing a shed, attention to detail is crucial for both aesthetic and functional reasons. One often overlooked aspect is finishing the top edge of the shed roof. Properly finishing this area not only enhances the overall look of the structure but also plays a vital role in protecting it from the elements.
In this comprehensive guide, we will walk you through the step-by-step process of finishing the top edge of a shed roof. From measuring and cutting the fascia boards to adding drip edge and installing soffit panels, we've got you covered. By the end of this article, you'll have a clear understanding of the materials and tools needed, as well as the essential techniques required to complete this project successfully.
So, roll up your sleeves and get ready to elevate the appearance and durability of your shed by mastering the art of finishing the top edge of its roof. Let's dive in!
Key Takeaways:
- Finishing the top edge of a shed roof involves measuring, cutting, and installing fascia boards, adding drip edge, and installing soffit panels. This enhances the shed’s appearance and protects it from the elements.
- By applying trim and finish, you can further enhance the shed roof’s visual appeal and durability. This step-by-step guide equips you with the skills to elevate the aesthetics and resilience of your shed.
Read more: How To Finish The Edge Of Backsplash
Materials and Tools Needed
Before embarking on the task of finishing the top edge of a shed roof, it’s essential to gather the necessary materials and tools. Here’s a comprehensive list to ensure you’re well-prepared for the project:
Materials:
- Fascia boards
- Drip edge
- Soffit panels
- Trim
- Nails or screws
- Primer and paint
- Caulk
Tools:
- Tape measure
- Miter saw or circular saw
- Hammer or nail gun
- Screwdriver
- Ladder
- Carpenter's level
- Caulking gun
- Paintbrushes
- Safety goggles and gloves
Having these materials and tools on hand will streamline the process and ensure that you can tackle each step with confidence. Now that you’re equipped with everything you need, it’s time to move on to the first step: measuring and cutting the fascia boards.
Step 1: Measure and Cut the Fascia Boards
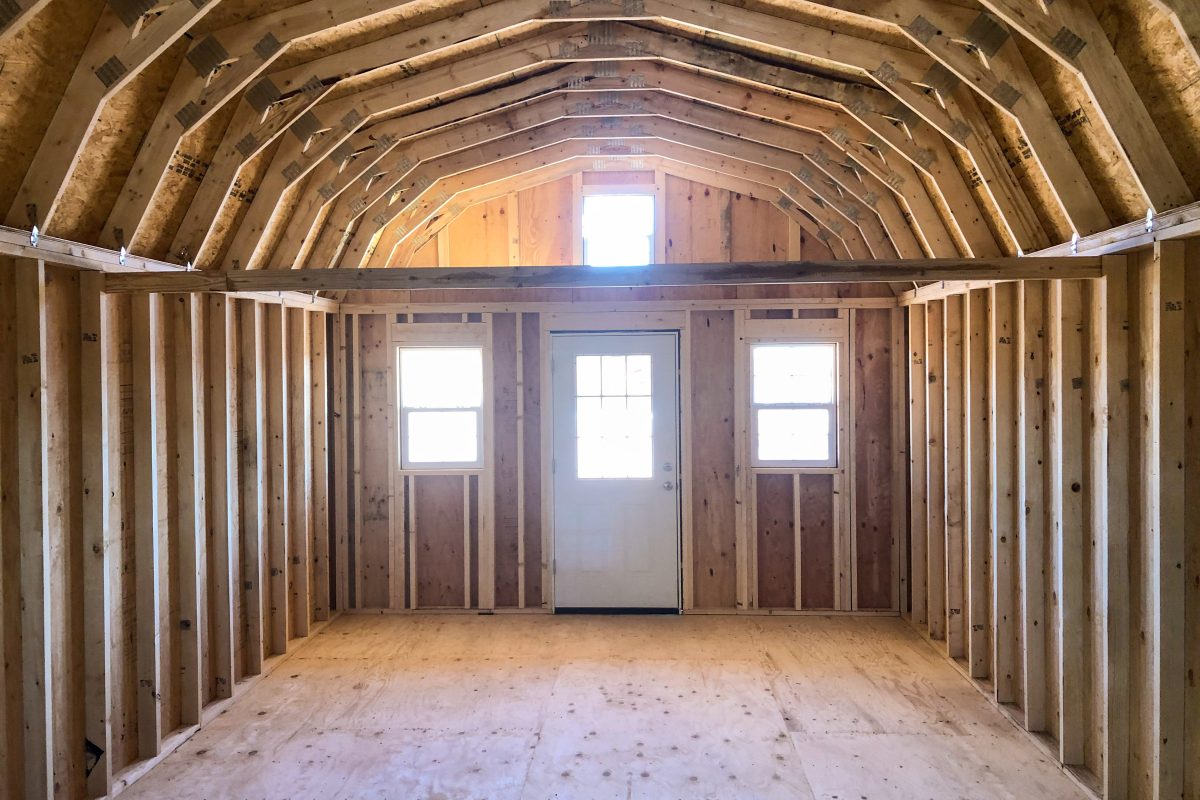
The first step in finishing the top edge of a shed roof is to measure and cut the fascia boards to the appropriate size. Fascia boards are the horizontal planks that cover the rafter ends, providing a smooth, finished appearance to the edge of the roof.
Start by measuring the length of each side of the roof to determine the required length of the fascia boards. It’s crucial to ensure precise measurements to achieve a seamless fit. Once you have the measurements, use a miter saw or circular saw to cut the fascia boards to the correct lengths. Be sure to use a carpenter’s level to ensure that the cuts are straight and accurate.
When cutting the fascia boards, it’s important to consider any angles or corners of the roof. For gable roofs, you may need to make angled cuts to match the roof’s pitch. Take your time and double-check the measurements before making any cuts to avoid errors that could affect the overall appearance of the finished edge.
After cutting the fascia boards, dry-fit them in place to ensure they align perfectly with the roof edge. This step allows you to make any necessary adjustments before moving on to the installation phase. With the fascia boards measured and cut to precision, you’re now ready to proceed to the next step: installing the fascia boards.
Read more: How To Finish Napkin Edges
Step 2: Install the Fascia Boards
With the fascia boards cut to the appropriate size, it’s time to proceed with the installation process. Properly securing the fascia boards is crucial for both the structural integrity and visual appeal of the shed roof.
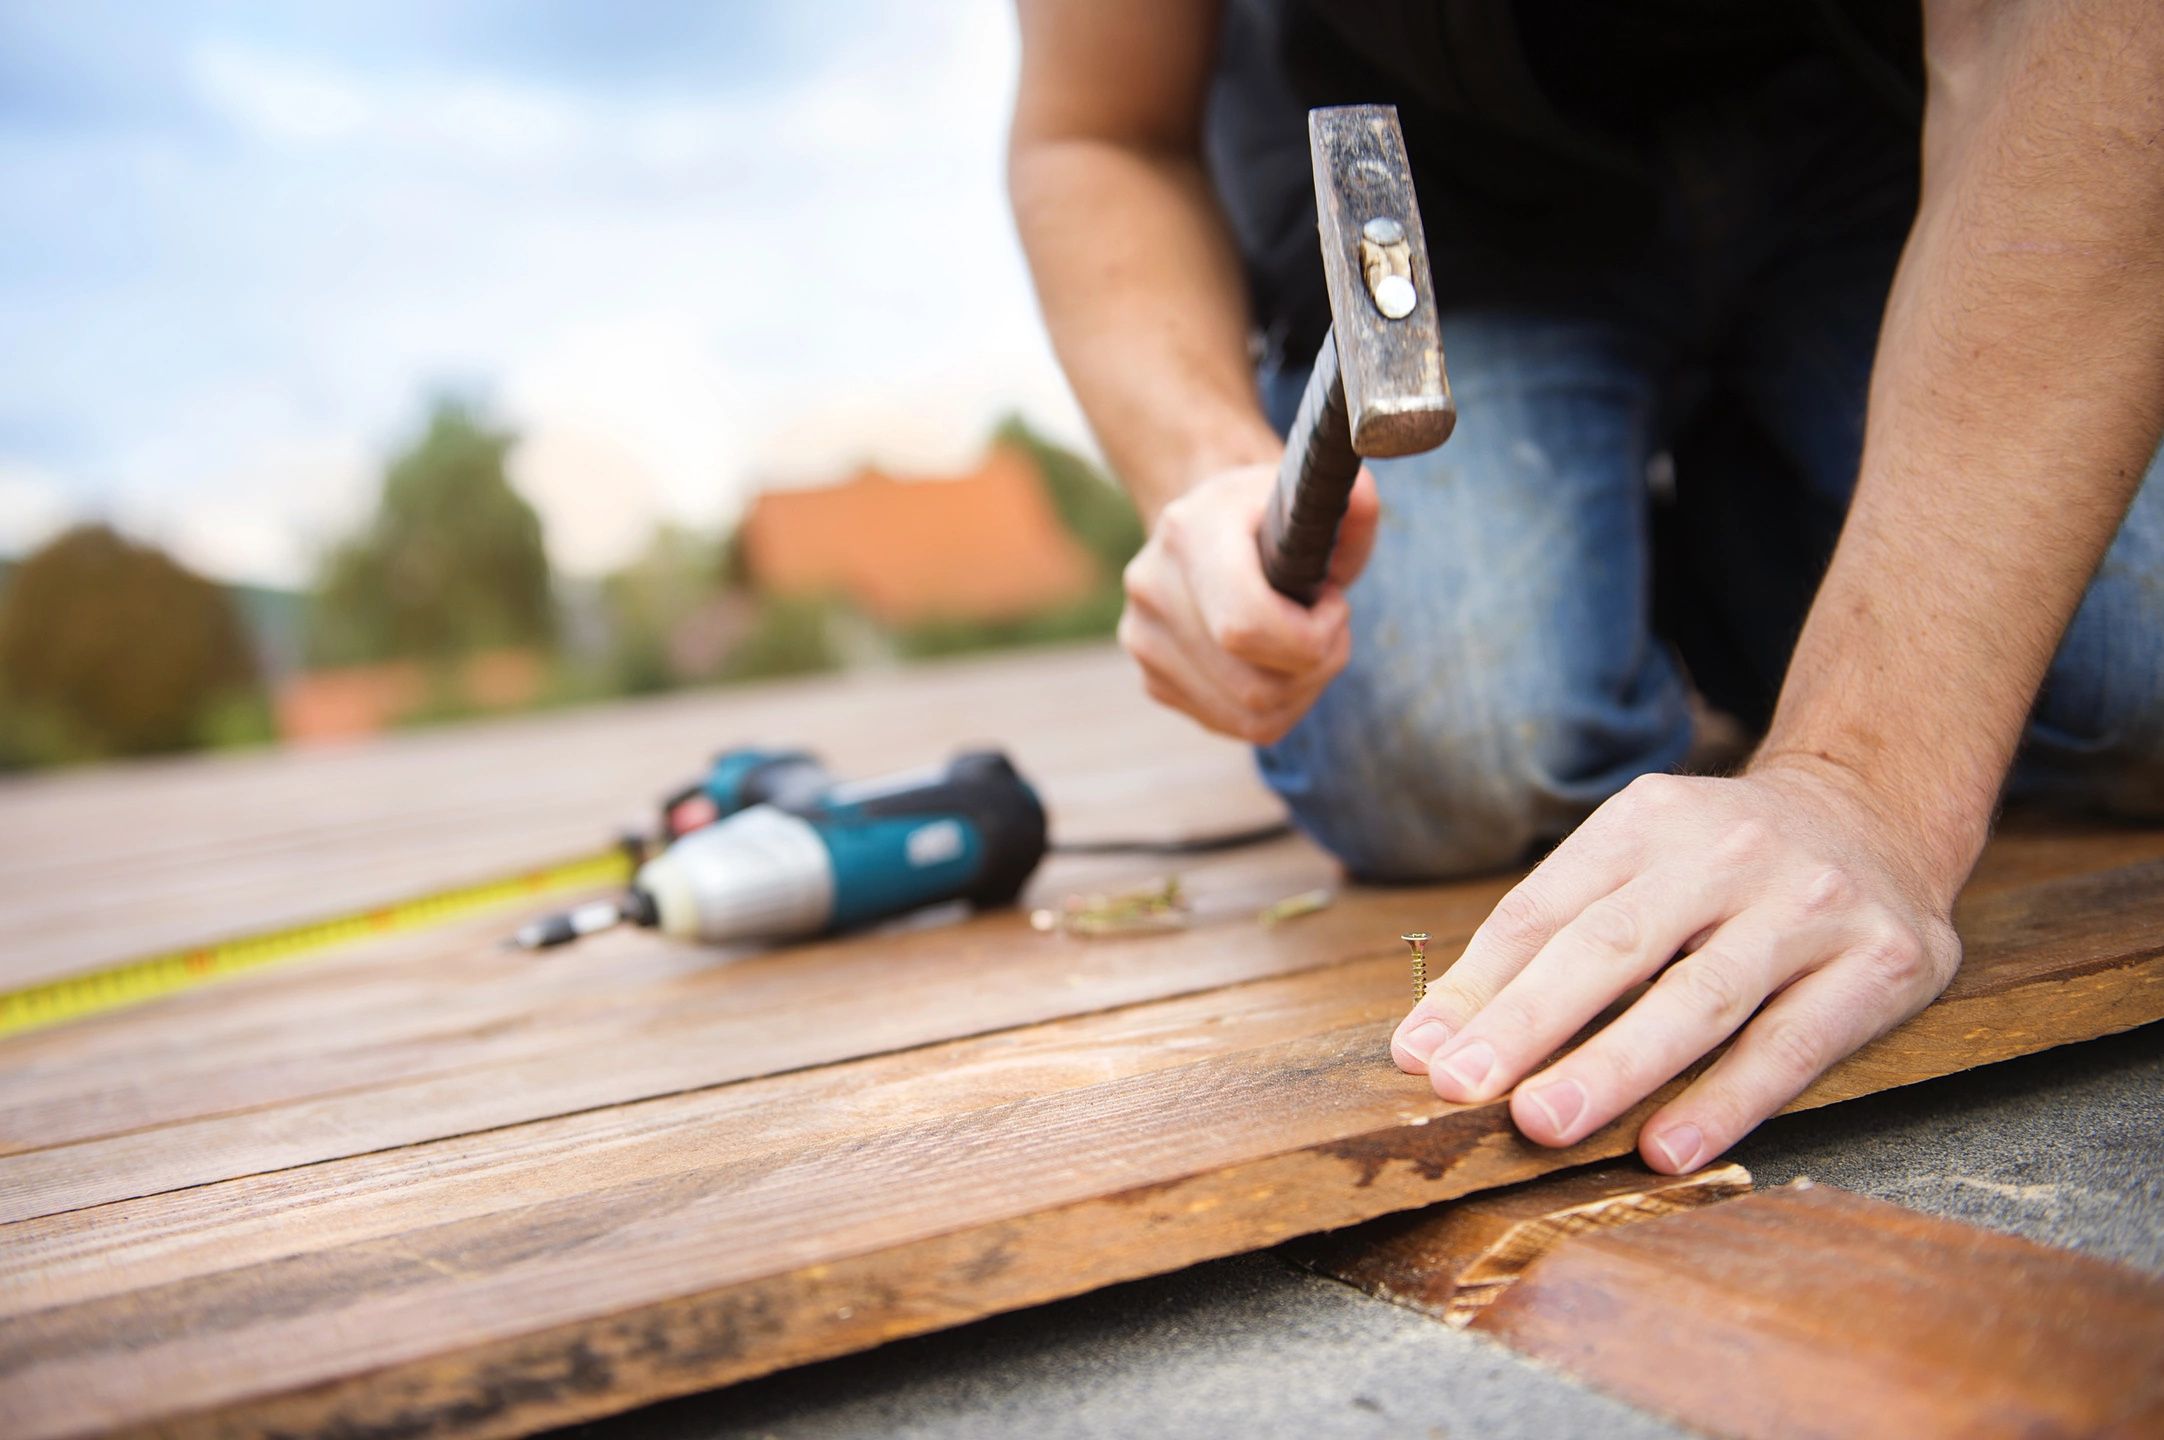
Begin by positioning the first fascia board at one end of the roof, ensuring that it aligns flush with the edge. Use nails or screws to attach the board to the rafter ends, maintaining a consistent spacing between fasteners. It’s important to drive the fasteners through the fascia board and into the rafters to ensure a secure attachment.
As you progress along the roof edge, take care to maintain a uniform overhang of the fascia boards. This overhang should be consistent across all sides of the roof, providing a balanced and professional appearance. Use a carpenter’s level to confirm that the fascia boards are installed horizontally, preventing any visual irregularities in the finished edge.
If your shed has eaves, the fascia boards will also need to be installed along the eaves’ edges. This area requires meticulous attention, as it contributes significantly to the overall aesthetics of the roof. Ensure that the fascia boards align seamlessly with the eaves, creating a cohesive and polished look.
Upon completing the installation of the fascia boards, step back and inspect the roof edge to ensure that the boards are securely in place and that the alignment is uniform. With the fascia boards successfully installed, you’re now ready to move on to the next step: adding drip edge to further protect the roof’s edge.
Step 3: Add Drip Edge
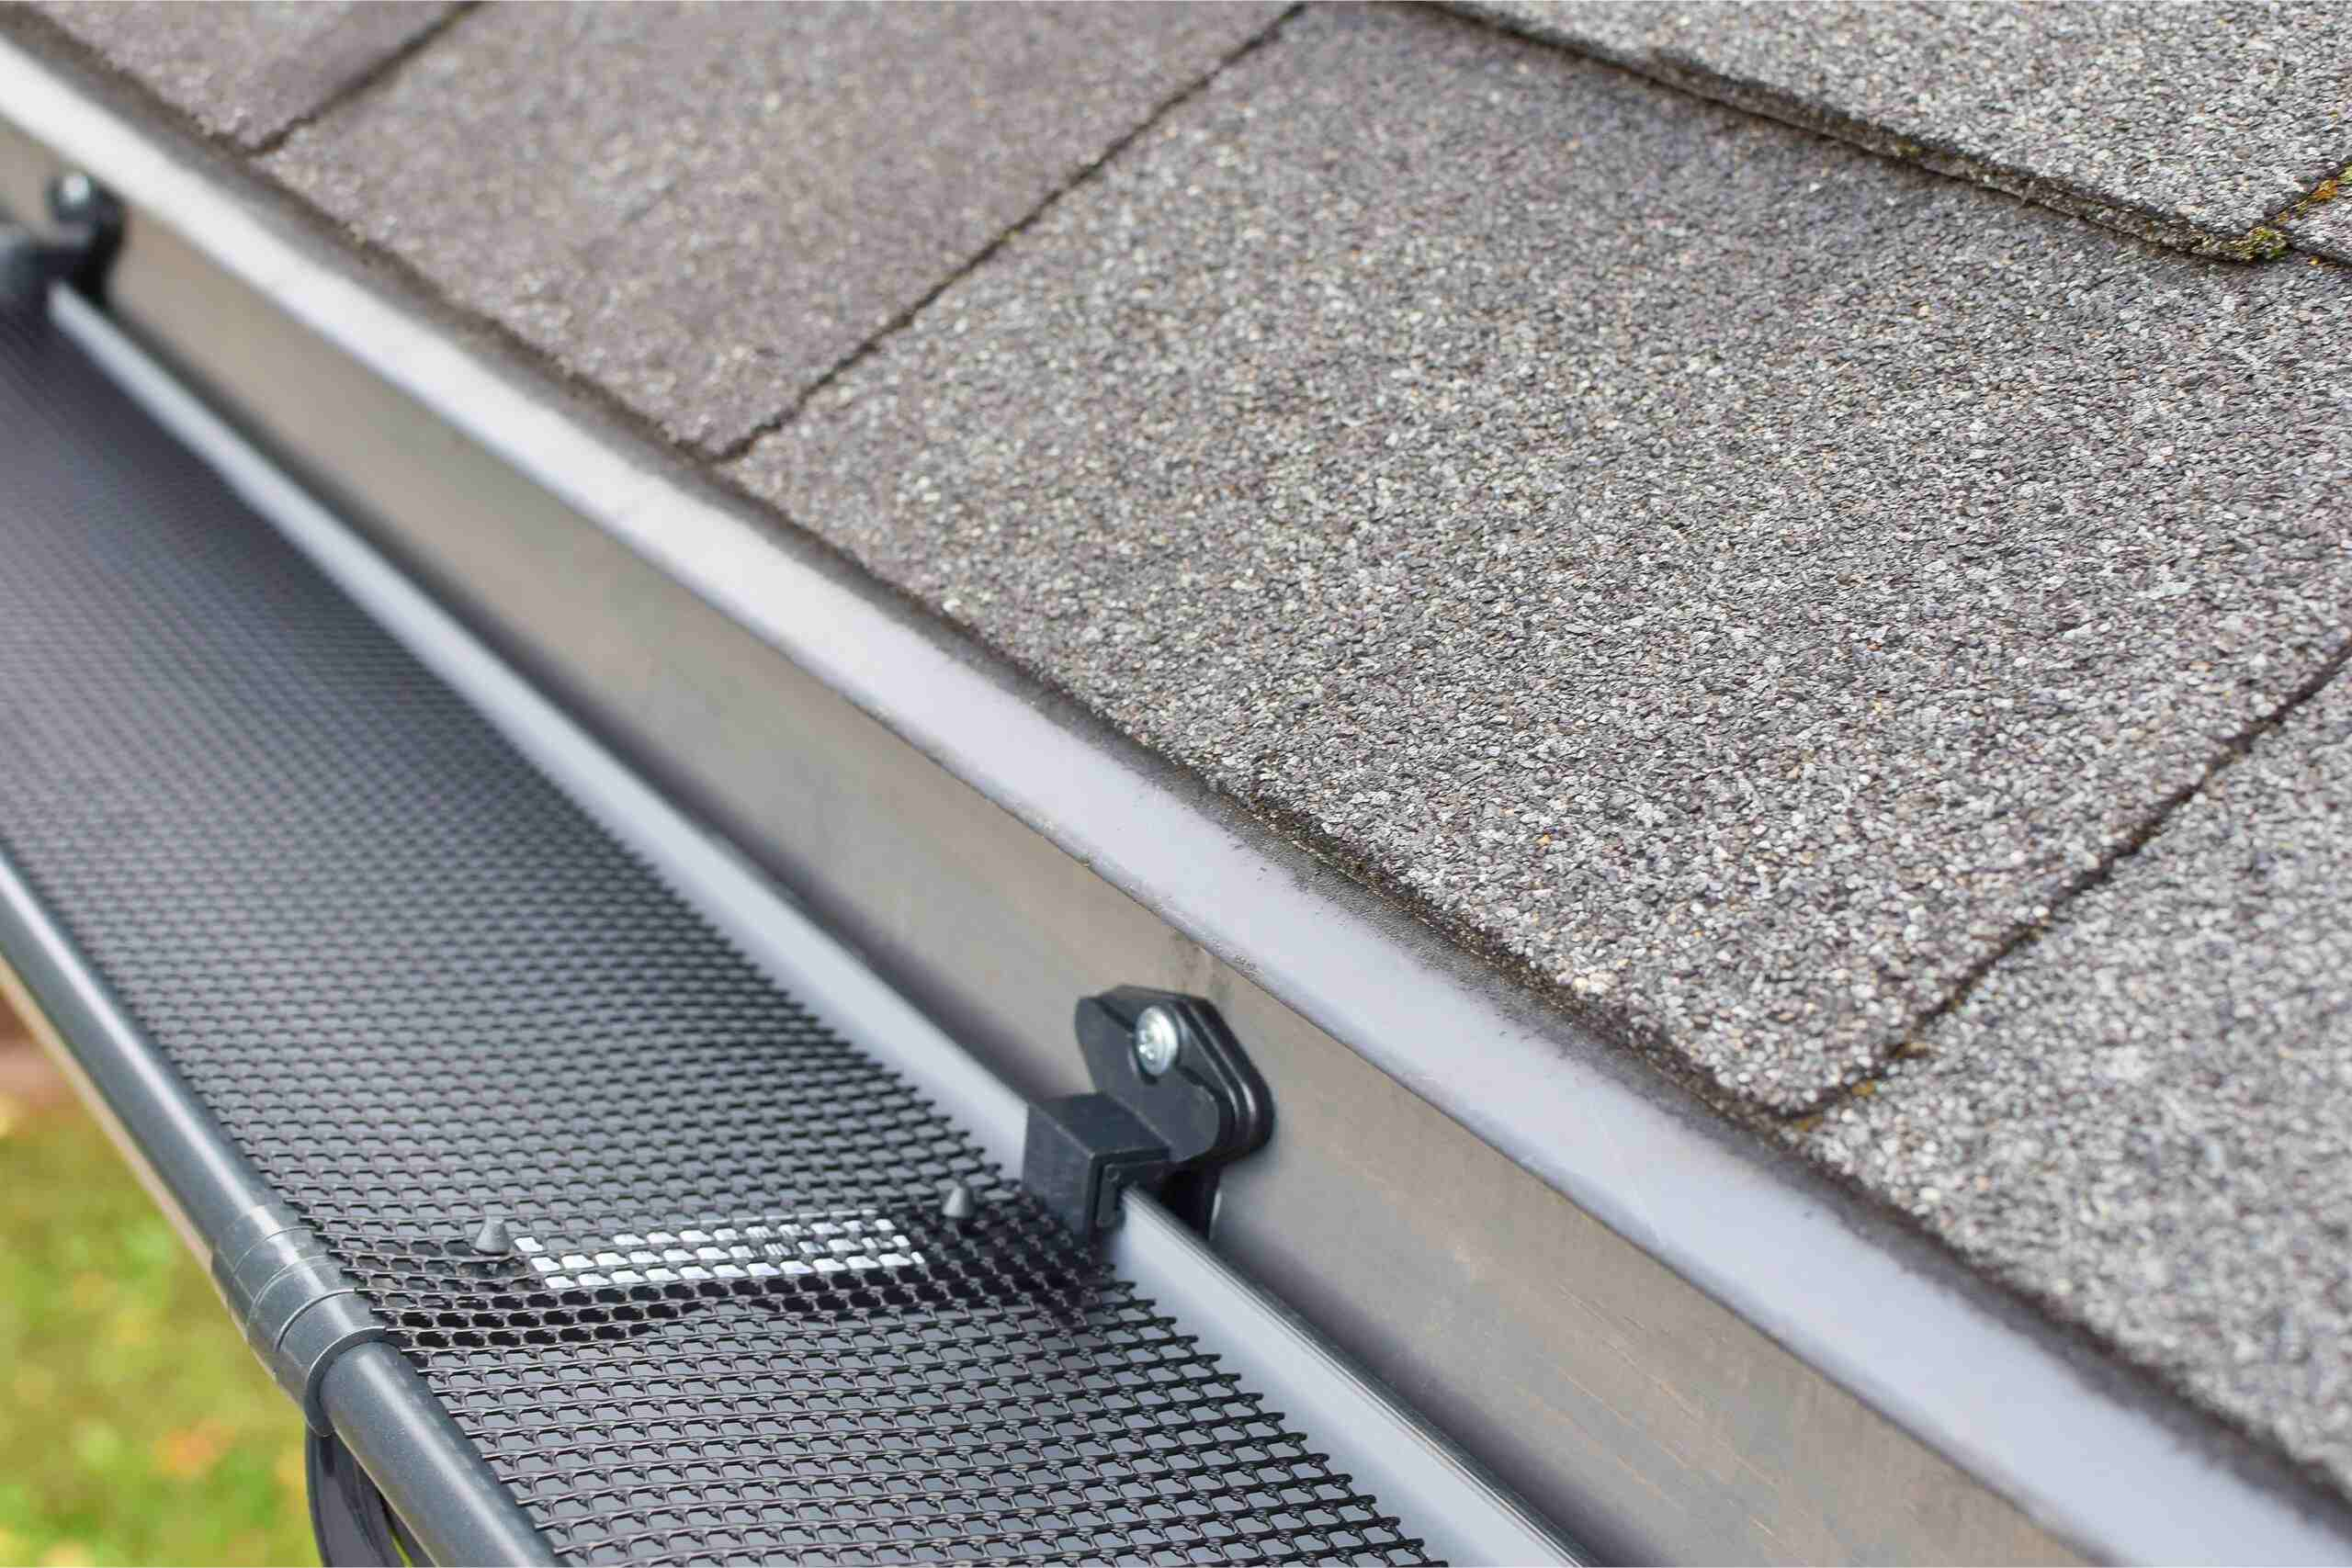
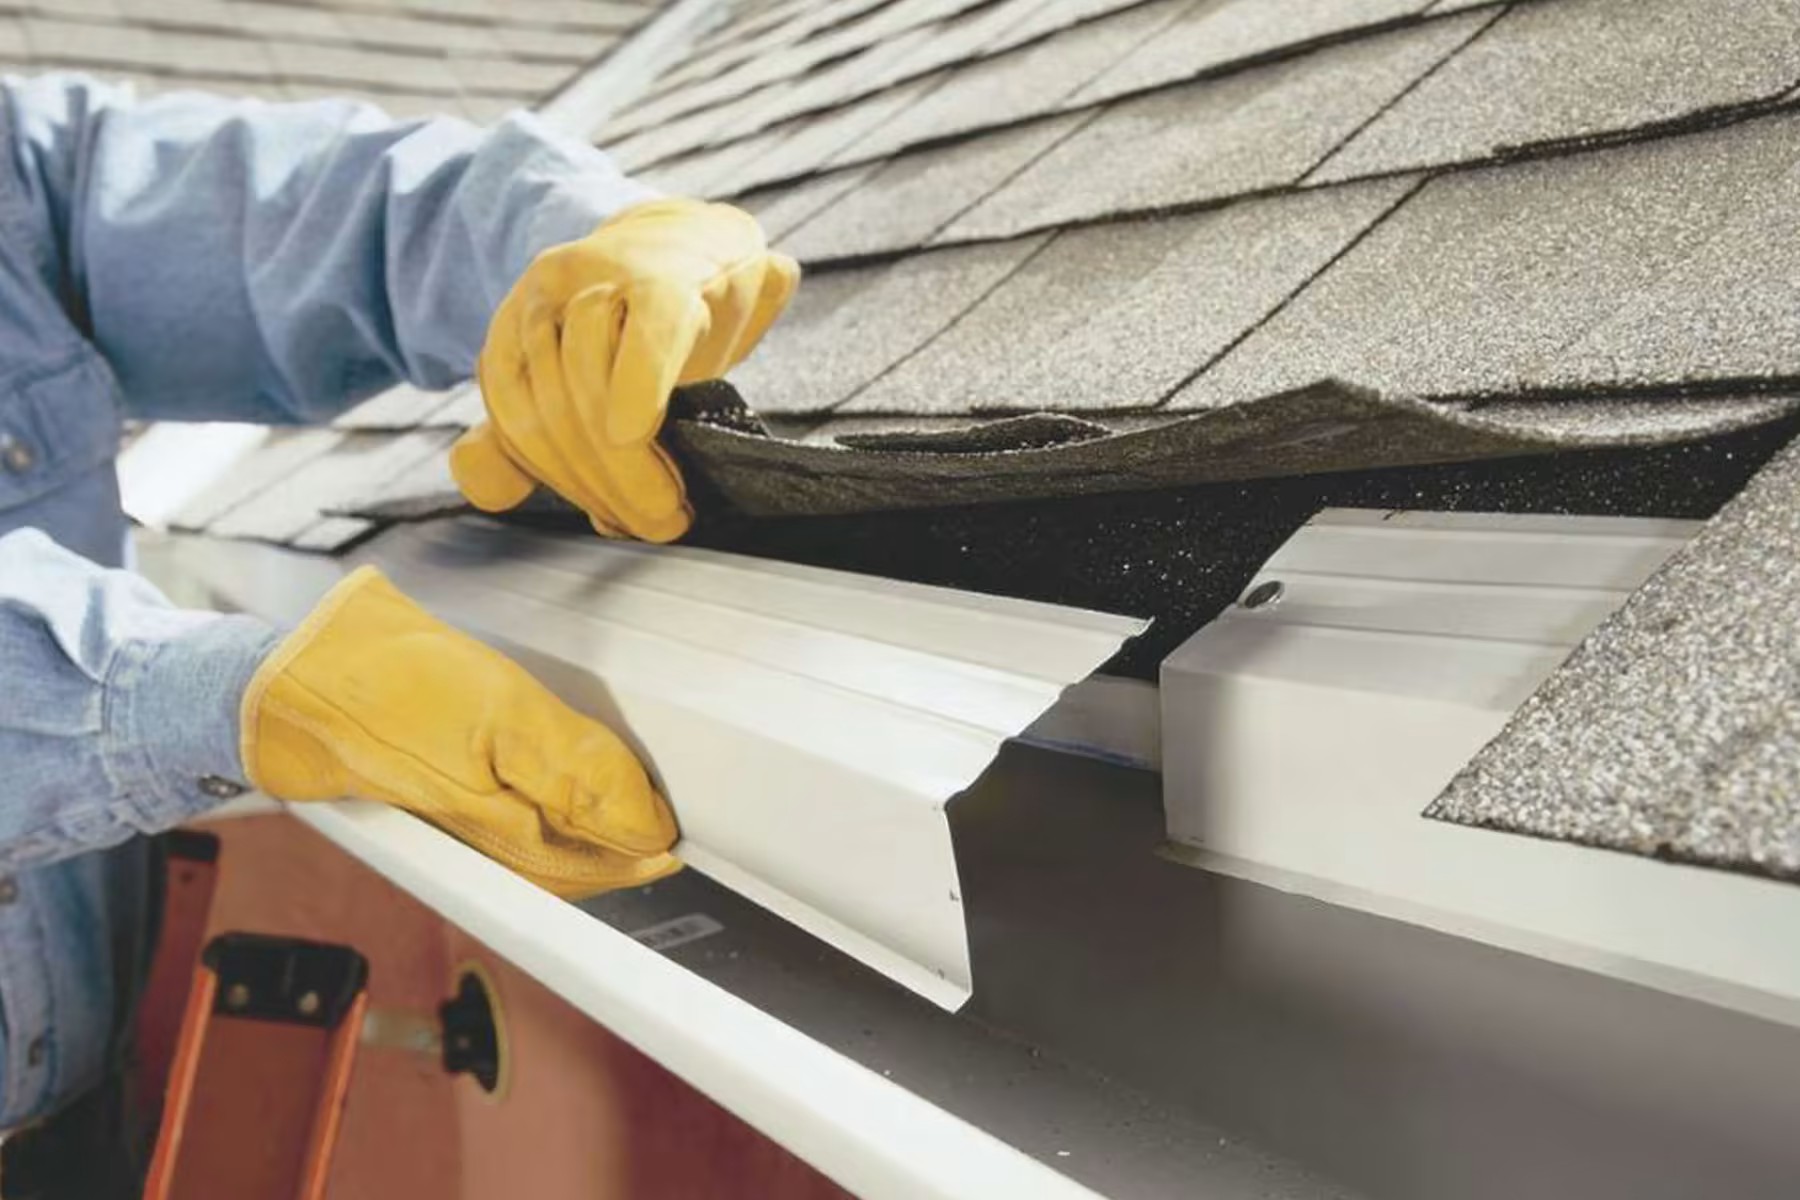
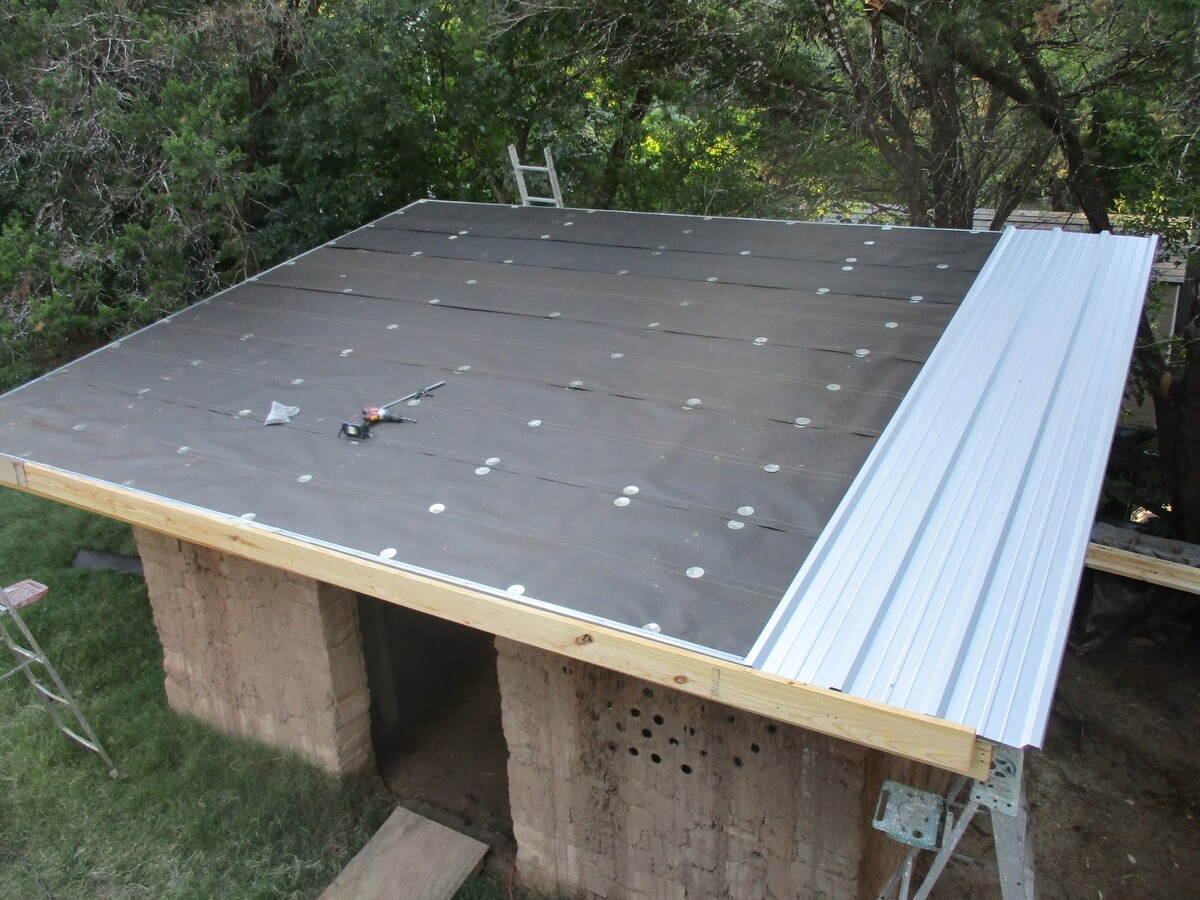
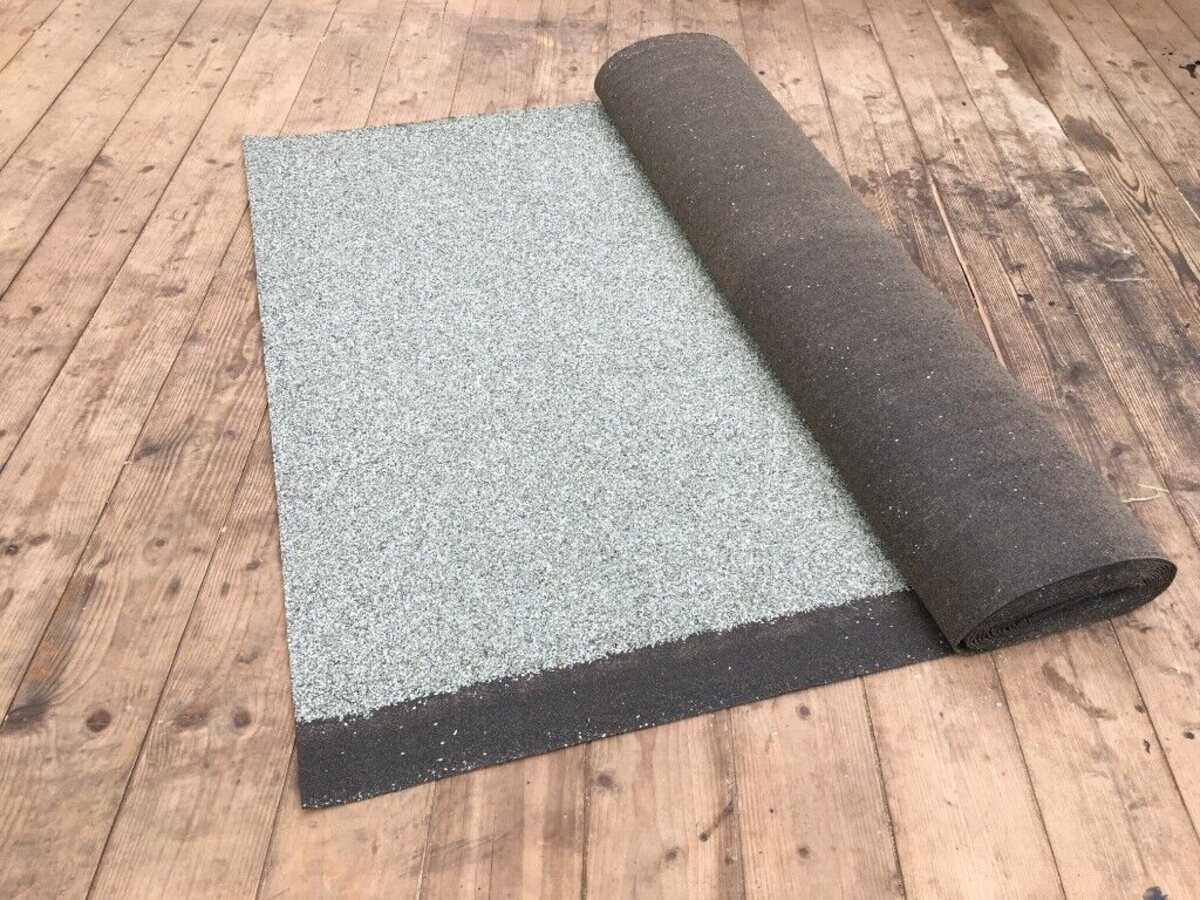
Adding a drip edge is a critical step in finishing the top edge of a shed roof. The drip edge is a metal flashing that provides essential protection against water infiltration and helps direct water away from the roof edge, preventing potential damage to the underlying structure.
Begin by positioning the drip edge along the eaves of the roof, allowing it to overhang slightly. Secure the drip edge in place by nailing it to the roof decking, ensuring a snug and reliable fit. It’s important to install the drip edge with precision, as any gaps or misalignments can compromise its effectiveness in channeling water away from the roof edge.
When adding the drip edge along the gable ends of the roof, ensure that it seamlessly integrates with the fascia boards. The drip edge should extend slightly beyond the fascia boards to provide comprehensive protection for the roof edge. Take care to align and secure the drip edge securely, maintaining a consistent overhang to safeguard the roof’s perimeter.
Inspect the installed drip edge to confirm that it forms a continuous and watertight barrier along the entire roof edge. This thorough examination ensures that the shed roof is fortified against moisture infiltration, safeguarding its longevity and structural integrity.
With the drip edge successfully added to the shed roof, you’ve taken a crucial step in fortifying its top edge against the elements. The next phase involves installing soffit panels to complete the underside of the roof overhang, enhancing both functionality and aesthetics. Let’s proceed to the next step to further elevate the finish of your shed roof.
Consider using a drip edge to finish the top edge of a shed roof. This metal flashing will help protect the edge of the roof from water damage and give it a clean, finished look.
Step 4: Install Soffit Panels
Installing soffit panels is an essential aspect of finishing the top edge of a shed roof. Soffits not only contribute to the overall appearance of the structure but also play a crucial role in providing ventilation and protecting the underside of the roof overhang from the elements.
Begin by measuring the dimensions of the areas where the soffit panels will be installed. It’s important to ensure accurate measurements to achieve a precise fit for the panels. Once the measurements are obtained, use a saw to cut the soffit panels to the required size, taking care to maintain clean and straight cuts.
Position the soffit panels beneath the roof’s overhang and secure them in place using nails or screws. It’s essential to space the fasteners evenly to ensure that the panels are firmly anchored and provide a uniform appearance. Pay attention to the alignment of the soffit panels, ensuring that they are level and seamlessly integrated with the fascia boards.
As you progress with the installation, take note of any vents that need to be incorporated into the soffit panels to facilitate proper airflow. Ventilated soffits contribute to the ventilation of the roof and help regulate temperature and moisture levels within the shed, promoting a healthy environment for stored items and preventing issues such as mold and mildew.
Upon completing the installation of the soffit panels, step back and inspect the underside of the roof overhang to ensure that the panels are securely in place and that the alignment is consistent. With the soffit panels successfully installed, you’re now ready to move on to the final step: applying trim and finish to complete the top edge of the shed roof.
Step 5: Apply Trim and Finish
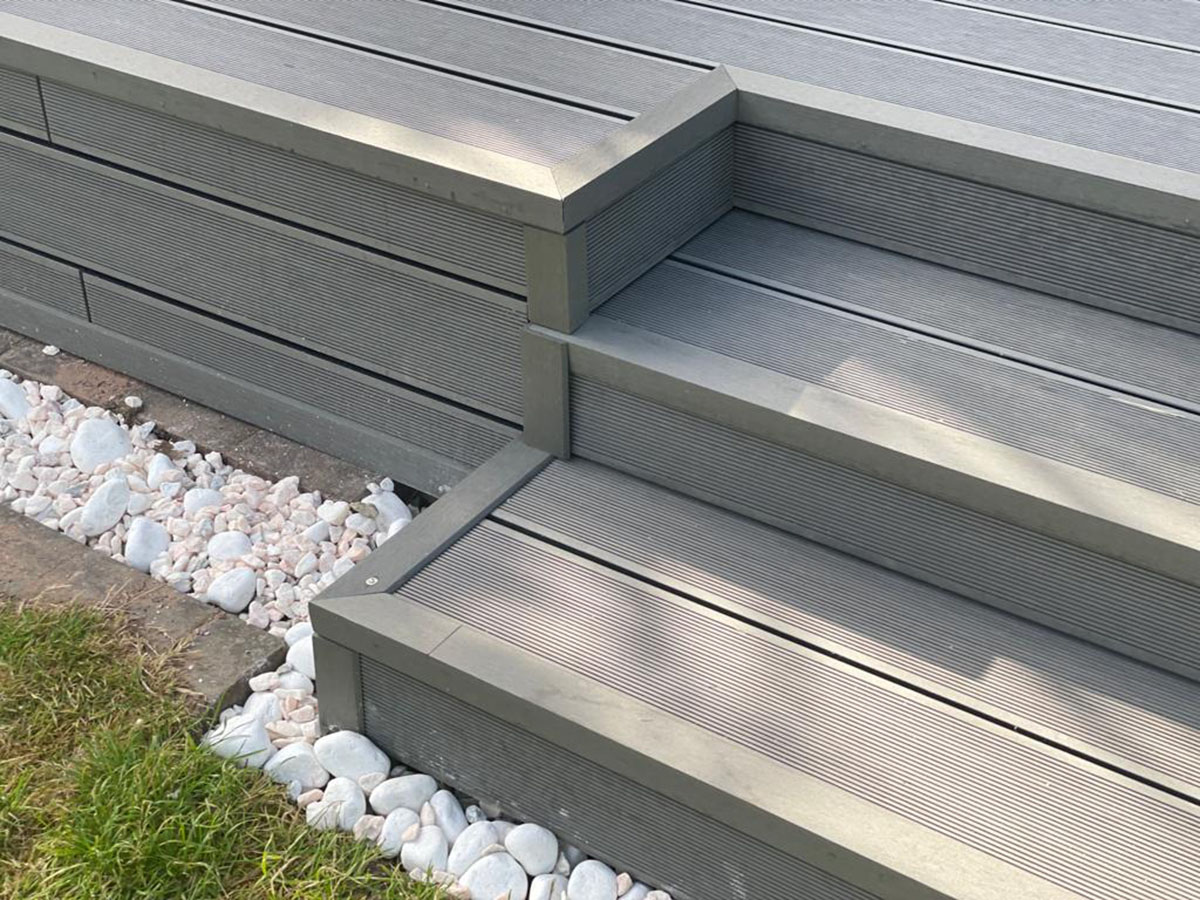
Applying trim and finish is the culminating step in completing the top edge of a shed roof, adding the final touches that enhance both the visual appeal and durability of the structure. This phase involves adding trim to refine the edges and applying a finish to protect the materials from weathering and enhance their aesthetic appeal.
Begin by selecting the appropriate trim to complement the overall design of your shed. Common options include corner trim, which provides a clean transition between adjacent walls, and J-channel trim, which neatly frames the soffit panels. Carefully measure and cut the trim to fit the specific areas where it will be installed, ensuring precise and seamless integration with the existing components.
Once the trim is cut to size, affix it in place using nails or screws, ensuring that it aligns smoothly with the surrounding materials. Take care to maintain consistent spacing and alignment for a polished and professional finish. The trim not only enhances the aesthetics of the shed roof but also provides additional protection for the edges and corners, contributing to the longevity of the structure.
After the trim is securely in place, it’s time to apply a finish to the entire top edge of the shed roof. Whether you opt for paint, stain, or another protective coating, the finish serves as a crucial layer of defense against the elements. Prior to applying the finish, ensure that the surfaces are clean and free of debris, and consider applying a primer to promote adhesion and enhance the durability of the finish.
Apply the finish evenly, following the manufacturer’s guidelines for the specific product you’ve chosen. Multiple coats may be necessary to achieve the desired level of protection and visual appeal. As the finish dries, step back and admire the transformation, appreciating the enhanced aesthetics and fortified resilience of the shed roof’s top edge.
With the trim meticulously installed and the finish expertly applied, you’ve successfully completed the process of finishing the top edge of your shed roof. This comprehensive guide has equipped you with the knowledge and skills to elevate the appearance and durability of your shed, ensuring that it stands as a testament to your craftsmanship for years to come.
Read more: How To Finish Quilt Edges
Conclusion
Finishing the top edge of a shed roof is a fundamental aspect of shed construction that demands attention to detail and precision. By following the step-by-step process outlined in this guide, you’ve gained the knowledge and techniques necessary to elevate the appearance and durability of your shed.
From measuring and cutting the fascia boards to installing soffit panels and adding the final trim and finish, each step contributes to the overall integrity and visual appeal of the shed roof. By meticulously executing each phase of the process, you’ve not only enhanced the aesthetics of the structure but also fortified it against the elements, ensuring its longevity and resilience.
Furthermore, the skills and insights you’ve acquired in this endeavor extend beyond this specific project, empowering you to approach future construction and renovation tasks with confidence and proficiency. The attention to detail, precision in measurement and cutting, and the understanding of the importance of protective elements such as drip edge and finish are valuable assets in any construction or woodworking undertaking.
As you stand back and admire the completed top edge of your shed roof, take pride in the craftsmanship and dedication you’ve invested in this project. Your shed now stands as a testament to your commitment to quality and longevity, showcasing a top edge that not only enhances its visual appeal but also fortifies it against the elements for years to come.
Congratulations on successfully completing this essential aspect of shed construction. Your newfound expertise and the enhanced beauty and resilience of your shed roof are testaments to your dedication to craftsmanship and attention to detail. As you continue to embark on future projects, may the knowledge and skills you’ve acquired serve as valuable assets, ensuring the success and longevity of your endeavors.
Frequently Asked Questions about How To Finish The Top Edge Of A Shed Roof
Was this page helpful?
At Storables.com, we guarantee accurate and reliable information. Our content, validated by Expert Board Contributors, is crafted following stringent Editorial Policies. We're committed to providing you with well-researched, expert-backed insights for all your informational needs.


0 thoughts on “How To Finish The Top Edge Of A Shed Roof”