Home>Gardening & Outdoor>Outdoor Structures>How To Install Drip Edge On A Shed
Outdoor Structures
How To Install Drip Edge On A Shed
Published: January 20, 2024
Learn how to properly install drip edge on your shed to protect it from water damage. Follow these outdoor structure maintenance tips for a long-lasting shed.
(Many of the links in this article redirect to a specific reviewed product. Your purchase of these products through affiliate links helps to generate commission for Storables.com, at no extra cost. Learn more)
Introduction
Welcome to the world of outdoor structures, where every detail matters. Whether you’re a seasoned DIY enthusiast or just starting out, understanding the importance of proper installation techniques is crucial to the longevity and functionality of your shed. One essential element of shed construction that often goes overlooked is the installation of drip edge. This small but mighty component plays a significant role in protecting your shed from water damage, ultimately preserving its structural integrity for years to come.
In this guide, we’ll walk you through the step-by-step process of installing drip edge on your shed. From gathering the necessary materials and tools to executing the installation with precision, you’ll gain valuable insights that will empower you to safeguard your shed against the elements. So, roll up your sleeves and get ready to elevate your shed-building skills as we delve into the world of drip edge installation!
Key Takeaways:
- Protect your shed from water damage by installing drip edge, a crucial component that directs water away from the structure and preserves its integrity for years to come.
- By measuring, cutting, securing, and sealing the drip edge with precision, you’ll fortify your shed against the elements, ensuring long-term durability and resilience.
Read more: How To Install Roof Drip Edge
Materials Needed
Before embarking on the installation of drip edge on your shed, it’s essential to gather the necessary materials to ensure a seamless and effective process. Here’s a rundown of the items you’ll need:
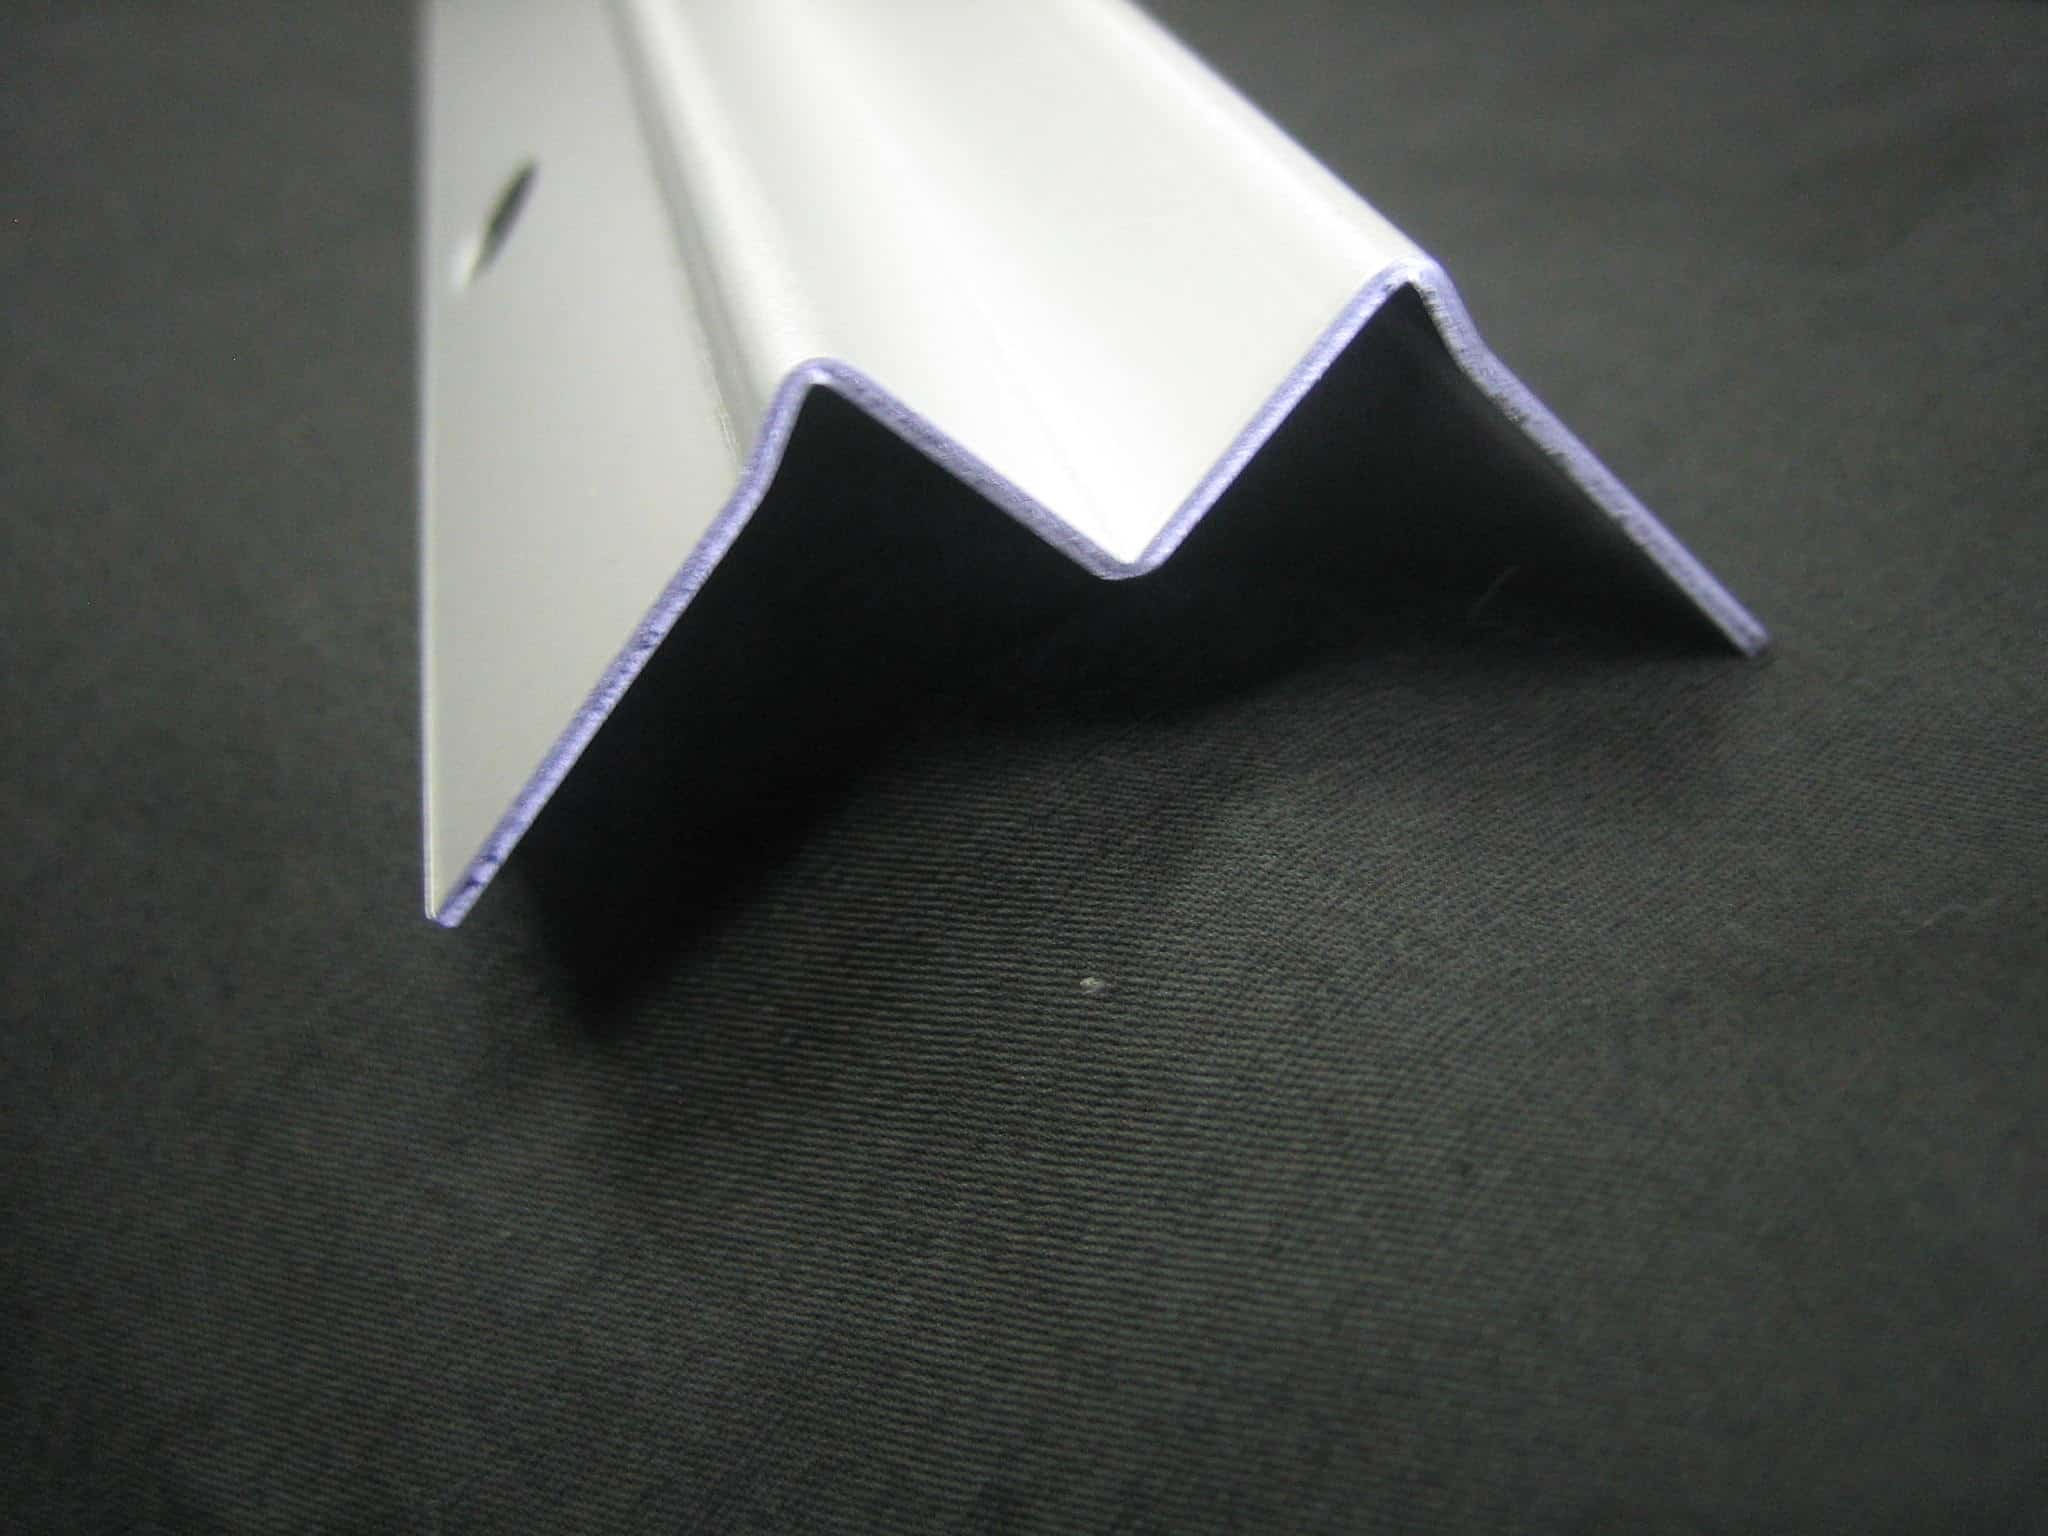
- Drip Edge: This crucial component is available in various materials such as aluminum, galvanized steel, or PVC. Ensure that the drip edge is specifically designed for roofing applications to guarantee optimal performance.
- Nails: Select corrosion-resistant nails, such as galvanized or stainless steel, to secure the drip edge in place. These durable fasteners will withstand the elements and maintain the integrity of the installation.
- Roofing Cement: A reliable roofing cement or sealant is essential for creating a watertight seal at the joints and edges of the drip edge, enhancing its protective capabilities.
- Protective Gear: Prioritize safety by equipping yourself with gloves, safety glasses, and appropriate footwear to mitigate any potential hazards during the installation process.
By ensuring that you have these materials on hand, you’ll be well-prepared to execute the installation of drip edge on your shed with confidence and precision.
Tools Needed
Equipping yourself with the right tools is instrumental in achieving a successful drip edge installation on your shed. Here’s a comprehensive list of the essential tools you’ll need:
- Tape Measure: Accurate measurements are the foundation of a precise installation, making a reliable tape measure an indispensable tool.
- Tin Snips or Aviation Snips: These specialized cutting tools are essential for cleanly and accurately trimming the drip edge to fit the dimensions of your shed.
- Hammer: A sturdy hammer is necessary for driving the nails securely into place, ensuring the stability of the drip edge.
- Roofing Nailer (Optional): If you have access to a roofing nailer, it can expedite the installation process, although a hammer can also effectively secure the drip edge.
- Caulking Gun: This tool is essential for applying roofing cement or sealant to create watertight seals, fortifying the joints and edges of the drip edge.
- Ladder: To access the eaves and gable ends of your shed safely, a sturdy ladder is indispensable for reaching elevated areas during the installation process.
By ensuring that you have these tools at your disposal, you’ll be well-equipped to navigate the intricacies of drip edge installation with efficiency and precision, ultimately fortifying your shed against the elements.
Step 1: Measure and Cut Drip Edge
Precision is paramount when it comes to measuring and cutting the drip edge for your shed. Here’s a detailed walkthrough of this crucial initial step:
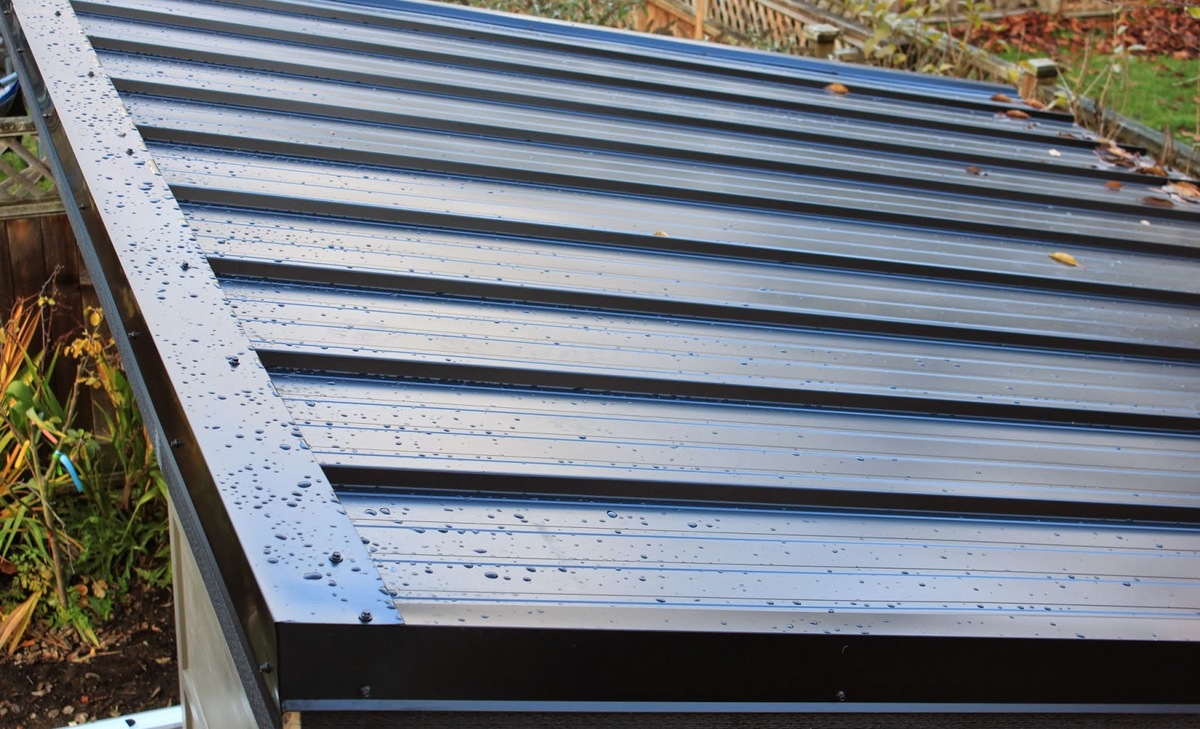
Begin by measuring the length of the eaves of your shed using a tape measure. Ensure that the drip edge extends approximately 1 to 2 inches beyond the edge of the roof to effectively direct water away from the structure.
Next, using tin snips or aviation snips, carefully cut the drip edge to match the measured length, maintaining a straight and clean edge for optimal functionality. It’s essential to exercise caution and precision during this process to ensure a seamless fit.
Additionally, when measuring the drip edge for the gable ends of your shed, be sure to account for any overhangs to facilitate proper water runoff. Once again, cut the drip edge to the measured dimensions with precision, taking care to maintain straight and accurate cuts.
By meticulously measuring and cutting the drip edge to fit the specific dimensions of your shed, you’ll lay a solid foundation for a successful installation, setting the stage for effective water management and protection against the elements.
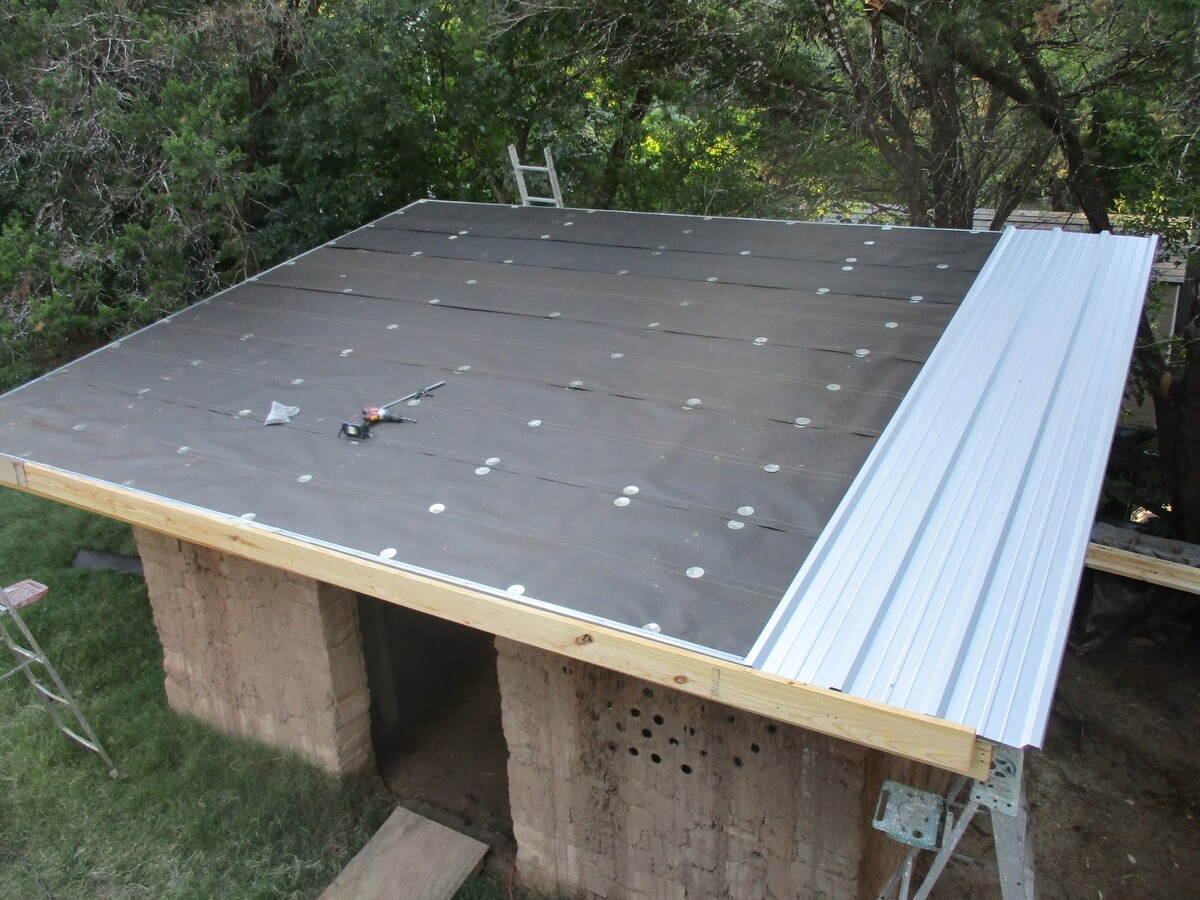
Step 2: Install Drip Edge Along Eaves
Installing the drip edge along the eaves of your shed is a pivotal stage in fortifying the structure against water infiltration. Follow these comprehensive steps to execute this crucial phase with precision:
Position the drip edge along the eaves, ensuring that it overhangs the edge by approximately 1 to 2 inches. This overhang is essential for directing water away from the shed, preventing potential damage.
Secure the drip edge in place by nailing it every 12 to 18 inches, using corrosion-resistant nails such as galvanized or stainless steel to withstand the elements and maintain long-term stability.
As you progress along the eaves, overlap subsequent sections of the drip edge by at least 1 inch to ensure a seamless and effective barrier against water intrusion. This meticulous approach will contribute to the overall integrity of the installation.
Throughout the installation process, maintain a consistent and straight alignment of the drip edge to guarantee uniform protection along the eaves, bolstering the shed’s defense against moisture and environmental factors.
By methodically installing the drip edge along the eaves of your shed, you’ll establish a robust shield against water infiltration, laying the groundwork for enhanced durability and resilience in the face of adverse weather conditions.
When installing drip edge on a shed, make sure to start at the bottom edge and work your way up. Use roofing nails to secure the drip edge every 12-18 inches, and overlap the pieces by at least 2 inches to ensure proper water drainage.
Read more: How To Install Gutters With Drip Edge
Step 3: Install Drip Edge Along Gable Ends
As you progress with the installation of drip edge on your shed, addressing the gable ends is a critical step in fortifying the structure’s defenses against moisture. Follow these essential guidelines to effectively install drip edge along the gable ends:
Begin by positioning the drip edge along the gable ends, ensuring that it aligns uniformly with the edge of the roof. This precise placement is crucial for optimizing the shed’s protection against water infiltration and potential damage.
Secure the drip edge in place by driving corrosion-resistant nails, such as galvanized or stainless steel, every 12 to 18 inches. This secure fastening ensures the stability and longevity of the installation, safeguarding the gable ends from environmental elements.
As you progress along the gable ends, maintain a consistent overlap of at least 1 inch between successive sections of the drip edge. This meticulous approach ensures a seamless and watertight barrier, bolstering the shed’s resilience against moisture.
Ensure that the drip edge extends beyond the roof edge, providing an overhang of approximately 1 to 2 inches. This overhang facilitates effective water runoff, minimizing the risk of water seepage and potential structural damage.
By meticulously installing the drip edge along the gable ends of your shed, you’ll significantly enhance its ability to withstand the impact of environmental factors, setting the stage for long-term structural integrity and resilience against moisture intrusion.
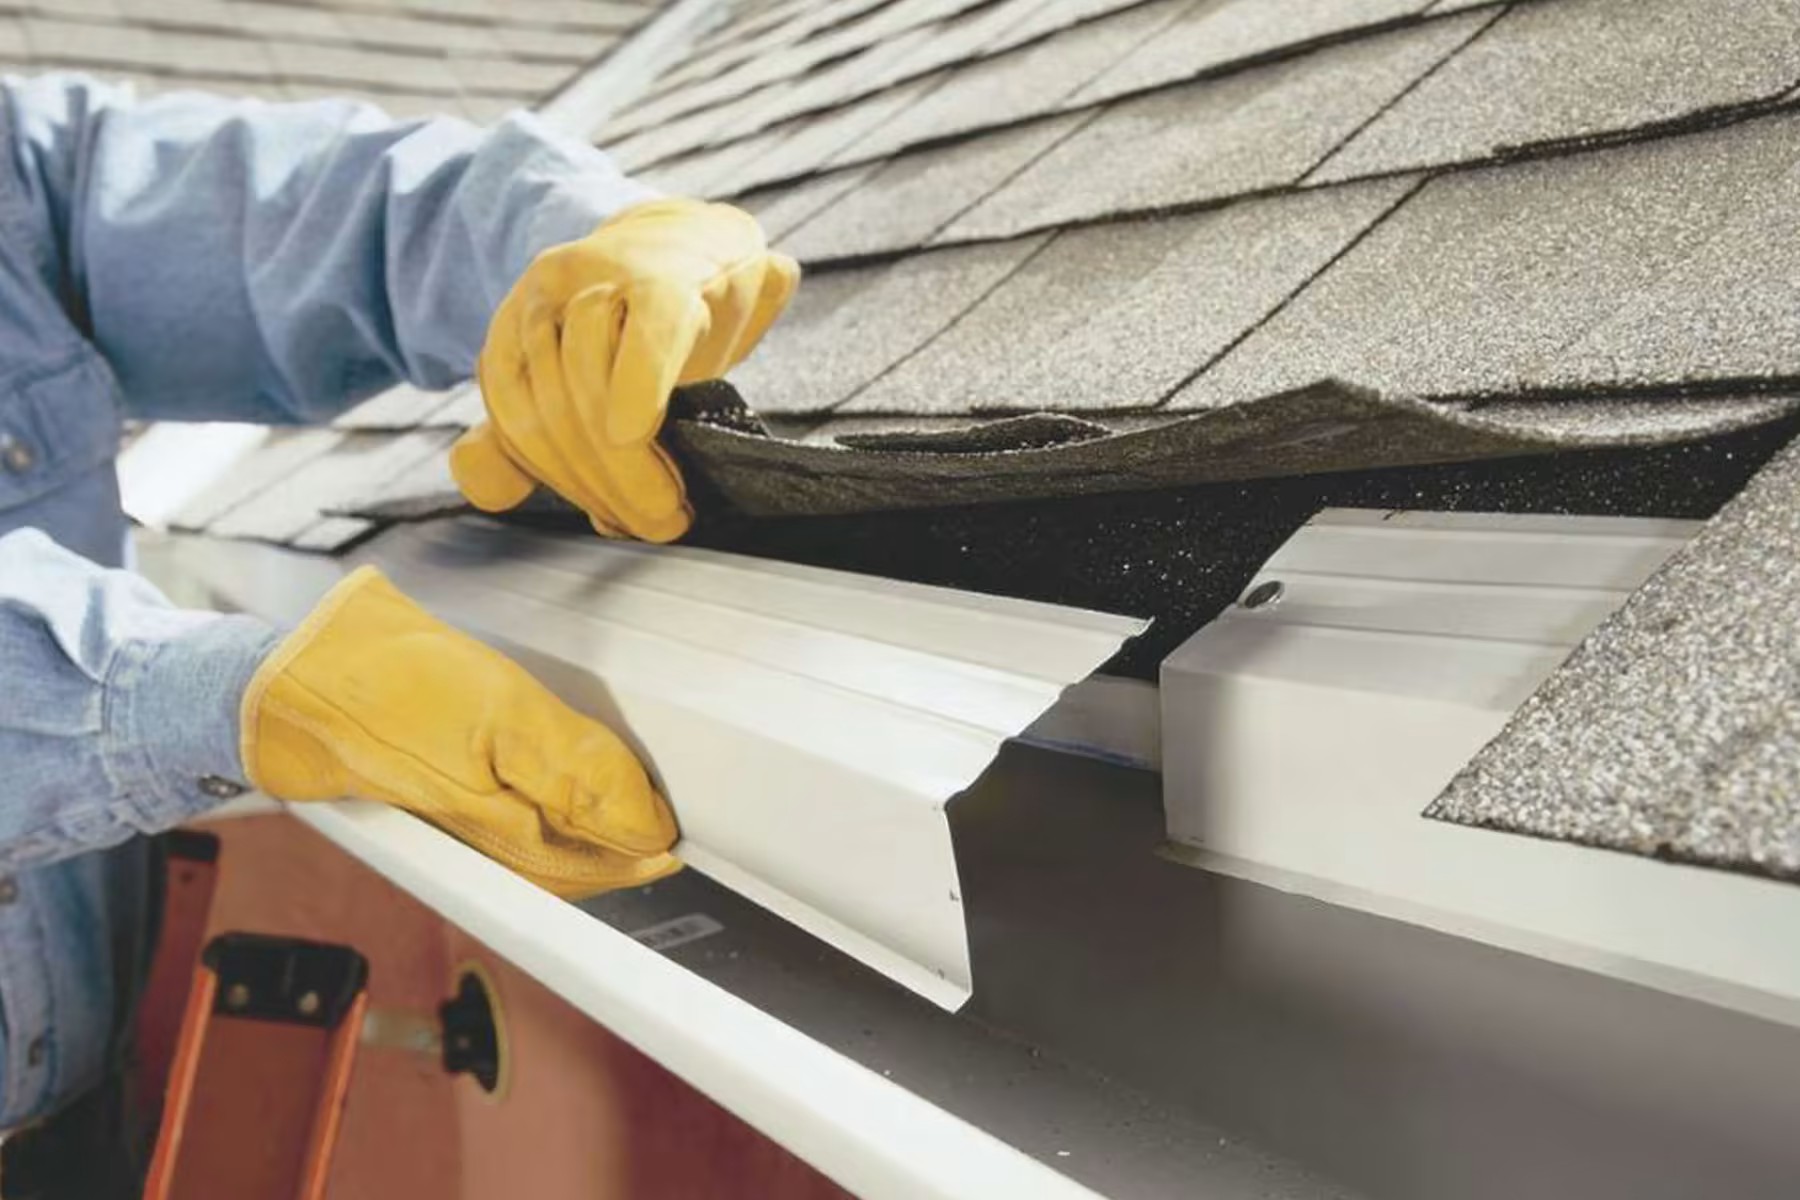
Step 4: Secure Drip Edge with Nails
Securing the drip edge with precision and durability is pivotal in fortifying your shed against water infiltration and environmental stressors. Follow these essential steps to effectively secure the drip edge with nails:
Utilize corrosion-resistant nails, such as galvanized or stainless steel, to ensure the long-term stability and integrity of the installation. These durable fasteners are specifically designed to withstand the elements, safeguarding the shed against potential damage.
Drive the nails through the designated perforations in the drip edge, ensuring a secure and snug fit against the underlying structure. Consistent spacing of the nails, approximately every 12 to 18 inches, contributes to the overall stability and resilience of the installation.
Exercise caution and precision when driving the nails, ensuring that they penetrate the underlying structure securely without compromising the alignment or integrity of the drip edge. This meticulous approach is instrumental in optimizing the shed’s protection against moisture and environmental elements.
As you progress with securing the drip edge, maintain a uniform and straight alignment to ensure a seamless and effective barrier against water infiltration. This methodical approach contributes to the overall integrity and resilience of the installation, enhancing the shed’s ability to withstand adverse weather conditions.
By methodically securing the drip edge with corrosion-resistant nails, you’ll bolster the shed’s defenses against water intrusion, laying a solid foundation for long-term durability and structural integrity in the face of environmental challenges.
Step 5: Seal Joints and Edges
Sealing the joints and edges of the installed drip edge is a critical final step in fortifying your shed against water infiltration and potential vulnerabilities. Follow these essential guidelines to effectively seal the joints and edges, enhancing the shed’s resilience against moisture:
Utilize a reliable roofing cement or sealant to create a watertight barrier at the joints and edges of the drip edge. This proactive measure fortifies the installation, minimizing the risk of water seepage and potential damage to the shed’s structure.
Apply the roofing cement or sealant along the seams and edges of the drip edge with a caulking gun, ensuring thorough coverage and a secure seal. This meticulous application is instrumental in optimizing the shed’s protection against moisture and environmental factors.
Pay special attention to the points where sections of the drip edge overlap, applying the roofing cement or sealant generously to create a seamless and effective barrier. This proactive approach mitigates the risk of water infiltration at these critical junctures, bolstering the shed’s defenses against potential vulnerabilities.
Inspect the sealed joints and edges thoroughly to ensure that the roofing cement or sealant forms a continuous and watertight barrier. This diligent examination guarantees the effectiveness of the seal, fortifying the shed’s resilience against the impact of adverse weather conditions.
By meticulously sealing the joints and edges of the installed drip edge, you’ll significantly enhance the shed’s ability to withstand moisture and environmental stressors, setting the stage for long-term durability and structural integrity.
Conclusion
Congratulations on successfully navigating the intricate process of installing drip edge on your shed! By meticulously executing each step, from measuring and cutting the drip edge to securing it with precision and sealing the joints and edges, you’ve fortified your shed against the relentless forces of nature.
As you stand back and admire your handiwork, take pride in knowing that your shed is now equipped with a robust defense against water infiltration and environmental stressors. The carefully installed drip edge serves as a stalwart guardian, directing water away from the structure and preserving its structural integrity for years to come.
Remember, the attention to detail and precision you’ve demonstrated throughout this installation process will yield long-lasting benefits, ensuring that your shed remains resilient in the face of adverse weather conditions. Your commitment to safeguarding your outdoor structure will undoubtedly pay dividends in the form of enhanced durability and protection.
As you reflect on this accomplishment, consider sharing your newfound expertise with fellow DIY enthusiasts, empowering them to elevate their shed-building endeavors with the invaluable knowledge you’ve acquired. Your insights and guidance can inspire others to fortify their outdoor structures, fostering a community of resilient and well-protected sheds.
With the installation of drip edge complete, your shed now stands as a testament to your dedication to quality craftsmanship and proactive protection. As you embark on future projects, carry forward the lessons learned from this endeavor, and continue to fortify your outdoor spaces with unwavering resilience.
Embrace the satisfaction of a job well done, knowing that your shed is now equipped to weather the elements with steadfast strength and durability, thanks to the meticulous installation of drip edge.
Frequently Asked Questions about How To Install Drip Edge On A Shed
Was this page helpful?
At Storables.com, we guarantee accurate and reliable information. Our content, validated by Expert Board Contributors, is crafted following stringent Editorial Policies. We're committed to providing you with well-researched, expert-backed insights for all your informational needs.

0 thoughts on “How To Install Drip Edge On A Shed”