Articles
What Size Screw For Ring Doorbell
Modified: August 31, 2024
Looking for articles on what size screw to use for your Ring Doorbell? Find all the information you need, from screw types to installation tips, in our comprehensive guide.
(Many of the links in this article redirect to a specific reviewed product. Your purchase of these products through affiliate links helps to generate commission for Storables.com, at no extra cost. Learn more)
Introduction
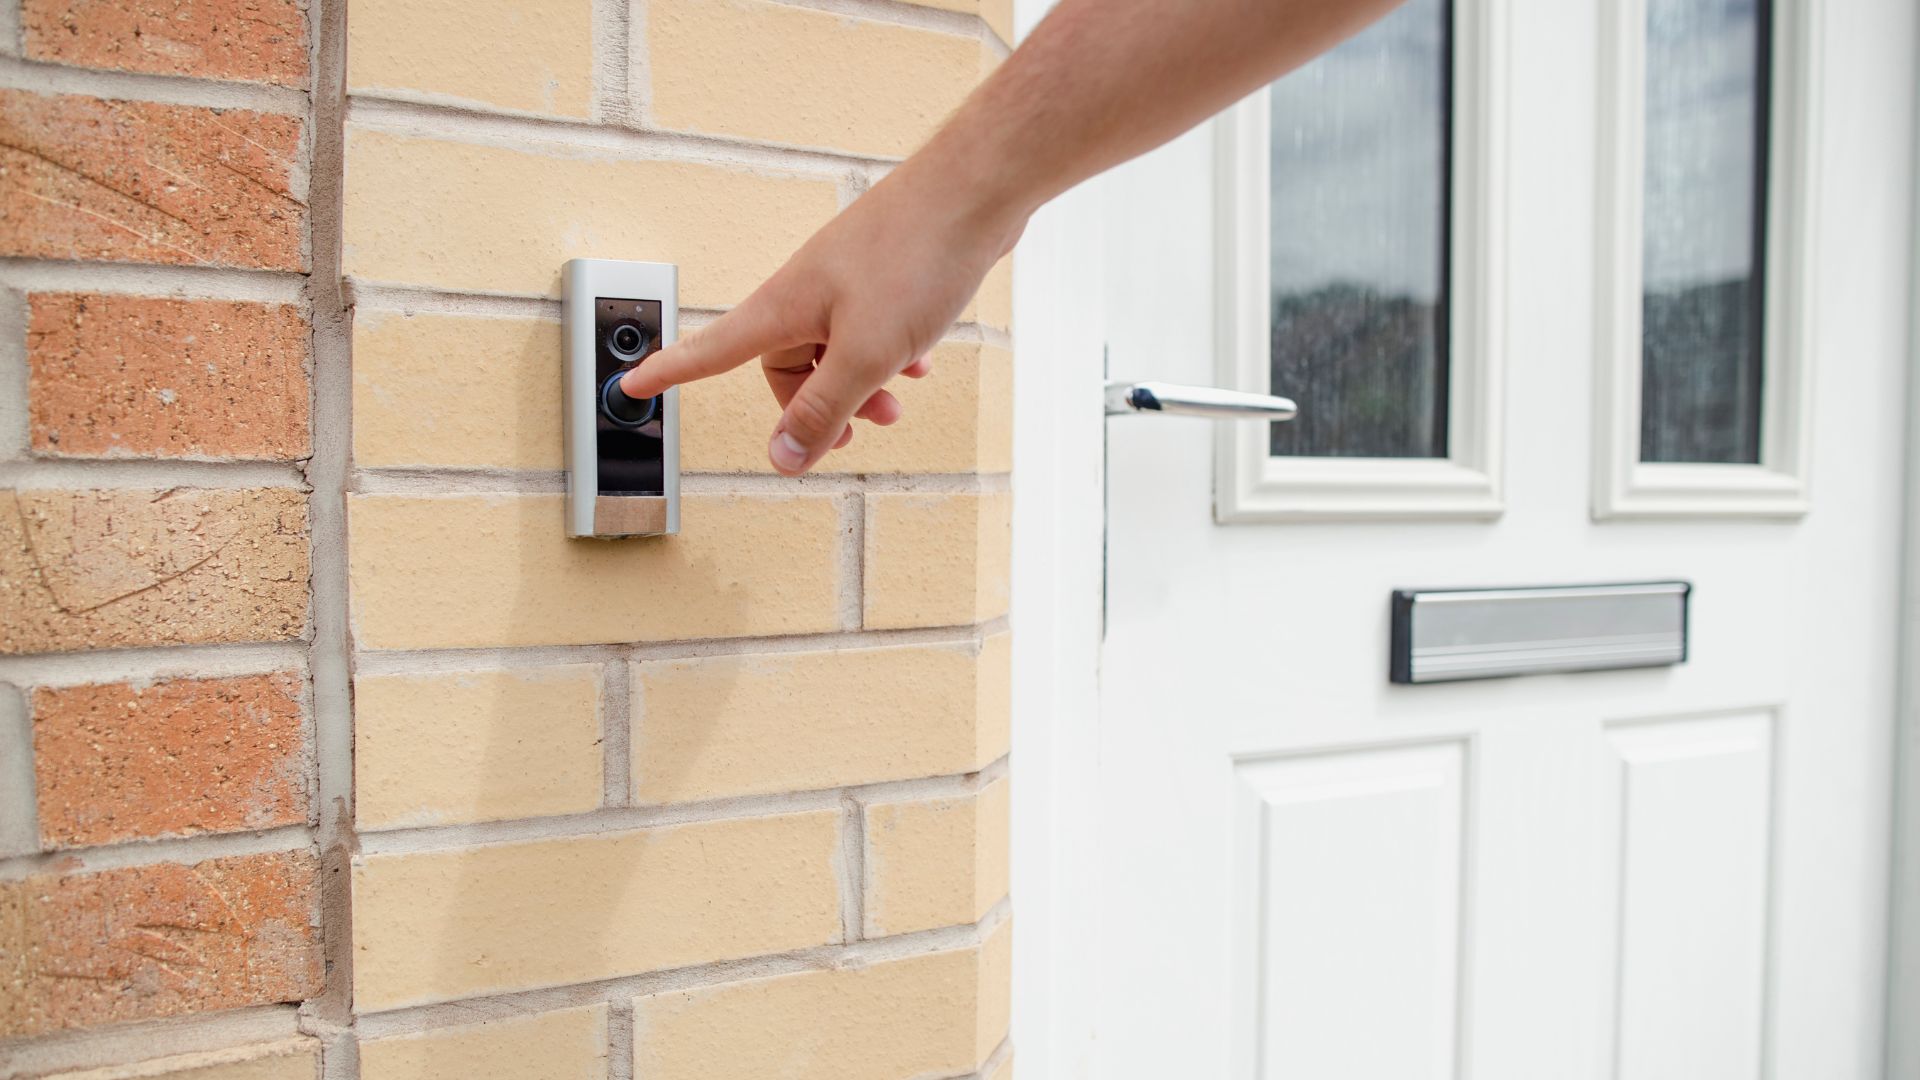
The Ring Doorbell is an innovative device that has revolutionized home security and convenience. With its sleek design and high-tech features, it has become a popular choice for homeowners looking to enhance their security and monitor their property remotely. One crucial aspect of installing a Ring Doorbell is choosing the right size screw. While it may seem like a minor detail, using the correct screw size is essential for ensuring the doorbell’s stability and functionality.
In this article, we will explore the importance of choosing the right size screw for your Ring Doorbell. We will discuss the factors to consider before selecting a screw, provide recommended screw sizes for different models of the Ring Doorbell, and offer a step-by-step guide for installing the screw properly. Additionally, we will address common problems related to screws and provide troubleshooting tips to help you resolve any issues you may encounter.
Key Takeaways:
- Choosing the right size screw for your Ring Doorbell is crucial for stability, longevity, and hassle-free installation. Consider factors like mounting surface, screw length, and weather resistance to ensure a secure and reliable setup.
- Follow the recommended screw sizes and step-by-step installation guide to ensure a successful and durable installation of your Ring Doorbell. Address common problems like loose screws and rust promptly for optimal performance.
Read more: How To Attach Ring Doorbell Without Screws
Understanding the Ring Doorbell
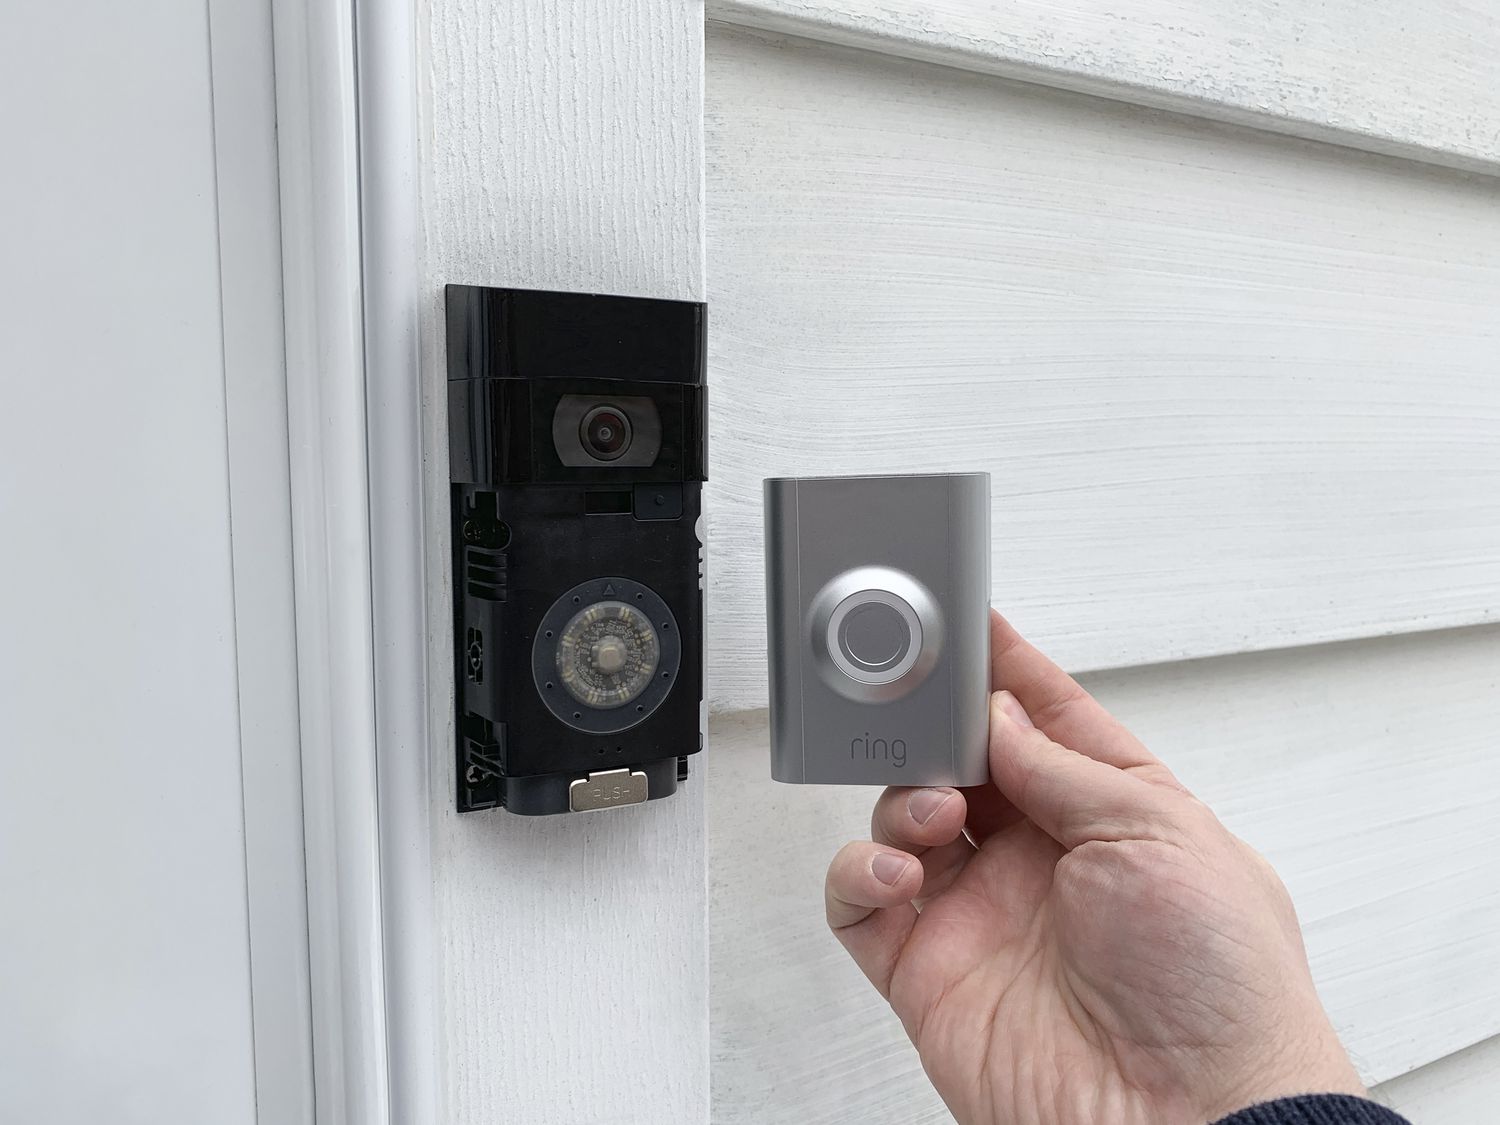
The Ring Doorbell is a smart home security device that enables homeowners to monitor their front doors and receive real-time notifications on their smartphones or other connected devices. It consists of a doorbell with a built-in camera and microphone, allowing users to see and communicate with anyone who approaches their front door.
One of the key features of the Ring Doorbell is its motion detection capabilities. It can sense movement within its field of view and trigger an alert, allowing users to know when someone is at their door, even if they don’t ring the bell. This is especially useful for deterring package thieves or unwanted visitors.
In addition to the motion detection feature, the Ring Doorbell also has night vision, allowing homeowners to monitor their front door during nighttime or low-light conditions. It also includes two-way audio, enabling users to have a conversation with whoever is at the door, whether it’s a delivery person, neighbor, or visitor.
The Ring Doorbell integrates seamlessly with the Ring app, which provides a user-friendly interface for managing and controlling the device. Through the app, users can view live video feeds, review recorded footage, adjust settings, and receive notifications. The Ring Doorbell can also be connected to other smart home devices, allowing for enhanced automation and integration.
Overall, the Ring Doorbell offers convenience, security, and peace of mind for homeowners. By understanding the capabilities and features of the device, you can make informed decisions when it comes to installing and maintaining your Ring Doorbell.
Importance of Choosing the Right Size Screw for Ring Doorbell
Choosing the right size screw is crucial when installing a Ring Doorbell. Although it may seem like a small detail, using the correct screw size ensures the stability and durability of the device, as well as its proper functionality.
First and foremost, using the correct size screw helps secure the Ring Doorbell tightly to the mounting bracket or wall. This is important because a loose or wobbly device can affect the camera’s positioning and video quality. A stable and securely installed doorbell will provide a clear and uninterrupted view of your front door, ensuring accurate motion detection and reliable video recording.
Furthermore, choosing the right screw size is essential for the longevity of the device. Using a screw that is too long or too short can cause damage to the mounting bracket or the backplate of the doorbell. If the screw is too long, it may protrude through the backplate, causing it to crack or break. On the other hand, using a screw that is too short may not provide enough support, making the doorbell prone to loosening over time.
Another important factor to consider is the material of the surface where you will be mounting the Ring Doorbell. Different surfaces require different screw sizes and types. For example, if you are mounting the doorbell on a wooden surface, you may need a different size screw compared to mounting it on a brick or concrete wall. Using the wrong screw size or type can lead to ineffective installation, compromising the stability and functionality of the device.
Lastly, choosing the correct screw size ensures a hassle-free installation process. By having the right size screw on hand, you can avoid delays and potential frustrations during the setup. It allows you to complete the installation smoothly and efficiently, saving you time and effort.
Overall, selecting the right size screw for your Ring Doorbell is crucial for its stability, functionality, longevity, and installation process. Taking the time to ensure proper screw selection will provide you with a reliable and well-mounted doorbell that delivers the expected performance and benefits.
Factors to Consider before Selecting a Screw
When choosing a screw for your Ring Doorbell, there are several factors to consider to ensure a proper fit and secure installation. Taking these factors into account will help you select the right size and type of screw for your specific mounting needs.
1. Mounting Surface: The type of surface you will be mounting the Ring Doorbell on is an important consideration. Whether it is wood, brick, concrete, or another material, each surface may require a different type of screw. For example, if you are mounting the doorbell on wood, you may opt for a wood screw, while a masonry screw may be more appropriate for a brick or concrete surface. Understanding the material of the surface will help you select the suitable screw type for a secure and stable installation.
2. Screw Length: The length of the screw is crucial for ensuring a tight fit of the Ring Doorbell to the mounting bracket or wall. Measure the depth of the mounting hole to determine the appropriate screw length. If the screw is too long, it may protrude through the backplate or wall, causing potential damage. On the other hand, if the screw is too short, it may not provide enough support, leading to a loose and unstable installation.
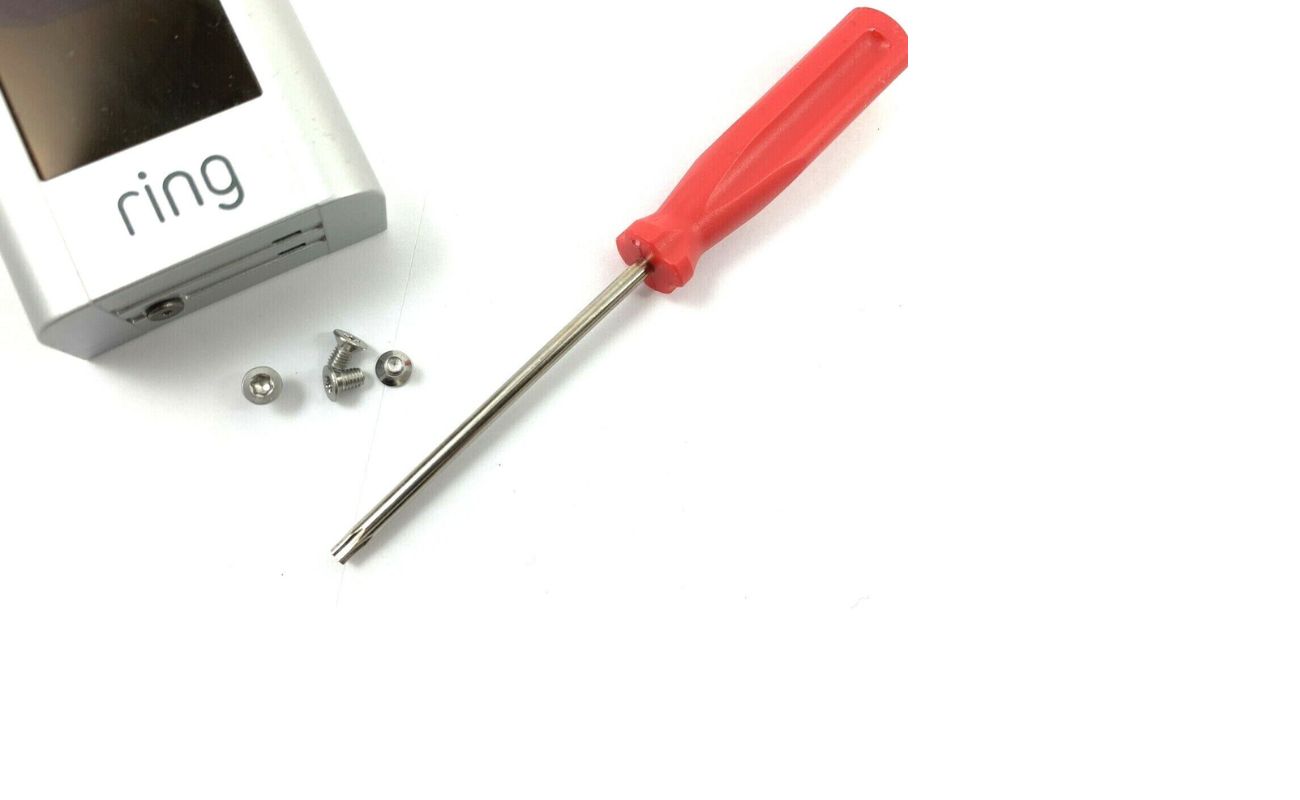
3. Screw Head Type: Another factor to consider is the type of screw head. The most common types are Phillips head and Torx head. Assess the screw holes in the mounting bracket or backplate of the doorbell to determine the type of screw head required. It is important to use a screwdriver or drill bit that matches the screw head type to ensure a proper and secure installation.
4. Screw Diameter: The diameter of the screw refers to its thickness. It is essential to select a screw with the appropriate diameter to fit the mounting holes of the Ring Doorbell. Using a screw with a larger diameter may cause damage to the backplate or mounting bracket, while a smaller diameter screw may not provide enough stability and support.
5. Weather Resistance: Depending on the location of your Ring Doorbell, you may need to consider screws that are weather-resistant. If your doorbell is exposed to the elements, such as rain or extreme temperatures, using screws that are specifically designed for outdoor use will help prevent corrosion and ensure long-lasting durability.
By considering these factors before selecting a screw for your Ring Doorbell, you can ensure a proper fit, secure installation, and reliable performance of the device. Taking the time to choose the right screw will contribute to the overall effectiveness and longevity of your Ring Doorbell system.
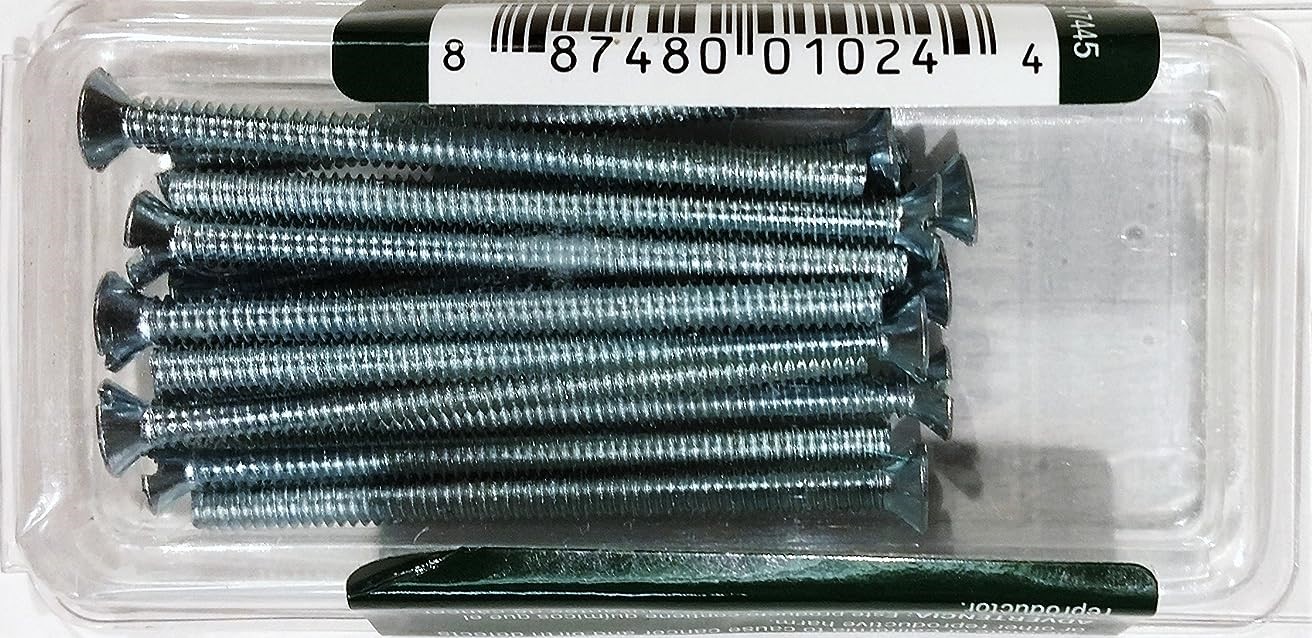
When installing a Ring Doorbell, use a 1.5-inch long screw with a 1/4-inch diameter. This will provide a secure and stable mount for the doorbell.
Recommended Screw Sizes for Ring Doorbell Models
The recommended screw sizes for Ring Doorbell models may vary depending on the specific model and the mounting requirements. It is essential to refer to the manufacturer’s guidelines and instructions for your specific Ring Doorbell model. However, we can provide some general recommendations based on common Ring Doorbell models:
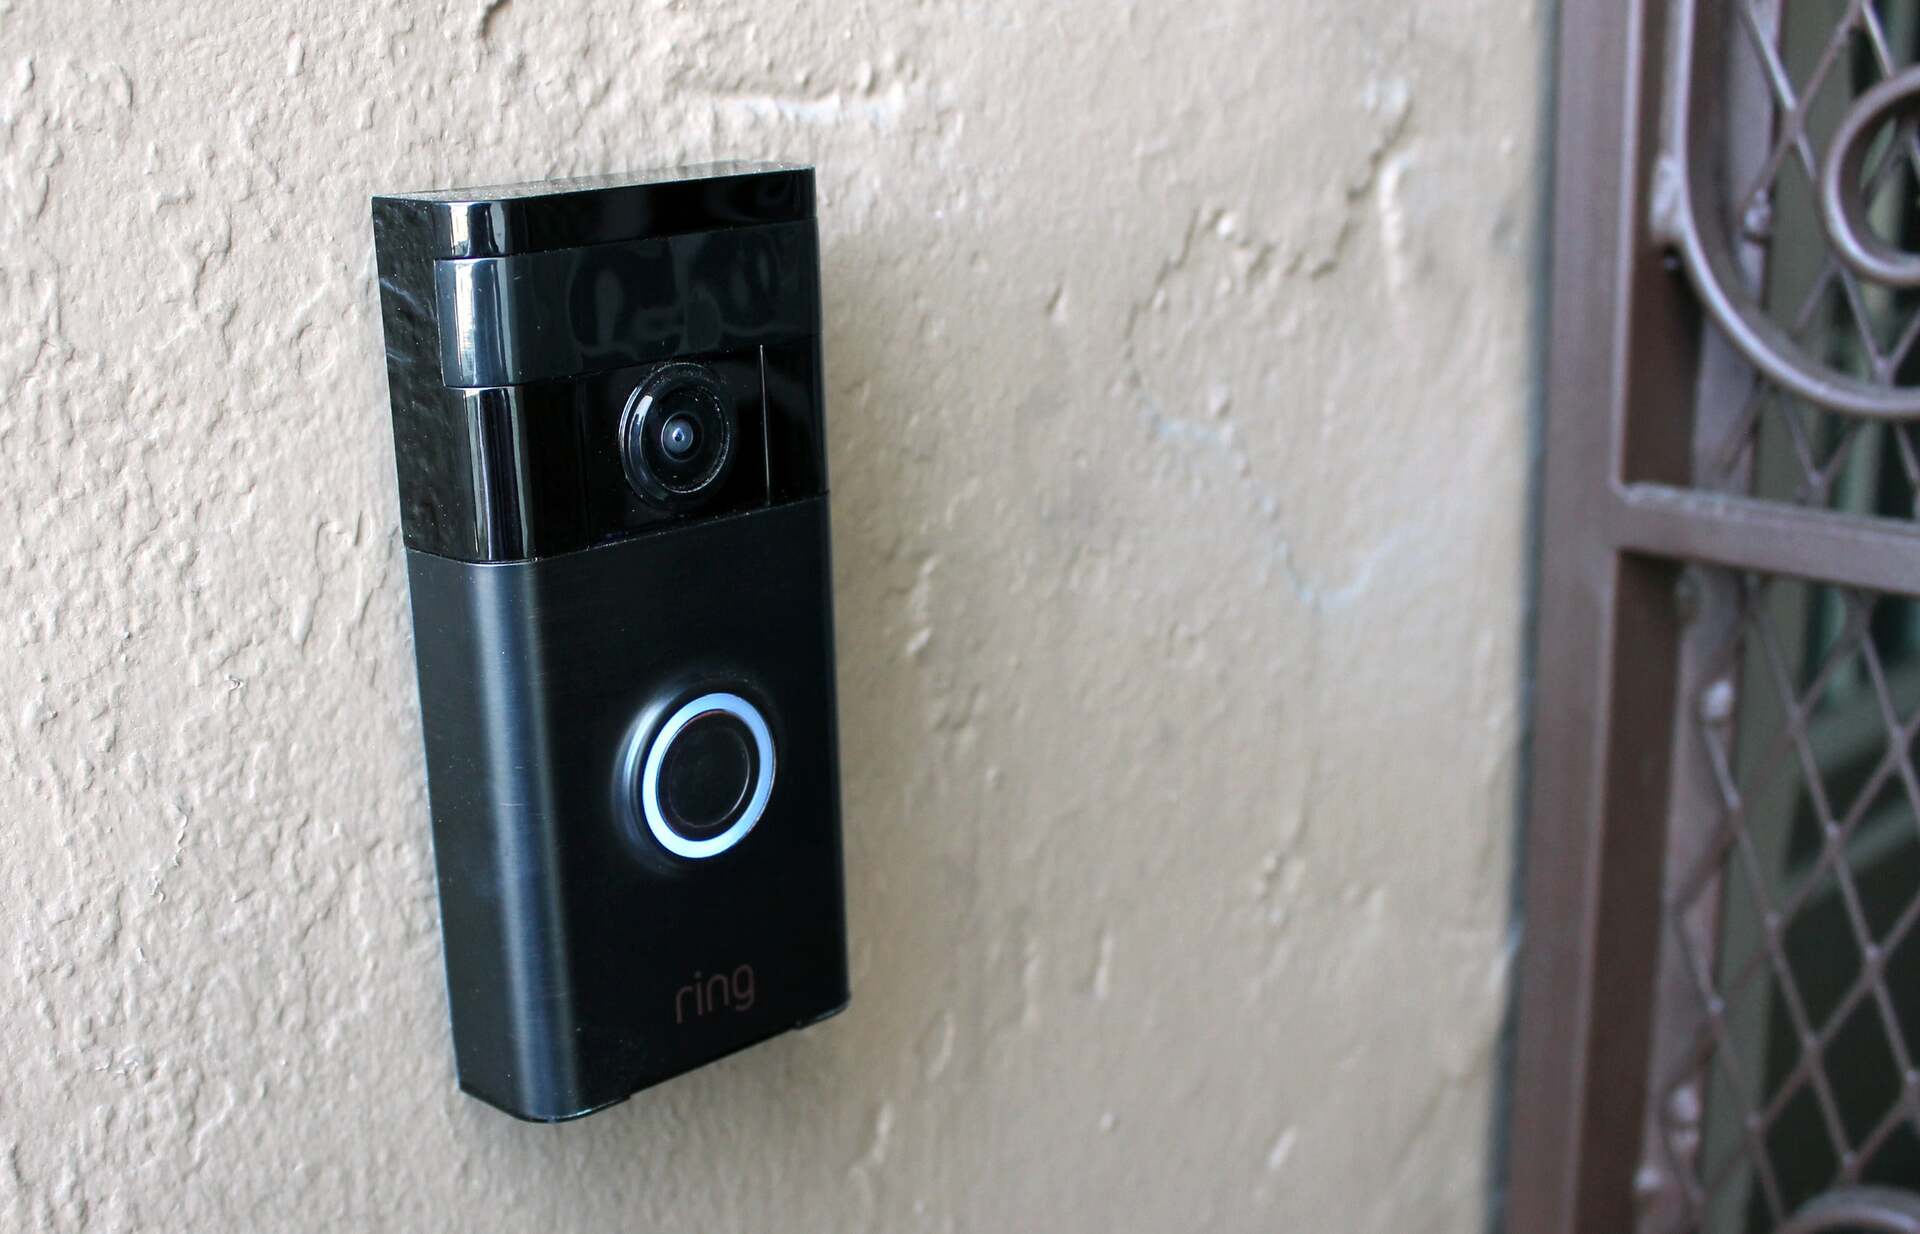
Ring Video Doorbell: For the original Ring Video Doorbell model, a standard 2.5-inch wood screw is often recommended for a secure mounting on wood surfaces. However, if you are mounting the doorbell on a masonry or concrete surface, a masonry screw or anchor with appropriate dimensions should be used.
Ring Video Doorbell 2/3/4: The Ring Video Doorbell 2, 3, and 4 also have similar screw size requirements as the original model. A 2.5-inch wood screw is commonly used for mounting on wood surfaces, while a masonry screw or anchor is suitable for masonry or concrete surfaces.
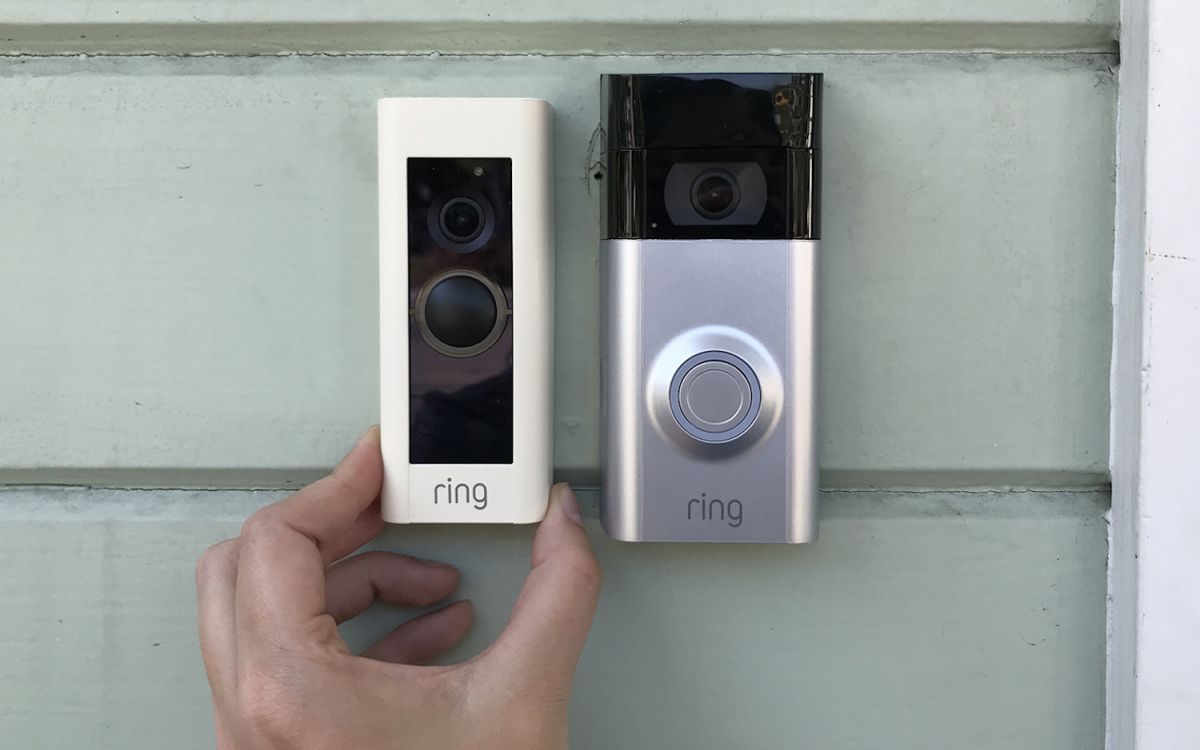
Ring Video Doorbell Pro: The Ring Video Doorbell Pro often comes with its own mounting plate, which requires different screw sizes. Typically, smaller screws, such as 1-inch or 1.25-inch wood screws, are recommended for attaching the mounting plate to a wooden surface. The doorbell itself is then mounted onto the plate using shorter screws provided by Ring.
Ring Video Doorbell Elite: The Ring Video Doorbell Elite is a professional-grade doorbell that requires a more complex installation process. It utilizes a power over Ethernet (PoE) connection and includes a separate mounting bracket. The size and type of screws needed for the Elite may vary based on the specific installation requirements, so it is crucial to follow the manufacturer’s recommendations and guidelines.
For all Ring Doorbell models, it is recommended to consult the installation instructions and guidelines provided by Ring. These instructions will provide detailed information on the appropriate screw sizes, types, and installation methods specific to your device.
Remember, the recommendations provided here are general guidelines and may not apply to all situations. Always refer to the manufacturer’s instructions to ensure you are using the correct screws for your Ring Doorbell model and specific mounting requirements.
Read more: What Size Screw For Decking Boards
Step-by-Step Guide for Screw Installation on Ring Doorbell
Installing screws for your Ring Doorbell is a straightforward process when you follow the correct steps. Below is a step-by-step guide to help you install the screws properly:
- Start by gathering all the necessary tools and materials. You will need a screwdriver or drill with the appropriate screwdriver bit, the recommended screws for your specific Ring Doorbell model, and any additional hardware or anchors if required.
- Identify the mounting location for your Ring Doorbell. Ensure that it is at the correct height and angle for optimal performance.
- Once you have determined the ideal mounting position, hold the Ring Doorbell’s backplate against the mounting surface.
- Using a pencil or marker, mark the screw holes on the mounting surface through the backplate’s holes.
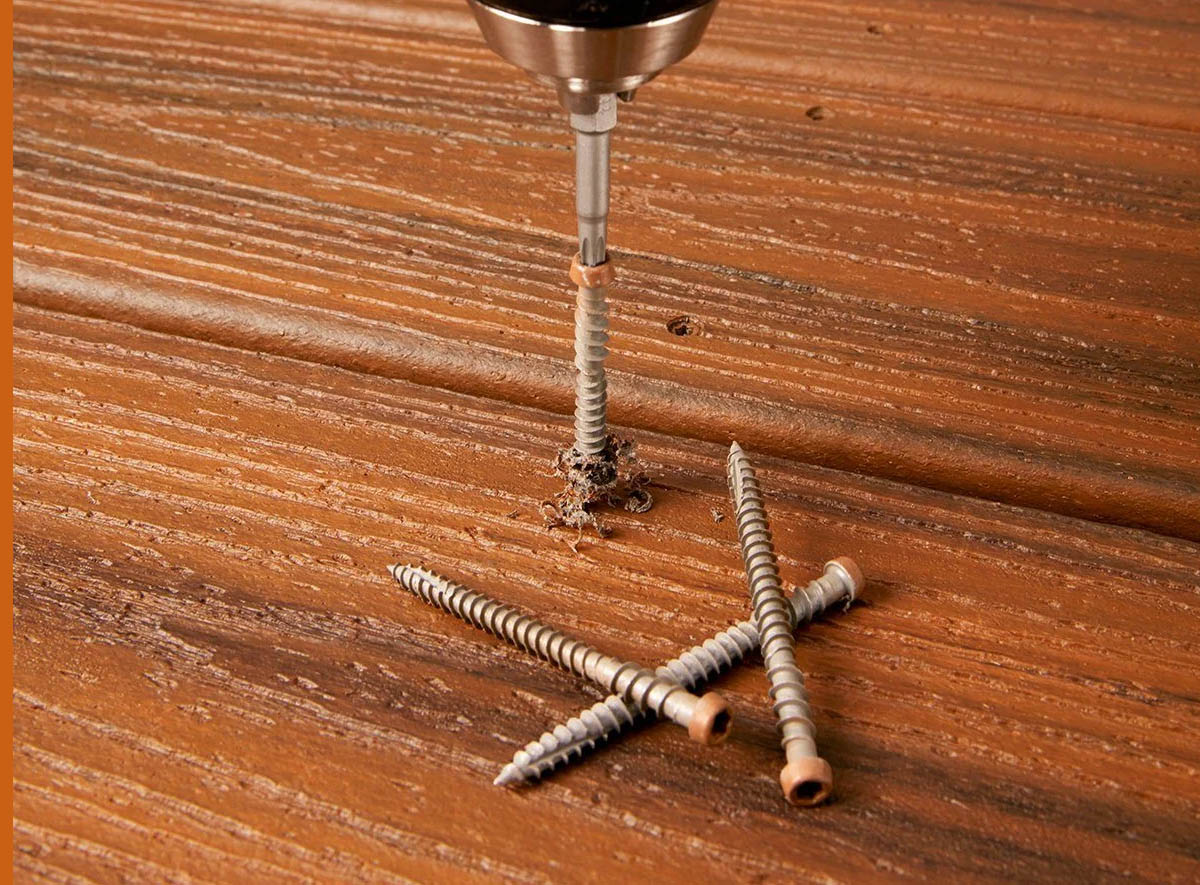
- Set the backplate aside and use a drill to create pilot holes on the marked spots. The size of the pilot hole should match the diameter of the screws you will be using.
- Take the recommended screws for your Ring Doorbell model and insert them into the pilot holes. Use a screwdriver or drill to secure the screws into the mounting surface. Avoid overtightening the screws to prevent damage.
- If your Ring Doorbell requires additional hardware or anchors, follow the manufacturer’s instructions to install them before attaching the backplate.
- Once the screws are securely in place, align the backplate with the screws and press it onto the mounting surface.
- Ensure that the screw heads fit into the designated holes on the backplate. Gently press the backplate against the surface to secure it in place.
- Now, align the Ring Doorbell with the backplate and slide it downward until it clicks into place. Ensure that the doorbell is properly seated and flush against the backplate.
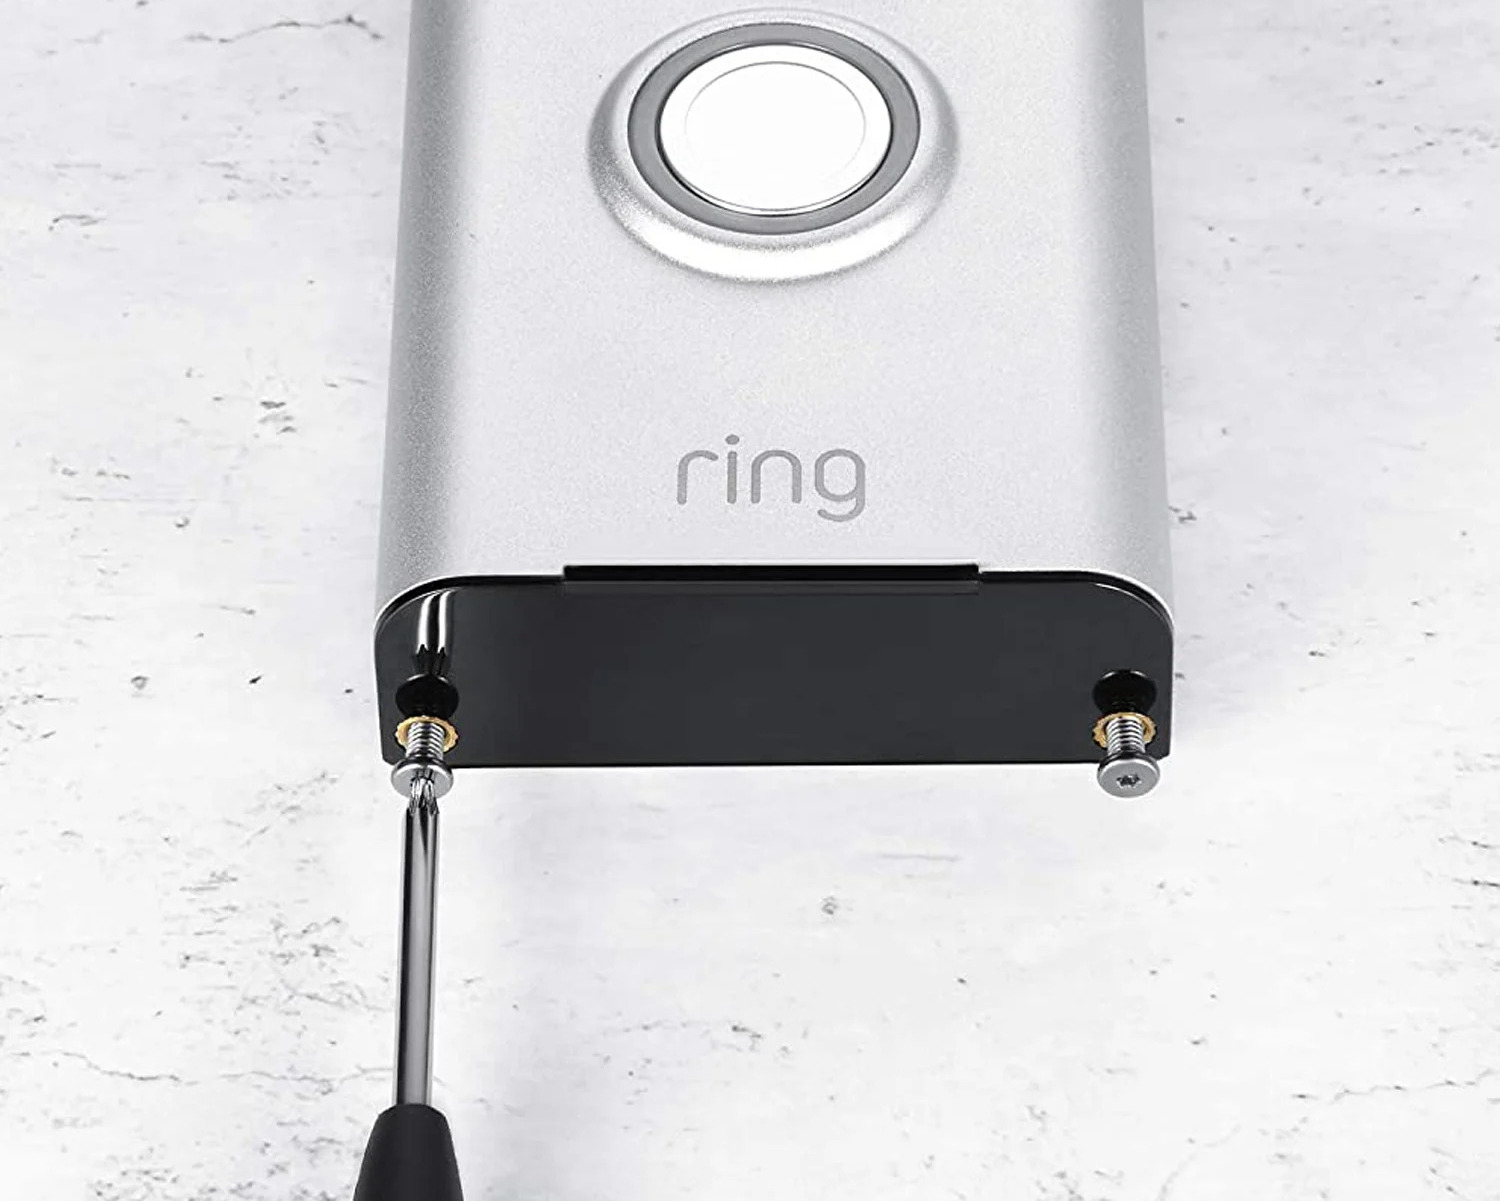
- If your Ring Doorbell model includes a security screw, use the provided screwdriver or a compatible tool to tighten the security screw. This adds an extra layer of security to prevent theft or tampering.
- Lastly, test the stability of the Ring Doorbell by gently shaking it or applying slight pressure. Verify that it is securely mounted and does not move or wobble excessively.
Following these steps will ensure a proper and secure screw installation for your Ring Doorbell. If you encounter any difficulties during the installation process, refer to the manufacturer’s instructions or seek professional assistance to ensure a successful and reliable installation.
Common Problems and Troubleshooting Tips
While installing screws for your Ring Doorbell, you may encounter common issues that can affect the performance and functionality of the device. Here are some troubleshooting tips to help you overcome these problems:
1. Loose Screws: If you find that the screws are becoming loose over time, causing the Ring Doorbell to wobble or not stay securely in place, try tightening the screws using a screwdriver or drill. Ensure that the screws are properly seated and tightened without overtightening, as this can cause damage to the backplate or mounting surface.
2. Stripped Screw Holes: If the screw holes in the backplate or mounting surface become stripped or damaged, it can compromise the stability of the Ring Doorbell. To fix this issue, you can use larger screws or anchors to secure the backplate more securely. Alternatively, you may need to repair or replace the damaged mounting surface or backplate.
3. Incorrect Screw Size: Using screws that are too long or too short can lead to installation problems and stability issues. Ensure that you are using the recommended screw sizes for your specific Ring Doorbell model. If you have used the wrong size screw, remove it carefully and replace it with the correct size to ensure a secure installation.
4. Rust or Corrosion: If your Ring Doorbell is exposed to outdoor elements, such as rain or high humidity, the screws may be susceptible to rust or corrosion. To prevent this, consider using screws that are designed for outdoor use and are resistant to rust and corrosion. Regularly inspect and clean the screws to maintain their integrity.
5. Difficulty Mounting on Different Surfaces: Depending on the material of the mounting surface, you may encounter challenges when installing the screws. For example, mounting on a brick or concrete wall may require specialized masonry screws or anchors. Ensure that you have the appropriate tools and materials for mounting on different surfaces, and follow the manufacturer’s recommendations for each specific situation.
6. Missing or Damaged Screws: If you are missing screws or have damaged screws that cannot be used, contact the manufacturer or a hardware store to obtain replacement screws. It is essential to use the correct screws to ensure the stability and proper function of the Ring Doorbell.
If you are facing persistent issues or encountering problems beyond what can be resolved through troubleshooting, it is recommended to reach out to the manufacturer’s customer support for further assistance. They can provide specific guidance and solutions tailored to your situation.
Conclusion
Choosing the right size screw for your Ring Doorbell and installing them properly is essential for ensuring a secure and reliable installation. The screws play a vital role in the stability, functionality, and longevity of your Ring Doorbell system. By following the recommended screw sizes, considering the mounting surface, and following a step-by-step installation guide, you can ensure a successful installation of your Ring Doorbell.
Taking the time to select the appropriate screw size, type, and length will prevent common issues such as wobbly installations, stripped screw holes, and rust or corrosion. It will also ensure that your Ring Doorbell is securely mounted and capable of capturing clear video footage and facilitating efficient communication.
If you encounter any problems during the installation process or while using your Ring Doorbell, refer to the troubleshooting tips provided in this article. Addressing issues such as loose screws or damaged screw holes promptly will help maintain the integrity and performance of your device.
Remember, it is crucial to consult the manufacturer’s instructions and guidelines specific to your Ring Doorbell model. They will provide detailed information on the recommended screw sizes, types, and installation methods for your device.
By following the recommendations and tips outlined in this article, you can ensure a secure and stable installation of your Ring Doorbell. Enjoy the enhanced security, convenience, and peace of mind that your Ring Doorbell brings to your home.
Secured and automated living isn't just a luxury; it's a necessity in today's fast-paced environment. Wondering how to enhance your home's safety? Our detailed article on why you might need home security systems could be your next stop. While you're at it, don't miss out on our latest insights into home automation, where we lay down the best tech solutions for 2024 that will transform your living space into a smart, efficient haven.
Frequently Asked Questions about What Size Screw For Ring Doorbell
Was this page helpful?
At Storables.com, we guarantee accurate and reliable information. Our content, validated by Expert Board Contributors, is crafted following stringent Editorial Policies. We're committed to providing you with well-researched, expert-backed insights for all your informational needs.


0 thoughts on “What Size Screw For Ring Doorbell”