Articles
How To Install Doorbell Transformer
Modified: August 21, 2024
Learn how to install a doorbell transformer with our step-by-step guide and expert tips. Read our informative articles for easy installation.
(Many of the links in this article redirect to a specific reviewed product. Your purchase of these products through affiliate links helps to generate commission for Storables.com, at no extra cost. Learn more)
Introduction
Welcome to our comprehensive guide on how to install a doorbell transformer. A doorbell transformer is an essential component of a working doorbell system and ensures that the doorbell receives the necessary power to function properly. Whether you are installing a new doorbell or replacing an old transformer, this step-by-step guide will walk you through the process.
Before we dive into the installation process, make sure you gather all the necessary tools and materials. This will ensure a smooth and efficient installation without any unexpected delays.
Now, let’s jump right into it and learn how to install a doorbell transformer in just a few simple steps!
Key Takeaways:
- Prioritize safety by shutting off the power and wearing protective gear when installing a new doorbell transformer. Carefully follow the steps to ensure a successful and functional doorbell system.
- Testing the doorbell transformer after installation is crucial to confirm proper functionality. If any issues arise, consult a professional electrician for further assistance and troubleshooting.
Read more: Why Does My Doorbell Transformer Hum
Step 1: Gather the necessary tools and materials
Before you begin the installation process, it is important to gather all the tools and materials you will need. This will help you work efficiently and prevent any interruptions during the installation. Here are the essential tools and materials you will need:
- Screwdriver: You will need a screwdriver to remove the screws and secure the new transformer.
- Wire strippers: Wire strippers are necessary to strip the insulation from the wires for proper connection.
- Electrical tape: Electrical tape is used to secure and insulate the connections.
- Wire nuts: Wire nuts are used to connect the wires securely.
- Drill (if necessary): If you need to mount the transformer on a wall or surface, a drill may be required.
- New doorbell transformer: Make sure you have a compatible doorbell transformer that meets the voltage requirements of your doorbell system.
- Voltage tester: A voltage tester will help you determine if the power is shut off and if the wires are correctly connected.
- Safety glasses and gloves: It is always a good idea to wear safety glasses and gloves to protect yourself during the installation process.
Once you have gathered all the necessary tools and materials, you are ready to move on to the next step: locating the existing doorbell transformer.
Step 2: Locate the existing doorbell transformer
Locating the existing doorbell transformer is an important step in the installation process. The doorbell transformer is typically located near the main electrical panel or in a utility room. Here’s how you can find it:
- Start by checking the area around your main electrical panel. Look for any small metal boxes or panels attached to the wall. The transformer may be mounted directly on or next to the panel.
- If you don’t find the transformer near the electrical panel, check other areas in your home where it might be installed. Common locations include utility rooms, basements, or attic spaces.
- If necessary, follow the doorbell wiring to trace the path of the wires. The transformer is usually connected to the doorbell chime and the power source.
Once you have located the doorbell transformer, take note of its location for future reference. This will make it easier to remove the old transformer and install the new one.
It’s important to mention that doorbell transformers can sometimes be hidden behind walls or in hard-to-reach areas. In such cases, you may need to consult a professional electrician for assistance in locating and replacing the transformer.
Now that you have located the existing doorbell transformer, let’s move on to the next step: shutting off the power.
Step 3: Shut off the power
Before you begin working on the doorbell transformer, it is crucial to ensure that the power is shut off. This will protect you from electrical shocks and make the installation process safe.
Here’s what you need to do to shut off the power:
- Locate the circuit breaker panel in your home. It is usually located in the garage, basement, or utility room.
- Open the circuit breaker panel door and look for the breaker labeled “doorbell” or “doorbell transformer”. If you cannot find a specific breaker for the doorbell, you may need to shut off the main power to the house.
- Flip the switch or toggle the breaker to the off position. You should hear a click or notice that the power is no longer flowing to the doorbell system.
- Once the power is shut off, double-check to ensure that there is no power by using a voltage tester. This will confirm that it is safe to continue working on the doorbell transformer.
Remember, safety should always be your top priority when working with electrical systems. If you are unsure about shutting off the power or handling electrical components, it is best to consult a professional electrician for assistance.
Now that the power is shut off, you can move on to the next step: removing the existing doorbell transformer.
Step 4: Remove the existing doorbell transformer
Now that the power is safely shut off, it’s time to remove the existing doorbell transformer. Follow these steps to ensure a smooth and successful removal:
- Start by carefully examining the existing doorbell transformer. Take note of how it is mounted and connected to the wires.
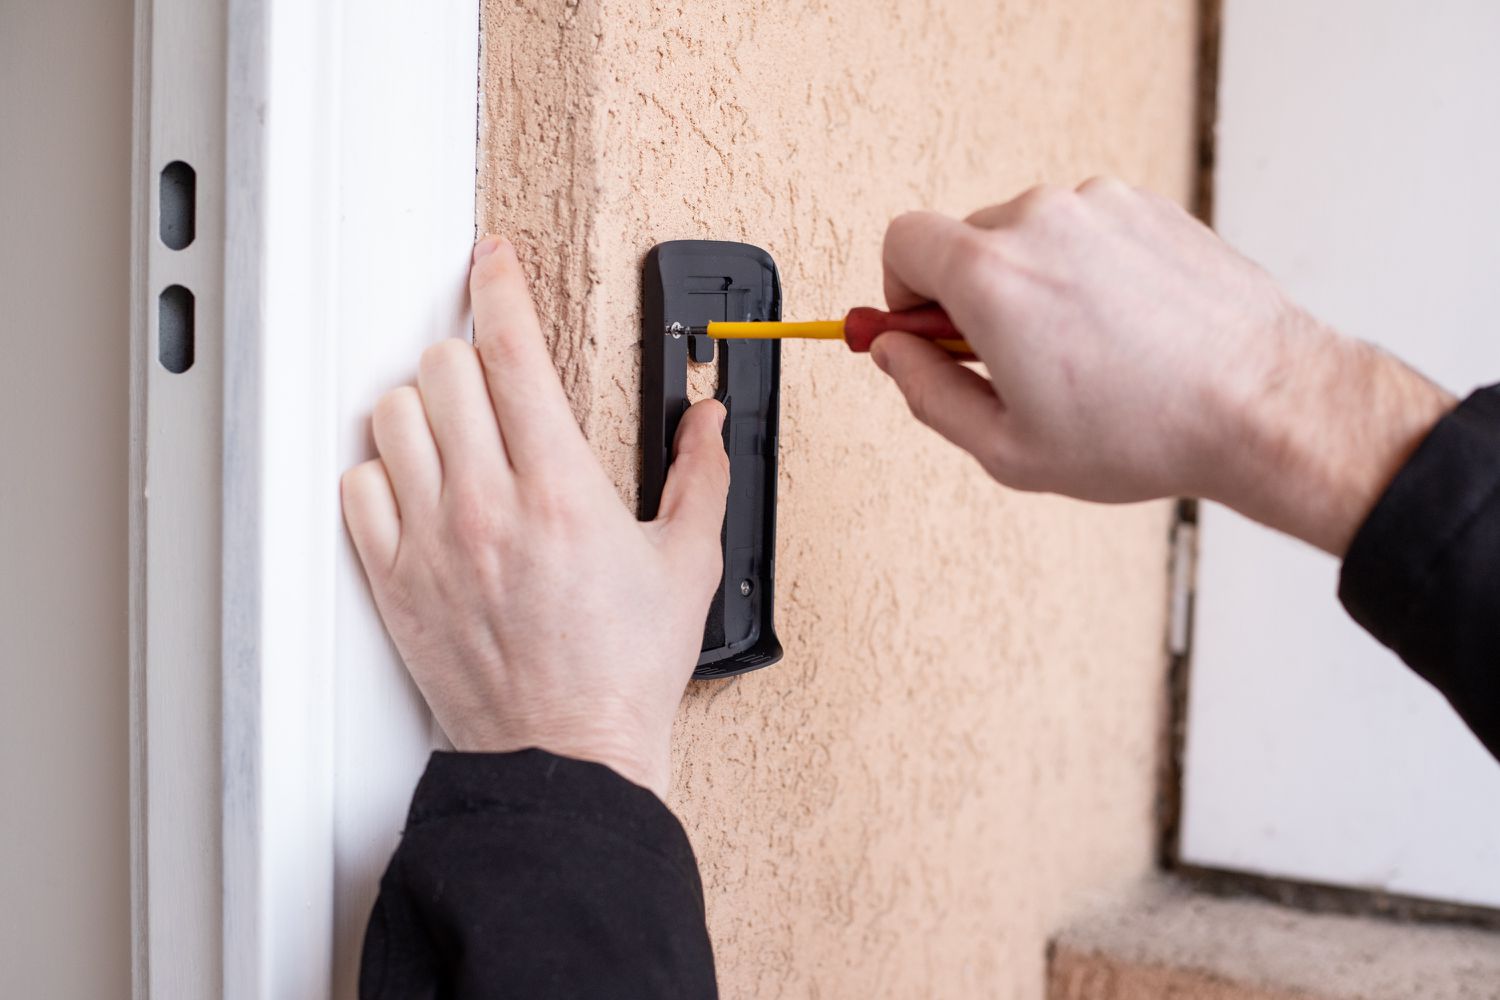
- Using a screwdriver, remove the screws or fasteners that hold the transformer in place. Set the screws aside in a safe place, as you may need them later.
- Gently disconnect the wires from the terminals on the transformer. Be cautious not to damage the wires or the connections.
- If the wires are secured with wire nuts, twist the nuts counterclockwise to loosen them and separate the wires.
- Once the wires are disconnected, you can remove the old transformer from its mounting location. Take care not to damage any surrounding components or wiring.
After removing the old transformer, take a moment to inspect the wires for any signs of damage or wear. If you notice any issues, it is recommended to replace the wiring before installing the new transformer.
Now that the existing doorbell transformer is removed, let’s move on to the next step: installing the new doorbell transformer.
When installing a doorbell transformer, make sure to turn off the power to the circuit at the main electrical panel before beginning any work. This will ensure your safety while working with electrical components.
Read more: How To Find My Doorbell Transformer
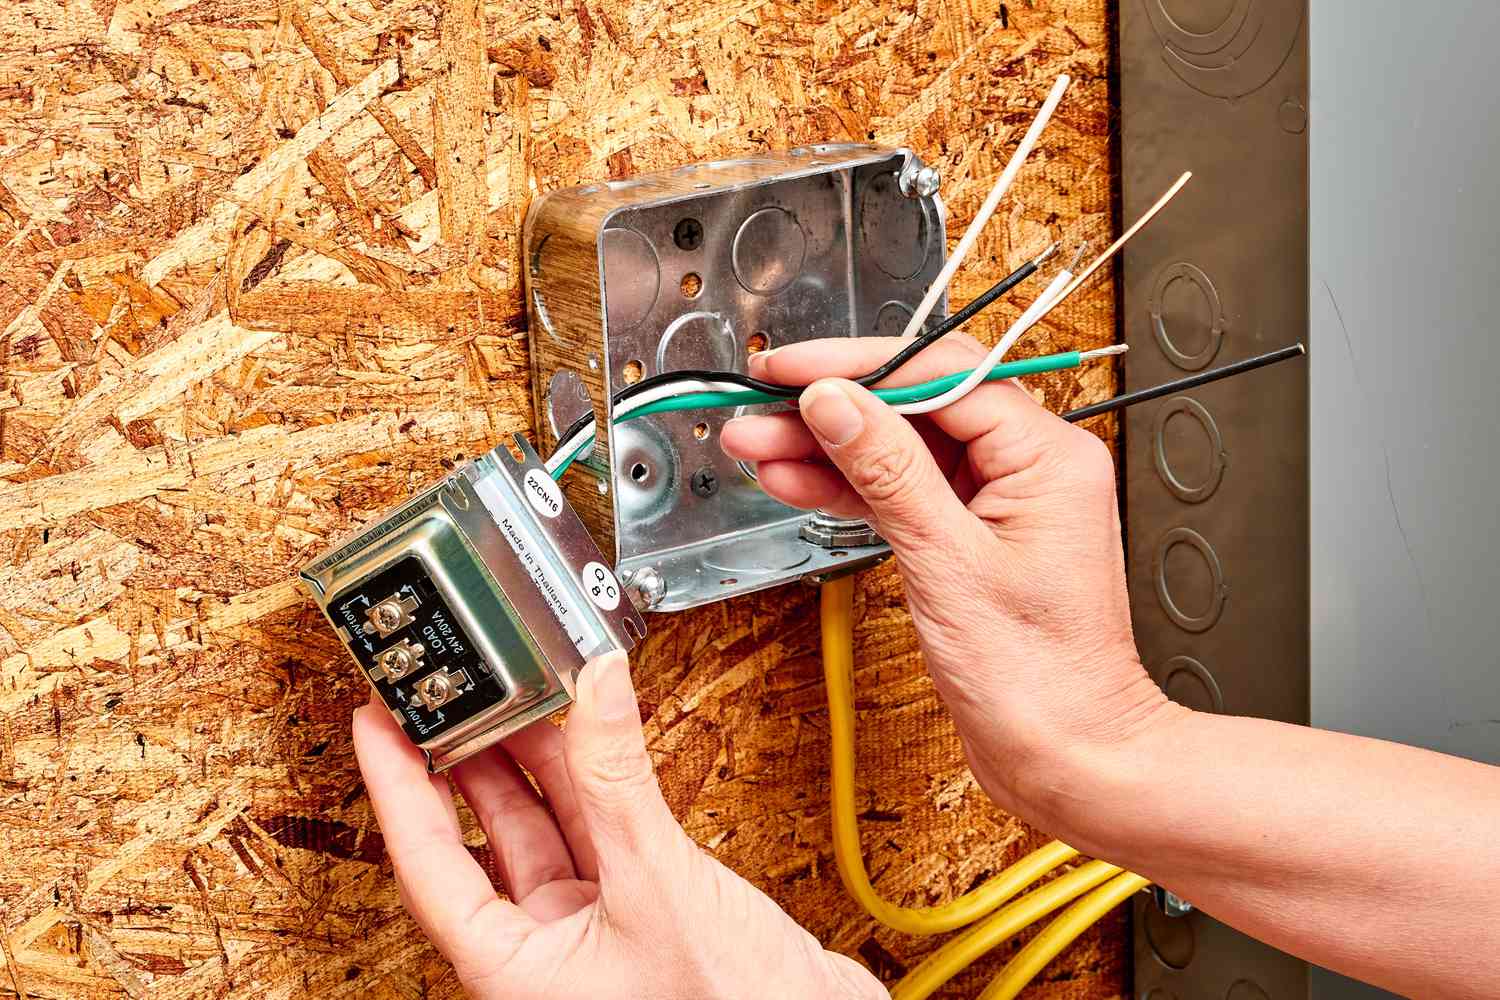
Step 5: Install the new doorbell transformer
With the old doorbell transformer removed, it’s time to install the new one. Follow these steps to ensure a successful installation:
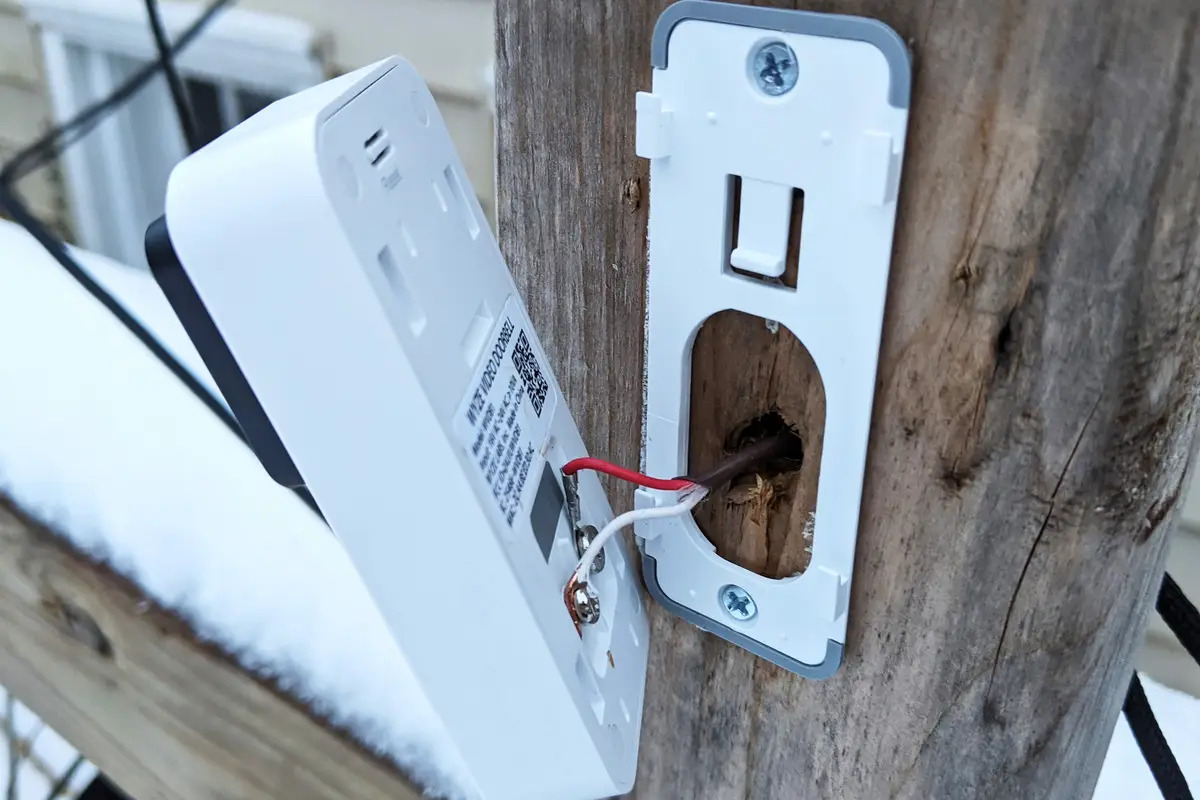
- Start by positioning the new doorbell transformer in the desired location. Ensure that it is securely mounted and aligned properly.
- If necessary, use a drill and appropriate screws or fasteners to attach the new transformer to the wall or surface. Make sure it is secure and stable.
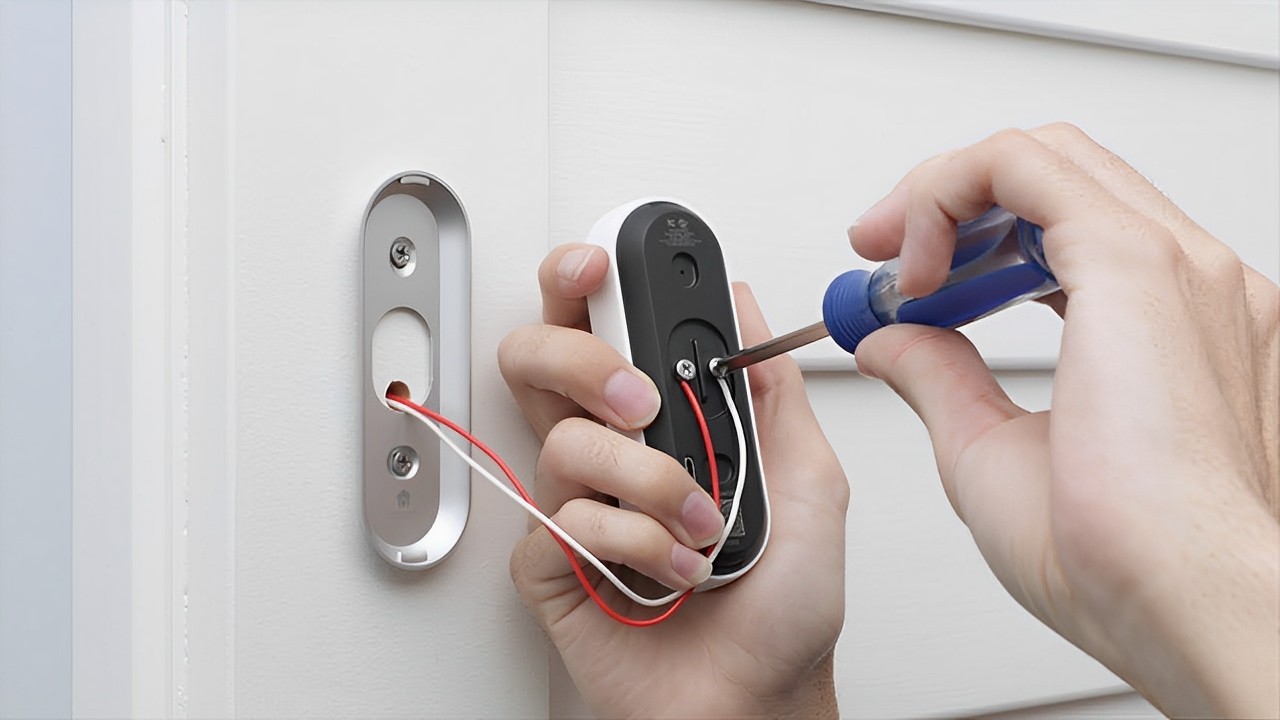
- Next, take the wires that were disconnected from the old transformer and strip off a small portion of insulation from the ends. This will expose the copper conductors.
- Insert the stripped ends of the wires into the appropriate terminals on the new transformer. Refer to the manufacturer’s instructions or the wiring diagram for proper placement.
- Once the wires are inserted into the terminals, tighten the screws or secure the connections according to the transformer’s specifications. Ensure that the connections are tight and secure.
It’s important to note that some doorbell transformers may have additional features or wiring configurations. If this is the case, consult the manufacturer’s instructions for any specific steps or requirements.
Now that the new doorbell transformer is installed, it’s time to move on to the next step: connecting the wires.
Step 6: Connect the wires
Now that the new doorbell transformer is securely installed, it’s time to connect the wires. Follow these steps to ensure proper wiring and connection:
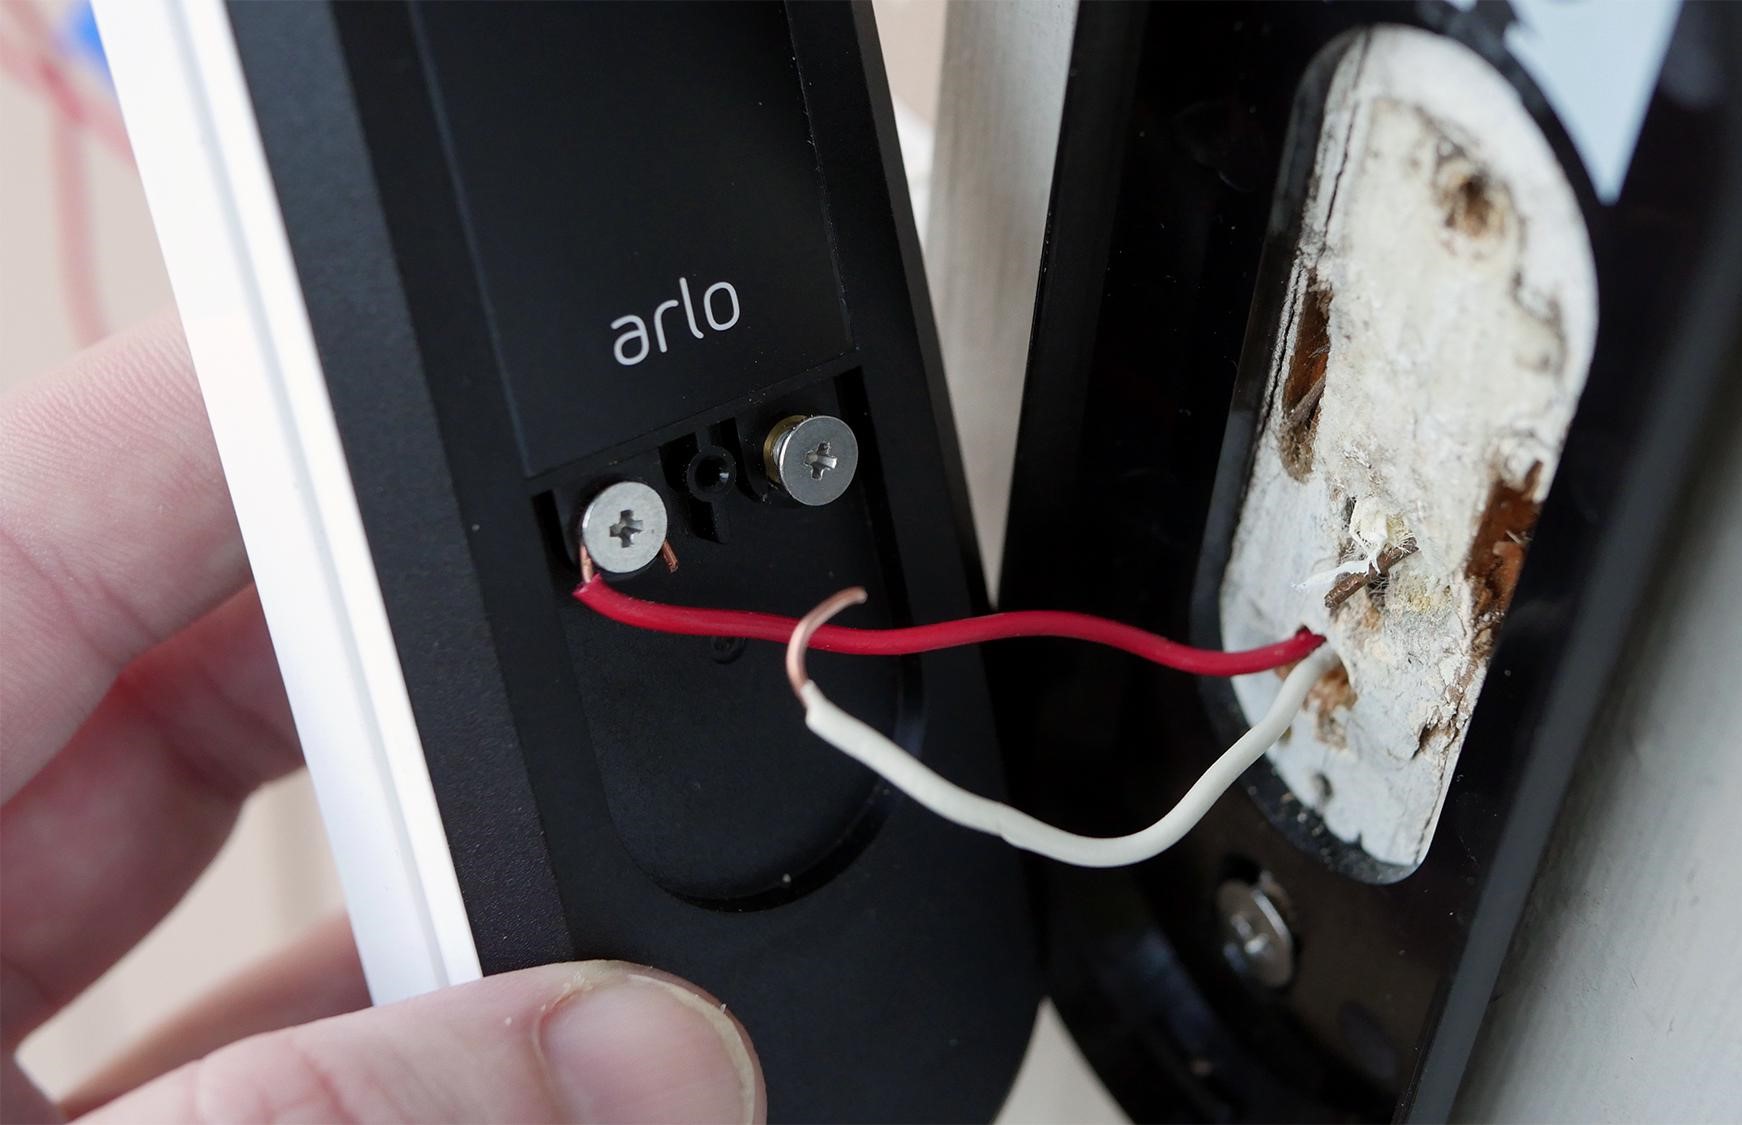
- Start by identifying the wires coming from the transformer. These wires are usually color-coded, with one wire being labeled “hot” or “power” (typically red) and the other wire being labeled “common” (typically white).
- Locate the corresponding wires from the doorbell system. These wires are usually connected to the doorbell chime and the doorbell button.
- Using wire strippers, remove a small portion of insulation from the ends of the wires to expose the copper conductors. This will allow for a proper and secure connection.
- Match the color-coded wires from the transformer to the corresponding wires from the doorbell system. For example, connect the red wire from the transformer to the red wire from the doorbell system, and the white wire from the transformer to the white wire from the doorbell system.
- Secure the connections by twisting the wires together. If necessary, you can use wire nuts to ensure a secure and insulated connection.
- Once the connections are made, use electrical tape to wrap around the exposed wires for added protection and to prevent any accidental contact.
It’s important to double-check the connections and ensure that they are secure and properly insulated. This will prevent any wiring issues and ensure that the doorbell system functions correctly.
Now that the wires are connected, let’s move on to the final step: testing the doorbell transformer.
Step 7: Test the doorbell transformer
After completing the installation and wiring of the new doorbell transformer, it’s important to test it to ensure everything is functioning correctly. Follow these steps to test the doorbell transformer:
- Turn the power back on by flipping the breaker switch or toggling the circuit breaker for the doorbell system.
- With the power restored, press the doorbell button to see if the doorbell chime rings. Listen for the sound of the doorbell chime, indicating that the transformer is providing adequate power.
- If the doorbell does not ring, double-check the connections to ensure they are properly secured and insulated. Also, verify that the power is restored and that the breaker switch is in the “on” position.
- If necessary, use a voltage tester to check the voltage at the terminals of the doorbell transformer. This will confirm if the transformer is receiving power and functioning correctly.
- If the doorbell still does not ring or if there are any issues with the functionality, it may be necessary to consult a professional electrician for further assistance and troubleshooting.
Once you have tested the doorbell transformer and confirmed that it is working properly, you can consider the installation process complete. Congratulations on successfully installing a new doorbell transformer!
Remember, if you ever need to make any adjustments or repairs to the doorbell system in the future, it’s important to turn off the power and follow proper safety precautions to avoid electrical hazards.
With the doorbell transformer installed and tested, you can now enjoy the convenience of a fully functional doorbell system in your home.
Conclusion
Installing a doorbell transformer may seem like a daunting task, but with the right tools and knowledge, it can be a straightforward process. By following the steps outlined in this guide, you can successfully install a new doorbell transformer and ensure that your doorbell system is functioning properly.
Throughout the installation process, remember to prioritize safety by shutting off the power and wearing protective gear. Take your time to carefully remove the old transformer, install the new one, and connect the wires securely.
After completing the installation, don’t forget to test the doorbell transformer to ensure everything is working as expected. If you encounter any issues during the installation or testing process, it is always best to consult a professional electrician for assistance.
Now that you have successfully installed a new doorbell transformer, you can enjoy the convenience of a functional doorbell system that welcomes visitors and alerts you to their presence.
Remember, proper maintenance and periodic checks of your doorbell system are important to ensure its longevity and optimal performance. If you notice any issues or changes in the functionality of your doorbell, don’t hesitate to address them promptly to keep your home safe and secure.
We hope this guide has been informative and helpful in guiding you through the process of installing a doorbell transformer. Happy doorbell ringing!
Now that you've mastered installing a doorbell transformer, why not take your skills further with our next guide on setting up your Ring Doorbell Pro? This handy tutorial will walk you through the doorbell setup process, ensuring you get everything up and running smoothly. Whether you're upgrading your home security or just adding a touch of tech-savvy convenience, this article is perfect for those looking to enhance their doorway with smart technology.
Frequently Asked Questions about How To Install Doorbell Transformer
Was this page helpful?
At Storables.com, we guarantee accurate and reliable information. Our content, validated by Expert Board Contributors, is crafted following stringent Editorial Policies. We're committed to providing you with well-researched, expert-backed insights for all your informational needs.
0 thoughts on “How To Install Doorbell Transformer”