Articles
How To Install Blink Doorbell Without Screws
Modified: August 31, 2024
Learn how to install a Blink doorbell without using screws. Our step-by-step guide includes articles on alternative mounting options and helpful tips for a hassle-free installation.
(Many of the links in this article redirect to a specific reviewed product. Your purchase of these products through affiliate links helps to generate commission for Storables.com, at no extra cost. Learn more)
Introduction
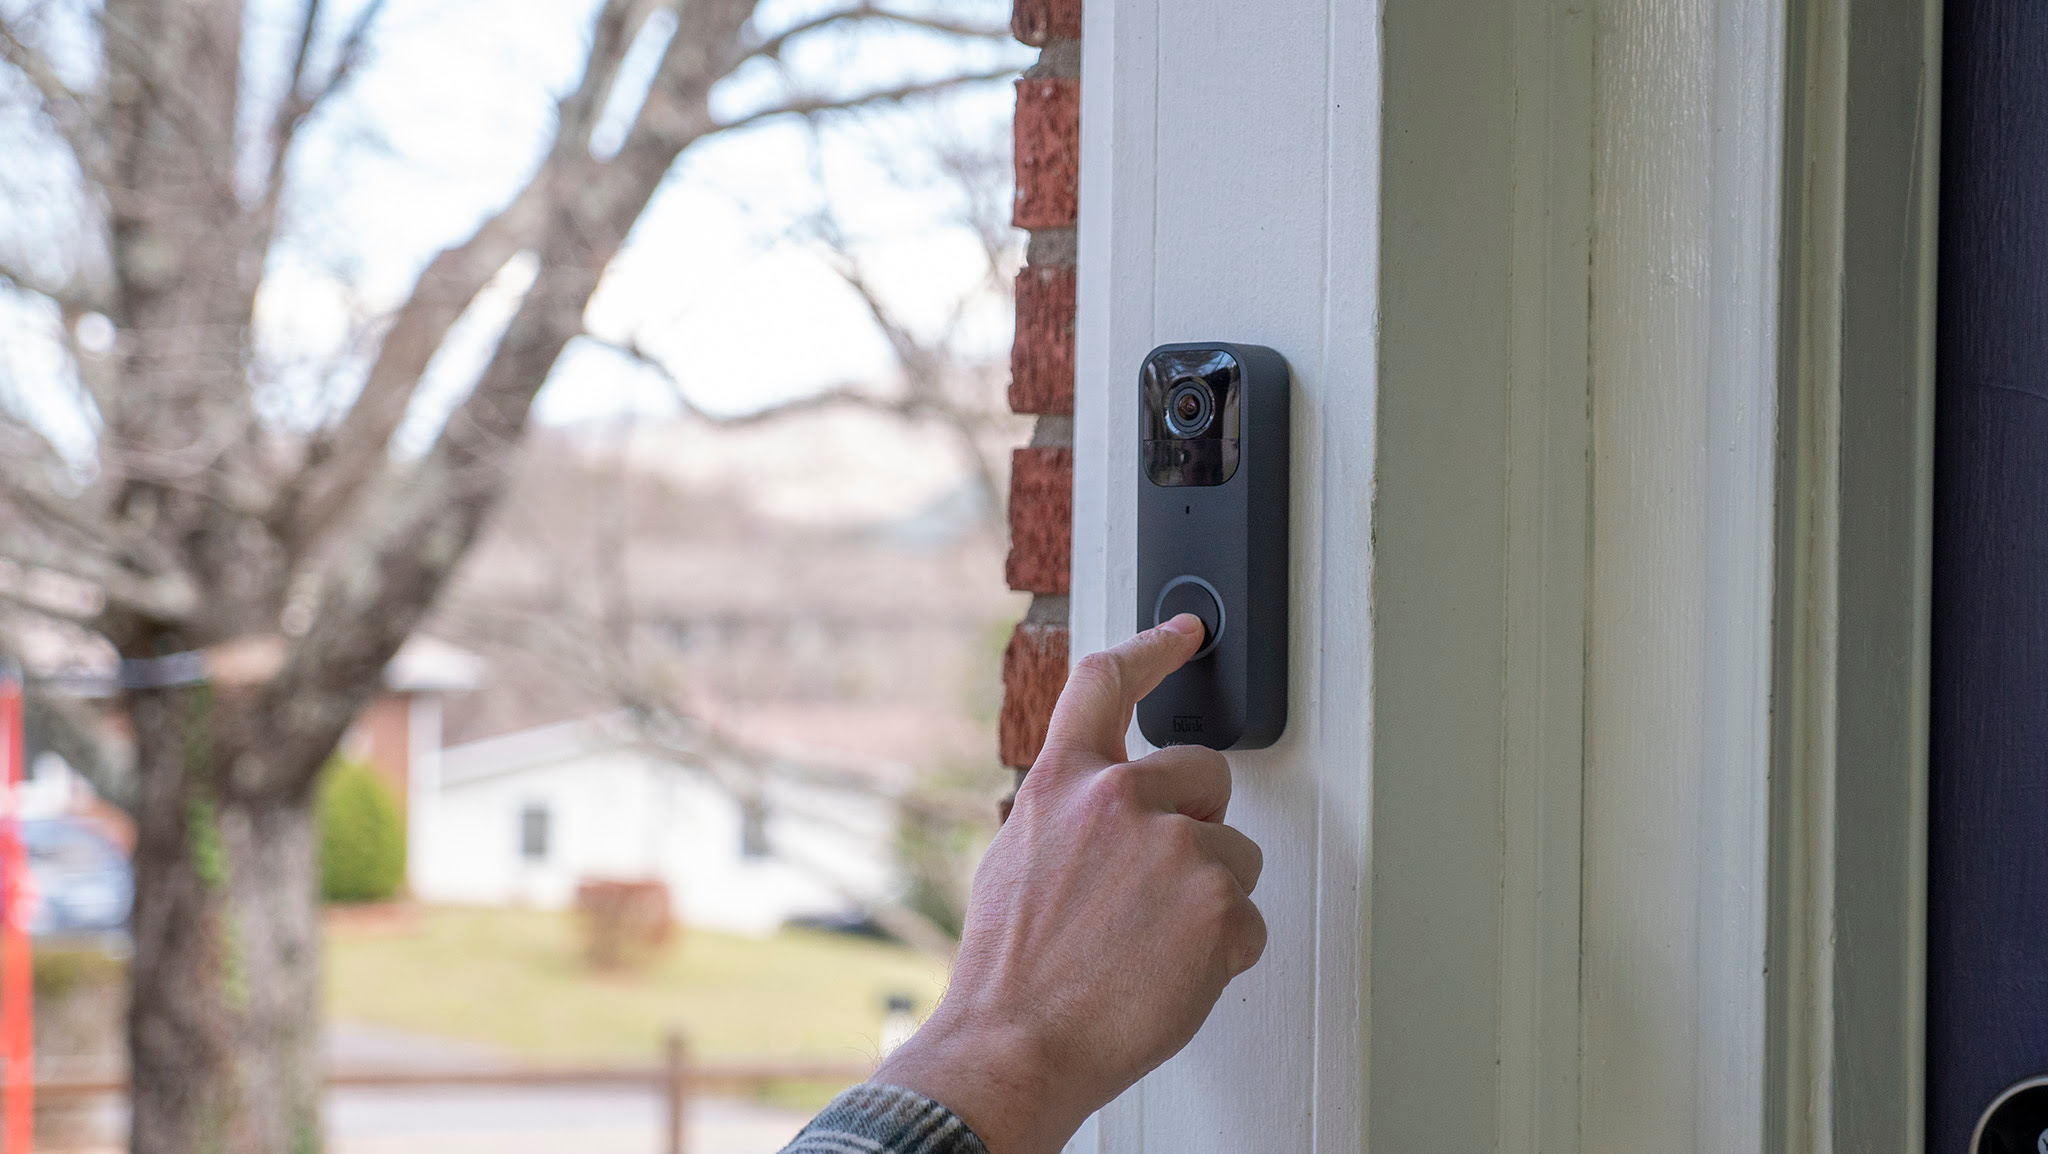
Installing a doorbell without screws can be a great solution for those who want to avoid drilling holes in their doorframe. Whether you rent your home or simply prefer a non-invasive installation method, using adhesive to mount a doorbell can be a convenient and hassle-free option. In this article, we will guide you through the step-by-step process of installing the Blink Doorbell without screws.
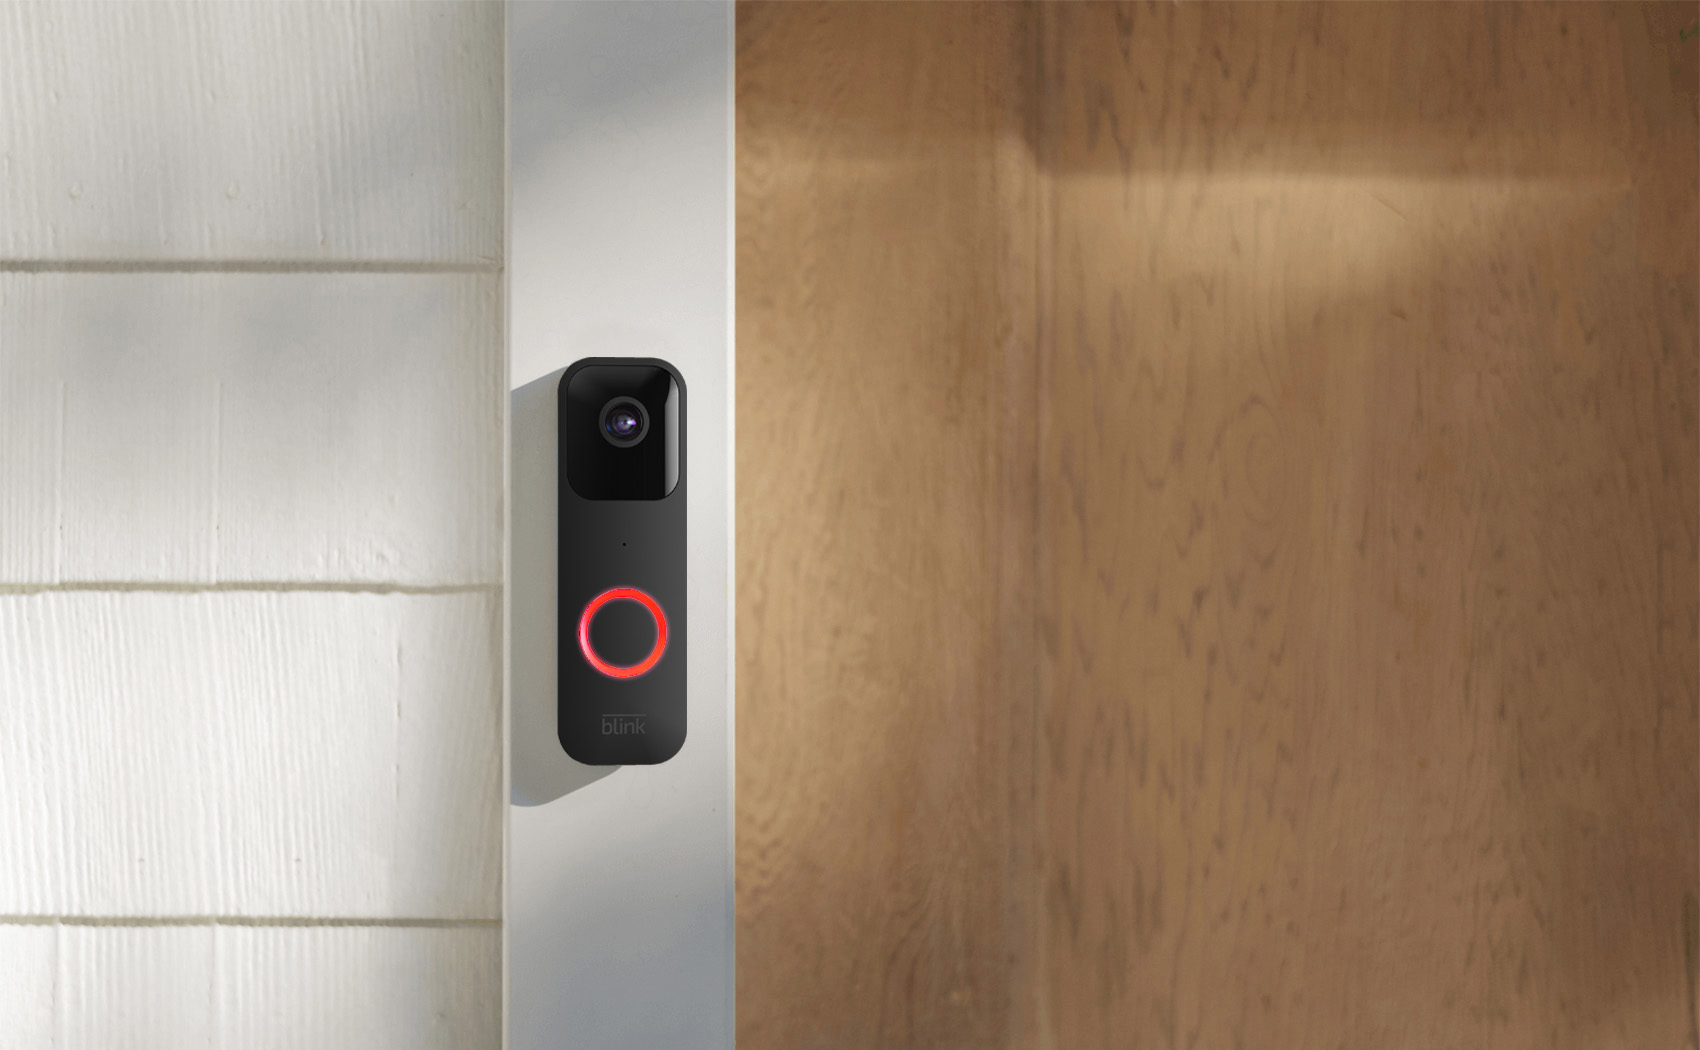
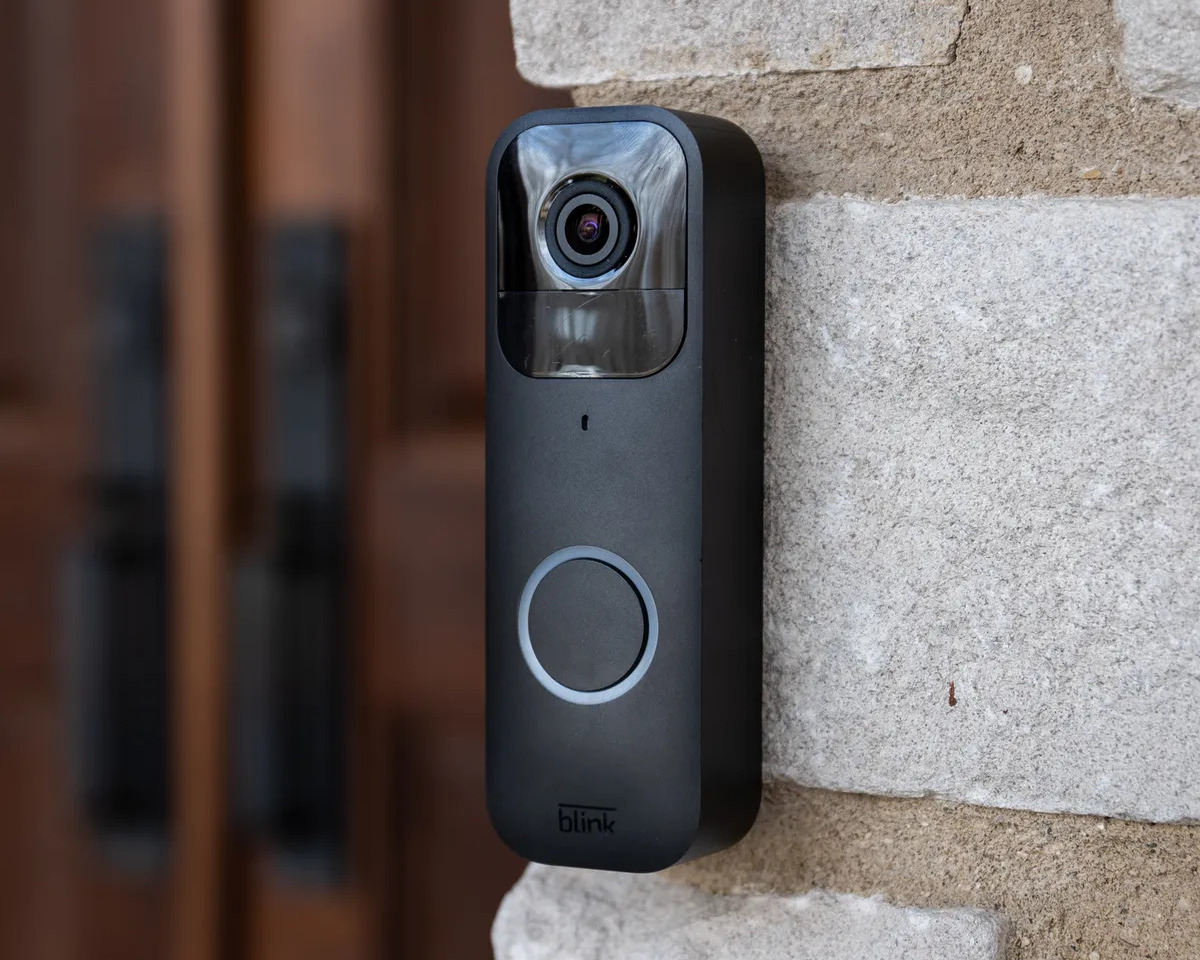
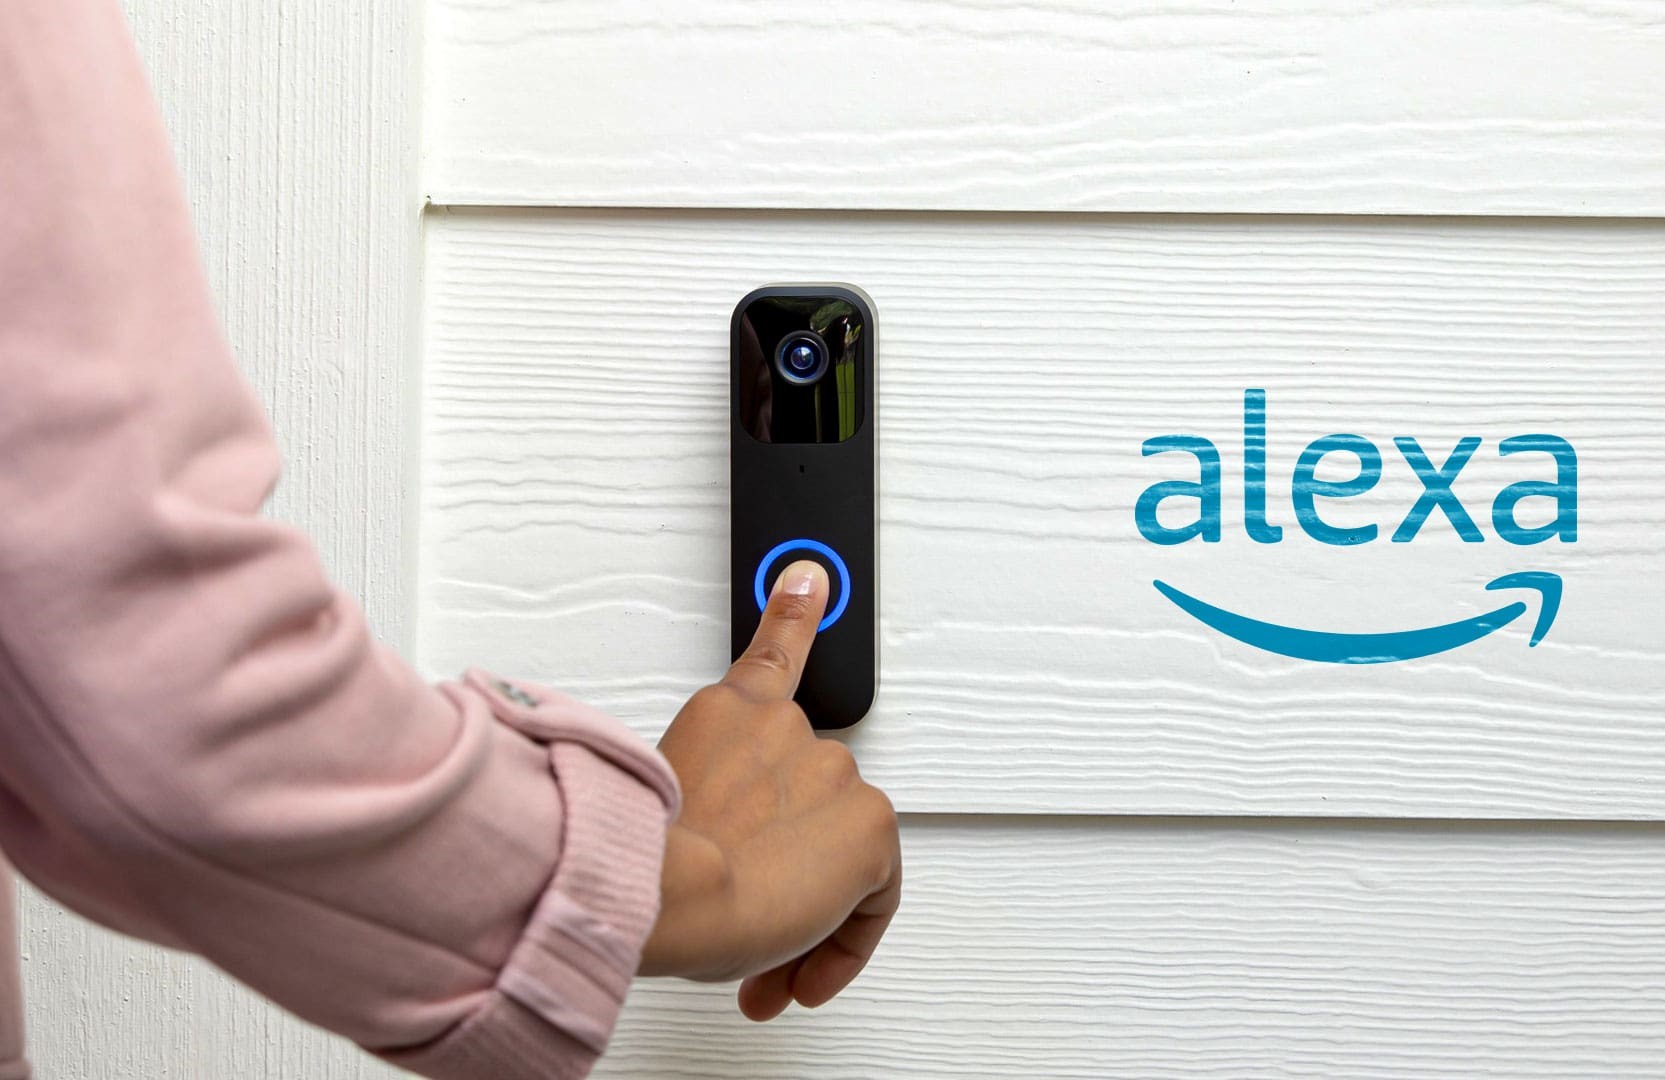
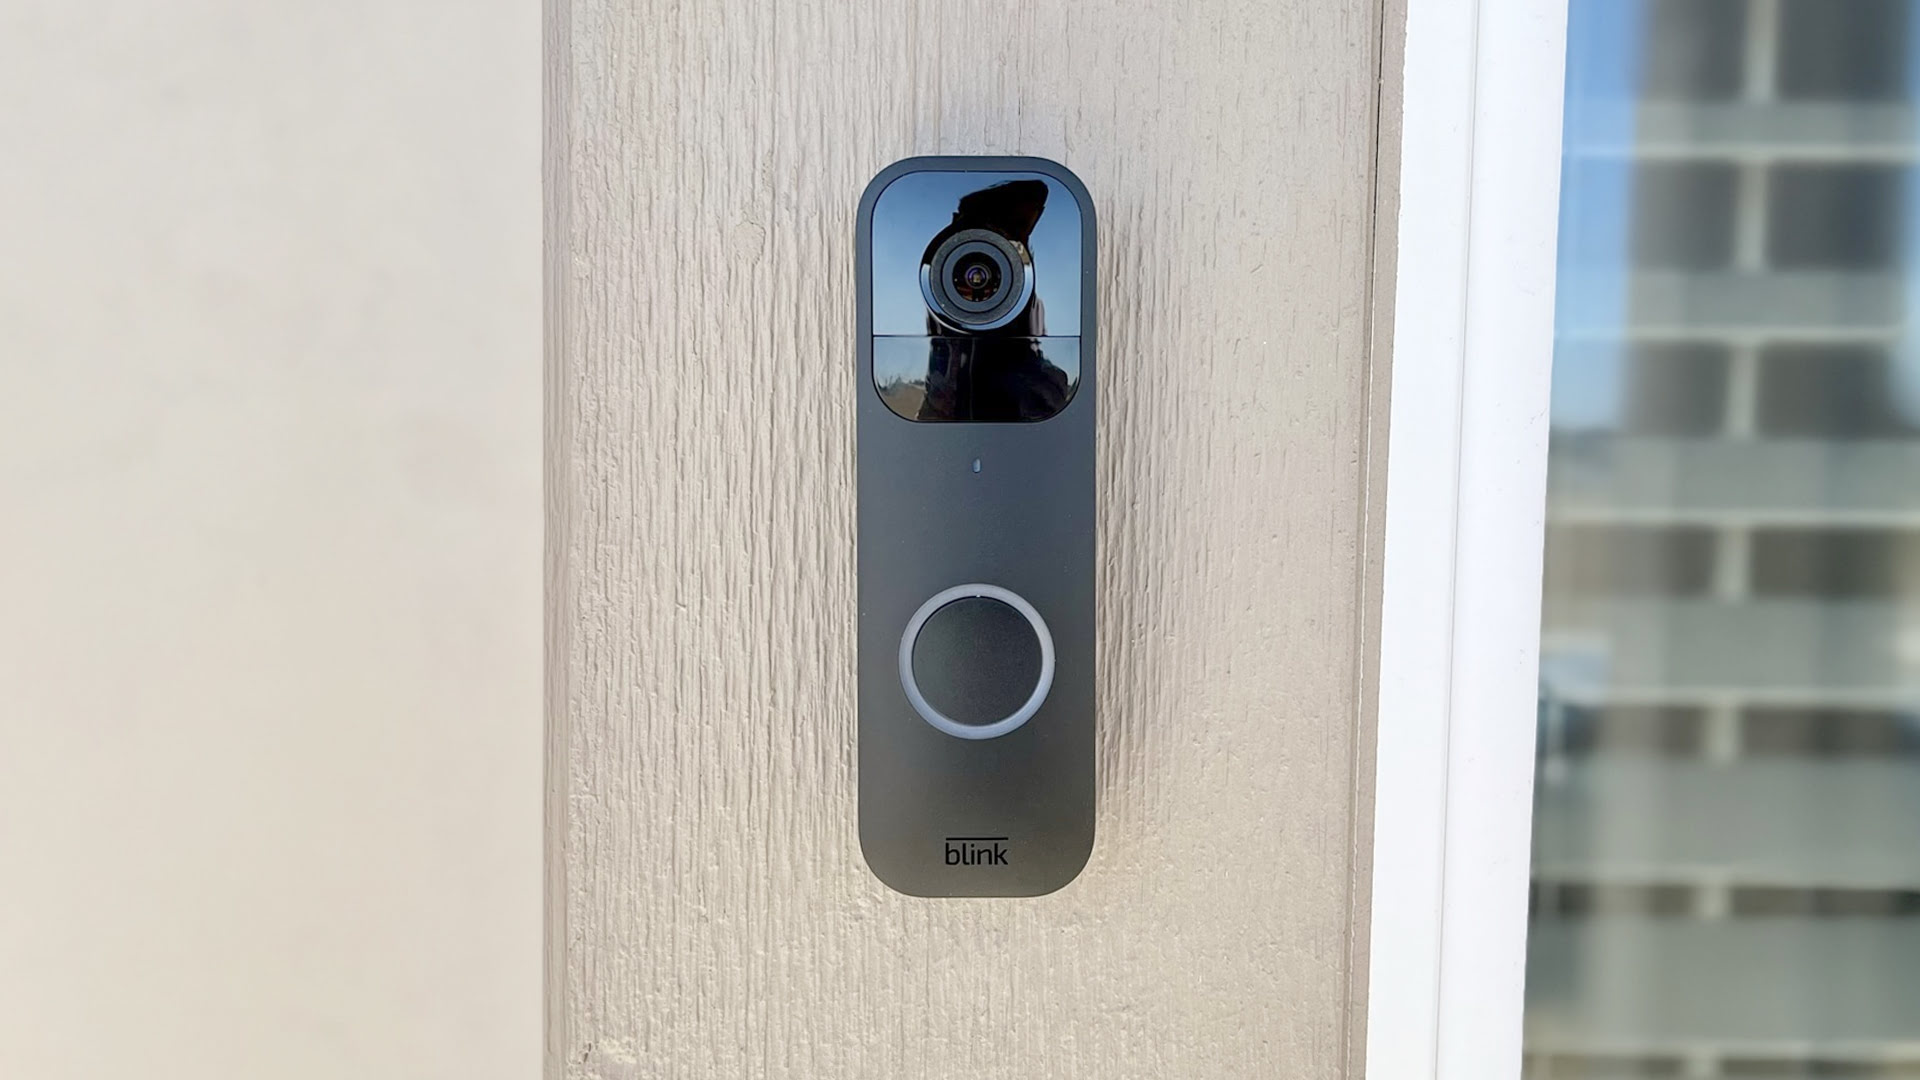
The Blink Doorbell is a wireless video doorbell that enables you to monitor who is at your door through a connected smartphone or tablet. With its sleek design and ease of use, it has become a popular choice for homeowners and renters alike. By following these instructions, you will be able to install your Blink Doorbell securely and have it up and running in no time.
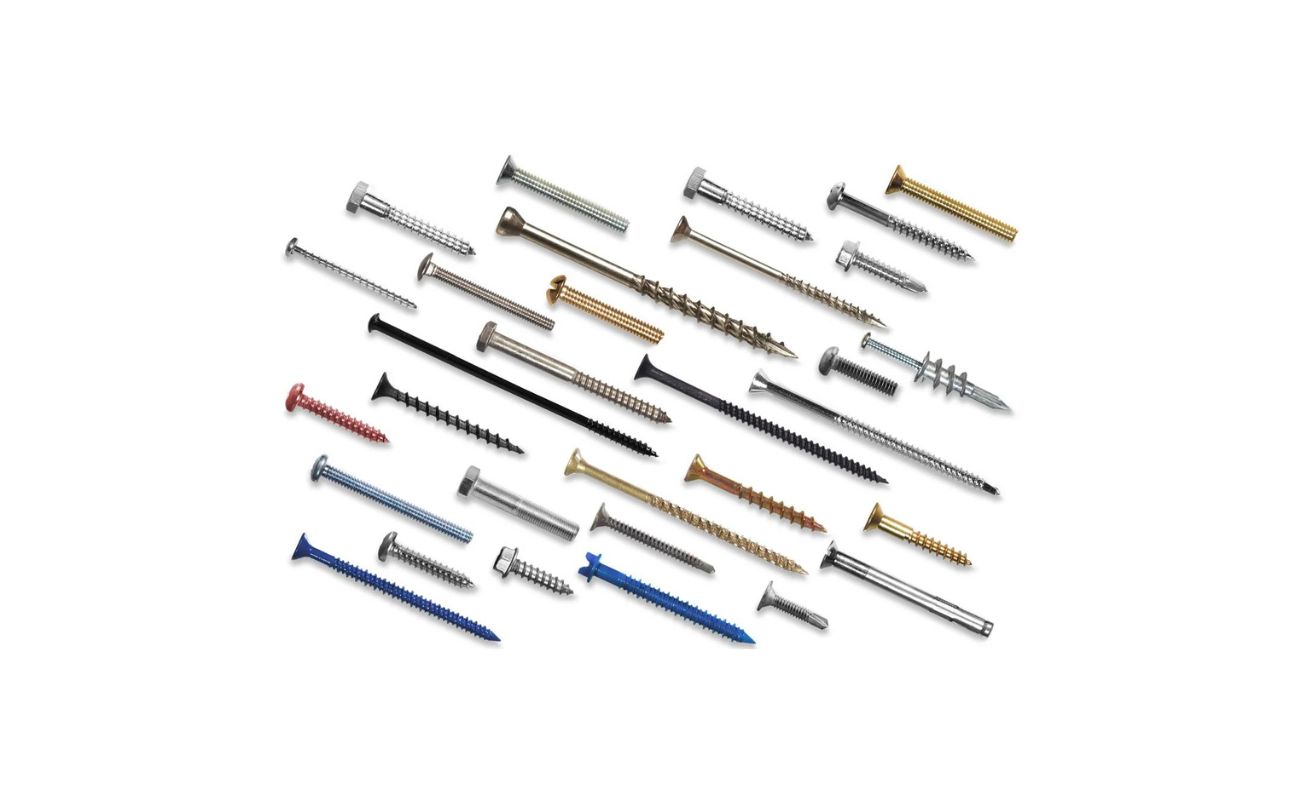
Before you begin the installation process, it is important to gather all the necessary materials and tools. These may include the Blink Doorbell itself, the adhesive mounting plate (included with the Blink Doorbell), a spirit level, a cleaning cloth, and a pencil. Additionally, make sure you have a suitable adhesive that is strong enough to hold the doorbell securely in place.
Now that you are prepared, let’s dive into the step-by-step process of installing the Blink Doorbell without screws.
Key Takeaways:
- Say goodbye to drilling and screws! Install the Blink Doorbell hassle-free with adhesive mounting. Enjoy wireless convenience and security without the need for invasive installation methods.
- Ensure a secure and functional installation by choosing the right adhesive, cleaning the doorframe, and testing the doorbell’s features. Experience the convenience and peace of mind of a wireless video doorbell system.
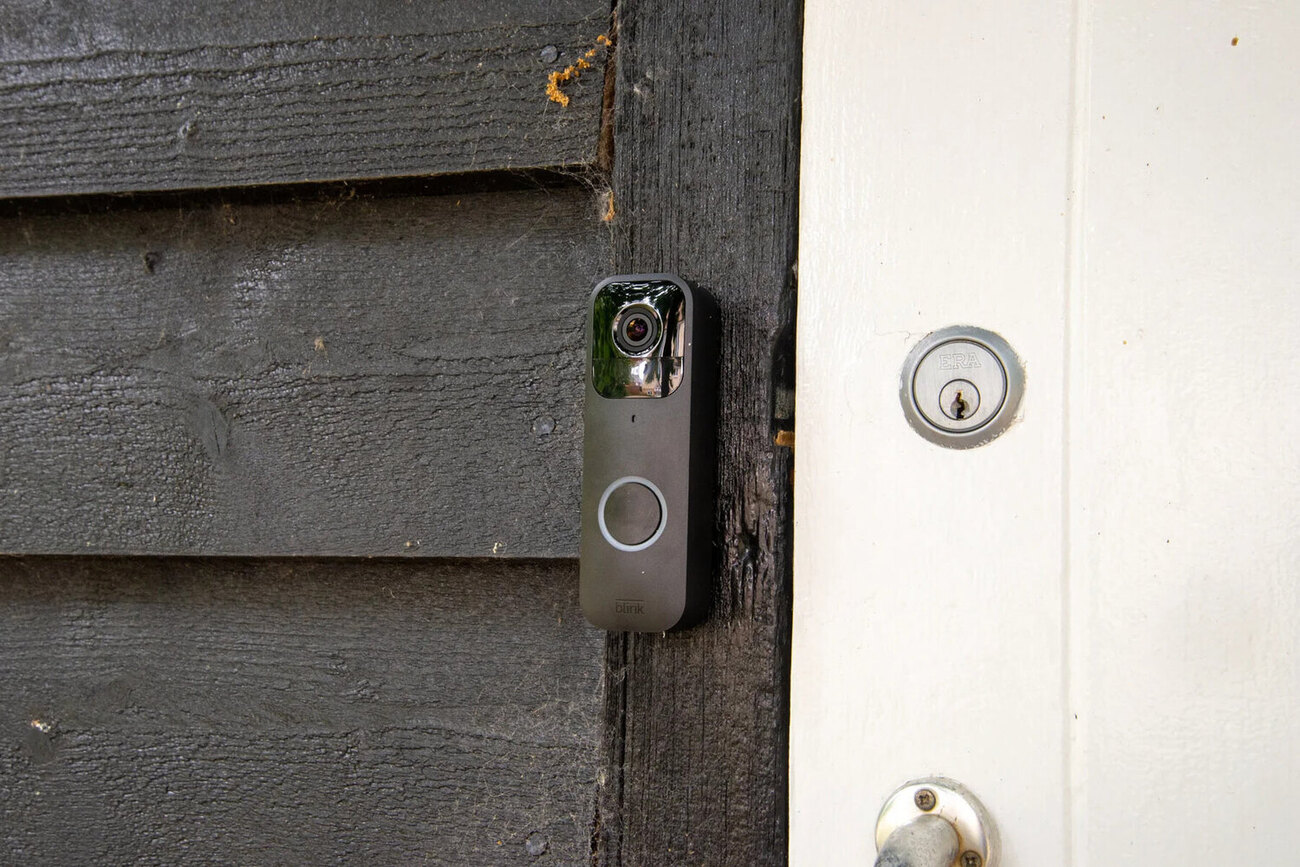
Step 1: Assessing Your Doorframe
Before proceeding with the installation, it is essential to assess your doorframe and determine the best location for mounting the Blink Doorbell. Take a moment to examine your doorframe and consider the following factors:
- Visibility: Choose a location that provides a clear view of your front porch or entryway. This will ensure that the Blink Doorbell can capture the best video footage and enable you to see who is at your door.
- Accessibility: Make sure that the location you choose is easily accessible for visitors to reach and press the doorbell button.
- Coverage: While it is important to have a clear view, you also want to consider any potential obstructions. Look for a spot that is not blocked by any objects, such as plants or decorations, that may interfere with the doorbell’s functionality.
- Wi-Fi Signal: The Blink Doorbell relies on a strong Wi-Fi connection to function properly. Ensure that the chosen location has a good signal strength to maintain a reliable connection.
Take these factors into account and select the optimal position for your Blink Doorbell. Once you have decided on a location, it’s time to move on to the next step of the installation process.
Step 2: Preparing the Blink Doorbell
Before mounting the Blink Doorbell, it is important to properly prepare it for installation. Here are the necessary steps:
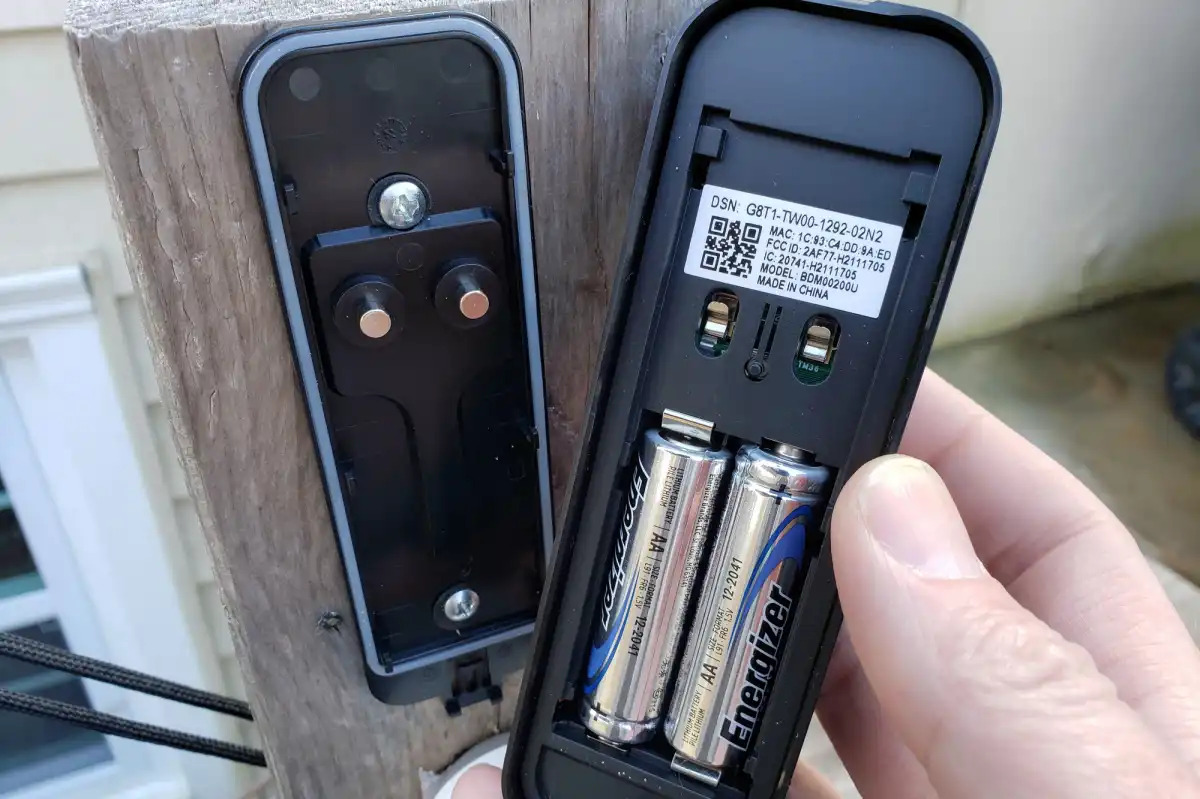
- Unbox the Blink Doorbell: Start by unboxing the Blink Doorbell and removing all the components from the packaging. Make sure you have the doorbell unit, adhesive mounting plate, and any other accessories that may be included.
- Check the Battery Level: The Blink Doorbell is powered by batteries, so it is crucial to ensure that they are fully charged. If needed, you can charge the batteries using the provided charging cable and an electrical outlet.
- Download the Blink App: To set up and manage your Blink Doorbell, you will need to download the Blink App on your smartphone or tablet. The app is available for both iOS and Android devices. Follow the instructions on the app to create a Blink account and connect your Blink Doorbell.
- Sync the Doorbell: Once you have downloaded the app and created an account, you will need to sync your Blink Doorbell with the app. Refer to the manufacturer’s instructions for the specific steps to perform this synchronization.
By completing these steps, you will ensure that your Blink Doorbell is ready for installation and fully functional. Now that you have prepared the doorbell, let’s move on to the next step: choosing a suitable adhesive to mount the Blink Doorbell.
Step 3: Choosing a Suitable Adhesive
Choosing the right adhesive is crucial to ensure that your Blink Doorbell is securely mounted on your doorframe. Here are a few factors to consider when selecting a suitable adhesive:
- Strength: Look for an adhesive that has a strong bond and is capable of holding the weight of the doorbell. Check the product specifications and reviews to ensure that it is suitable for mounting electronic devices.
- Weather Resistance: Since the Blink Doorbell is installed on the exterior of your home, it is essential to choose an adhesive that can withstand various weather conditions. It should be resistant to rain, heat, and cold to ensure a long-lasting installation.
- Removability: Consider whether you want an adhesive that can be easily removed without causing damage to your doorframe. If you are renting or plan to move in the future, you may prefer an adhesive that allows for clean removal.
- Compatibility: Some adhesives may not adhere well to certain surfaces, such as metal or plastic. Check the product instructions to ensure that it is compatible with the material of your doorframe.
After considering these factors, you can choose an adhesive that meets your requirements. Double-sided adhesive tape or outdoor mounting tape are commonly used for installing doorbells without screws. These options offer strong adhesion and weather resistance.
Once you have selected the adhesive, make sure to have it readily available before proceeding with the installation. In the next step, we will discuss how to clean the doorframe to ensure an optimal bonding surface.
Step 4: Cleaning the Doorframe
Before applying the adhesive and mounting the Blink Doorbell, it is crucial to properly clean the doorframe. This step ensures a smooth and secure bond between the adhesive and the surface. Here’s how to clean the doorframe:
- Gather Cleaning Supplies: Prepare a cleaning cloth, mild detergent, and warm water. Avoid using harsh chemicals or abrasive materials that may damage the doorframe.
- Dampen the Cloth: Moisten the cleaning cloth with the diluted detergent solution. Make sure it is not overly saturated to prevent water damage.
- Wipe the Doorframe: Gently wipe the doorframe with the damp cloth, focusing on the area where you plan to mount the Blink Doorbell. Remove any dirt, dust, or debris that may hinder the adhesive’s bonding capability. Pay extra attention to ensure the surface is clean and dry.
- Dry the Doorframe: Use a clean, dry cloth to wipe the doorframe and ensure it is completely dry. Moisture or residue can interfere with the adhesive’s effectiveness.
By properly cleaning the doorframe, you create an optimal surface for the adhesive to adhere to. This ensures a solid and reliable bond between the doorbell and the doorframe. Once the doorframe is clean and dry, you are ready to move on to the next step: mounting the Blink Doorbell.
When installing a Blink doorbell without screws, use strong adhesive strips or mounting tape to securely attach the doorbell to the wall or door. Make sure to clean the mounting surface thoroughly before applying the adhesive for better adhesion.
Read more: How To Install A Blink Video Doorbell
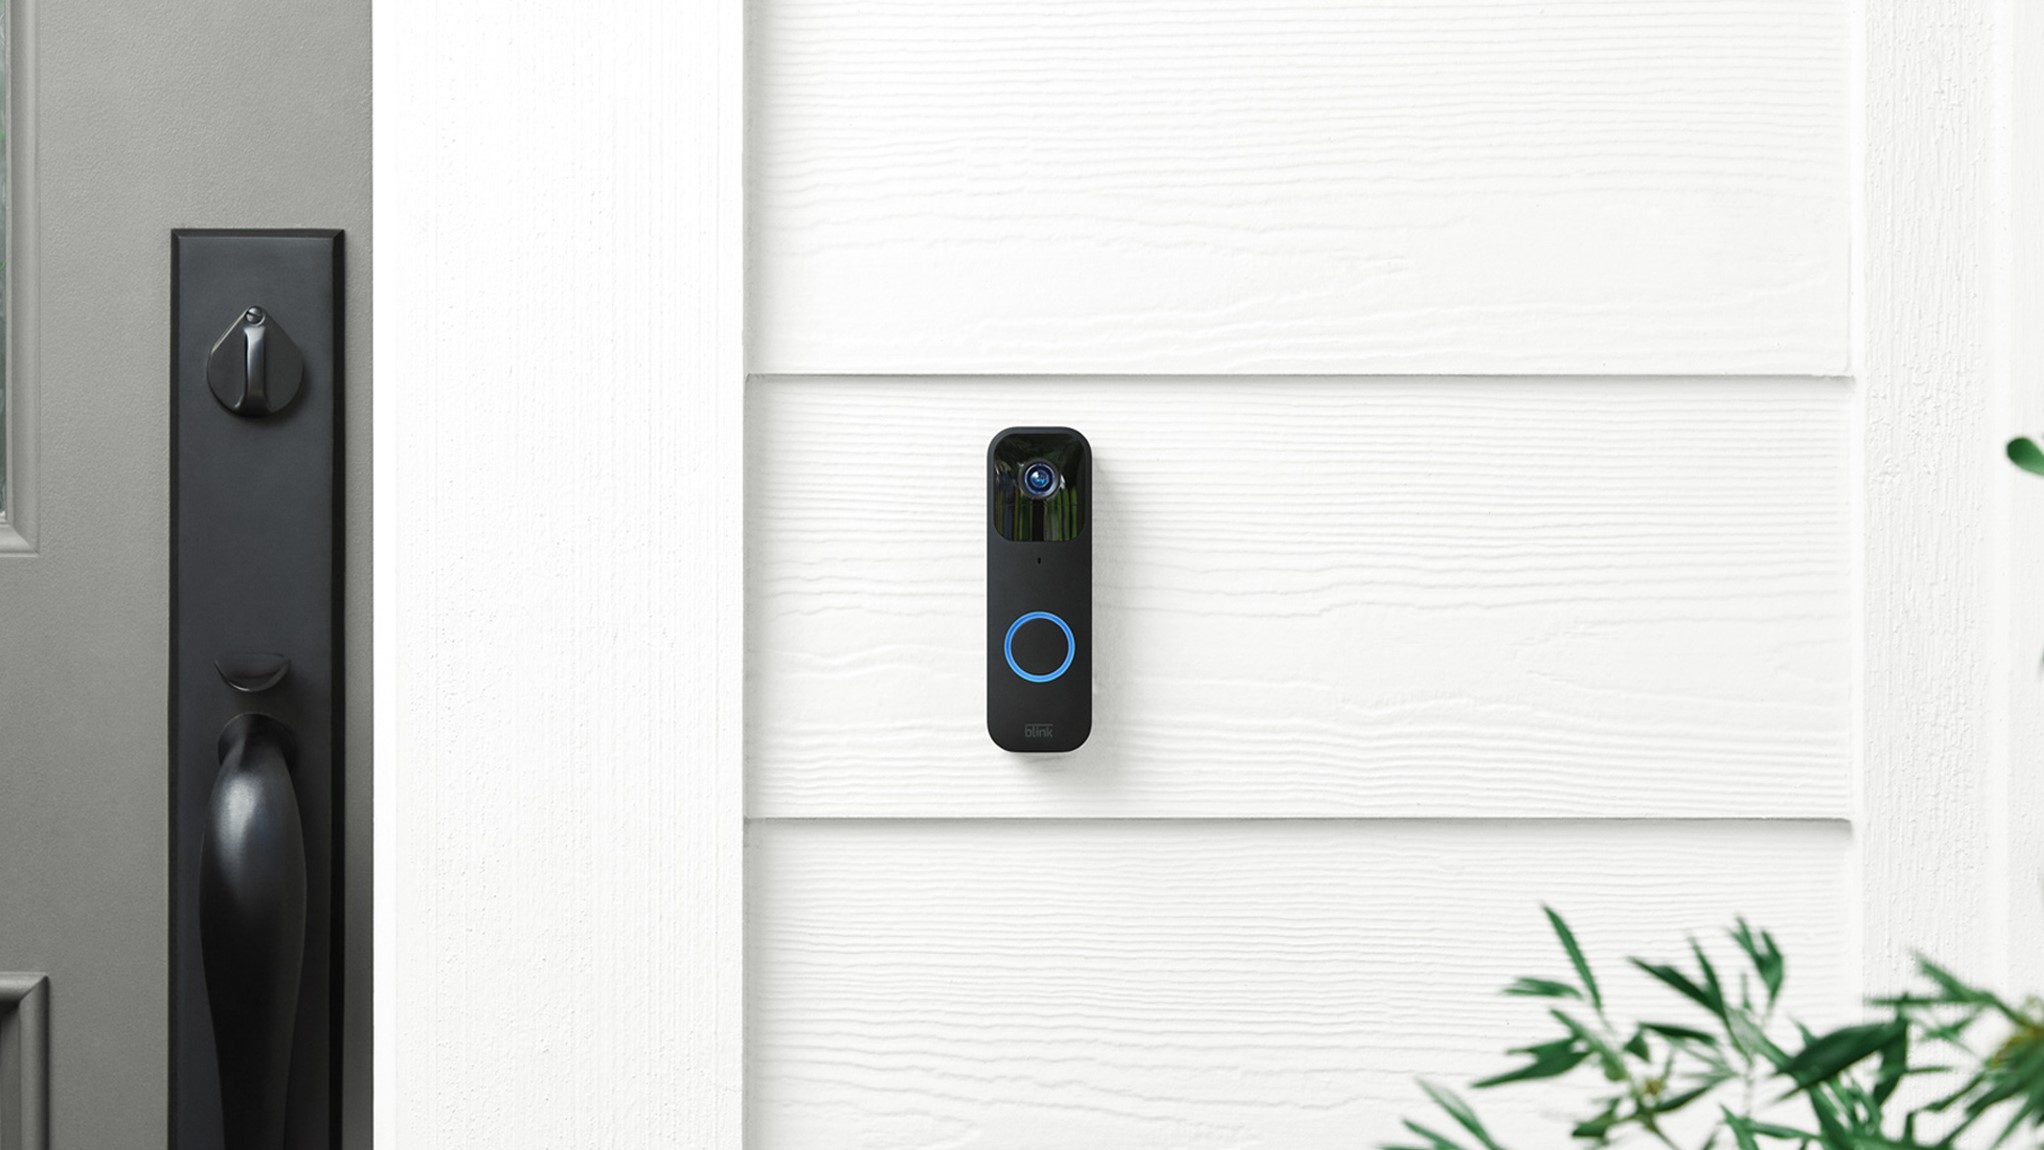
Step 5: Mounting the Blink Doorbell
With the doorframe cleaned and prepared, it’s time to mount the Blink Doorbell. Follow these steps to ensure a proper installation:
- Prepare the Adhesive Mounting Plate: Take the adhesive mounting plate that came with the Blink Doorbell and attach it to the back of the doorbell unit. Ensure it is securely in place and aligned correctly.
- Peel off the Protective Film: If the adhesive mounting plate has a protective film covering the adhesive, carefully peel it off to expose the adhesive surface.
- Position the Doorbell: Align the adhesive mounting plate with the chosen location on the doorframe. Use a spirit level to ensure the doorbell is straight and level.
- Press the Doorbell Firmly: Once the doorbell is properly positioned, press it firmly against the doorframe. Apply consistent pressure for a few seconds to ensure a strong bond between the adhesive and the surface.
- Hold in Place: If necessary, continue holding the doorbell in place for a few more minutes to allow the adhesive to set and bond securely.
It is important to follow the manufacturer’s instructions and recommendations for the specific Blink Doorbell model you are installing. Some models may have slight variations in the mounting process, so refer to the user manual for any additional guidance.
Now that the Blink Doorbell is securely mounted, we can proceed to the next step: securing the doorbell in place to prevent tampering or theft.
Step 6: Securing the Doorbell in Place
After mounting the Blink Doorbell, it is important to take extra measures to secure it in place. This helps prevent tampering or theft and ensures the longevity of your installation. Follow these steps to secure your Blink Doorbell:
- Attach Security Screws (if available): Check if your Blink Doorbell comes with security screws. These screws can be inserted into designated holes on the device to provide an extra layer of security. Use a screwdriver to tighten them, making sure they are flush with the doorbell.
- Enable Enclosure Tamper Detection (if available): Some Blink Doorbell models have a tamper detection feature that alerts you if the device is tampered with or removed from its mounting. Check the settings in the Blink App or the manufacturer’s instructions to enable this feature for added security.
- Consider Additional Protection: If desired, you can explore other security measures to enhance the protection of your Blink Doorbell. This may include installing a security camera nearby, adding motion-activated lights, or even using a protective cover designed specifically for your Blink Doorbell model.
By taking these steps to secure the Blink Doorbell, you can have peace of mind knowing that your doorbell is well-protected and less likely to be tampered with. Now that the doorbell is secured, let’s move on to the final step: testing and adjusting the doorbell to ensure it functions properly.
Step 7: Testing and Adjusting the Doorbell
Now that you have installed the Blink Doorbell without screws and secured it in place, it’s time to test and adjust the doorbell to ensure it’s functioning properly. Follow these steps:
- Activate the Doorbell: Open the Blink App on your smartphone or tablet and ensure that your Blink Doorbell is connected and online.
- Test the Doorbell Button: Press the doorbell button to trigger a notification on your smartphone or tablet. Check if you receive an alert and if the live video feed appears on the app.
- Check the Video Quality: Pay attention to the video quality and clarity of the live feed. Make sure the camera captures a clear view of the door and provides a good visual representation.
- Adjust Camera Angle (if needed): If the camera angle needs adjustment, use the Blink App to make necessary changes. This ensures you have the best view possible and eliminates any blind spots.
- Test the Two-Way Communication: Use the app to test the two-way communication feature. Speak into your smartphone or tablet and check if the sound is transmitted clearly through the doorbell’s speaker.
By following these testing and adjustment steps, you can ensure that your Blink Doorbell is fully operational and ready to use. If you encounter any issues during the testing process, refer to the Blink user manual or contact customer support for further assistance.
Congratulations! You have successfully installed and tested the Blink Doorbell without screws. Now you can enjoy the convenience and security of monitoring your doorstep with this innovative wireless doorbell system.
Remember to periodically check and clean the doorbell unit to maintain optimal performance. Additionally, keep an eye on the battery level and recharge as needed to ensure uninterrupted functionality.
If you decide to move or remove the doorbell in the future, refer to the manufacturer’s instructions for proper removal to avoid any damage to the doorframe. With proper installation and maintenance, your Blink Doorbell can provide reliable performance for years to come.
Thank you for choosing Blink Doorbell and for following our installation guide. We hope this article has been helpful in assisting you with the installation process.
Conclusion
Installing a doorbell without screws can be a practical and convenient solution for homeowners and renters alike. By following the step-by-step guide outlined in this article, you have learned how to install the Blink Doorbell without the need for drilling or screws.
We began by assessing the doorframe and choosing an ideal location for mounting the Blink Doorbell. Then, we prepared the doorbell unit, ensuring that it was fully charged and synced with the Blink App on your smartphone or tablet.
Next, we explored the process of selecting a suitable adhesive for mounting the doorbell. We discussed factors such as adhesive strength, weather resistance, and compatibility with the doorframe material.
After that, we emphasized the importance of cleaning the doorframe thoroughly to provide an optimal surface for the adhesive to bond with. By using a gentle cleaning solution and wiping the doorframe dry, you ensure a secure installation.
Following the cleaning process, we proceeded to mount the Blink Doorbell by attaching the adhesive mounting plate and securing it firmly to the doorframe. We also discussed additional steps for increasing security, such as using security screws and enabling tamper detection.
Lastly, we covered the importance of testing and adjusting the doorbell to ensure its proper functioning. Through the Blink App, you can test the doorbell button, check video quality, adjust the camera angle, and test the two-way communication features.
With the completion of these installation steps, you can now enjoy the convenience and peace of mind that comes with having a wireless video doorbell system. The Blink Doorbell allows you to monitor your front porch or entryway and communicate with visitors from wherever you are.
Remember to periodically maintain and clean your Blink Doorbell to ensure optimal performance. Keep an eye on the battery level and recharge as needed to keep the doorbell functioning smoothly.
Thank you for choosing Blink Doorbell and for following our comprehensive installation guide. We hope this article has provided you with the necessary knowledge to successfully install and utilize the Blink Doorbell without screws.
Frequently Asked Questions about How To Install Blink Doorbell Without Screws
Was this page helpful?
At Storables.com, we guarantee accurate and reliable information. Our content, validated by Expert Board Contributors, is crafted following stringent Editorial Policies. We're committed to providing you with well-researched, expert-backed insights for all your informational needs.


0 thoughts on “How To Install Blink Doorbell Without Screws”