Articles
When To Stain New Fence
Modified: January 8, 2024
Discover when to stain a new fence with our informative articles. Get expert tips and guidance to ensure your fence stays protected and looking beautiful.
(Many of the links in this article redirect to a specific reviewed product. Your purchase of these products through affiliate links helps to generate commission for Storables.com, at no extra cost. Learn more)
Introduction:
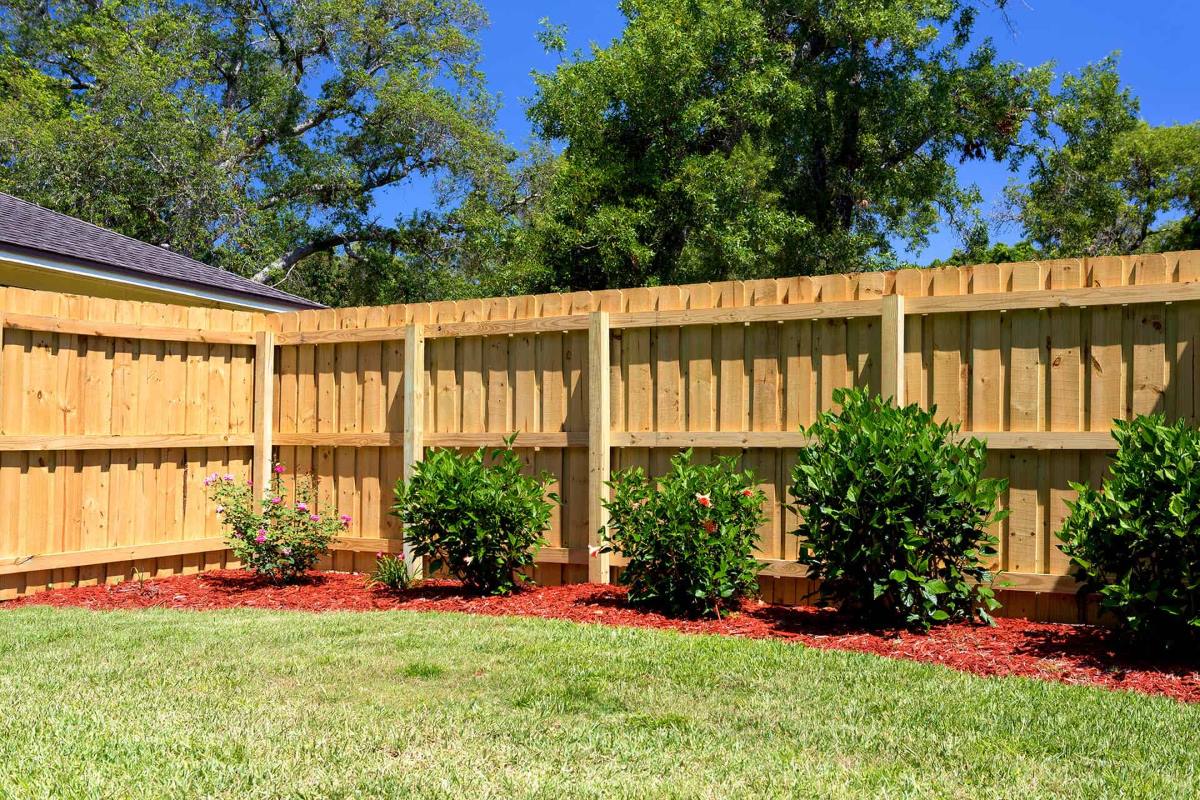
When To Stain a New Fence
Staining a new fence is an essential step in protecting it from the elements and prolonging its lifespan. However, knowing the optimal time to apply the stain can be a confusing task for many homeowners. Factors such as weather conditions, the type of wood, and the age of the fence all play a vital role in determining the right time to stain a new fence.
In this article, we will discuss the factors that need to be considered before staining a new fence, the best time to apply the stain, how to prepare the fence, choosing the right stain, and the process of applying the stain. We will also touch on the maintenance and re-staining of a new fence to ensure its long-lasting beauty and protection.
So, if you’re planning to install a new fence or have recently installed one and want to know when to stain it, keep reading for all the information you need to make an informed decision.
Key Takeaways:
- Properly timing the staining of a new fence is crucial for optimal absorption and protection. Factors such as wood age, moisture content, and weather conditions play a key role in determining the best time to stain.
- Choosing the right stain and applying it properly are essential for enhancing the wood’s natural beauty and protecting the fence from the elements. Regular maintenance and re-staining when necessary are key to ensuring the long-lasting beauty and durability of a stained fence.
Read more: When To Stain A New Cedar Fence
Factors to Consider Before Staining a New Fence
Before jumping into staining your new fence, there are several important factors to consider. These factors will help determine whether the wood is ready for staining and ensure that the stain adheres properly, providing maximum protection and durability.
- Age of the Wood: One crucial factor to consider is the age of the wood. Generally, it is recommended to wait at least 4-6 weeks before staining a new fence. This waiting period allows the wood to dry and cure properly, ensuring that the stain will penetrate and bond effectively.
- Weather Conditions: Another important factor is the weather conditions. It is ideal to stain the fence when the weather is dry and mild, with temperatures ranging between 50 to 90 degrees Fahrenheit. Staining in extreme temperatures or high humidity can affect the outcome and longevity of the stain.
- Wood Moisture Content: The moisture content of the wood is critical for a successful staining process. Use a moisture meter to measure the moisture level in the wood. The optimal moisture content for staining is generally around 12% or lower. If the moisture content is higher, it is advisable to wait until it drops before proceeding with staining.
- Wood Type: Different types of wood may require different approaches when it comes to staining. Some woods, such as cedar or redwood, have natural oils and tannins that can hinder the absorption of the stain. In such cases, it is recommended to use a pre-stain wood conditioner to prepare the surface and promote even absorption of the stain.
- Protection from the Elements: Consider the location of your fence and the exposure it will have to the elements. If the fence is highly exposed to sunlight, rain, or harsh weather conditions, it is advisable to choose a stain with UV protection and water-resistant properties. This will help protect the wood from fading, discoloration, and rot.
By taking these factors into account, you can ensure that your new fence is ready for staining and that the stain will provide long-lasting protection and enhance the beauty of your outdoor space. Now that we’ve discussed the factors to consider, let’s move on to determining the best time to stain a new fence.
The Best Time to Stain a New Fence
The timing is crucial when it comes to staining a new fence. Staining at the right time ensures that the stain adheres properly, enhances the wood’s natural beauty, and protects it from the elements for years to come. So when is the best time to stain a new fence? Let’s find out.
As mentioned earlier, it is generally recommended to wait 4-6 weeks after installing a new fence before staining. This waiting period allows the wood to dry and cure properly, ensuring optimal stain absorption. However, the specific timing within this window will depend on various factors, including the weather conditions and the wood’s moisture content.
During the waiting period, monitor the moisture content of the wood regularly. Use a moisture meter to check the levels, focusing on areas that receive less airflow and are more prone to retaining moisture. Once the moisture content is around 12% or lower, it is a good indication that the wood is ready for staining.
Additionally, consider the weather conditions when planning to stain your new fence. Ideally, stain on a dry day with mild temperatures, preferably between 50 to 90 degrees Fahrenheit. Avoid staining in high humidity, extreme temperatures, or during rainy or windy conditions as these can impact the stain’s performance and longevity.
Another factor to consider is the amount of direct sunlight the fence receives. Staining in direct sunlight can cause the stain to dry too quickly, potentially leading to uneven absorption or stain failure. If possible, choose a time of day when the fence is shaded or wait for a cloudy day to ensure the stain can be applied and penetrate the wood properly.
Furthermore, it’s important to stagger the staining process to ensure that the entire fence receives equal treatment. Start staining at one end and work your way to the other end, allowing enough time for each section to dry before moving on. This method ensures consistent application and minimizes the risk of overlap marks or uneven coloration.
By considering the waiting period, monitoring the wood’s moisture content, and choosing the right weather conditions, you can determine the best time to stain your new fence. This will help achieve optimal results, ensuring that the stain enhances the wood’s appearance while protecting it from the outdoor elements.
Now that you know when to stain a new fence let’s move on to the next step – preparing the fence for staining.
Preparing the Fence for Staining
Properly preparing the new fence before staining is crucial for achieving a professional and long-lasting finish. Follow these steps to ensure your fence is ready for the stain:
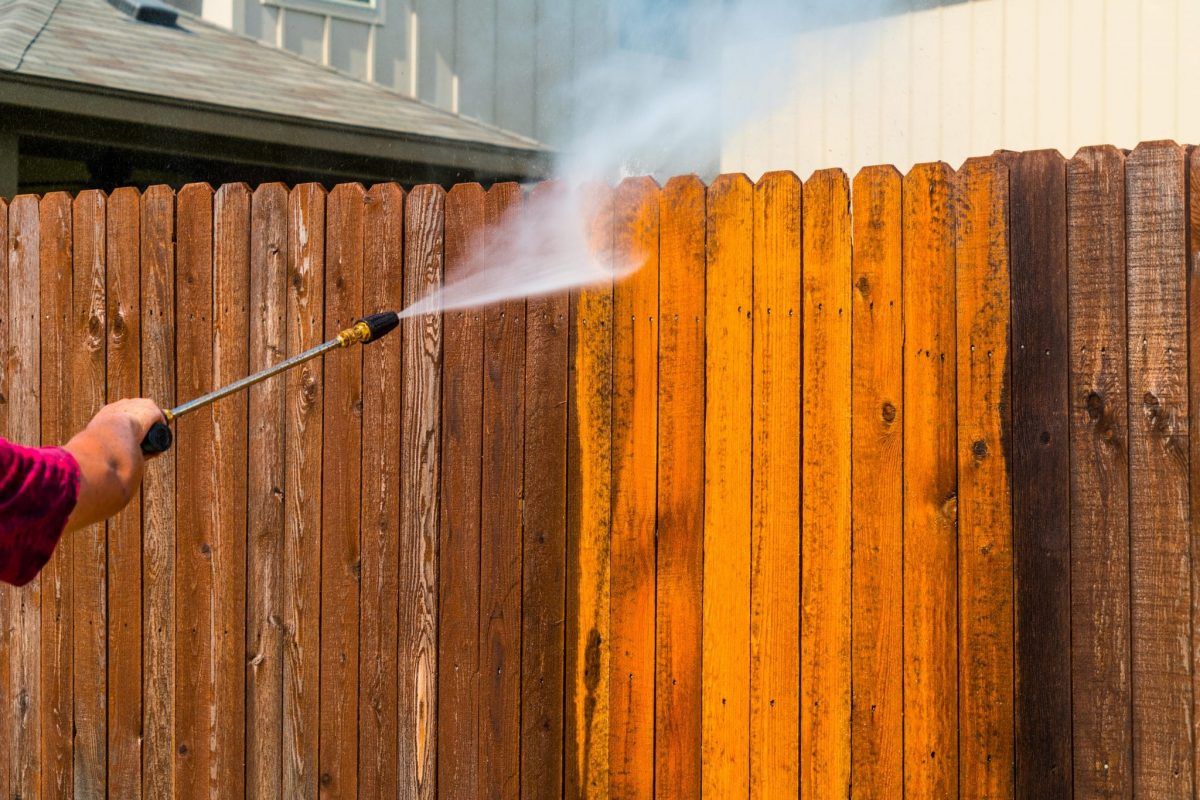
- Clean the Surface: Begin by thoroughly cleaning the fence to remove any dust, dirt, and debris. Use a pressure washer or a garden hose with a high-pressure nozzle to wash away the surface contaminants. If there are any mold or mildew growth, use a mild bleach solution to eliminate them. Allow the fence to dry completely before moving on to the next step.
- Remove Loose Wood Fibers: After cleaning, inspect the fence for any loose wood fibers. Use a stiff brush or sandpaper to lightly sand the surface, removing any rough or splintered areas. This step will ensure a smooth and even stain application.
- Apply Wood Brightener (If Necessary): If the wood has grayed or weathered, it may benefit from a wood brightener. Apply the brightener according to the manufacturer’s instructions and allow it to sit for the recommended time. This step will restore the wood’s natural color and prepare it for the stain.
- Protect Surrounding Areas: Before applying the stain, protect any nearby plants, windows, or other surfaces from overspray or drips. Cover them with plastic sheets or use masking tape to create barriers. This precaution will save you time and effort when it comes to cleaning up later.
Once you have completed these preparation steps, your fence will be ready to be stained. Take the time to ensure that the surface is clean, smooth, and free from any contaminants. This will help the stain adhere properly and provide optimal protection for the wood.
Now that the fence is prepped, let’s move on to choosing the right stain for your new fence.
Stain a new fence once the wood has dried out, typically after 3-4 weeks of installation. This allows the wood to acclimate and ensures better absorption of the stain.
Choosing the Right Stain for a New Fence
Choosing the right stain for your new fence is essential to achieve the desired look and provide long-lasting protection. With a wide range of stains available on the market, it’s important to consider the following factors when making your selection:
- Opacity: Stains come in different opacities, including clear, transparent, semi-transparent, and solid. Clear and transparent stains allow the natural grain of the wood to show through, while semi-transparent stains provide a subtle tint. Solid stains offer more coverage and hide the wood grain. Consider the level of visibility you want for your fence when deciding on the opacity.
- Color: Stains come in various colors, ranging from natural wood tones to more vibrant hues. Consider the overall aesthetic of your outdoor space and the desired look for your fence. Opt for colors that complement your home’s exterior or blend well with the surrounding landscape.
- UV Protection and Water Resistance: Look for stains that offer UV protection and water resistance properties. These features help protect the wood from sun damage, fading, and rot. UV protection is particularly important if your fence is exposed to direct sunlight for extended periods.
- Penetrating vs. Film-forming: Stains can either penetrate the wood or form a film on the surface. Penetrating stains seep into the wood, allowing it to breathe and age naturally. Film-forming stains create a protective layer on top of the wood, offering enhanced durability but potentially altering the wood’s appearance.
- Environmentally-Friendly Options: If being eco-friendly is a priority for you, consider choosing a stain that is labeled as environmentally-friendly or low in VOC (Volatile Organic Compounds). These stains are safer for the environment and for you during the application process.
Once you’ve considered these factors, visit your local home improvement store or consult with a professional to explore the stain options available. Test a small area of the fence with your chosen stain to ensure that you are happy with the color and overall appearance before proceeding to stain the entire fence.
Now that you’ve chosen the right stain, let’s move on to the process of applying the stain to your new fence.
Read more: What Is The Best Stain For A Fence
How to Apply Stain to a New Fence
Now that you have chosen the right stain for your new fence, it’s time to learn how to apply it properly. Follow these steps to ensure a smooth and professional-looking finish:
- Prepare the Stain: Start by thoroughly mixing the stain according to the manufacturer’s instructions. This will ensure consistent color and coverage throughout the application process.
- Protect Yourself: Before beginning the staining process, make sure to protect yourself by wearing appropriate safety gear. This includes gloves, safety glasses, and a mask to avoid inhalation of fumes.
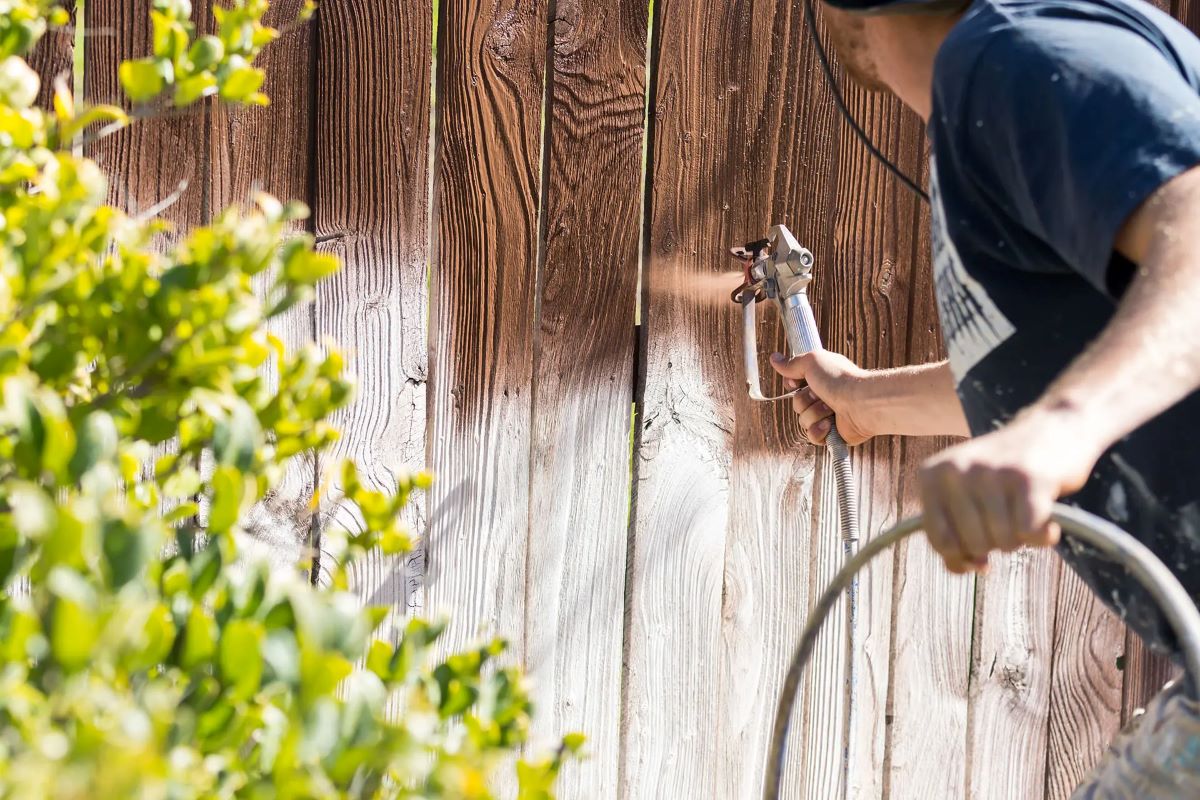
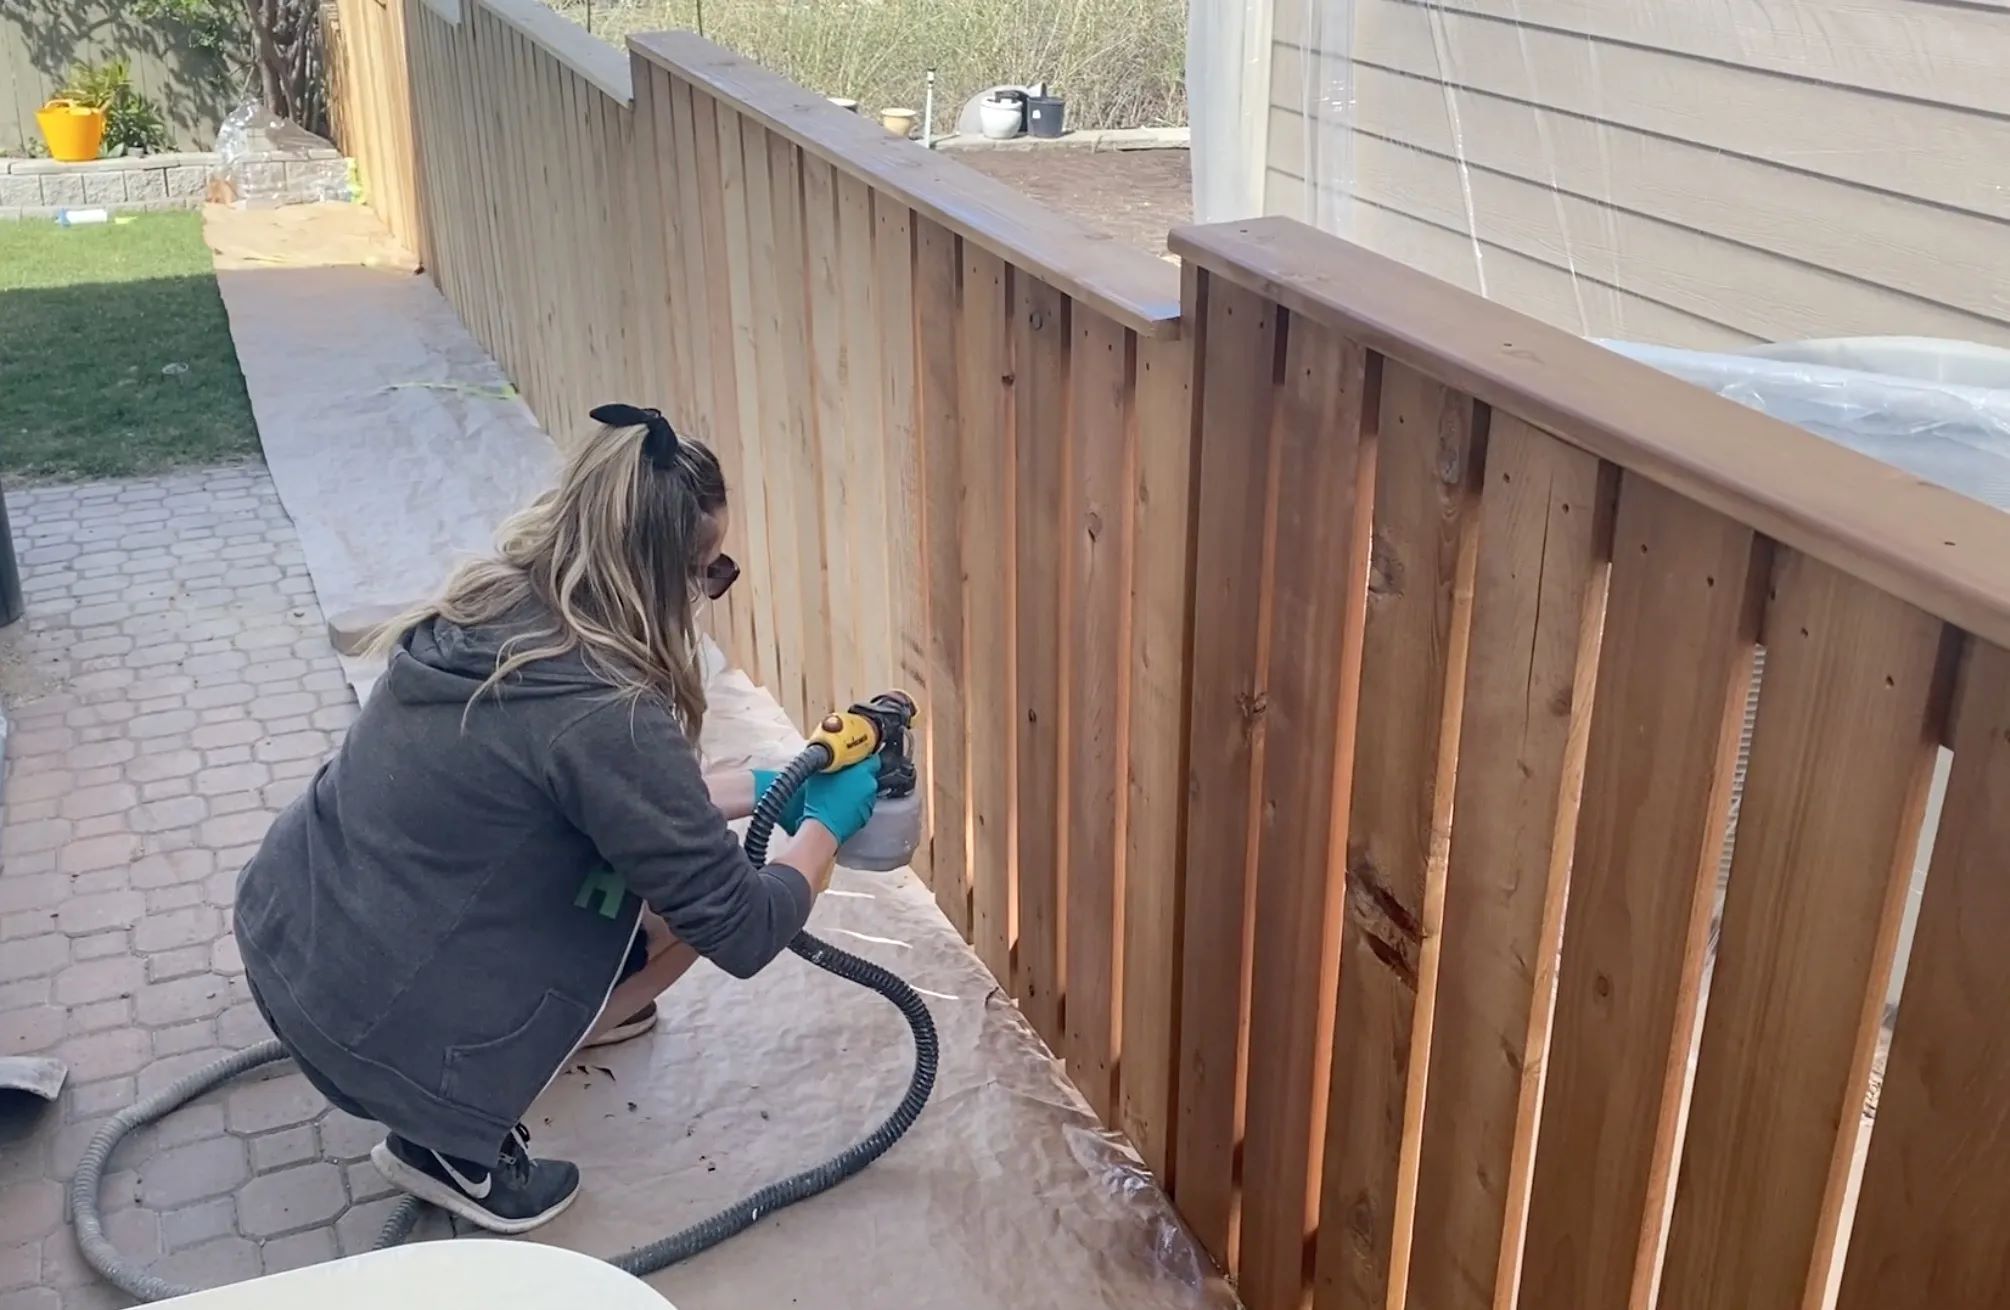
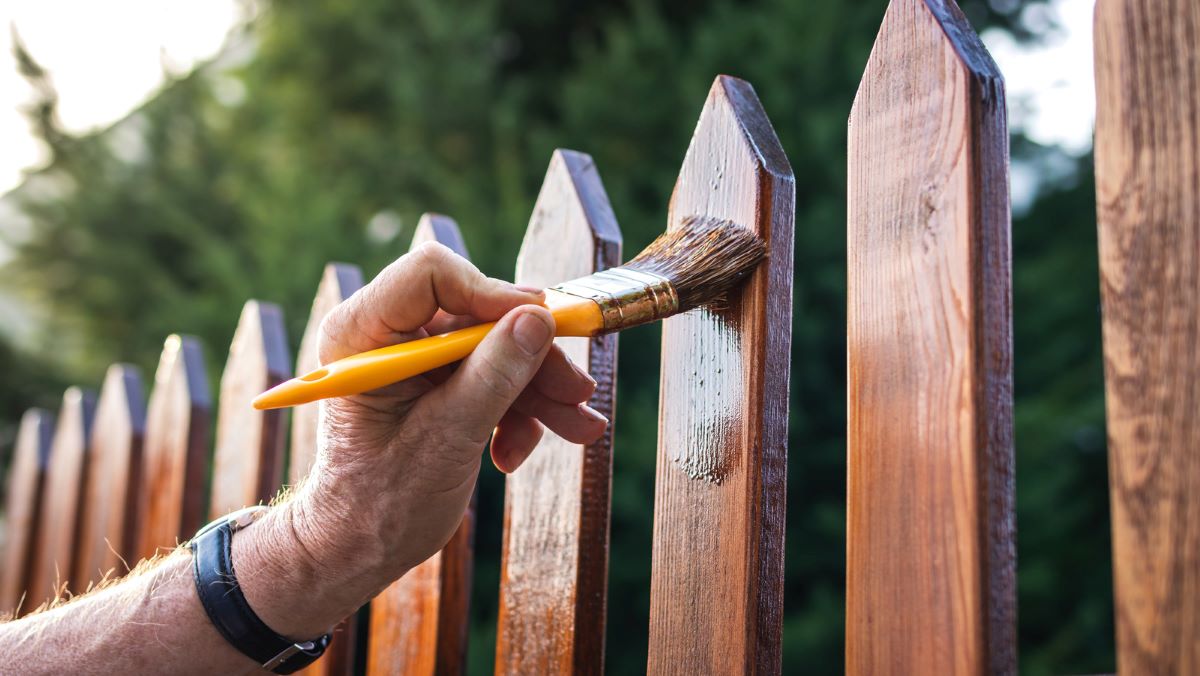
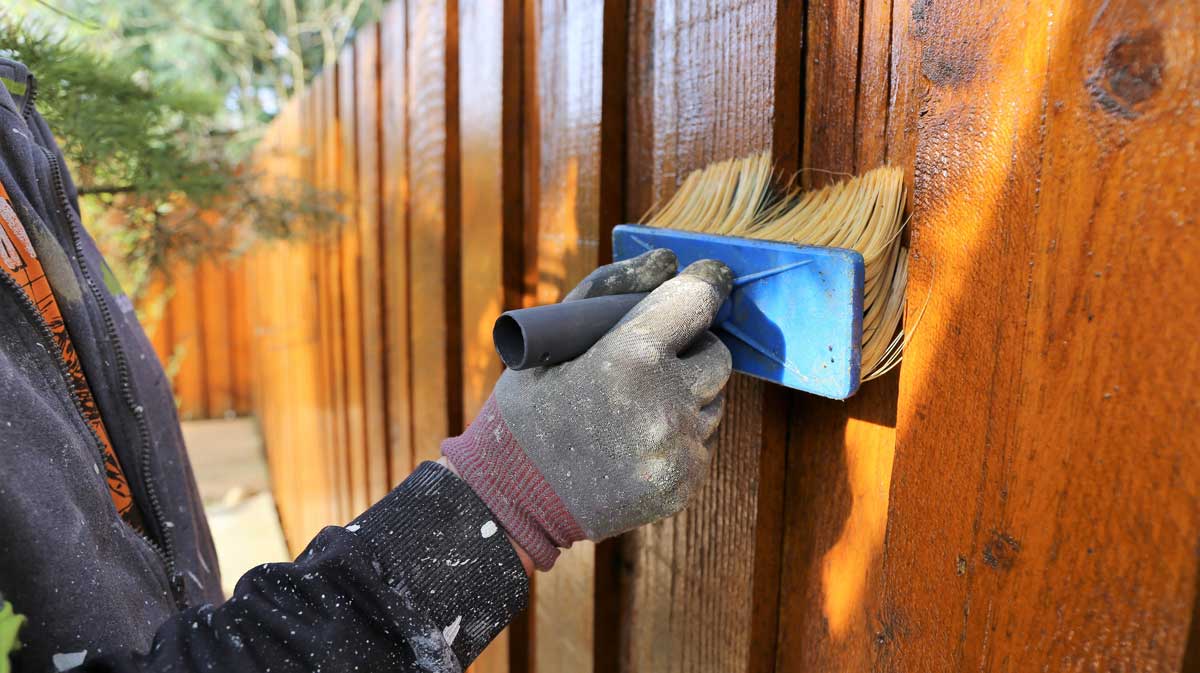
- Apply the Stain: Use a brush, roller, or sprayer to apply the stain. Start from the top of the fence and work your way down, ensuring even coverage on each section. If using a brush or roller, apply the stain in the direction of the wood grain for a more natural look.
- Work in Small Sections: To avoid drying or overlap marks, work in small sections at a time. Apply the stain evenly, making sure not to oversaturate the wood. Follow the instructions on the stain can for recommended drying time before moving on to the next section.
- Wipe off Excess Stain: After applying the stain, use a clean cloth or rag to wipe off any excess or drips that may have accumulated. This will help prevent blotching or uneven coloration.
- Allow for Drying Time: Once you have finished applying the stain, allow sufficient drying time before touching or applying a second coat. Follow the manufacturer’s instructions for recommended drying time, as it can vary depending on the specific stain you are using.
- Apply Second Coat (If Desired): If you want a darker or richer color, you can apply a second coat of stain. Make sure to check the drying time between coats and follow the same application process as the first coat.
- Clean Up: Properly clean your tools and equipment with soap and water or the recommended cleaning solution for the stain you used. Dispose of any unused stain or empty cans following the appropriate disposal guidelines.
Remember, it’s important to follow the manufacturer’s instructions for the specific stain you are using, as application techniques and drying times may vary.
Once you’ve completed the staining process and allowed sufficient drying time, your new fence will be beautifully enhanced and protected. However, the maintenance and re-staining of a fence are equally important to ensure its long-lasting beauty and durability.
In the next section, we will discuss how to properly maintain and re-stain your new fence.
Maintaining and Re-staining a New Fence
Maintaining your newly stained fence is essential to keep it looking its best and protecting it from the elements. Here are some key tips for maintaining and re-staining your new fence:
- Clean Regularly: Regularly clean your fence to remove dirt, debris, and mildew. Use a brush or a low-pressure power washer to gently scrub the surface and maintain its appearance. Avoid using harsh chemicals or abrasive cleaners that could damage the stain or the wood.
- Inspect for Damage: Periodically inspect your fence for any signs of damage, such as cracked or splintered wood. Repair any small damaged areas immediately to prevent further deterioration. This might include sanding, filling cracks, or replacing individual boards. Regular maintenance will help prevent more significant issues in the future.
- Monitor Stain Fading: Over time, the stain on your fence will naturally fade due to exposure to sunlight and other environmental factors. Keep an eye on the color of the stain and consider re-staining when the color starts to dull or fade significantly. This will help maintain the fence’s appearance and protection.
- Prepare the Surface: Before re-staining your fence, it’s important to prepare the surface by following similar steps as the initial staining process. Clean the fence thoroughly, remove any loose fibers, and sand any rough areas if necessary. This will ensure the new stain adheres properly and creates an even finish.
- Choose the Right Time: When re-staining your fence, choose a time when the weather conditions are ideal. Aim for a day with moderate temperatures and low humidity to allow the stain to dry properly. Avoid staining during times of high heat or wet weather.
- Apply the Stain: Apply the new stain to the clean and prepared surface using the same techniques as before. Follow the manufacturer’s instructions for application and drying times. Apply the stain evenly and work in small sections to ensure consistent results. Consider applying multiple coats for added protection and longevity.
- Maintain Regularly: After re-staining your fence, continue to clean and maintain it regularly. This will help prolong the life of the stain and keep your fence looking its best. Inspect the fence periodically for any signs of damage or wear and address them promptly.
By following these maintenance guidelines and re-staining your fence when necessary, you can ensure that your new fence remains in excellent condition for years to come. Taking care of your fence will not only enhance the overall appearance of your outdoor space but also protect your investment.
Now that we’ve covered the importance of maintenance and re-staining, let’s wrap up this article.
Conclusion
Staining a new fence is a critical step in preserving its beauty and extending its lifespan. By considering factors such as the age of the wood, weather conditions, wood moisture content, and the type of wood, you can determine the best time to stain your fence. Preparing the fence by cleaning the surface, removing loose wood fibers, and protecting surrounding areas sets the stage for a successful staining process. Choosing the right stain involves considering factors such as opacity, color, UV protection, and environmental friendliness.
When it comes time to apply the stain, make sure to follow proper techniques such as working in small sections, wiping off excess stain, and allowing for adequate drying time. Regular maintenance, including cleaning and inspecting for damage, is crucial in preserving the longevity and appearance of your stained fence. When the stain starts to fade, it’s time to re-stain the fence, following similar preparation and application steps as before.
With these tips in mind, you can confidently stain and maintain your new fence, knowing that you are taking the necessary steps to enhance its beauty and protect it from the elements. A well-stained fence not only adds charm to your outdoor space but also serves as a lasting investment.
So, whether you have just installed a new fence or are planning to do so, remember to consider the factors discussed in this article, choose the right stain, and follow the proper steps to prepare, apply, and maintain your fence. By doing so, you can enjoy a beautiful, protected, and long-lasting fence for years to come.
Frequently Asked Questions about When To Stain New Fence
Was this page helpful?
At Storables.com, we guarantee accurate and reliable information. Our content, validated by Expert Board Contributors, is crafted following stringent Editorial Policies. We're committed to providing you with well-researched, expert-backed insights for all your informational needs.


0 thoughts on “When To Stain New Fence”