Articles
How To Spray Stain A Fence
Modified: August 28, 2024
Learn how to spray stain a fence with these informative articles. Enhance the look and longevity of your fence with our step-by-step guide and expert tips.
(Many of the links in this article redirect to a specific reviewed product. Your purchase of these products through affiliate links helps to generate commission for Storables.com, at no extra cost. Learn more)
Introduction
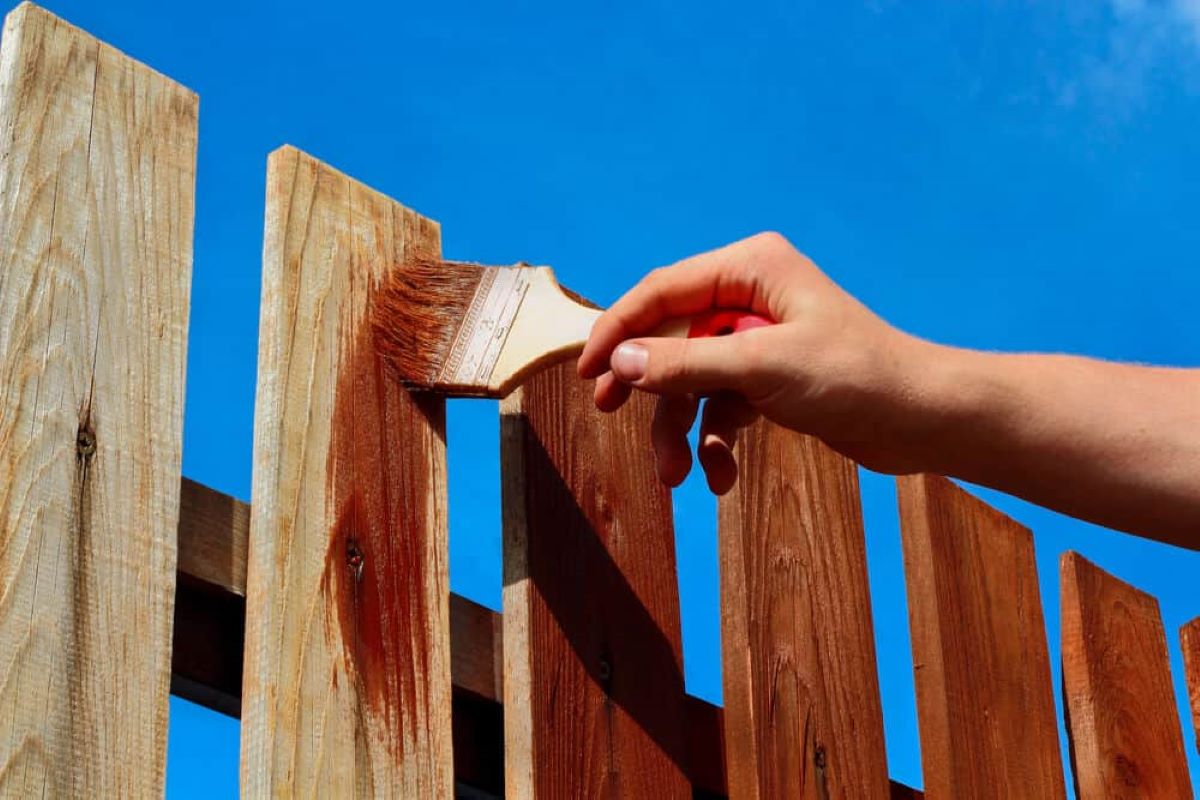
Welcome to this comprehensive guide on how to spray stain a fence. Adding a fresh coat of stain not only protects your fence from the elements but also enhances its appearance. It gives your outdoor space a polished and professional look, whether you have a wooden or a metal fence.
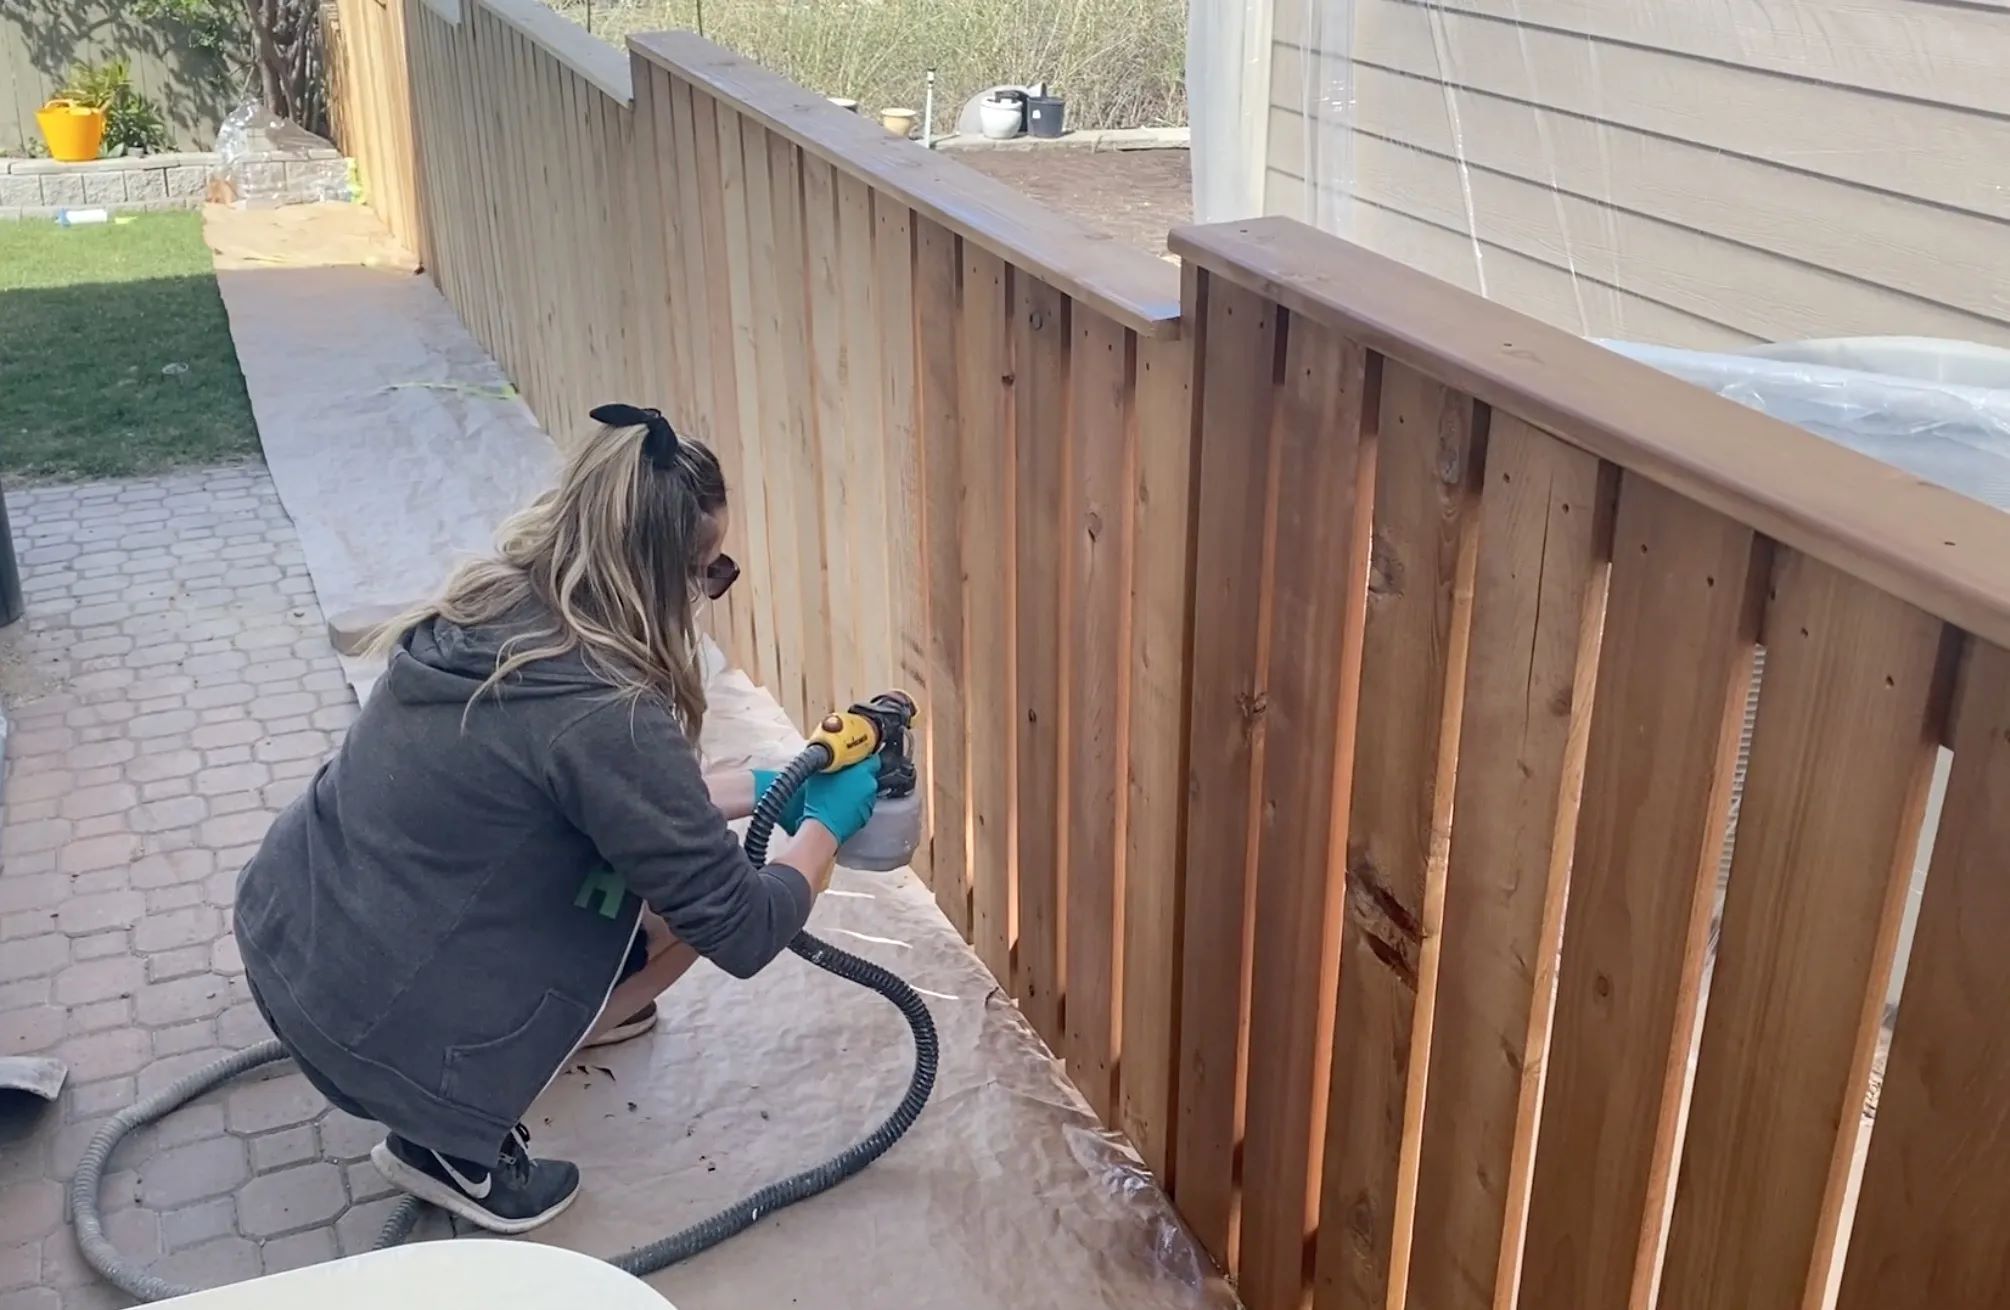
Spraying stain onto a fence is a highly efficient method that ensures even coverage and saves you time compared to traditional brush or roller application. In this article, we will walk you through the step-by-step process of spraying stain onto your fence, from preparing the fence to achieving a flawless finish.
Before diving in, let’s quickly cover the materials and tools you’ll need for this project:
Key Takeaways:
- Efficiently spray staining your fence not only enhances its appearance but also provides long-lasting protection. Proper preparation, technique, and cleanup are essential for a professional and durable finish.
- Prioritize safety, practice spraying techniques, and take your time to achieve an even and consistent application. Embrace the process and enjoy the satisfaction of a beautifully stained fence.
Read more: How To Spray Paint A Fence
Materials and Tools Needed
- Stain – Choose a high-quality stain that is specifically formulated for fences.
- Spray Gun – Invest in a quality paint sprayer with adjustable pressure settings.
- Drop Cloths – Protect the surrounding areas from overspray and potential staining.
- Masking Tape – Use tape to cover any areas you want to protect from the stain.
- Safety Gear – Wear safety goggles, gloves, and a mask to protect yourself from any potential hazards.
- Fence Cleaner – If your fence is dirty or has mildew, use a fence cleaner to ensure a clean surface before staining.
- Water Hose – You’ll need a hose for cleaning and rinsing the fence.
- Sandpaper – If you have an older fence with rough spots, sandpaper can help smoothen the surface.
Key Takeaways:
- Efficiently spray staining your fence not only enhances its appearance but also provides long-lasting protection. Proper preparation, technique, and cleanup are essential for a professional and durable finish.
- Prioritize safety, practice spraying techniques, and take your time to achieve an even and consistent application. Embrace the process and enjoy the satisfaction of a beautifully stained fence.
Read more: How To Spray Paint A Fence
Materials and Tools Needed
Before you begin the process of spraying stain onto your fence, it’s important to gather all the necessary materials and tools. Here’s a list of what you’ll need:
- Stain: Choose a high-quality stain that is specifically formulated for fences. Look for a stain that provides UV protection and is suitable for the material of your fence, whether it’s wood or metal.
- Spray Gun: Invest in a quality paint sprayer with adjustable pressure settings. Look for a sprayer that is designed for staining and provides an even and consistent spray pattern.
- Drop Cloths: Protect the surrounding areas from overspray and potential staining by using drop cloths. Lay them down on the ground around the fence to catch any excess stain.
- Masking Tape: Use masking tape to cover any areas you want to protect from the stain, such as nearby plants, windows, or door frames. This will help ensure clean and precise application.
- Safety Gear: It is essential to prioritize safety during any staining project. Wear safety goggles, gloves, and a mask to protect yourself from any potential hazards, including fumes or accidental contact with the stain.
- Fence Cleaner: If your fence is dirty or has mildew, it’s important to clean it thoroughly before staining. Look for a fence cleaner that is safe for the material of your fence and effectively removes any dirt or grime.
- Water Hose: You’ll need a water hose for cleaning and rinsing the fence. Ensure that you have a reliable source of water nearby or have access to a hose long enough to reach the entire length of the fence.
- Sandpaper: If you have an older fence with rough spots or splinters, sandpaper can help smoothen the surface. Choose sandpaper with a medium grit to gently sand away imperfections and create a smooth base for the stain.
By gathering these materials and tools before starting the project, you’ll save time and ensure that you have everything you need for a successful and efficient spraying process.
Preparing the Fence
Before you can start spraying stain onto your fence, it’s crucial to properly prepare the surface. This preparation ensures that the stain adheres well and provides long-lasting protection. Follow these steps to prepare your fence:
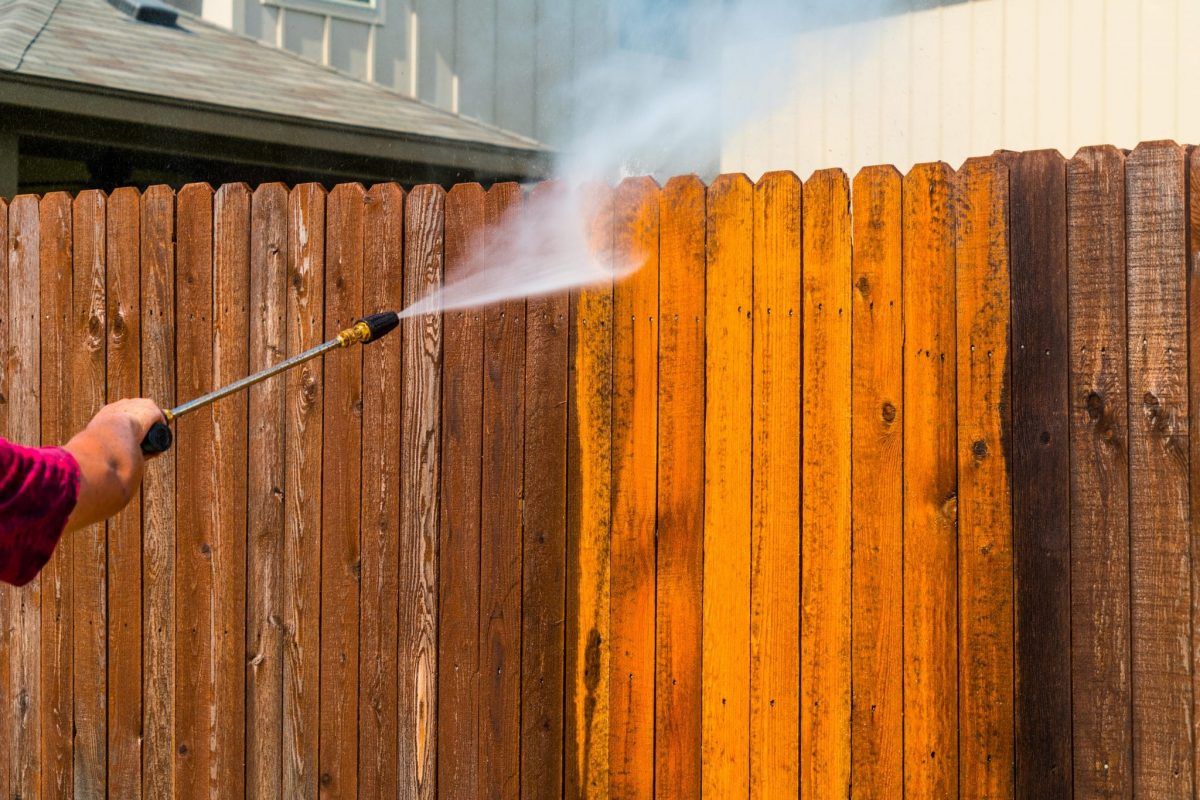
- Clean the Fence: Begin by thoroughly cleaning the entire fence. Use a fence cleaner or a mixture of mild soap and water to remove any dirt, grime, or debris. Scrub the surface with a brush or a pressure washer, paying extra attention to any heavily soiled areas or spots with mold or mildew. Rinse the fence with a water hose and allow it to dry completely before proceeding.
- Inspect for Damages: Next, carefully inspect the fence for any damages or repairs needed. Look for loose boards, nails, or screws that need to be tightened or replaced. If you come across any rotting or severely damaged sections, consider repairing or replacing them before proceeding with the staining process.
- Sand Rough Spots: If you have a wooden fence and notice any rough spots, splinters, or uneven surfaces, use sandpaper to smooth them out. Gently sand the affected areas in the direction of the grain to create a smooth and even surface. This step ensures that the stain will be applied evenly without any obstructions.
- Protect Surrounding Areas: Before you begin spraying the stain, take the time to protect any nearby areas that you don’t want to be stained. Cover plants, windows, doors, or any other surfaces with drop cloths or plastic sheets. Use masking tape to secure the protective coverings in place and ensure a clean and precise application.
By following these steps and properly preparing your fence, you’ll ensure a clean and smooth surface that is ready for the staining process. Taking the time to prepare the fence will result in a more professional and long-lasting finish. Now that your fence is prepared, you’re ready to move on to the next step: mixing and preparing the stain.
Mixing and Preparing the Stain
Now that your fence is clean and prepared, it’s time to mix and prepare the stain for spraying. Follow these steps to ensure that your stain is properly mixed and ready for application:
- Read the Instructions: Start by carefully reading the instructions provided by the manufacturer of the stain. Each stain may have specific mixing ratios or instructions that you need to follow. Pay attention to any safety precautions or additional steps mentioned.
- Choose the Right Container: Transfer the stain into a suitable container for mixing. Make sure the container is clean and large enough to accommodate the amount of stain you’ll need for your fence. You can use a bucket or a paint tray for this purpose.
- Stir the Stain: Use a stir stick or a paint stirrer to thoroughly mix the stain. Stir the stain in a circular motion, making sure to scrape the bottom and sides of the container to ensure even distribution of pigments. Continue stirring until the stain reaches a consistent color and texture.
- Adjust the Consistency (If Needed): Depending on the type of stain you’re using and the desired application method, you may need to adjust the consistency. If the stain is too thick, you can add a small amount of water to thin it out. However, be cautious not to add too much water, as it may affect the quality and performance of the stain.
- Sieve the Stain (Optional): To ensure a smooth and clog-free spray, you may choose to sieve the stain before pouring it into the spray gun. This step can help remove any larger particles or debris that could potentially clog the nozzle or create an uneven spray pattern.
- Follow Additional Instructions: If there are any additional instructions provided by the stain manufacturer, such as specific temperature requirements or recommended drying times, make sure to follow them accordingly. Adhering to these instructions will help you achieve the best possible results.
By following these steps and properly mixing and preparing the stain, you’ll ensure a smooth and consistent application onto your fence. Next, we’ll move on to setting up for spraying.
Before spraying stain on a fence, make sure to clean the surface thoroughly to remove any dirt or debris. This will ensure the stain adheres properly and provides a more even finish.
Read more: How Long For Fence Stain To Dry
Setting Up for Spraying
Before you start spraying the stain on your fence, it’s important to properly set up your workspace and equipment. Taking the time to prepare for the spraying process will ensure a smooth and efficient application. Follow these steps to set up for spraying:
- Choose a Suitable Day: Select a day with favorable weather conditions for spraying. Ideally, choose a calm and dry day with no strong winds or rain in the forecast. Avoid spraying in direct sunlight, which can cause the stain to dry too quickly and potentially lead to an uneven finish.
- Cover Surrounding Areas: Protect any nearby surfaces, plants, or objects that you want to keep stain-free by using drop cloths or plastic sheets. This will prevent any overspray from reaching unwanted areas and ensure a clean application.
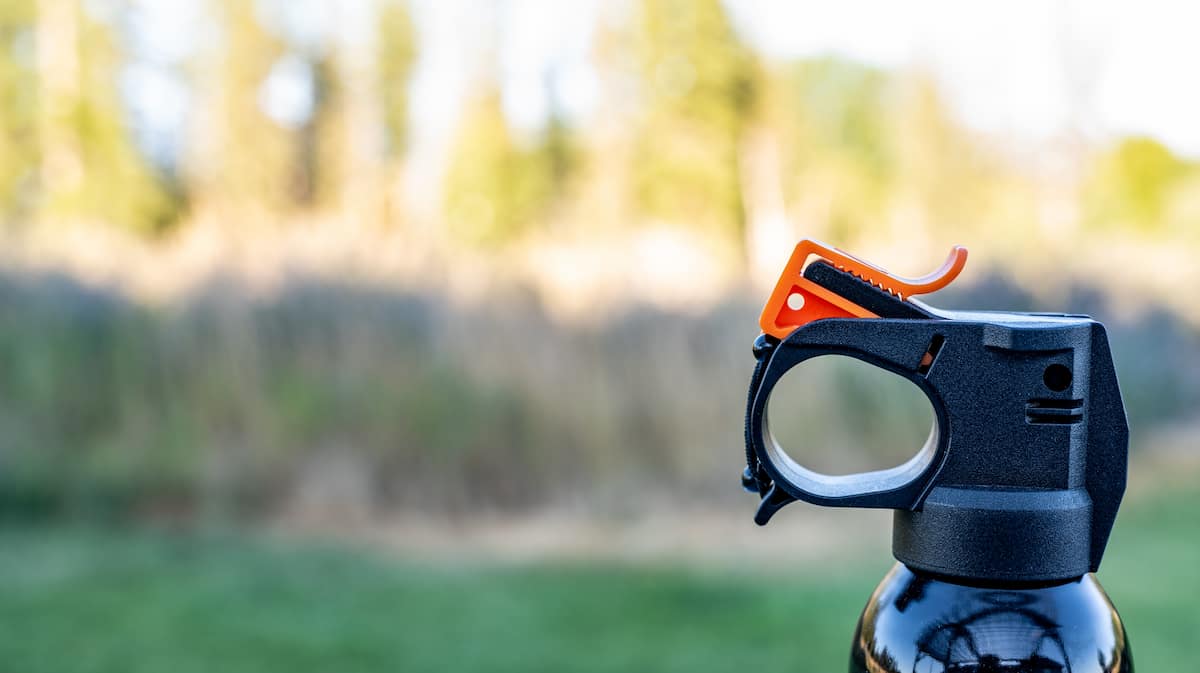
- Check Your Equipment: Before starting, make sure that your spray gun is clean and in good working condition. Check for any clogs, ensure that the nozzle is properly attached, and confirm that the pressure settings are adjusted according to the stain’s specifications.
- Practice Spray Technique: If you’re new to using a paint sprayer, it may be helpful to practice your spraying technique on a scrap piece of wood or cardboard. This will allow you to get a feel for the sprayer’s spray pattern and adjust your technique accordingly before moving on to the actual fence.
- Prep the Stain: Pour the mixed and sieved stain into the paint reservoir of the spray gun. Attach the reservoir securely and ensure that it is properly sealed to prevent any leaks during the spraying process.
- Adjust Spray Pattern and Pressure: Use the adjustment settings on the spray gun to set the desired spray pattern and pressure. Depending on your fence’s surface and the stain’s viscosity, you may need to adjust these settings to achieve a fine mist or a broader spray pattern.
- Put on Safety Gear: Prioritize safety by wearing appropriate safety gear, including safety goggles, gloves, and a mask. This will protect you from potential overspray, fumes, and any accidental contact with the stain.
By following these steps and setting up for spraying correctly, you’ll ensure a smooth and efficient staining process. Now that you’re all set up, it’s time to move on to the next step: mastering the spraying techniques for a flawless finish on your fence.
Spraying Techniques
Spraying stain onto your fence requires proper technique to achieve a smooth and even application. Mastering the spraying techniques will help you achieve a professional-looking finish. Follow these tips to improve your spraying technique:
- Start with a Test Panel: Before you begin spraying the entire fence, start with a test panel to ensure that the spray pattern and pressure are set correctly. This will allow you to make any necessary adjustments before moving on to the rest of the fence.
- Maintain a Consistent Distance: Hold the spray gun at a consistent distance from the fence surface. Typically, a distance of around 6 to 8 inches is recommended. This will help achieve an even spray pattern and prevent oversaturation or uneven application.
- Move in a Smooth and Even Motion: Move the spray gun in a steady, sweeping motion from side to side or up and down, depending on your preference. Keep the movement smooth and continuous to avoid any start-stop marks or overlapping lines. Overlap each pass by approximately 50% to ensure full coverage.
- Test Different Angles: Experiment with spraying from different angles to ensure complete coverage. Depending on the fence’s design, you may need to adjust the angle of approach to reach all surfaces effectively.
- Stay Consistent with Spraying Speed: Maintain a consistent speed while spraying to ensure even distribution of the stain. Avoid moving the spray gun too quickly or too slowly, as this may result in an uneven finish.
- Be Mindful of Overspray: Keep an eye on the surrounding areas to avoid overspray. Adjust your technique or use additional drop cloths if necessary to prevent any stain from reaching unwanted surfaces.
- Work in Small Sections: Divide the fence into manageable sections and work on one section at a time. This will help you maintain control and ensure that the stain doesn’t dry before you can evenly distribute it.
- Overlap with Light Coats: Rather than applying heavy coats of stain, it’s recommended to apply multiple light coats. This helps prevent drips, runs, or pooling of the stain and allows for better absorption into the fence.
Remember to take breaks and evaluate your progress to ensure that you are achieving an even and consistent application. Developing good spraying techniques takes practice, so don’t get discouraged if you don’t achieve perfection on your first attempt. With time and experience, you’ll be able to master the art of spraying stain onto your fence.
Now that you have a better understanding of spraying techniques, it’s time to move on to the actual process of applying the stain to your fence.
Applying the Stain
Now that you’ve prepared the fence and mastered the spraying techniques, it’s time to apply the stain to your fence. Follow these steps for a successful staining process:
- Start at the Top: Begin staining at the top of your fence to avoid any potential drips or runs on previously stained areas. This allows for a clean, professional-looking finish.
- Hold the Spray Gun Correctly: Hold the spray gun with a firm grip, keeping it at the predetermined distance from the fence. Use your wrist to control the direction of the spray, ensuring that it covers the desired area.
- Apply in Smooth, Even Strokes: Apply the stain in smooth, even strokes, moving the spray gun from side to side or up and down. Keep the motion continuous and steady, maintaining a consistent speed throughout the process.
- Overlap Each Pass: Overlap each pass by approximately 50% to ensure full coverage. This will prevent any missed spots and ensure an even distribution of the stain across the entire surface of the fence.
- Pay Attention to Gaps and Corners: Be sure to thoroughly coat any gaps, corners, or hard-to-reach areas of the fence. Adjust your spraying technique as needed to ensure that these areas receive adequate coverage.
- Work in Small Sections: Divide the fence into manageable sections and work on one section at a time. This allows you to maintain control and prevent the stain from drying before you can evenly distribute it.
- Observe the Stain Absorption: Pay attention to how the stain is being absorbed by the fence. If the stain is being absorbed too quickly or not enough, you may need to adjust the stain’s consistency or your spraying technique to achieve the desired result.
- Apply Multiple Coats (If Desired): Depending on the opacity and coverage desired, you may need to apply multiple coats of stain. Allow each coat to dry before applying the next, following the manufacturer’s instructions for drying times.
Take breaks as needed to rest and evaluate your progress. Step back periodically to assess the evenness of the stain and make any necessary adjustments. Be patient and thorough during the application process to ensure a professional-looking finish.
Once you’ve finished applying the stain, allow it to fully dry according to the manufacturer’s instructions. Then, you can proceed with the final steps: finishing and cleanup.
Finishing and Cleanup
After applying the stain to your fence, there are a few final steps to complete the project and ensure a polished finish. Here’s what you need to do for finishing and cleanup:
- Allow the Stain to Dry: Give the stain ample time to dry and cure before exposing it to any moisture or contact. Follow the manufacturer’s instructions for drying times, as they may vary based on factors such as weather conditions and the type of stain used.
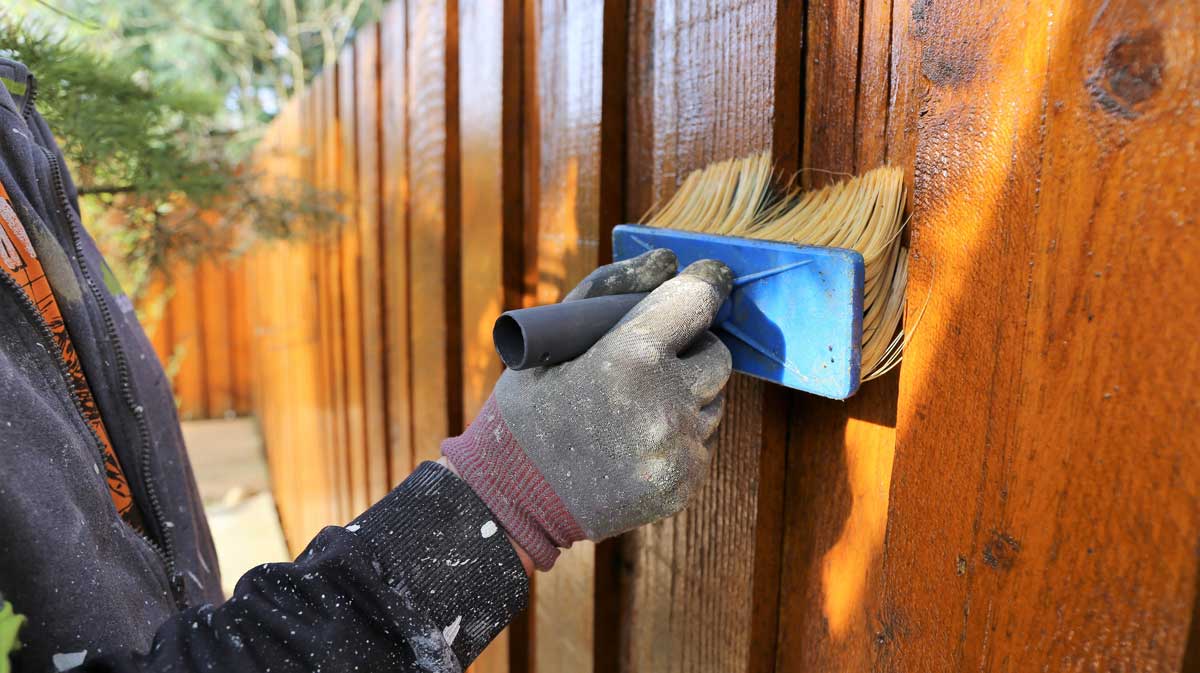
- Inspect for Touch-Ups: Once the stain is dry, inspect the fence for any missed spots or areas that may need touch-ups. Use a brush or a small roller to touch up those areas with stain until you achieve a consistent and uniform appearance.
- Clean the Spray Gun: After you’re done staining, clean the spray gun thoroughly. Follow the manufacturer’s instructions to disassemble the gun and clean all the parts, including the nozzle and reservoir. Properly cleaning the equipment will prolong its lifespan and ensure its optimal performance for future projects.
- Dispose of Stain Containers Properly: Dispose of the stain containers and any other materials used during the staining process in accordance with local regulations. Check with your local waste management facility for guidelines on how to properly dispose of paint and stain containers.
- Remove Protective Coverings: Once the stain is dry and cleanup is complete, remove the protective coverings from the surrounding areas. Dispose of any drop cloths, plastic sheets, or masking tape used to protect adjacent surfaces.
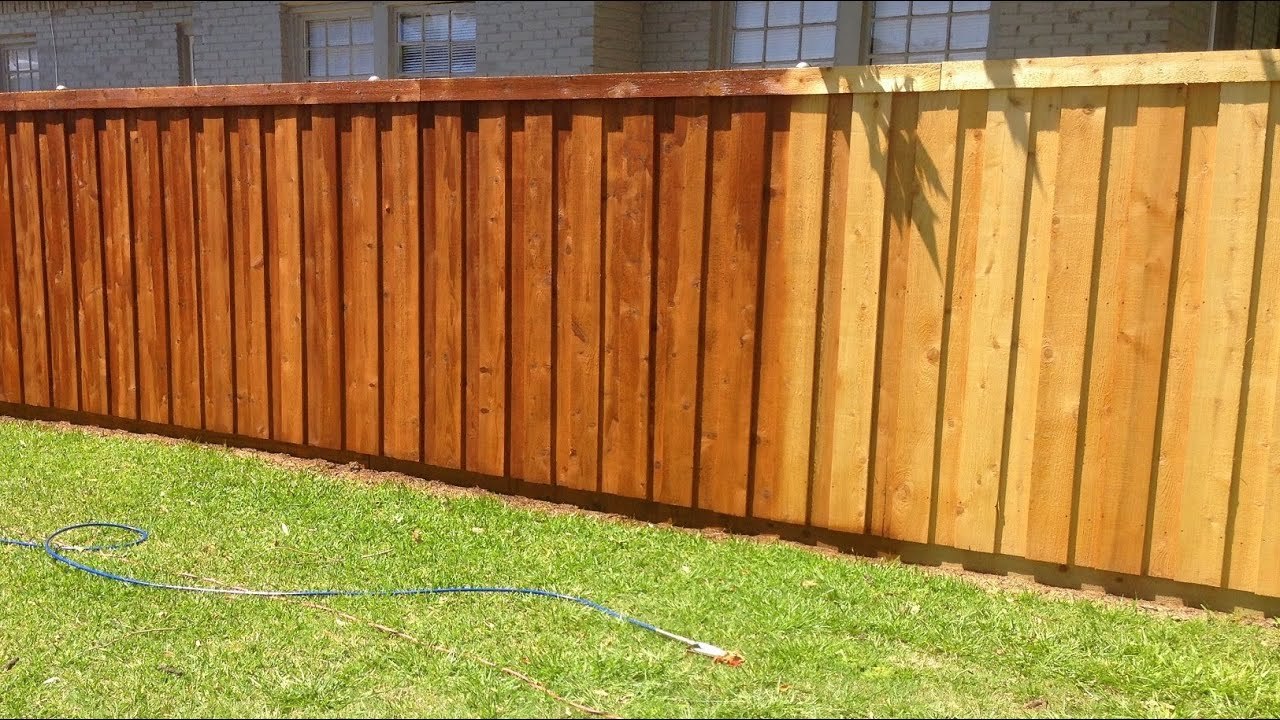
- Inspect and Enjoy: Take a step back to admire your freshly stained fence. Check for any imperfections or areas that may still need touch-ups. Once you’re satisfied with the result, it’s time to sit back, relax, and enjoy your beautifully stained fence.
Properly finishing and cleaning up after staining your fence will not only leave you with a stunning end result but also ensure the longevity and durability of the stain. Taking the time to complete these final steps is essential for a successful staining project.
With the finishing touches complete, you can now take pride in your beautifully stained fence and enjoy the enhanced aesthetics and protection it provides. Congratulations on a job well done!
Read more: What Is The Best Stain For A Fence
Conclusion
Spraying stain onto your fence is a rewarding and efficient way to enhance its appearance and provide long-lasting protection. By following the steps outlined in this guide, you can achieve a professional-looking finish while saving time compared to traditional brush or roller application methods.
Throughout this comprehensive guide, we have covered everything you need to know about spraying stain onto your fence. From preparing the fence and mixing the stain to setting up for spraying and applying the stain, each step is crucial to achieving a flawless result. The proper use of spraying techniques, such as maintaining a consistent distance, applying in smooth strokes, and working in small sections, will ensure an even and uniform application.
Remember to prioritize safety by wearing the appropriate protective gear and taking safety precautions. Additionally, always follow the instructions provided by the stain manufacturer for the best results.
Once you have completed the staining process, take the time to evaluate your work and make any necessary touch-ups. Properly cleaning the spray gun and disposing of stain containers in an environmentally-friendly manner will help maintain a clean and organized workspace.
By following these guidelines, you can transform your fence into an attractive and well-protected feature of your outdoor space. So, gather your materials and tools, prepare your fence, mix and prepare the stain, set up for spraying, apply the stain using proper techniques, and finish strong with cleaning and touch-ups.
Now that you are equipped with the knowledge and techniques necessary to spray stain onto your fence, it’s time to put it into action. Embrace the process, take your time, and enjoy the satisfaction of a beautifully stained fence that will enhance the aesthetics and durability of your outdoor area for years to come.
Happy staining!
Frequently Asked Questions about How To Spray Stain A Fence
Was this page helpful?
At Storables.com, we guarantee accurate and reliable information. Our content, validated by Expert Board Contributors, is crafted following stringent Editorial Policies. We're committed to providing you with well-researched, expert-backed insights for all your informational needs.


0 thoughts on “How To Spray Stain A Fence”