Articles
How To Fix Fence Gate
Modified: May 6, 2024
Learn how to fix your fence gate with our informative articles. Find step-by-step guides and expert tips to ensure your gate is secure and functional.
(Many of the links in this article redirect to a specific reviewed product. Your purchase of these products through affiliate links helps to generate commission for Storables.com, at no extra cost. Learn more)
Introduction
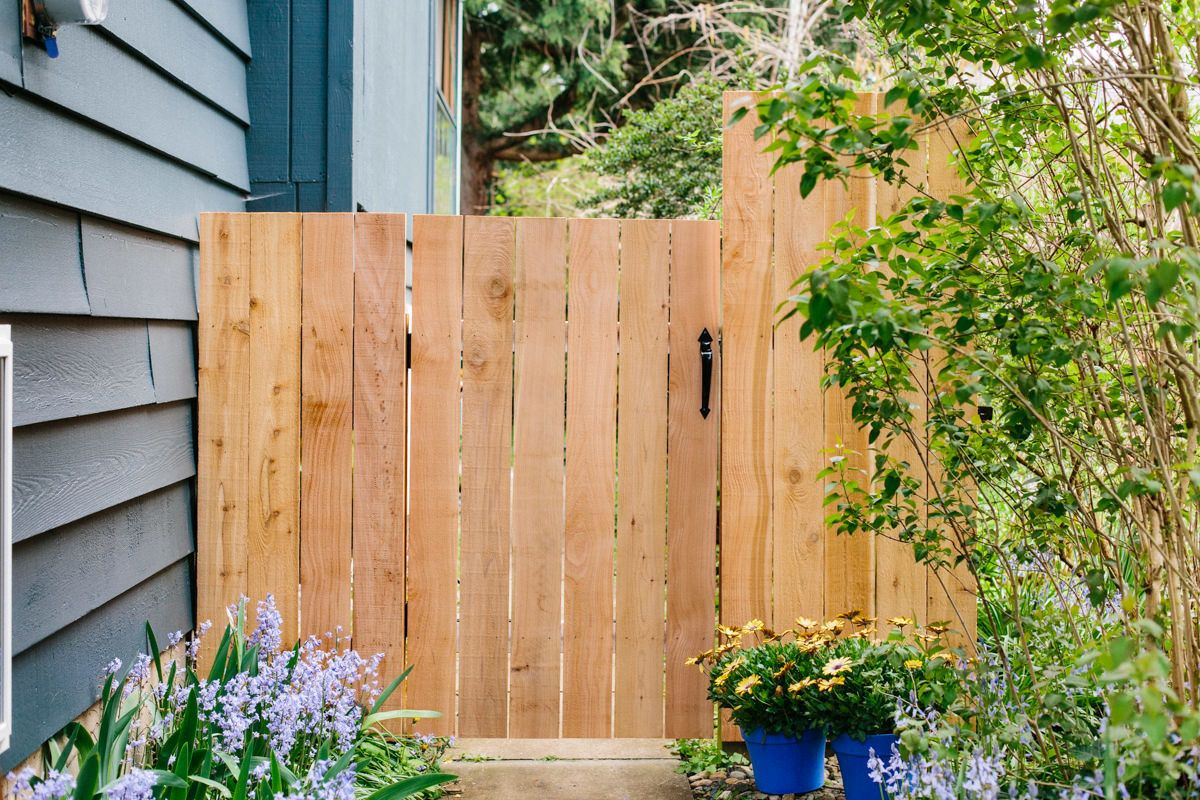
Having a fence gate that is functional and secure is crucial for maintaining the privacy and security of your property. However, over time, gates can become damaged or misaligned, causing them to not function properly. The good news is that with a little time and effort, you can learn how to fix a fence gate and restore its functionality.
In this article, we will walk you through the step-by-step process of repairing a fence gate. Whether your gate is sagging, sticking, or needs a complete overhaul, following these instructions will help you tackle the task effectively and efficiently.
Before diving into the repair process, it’s important to assess the problem and understand the underlying issues causing your fence gate to malfunction. This will help you determine the specific repairs needed and gather the necessary tools and materials for the job. Let’s get started!
Key Takeaways:
- Proper assessment, gathering of tools, and thorough inspection of damaged components are crucial for successfully fixing a fence gate. Attention to detail and patience will lead to a secure and functional gate.
- Regular maintenance and periodic inspections are essential to ensure the longevity and effectiveness of a repaired fence gate. By staying proactive, you can prevent future issues and enjoy a well-functioning entryway to your property.
Read more: How To Fix Sagging Fence Gate
Step 1: Assess the Problem
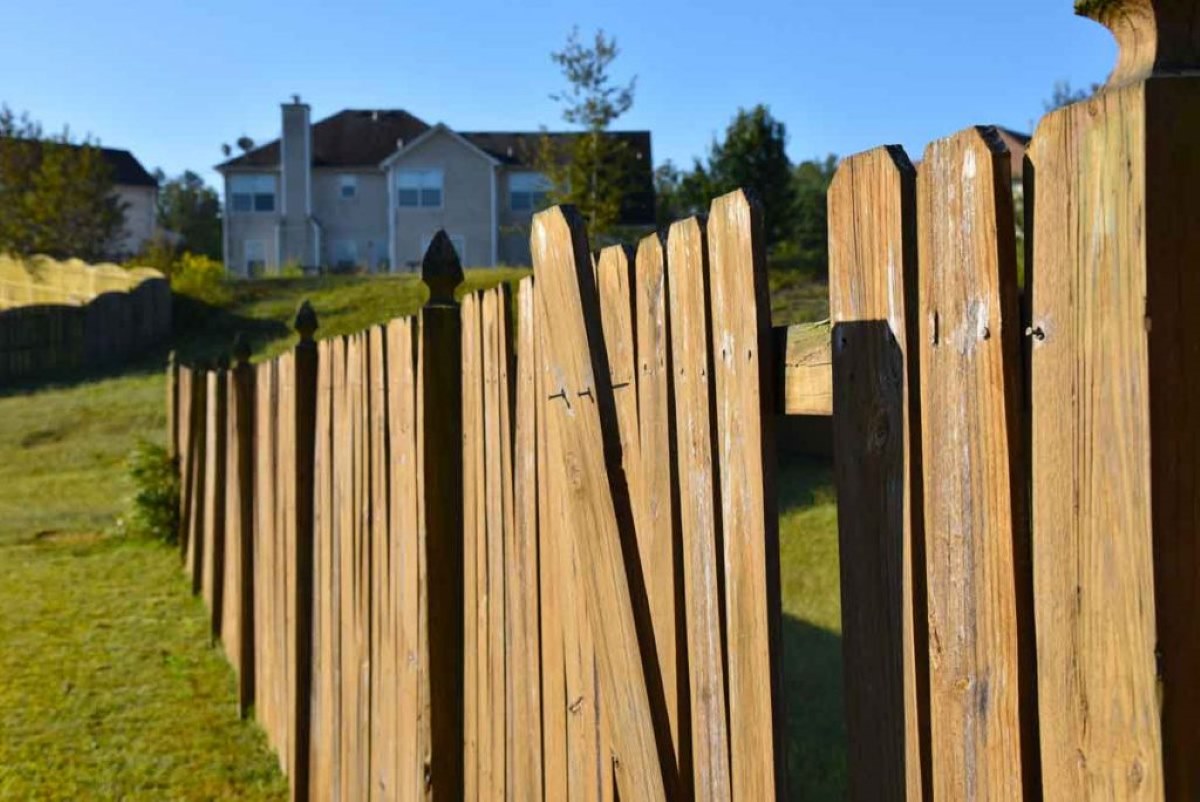
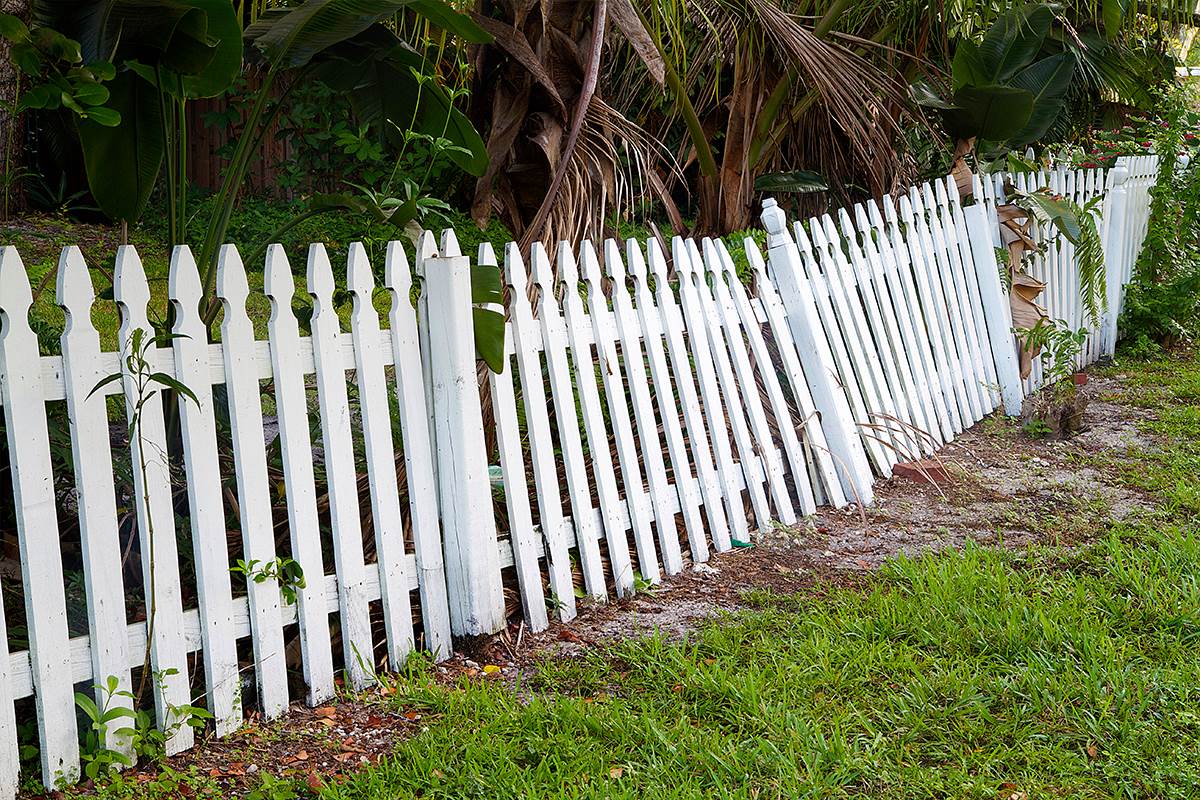
The first step in fixing a fence gate is to assess the problem. Take a close look at your gate and try to identify what is causing the issue. Common problems with fence gates include sagging, misalignment, sticking, or damage to the gate components.
If your gate is sagging, it may be due to loose hinges or an unstable post. Misalignment can occur when the gate is not properly aligned with the fence or when the gate posts have shifted. Sticking gates are often caused by debris or rust buildup on the hinges or latch mechanism. Damage to the gate can range from broken or bent components to rotting wood or rusted metal.
By thoroughly examining the gate, you can determine the specific issues that need to be addressed. This will guide you in the repair process and help you gather the correct tools and materials.
Once you have identified the problem, assess the extent of the damage or misalignment. Determine if any components need to be replaced or if simple adjustments can solve the issue. This will give you a clearer idea of the repairs that will be required and allow you to plan accordingly.
Step 2: Gather the Necessary Tools and Materials
After assessing the problem with your fence gate, the next step is to gather the necessary tools and materials for the repair. Having the right equipment on hand will ensure that you can tackle the job efficiently and effectively.
Here are some commonly used tools and materials you may need:
- Screwdriver: A screwdriver is essential for removing screws and fasteners.
- Adjustable wrench: This tool will come in handy for tightening or loosening nuts and bolts.
- Level: A level is needed to ensure that your gate is properly aligned.
- Tape measure: Use a tape measure to take accurate measurements for adjustments or replacements.
- Hammer: A hammer can be useful for tapping components into place or removing nails.
- Saw: A saw is necessary if you need to trim or replace any wooden components.
- Pliers: Pliers can help with gripping and maneuvering small parts or wires.
- Lubricant: Use a lubricant, such as WD-40, to loosen stuck or rusted hinges.
- Replacement parts: Depending on the extent of the damage, you may need to replace certain components like hinges, latch mechanisms, or even the entire gate if it is beyond repair.
- Wood or metal filler: Fillers can be used to repair small cracks or holes in wooden or metal gates.
- Screws and nails: Have a supply of appropriate screws and nails to secure or reattach components.
Make sure to have all the necessary tools and materials readily available before starting the repair process. This will save you time and prevent any interruptions during the repair.
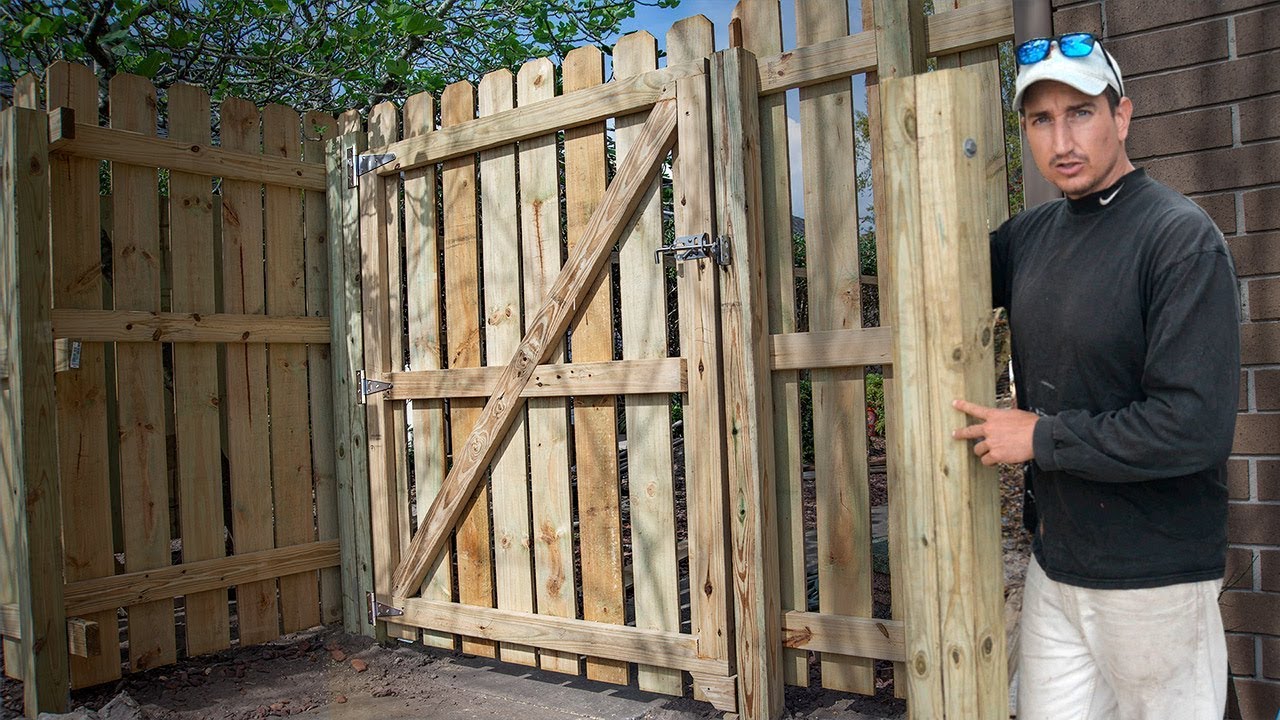
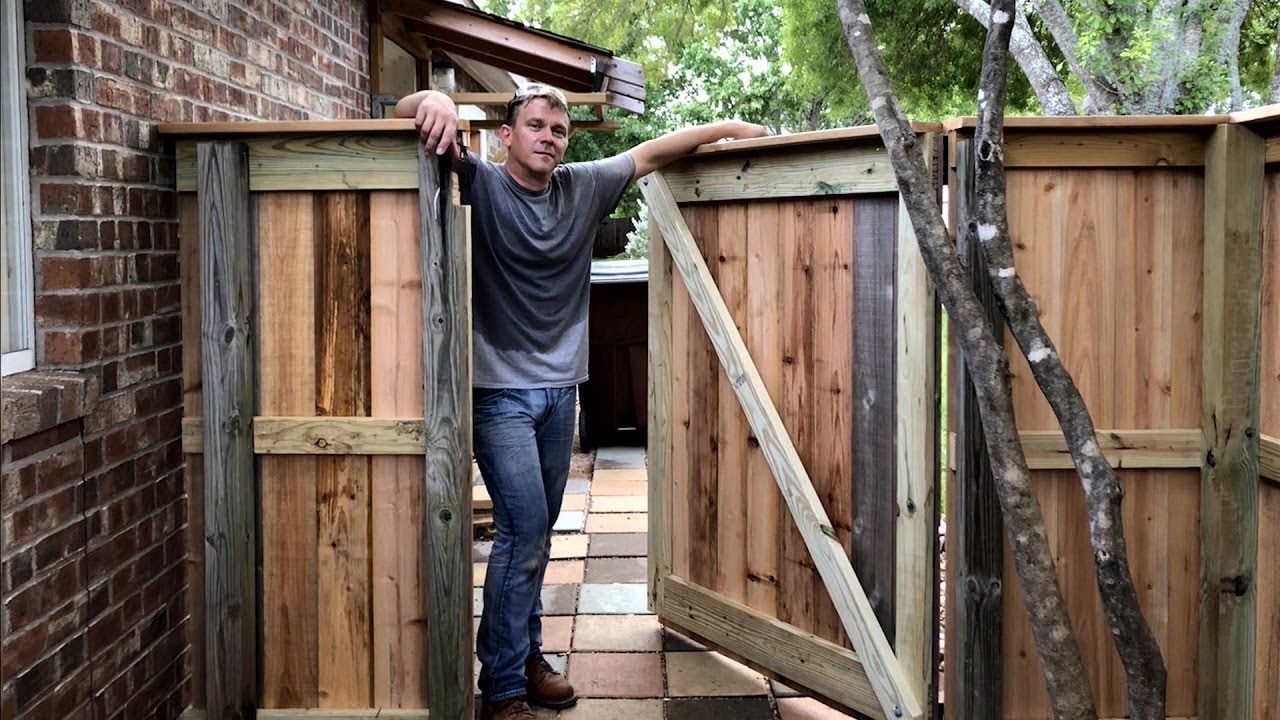
Step 3: Remove the Gate from the Fence
Once you have gathered the necessary tools and materials, it’s time to begin the repair process by removing the gate from the fence. Taking the gate off its hinges will provide better access to the components that need to be repaired or replaced.
Follow these steps to remove the gate:
- Secure the gate: If the gate is sagging or unstable, prop it up with a support or have someone hold it in place while you work.
- Remove the screws: Using a screwdriver, carefully remove the screws from the hinges that attach the gate to the fence post. Place the screws in a safe location to avoid losing them.
- Detach the gate: Once the screws are removed, gently lift the gate off the hinges. If the gate is heavy, it may require assistance to prevent any accidents or damage.
With the gate removed from the fence, you now have a clear workspace to inspect and repair the gate and its components. It is also easier to make adjustments or replacements without any obstructions.
While the gate is off, take the opportunity to inspect the hinges, latch mechanism, and any other relevant components for any signs of damage or wear. This will help you determine if any additional repairs or replacements are needed.
Remember to keep the screws and other small parts in a safe place, as you will need them later to reattach the gate to the fence.
Step 4: Inspect and Repair Any Damaged Components
With the gate removed from the fence, it’s time to thoroughly inspect and repair any damaged components. This step is crucial for ensuring that your gate functions properly and remains secure.
Here are some common components to inspect and repair:
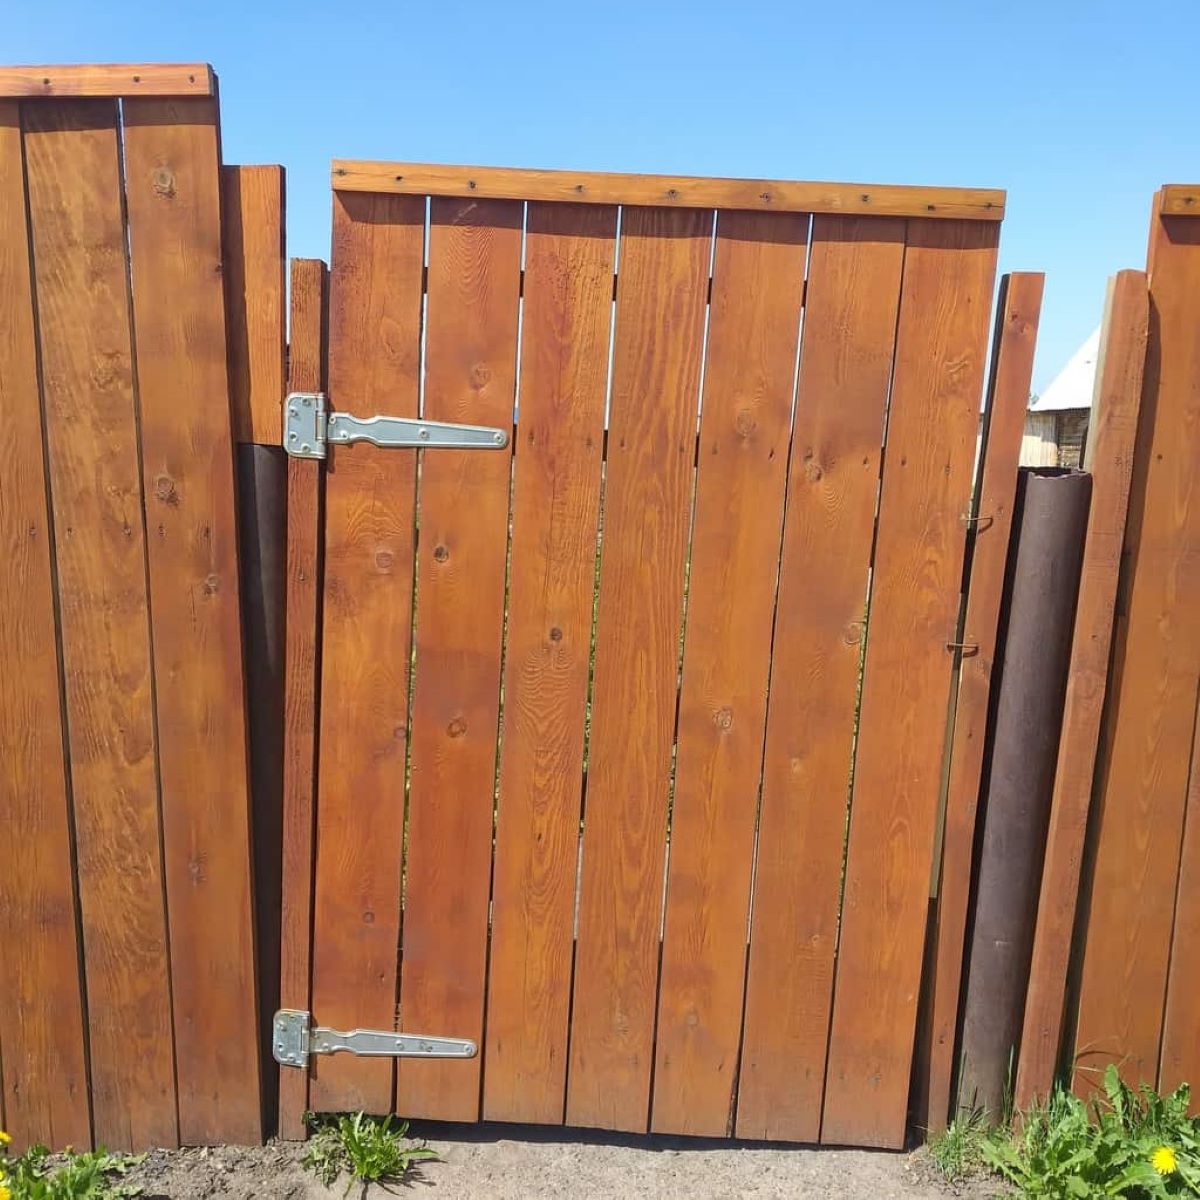
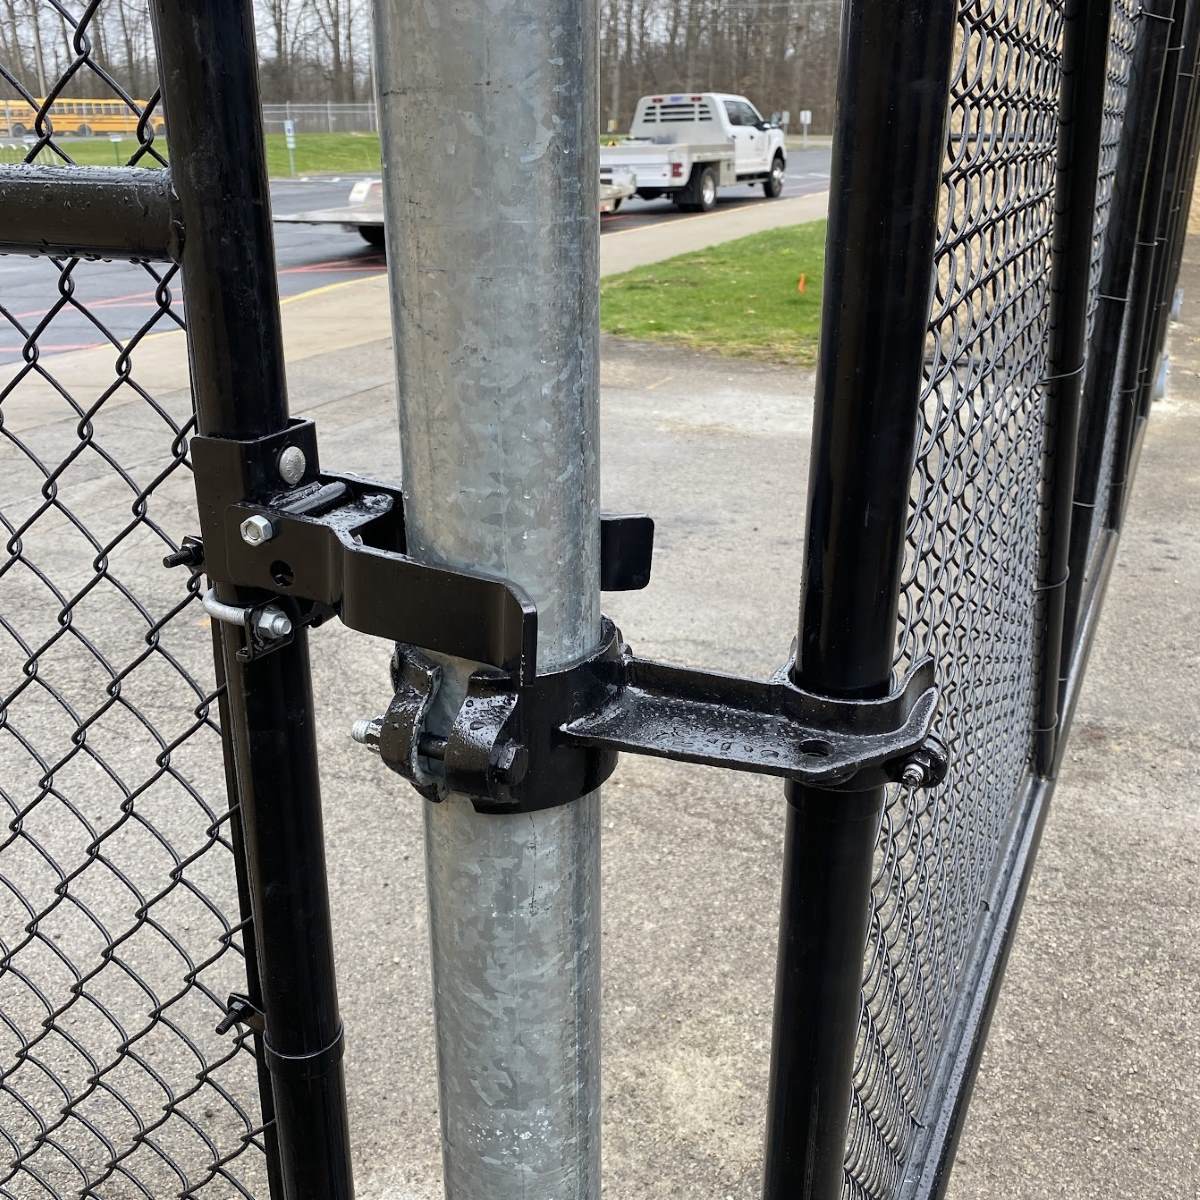
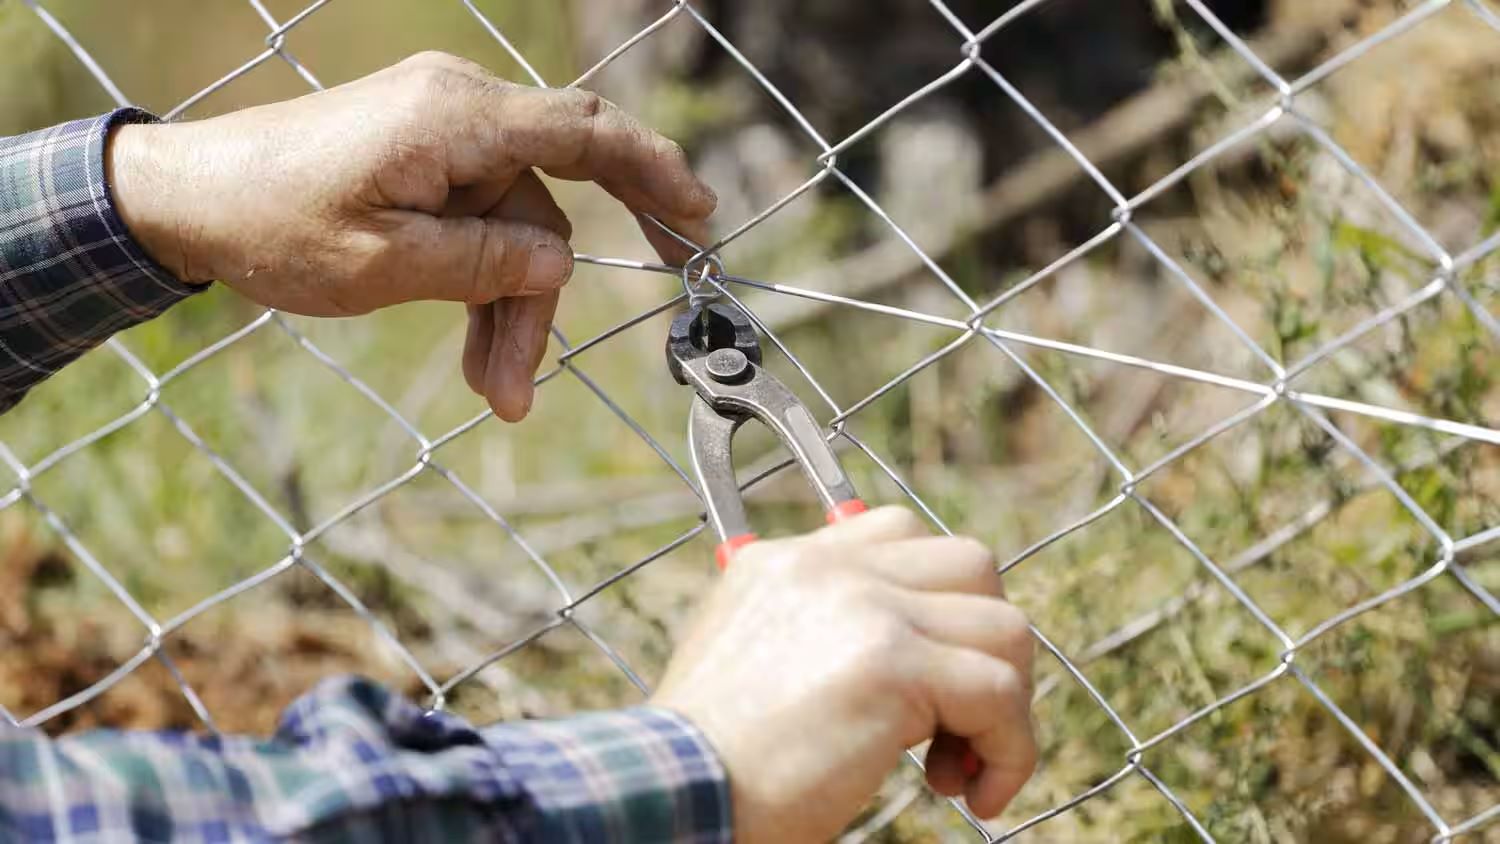
- Hinges: Examine the hinges for any signs of damage, rust, or looseness. Tighten any loose screws or replace damaged hinges if necessary. Lubricate the hinges with a penetrating oil to ensure smooth movement.
- Latch mechanism: Check the latch mechanism for any obstructions or signs of wear. Clean out any debris or rust and ensure that the latch aligns properly with the gate. Replace the latch if it no longer functions correctly.
- Wooden components: If your gate is made of wood, inspect it for rot, cracks, or splintering. Use wood filler or epoxy to repair minor damage. For more severe damage, consider replacing the affected parts.
- Metal components: For metal gates, look for signs of rust or corrosion. Sand off any rust and then apply a rust-inhibiting primer and paint to prevent further corrosion.
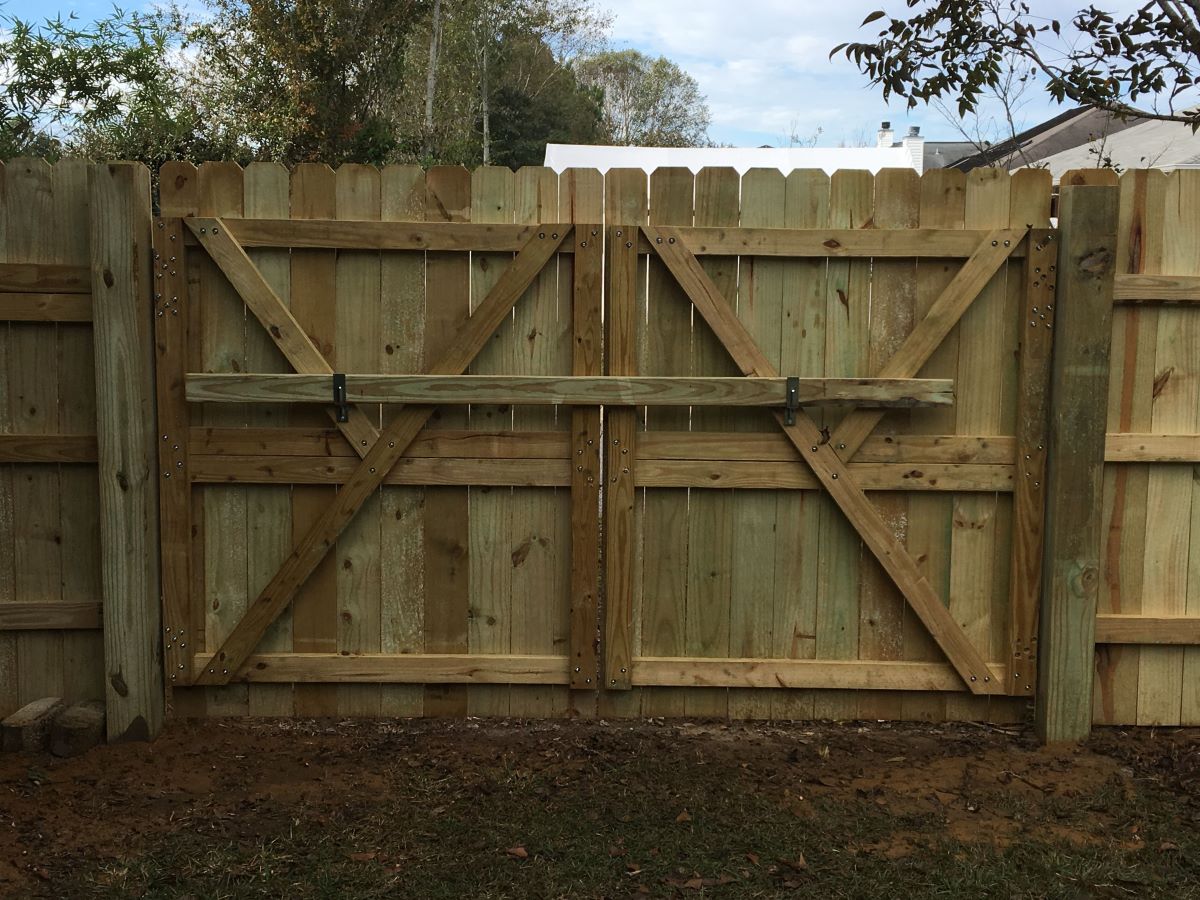
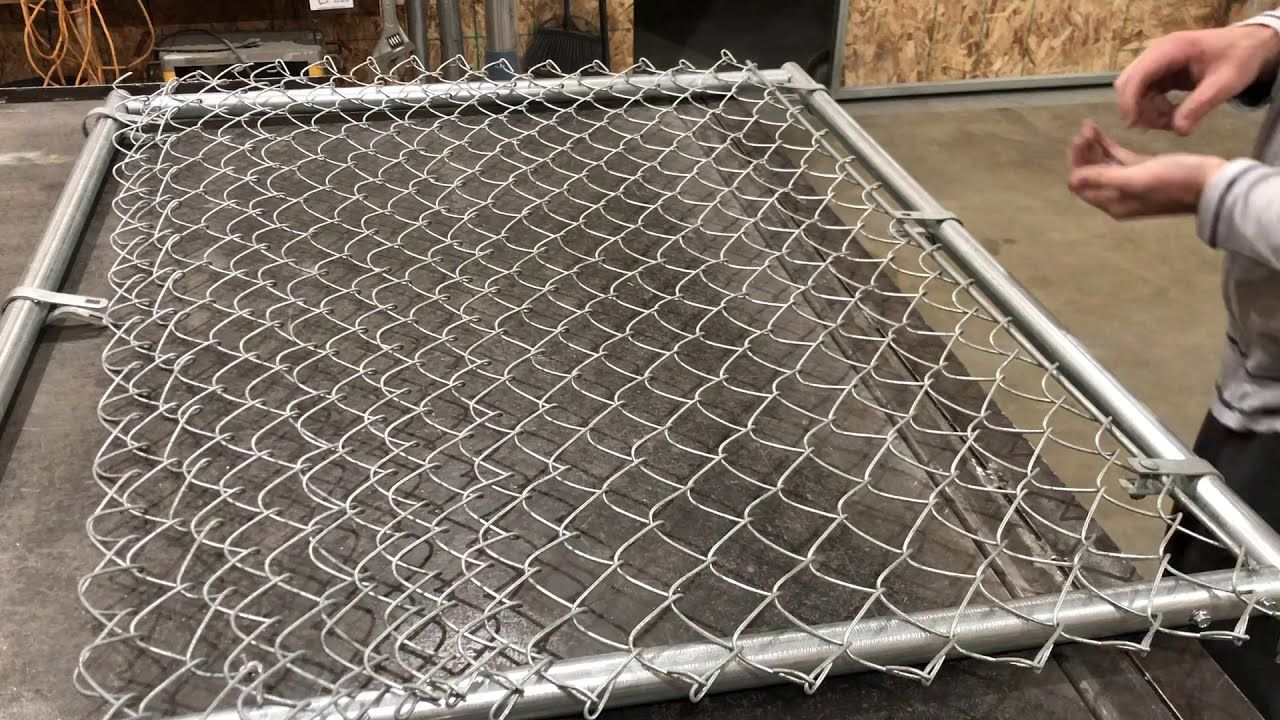
- Support structure: Inspect the gate’s support structure, including the posts and crossbars, for any signs of damage or instability. Reinforce or replace any weakened or damaged components.
Depending on the extent of the damage, you may need to repair or replace multiple components. It’s important to take the time to fix any issues now to prevent future problems and ensure that your gate is sturdy and functional.
Once you have completed the necessary repairs, give the gate components some time to dry or set before moving on to the next step.
Inspect the hinges and latch for any damage or misalignment. Tighten any loose screws and lubricate the moving parts. Adjust the gate to ensure it is level and swings freely. If necessary, replace any damaged components.
Read more: How To Lock Fence Gate
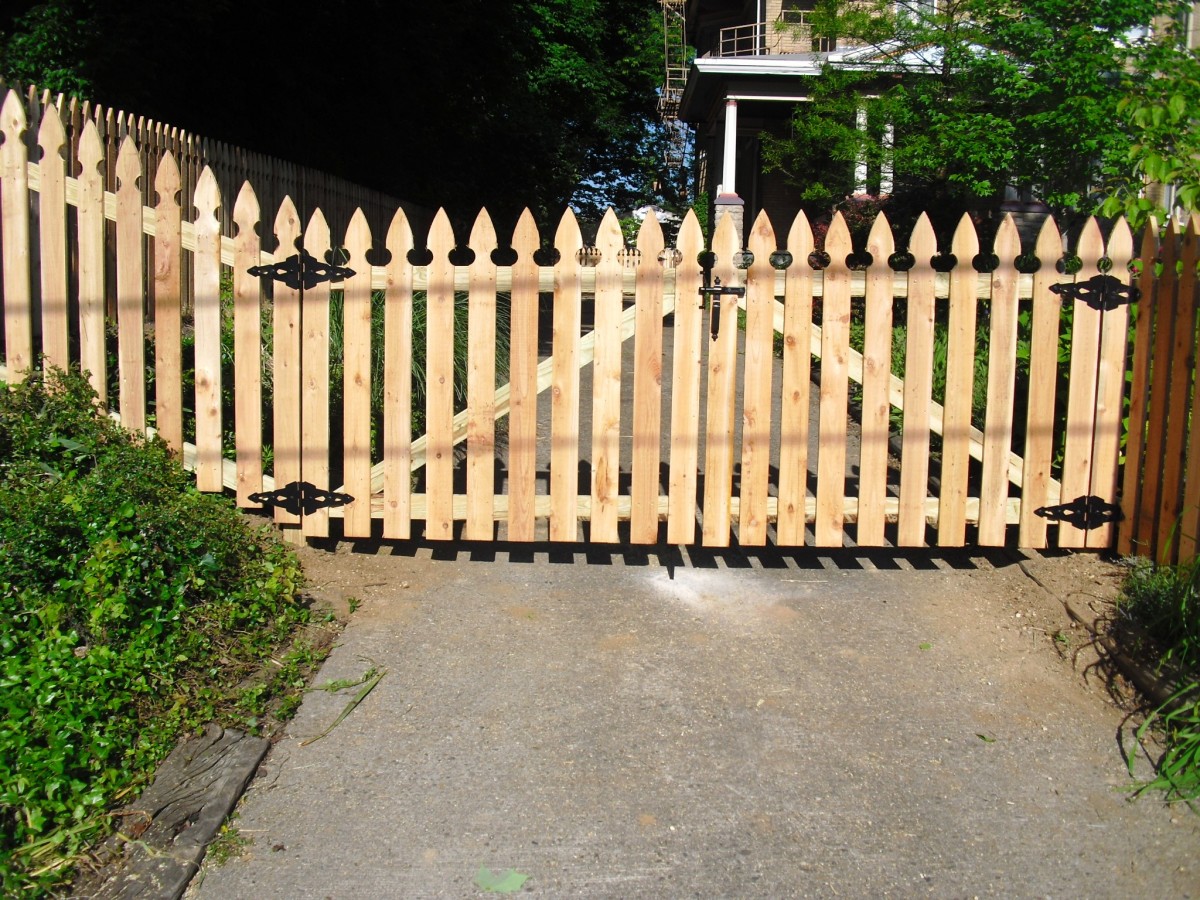
Step 5: Align and Reattach the Gate
After inspecting and repairing any damaged components, it’s time to align and reattach the gate to the fence. Proper alignment is crucial for ensuring that the gate functions smoothly and securely.
Follow these steps to align and reattach the gate:
- Clean the hinge area: Remove any debris, rust, or old paint from the hinge area on the fence post. This will allow the gate to sit flush against the post.
- Align the gate: Carefully align the gate with the hinge area on the fence post. Use a level to ensure that the gate is straight and that it opens and closes smoothly.
- Mark the hinge and latch positions: Once you have aligned the gate, use a pencil or marker to mark the positions of the hinges and latch on the fence post. This will serve as a guide for reattaching the gate.
- Reattach the hinges: Starting at the top hinge, use screws to reattach the hinges to the fence post, following the marked positions. Ensure that the hinge is securely fastened and aligned properly.
- Attach the latch mechanism: Align the gate’s latch mechanism with the corresponding mark on the fence post. Securely attach the latch using screws or bolts, depending on the type of latch.
As you reattach the gate, periodically check its alignment and movement to ensure that it opens and closes smoothly. Make any necessary adjustments to the hinge tightness or latch alignment to achieve optimal performance.
Once you are satisfied with the gate’s alignment and functionality, give it a few test swings to ensure that it operates smoothly and securely.
With the gate properly aligned and reattached, you can now move on to the next step to fine-tune and finish the repair process.
Step 6: Test the Gate for Proper Functioning
After reattaching the gate to the fence, it’s important to test it for proper functioning. This step ensures that all the repairs and adjustments have been successful and that the gate operates smoothly and securely.
Follow these steps to test the gate:
- Open and close the gate: Gently open and close the gate multiple times to check for any sticking, dragging, or misalignment issues. Pay attention to any unusual noises or resistance.
- Check for levelness: Use a level to ensure that the gate is still properly aligned with the ground and the fence. Adjust the hinge tightness or make any necessary tweaks to achieve the desired levelness.
- Test the latch mechanism: Engage and disengage the latch mechanism to ensure that it securely holds the gate closed and releases smoothly when needed. Check for proper alignment and ease of use.
- Inspect for gaps or sagging: Carefully examine the gate while it is closed to look for any noticeable gaps or sagging. This could indicate that the gate needs further adjustments or repairs.
If you notice any issues during the testing process, make the necessary adjustments or repairs to address them. This may involve tightening hinges, lubricating components, or realigning the gate to eliminate any gaps.
Continue testing the gate until you are confident that it operates properly and meets your expectations in terms of functionality and security.
Once you are satisfied with the gate’s performance, you can move on to the final step to make any necessary adjustments and add finishing touches to complete the repair process.
Step 7: Make Necessary Adjustments and Finishing Touches
In the final step of fixing a fence gate, it is important to make any necessary adjustments and add finishing touches to ensure the repair is complete and the gate is in optimal condition.
Follow these steps to make necessary adjustments and add finishing touches:
- Check hinge and latch alignment: Double-check the alignment of the hinges and latch mechanism. Make any final adjustments to ensure they are properly aligned and securely fastened.
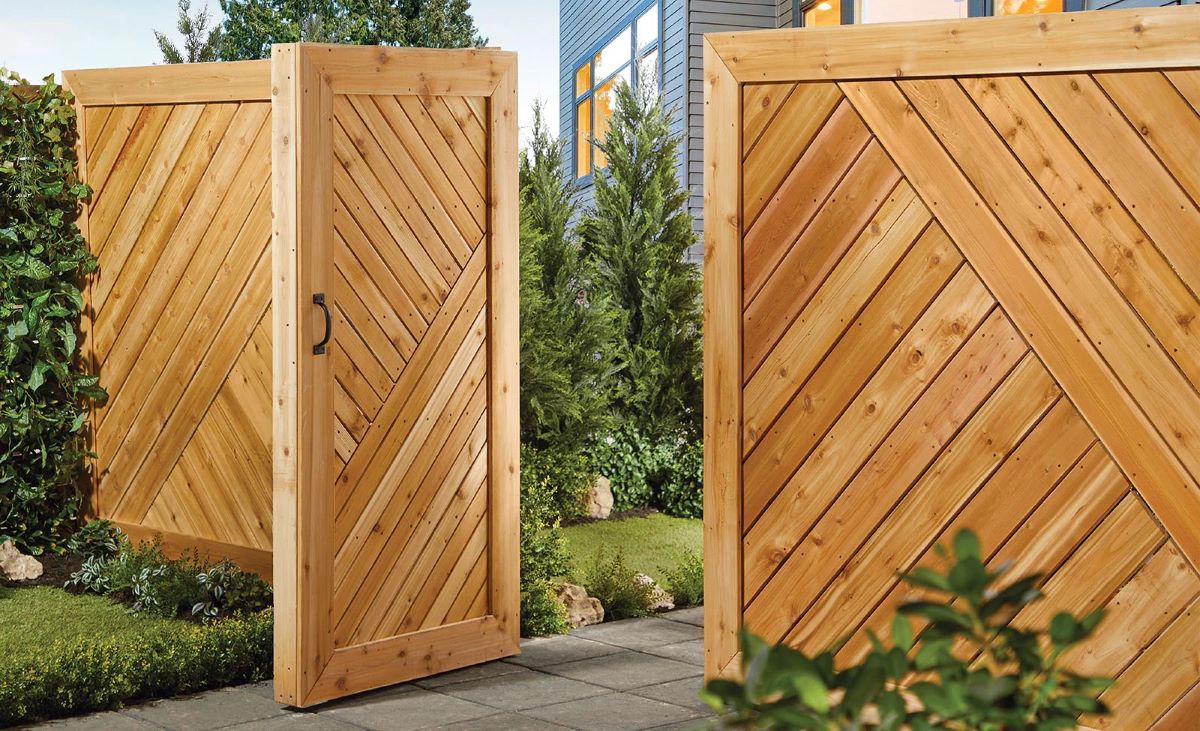
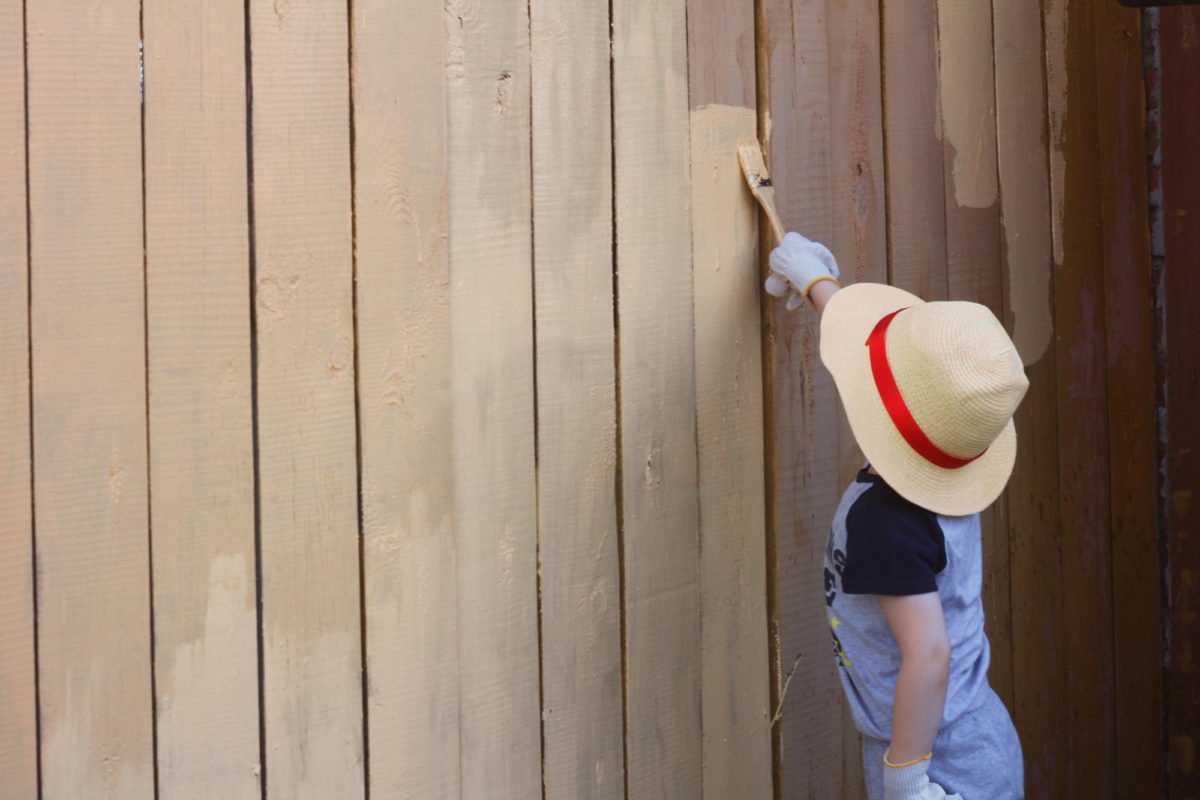
- Apply a protective finish: If your gate is made of wood, applying a protective finish, such as paint or stain, will not only enhance its appearance but also provide added protection against moisture and weathering.
- Trim and touch up: If there are any uneven edges or rough spots on the gate, use a saw or sandpaper to trim and smooth them. Touch up any visible screws or nails with matching paint or cover them with decorative caps.
- Install additional security measures: Consider adding extra security measures, such as a padlock or gate alarm, to enhance the security of your fence gate.
- Regular maintenance: To ensure that your gate remains in good condition, perform regular maintenance, such as lubricating hinges, cleaning the latch mechanism, and inspecting for any signs of wear or damage.
By taking these additional steps, you can not only improve the functionality and appearance of your fence gate, but also extend its lifespan and durability.
With the necessary adjustments made and finishing touches added, your fence gate repair is now complete. Take a step back and admire your handiwork, knowing that your gate is secure, functional, and ready to serve its purpose.
Remember, routine inspections and maintenance are crucial to prevent future issues with your fence gate. By staying proactive, you can ensure that it continues to operate smoothly for years to come.
Ultimately, by following these steps, you can successfully fix a fence gate and enjoy a functional and secure entryway to your property.
Conclusion
Repairing a fence gate may seem like a daunting task, but with the right knowledge and approach, it can be a manageable and rewarding DIY project. By following the step-by-step process outlined in this article, you can fix a fence gate that is sagging, misaligned, or damaged, and restore its functionality and security.
From assessing the problem to gathering the necessary tools and materials, removing the gate from the fence, inspecting and repairing damaged components, aligning and reattaching the gate, testing for proper functioning, making necessary adjustments, and adding finishing touches, each step plays a crucial role in the overall repair process.
Remember to approach the task with patience and attention to detail, as this will ensure the best results. Take the time to properly assess the issues, gather the right tools and materials, and make the necessary repairs or replacements. Your efforts will be rewarded with a gate that functions smoothly and securely.
Furthermore, don’t forget to perform periodic maintenance and inspections to keep your gate in optimal condition. Regularly lubricating hinges, cleaning latch mechanisms, and addressing any signs of wear or damage will contribute to the longevity and effectiveness of your fence gate.
Now that you have learned how to fix a fence gate, feel empowered to take on this DIY project and enjoy the satisfaction of having a well-functioning and aesthetically pleasing gate.
Remember, if you encounter more complex issues or feel unsure about the repair process, it is always recommended to consult with a professional for assistance and guidance. Safety should be a top priority when working on any home improvement project.
So grab your tools, gather your materials, and get ready to fix that fence gate with confidence!
Now that you've tackled fixing your fence gate, why not dive deeper into crafting skills with our woodworking guide? You'll gain insights and techniques to create stunning wooden pieces. If you're more inclined towards fresh air tasks, check out our unique outdoor projects that can transform spaces into inviting retreats. Both articles offer practical tips and creative ideas to enrich your crafting and outdoor adventures.
Frequently Asked Questions about How To Fix Fence Gate
Was this page helpful?
At Storables.com, we guarantee accurate and reliable information. Our content, validated by Expert Board Contributors, is crafted following stringent Editorial Policies. We're committed to providing you with well-researched, expert-backed insights for all your informational needs.

0 thoughts on “How To Fix Fence Gate”