Articles
How To Make A Fence Panel Into A Gate
Modified: December 7, 2023
Learn how to easily transform a fence panel into a functional gate with step-by-step instructions in this informative articles. Save time and money on your next DIY project!
(Many of the links in this article redirect to a specific reviewed product. Your purchase of these products through affiliate links helps to generate commission for Storables.com, at no extra cost. Learn more)
Introduction
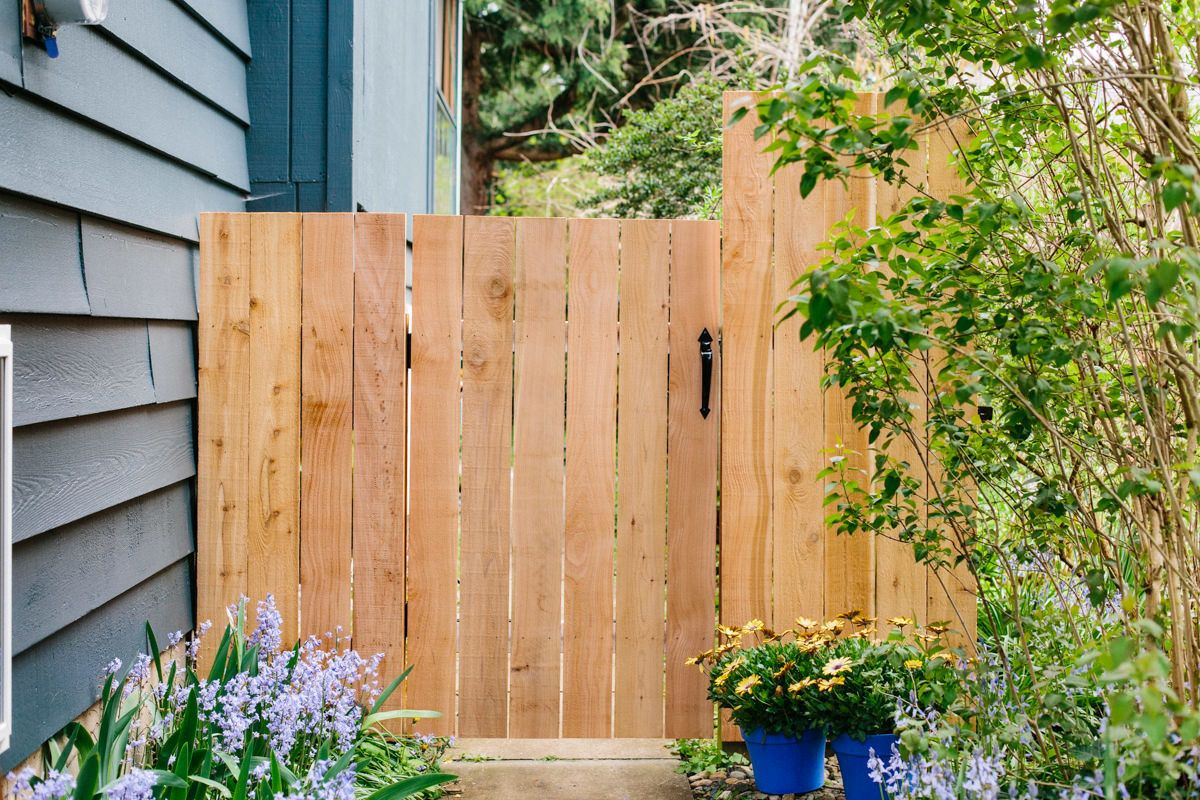
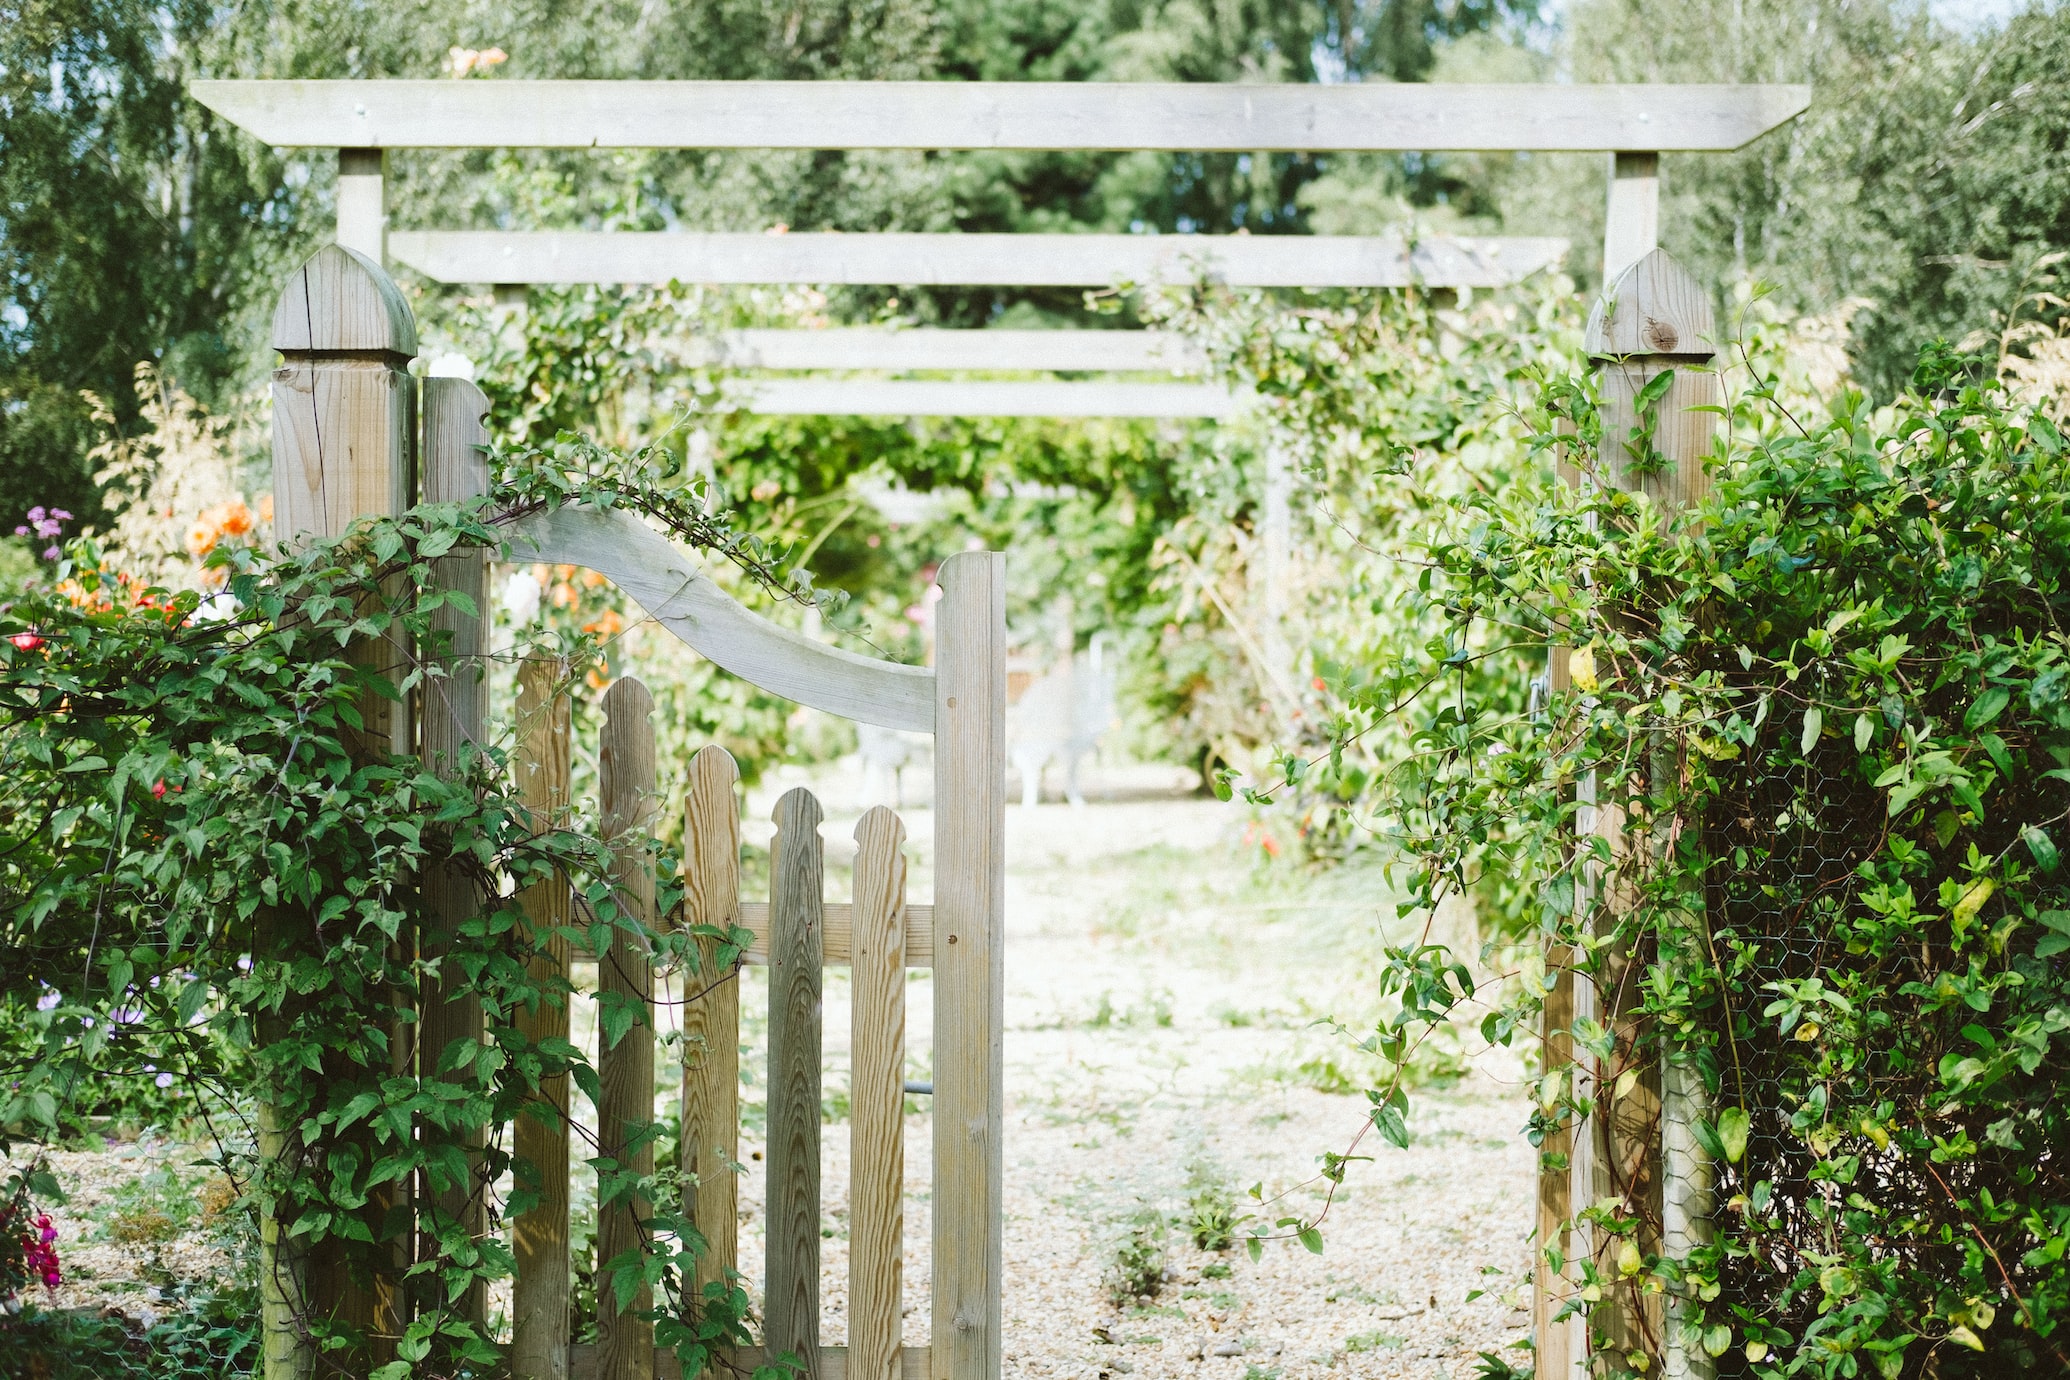
Are you looking to convert a fence panel into a gate? Maybe you have a fence in place but need a convenient access point. Turning a fence panel into a gate is a great solution that can save you time and money. Whether it’s for decorative purposes or to create a functional entrance, this guide will walk you through the steps to successfully transform a fence panel into a gate.
Before you get started, it’s important to gather the necessary materials and tools. With a few simple supplies and a bit of time, you can easily accomplish this project. So, grab your measuring tape and hammer, and let’s get started on creating your very own gate!
Key Takeaways:
- Transforming a fence panel into a gate is a practical and cost-effective DIY project that adds convenience and charm to your existing fence, providing a custom-made access point to your outdoor space.
- By following the step-by-step guide, you can successfully create a functional and visually appealing gate that seamlessly integrates with your existing fence, balancing functionality and aesthetics while ensuring stability and longevity.
Read more: How Much For A Fence Gate
Materials Needed
Before beginning your fence panel to gate transformation project, gather the following materials:
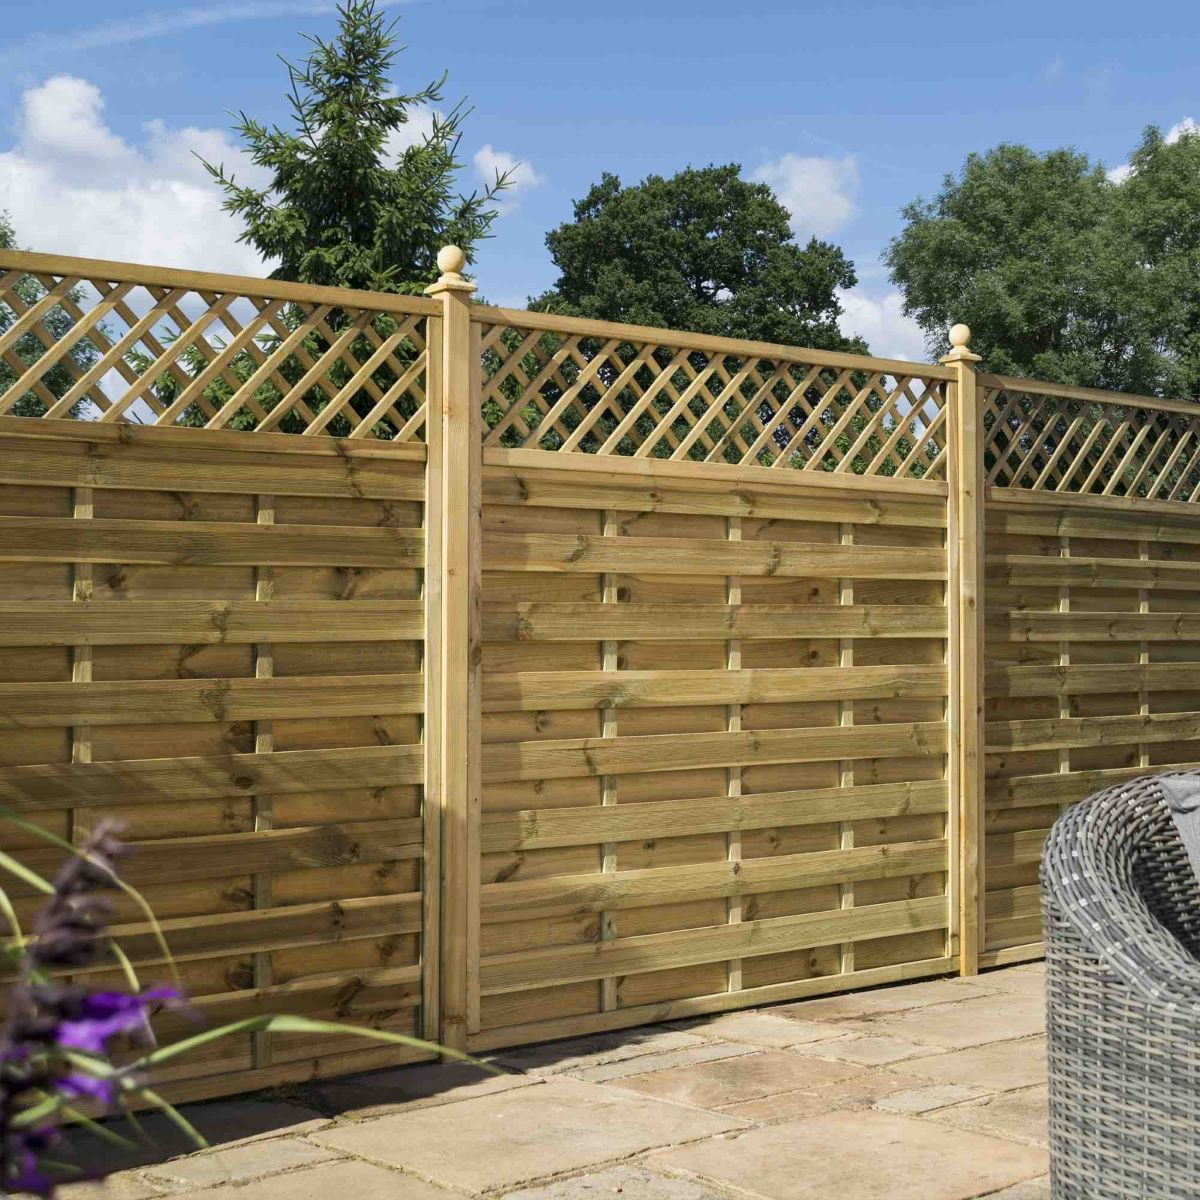
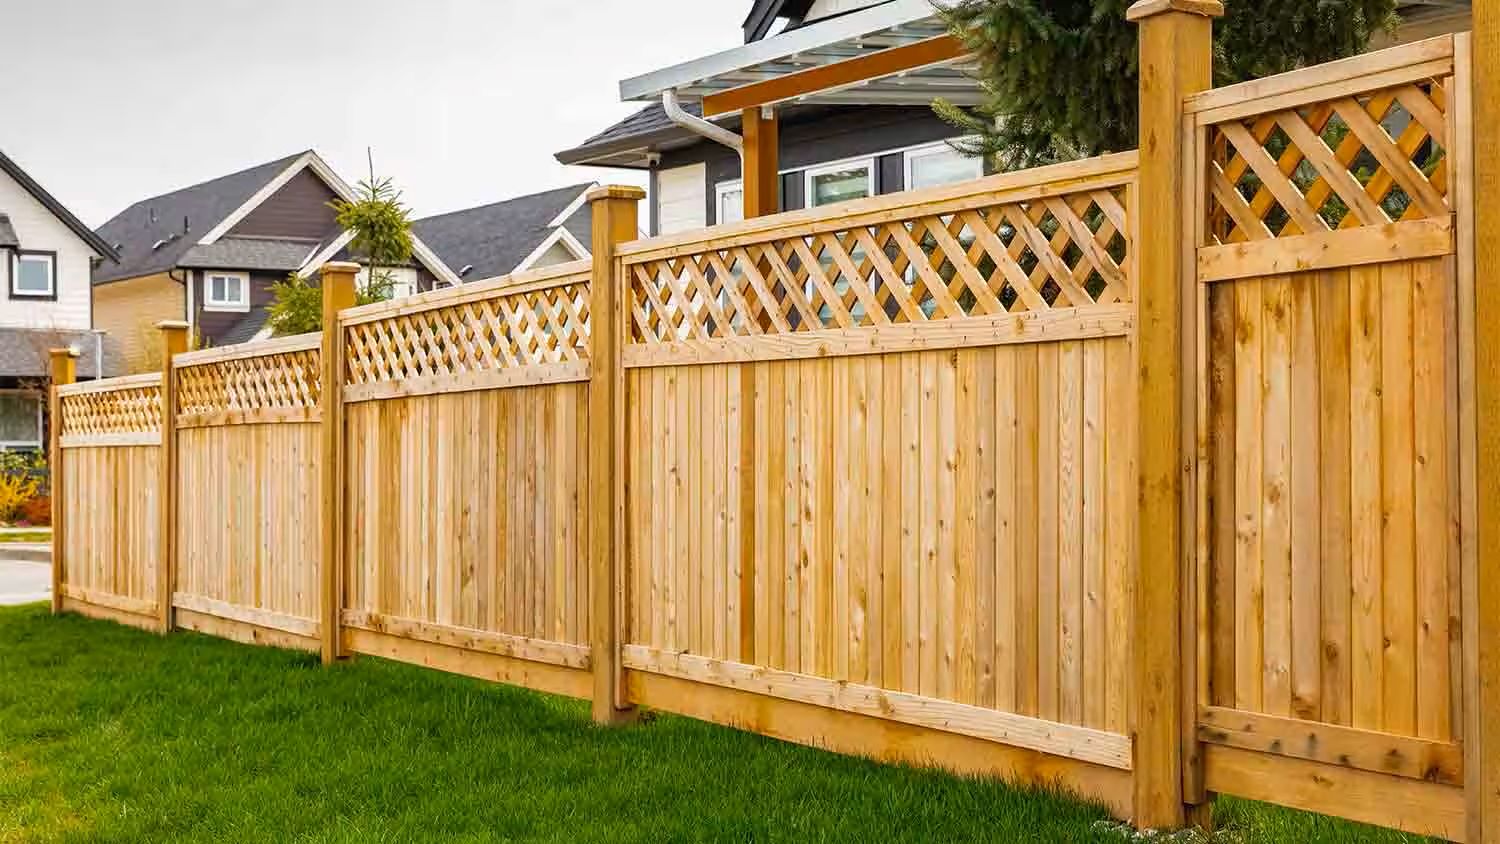
- A fence panel – Choose a panel that matches your existing fence, both in style and height.
- Hinges – Select durable hinges that are strong enough to support the weight of the gate.
- A latch or lock – Depending on your needs, choose a latch or lock mechanism to secure the gate.
- Screws – Ensure you have the appropriate screws to attach the hinges and latch/lock to the fence panel.
- A measuring tape – Accurate measurements are crucial for a properly-sized gate.
- A drill – You’ll need a drill to install the hinges, latch, and reinforcements.
- A level – A level will help ensure your gate is straight and properly aligned.
- A screwdriver – A screwdriver will be necessary to tighten screws.
- Optional: Reinforcement materials – Depending on the durability needed, reinforcement materials like wooden braces or steel brackets may be required.
Once you have gathered all these materials, you are ready to proceed to the next steps of converting your fence panel into a gate.
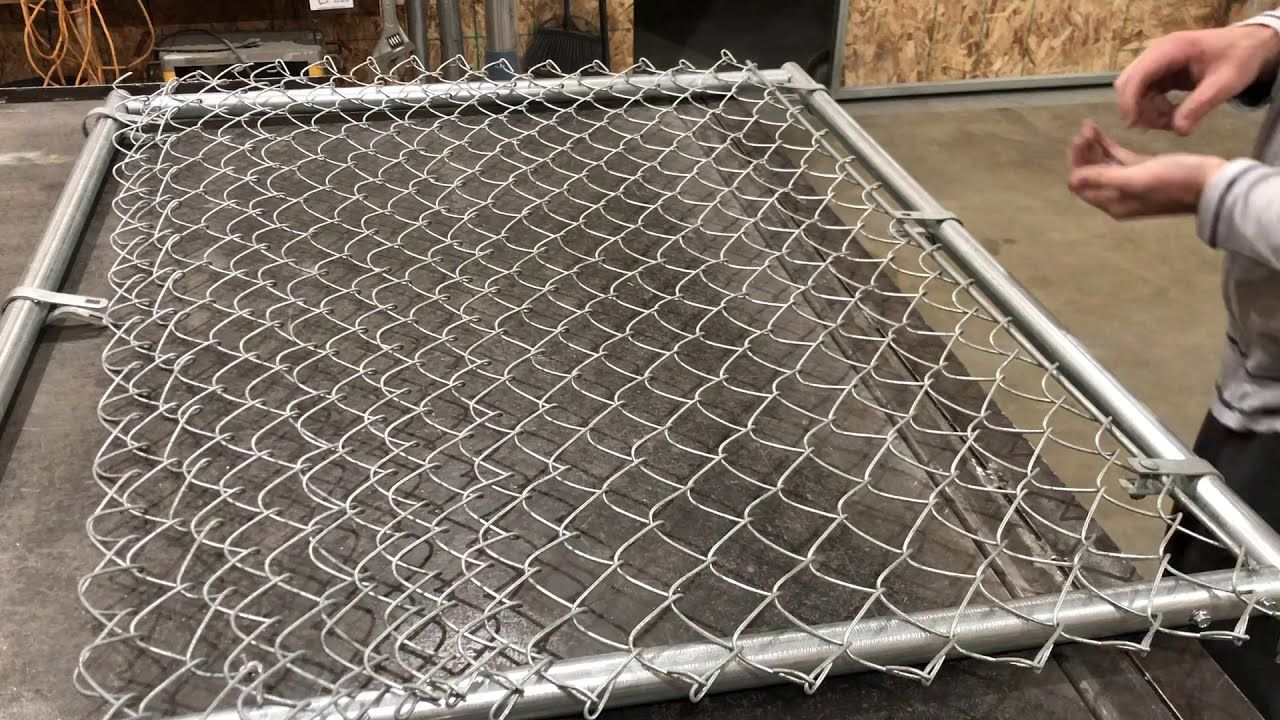
Step 1: Measure and Prepare Your Fence Panel
The first step in transforming your fence panel into a gate is to accurately measure and prepare the panel. This ensures that your gate fits properly within the existing fence line. Follow these steps:
- Measure the width of the opening – Use a measuring tape to measure the width of the area where you want to install your gate. This will determine the width of your gate panel.
- Determine the desired height – Decide on the height you want for your gate. It should match the height of your fence, for consistency and aesthetic purposes.
- Cut the fence panel – If the fence panel is wider than the opening, you may need to cut it down to size. Measure the excess width and mark it on the panel. Use a saw or a circular saw to cut along the marked line.
- Double-check the measurements – Before proceeding, verify that the width and height of the fence panel match your desired gate dimensions. It’s always better to be precise to ensure a perfect fit.
- Sand rough edges – If the cut edges of the fence panel are rough or unfinished, use sandpaper to smooth them down. This will prevent any splinters and ensure a neat appearance.
Once you have measured, cut, and prepared your fence panel, you are ready to move on to the next step of attaching hinges.
Step 2: Attach Hinges to the Fence Panel
Attaching hinges to the fence panel is the next crucial step in creating your gate. These hinges will allow the gate to swing open and closed smoothly. Follow these steps:
- Position the hinges – Decide where you want the hinges to be placed on the fence panel. Typically, two hinges are sufficient for a standard-sized gate. Position the hinges evenly on the height of the gate, ensuring that they are level.
- Mark the screw holes – Once you have determined the hinge placement, mark the screw holes on the fence panel. Use a pencil or marker to make clear, visible marks.
- Pre-drill the holes – To make screwing in the hinge screws easier, pre-drill pilot holes using a drill bit that matches the size of the screws.
- Attach the hinges – Align the hinges with the pre-drilled holes and fasten them securely to the fence panel. Use the appropriate screws for your hinge type. Ensure that the hinges are tightly attached to prevent any wobbling.
- Check the swing direction – Before moving on, make sure the hinges are positioned correctly for the desired swing direction of the gate. The gate should swing into the desired area, whether it be inward or outward.
Once the hinges are securely attached, move on to the next step of installing a latch or lock to keep your gate closed.
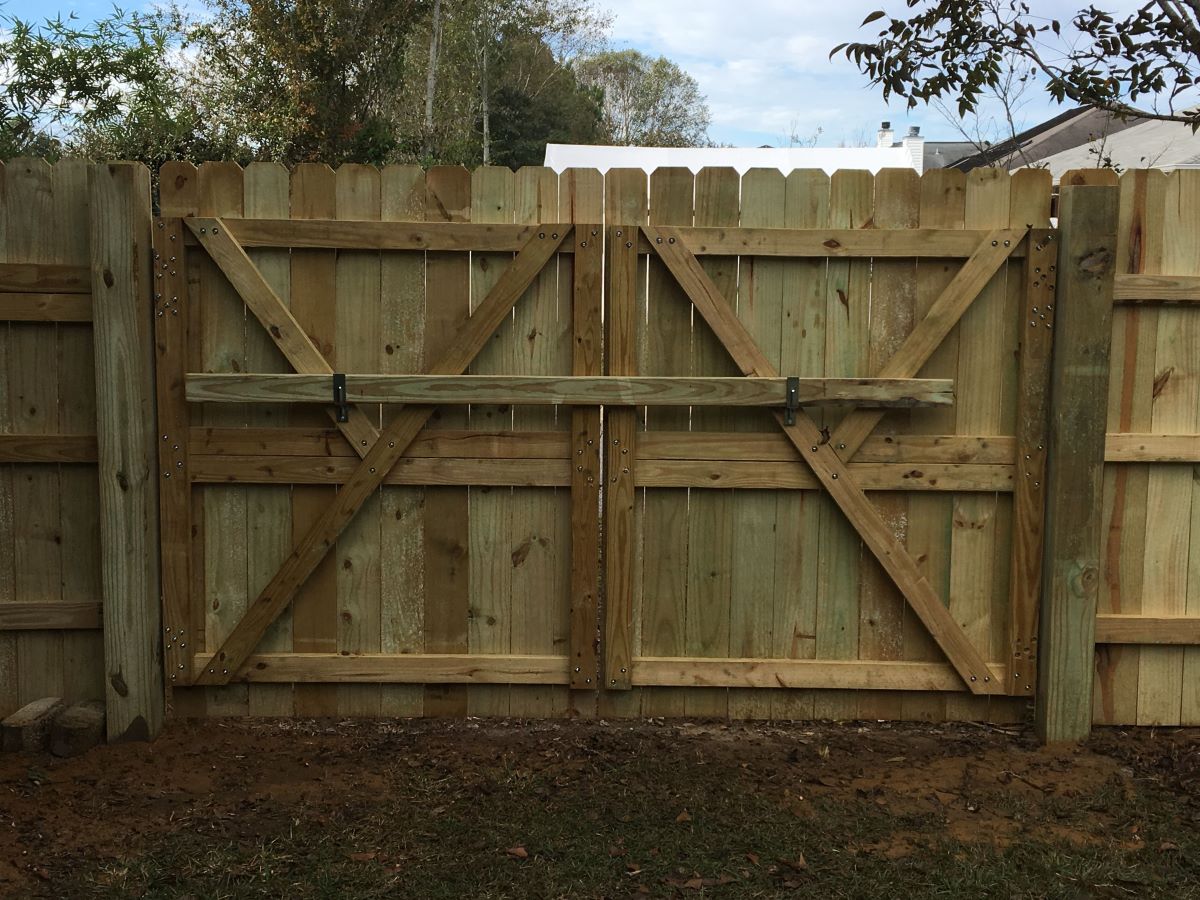
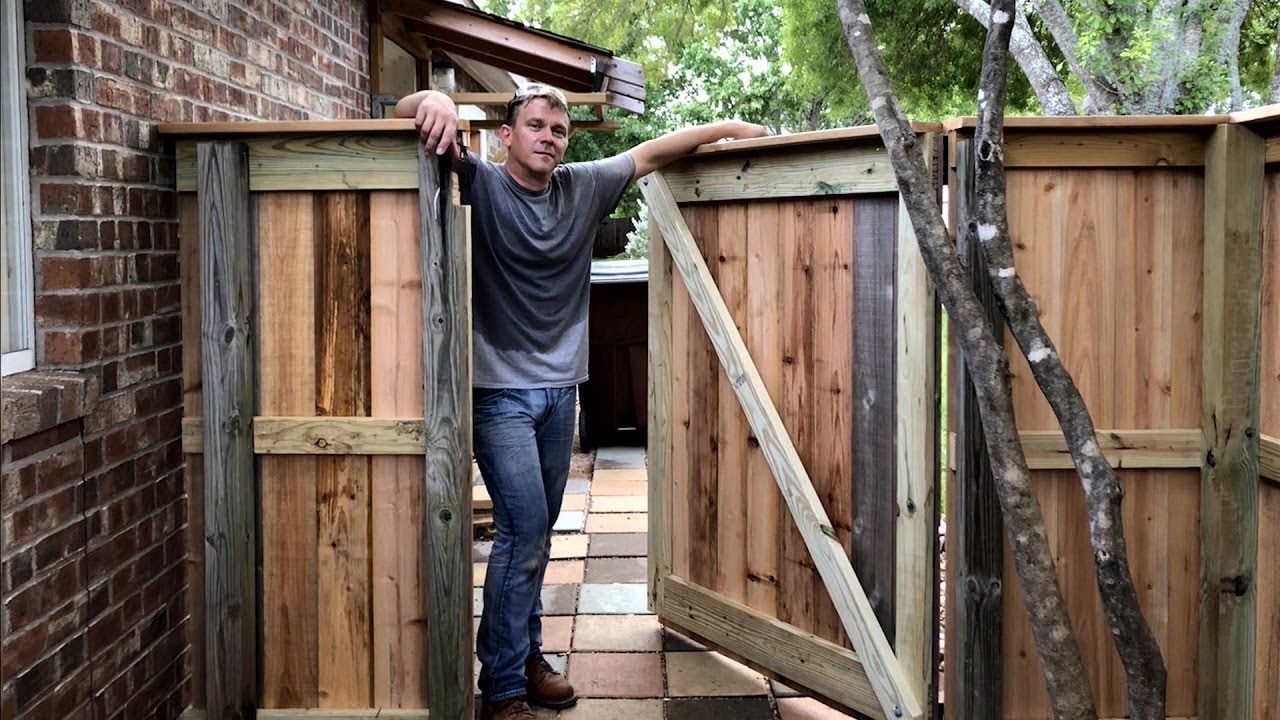
When converting a fence panel into a gate, make sure to reinforce the panel with diagonal bracing to prevent sagging and ensure proper functionality.
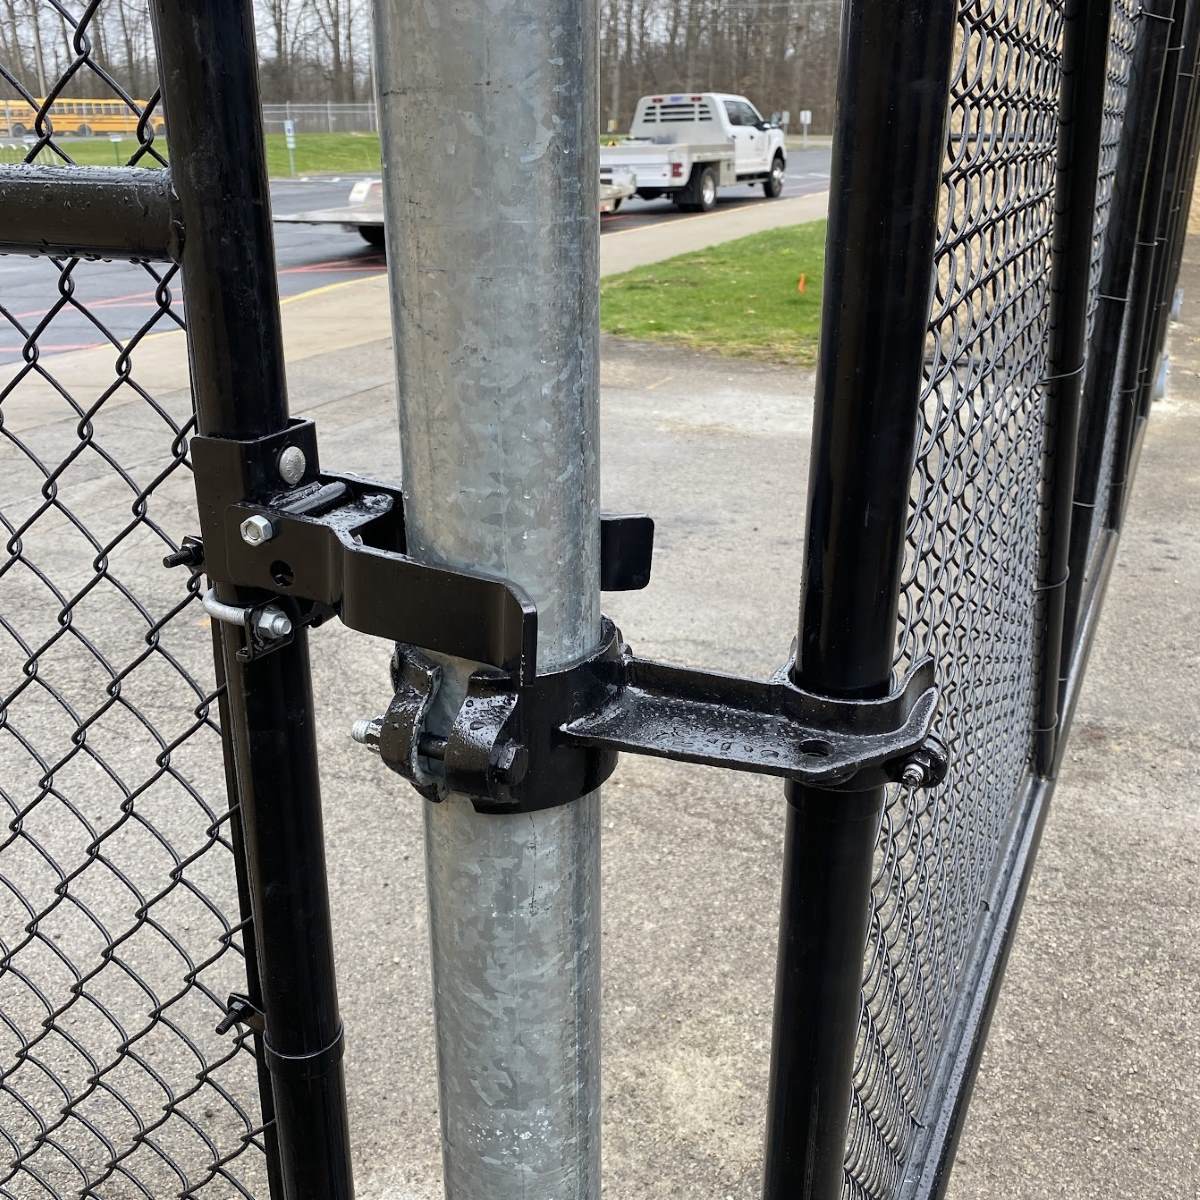
Step 3: Install a Latch or Lock
Installing a latch or lock is an essential part of creating a functional gate. This step ensures that your gate can be securely closed and provides easy access when needed. Follow these steps to install a latch or lock:
- Select a latch or lock – Choose a latch or lock mechanism that suits your needs and matches the style of your fence and gate. There are various options available, such as gate latches, slide bolts, or even combination locks.
- Determine the placement – Decide where you want the latch or lock to be positioned on your gate. Typically, it is placed on the side opposite the hinges, at a height that is convenient for access.
- Mark the screw holes – Once you have determined the placement, mark the screw holes for the latch or lock. Ensure that the markings are accurate and aligned with the latch or lock mechanism.
- Pre-drill the holes – Use a drill to pre-drill pilot holes for the latch or lock screws. This step will make it easier to attach the latch or lock securely.
- Attach the latch or lock – Align the latch or lock mechanism with the pre-drilled holes and fasten it tightly to the gate using the appropriate screws. Ensure that the latch or lock is securely attached and operates smoothly.
- Test the latch or lock – Once installed, test the latch or lock to make sure it functions properly. Ensure that it securely holds the gate closed and can be easily operated.
With the latch or lock in place, you can now move on to reinforcing the gate for added stability and durability.
Read more: How To Install Fence Gate
Step 4: Reinforce the Gate
To ensure the longevity and strength of your gate, reinforcing it is a crucial step. Reinforcements provide added stability and prevent sagging or warping over time. Follow these steps to reinforce your gate:
- Assess the gate’s structure – Examine the gate to identify any areas that may need additional support. Look for weak points or areas prone to bending or twisting.
- Add wooden braces – If your gate is made of wood, attaching wooden braces can greatly enhance its stability. Measure and cut wooden boards to the appropriate size, and attach them diagonally from the top corner to the bottom opposite corner of the gate. Secure the braces with screws or nails.
- Consider steel brackets – For metal gates, steel brackets can be used to reinforce weak points. Choose brackets that are specifically designed for gate reinforcement and attach them to the areas that require extra support.
- Ensure proper alignment – Use a level to ensure that the gate is correctly aligned and not leaning to one side. Adjust the hinges if necessary to achieve a balanced and straight gate.
- Check for smooth operation – Open and close the gate several times to test its smoothness. Make any adjustments as needed to ensure that the gate opens and closes easily without any obstructions or resistance.
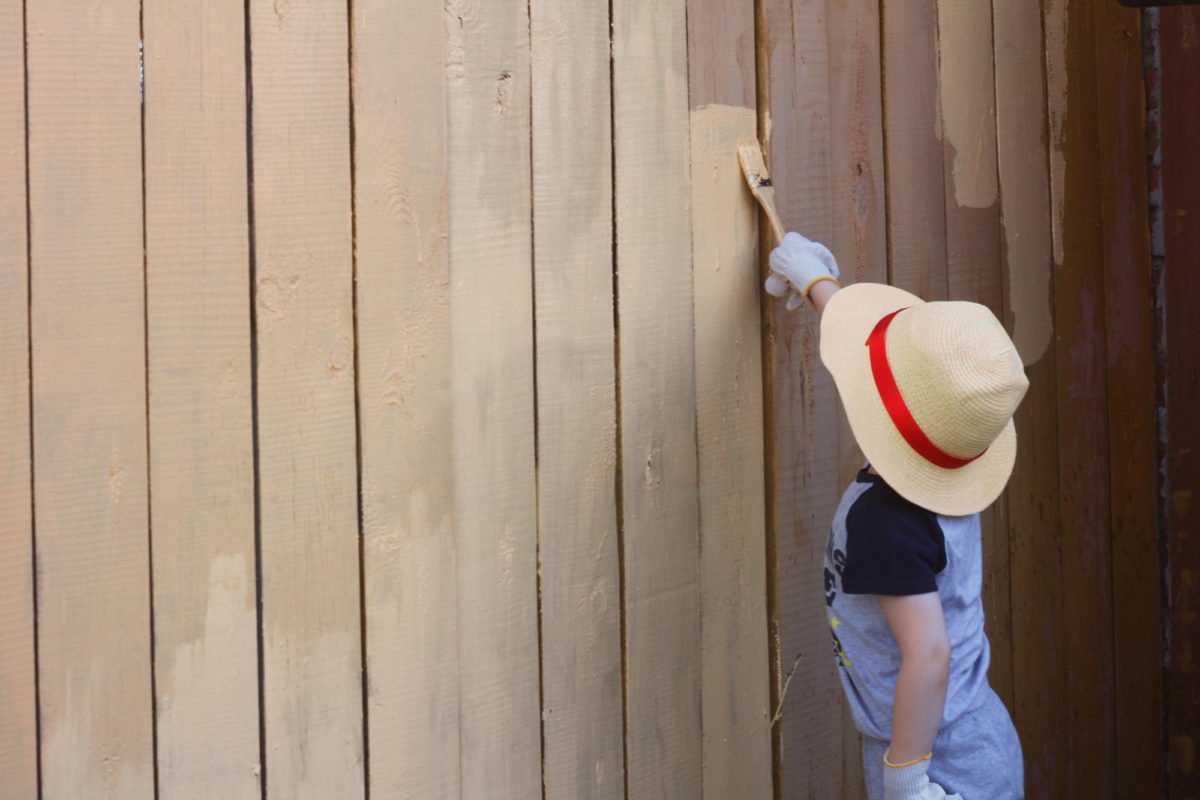
- Apply weatherproofing – If your gate will be exposed to the elements, consider applying a weatherproof sealant or paint to protect it from moisture and sunlight. This will help prolong its lifespan and maintain its appearance.
By reinforcing your gate, you improve its strength and durability, ensuring that it remains functional and visually appealing for years to come.
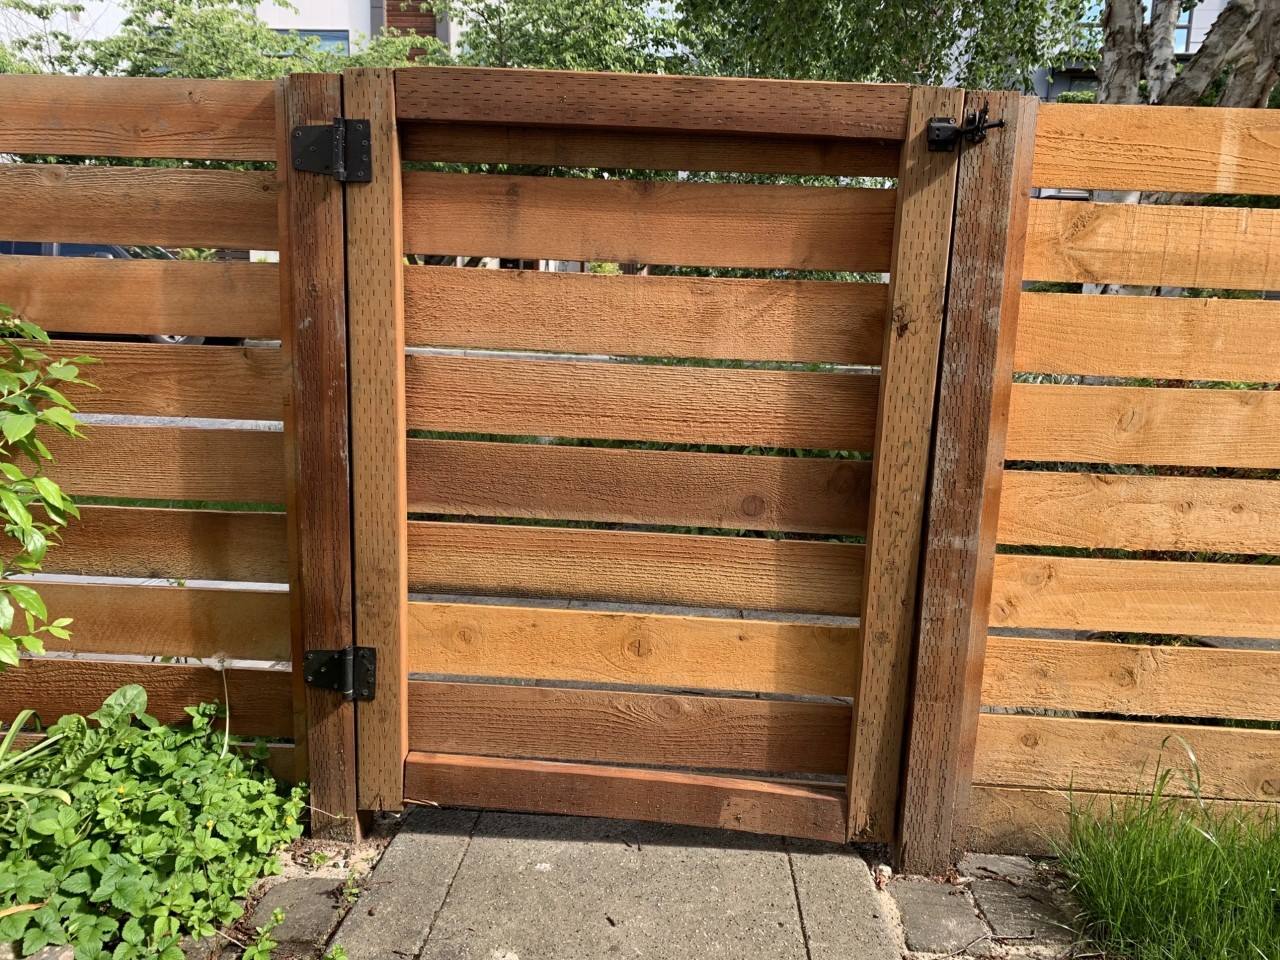
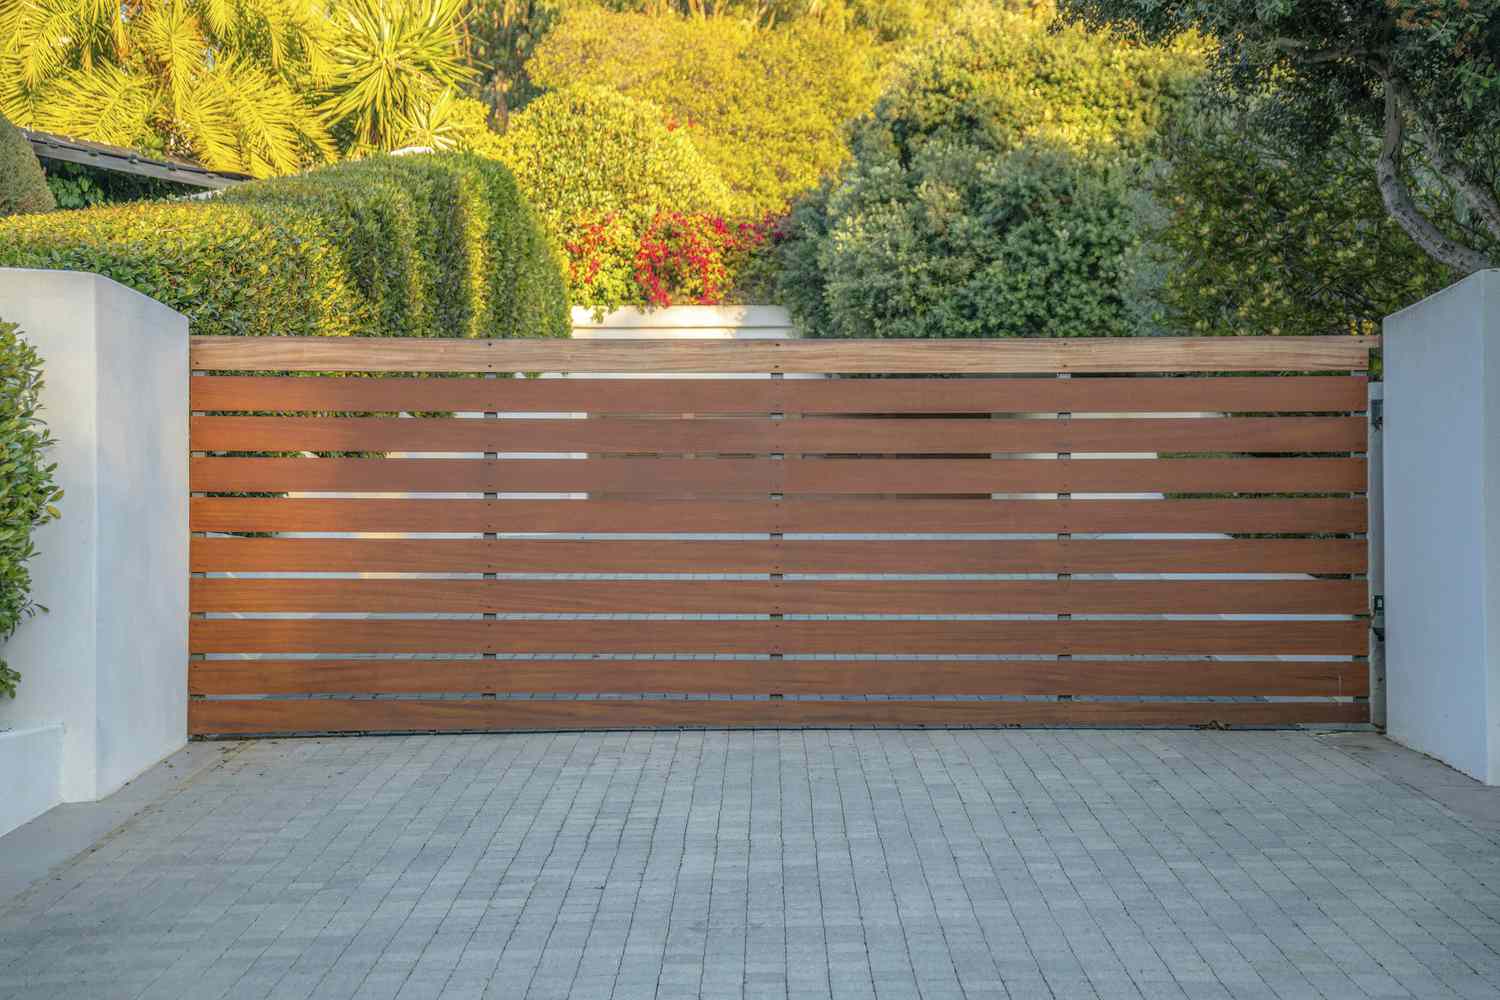
Step 5: Hang the Gate
The final step in converting your fence panel into a gate is to hang it properly. Hanging the gate ensures that it swings smoothly and securely within the fence opening. Follow these steps to hang your gate:
- Position the gate – With the help of a friend or family member, hold the gate in place within the fence opening. Ensure that the gate is centered and aligns with the fence posts.
- Attach the hinges to the fence post – Take one side of the gate with the hinges and align it with the corresponding fence post. Hold the gate in position as you mark the screw holes on the fence post.
- Pre-drill the holes and secure the hinges – Use a drill to pre-drill pilot holes into the fence post, then use the appropriate screws to attach the hinges to the post. Make sure the hinges are firmly secured.
- Check the swing – Test the swing of the gate to ensure it opens and closes smoothly. Make any necessary adjustments to the hinges to achieve the desired swing motion.
- Install gate stoppers (optional) – Gate stoppers are small brackets installed on the fence post to limit the gate’s swing and prevent it from swinging too far. This can help protect the gate from damage and provide additional stability.
- Test the latch/lock – Double-check that the latch or lock mechanism functions correctly. Ensure that it securely holds the gate closed and can be easily opened when needed.
Once you have successfully hung the gate and tested its functionality, you have completed the process of converting a fence panel into a gate. Take a step back and enjoy the convenience and aesthetic enhancement it adds to your fence!
Conclusion
Transforming a fence panel into a gate is a practical and cost-effective solution for adding a convenient access point to your fence. By following the step-by-step guide outlined in this article, you can successfully create a functional and visually appealing gate that seamlessly integrates with your existing fence.
Remember to gather all the necessary materials, measure and prepare your fence panel, and attach hinges and a latch or lock. Reinforcing the gate will ensure its stability and longevity, while hanging it properly will guarantee smooth operation. By following these steps, you can enjoy the benefits of a custom-made gate that provides both security and convenience.
Throughout the process, it’s important to maintain a balance between functionality and aesthetics. Consider the style and height of your existing fence when selecting a fence panel and choose hinges, a latch, and reinforcement materials that complement the overall look. Additionally, don’t forget to weatherproof your gate to protect it from the elements and maintain its appearance.
Converting a fence panel into a gate is a rewarding project that allows you to customize your fence and enhance its functionality. Whether you need a gate for easy access to your backyard, a garden, or any other area, this DIY project offers a practical and affordable solution.
So roll up your sleeves, gather your tools, and get ready to transform your fence panel into a gate. With a bit of effort and creativity, you can enjoy the convenience and charm of a gate that perfectly complements your fence.
Frequently Asked Questions about How To Make A Fence Panel Into A Gate
Was this page helpful?
At Storables.com, we guarantee accurate and reliable information. Our content, validated by Expert Board Contributors, is crafted following stringent Editorial Policies. We're committed to providing you with well-researched, expert-backed insights for all your informational needs.


0 thoughts on “How To Make A Fence Panel Into A Gate”