Articles
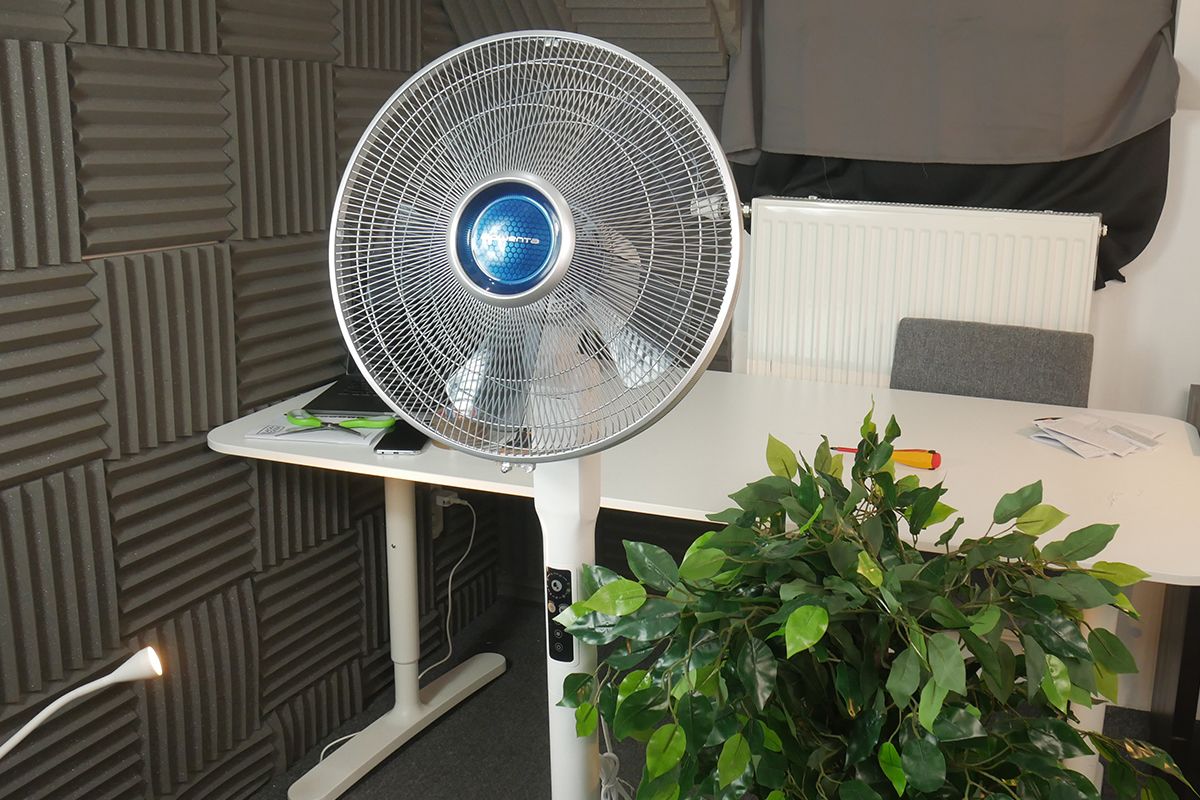
Why Is My Standing Fan Squeaking
Modified: October 18, 2024
Find out why your standing fan is squeaking and learn how to fix it easily with these helpful articles.
(Many of the links in this article redirect to a specific reviewed product. Your purchase of these products through affiliate links helps to generate commission for Storables.com, at no extra cost. Learn more)
Introduction
Standing fans are a popular choice for cooling homes and offices. They are efficient, portable, and provide a refreshing breeze on hot summer days. However, one of the most common issues that can arise with standing fans is squeaking. The unpleasant noise can be distracting and annoying, making it difficult to enjoy the cooling benefits of the fan. But fear not! In this article, we will explore the common causes of standing fan squeaking and provide you with some simple solutions to fix the problem.
Squeaking in standing fans can occur due to various reasons, such as improper lubrication, dirt buildup, or worn-out components. Identifying the root cause is essential for effectively resolving the issue. By understanding the causes and solutions, you can ensure that your standing fan operates smoothly and quietly, providing you with a peaceful and cool environment.
So, if you’re tired of the constant squeaking coming from your standing fan, let’s dive into the common causes and discover how to fix them!
Key Takeaways:
- Keep your standing fan in top shape by lubricating the motor, cleaning the blades, and replacing worn-out components to eliminate annoying squeaking noises and ensure a cool and peaceful environment.
- Regular maintenance, including cleaning, lubricating, and periodic checks, can prevent squeaking issues in standing fans, extending their lifespan and ensuring efficient and quiet operation.
Read more: Why Is My New Mattress Squeaking
Common Causes of Standing Fan Squeaking
Standing fans may start squeaking due to a variety of reasons. Here are some common causes to look out for:
- Lack of lubrication: One of the primary reasons for fan squeaking is the lack of proper lubrication. Over time, the fan’s motor can dry out, resulting in friction and squeaking sounds. If the motor is not regularly lubricated, it can lead to increased noise levels.
- Dirty fan blades: Dust, dirt, and debris can accumulate on the fan blades, causing imbalance and resulting in squeaking noises. When the fan is in operation, the accumulated dirt can interfere with the smooth rotation of the blades, hence causing the squeaking sound.
- Loose or worn-out components: Another common cause of standing fan squeaking is loose or worn-out components. Over time, screws, nuts, or other fasteners may become loose, leading to vibrations and squeaks. Additionally, worn-out components such as bearings or belts can also contribute to the noise.
- Misalignment: If the fan’s motor or blades are not properly aligned, it can result in a squeaking noise. This misalignment can occur due to rough handling or accidental bumps, causing the components to shift out of their original positions.
Identifying the specific cause of the squeaking noise is crucial to effectively addressing the issue and finding the appropriate solution. In the next section, we will explore how to fix the squeaking problem in your standing fan.
Fixing the Squeaking Issue
Now that we have identified the common causes of standing fan squeaking, let’s explore some solutions to fix the problem:
- Lubricating the fan’s motor: If the squeaking is caused by lack of lubrication, you can easily resolve the issue by lubricating the fan’s motor. Locate the oiling ports on the motor and use a few drops of lubricant specifically designed for electric motors. This will help reduce friction and eliminate the squeaking noise.
- Cleaning the fan blades: If dirt and debris buildup is the culprit behind the squeaking, cleaning the fan blades is the solution. Gently remove the grille or protective cover and wipe down the blades with a soft cloth or brush. Ensure that you remove all the accumulated dust and dirt from both sides of the blades. Once cleaned, reassemble the fan and test if the squeaking noise persists.
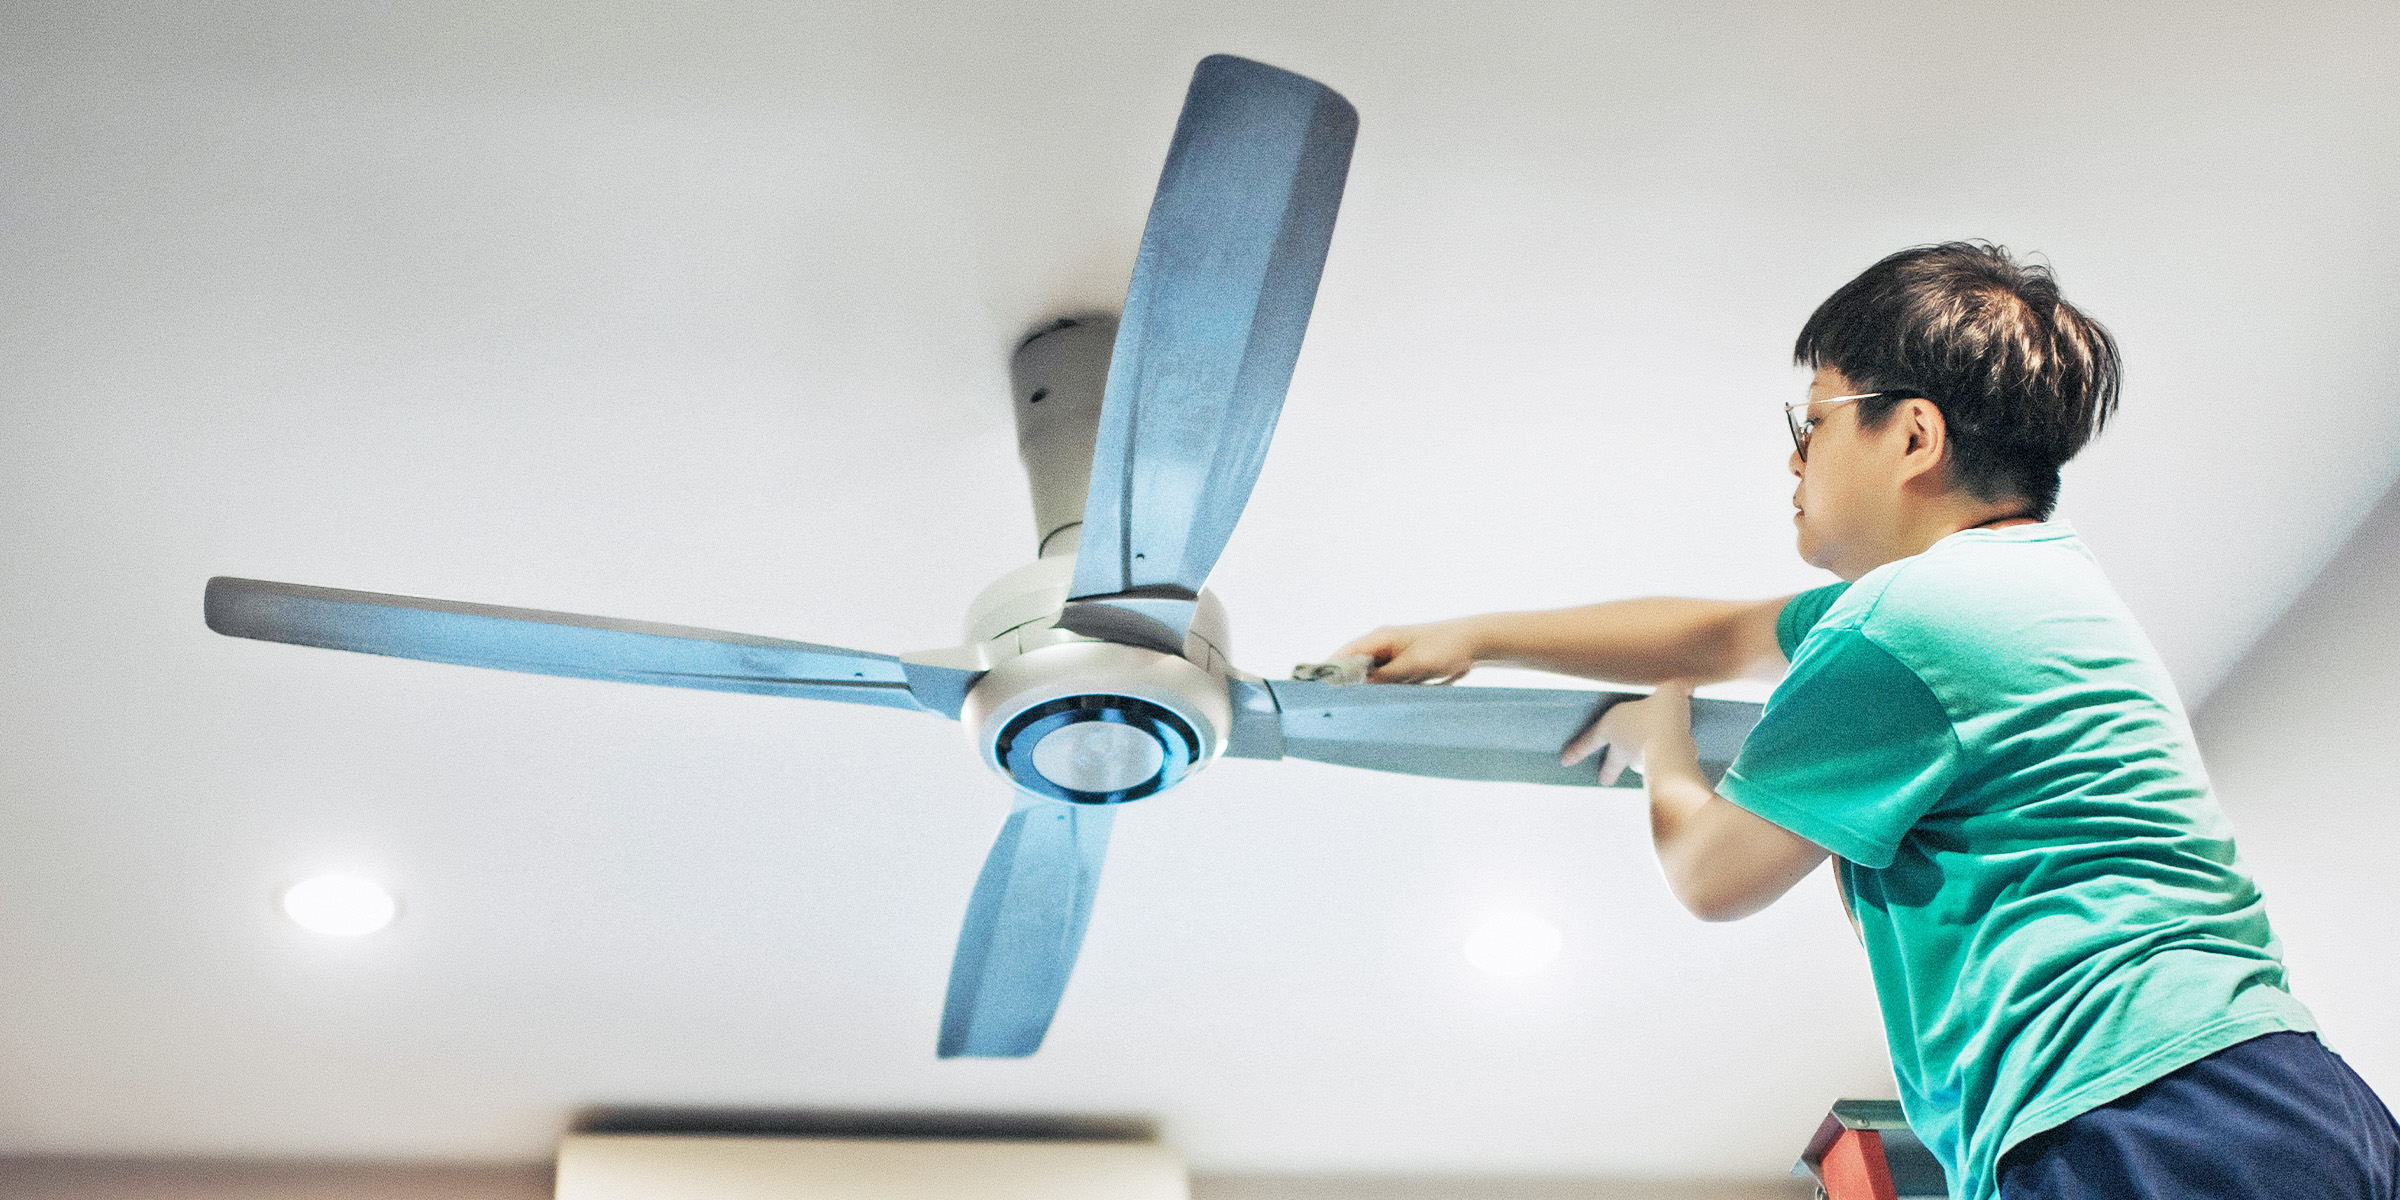
- Replacing worn-out or damaged components: If you have identified any loose or worn-out components, such as screws, nuts, bearings, or belts, you may need to replace them. Tighten any loose screws or fasteners using appropriate tools. If the components are severely damaged, consult the manufacturer or a professional technician for replacement parts.
- Realignment: In case of misalignment, carefully inspect the fan’s motor and blades. If you notice any misalignment, gently push the components back into their correct positions. Be cautious when handling the delicate parts and ensure that everything is aligned properly. Once realigned, test the fan to see if the squeaking noise has been eliminated.
Remember, the effectiveness of these solutions may vary depending on the specific issue causing the squeaking noise. It’s always best to follow the manufacturer’s guidelines and consult a professional if needed.
Now that you know how to fix the squeaking issue let’s move on to the next section, where we will discuss the importance of lubricating the fan’s motor.
Lubricating the Fan’s Motor
Lubricating the fan’s motor is a crucial step in eliminating squeaking sounds and ensuring smooth and efficient operation. Over time, the motor’s moving parts may become dry, causing friction and resulting in annoying squeaks. By lubricating the motor, you can reduce friction and prevent further damage. Here’s how you can do it:
- Check the manufacturer’s instructions: Before lubricating the fan’s motor, it’s important to check the manufacturer’s instructions. Different types of standing fans may have specific lubrication requirements, so it’s essential to follow the guidelines provided.
- Locate the oiling ports: Most standing fans have oiling ports located near the motor housing. These ports are specifically designed for lubrication purposes. Refer to the manufacturer’s instructions or user manual to locate these ports.
- Choose the right lubricant: Select a high-quality lubricant suitable for electric motors. Avoid using any petroleum-based lubricants, as they may cause damage to the motor. Look for lubricants specifically formulated for fans or electric motors.
- Apply the lubricant: Once you have the appropriate lubricant, apply a few drops to each oiling port. Be cautious not to over-lubricate, as excess lubricant can attract dust and debris, leading to further issues. Use a clean cloth to wipe away any excess lubricant that may have dripped onto the motor or nearby components.
- Test the fan: After lubricating the motor, it’s time to test the fan. Switch it on and observe if the squeaking noise has been eliminated. If the fan continues to squeak, it may require further investigation or a different approach to fixing the underlying cause.
Regular maintenance and lubrication of the fan’s motor can help extend its lifespan and ensure a quiet and efficient operation. Make it a habit to lubricate the motor periodically to prevent future squeaking issues.
Now that you understand the importance of lubricating the fan’s motor, let’s move on to the next section, where we will discuss cleaning the fan blades.
Check if the fan blades are hitting the grill or if the motor needs lubrication. Tighten any loose screws and clean the fan to prevent squeaking.
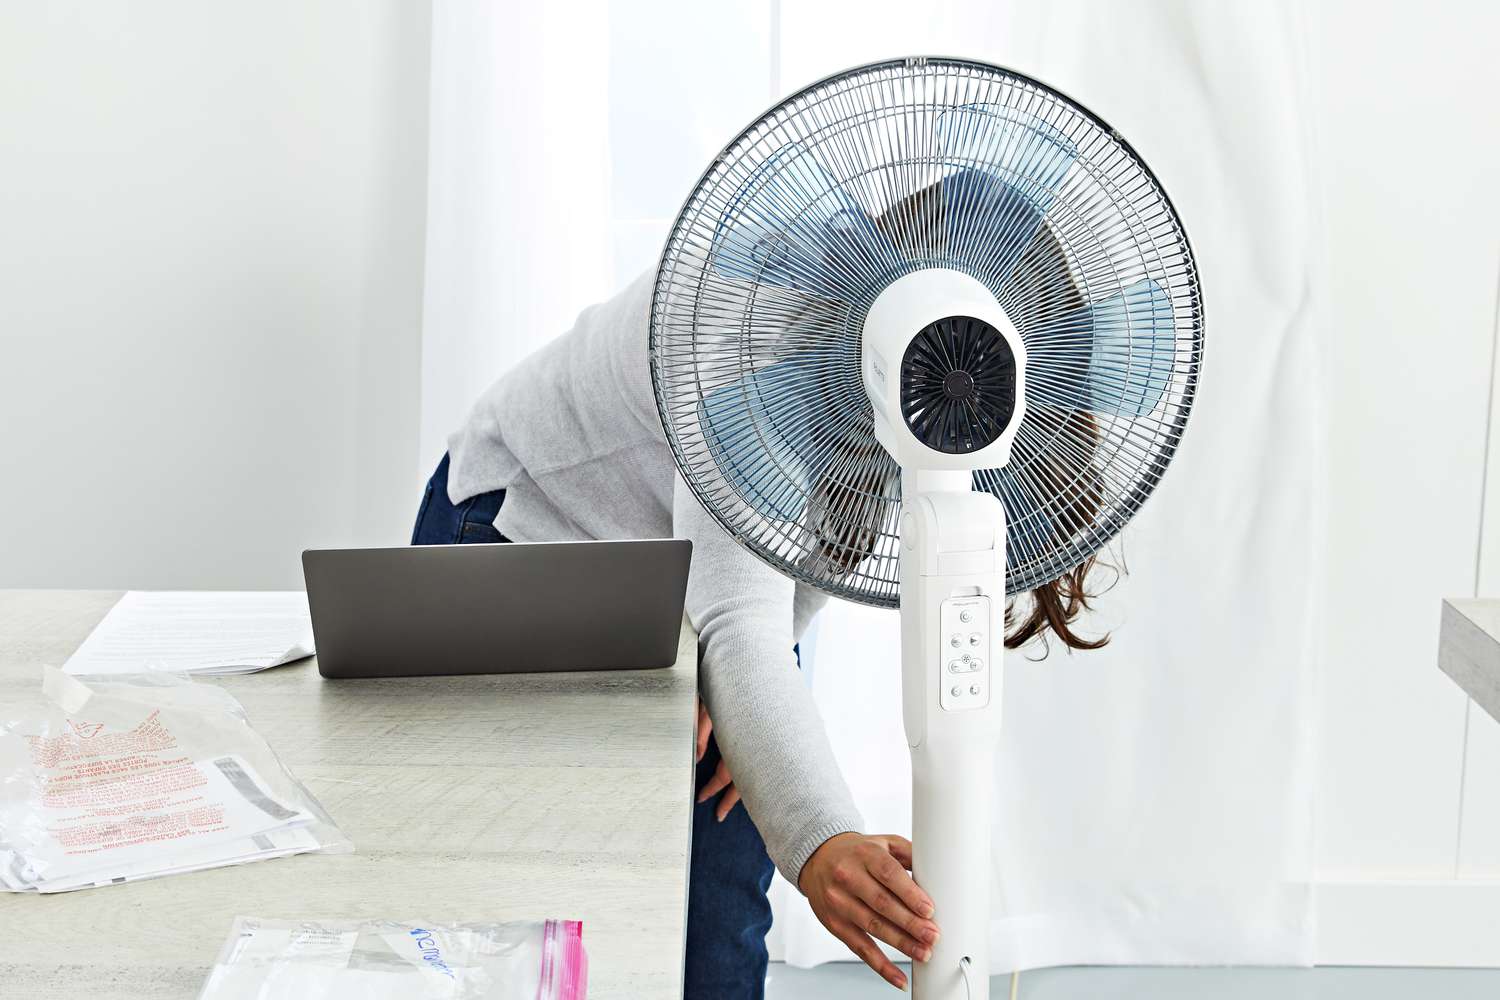
Cleaning the Fan Blades
Accumulated dirt and debris on the fan blades can disrupt their smooth rotation and cause squeaking noises. Cleaning the fan blades regularly is essential not only for preventing squeaking but also for maintaining optimal performance. Here’s how you can clean the fan blades:
- Unplug the fan: Before cleaning the fan, always make sure it is unplugged from the power source. This ensures your safety while working on the fan.
- Remove the grille or protective cover: Many standing fans have a removable grille or protective cover. Check your fan’s design and gently remove the grille to access the fan blades.
- Wipe down the blades: Use a soft, damp cloth or a brush to carefully wipe down the fan blades. Start from the center and work your way to the edges, removing any dust or dirt that has accumulated. Pay attention to both sides of the blades to ensure a thorough cleaning.
- Use a vacuum or compressed air: If there is heavy dirt buildup and wiping alone is not sufficient, you can use a vacuum or compressed air to remove stubborn debris. Hold the vacuum or compressed air nozzle close to the blades to effectively suck or blow away the dirt. Be careful not to damage the blades or bend them while doing so.
- Clean the grille or protective cover: Once you have cleaned the fan blades, don’t forget to clean the grille or protective cover as well. Use a damp cloth or sponge to wipe away any dust or dirt. Let it dry completely before reassembling the fan.
- Reassemble the fan: After the blades and grille are clean and dry, carefully reattach the grille or protective cover to the fan. Ensure that it is securely in place to avoid any safety hazards.
- Test the fan: Plug in the fan and turn it on to test if the squeaking noise has been eliminated. If the squeaking persists, there may be other underlying causes that require further investigation.
Regularly cleaning the fan blades not only improves performance but also helps in maintaining a healthier environment by preventing the circulation of dust and allergens. Add this cleaning routine to your regular household maintenance schedule to keep your fan operating smoothly and quietly.
Now that you have learned how to clean the fan blades, let’s move on to the next section, where we will discuss replacing worn-out or damaged components.
Read more: Why Is My Air Conditioner Squeaking
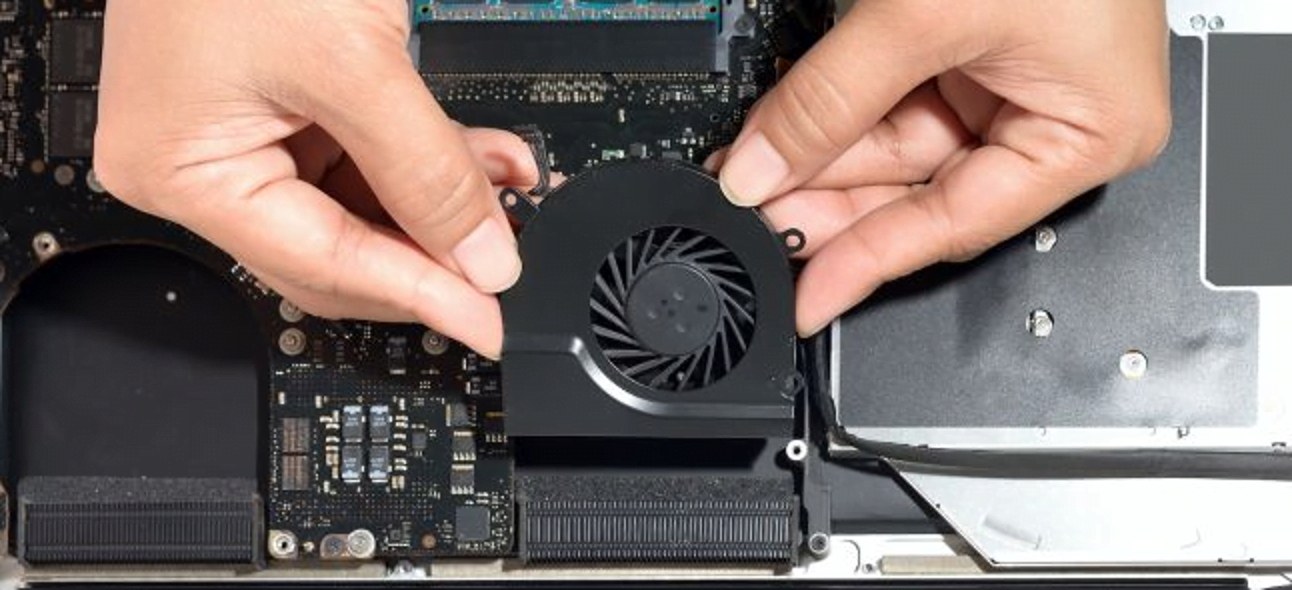
Replacing Worn Out or Damaged Components
If lubricating the motor and cleaning the fan blades did not resolve the squeaking issue, it’s possible that there are worn-out or damaged components causing the noise. Here are some steps to help you replace these components:
- Identify the problematic component: Carefully examine the fan and identify the specific component that is causing the squeaking noise. This could be a loose screw, a worn-out bearing, or a damaged belt.
- Order replacement parts: Once you have identified the problematic component, you may need to order replacement parts. Contact the manufacturer or search for authorized suppliers to ensure you receive the correct and compatible parts for your specific fan model.
- Disconnect the fan: Before starting the replacement process, ensure that the fan is unplugged and completely disconnected from the power supply to prevent any accidental electrical shocks.
- Remove the damaged component: Using the appropriate tools, carefully remove the damaged component. This may involve unscrewing, unclipping, or detaching various parts of the fan. Take note of the steps you took during the removal process, as it will help you during reassembly.
- Install the replacement component: Once you have the replacement part, follow the manufacturer’s instructions to install it. Use the appropriate tools and ensure that all connections are secure and properly aligned.
- Reassemble the fan: After the replacement component is installed, reassemble the fan in the reverse order of disassembly. Ensure that all screws, nuts, and other fasteners are tight and secure.
- Test the fan: Plug in the fan and turn it on to test if the squeaking noise has been eliminated. If the fan operates silently and smoothly, you have successfully replaced the worn-out or damaged component.
Replacing worn-out or damaged components may require some technical expertise, so if you are unsure or uncomfortable doing it yourself, it’s advisable to consult a professional technician who specializes in fan repairs. They can accurately diagnose the issue and replace the components with precision.
By replacing worn-out or damaged components, you can ensure that your fan operates efficiently and silently, providing you with a cool and peaceful environment.
Now that you know how to replace worn-out or damaged components, let’s move on to the next section, where we will discuss tips for maintaining your fan to prevent squeaking issues.
Maintaining Your Fan to Prevent Squeaking
Prevention is always better than cure, and this holds true for standing fan squeaking issues as well. Regular maintenance of your fan can help prevent squeaking and ensure its optimal performance. Here are some tips to maintain your fan:
- Keep the fan clean: Dust and dirt can easily accumulate on the fan blades and other components, leading to squeaking and reduced efficiency. Make it a habit to clean your fan regularly. Use a damp cloth to wipe down the blades, grille, and other accessible parts. Keeping the fan clean not only prevents squeaking but also improves the air quality in your space.
- Ensure proper lubrication: Lubricating the fan’s motor is crucial for smooth operation and to prevent squeaking. Refer to the manufacturer’s instructions for the recommended lubrication intervals. Regularly oil the motor using the appropriate lubricant to reduce friction and keep the fan running quietly.
- Tighten loose components: Over time, screws, nuts, and other fasteners may become loose due to vibrations and regular use. Periodically check and tighten any loose components to prevent unnecessary vibrations and potential squeaking noises. Use the appropriate tools and follow the manufacturer’s guidelines.
- Avoid rough handling: Handle your standing fan with care to avoid misalignments or damage to the components. Avoid dropping or bumping the fan, as this can lead to misaligned parts and cause squeaking issues.
- Store the fan properly: If you are not using the fan for an extended period, store it in a clean and dry place. Avoid storing it in areas with excessive dust or moisture, as this can lead to the accumulation of dirt and damage the fan. Cover the fan with a protective cover or cloth to prevent dust buildup.
- Follow manufacturer’s instructions: Always refer to the manufacturer’s instructions and user manual for specific maintenance guidelines and recommendations. Each fan may have unique requirements, and it’s crucial to follow these instructions for optimal performance and longevity.
- Periodic checks: Regularly inspect the fan for any signs of wear and tear, loose components, or unusual noises. By catching potential issues early on, you can prevent them from developing into more significant problems later.
By following these maintenance tips, you can reduce the chances of your standing fan squeaking and ensure its smooth and quiet operation for a long time.
Now that you have learned how to maintain your fan, let’s conclude the article in the next section.
Conclusion
Squeaking in a standing fan can be a frustrating issue that interferes with its cooling capabilities and your overall comfort. However, by understanding the common causes and following the appropriate solutions, you can effectively eliminate the squeaking noise and restore the fan to its smooth and quiet operation.
In this article, we discussed the common causes of standing fan squeaking, such as lack of lubrication, dirty fan blades, loose or worn-out components, and misalignment. We provided you with practical solutions that include lubricating the fan’s motor, cleaning the fan blades, replacing worn-out or damaged components, and maintaining your fan through regular cleaning and checks.
Remember to always follow the manufacturer’s instructions and safety guidelines when performing maintenance or repairs on your standing fan. If you are unsure or uncomfortable with any task, it’s best to consult a professional technician for assistance.
By implementing these solutions and maintaining your fan properly, you can enjoy its cooling benefits without the annoyance of squeaking noises. A well-maintained standing fan will provide you with a cool and comfortable environment, allowing you to relax and enjoy the refreshing breeze.
So, if you’re tired of the squeaking sounds coming from your standing fan, it’s time to take action. Follow the steps mentioned in this article, and soon you’ll have a fan that operates quietly and efficiently, enhancing your comfort during those hot summer days.
Remember, maintaining your standing fan not only prevents squeaking but also extends its lifespan, ensuring you can enjoy its cooling benefits for years to come.
Frequently Asked Questions about Why Is My Standing Fan Squeaking
Was this page helpful?
At Storables.com, we guarantee accurate and reliable information. Our content, validated by Expert Board Contributors, is crafted following stringent Editorial Policies. We're committed to providing you with well-researched, expert-backed insights for all your informational needs.


0 thoughts on “Why Is My Standing Fan Squeaking”