Articles
How To Clean A Window Fan
Modified: January 5, 2024
Learn how to clean a window fan with these helpful articles. Maintain proper airflow and keep your fan running smoothly using our cleaning tips.
(Many of the links in this article redirect to a specific reviewed product. Your purchase of these products through affiliate links helps to generate commission for Storables.com, at no extra cost. Learn more)
Introduction
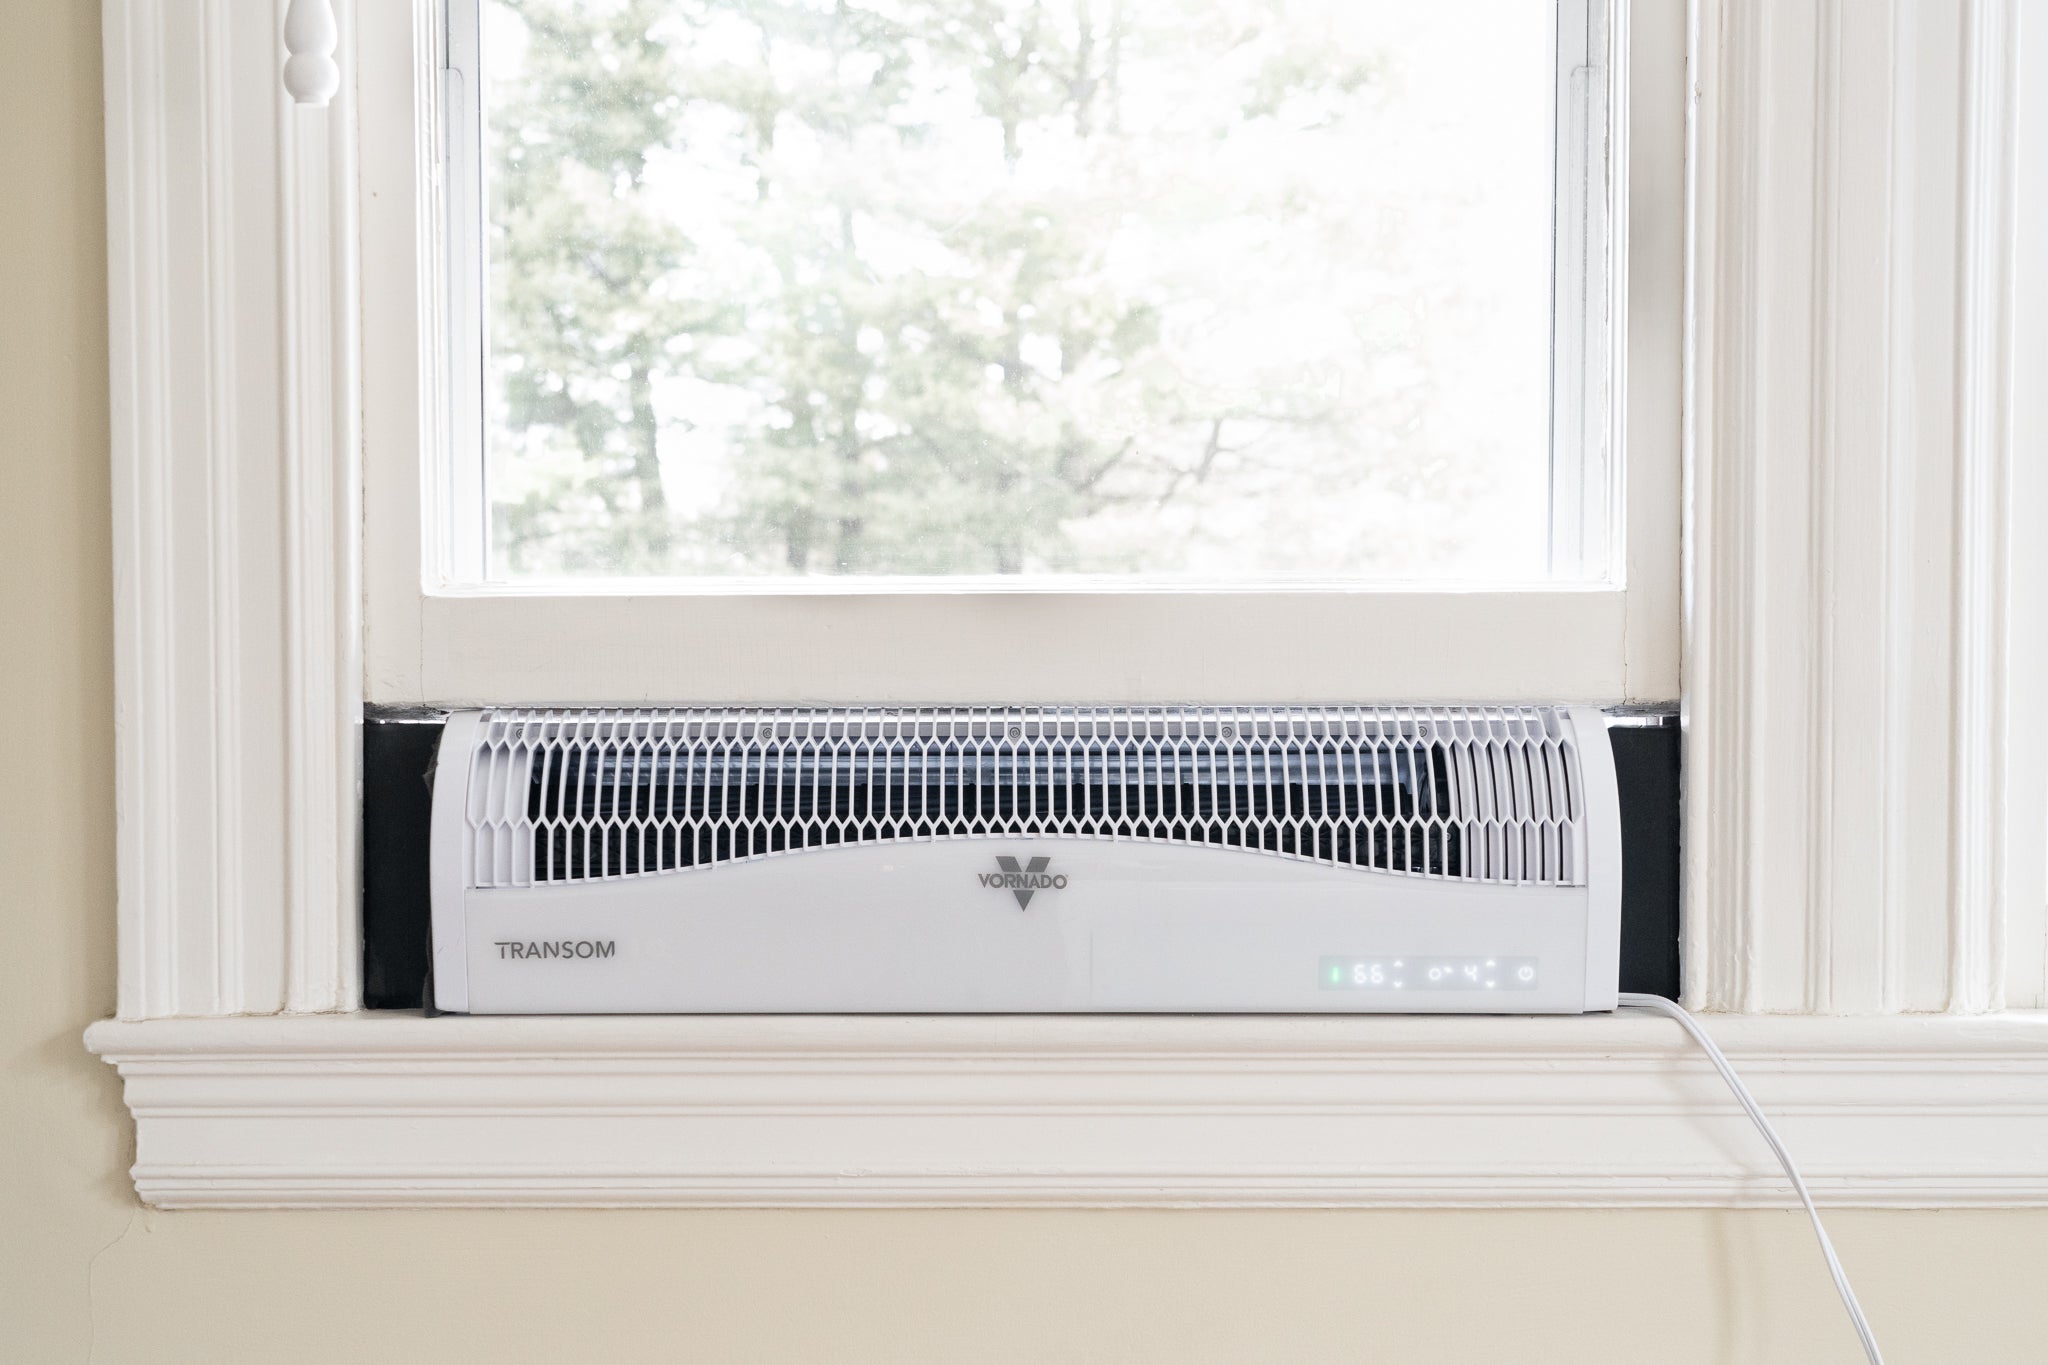
Welcome to our guide on how to clean a window fan! Window fans are a fantastic way to circulate fresh air into your home, especially during the hot summer months. However, over time, dust, dirt, and debris can accumulate on the fan blades and grills, reducing their efficiency and effectiveness.
Regularly cleaning your window fan not only helps to maintain its performance but also ensures that you are breathing in cleaner air. In this article, we will take you through a step-by-step process on how to clean your window fan, so you can enjoy its cool breeze without worrying about allergens and particles being blown into your home.
Before we begin, it’s important to note that you should always consult your window fan’s user manual for specific cleaning instructions, as some models may have unique features or requirements. Now, let’s gather our tools and get started!
Key Takeaways:
- Keep your window fan clean for optimal performance and air quality. Regular maintenance and cleaning will ensure a refreshing breeze and prolong the lifespan of your fan.
- Unplug the fan, gather the necessary tools, and follow the step-by-step process to clean and reassemble your window fan. Enjoy improved air circulation and a cooler home.
Read more: How To Use A Window Fan
Step 1: Gather the necessary tools
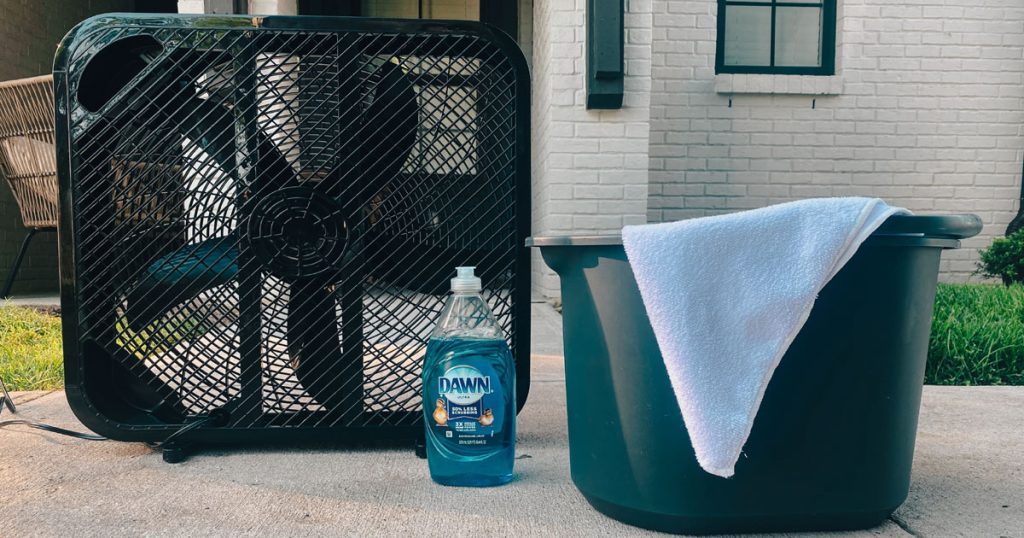
Before beginning the cleaning process, it is essential to gather all the necessary tools and materials to ensure a smooth and efficient cleaning experience. Here’s a list of items you will need:
- Microfiber cloths or soft cleaning rags
- All-purpose cleaner or mild detergent
- Small brush or toothbrush for hard-to-reach areas
- Vacuum cleaner with a brush attachment
- Bucket or basin for water and cleaning solution
- Drying rack or clean towels
- Screwdriver (if needed to remove the front cover)
Having these tools on hand will ensure that you are well-prepared to tackle the cleaning process efficiently. Now that you have all the necessary tools, let’s move on to the next step.
Step 2: Unplug the window fan
Safety should always be the top priority when cleaning any electrical appliance. Therefore, the next step in cleaning your window fan is to unplug it from the power source. This will prevent any accidents or injuries while you are handling the fan.
Locate the power cord of the window fan and unplug it from the wall outlet. If your window fan is hardwired, you may need to turn off the circuit breaker that supplies power to the fan. It’s essential to ensure that the fan is completely powered down and disconnected from any electrical source before proceeding with the cleaning process.
By unplugging the window fan, you are not only protecting yourself but also ensuring the safety of the fan’s internal components. Cleaning a fan that is still connected to a power supply can be risky and may potentially damage the fan or cause electrical issues.
Once you have unplugged the fan and confirmed that it is no longer receiving power, you can move on to the next step of removing the front cover.
Step 3: Remove the front cover
With the window fan unplugged and powered down, it’s time to remove the front cover. Removing the front cover will give you access to the fan blades and grills, allowing for a thorough cleaning.
Check your window fan to determine the method of removing the front cover. Some fans may have screws or latches that need to be undone, while others may have a simple clip-on mechanism. Consult your user manual if you are unsure about how to remove the front cover for your specific model.
If your window fan has screws, use a screwdriver to carefully unscrew them and set them aside in a safe place. Be mindful not to lose any screws, as you will need them when reassembling the fan later. If your fan has latches or clips, gently press or pull them to release the front cover.
Once the front cover is free, carefully remove it and set it aside. Take a moment to inspect the cover for any dust or debris and wipe it clean with a microfiber cloth or a soft cleaning rag. This will ensure that no dust particles are left behind that could potentially be blown into your home when the fan is in use.
With the front cover removed, you are now ready to move on to the next step of cleaning the fan blades.
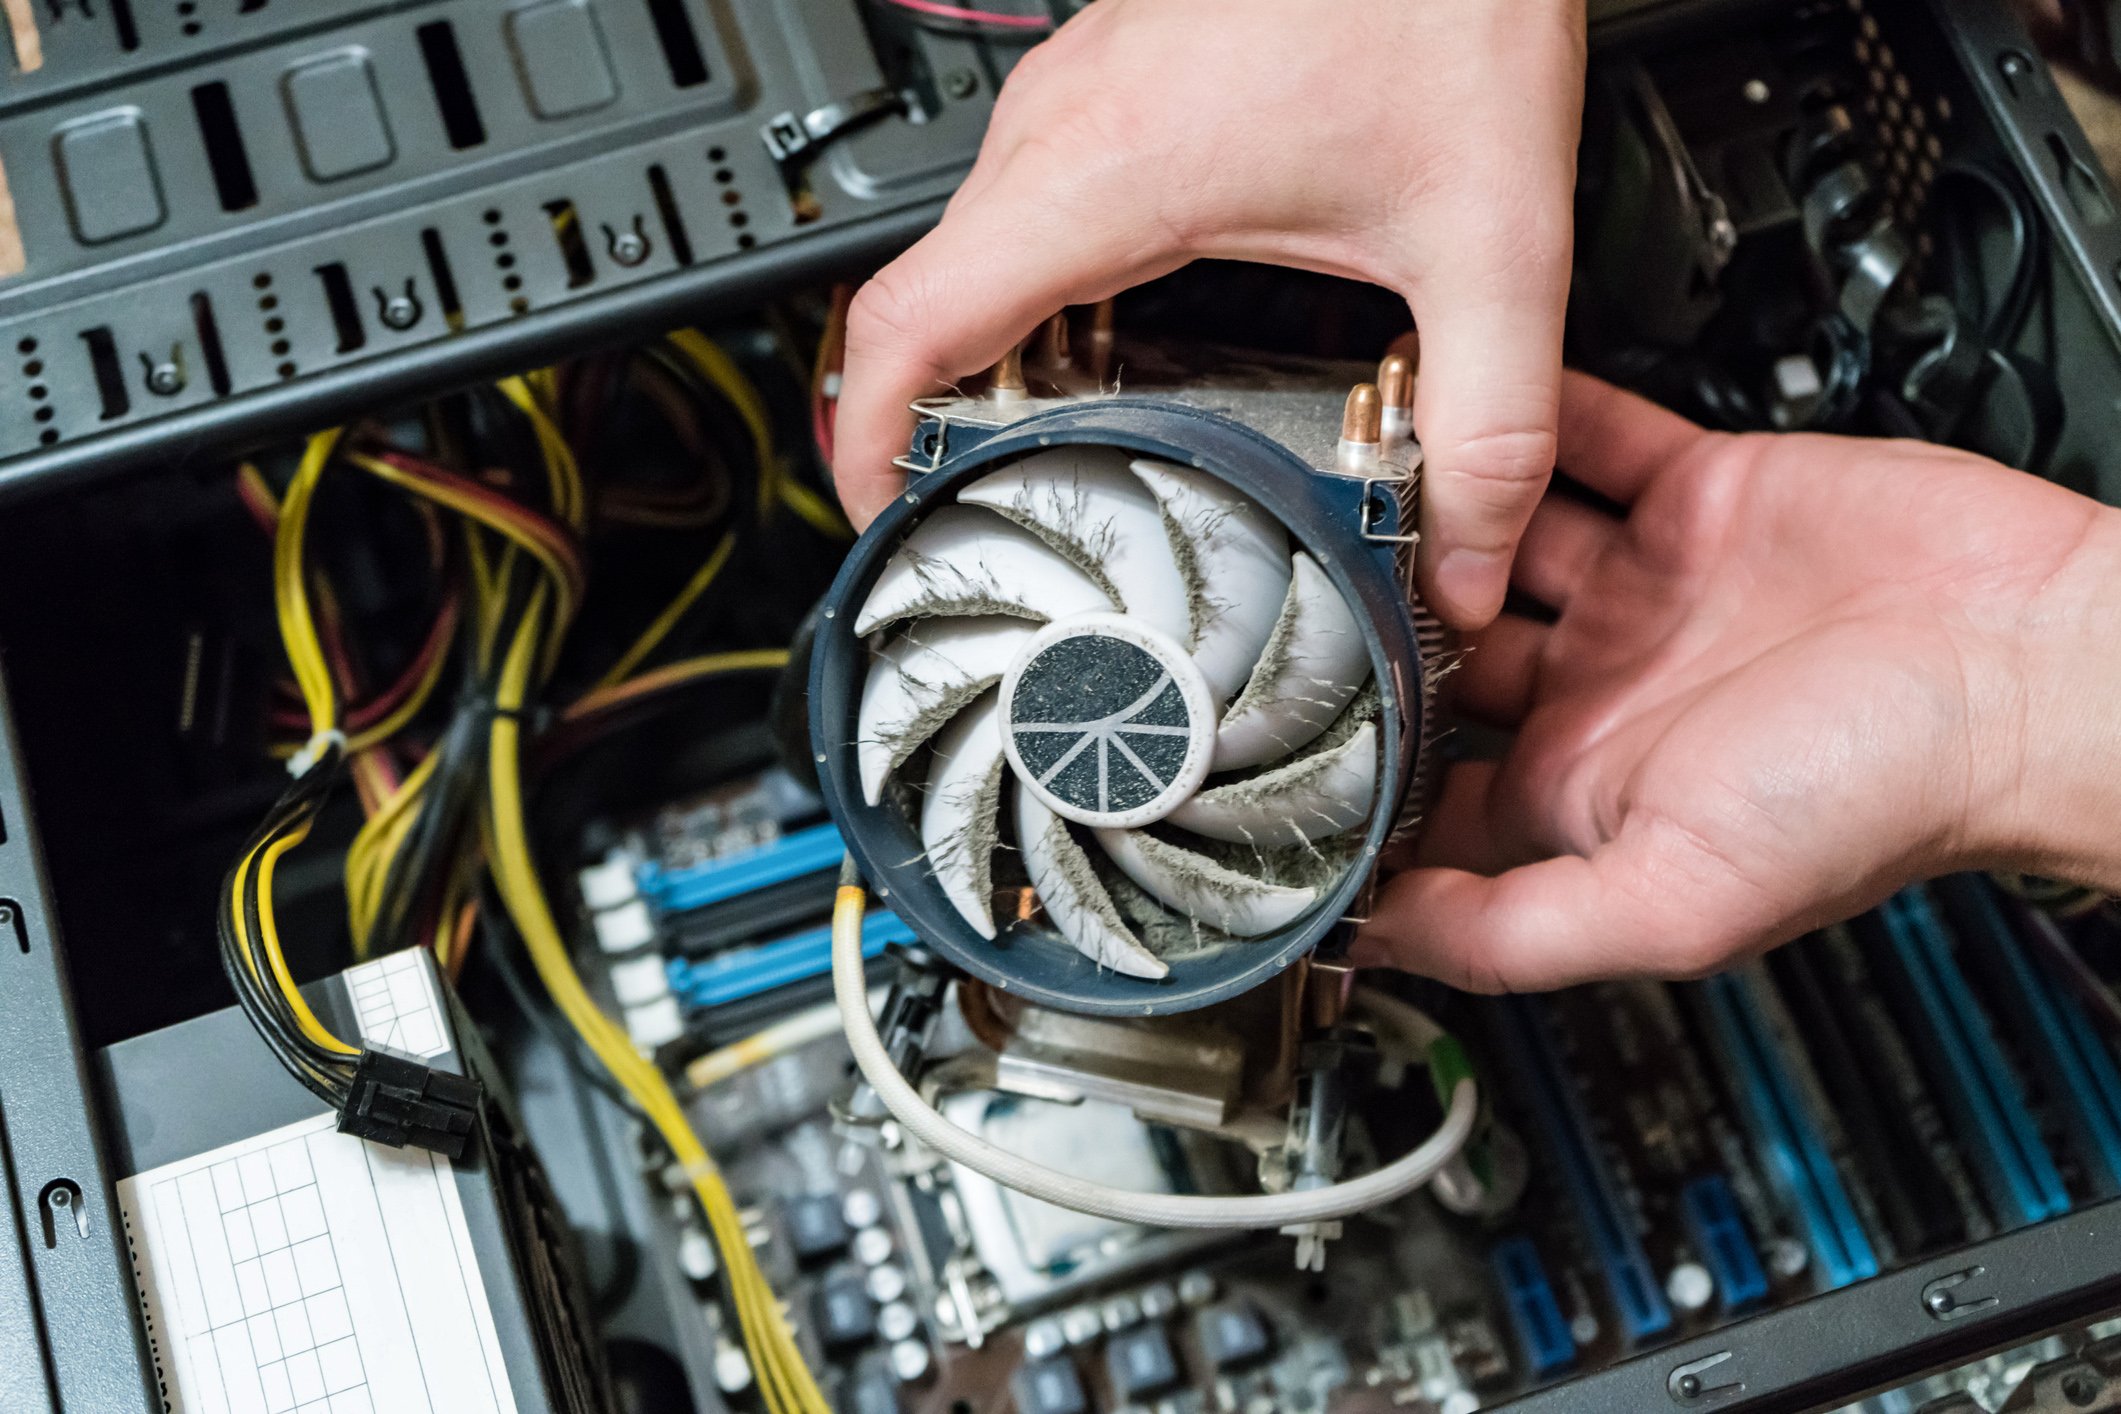
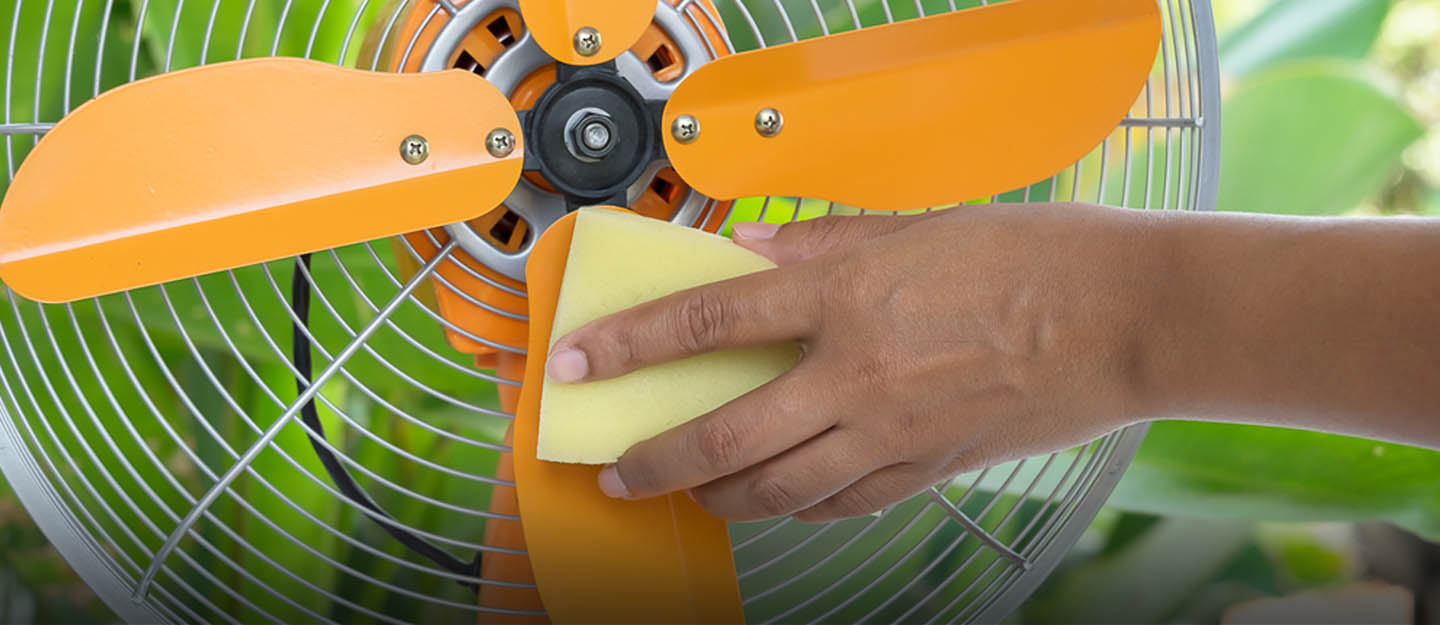
Step 4: Clean the fan blades
Now that you have removed the front cover, it’s time to focus on cleaning the fan blades. Over time, dust and dirt can accumulate on the blades, hampering their performance and reducing airflow. Cleaning the blades will not only improve the efficiency of the fan but also ensure cleaner air circulation in your home.
Start by using a vacuum cleaner with a brush attachment to gently remove loose dust and debris from the fan blades. Move the brush attachment along the length of each blade, making sure to clean both the front and back surfaces. The vacuum cleaner will help to collect the loosened dirt and prevent it from spreading throughout the room.
Next, dampen a microfiber cloth or soft cleaning rag with a mixture of mild detergent or all-purpose cleaner and water. Carefully wipe each fan blade, paying close attention to removing any stubborn stains or grime. Be cautious not to apply too much pressure that may bend or damage the blades.
If there are any hard-to-reach areas or crevices on the fan blades, you can use a small brush or toothbrush to gently scrub and dislodge any dirt or debris. Make sure to clean around the hub and any other small openings or gaps where dust may accumulate.
Once you have thoroughly cleaned the fan blades, take a dry microfiber cloth or towel and wipe off any excess moisture. Allow the blades to air dry completely before moving on to the next step.
With the fan blades cleaned and dried, you are now ready to tackle the next step of cleaning the fan grills.
To clean a window fan, start by unplugging it and removing the front grill. Use a vacuum with a brush attachment to remove dust and debris. Then, use a damp cloth to wipe down the blades and grill. Allow it to dry completely before reassembling.
Read more: How To Clean Awning Windows
Step 5: Clean the fan grills
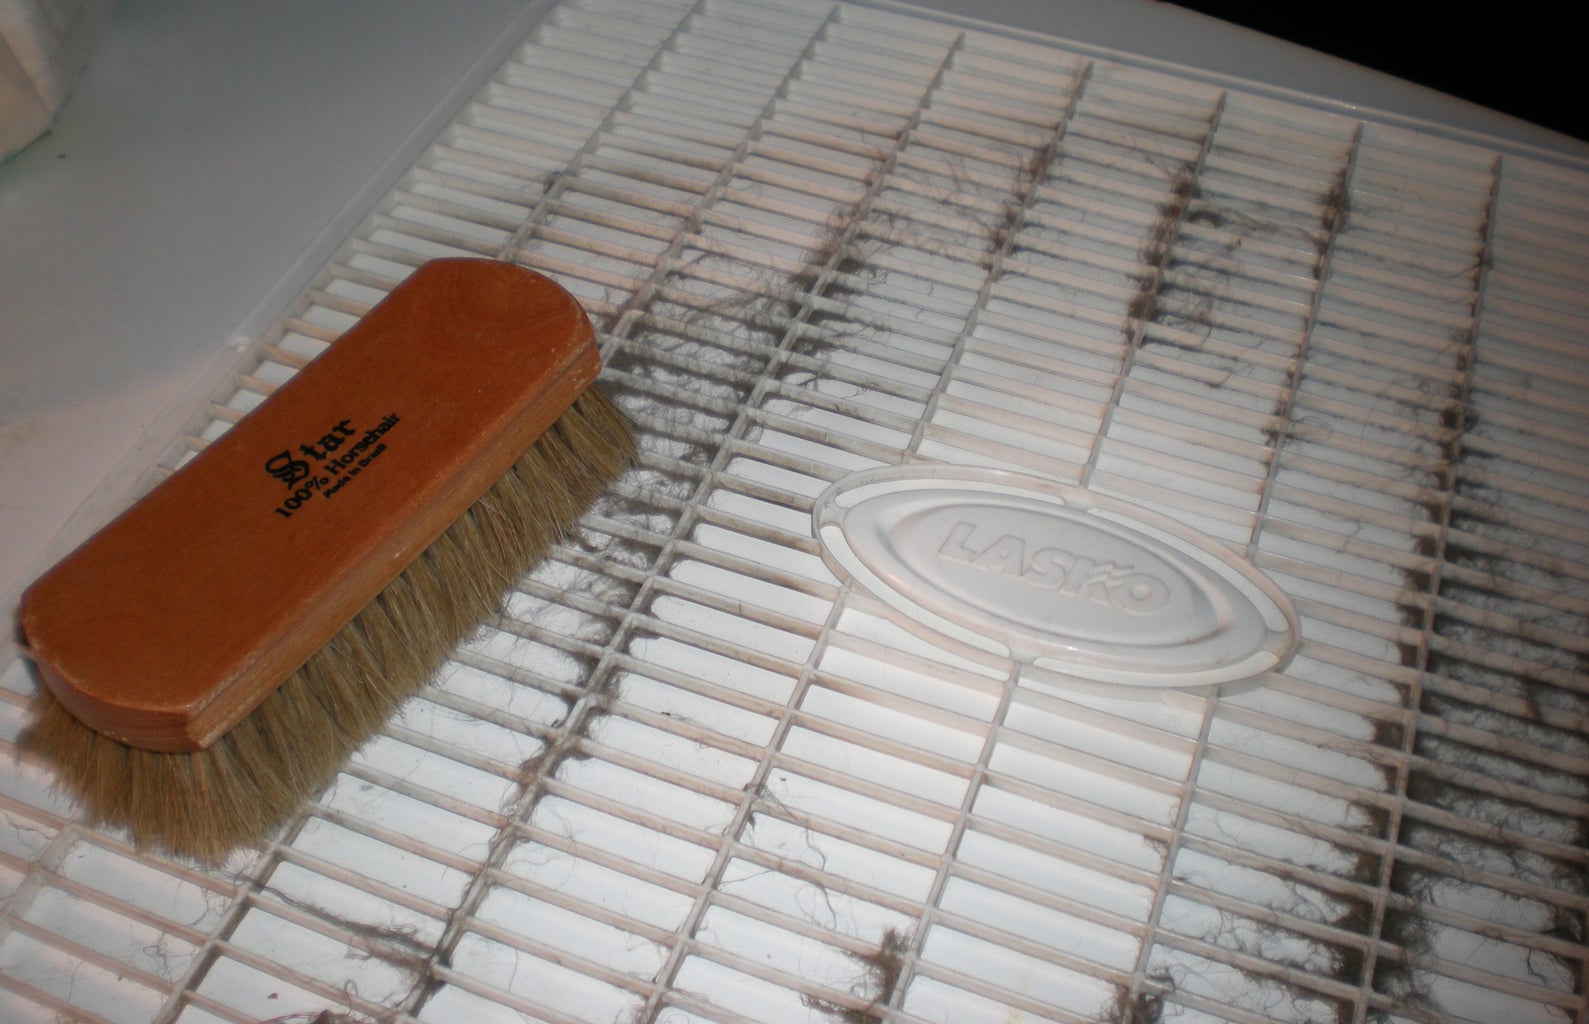
The fan grills play a crucial role in preventing large debris and particles from entering the fan and causing damage. Cleaning the fan grills is essential to maintain proper airflow and prevent the buildup of dust and dirt that can reduce the fan’s efficiency. Let’s dive into the process of cleaning the fan grills.
Start by using a vacuum cleaner with a brush attachment to remove any loose dirt, dust, or debris from the front and back of the fan grills. Move the brush attachment across the grills, ensuring you cover both sides thoroughly. The vacuum cleaner will help to collect the loose particles and prevent them from spreading around the area.
Next, fill a bucket or basin with a mixture of mild detergent or all-purpose cleaner and water. Submerge a microfiber cloth or soft cleaning rag into the solution, ensuring it is thoroughly damp but not dripping wet. Wring out any excess moisture from the cloth.
Gently wipe the fan grills with the damp cloth, making sure to clean both the front and back surfaces. Pay extra attention to areas that appear heavily soiled or stained. For stubborn dirt or grime, you can use a small brush or toothbrush to scrub the affected areas gently.
Once you have cleaned the fan grills, rinse the cloth under clean water and wring out any excess moisture. Use the damp cloth to wipe off any soap residue from the grills, ensuring they are left clean and free from any cleaning solution.
After cleaning, take a dry microfiber cloth or towel and carefully pat dry the fan grills. Ensure that the grills are completely dry before reassembling the fan.
With the fan grills now clean, it’s time to move on to the next step of cleaning the exterior of the window fan.
Step 6: Clean the window fan exterior
While cleaning the fan blades and grills is important, it’s also essential to clean the exterior of the window fan. The exterior can accumulate dust, dirt, and grime, diminishing the overall appearance of the fan. Cleaning the exterior will not only make the fan look brand new but also help in maintaining its longevity. Let’s proceed with cleaning the window fan exterior.
Start by unplugging the fan and ensuring it is powered down. This is crucial to prevent any accidents or injuries while cleaning the exterior.
Dampen a microfiber cloth or soft cleaning rag with a mixture of mild detergent or all-purpose cleaner and water. Gently wipe down the entire exterior surface of the fan, including the sides, top, and bottom. Pay extra attention to any visible stains or spots.
If there are areas with tough stains or grime, you may need to apply a bit more pressure or use a small brush or toothbrush to scrub the affected areas gently. However, be careful not to scrub too hard, as it may scratch or damage the fan’s surface.
For areas that are difficult to reach or intricate, such as buttons or vents, you can use a cotton swab or toothbrush dipped in the cleaning solution to clean them thoroughly.
Once you have wiped down the entire exterior surface of the fan and removed any dirt or grime, rinse the cloth under clean water and wring out any excess moisture. Use the damp cloth to wipe off any remaining cleaning solution residue from the fan’s exterior.
Finally, take a dry microfiber cloth or towel and gently pat dry the entire exterior surface of the fan. Ensure that all parts are completely dry before moving on to the next step of reassembling the fan.
Now that the exterior of the window fan is clean and dry, let’s proceed to the next step of reassembling the fan.
Step 7: Reassemble the window fan
Now that you have thoroughly cleaned the fan blades, grills, and exterior of the window fan, it’s time to reassemble all the components. Reassembling the fan is a straightforward process, but it’s important to follow the manufacturer’s instructions or guidelines specific to your fan model. Let’s walk through the general steps to reassemble the window fan.
Start by picking up the front cover that you set aside earlier. Align the cover with the fan unit, ensuring that it fits securely and snugly. If your fan requires the use of screws, carefully insert and tighten them using a screwdriver. If it has latches or clips, gently press or secure them to lock the front cover in place.
Ensure that the front cover is securely fastened, as loose covers may cause vibrations or noise while the fan is in operation. Double-check that all screws, latches, or clips are properly tightened or secured.
Once the front cover is in place, double-check that the fan blades are properly positioned and aligned. If you had removed the blades during the cleaning process, ensure that they are reattached correctly according to the manufacturer’s instructions.
Take a moment to inspect the fan blades and grills to ensure that they are clean and free from any debris or cleaning solution residue. If necessary, use a dry microfiber cloth to wipe off any remaining moisture or particles.
Now that the fan is reassembled and cleaned, it’s important to give it a final test before plugging it back in. This will help you ensure that everything is functioning properly and that the fan is running smoothly.
Finally, locate the power cord of the window fan and plug it back into the wall outlet. If your fan is hardwired, restore the power supply by turning on the circuit breaker.
With the window fan reassembled and plugged in, enjoy the refreshing breeze of clean air circulating in your home. Congratulations on successfully cleaning and reassembling your window fan!
It’s worth noting that regular maintenance and cleaning will help to prolong the lifespan and efficiency of your window fan. Consider incorporating a cleaning routine into your household chores to ensure that your window fan stays in optimal condition for years to come.
Thank you for following our step-by-step guide on how to clean a window fan. We hope you found this information helpful and that it made the cleaning process easier for you. Stay cool!
Step 8: Plug in and test the fan
Once you have reassembled your window fan, it’s time to plug it back in and give it a test run. This final step ensures that everything is in working order and allows you to experience the fresh air circulation that your clean fan provides. Let’s get started.
Make sure the power cord is easily accessible and not tangled or obstructed. Once you’ve confirmed this, plug the fan back into a wall outlet or, if it’s hardwired, restore the power supply by turning the circuit breaker back on.
After plugging in the fan, find the fan’s control panel or power switch. Depending on the model, this may be a dial, a series of buttons, or a remote control. Turn on the fan using the appropriate method for your model.
Observe the fan as it starts running. Listen for any unusual noises or vibrations that may indicate a problem or loose parts. The fan should run smoothly and quietly.
Take note of the airflow produced by the fan. It should feel strong and consistent. If the airflow seems weak or uneven, double-check that all the components are properly assembled and positioned. Additionally, ensure that the grills and blades are clean and free of any obstructions.
If you notice any issues during the test, such as unusual noises or poor performance, it may be necessary to review the cleaning process and recheck the assembly of the fan. Refer to the user manual or contact the manufacturer for further troubleshooting steps.
If everything appears to be in good working order, enjoy the revitalized airflow and the fresh, clean breeze that your window fan now provides. Regularly cleaning and maintaining your fan will help to ensure its longevity and performance in the long run.
Congratulations! You have successfully cleaned, reassembled, and tested your window fan. You can now enjoy improved air quality and a more efficient cooling experience. Remember to incorporate regular cleaning sessions into your maintenance routine to keep your window fan in top shape.
Thank you for following our guide on how to clean a window fan. We hope you found it helpful and that it has made the cleaning process easier for you. Stay cool and enjoy the refreshed air!
Frequently Asked Questions about How To Clean A Window Fan
Was this page helpful?
At Storables.com, we guarantee accurate and reliable information. Our content, validated by Expert Board Contributors, is crafted following stringent Editorial Policies. We're committed to providing you with well-researched, expert-backed insights for all your informational needs.


0 thoughts on “How To Clean A Window Fan”