Articles
Your DIY Guide To Window Track Repair
Modified: December 7, 2023
Learn how to repair window tracks with our comprehensive DIY guide! Find articles, tips, and step-by-step instructions to fix your window tracks easily.
(Many of the links in this article redirect to a specific reviewed product. Your purchase of these products through affiliate links helps to generate commission for Storables.com, at no extra cost. Learn more)
Introduction
When it comes to keeping your windows in top-notch condition, it’s not just the glass that needs attention. The window tracks, although often overlooked, play a crucial role in the smooth operation of your windows. Over time, dirt, debris, and general wear and tear can cause the tracks to become clogged or damaged, hindering their functionality.
While it may be tempting to call a professional for window track repair, it’s actually a DIY task that you can easily tackle yourself. Not only will you save money, but you’ll also gain a sense of accomplishment in successfully restoring your windows to optimal performance.
In this comprehensive DIY guide, we’ll walk you through the process of window track repair step-by-step. You’ll learn how to clean, lubricate, adjust, and even repair or replace broken window tracks. Get ready to roll up your sleeves, gather your tools, and give your windows the care they deserve.
Key Takeaways:
- DIY window track repair saves money and brings a sense of accomplishment. Understand, clean, lubricate, adjust, and repair or replace broken tracks for smooth-operating windows and enhanced home aesthetics.
- Regular maintenance and prompt repairs ensure longevity and functionality of windows. Follow the step-by-step guide, incorporate ongoing maintenance, and seek professional help for complex issues to keep windows in optimal condition.
Read more: Ultimate Guide To Storm Windows
Understanding Window Tracks
Before diving into window track repair, it’s important to have a basic understanding of how window tracks work. Window tracks are the channels or grooves in which the window sashes or panels slide. They provide stability and ensure smooth and secure opening and closing of the window.
There are two main types of window tracks: the top-hung track and the side-hung track. The top-hung track is commonly found in sliding windows and features a mechanism where the window sashes hang from the top track and slide horizontally. The side-hung track, on the other hand, is typically found in casement windows or double-hung windows and consists of vertical tracks on either side of the window frame.
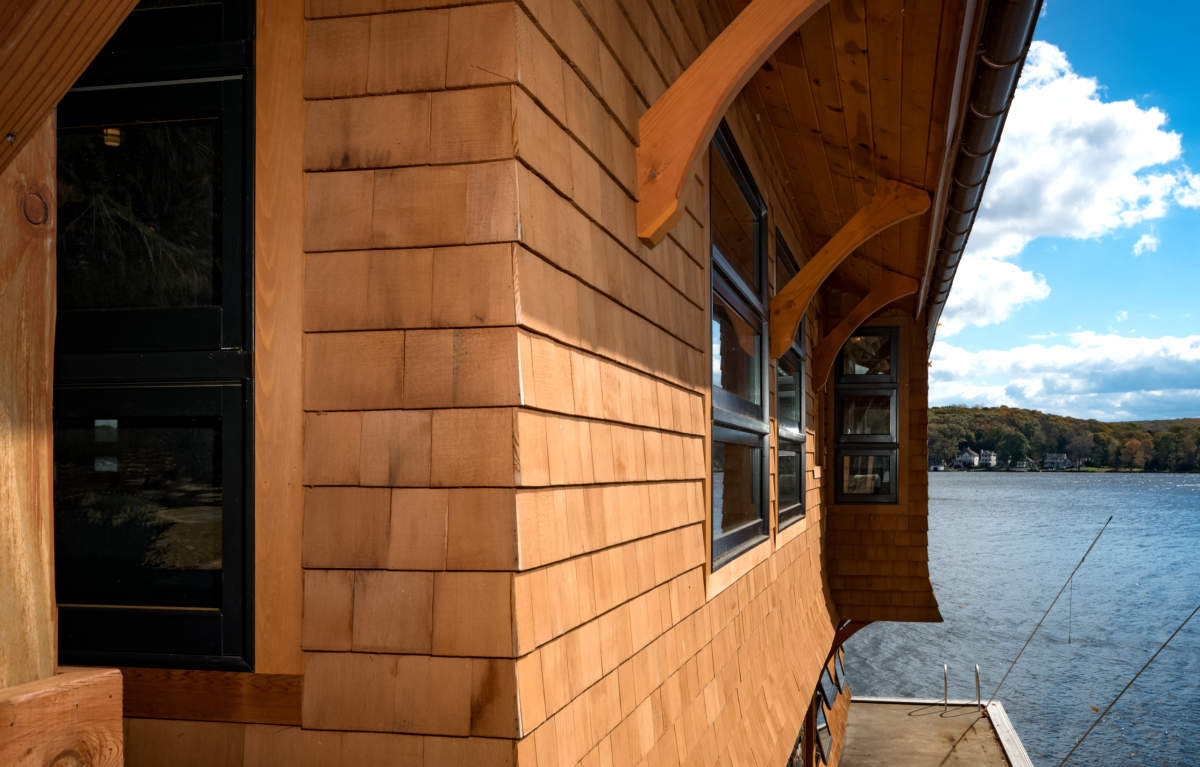
Window tracks can be made of various materials, including vinyl, aluminum, or wood. Each material has its own set of advantages and maintenance requirements. For example, vinyl tracks are known for their durability and low maintenance, while wood tracks may require more regular upkeep to prevent rotting or warping.
Over time, window tracks can accumulate dirt, dust, and debris, causing them to become clogged or obstructed. This can lead to difficulty in opening or closing the window or even complete immobility. Additionally, window tracks can also experience wear and tear due to repeated use, resulting in issues such as misalignment, broken components, or loose connections.
By familiarizing yourself with the different types of window tracks and the potential problems they may face, you’ll be better equipped to assess and resolve issues that may arise during the repair process. Now that we have a good grasp on window tracks, let’s move on to the common issues that you might encounter.
Common Issues with Window Tracks
While window tracks are designed to withstand daily use, they can encounter a variety of issues that affect their functionality. Here are some common problems you may come across when inspecting your window tracks:
- Dirt and debris: Over time, dirt, dust, and debris can accumulate in the window tracks, making it difficult for the window to slide smoothly.
- Obstructions: Objects such as leaves, twigs, or insects can find their way into the window tracks, causing blockages that prevent the window from opening or closing properly.
- Misalignment: Window tracks can become misaligned due to various factors, such as shifting foundations, extreme weather conditions, or improper installation. This misalignment can lead to difficulty in operating the window.
- Worn-out or broken components: Continuous use and aging can cause components of the window track, such as rollers, guides, or hinges, to wear out or break, resulting in compromised functionality.
- Loose connections: The connections between the window track and the window frame can become loose over time, leading to instability and difficulty in smoothly opening or closing the window.
Identifying these issues early on is crucial to prevent further damage and restore the proper functioning of your windows. By addressing these common window track problems, you can enjoy the smooth operation and enhanced security of your windows. In the next section, we will discuss the tools you will need to carry out the window track repair effectively.
Tools Required for Window Track Repair
Before you begin repairing your window tracks, it’s important to gather the necessary tools to ensure a smooth and efficient process. Here are the essential tools you’ll need:
- Screwdriver: A screwdriver is a versatile tool that will come in handy for loosening and tightening screws, removing window components, and making adjustments to the window track.
- Soft-bristle brush: A soft-bristle brush will help you to effectively remove dirt, dust, and debris from the window tracks without causing any damage to the surfaces.
- Vacuum cleaner: Use a vacuum cleaner with a narrow attachment or crevice tool to thoroughly clean out any remaining debris from the window tracks. This will ensure a clean and smooth surface for the window to slide on.
- Silicone-based lubricant: Applying a silicone-based lubricant to the window tracks will help reduce friction and ensure smooth movement of the window sashes or panels.
- Replacement parts: Depending on the condition of your window tracks, you may need to have replacement parts on hand, such as rollers, guides, or hinges. Check the specific requirements of your window model and purchase the necessary parts in advance.
- Safety goggles and gloves: Safety should always be a priority when undertaking any DIY project. Wear goggles to protect your eyes from debris and gloves to protect your hands from sharp edges or rough surfaces.
By having these tools ready, you’ll be well-prepared to tackle any issues that may arise during the window track repair process. Now that we have our tools in place, let’s move on to the step-by-step guide for repairing your window tracks.
Step 1: Cleaning the Window Tracks
Before you can proceed with any repairs or adjustments, it’s essential to start with a clean slate. Cleaning the window tracks will remove dirt, debris, and any obstructions that may be hindering the smooth operation of your windows. Here’s how to clean your window tracks:
- Open the window: Begin by fully opening the window to access the tracks easily. This will also allow for better ventilation during the cleaning process.
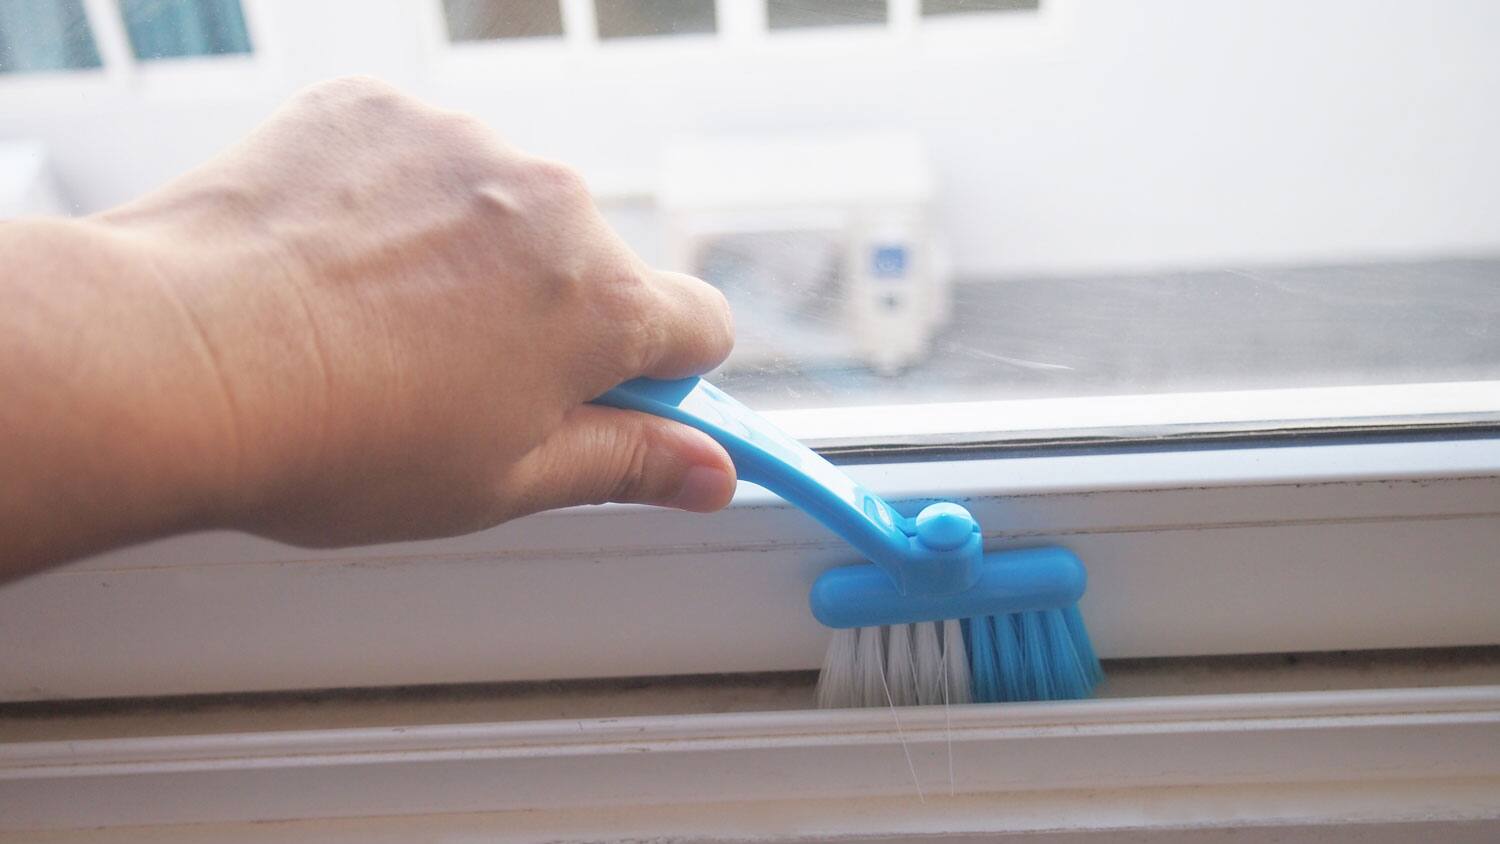
- Remove loose debris: Use a soft-bristle brush or a small handheld vacuum to remove any loose dirt, dust, or debris from the window tracks. Be thorough in your cleaning to ensure a clear pathway for the window to slide on.
- Create a cleaning solution: Fill a bucket with warm water and add a few drops of mild dish soap. Mix the solution until suds form.
- Scrub the tracks: Dip the soft-bristle brush into the cleaning solution and scrub the window tracks, focusing on any areas with stubborn grime or buildup. Use gentle pressure to avoid damaging the track surfaces.
- Remove excess moisture: After scrubbing, use a clean, damp cloth to wipe away the soapy residue from the tracks. Ensure that the tracks are thoroughly rinsed and free of any cleaning solution.
- Dry the tracks: Take a dry cloth or paper towels and carefully dry the window tracks to prevent any moisture-related issues like rust or mold.
- Apply silicone-based lubricant: Once the tracks are completely dry, apply a thin layer of silicone-based lubricant along the length of the tracks. This will help reduce friction and ensure smooth movement of the window sashes or panels.
- Operate the window: After completing the cleaning process and lubrication, test the window by opening and closing it to ensure that it moves smoothly along the tracks.
Cleaning the window tracks is an essential first step in window track repair as it prepares the surface for further adjustments or repairs. With clean tracks, your windows will operate more efficiently, reducing the risk of damage and prolonging their lifespan. Now that you have cleaned the tracks, let’s move on to step 2: lubricating the window tracks.
To clean window tracks, use a vacuum to remove loose debris, then scrub with a mixture of vinegar and water. Finish by wiping dry with a clean cloth.
Step 2: Lubricating the Window Tracks
After cleaning the window tracks, the next step in the repair process is to lubricate them. Lubrication helps to reduce friction and ensures smooth movement of the window sashes or panels. Follow these steps to lubricate the window tracks:
- Choose the right lubricant: Select a silicone-based lubricant specifically designed for windows. Avoid using oil-based lubricants as they can attract dust and debris, causing the tracks to become dirty.
- Apply the lubricant: Using a clean, lint-free cloth or a small brush, apply a thin layer of the silicone-based lubricant along the entire length of the window tracks. Focus on the areas where the window sashes or panels make contact with the tracks.
- Distribute the lubricant: Use a cloth or your fingers to spread the lubricant evenly across the tracks. Make sure to cover all areas that require lubrication.
- Wipe off excess lubricant: After evenly distributing the lubricant, use a clean cloth to remove any excess. This will prevent the lubricant from attracting dirt or causing a greasy buildup.
- Operate the window: Open and close the window a few times to help the lubricant distribute evenly along the tracks. This will ensure that the window slides smoothly and effortlessly.
Lubricating the window tracks is a crucial step in maintaining their functionality and preventing future issues. Regular lubrication will help extend the lifespan of your windows and ensure hassle-free operation. With properly lubricated tracks, you can enjoy the benefits of easy window movement and enhanced energy efficiency. Now that you’ve lubricated the tracks, let’s move on to step 3: adjusting the window tracks if needed.
Step 3: Adjusting the Window Tracks
If you’ve noticed that your windows are not opening or closing properly, or if they are misaligned, it may be necessary to adjust the window tracks. This step will help ensure that the window sashes or panels fit snugly within the tracks, allowing for smooth operation. Follow these steps to adjust the window tracks:
- Identify the misalignment: Carefully observe the window as you open and close it to determine whether it is misaligned. Look for gaps between the window sashes or panels and the frame, or any signs of rubbing or resistance.
- Loosen the screws: Using a screwdriver, locate the adjustment screws on the window tracks. Loosen these screws slightly to allow for movement.
- Move the window: Gently push or pull the window sashes or panels along the tracks to align them properly. Make small adjustments and test the window’s movement after each adjustment.
- Tighten the screws: Once the window is properly aligned, tighten the adjustment screws to secure the position. Be careful not to overtighten, as this can cause damage to the tracks or window components.
- Check the window’s operation: Open and close the window to ensure that it moves smoothly along the tracks without any resistance or misalignment. Make any further adjustments if necessary.
By adjusting the window tracks, you can eliminate issues such as sticking, rubbing, or gaps, and ensure that your windows operate effortlessly. Proper alignment will also prevent additional wear and tear on the window components, prolonging the lifespan of your windows. Now that you’ve adjusted the tracks, let’s move on to step 4: repairing or replacing broken window tracks.
Step 4: Repairing or Replacing Broken Window Tracks
If you have identified broken or damaged window tracks during the inspection, it’s important to address these issues to regain the proper functioning of your windows. Here’s how to repair or replace broken window tracks:
- Assess the damage: Determine the extent of the damage to your window tracks. Look for cracks, breaks, or bends in the tracks that affect the window’s movement.
- Repairing small damages: If the damage is minor, you may be able to repair it using epoxy adhesive or a suitable adhesive designed for the specific material of your window tracks. Follow the manufacturer’s instructions to apply the adhesive and allow it to dry or cure as directed.
- Replacing broken tracks: For more severe damage, it may be necessary to replace the entire window track. Measure the length and width of the old track and purchase a replacement track that matches the specifications. Carefully remove the old track by unscrewing it or prying it away from the window frame, and then install the new track using screws or other appropriate fasteners.
- Testing the repairs: After repairing or replacing the broken window tracks, test the window’s operation to ensure that it moves smoothly and without any issues. Make any necessary adjustments to ensure proper alignment and functionality.
Repairing or replacing broken window tracks can be a more complex task compared to the previous steps. If you are unsure about your abilities or if the damage is significant, it’s always a good idea to consult a professional for assistance.
By addressing and repairing broken window tracks, you can ensure the longevity and functionality of your windows. Regular maintenance and prompt repairs will prevent further damage and reduce the risk of costly replacements in the future. Now that you’ve completed the repair process, we’ll move on to step 5: finishing touches and maintenance tips.
Step 5: Finishing Touches and Maintenance Tips
After completing the repair and maintenance work on your window tracks, there are a few finishing touches and ongoing maintenance tips to consider. Here’s what you need to do:
- Clean the windows: Wipe down the window glass and frames to remove any residual dust or cleaning solution. This will leave your windows looking clean and enhance their overall appearance.
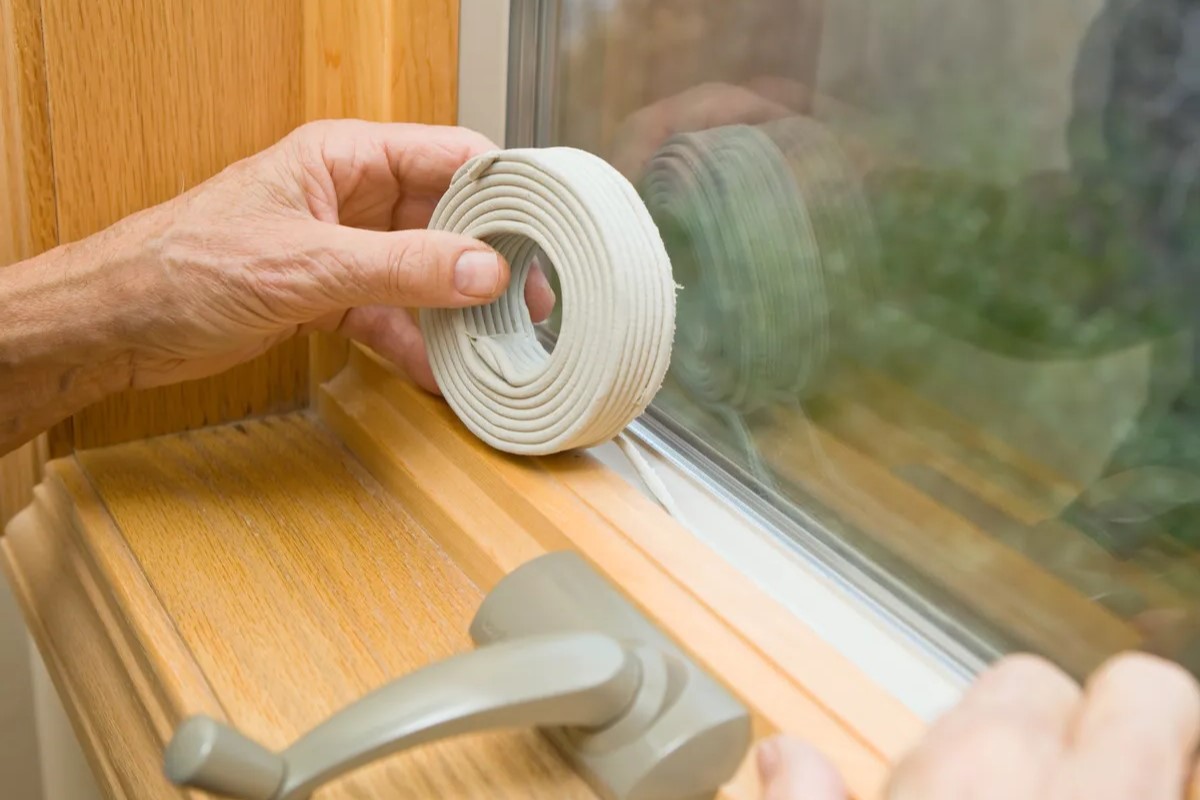
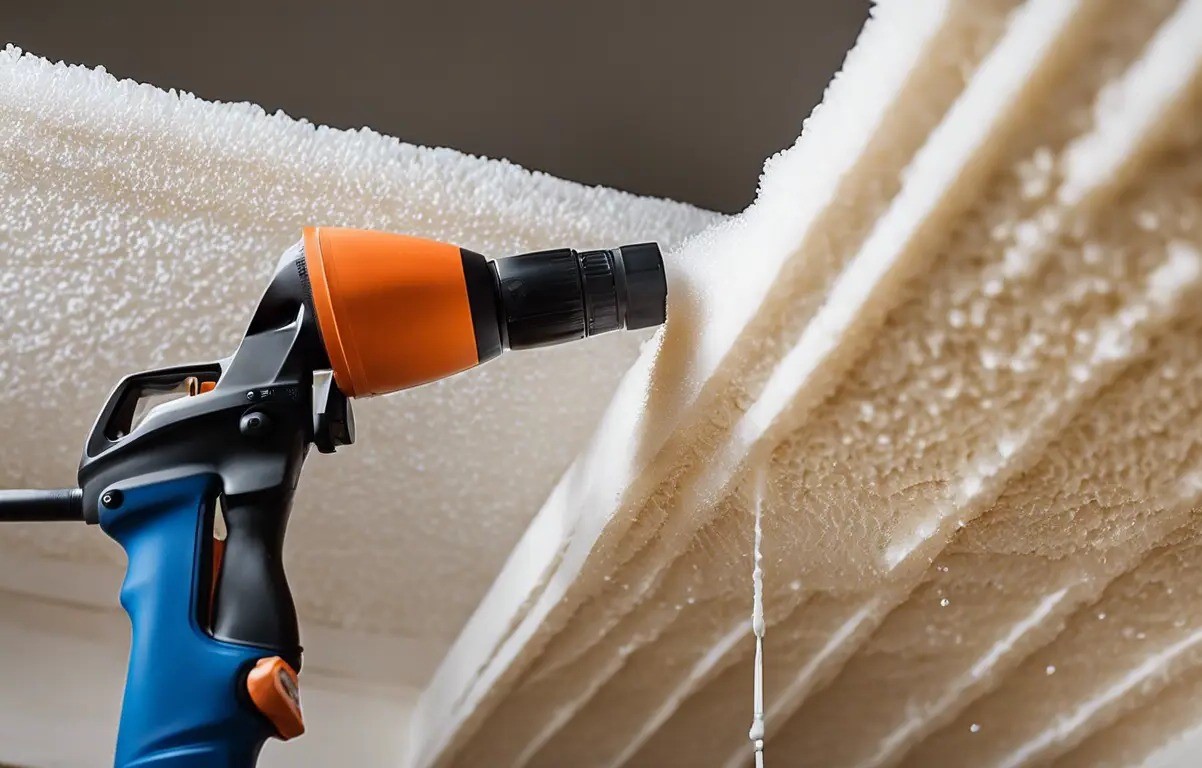
- Check for proper insulation: Ensure that the weatherstripping around your windows is in good condition and providing a proper seal. This will improve energy efficiency and prevent drafts.
- Regularly clean and maintain the tracks: Incorporate regular cleaning and maintenance of your window tracks into your household routine. Remove any debris, dust, or dirt that may accumulate over time, and lubricate the tracks as needed.
- Inspect and adjust the tracks periodically: Keep an eye on the alignment and functionality of your window tracks. If you notice any issues or signs of wear, address them promptly to prevent further damage and ensure smooth operation.
- Consider professional servicing: If you’re unsure about any aspect of window track repair or if you encounter more complex issues, it’s advisable to seek professional assistance. They can provide expert advice and ensure that your windows are in optimal condition.
By following these finishing touches and maintenance tips, you can ensure the longevity and proper functioning of your repaired window tracks. Regular upkeep will minimize future damage and keep your windows in excellent condition.
Remember, window track repair is a task that you can confidently tackle yourself, saving both time and money. By understanding and addressing common issues, cleaning and lubricating the window tracks, adjusting them if necessary, and repairing or replacing broken tracks when needed, you can enjoy smooth-operating windows that enhance the overall aesthetics and functionality of your home.
With your newly acquired knowledge and skills, you are now equipped to confidently embark on your window track repair journey. Enjoy the satisfaction of restoring your windows to their optimal condition and the improved comfort and convenience they bring to your home.
Conclusion
Repairing and maintaining your window tracks is a crucial aspect of keeping your windows in optimal condition. By taking the time to understand how window tracks work, identifying common issues, and following the step-by-step repair guide provided in this article, you can confidently take on the task of window track repair yourself.
Regular cleaning and lubrication of the window tracks will ensure smooth operation and prevent future issues. Adjusting misaligned tracks and repairing or replacing broken tracks when necessary will help restore the functionality of your windows. With the right tools and a little bit of effort, you can save money and enjoy the satisfaction of completing the repairs yourself.
Remember to incorporate ongoing maintenance into your routine to keep your window tracks in optimal condition. Clean the tracks regularly, inspect for wear and tear, and address any issues promptly to avoid further damage. Additionally, consider seeking professional help if you encounter complex issues or if you are uncertain about any aspect of the repair process.
By following the tips and guidelines provided in this DIY guide, you can ensure that your windows operate smoothly, enhance the energy efficiency of your home, and maintain an aesthetically pleasing appearance. Well-maintained window tracks not only ensure the proper function of your windows but also contribute to the overall comfort and ambiance of your living space.
So, roll up your sleeves, gather your tools, and embark on your window track repair project. Enjoy the satisfaction of rejuvenating your windows and the benefits that come with well-maintained and smoothly functioning windows.
Frequently Asked Questions about Your DIY Guide To Window Track Repair
Was this page helpful?
At Storables.com, we guarantee accurate and reliable information. Our content, validated by Expert Board Contributors, is crafted following stringent Editorial Policies. We're committed to providing you with well-researched, expert-backed insights for all your informational needs.


0 thoughts on “Your DIY Guide To Window Track Repair”