Articles
How To Hang Curtains On A Track
Modified: December 7, 2023
Learn the step-by-step process of hanging curtains on a track with our informative articles. Create a beautiful and functional window treatment with ease.
(Many of the links in this article redirect to a specific reviewed product. Your purchase of these products through affiliate links helps to generate commission for Storables.com, at no extra cost. Learn more)
Introduction
When it comes to adding a touch of elegance and functionality to your windows, hanging curtains on a track is a popular choice. This versatile curtain hanging system offers a sleek and modern look while allowing for smooth and effortless operation. Whether you’re looking to update your home’s decor or simply seeking a practical solution for privacy and light control, learning how to hang curtains on a track is a valuable skill to have.
In this article, we will guide you through the step-by-step process of hanging curtains on a track. From measuring and marking to installing the curtain track and hanging the curtains themselves, we will cover all the essential aspects to ensure a successful curtain installation.
Before we get started, it’s important to gather the necessary tools and materials for the project. This will ensure that you have everything you need on hand, saving you time and frustration along the way.
Key Takeaways:
- Hanging curtains on a track involves precise measuring, secure installation, and smooth curtain attachment. This process enhances both the aesthetic appeal and functionality of your living space, providing privacy and light control.
- By mastering the art of hanging curtains on a track, you can effortlessly transform any room into a stylish and inviting space. With the right tools and techniques, you can enjoy the beauty and practicality of well-hung curtains.
Read more: How To Install Curtain Tracks On Ceiling
Tools and Materials Needed
Before you begin, make sure you have the following tools and materials:
- Measuring tape
- Pencil or marker
- Level
- Drill
- Screwdriver
- Curtain track
- Mounting brackets
- Slide carriers
- Curtains
- Screws
Once you have all the necessary tools and materials ready, let’s move on to the first step of this curtain hanging adventure.
Key Takeaways:
- Hanging curtains on a track involves precise measuring, secure installation, and smooth curtain attachment. This process enhances both the aesthetic appeal and functionality of your living space, providing privacy and light control.
- By mastering the art of hanging curtains on a track, you can effortlessly transform any room into a stylish and inviting space. With the right tools and techniques, you can enjoy the beauty and practicality of well-hung curtains.
Read more: How To Install Curtain Tracks On Ceiling
Tools and Materials Needed
Before you begin, make sure you have the following tools and materials:
- Measuring tape: A measuring tape is essential for accurately measuring the windows and determining the appropriate length for your curtains.
- Pencil or marker: You will need a pencil or marker to make precise marks on the wall or ceiling where the curtain track will be installed.
- Level: To ensure that your curtain track is installed straight and level, a level tool will come in handy.
- Drill: A drill is necessary for making pilot holes in the wall or ceiling for attaching the curtain track.
- Screwdriver: You will need a screwdriver to secure the curtain track, mounting brackets, and slide carriers in place.
- Curtain track: Choose a curtain track that suits your needs and style. There are various types available, including ceiling-mounted tracks and wall-mounted tracks.
- Mounting brackets: Mounting brackets are used to secure the curtain track to the wall or ceiling. Make sure to choose brackets that are compatible with your curtain track.
- Slide carriers: Slide carriers are the small hooks or clips that attach to the curtain track and hold the curtains. The number of slide carriers you will need depends on the width of your curtains.
- Curtains: Of course, you will also need curtains of your choice. Measure the height and width of your windows to determine the appropriate size.
- Screws: Depending on the type of curtain track and mounting brackets you have, you may need screws to secure them in place.
Having these tools and materials ready will ensure a smooth and efficient curtain hanging process. Before you start, double-check that you have everything you need to avoid any interruptions or delays along the way.
Step 1: Measure and Mark
The first step in hanging curtains on a track is to accurately measure and mark the placement of the curtain track. This will ensure that your curtains are properly positioned and that the track is installed at the correct height and distance from the window.
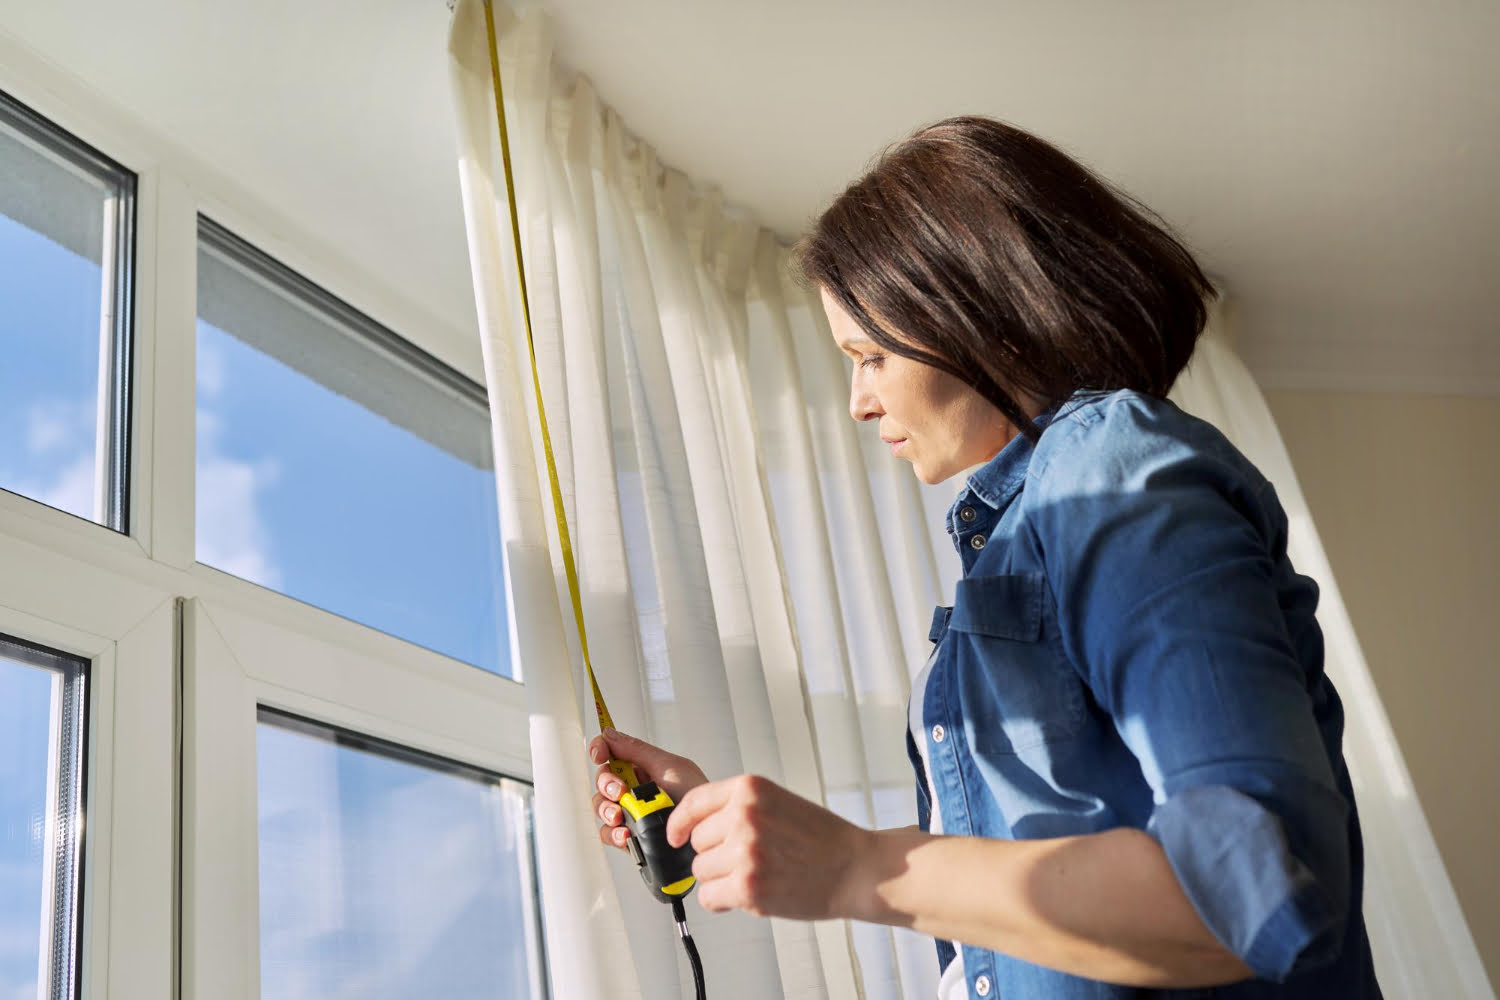
Start by using a measuring tape to measure the width of your window. This will help determine the length of the curtain track you will need. Measure from the inside edges of the window frame to get the most accurate measurement.
Next, consider the height at which you want your curtains to hang. Measure from the top of the window frame to the desired length of the curtains. Keep in mind that curtains typically hang slightly above the window frame to create a more visually appealing look.
Once you have measured the width and height, it’s time to mark the placement of the curtain track. Use a pencil or marker to make light marks on the wall or ceiling where the track will be installed. Make sure the marks are level and align with your measurements.
If your curtains will be ceiling-mounted, measure the distance from the floor to the desired height of the track. Mark this height on the wall or ceiling to ensure consistent placement across multiple windows. Use a level to ensure the marks are straight and level.
For wall-mounted curtains, measure and mark the distance from the top of the window frame to the desired height of the track. Again, use a level to ensure the marks are level and straight.
Take a step back and review your measurements and marks. Make any necessary adjustments before proceeding to the next step.
By taking the time to measure and mark accurately, you’ll be off to a great start in hanging your curtains on a track. This step ensures that your curtains will fit perfectly and that the track is installed at the appropriate height and distance from the window.
Step 2: Install the Curtain Track
Now that you have measured and marked the placement of your curtain track, it’s time to move on to the installation process. Installing the curtain track correctly is crucial for ensuring stability and proper functionality of your curtains.
Start by aligning the curtain track with the marks you made on the wall or ceiling. Hold the track in place and use a pencil or marker to mark the locations of the mounting holes on the track. These holes are where the screws will go to secure the track to the wall or ceiling.
Using a drill with an appropriate-sized bit, create pilot holes at the marked locations. The size of the pilot holes should be slightly smaller than the screws you will be using. This will help prevent the track from splitting or cracking when the screws are inserted.
Once the pilot holes are ready, position the curtain track back to its marked placement and align the mounting holes with the pilot holes. Insert the screws through the track and into the wall or ceiling, and use a screwdriver to tighten them securely. Make sure the track is level as you screw it in place.
Repeat this process for each mounting bracket along the length of the track. Depending on the length of your curtains and the weight of the fabric, you may need additional mounting brackets for added support in the middle section of the track.
Once all the brackets are attached and the track is secured in place, double-check that it is level and straight. If necessary, adjust the position of the track by loosening the screws slightly and repositioning it.
Take a step back and admire your installed curtain track. With this important step completed, you are now ready to move on to attaching the brackets that will hold the slide carriers.
Remember, the accuracy and stability of the curtain track installation will determine the overall performance and appearance of your curtains. Take your time during this step to ensure a solid and level installation.
When hanging curtains on a track, make sure to measure the track width accurately before purchasing the curtains. This will ensure a perfect fit and smooth operation.
Read more: How To Hang Curtain Lights Over Curtains
Step 3: Attach the Brackets
With the curtain track securely in place, it’s time to move on to attaching the brackets. These brackets will hold the slide carriers that will allow your curtains to glide smoothly along the track.
Start by positioning the first bracket at one end of the curtain track. Align it with the holes on the track and insert the screws through the bracket holes into the pre-drilled pilot holes on the track. Use a screwdriver to tighten the screws securely. Repeat this process for each bracket along the length of the track.
Make sure the brackets are evenly spaced and aligned vertically along the track. This will ensure that your curtains hang straight and evenly. Use a level to double-check the alignment of the brackets as you attach them.
For ceiling-mounted tracks, the brackets will be attached to the ceiling. Make sure to use appropriate anchors or screws that are suitable for your ceiling material to ensure a secure attachment.
For wall-mounted tracks, the brackets will be attached to the wall above the window. Take extra care to align the brackets with the marks you made during the measuring and marking step.
Once all the brackets are attached, give them a firm tug to make sure they are securely fastened. The brackets should be able to support the weight of the curtains without any wobbling or movement.
Take a step back and admire the evenly spaced brackets along the curtain track. This step brings you one step closer to enjoying your beautifully hung curtains.
Now that the brackets are attached, it’s time to move on to the next step—hanging the slide carriers that will hold your curtains.
Make sure to check for any adjustments or tightness in the brackets before proceeding to the next step. It’s important to ensure that the brackets are securely attached for optimal curtain performance.
Step 4: Hang the Slide Carriers
Now that the brackets are securely attached, it’s time to hang the slide carriers on the curtain track. These slide carriers will hold your curtains and allow them to smoothly glide along the track.
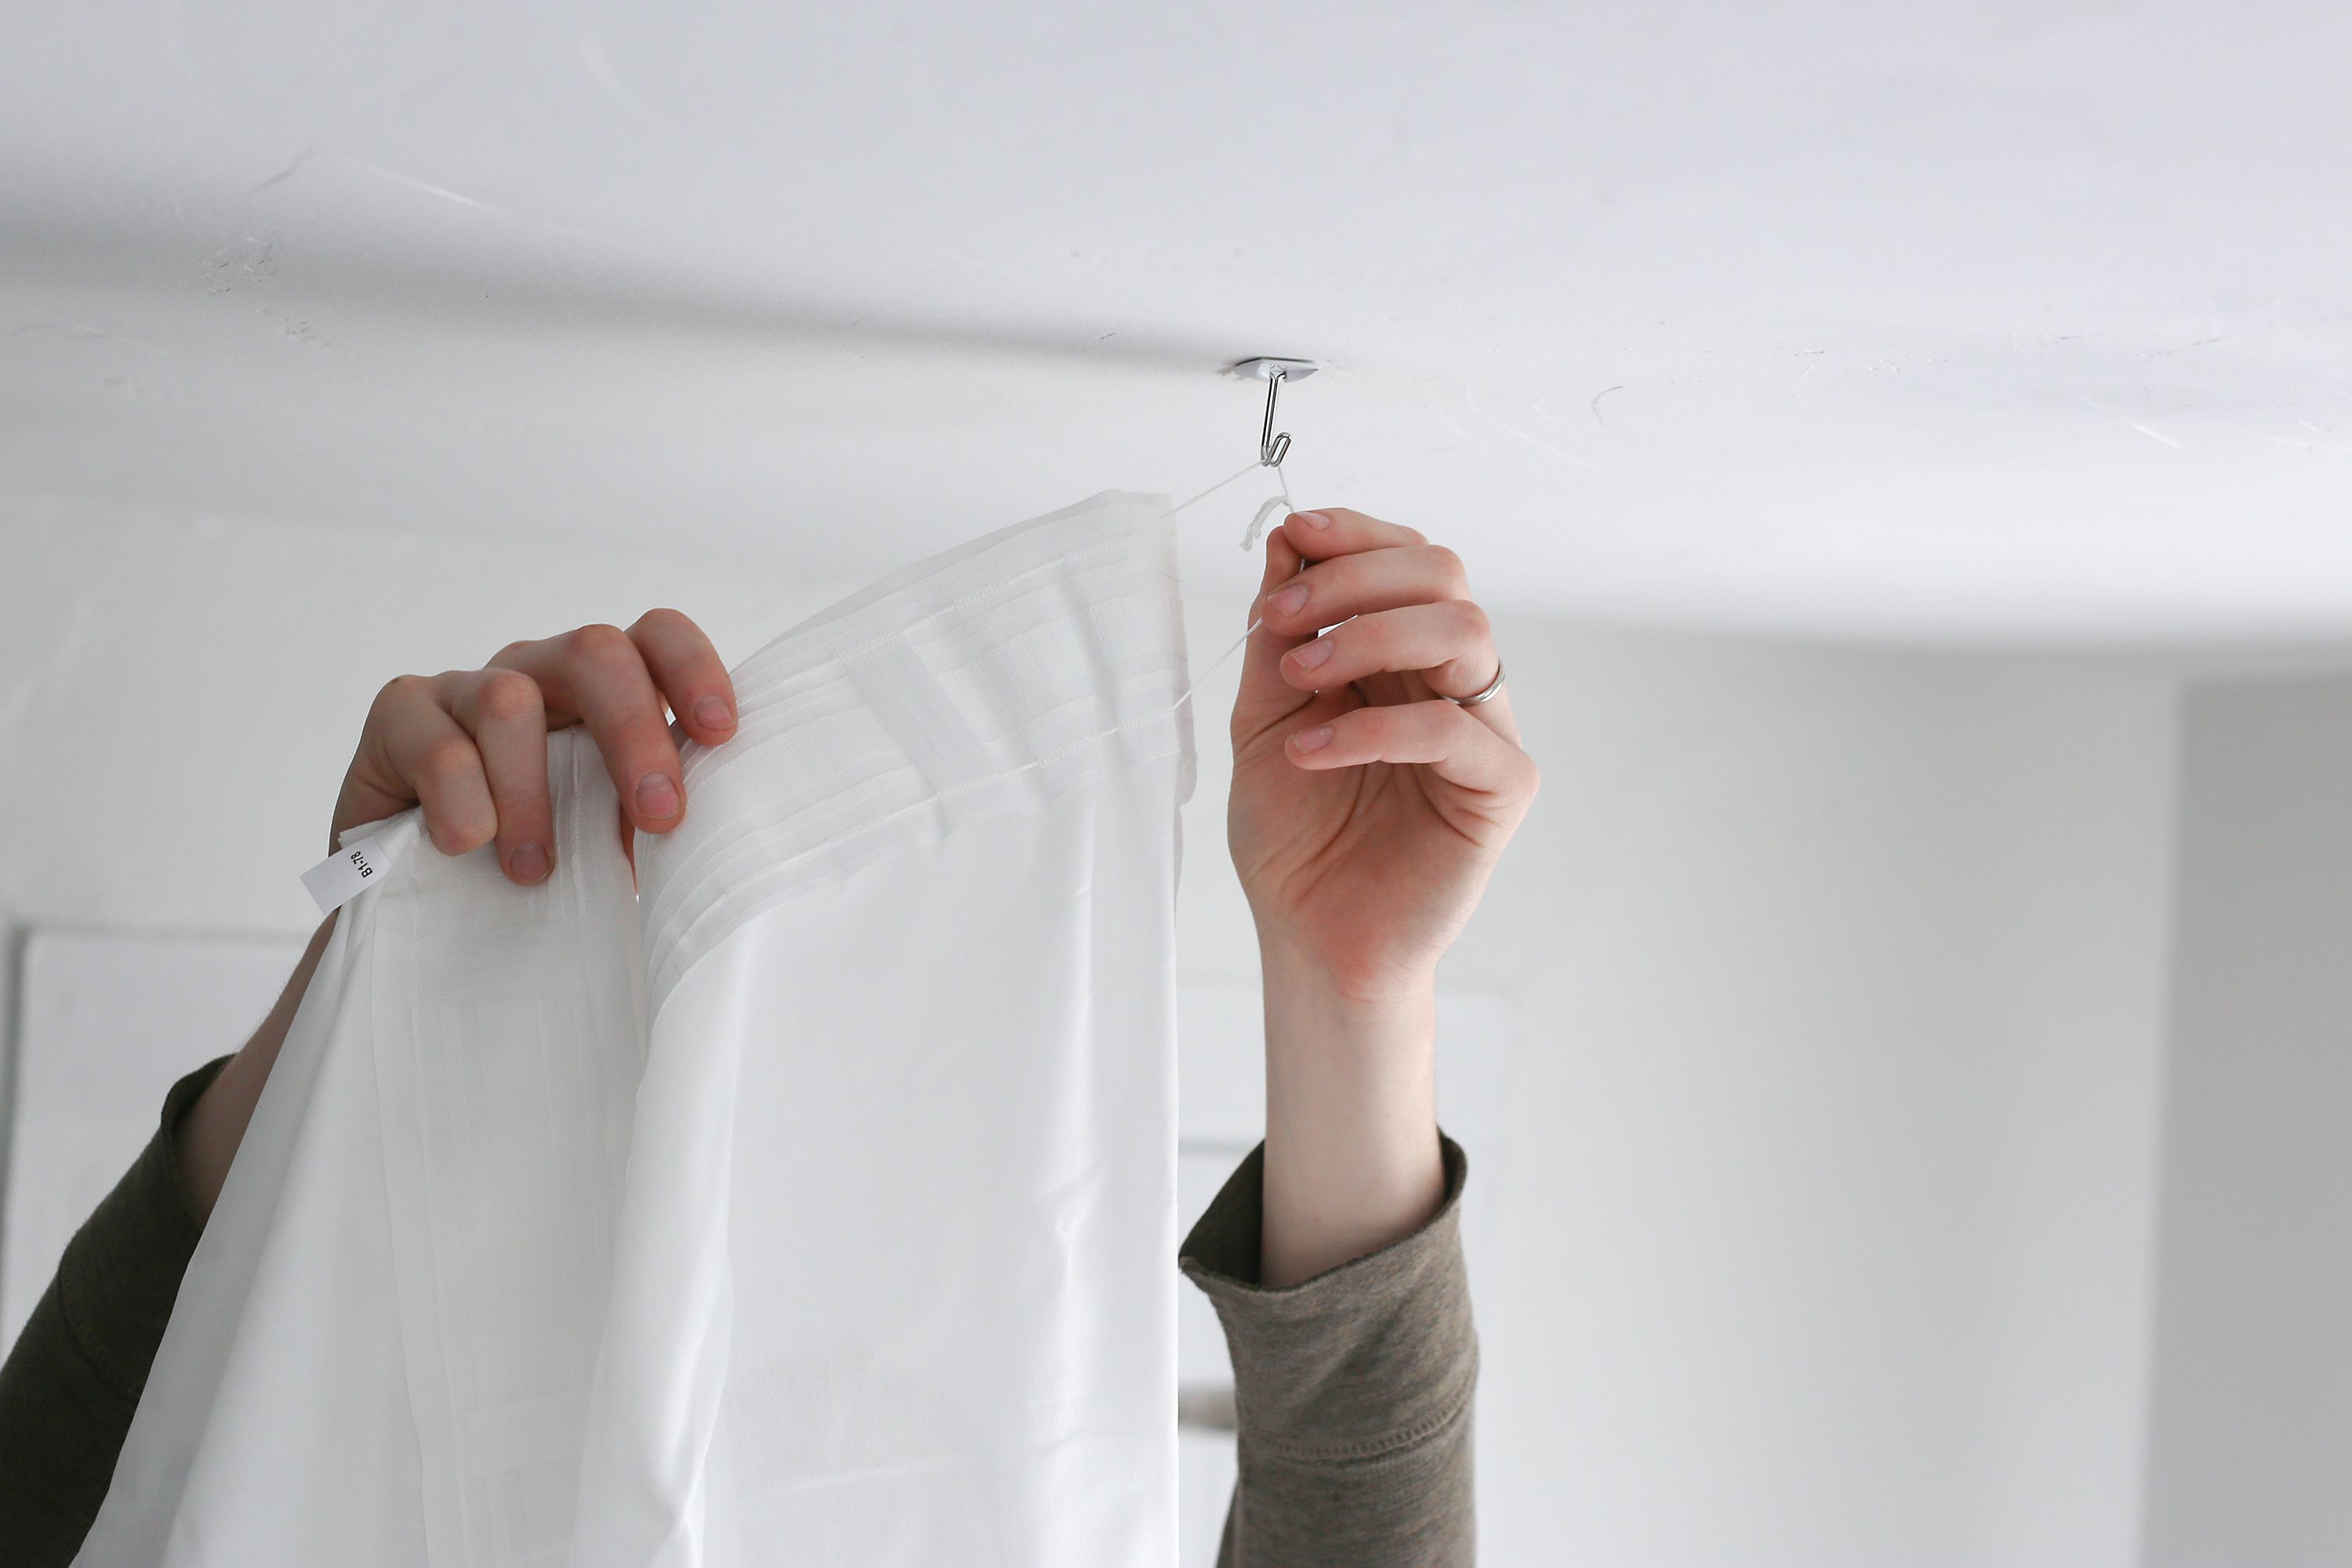
Start by inserting the slide carriers into the top channel of the curtain track. These slide carriers typically have hooks or clips that will securely hold onto the track. Simply slide them into the channel and ensure that they are properly seated and attached.
Continue inserting the slide carriers along the length of the track, spacing them out evenly. The number of slide carriers you need will depend on the width and weight of your curtains. It’s generally recommended to have one slide carrier for every 6-8 inches of track length.
Once all the slide carriers are in place, give them a gentle tug to make sure they are securely attached and can move freely along the track. They should slide smoothly without any jams or obstructions.
At this point, you may want to adjust the spacing of the slide carriers to ensure that your curtains hang evenly. Simply slide them along the track to achieve the desired arrangement. This step is especially important if you have multiple panels or layers of curtains.
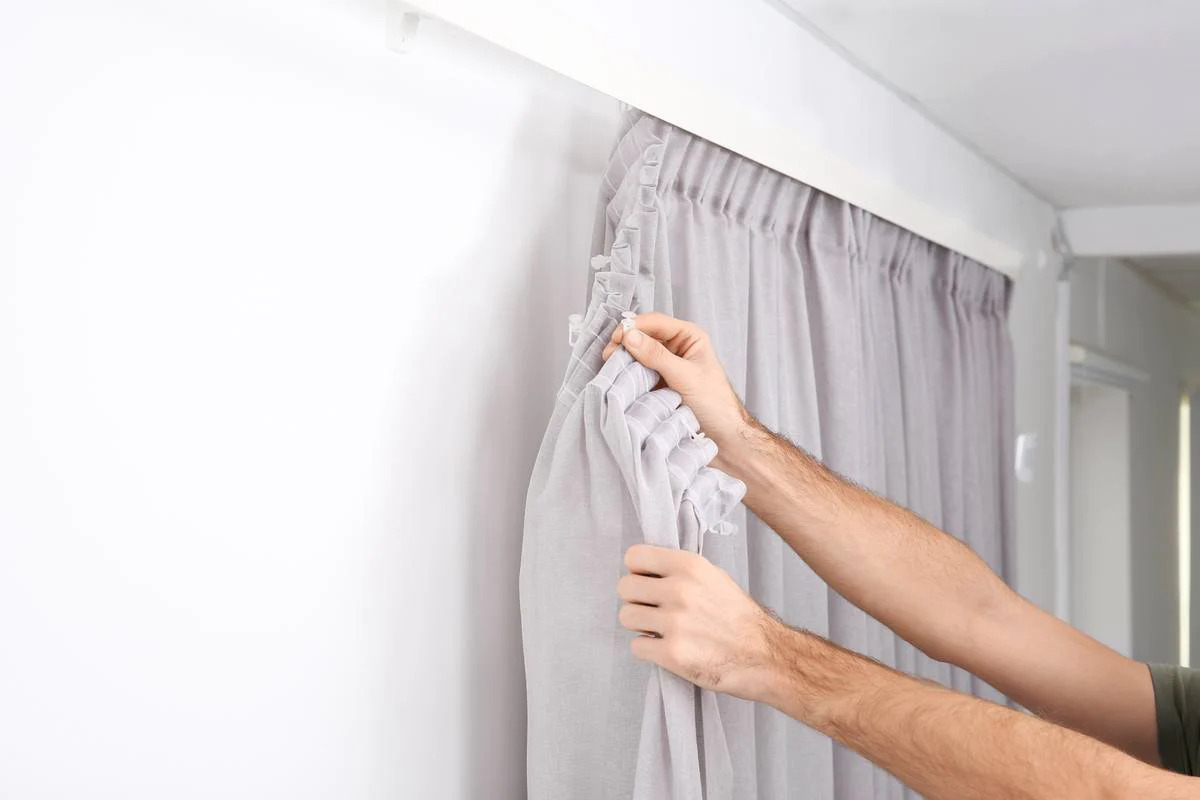
Now, it’s time to attach the curtains to the slide carriers. Depending on the type of slide carriers you have, you may need to use hooks or clips to secure the curtains. Follow the manufacturer’s instructions for attaching the curtains to the slide carriers.
Once the curtains are attached, give them a gentle tug to make sure they are securely fastened. They should hang straight and evenly. Adjust as necessary to achieve the desired appearance.
Step back and admire your curtains hanging from the slide carriers along the track. With this step completed, you are now ready to enjoy the beauty and functionality of your new curtain system.
Before moving on to the final step, take a moment to ensure that the slide carriers move smoothly along the track and that the curtains hang evenly. This will ensure a seamless curtain operation when you open and close them.
Step 5: Hang the Curtains
With the slide carriers securely attached to the curtain track, it’s time to hang your curtains. This step brings the final touch to your curtain installation and allows you to enjoy the privacy, light control, and decorative appeal of your curtains.
Start by carefully sliding each curtain panel onto the slide carriers. If you have multiple panels, make sure to align them properly so that they hang evenly and create a cohesive look. Ensure that each curtain panel is fully attached to the slide carriers, securing them in place.
Once the curtains are hung, step back and take a moment to admire their appearance. Adjust them as needed to ensure that they are hanging straight and evenly. Smooth out any wrinkles or creases in the fabric for a polished look.
If your curtains have tiebacks or holdbacks, use them to create elegant drapes and open up your windows when desired. This adds an extra touch of functionality and style to your curtains.
Test the functionality of your curtains by gently opening and closing them along the track. Ensure that they move smoothly and without any obstructions. If you encounter any issues, double-check that the slide carriers are properly attached and that the curtains are evenly distributed on the track.
Once you’re satisfied with the appearance and functionality of your curtains, you are ready to enjoy the benefits they provide. Whether it’s privacy, light control, or adding a decorative element to your space, your curtains will enhance the overall atmosphere of your room.
Remember to periodically check the curtains and slide carriers to ensure they remain in good condition and are functioning properly. If necessary, adjust or tighten the slide carriers to maintain smooth and effortless operation.
Congratulations! You have successfully hung your curtains on a track. Take a moment to appreciate your hard work and enjoy the visual transformation and added functionality that your curtains bring to your living space.
Step 6: Test and Adjust
After hanging your curtains on the track, it’s important to test their functionality and make any necessary adjustments. This final step ensures that your curtains operate smoothly and effectively, enhancing both the aesthetics and functionality of your space.
Start by testing the opening and closing of the curtains. Gently pull them along the track to ensure they glide effortlessly without any obstructions. If you notice any resistance or difficulty in movement, check for any tangled or misaligned slide carriers. Adjust them as needed to allow for smooth operation.
Next, test the alignment of the curtains. Step back and observe if they hang straight and evenly. Unevenly hung curtains can detract from the overall appearance and may indicate that the slide carriers need to be adjusted or spaced out differently. Make any necessary changes to ensure a balanced and visually pleasing display.
Check for any sagging or uneven distribution of fabric. If you notice certain areas of the curtains are dragging or pooling on the floor, adjust the slide carriers to distribute the weight more evenly. This will create a consistent and tailored look.
Ensure that the curtains fully cover the windows when closed. Verify that they provide sufficient privacy and effectively block out unwanted light. If there are any gaps or light leakage, adjust the slide carriers or curtain panels to achieve the desired coverage.
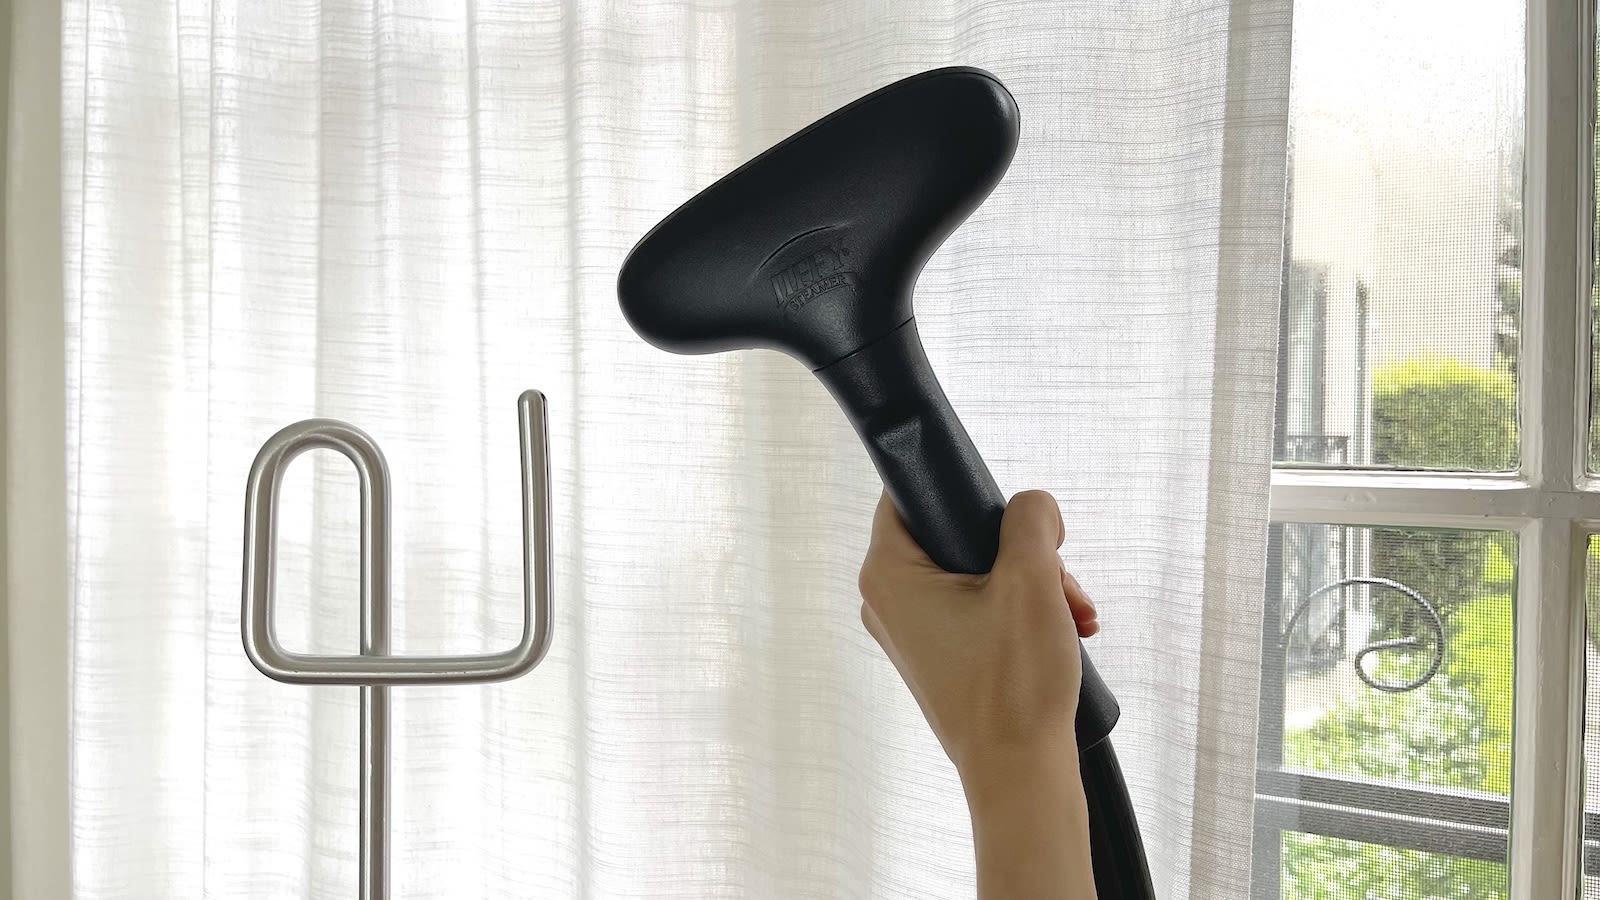
Lastly, step back and assess the overall appearance of your curtains. Take a moment to appreciate how they contribute to the overall ambiance of the room. Make any final adjustments, such as smoothing out wrinkles or adjusting the folds, to achieve the desired aesthetic effect.
Remember to periodically check the functionality and appearance of your curtains. Over time, slide carriers may need tightening or realigning, and curtains may require cleaning or adjustment. By staying proactive, you can ensure that your curtains continue to provide the desired functionality and enhance the visual appeal of your space.
Congratulations! You have successfully tested and adjusted your curtains. Now, sit back, relax, and enjoy the beauty, privacy, and functionality they bring to your home.
Read more: How To Hang Curtains Rod
Conclusion
Learning how to hang curtains on a track is a valuable skill that can greatly enhance the aesthetics and functionality of your windows. By following the step-by-step process outlined in this article, you can confidently install curtain tracks, attach brackets and slide carriers, and hang your curtains with ease.
Throughout this journey, you have learned the importance of measuring and marking accurately, securing the curtain track, attaching the brackets, hanging the slide carriers, and testing and adjusting the curtains for optimal performance. Each step contributes to a seamless and visually appealing curtain installation.
By hanging curtains on a track, you have the ability to control light, add privacy, and enhance the overall ambiance of your living space. With numerous options in curtain styles, colors, and materials, you can easily find curtains that complement your interior design and reflect your personal style.
Remember to periodically check the functionality and appearance of your curtains, making any necessary adjustments as required. Proper maintenance and care will ensure that your curtains continue to enhance your space and provide the desired benefits for years to come.
With the knowledge and skills acquired through this guide, you can confidently undertake future curtain hanging projects and transform any room into a stylish and inviting space. Now, go forth and enjoy your beautifully hung curtains!
Frequently Asked Questions about How To Hang Curtains On A Track
Was this page helpful?
At Storables.com, we guarantee accurate and reliable information. Our content, validated by Expert Board Contributors, is crafted following stringent Editorial Policies. We're committed to providing you with well-researched, expert-backed insights for all your informational needs.


0 thoughts on “How To Hang Curtains On A Track”