Home>Construction & Tools>Building Materials>How To German Smear On Brick
Building Materials
How To German Smear On Brick
Modified: August 28, 2024
Learn how to German smear on brick to give your building materials a unique, textured finish. Discover the best techniques and tips for achieving a beautiful, rustic look.
(Many of the links in this article redirect to a specific reviewed product. Your purchase of these products through affiliate links helps to generate commission for Storables.com, at no extra cost. Learn more)
Introduction
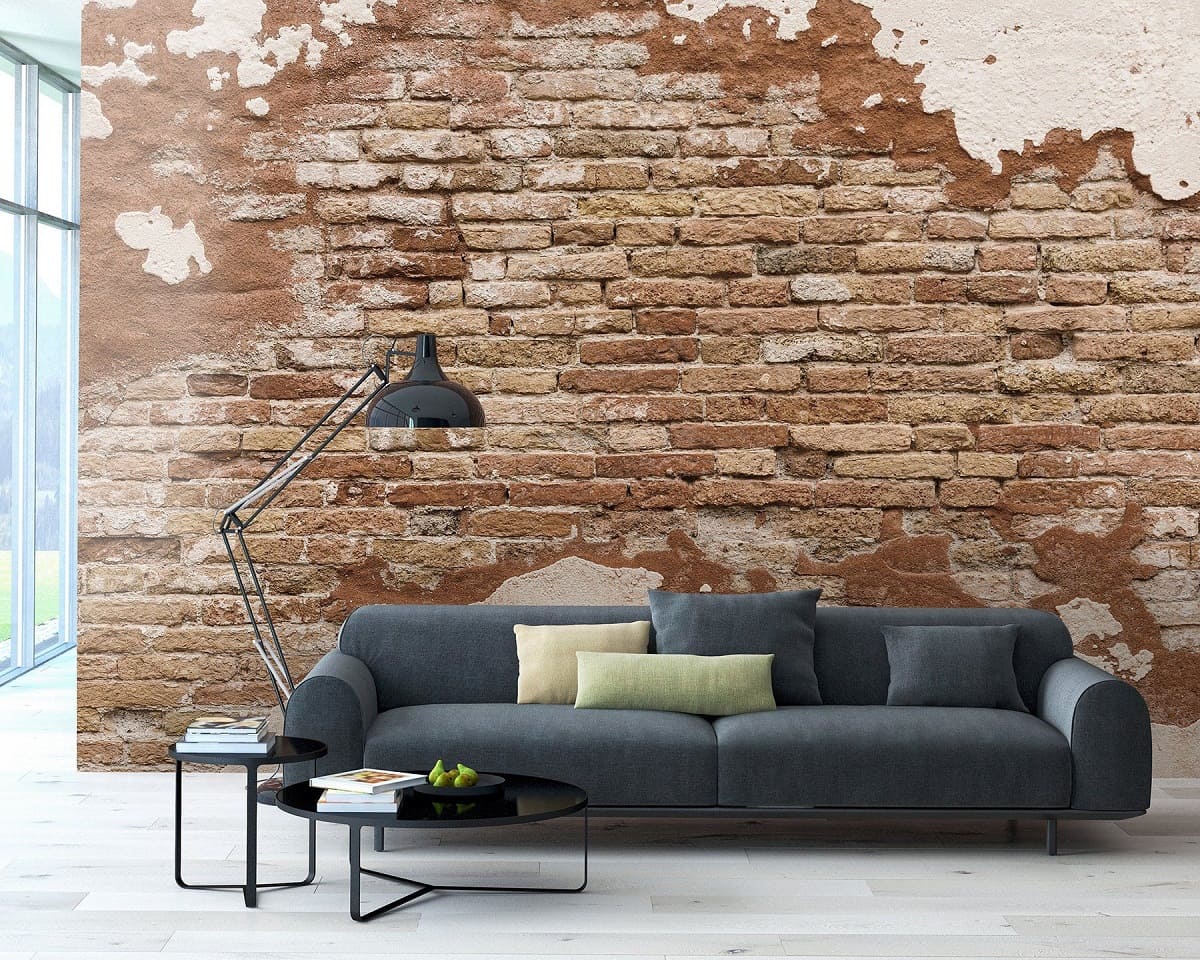
Welcome to the world of German smear, a timeless technique that adds character and charm to brick surfaces. Whether you're renovating an old fireplace or transforming the exterior of your home, German smear offers a rustic, Old-World aesthetic that can elevate any space. In this guide, we'll explore the art of German smear, from understanding its essence to mastering the application process.
German smear, also known as "mortar wash" or "smear technique," originated in Europe and has gained popularity for its ability to impart a weathered, vintage look to brick surfaces. This technique involves applying a thin, uneven layer of mortar to the brick, resulting in a beautifully imperfect finish that exudes warmth and character. The beauty of German smear lies in its versatility—it can be tailored to achieve a range of aesthetics, from subtle and time-worn to boldly rustic.
Whether you're drawn to the timeless appeal of a centuries-old European cottage or the cozy ambiance of a countryside retreat, German smear can help you achieve the look you desire. By understanding the intricacies of this technique and the materials involved, you can embark on a rewarding journey of transforming ordinary brick into a stunning focal point.
In the following sections, we'll delve into the nuances of German smear, from selecting the right brick for the job to the step-by-step process of applying the mortar wash. Additionally, we'll explore the importance of proper maintenance to ensure the longevity and enduring beauty of your German smear finish. By the end of this guide, you'll be equipped with the knowledge and confidence to embark on your own German smear project, infusing your living spaces with timeless allure and captivating charm. So, let's embark on this journey and unlock the artistry of German smear together.
Key Takeaways:
- Embrace tradition and artistry with German smear, a technique that transforms brick surfaces into captivating focal points with weathered elegance and rustic charm.
- Selecting the right brick and meticulous preparation are essential for achieving a visually captivating and enduring German smear finish, infusing living spaces with history and character.
Read more: What Is German Thyme
What is German Smear?
German smear, a traditional European technique, is a method of enhancing the appearance of brick surfaces by applying a thin layer of mortar. This process results in a weathered, aged look that adds character and depth to the brick, imparting a sense of history and charm. The term "German smear" is derived from its origins in Germany, where it was used to beautify and protect the exteriors of centuries-old buildings.
Unlike other masonry techniques that fully cover the brick, German smear involves strategically applying mortar to create an uneven, partially translucent finish. This approach allows the natural variations and textures of the brick to peek through, adding visual interest and a rustic allure to the surface. The end result is a beautifully imperfect facade that evokes a sense of timeless elegance and Old-World craftsmanship.
One of the defining characteristics of German smear is its adaptability. By adjusting the thickness of the mortar and the application technique, you can achieve a spectrum of effects, ranging from a subtle, antique patina to a more pronounced, rugged appearance. This versatility makes German smear a popular choice for homeowners and designers seeking to infuse a space with a sense of heritage and authenticity.
While the traditional approach to German smear involves using a mixture of mortar and water, modern variations may incorporate additional materials to achieve specific aesthetic goals. Pigments, for example, can be added to the mortar to create custom colors, allowing for greater customization and creativity in the application process.
German smear is not only a method of enhancing the visual appeal of brick but also serves as a protective layer, shielding the underlying surface from the elements. By carefully considering the characteristics of the mortar and the condition of the brick, you can ensure that the smear provides both aesthetic value and long-term durability.
As we continue our exploration of German smear, we will delve into the intricacies of selecting the right brick for the technique and the step-by-step process of preparing and applying the mortar wash. By understanding the essence of German smear, you can unlock its potential to transform ordinary brick into a captivating feature that exudes history, warmth, and enduring beauty.
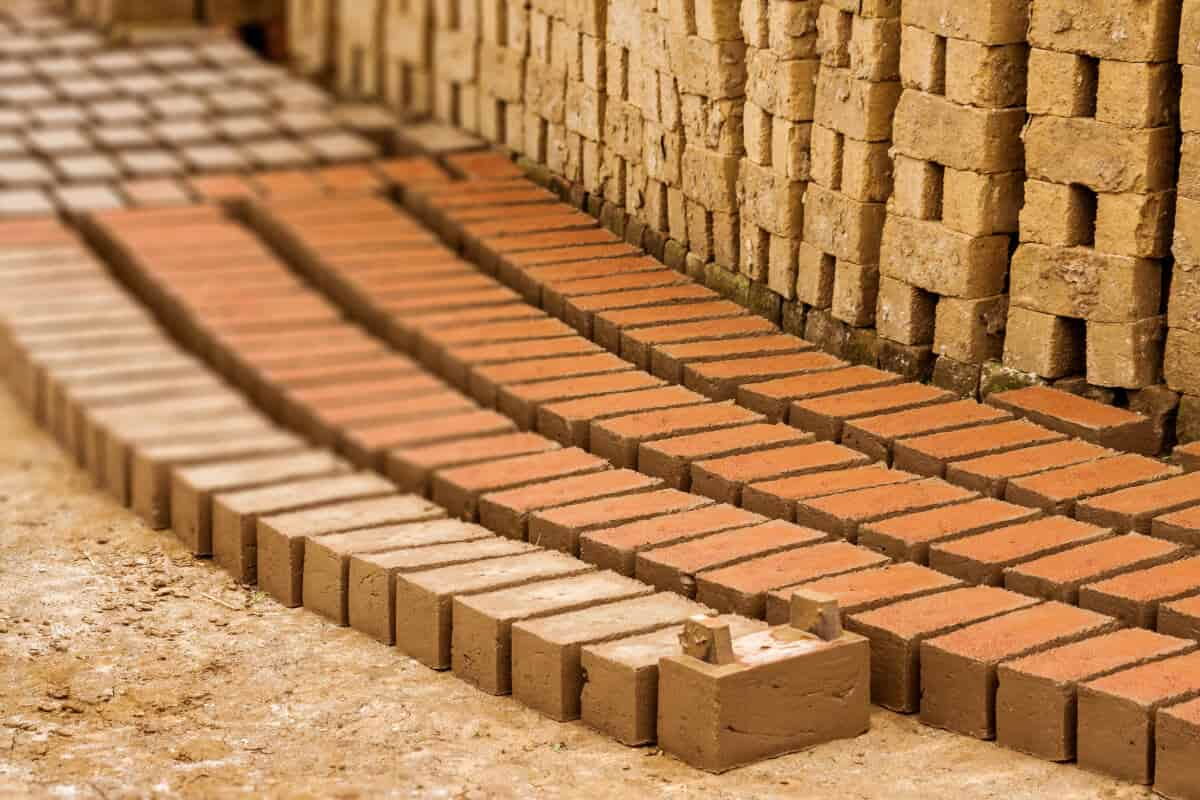
Choosing the Right Brick for German Smear
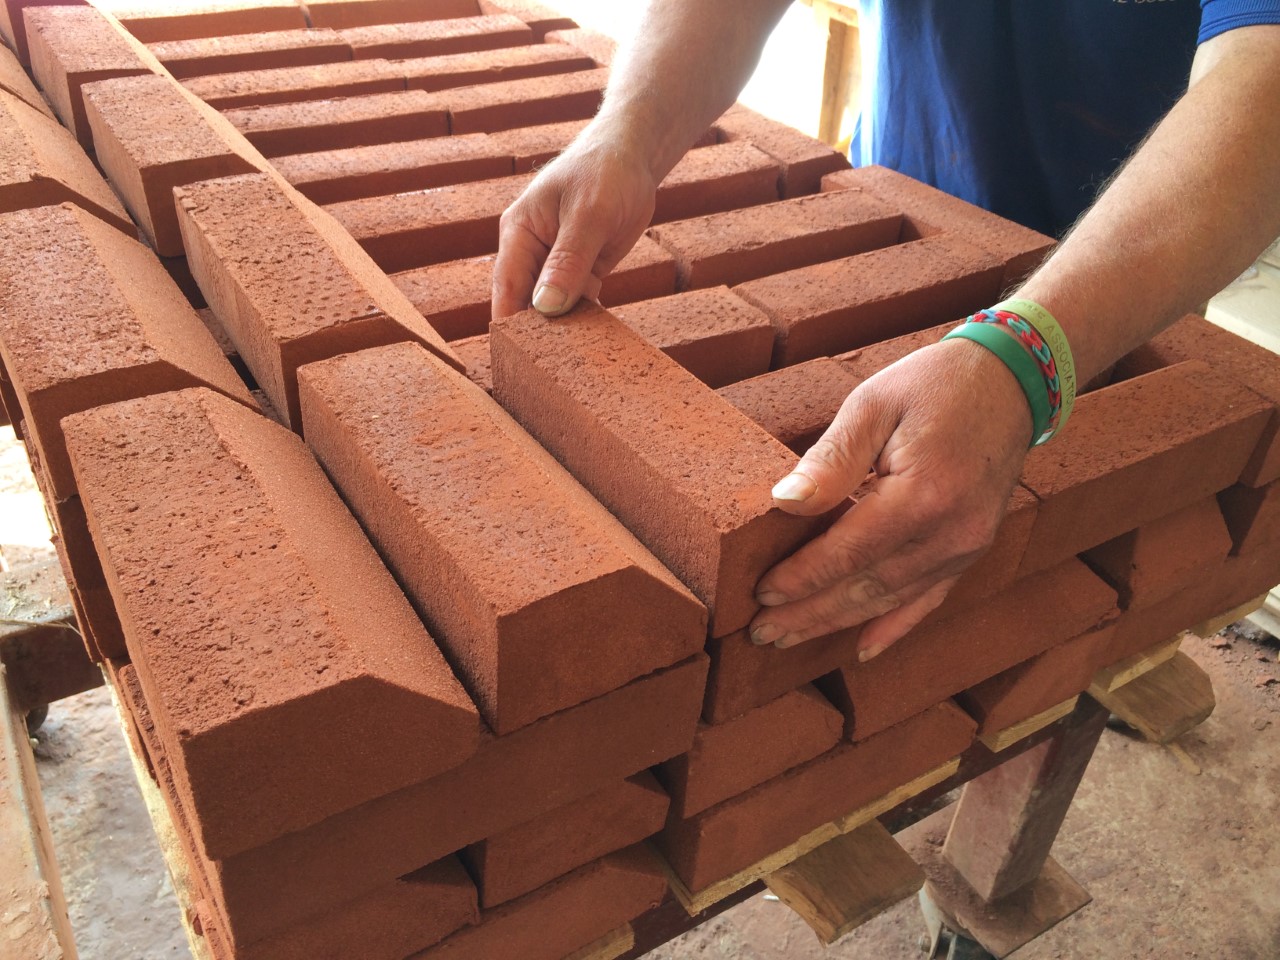
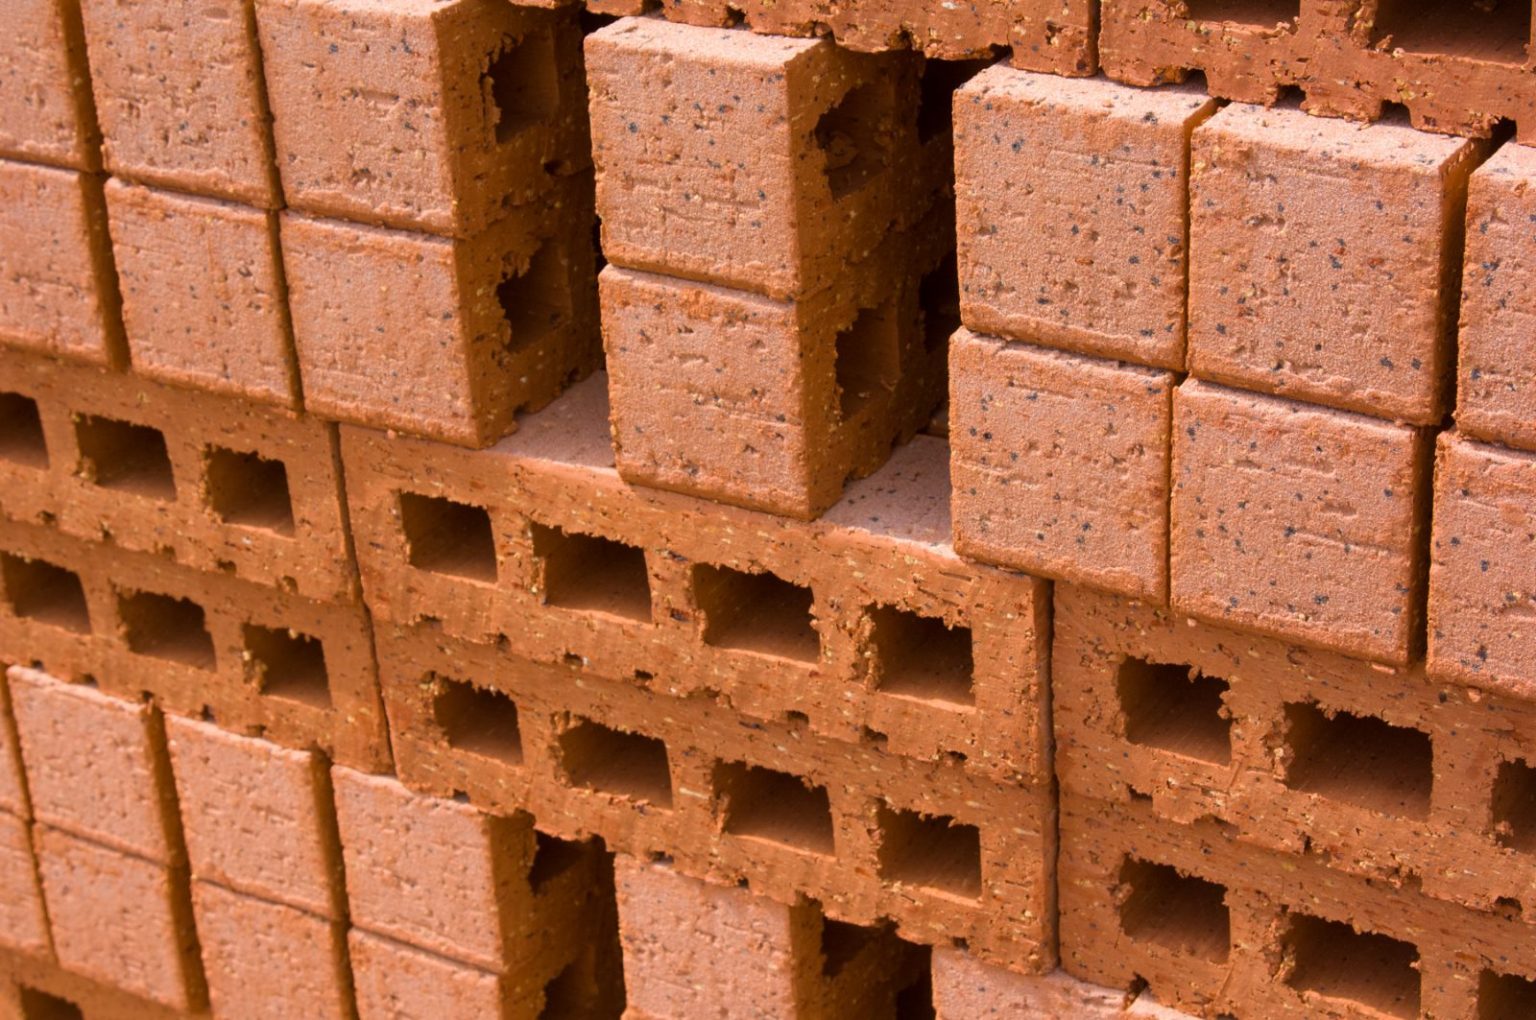
Before embarking on a German smear project, it’s essential to select the right type of brick to ensure optimal results. The characteristics of the brick, such as texture, color, and porosity, play a significant role in determining the final appearance of the German smear finish. Here are key considerations for choosing the ideal brick for German smear:
- Texture: The texture of the brick surface influences the way the German smear mortar adheres and interacts with the underlying material. Rough-textured bricks, with pronounced nooks and crannies, create a more dynamic and visually compelling finish when paired with German smear. The irregularities in the surface contribute to the charming, weathered look that defines German smear.
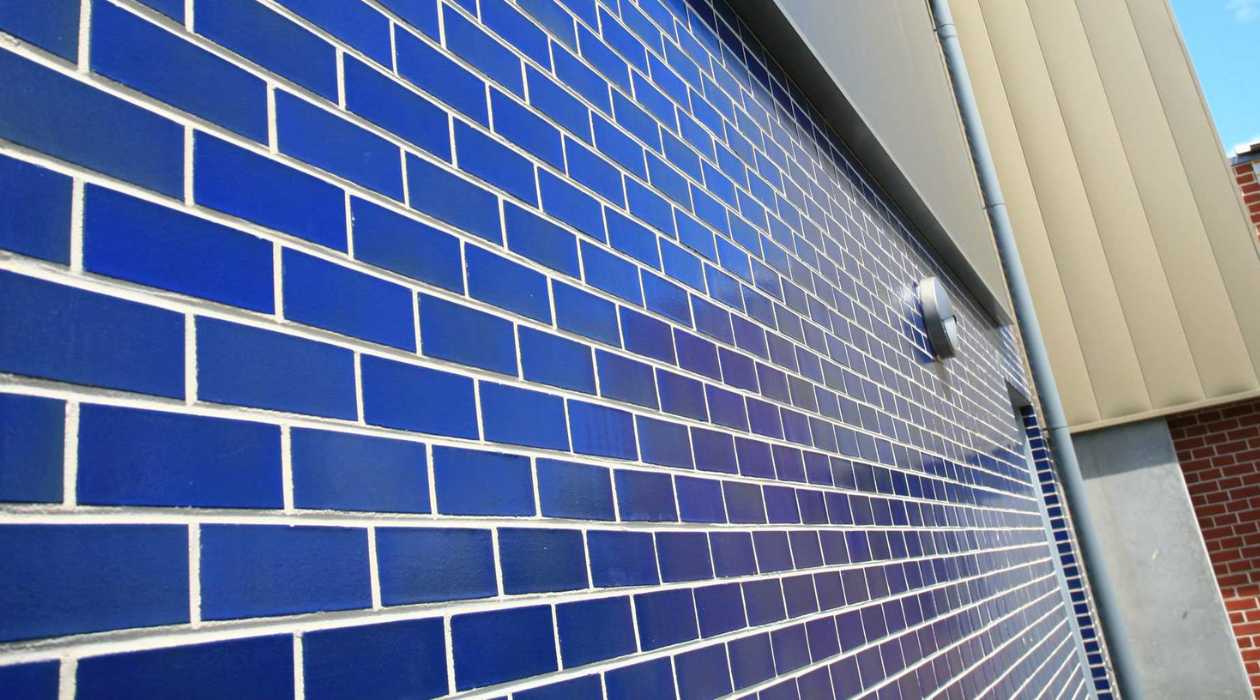
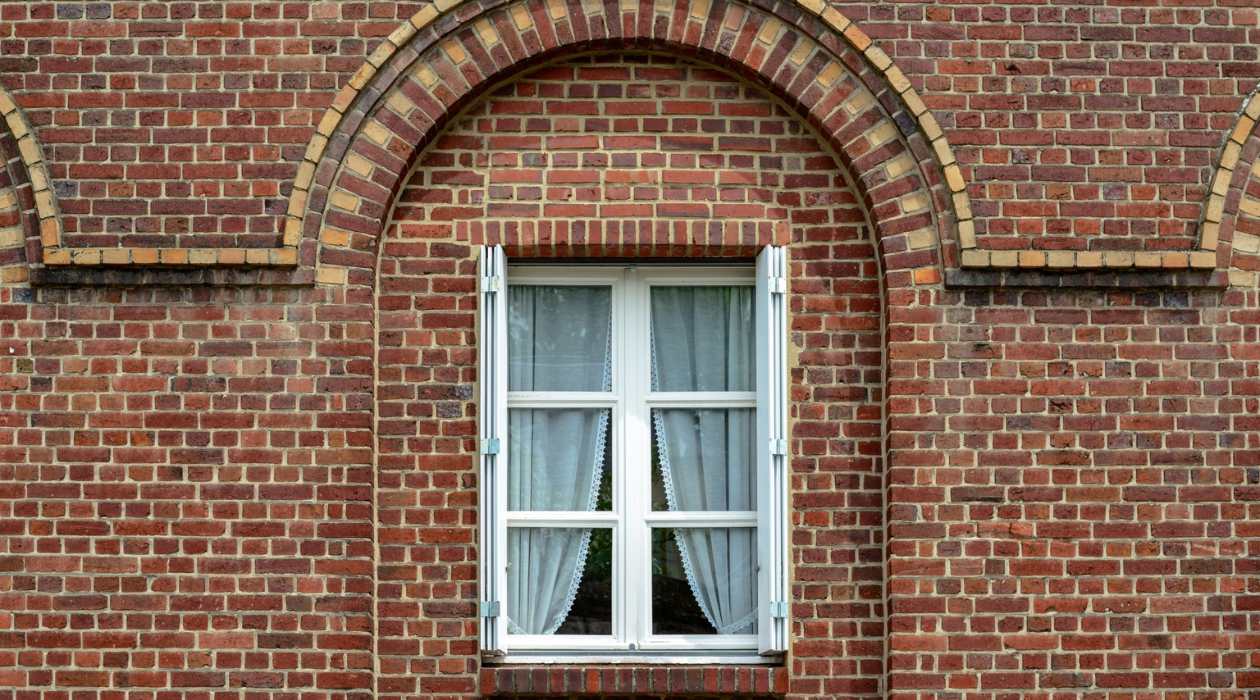
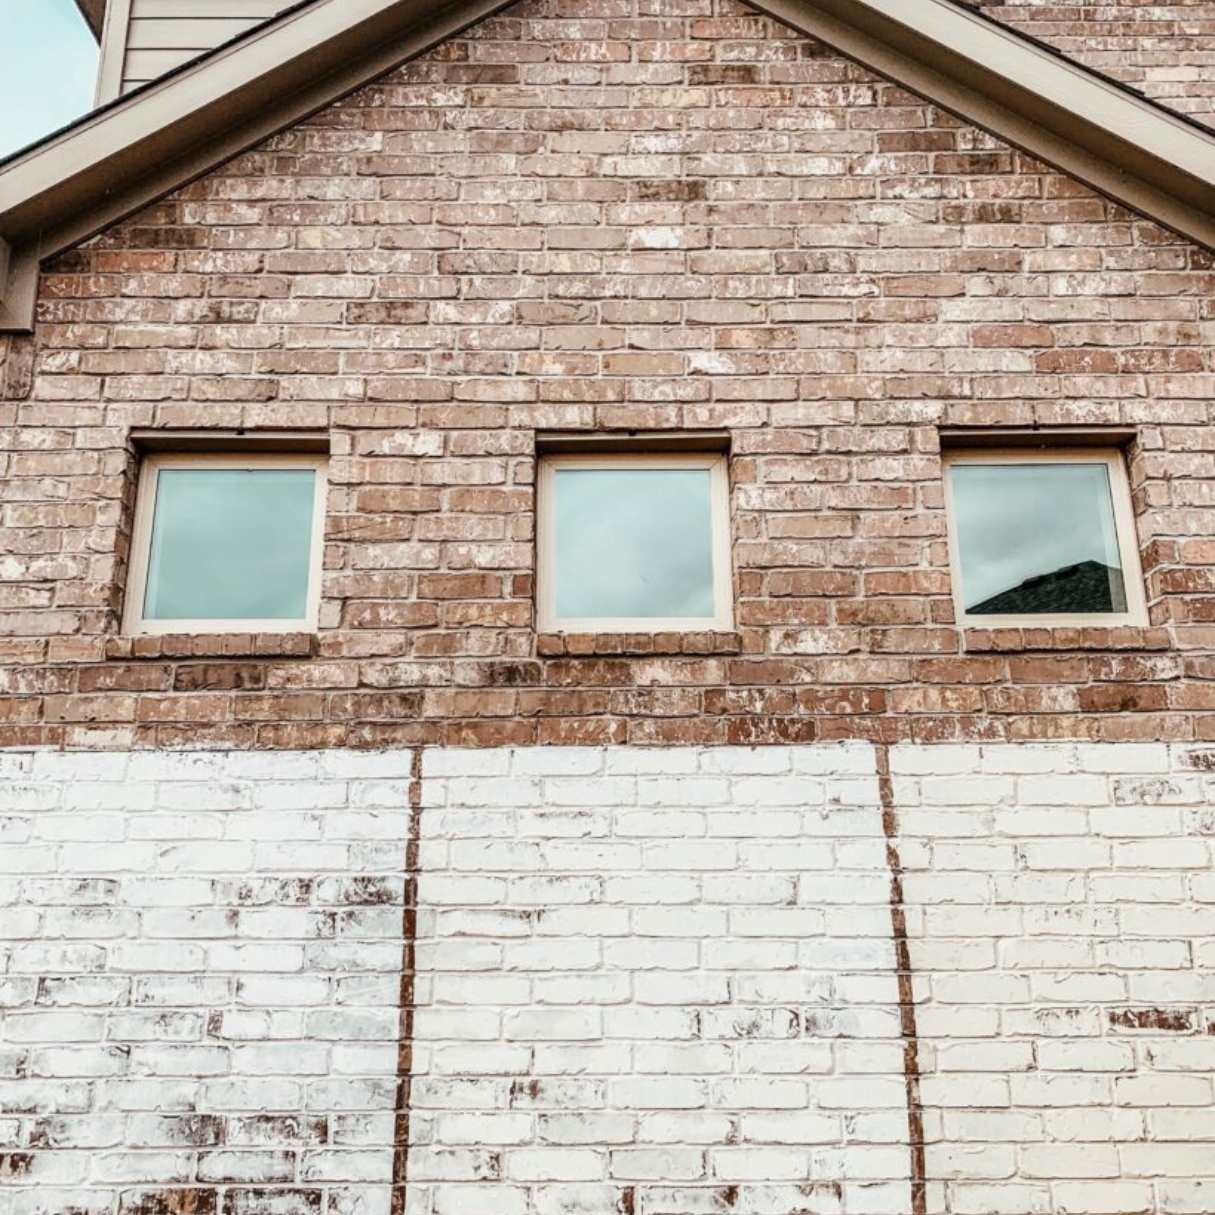
- Color: The color of the brick will subtly influence the overall aesthetic of the German smear finish. Lighter-colored bricks, such as cream or light tan, can create a soft, muted appearance when paired with a light-colored mortar wash. On the other hand, darker bricks, such as deep red or brown, can lend a rich, dramatic quality to the German smear finish, especially when contrasted with a lighter mortar.
- Porosity: The porosity of the brick, or its ability to absorb moisture, is a crucial factor in ensuring proper adhesion of the German smear. Bricks with higher porosity allow the mortar to bond more effectively, resulting in a durable and long-lasting finish. Additionally, the porosity of the brick can influence the drying time of the mortar, impacting the application process.
When sourcing bricks for a German smear project, consider obtaining samples to assess how different types of brick interact with the mortar wash. This hands-on approach can provide valuable insights into the potential aesthetic outcomes and help you make an informed decision about the best brick for your project.
Furthermore, it’s important to inspect the condition of the bricks, ensuring that they are free from structural defects and damage. Any repairs or replacements should be addressed before proceeding with the German smear application to achieve a seamless and visually appealing result.
By carefully evaluating the texture, color, and porosity of the bricks, you can select the perfect canvas for the German smear technique, setting the stage for a transformative and visually captivating enhancement of your brick surfaces.
Preparing the Brick Surface
Proper preparation of the brick surface is essential to ensure the success and longevity of a German smear application. By meticulously addressing the condition of the bricks and implementing thorough cleaning and priming processes, you can create an optimal foundation for the mortar wash, allowing it to adhere effectively and achieve a stunning, enduring finish.
The following steps outline the crucial preparatory measures for the brick surface:
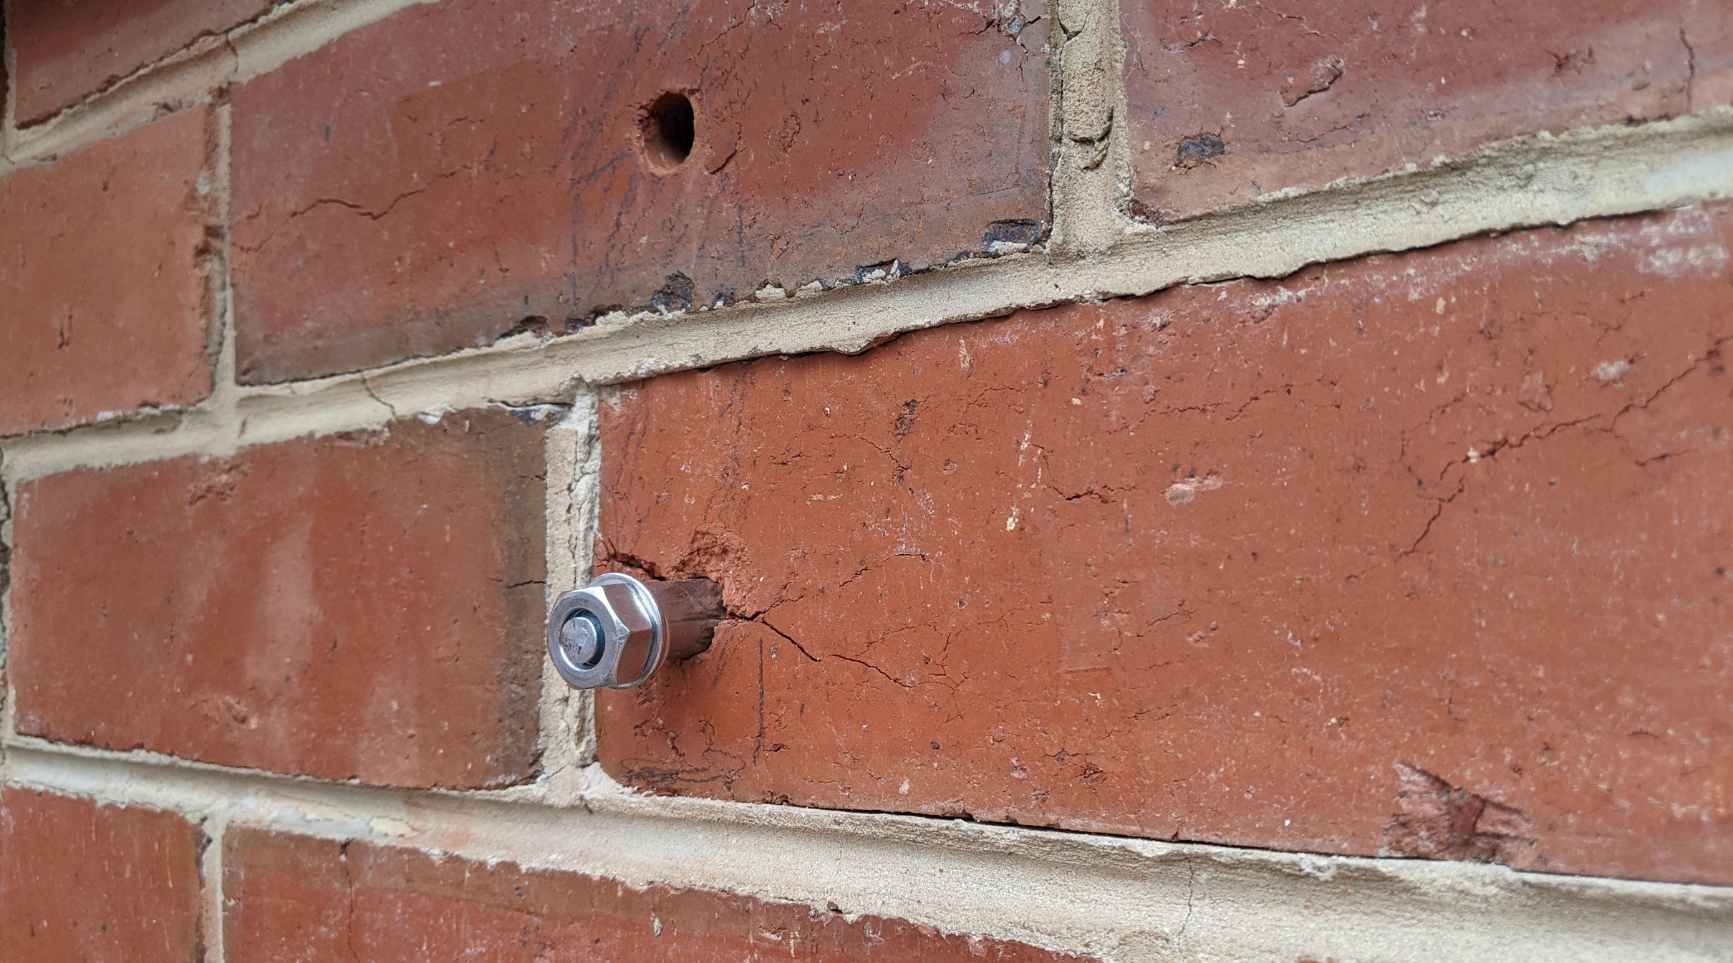
- Inspecting and Repairing: Before beginning the German smear process, carefully inspect the brick surface for any structural issues, such as cracks, chips, or loose mortar. Addressing these issues is vital to ensure the integrity of the surface and prevent future complications. Any necessary repairs or repointing should be completed before proceeding with the German smear application.
- Cleaning: Thoroughly clean the brick surface to remove dirt, grime, and any existing coatings or sealants. Pressure washing or scrubbing with a cleaning solution can effectively eliminate accumulated debris and prepare the surface for the German smear application. It’s important to allow the bricks to dry completely before moving on to the next step.
- Priming: Applying a primer or bonding agent to the clean, dry brick surface can enhance the adhesion of the German smear mortar. The primer acts as a bonding bridge between the brick and the mortar, promoting a strong and enduring connection. Be sure to select a primer specifically formulated for masonry applications to ensure compatibility and optimal performance.
- Masking and Protecting: Before applying the primer and German smear, take measures to mask off and protect adjacent surfaces, such as windows, doors, and trim, to prevent unintended contact with the mortar. This precaution helps maintain a clean and controlled application process, minimizing the need for post-application cleanup.
By meticulously executing these preparatory steps, you can create an ideal canvas for the German smear technique, setting the stage for a visually captivating and long-lasting transformation of your brick surfaces. The thoroughness of the preparation process directly contributes to the quality and durability of the German smear finish, ensuring that it stands the test of time and continues to exude its unique charm and character for years to come.
Mixing the German Smear
The process of mixing German smear, also known as mortar wash, is a crucial step that directly influences the aesthetic outcome and durability of the application. By carefully preparing the mortar mixture and, if desired, incorporating pigments to achieve custom colors, you can tailor the German smear to suit your specific design vision and preferences.
Here’s a step-by-step guide to mixing German smear:
- Choosing the Mortar: Select a high-quality mortar specifically designed for masonry applications. The mortar should be suitable for exterior use and possess excellent adhesion properties. Consider the color of the mortar in relation to the desired aesthetic, as it will significantly impact the final appearance of the German smear.
- Adding Water: In a clean, sturdy container, such as a wheelbarrow or mixing tub, pour the appropriate amount of mortar. Gradually add water while mixing to achieve the desired consistency. The consistency of the mortar should be similar to that of thick paint, allowing for easy application and manipulation on the brick surface.
- Optional: Incorporating Pigments: If you wish to customize the color of the German smear, consider adding pigments to the mortar mixture. Pigments can be obtained in a variety of shades and are available in both powder and liquid forms. Carefully follow the manufacturer’s instructions for the proper incorporation of pigments, ensuring thorough and uniform dispersion within the mortar.
- Mixing Thoroughly: Utilize a mixing tool, such as a hoe or a drill-mounted paddle mixer, to thoroughly blend the mortar and water (and pigments, if applicable). Ensure that the mixture is free from lumps and achieves a smooth, homogeneous texture. Consistent mixing is essential to guarantee uniform color and adhesion properties throughout the German smear application.
Throughout the mixing process, it’s important to exercise precision and patience, as the characteristics of the mortar mixture directly impact the visual and tactile qualities of the German smear. By adhering to best practices and attentively preparing the mortar, you can set the stage for a successful and visually captivating application of German smear on your brick surfaces.
Before starting the German smear on brick, make sure to clean the surface thoroughly and let it dry completely. Use a mixture of mortar and water to create the smear, and apply it in a thin layer using a trowel. Work in small sections and use a damp sponge to create the desired texture.
Read more: How To German Schmear Fireplace
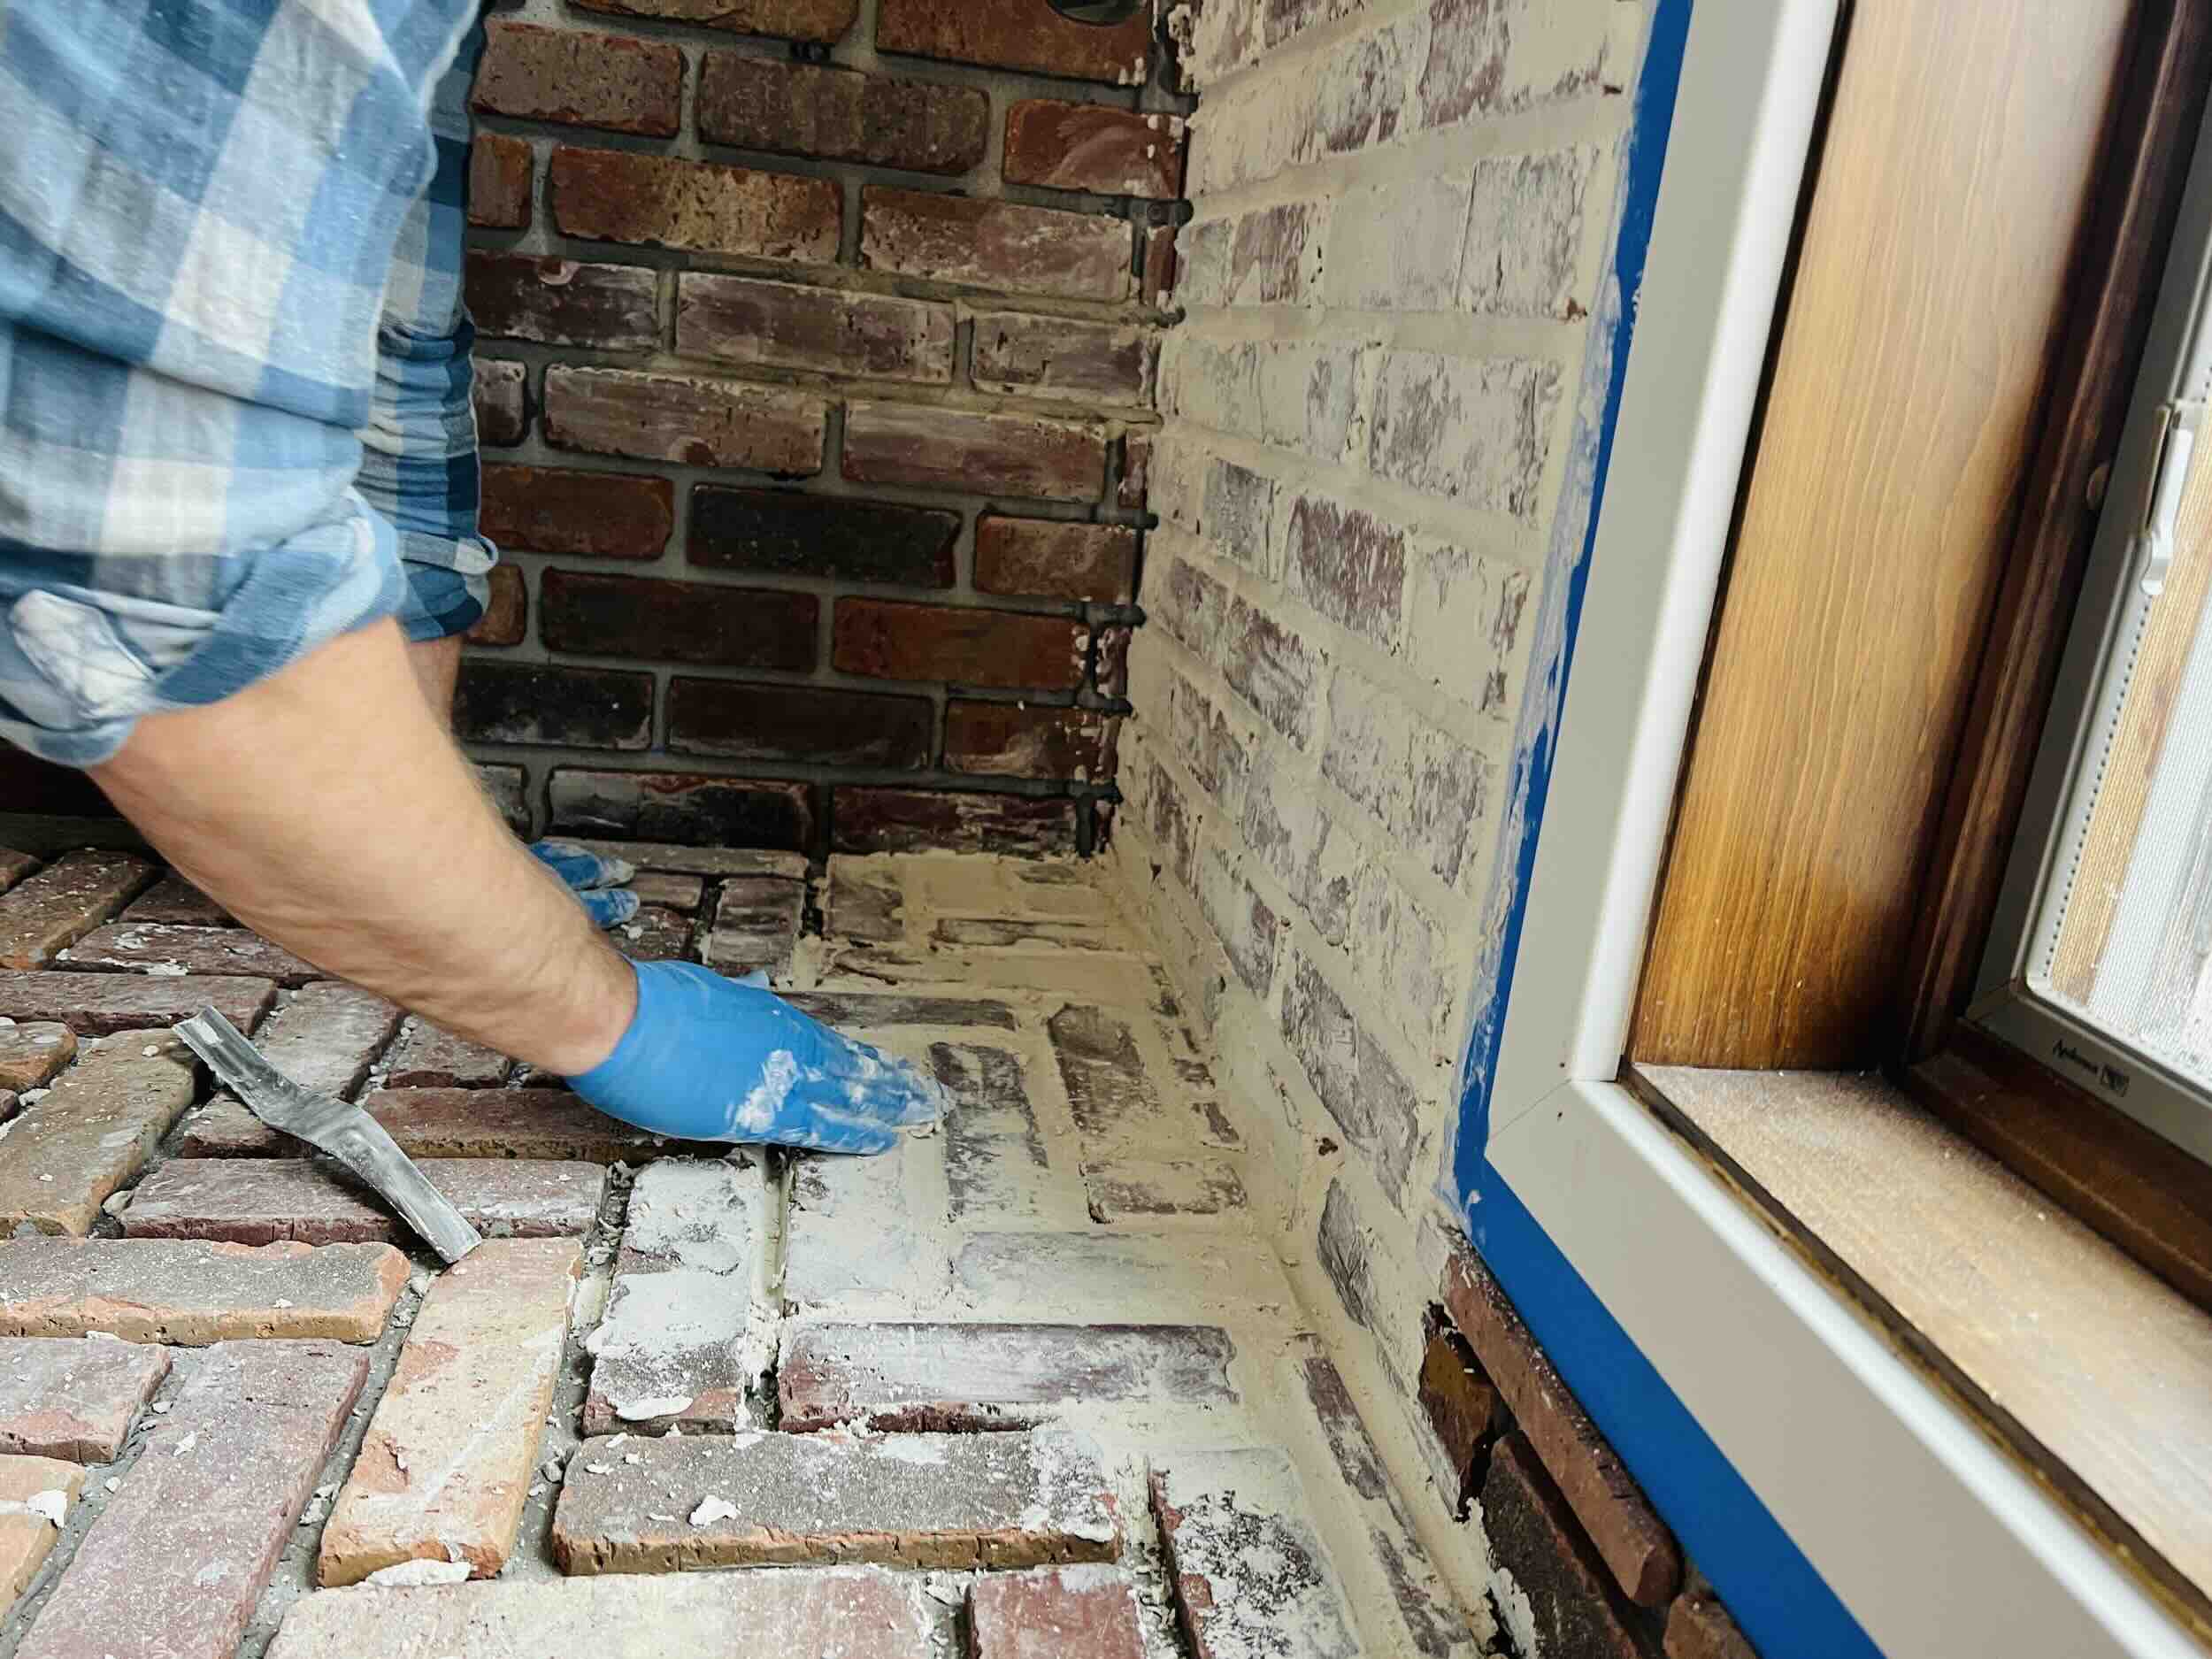
Applying the German Smear
The application of German smear is a transformative process that infuses brick surfaces with character and allure. By employing the right techniques and a thoughtful approach, you can achieve a beautifully weathered and textured finish that enhances the visual appeal of your space. Here’s a comprehensive guide to applying German smear:
- Working in Sections: Begin by dividing the brick surface into manageable sections to ensure a systematic and controlled application process. Working in smaller areas allows for focused attention and consistent application of the German smear.
- Applying the Mortar: Using a masonry trowel or a similar tool, scoop a generous amount of the prepared mortar mixture and apply it to the brick surface. The goal is to create an uneven, organic layer of mortar that partially covers the bricks, allowing their natural texture and color to peek through.
- Manipulating the Texture: After applying the mortar, use the trowel to manipulate the texture and thickness of the smear. Vary the pressure and angle of the trowel to create a range of textures, from subtle smudges to more pronounced peaks and valleys. This step adds depth and visual interest to the finish, contributing to the authentic, time-worn appearance of German smear.
- Blending and Feathering: As you work across the sections, blend the edges of the smear to create a seamless transition between areas. Feathering the edges of the mortar helps integrate the smear with the natural variations of the brick, ensuring a harmonious and cohesive finish.
- Refining the Look: Throughout the application process, step back periodically to assess the overall appearance and make adjustments as needed. This visual inspection allows you to refine the texture and distribution of the German smear, ensuring a balanced and aesthetically pleasing result.
It’s important to approach the application of German smear with a creative mindset, embracing the organic and imperfect nature of the technique. By allowing for spontaneity and artistic expression, you can achieve a finish that exudes character and individuality, enriching the visual narrative of your brick surfaces.
As you progress through the application, maintain a sense of artistry and adaptability, responding to the unique characteristics of the brick and adjusting your technique to achieve the desired aesthetic. The tactile and visual qualities of German smear are a testament to the artful fusion of craftsmanship and creativity, resulting in a surface that captivates and inspires.
Finishing Touches
As the German smear application nears completion, attention to detail and thoughtful refinements can elevate the overall finish, ensuring a cohesive and polished result. The following steps and considerations encompass the essential finishing touches that contribute to the enduring beauty and visual impact of the German smear:
- Inspecting and Touching Up: After the German smear has been applied and allowed to set to a tacky consistency, conduct a thorough inspection of the entire surface. Address any areas that may require additional texture manipulation or refinement, ensuring a consistent and harmonious appearance across the entirety of the brick surface.
- Removing Excess Mortar: Carefully remove any excess mortar that may have accumulated on the surrounding surfaces, such as adjacent trim, windows, or doors. A gentle scraping or wiping process can help maintain clean lines and prevent unwanted residue from detracting from the visual impact of the German smear.
- Sealing (Optional): Depending on the desired level of protection and sheen, consider applying a suitable sealant to the German smear finish. A clear masonry sealant can enhance the durability of the smear, providing resistance to moisture and environmental elements. Additionally, a sealant can impart a subtle sheen, further enriching the tactile and visual qualities of the finish.
- Appreciating the Artistry: Take a moment to appreciate the artistry and craftsmanship that define the German smear finish. The nuanced textures, earthy hues, and timeless appeal of the smear reflect a tradition of artisanal skill and creative expression, enriching the character of your living spaces.
By conscientiously attending to these finishing touches, you can refine the German smear application, ensuring a result that not only exudes rustic allure but also maintains a sense of meticulous artistry and enduring quality. The completion of the finishing touches marks the culmination of the German smear process, unveiling a surface that resonates with history, warmth, and timeless elegance.
Maintenance and Care
Proper maintenance and care are essential for preserving the beauty and longevity of a German smear finish. By implementing routine upkeep and protective measures, you can safeguard the integrity of the smear and ensure that it continues to enrich your living spaces for years to come. Here are key considerations for the maintenance and care of German smear:
- Cleaning: Periodically clean the German smear surface to remove dirt, dust, and other accumulations. Gently wash the surface with a mild detergent and water, utilizing a soft-bristled brush or sponge. Avoid harsh cleaning agents or abrasive tools that may compromise the integrity of the smear.
- Inspecting for Damage: Regularly inspect the German smear for any signs of damage, such as cracks, chips, or areas of deterioration. Promptly address any issues to prevent further degradation and maintain the visual appeal of the finish.
- Reapplication of Sealant: If a sealant was applied to the German smear, monitor its condition and consider reapplying the sealant as needed. A fresh application of sealant can bolster the protective properties of the smear, reinforcing its resistance to moisture and environmental factors.
- Addressing Repairs: Should the German smear sustain damage or exhibit signs of wear over time, enlist the expertise of a qualified mason to assess and address any necessary repairs. Timely intervention can prevent minor issues from escalating and preserve the integrity of the smear.
- Protective Measures: Take proactive measures to shield the German smear from potential harm, such as impact or abrasion. Avoid placing heavy or sharp objects against the smear surface, and consider implementing protective barriers or cushions in areas prone to contact or pressure.
By integrating these maintenance practices into your routine, you can uphold the allure and durability of the German smear finish, ensuring that it remains a captivating and enduring feature within your home or exterior space. The attentive care and maintenance of the smear contribute to its ability to evoke a sense of history and artistry, enriching the visual narrative of your living environment.
Conclusion
Embarking on a German smear project is an exploration of tradition, artistry, and the timeless allure of Old-World charm. Through the nuanced application of mortar and a thoughtful approach to texture and color, German smear transforms ordinary brick surfaces into captivating focal points that exude character and history.
As you immerse yourself in the art of German smear, you embrace a tradition that has endured for centuries, enriching architectural landscapes with its weathered elegance and rustic appeal. The versatility of German smear allows for a spectrum of aesthetic outcomes, from subtle, time-worn patinas to bolder, more pronounced finishes, ensuring that each application is a unique expression of artisanship and creativity.
By carefully selecting the right brick, meticulously preparing the surface, and applying the mortar with an artistic sensibility, you breathe new life into your living spaces, infusing them with the warmth and character of a bygone era. The enduring beauty of German smear lies not only in its visual impact but also in its ability to evoke a sense of heritage and craftsmanship, creating an environment that resonates with history and authenticity.
As you witness the transformation of your brick surfaces through German smear, you become a steward of tradition and artistry, preserving a legacy of craftsmanship that transcends time and trends. The tactile and visual qualities of the smear invite contemplation and appreciation, inviting you to embrace the imperfections and nuances that define its enduring charm.
In the journey of German smear, you not only enhance the aesthetic appeal of your surroundings but also cultivate a deeper connection to the artistry and heritage that shape our built environments. The rustic allure and timeless elegance of German smear stand as a testament to the enduring power of tradition and the artful transformation of humble materials into captivating works of craftsmanship.
As you conclude your German smear project, you unveil a living canvas that captures the essence of history, warmth, and enduring beauty—a testament to the artistry and creativity that define the tradition of German smear.
Frequently Asked Questions about How To German Smear On Brick
Was this page helpful?
At Storables.com, we guarantee accurate and reliable information. Our content, validated by Expert Board Contributors, is crafted following stringent Editorial Policies. We're committed to providing you with well-researched, expert-backed insights for all your informational needs.


0 thoughts on “How To German Smear On Brick”