Home>Construction & Tools>Building Materials>How To Build A Brick Wall For A House

Building Materials
How To Build A Brick Wall For A House
Modified: October 19, 2024
Learn how to build a sturdy brick wall for your house using high-quality building materials. Our step-by-step guide will help you create a durable and long-lasting structure.
(Many of the links in this article redirect to a specific reviewed product. Your purchase of these products through affiliate links helps to generate commission for Storables.com, at no extra cost. Learn more)
Introduction
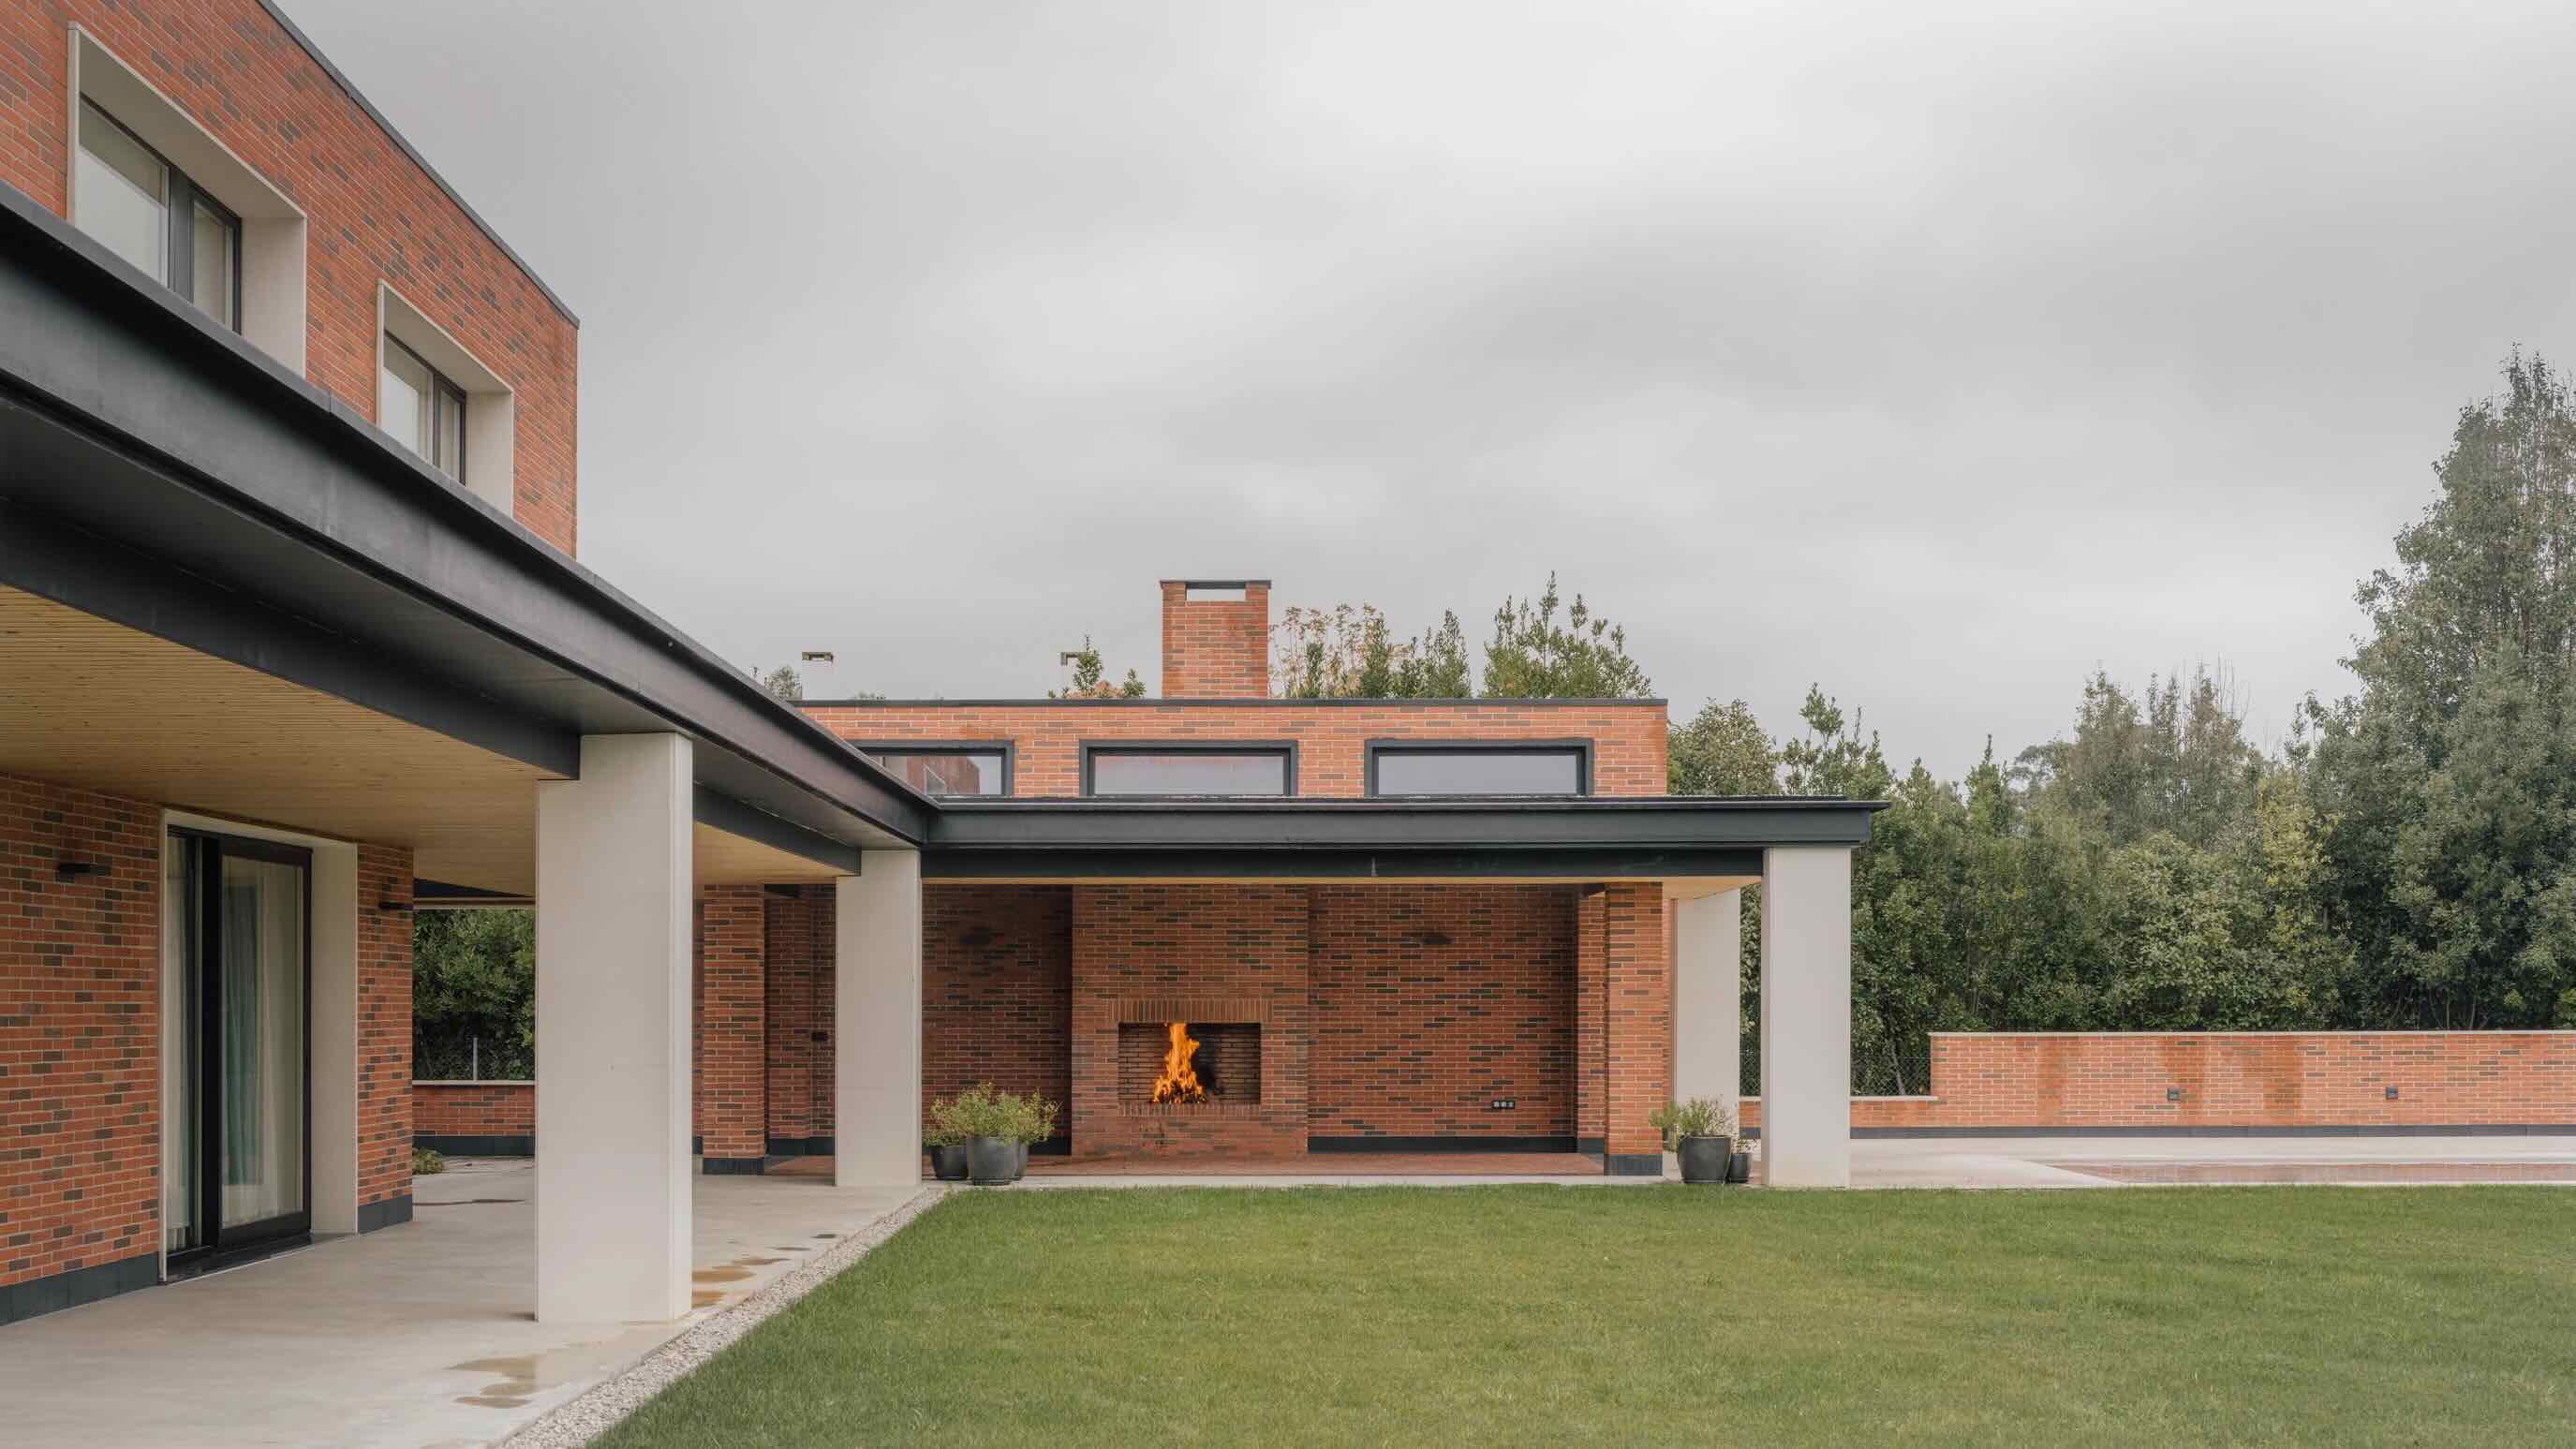
Building a brick wall is a time-honored craft that adds both aesthetic appeal and structural integrity to a house. Whether you're a seasoned DIY enthusiast or a novice looking to embark on your first construction project, constructing a brick wall can be a rewarding and empowering experience. The timeless charm and durability of brick make it a popular choice for homeowners and builders alike. In this comprehensive guide, we will walk you through the step-by-step process of building a brick wall for your house, from planning and preparation to adding the finishing touches.
Embarking on a project of this nature requires careful planning, meticulous attention to detail, and a solid understanding of the materials and techniques involved. By following this guide, you will gain the knowledge and confidence needed to tackle the task at hand. Whether you're aiming to create a decorative garden wall, a sturdy boundary for your property, or an eye-catching feature within your home, the principles of building a brick wall remain consistent.
Throughout this article, we will explore the essential steps and considerations involved in the construction of a brick wall. From gathering the necessary materials and tools to laying the foundation, setting the courses, and adding the final flourishes, we will provide you with a comprehensive roadmap to guide you through the process. By the time you reach the end of this guide, you will be equipped with the knowledge and expertise to embark on your own brick-laying adventure with confidence and precision.
So, roll up your sleeves, gather your tools, and let's dive into the art of building a brick wall for your house. Whether you're looking to enhance your property's curb appeal or add a touch of timeless elegance to your living space, this guide will equip you with the know-how to bring your vision to life. Let's get started!
Key Takeaways:
- Building a brick wall requires meticulous planning, quality materials, and precise construction. It’s a rewarding journey that adds beauty and functionality to your property, leaving a lasting legacy of craftsmanship and dedication.
- By following the steps in this guide, you can create a sturdy and visually appealing brick wall for your house. From setting the foundation to adding finishing touches, the process embodies the transformative power of construction and craftsmanship.
Read more: How To Build A Brick Retaining Wall
Planning and Preparation
Before diving into the physical labor of building a brick wall, meticulous planning and thorough preparation are essential for a successful outcome. This phase sets the stage for the entire project, ensuring that you have a clear vision and all the necessary resources at your disposal. Here are the key steps to consider during the planning and preparation stage:
- Design Considerations: Begin by determining the purpose and design of the brick wall. Are you aiming to create a decorative feature, a boundary wall, or a structural element within your home? Consider the dimensions, style, and overall aesthetic you wish to achieve. Sketching out a basic design can provide a visual reference and help you make informed decisions as you progress.
- Regulatory Compliance: Depending on your location and the intended purpose of the wall, there may be local building codes or regulations to consider. Check with your local authorities to ensure that your planned construction complies with any relevant guidelines or restrictions.
- Materials and Quantity Estimation: Determine the quantity of bricks, mortar, and other materials needed for the project. Consider factors such as the wall’s dimensions, the type of bricks you plan to use, and any additional features such as coping stones or decorative elements. It’s advisable to purchase a surplus of materials to account for breakage, cutting, and future repairs.
- Site Preparation: Assess the location where the wall will be built. Clear the area of any debris, vegetation, or obstacles that could hinder construction. Ensure that the ground is level and well-drained, as a stable foundation is crucial for the long-term stability of the wall.
- Tool Acquisition: Gather the necessary tools for the job, including a spirit level, trowel, brick hammer, jointer, tape measure, and a sturdy wheelbarrow for mixing mortar. Having the right tools at hand will streamline the construction process and contribute to the quality of the finished wall.
By investing time and attention into the planning and preparation phase, you lay a solid groundwork for the construction process. This proactive approach minimizes potential setbacks, ensures compliance with regulations, and sets the stage for a smooth and efficient building experience.
Gathering Materials and Tools
With the planning phase complete, the next crucial step is to gather the materials and tools required for building your brick wall. Ensuring that you have the right supplies at hand will streamline the construction process and minimize interruptions once work begins. Here’s a comprehensive list of the essential materials and tools you’ll need:
Materials:
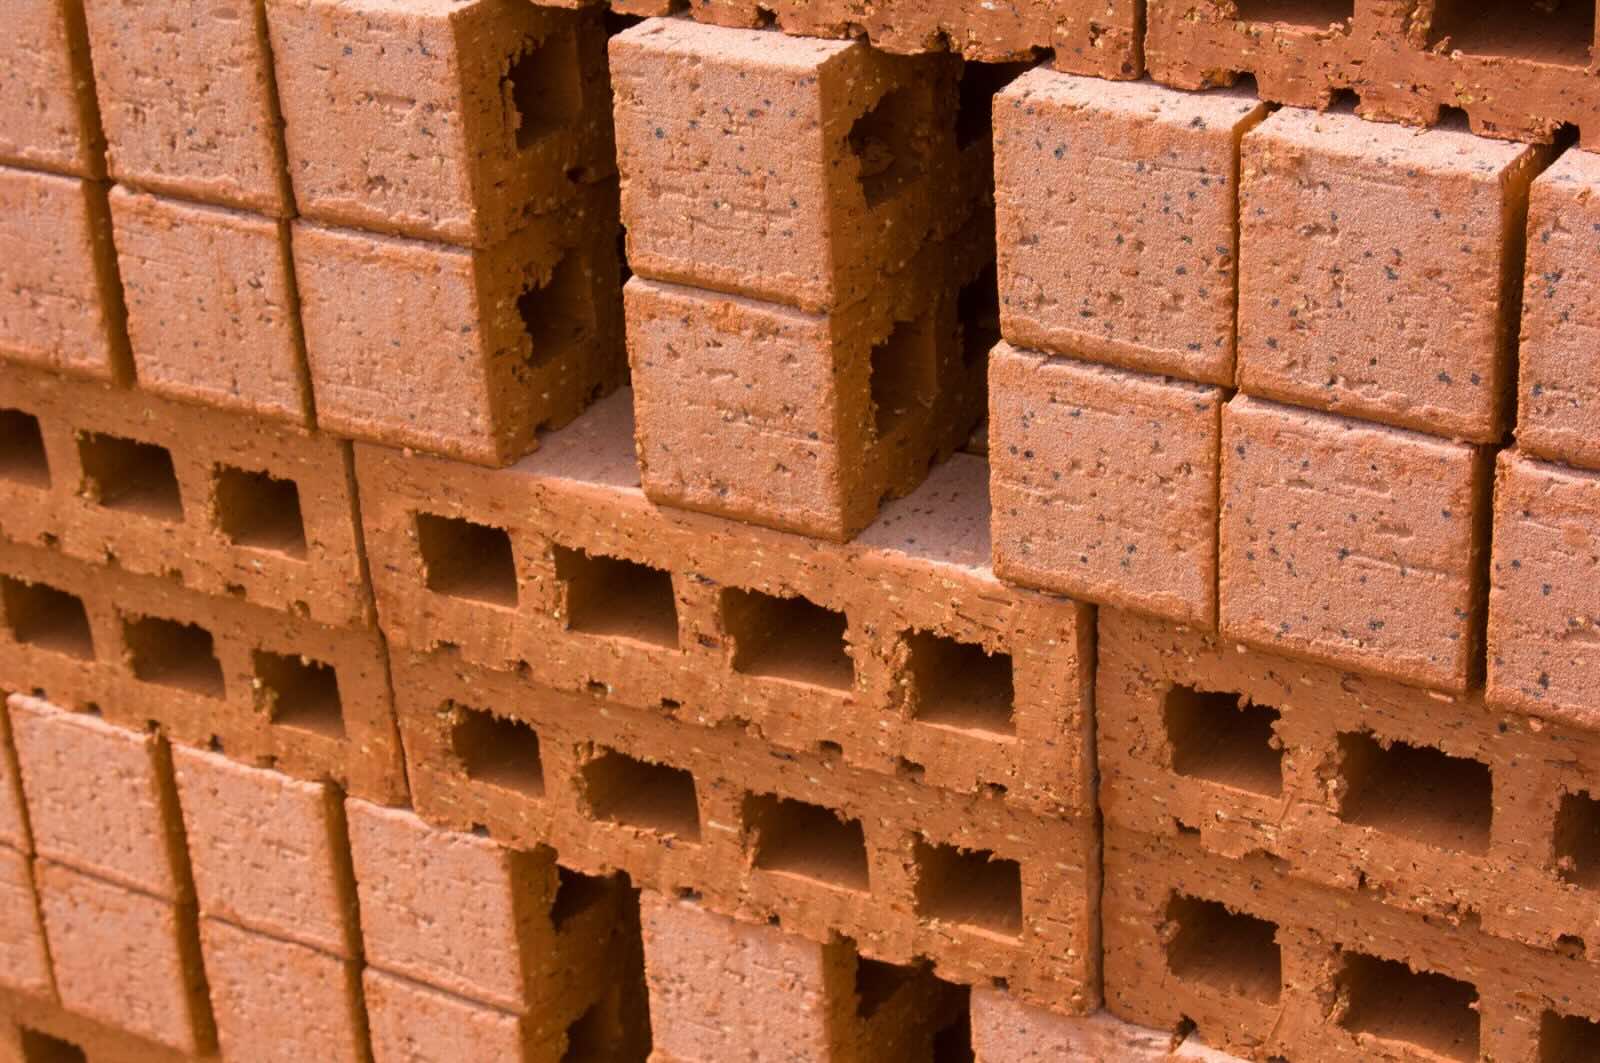
- Bricks: Select high-quality bricks suited to your project's requirements, considering factors such as size, color, and texture. Common options include clay bricks, concrete bricks, and reclaimed bricks, each offering distinct visual and structural characteristics.
- Mortar: Choose a suitable mortar mix based on the type of bricks and the wall’s intended use. Mortar plays a critical role in bonding the bricks together and providing structural stability.
- Foundation Materials: Depending on the wall’s design and location, you may need materials for the foundation, such as concrete footings or compacted gravel. These foundational elements ensure the stability and longevity of the wall.
- Coping Stones: If your wall will feature a top surface, coping stones provide a protective and visually appealing finish. Select coping stones that complement the overall design and provide effective weatherproofing.
- Damp-proof Course (DPC): For external walls, a damp-proof course helps prevent moisture from seeping into the brickwork. This is crucial for maintaining the wall’s integrity and protecting adjacent structures from water damage.
- Expansion Joints: In larger or load-bearing walls, expansion joints accommodate thermal expansion and contraction, minimizing the risk of cracking and structural damage over time.
Tools:
- Trowel: A pointed or square-ended trowel is essential for applying mortar to the bricks and the wall’s foundation.
- Brick Hammer: This specialized hammer features a chisel edge for cutting and shaping bricks to fit the desired layout.
- Spirit Level: Ensuring the wall’s vertical and horizontal alignment is crucial, and a spirit level helps achieve precision during construction.
- Jointer: A jointer tool is used to create a smooth and uniform finish for the mortar joints between bricks.
- Wheelbarrow: Use a sturdy wheelbarrow for mixing mortar, transporting materials, and maintaining a tidy work area.
- Measuring Tape: Accurate measurements are vital for achieving a uniform and structurally sound wall, making a reliable measuring tape indispensable.
By procuring high-quality materials and the necessary tools in advance, you set the stage for a seamless and efficient construction process. With your supplies at the ready, you’re well-equipped to embark on the hands-on phase of building your brick wall.
Read more: How To Build A Brick Veneer Wall
Setting the Foundation
With the materials and tools in place, it’s time to lay the groundwork for your brick wall by setting a solid foundation. The foundation serves as the anchor for the entire structure, providing stability and preventing settling or shifting over time. Here’s a step-by-step guide to setting the foundation for your brick wall:
Excavation and Site Preparation:
Begin by marking the layout of the wall using string lines and stakes. Excavate the marked area to the required depth, accounting for the foundation’s thickness and any necessary drainage considerations. Remove any debris, rocks, or organic matter from the excavation site to ensure a clean and stable foundation.
Base Material and Compaction:
Once the excavation is complete, add a layer of compacted gravel or crushed stone to the bottom of the trench. This base material provides a stable and well-drained foundation for the wall. Use a hand tamper or mechanical compactor to achieve uniform compaction and ensure a solid base for the subsequent layers.
Concrete Footings:
For load-bearing or retaining walls, concrete footings are essential to distribute the structure’s weight and prevent settling. Form and pour concrete footings within the trench, ensuring that they are level and extend below the frost line in colder climates. Reinforcing the footings with steel rebar enhances their strength and durability.
Read more: How To Build A Brick Garden Wall
Damp-proof Course (DPC) Installation:
For external walls, install a damp-proof course to prevent moisture from rising into the brickwork. The DPC is typically a waterproof membrane or specialized material that creates a barrier against water infiltration. Position the DPC at the base of the wall, ensuring it extends beyond the width of the foundation to provide effective protection.
Setting the First Course:
With the foundation prepared, lay the first course of bricks on top of the DPC or directly on the concrete footings. Apply a bed of mortar to securely bond the bricks to the foundation, using a spirit level to ensure that the course is perfectly horizontal. This initial course establishes the alignment and stability of the entire wall, serving as a critical starting point for the subsequent layers.
By meticulously attending to the foundation-setting process, you establish a sturdy and reliable base for your brick wall. A well-constructed foundation forms the backbone of the structure, ensuring its long-term resilience and structural integrity. With the foundation in place, you’re ready to progress to the next stages of building your brick wall.
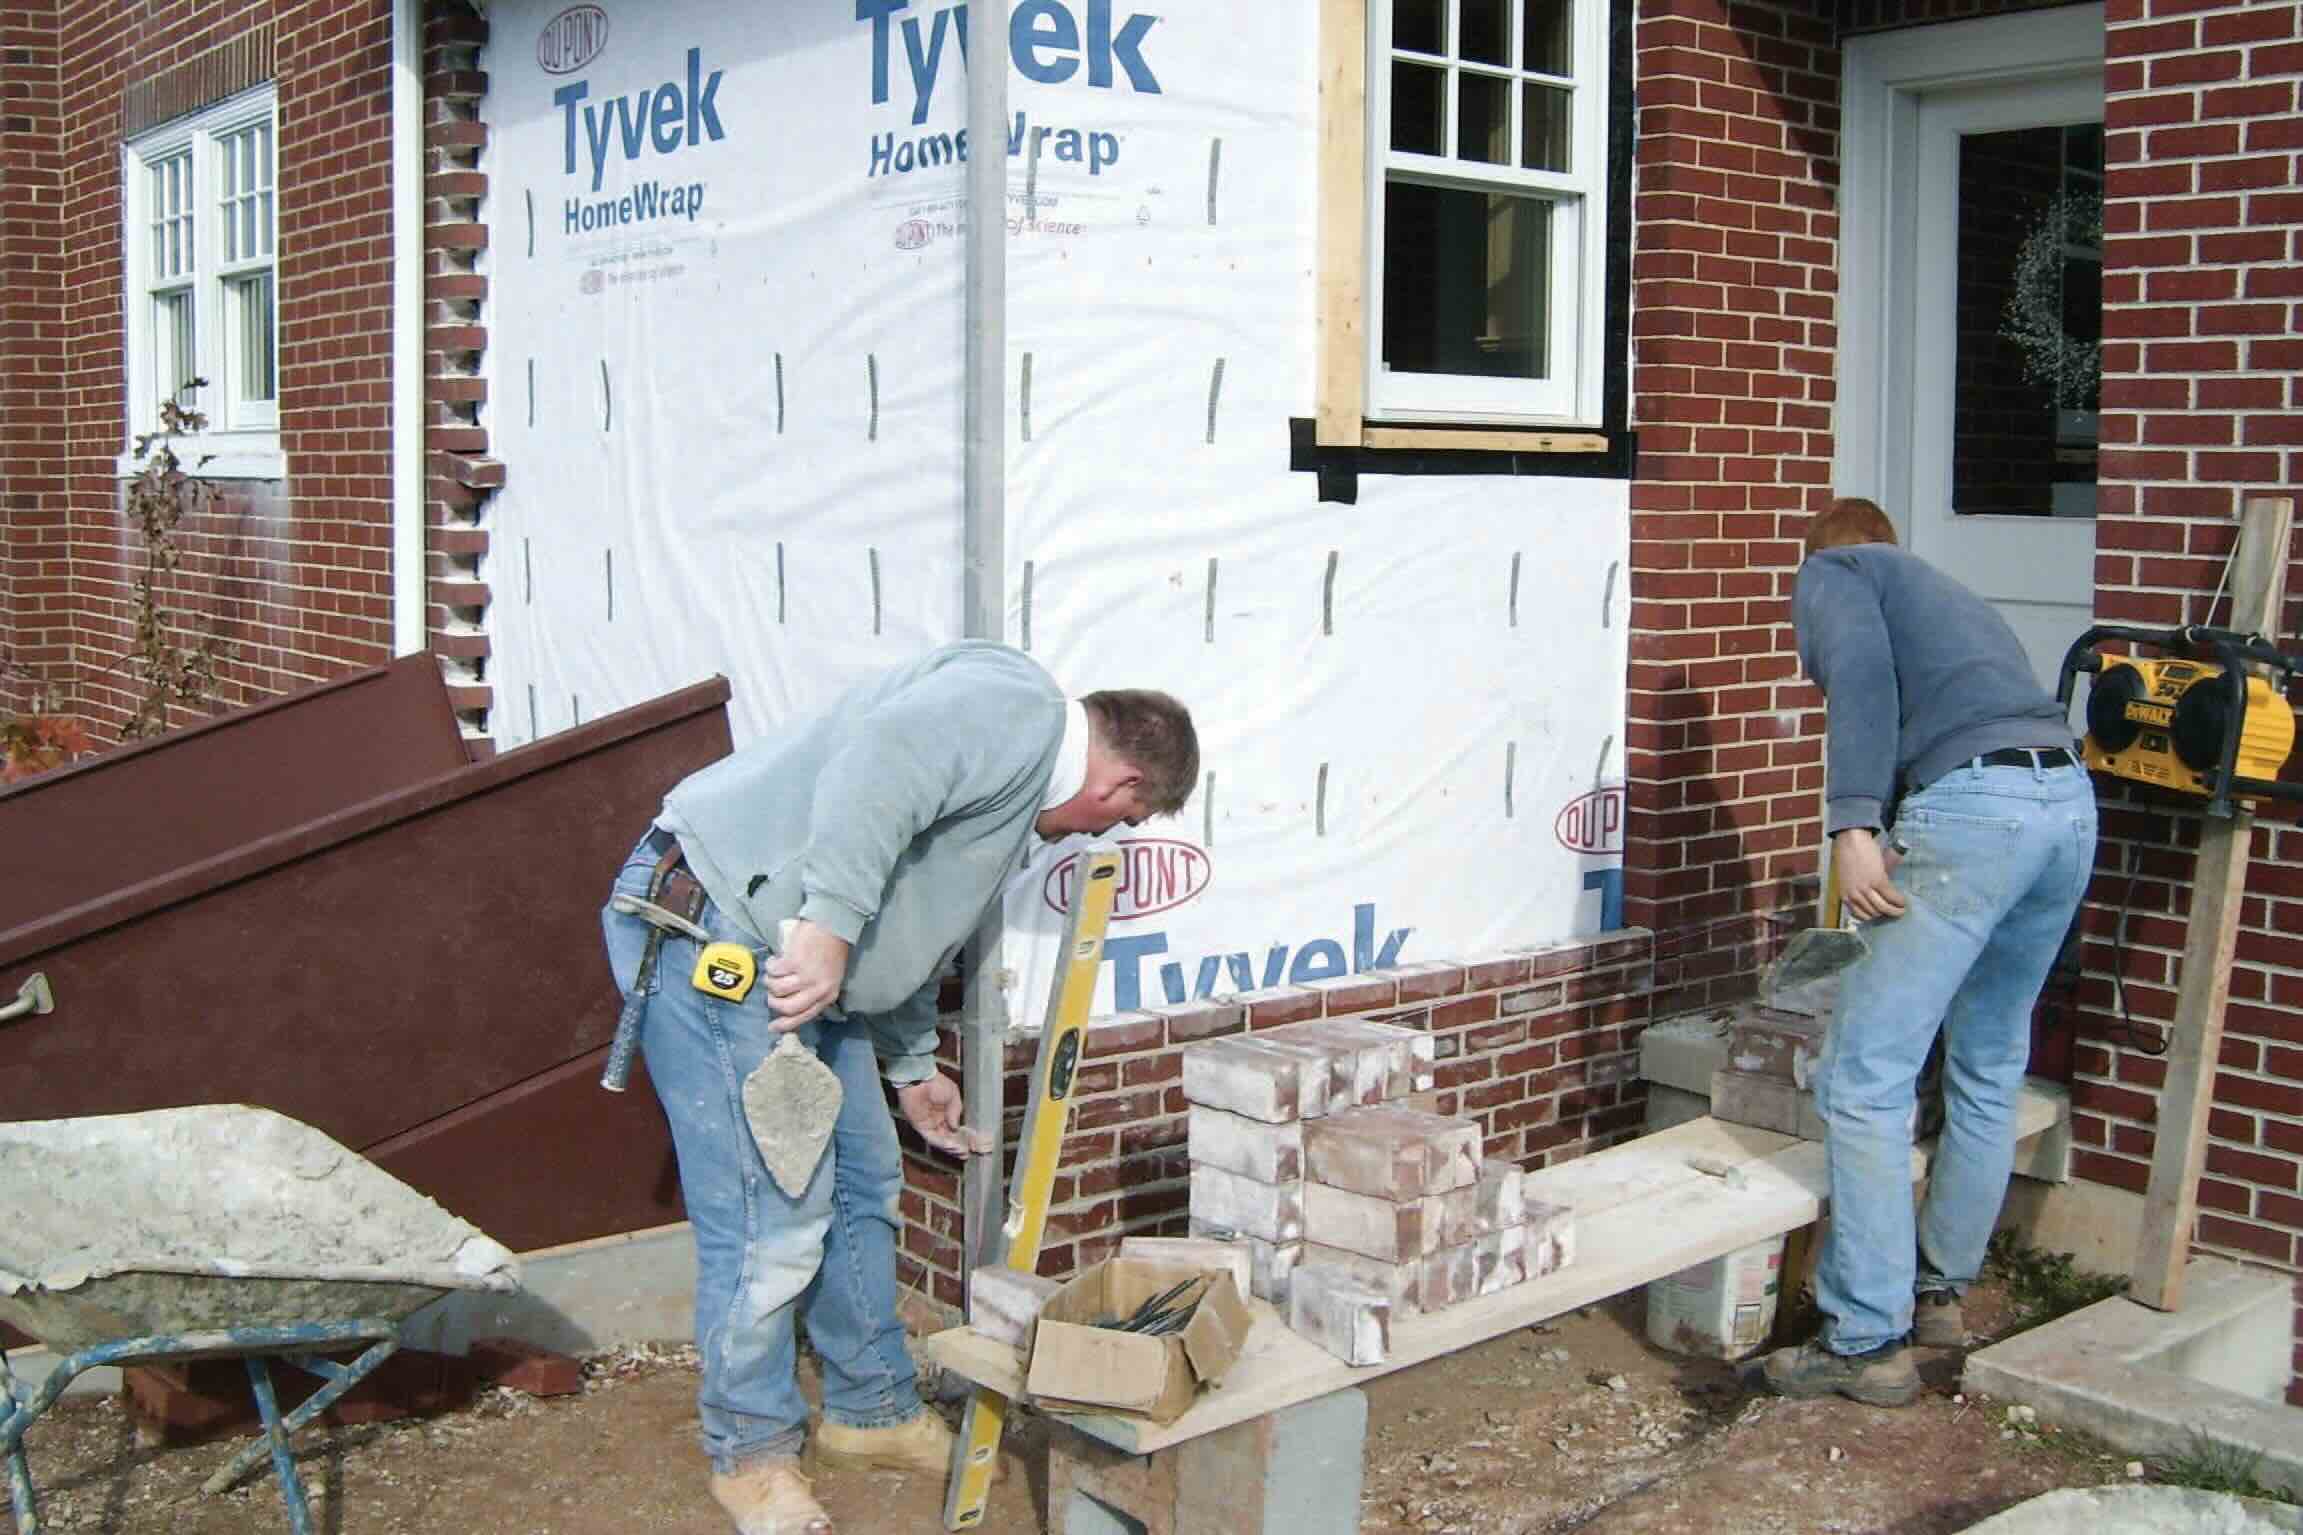
Laying the First Course
As you embark on the construction of your brick wall, the process of laying the first course sets the stage for the entire structure. This foundational layer not only provides the initial support for the wall but also establishes the alignment and levelness that will guide the subsequent courses. Here’s a detailed overview of the steps involved in laying the first course of bricks:
Preparing the Mortar:
Begin by preparing the mortar mix according to the manufacturer’s instructions, ensuring the proper ratio of cement, sand, and water. Use a sturdy wheelbarrow and a hoe or shovel to mix the mortar to a uniform consistency, resembling thick, spreadable paste. The quality and consistency of the mortar are crucial for the structural integrity and longevity of the wall.
Read more: How To Cover Brick Walls Inside House
Applying Mortar Bed:
With the mortar ready, apply a generous bed of mortar along the foundation or DPC, following the layout of the first course. Use the trowel to create a smooth, even layer of mortar, providing a solid base for the bricks. Ensuring the mortar bed is consistent in thickness and coverage is essential for the stability and alignment of the bricks.
Placing and Aligning Bricks:
Carefully place the bricks onto the mortar bed, pressing them firmly and evenly to ensure proper adhesion. As you position each brick, use a spirit level to verify both the horizontal and vertical alignment, making any necessary adjustments to maintain a uniform and level course. Paying close attention to the alignment at this stage is crucial, as it establishes the benchmark for the entire wall’s straightness and stability.
Creating Mortar Joints:
Once the bricks are in place, use a jointer tool to shape and smooth the mortar joints between the bricks. This process not only enhances the wall’s appearance but also contributes to the structural integrity by ensuring a secure bond between the bricks. Strive for consistent joint thickness and a tidy, uniform finish to achieve a professional and durable result.
Checking Alignment and Levelness:
Periodically verify the alignment and levelness of the first course as you progress, making any necessary adjustments to maintain precision and uniformity. The accuracy of the first course serves as a critical reference point for the subsequent layers, influencing the overall strength and visual appeal of the wall.
By meticulously executing the process of laying the first course, you establish a solid foundation and framework for the remainder of the wall’s construction. Attention to detail, precision in alignment, and the proper application of mortar are key factors in creating a stable and visually appealing initial course. With the first course in place, you’re ready to build upon this groundwork and continue the upward progression of your brick wall.
Read more: What Type Of Brick Is Used To Build A House
Building Up the Wall
With the first course set and the foundation established, the process of building up the brick wall unfolds as you add successive courses to create a sturdy and visually appealing structure. This phase requires precision, attention to detail, and a focus on maintaining the wall’s alignment and structural integrity. Here’s a comprehensive guide to building up the wall with successive courses of bricks:
Applying Mortar and Setting Bricks:
Prepare additional batches of mortar as needed, ensuring consistent quality and workability. Apply a bed of mortar to the top surface of the previous course, using the trowel to create an even layer. As you set each brick into place, press it firmly into the mortar, ensuring a snug fit and uniform alignment with the preceding course. Verify the levelness and alignment of each brick using a spirit level, making necessary adjustments to maintain precision.
Creating Uniform Joints:
As you progress with each course, pay close attention to the consistency and quality of the mortar joints between the bricks. Use the jointer tool to shape and smooth the mortar joints, aiming for uniform thickness and a tidy, professional finish. Well-crafted mortar joints not only enhance the wall’s appearance but also contribute to its structural integrity by securely bonding the bricks together.
Staggering Joints and Bonding:
For optimal strength and stability, stagger the vertical joints between bricks in adjacent courses, creating a “running bond” pattern. This alternating arrangement of joints enhances the wall’s structural integrity and aesthetic appeal. Additionally, periodically “butter” the ends of the bricks with mortar before setting them in place, promoting enhanced bonding and cohesion between the courses.
Read more: Why Doesn’t America Build Brick Houses
Maintaining Plumb and Level:
Regularly verify the wall’s plumbness and levelness as you add each course, using a spirit level to ensure vertical and horizontal alignment. Maintaining precise alignment throughout the construction process is essential for achieving a structurally sound and visually pleasing result. Make any necessary adjustments to correct deviations and maintain uniformity.
Installing Damp-proof Course (DPC) and Coping Stones:
If your wall requires a damp-proof course or coping stones, ensure that these elements are integrated at the appropriate stages of construction. The DPC provides essential moisture protection, while coping stones add a protective and visually appealing finish to the wall’s upper surface, enhancing its durability and aesthetic appeal.
By methodically adding successive courses of bricks and attending to the details of alignment, mortar application, and joint craftsmanship, you gradually build up a robust and visually striking brick wall. Each course contributes to the wall’s strength and stability, culminating in a testament to enduring craftsmanship and timeless appeal. With the wall ascending course by course, you’re well on your way to completing a remarkable and enduring structure.
Finishing Touches
As the construction of your brick wall nears completion, attention turns to the vital finishing touches that enhance its visual appeal, durability, and long-term resilience. These final steps add a layer of refinement and protection, elevating the wall from a functional structure to a captivating and enduring feature. Here’s a detailed exploration of the finishing touches that elevate your brick wall to its full potential:
Pointing and Finishing Mortar Joints:
Once the bricks are in place, the mortar joints require careful attention to ensure a polished and durable finish. Pointing the mortar joints involves shaping and smoothing the mortar to achieve a uniform appearance and enhance the wall’s structural integrity. Consider the style of pointing that best complements your wall, whether it’s flush, weather-struck, or recessed, and apply the technique consistently throughout the wall’s surface.
Read more: How To Whitewash A Brick House
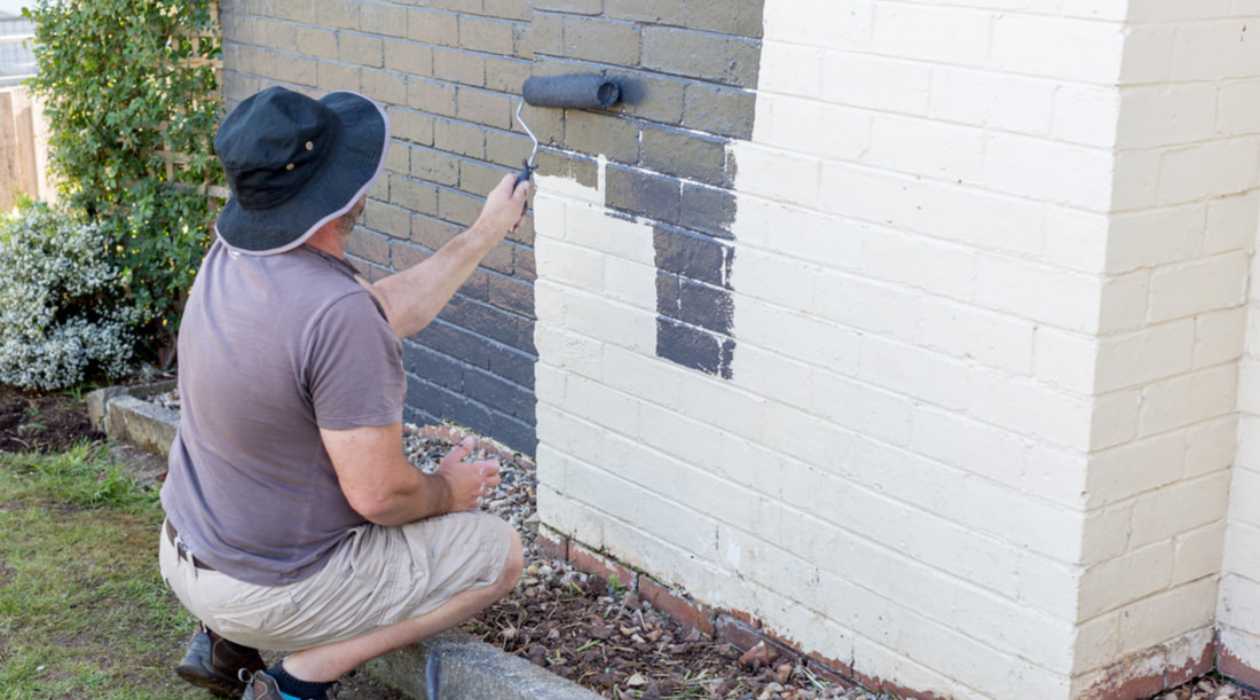
Sealing and Weatherproofing:
For external brick walls, especially those exposed to the elements, consider applying a suitable sealant or weatherproofing treatment to protect the brickwork from moisture, UV exposure, and environmental wear. High-quality sealants help prevent water infiltration, efflorescence, and staining, extending the lifespan and visual appeal of the wall while reducing maintenance requirements.
Cleaning and Final Inspection:
Before considering the wall complete, conduct a thorough cleaning to remove any residual mortar, debris, or marks from the brick surfaces. A gentle washing with water and a soft brush can restore the bricks’ natural luster and reveal the full beauty of the completed wall. Take this opportunity to inspect the entire structure, ensuring that all joints are sound, the bricks are free of defects, and the wall’s overall appearance meets your expectations.
Applying Protective Coatings:
Depending on the wall’s location and intended use, you may opt to apply protective coatings or treatments to enhance its resilience. Consider options such as clear coatings, efflorescence inhibitors, or specialized finishes designed to protect and beautify the brickwork. These coatings can help shield the wall from environmental factors while accentuating its color and texture.
Landscaping and Integration:
If the brick wall is part of a larger landscaping or architectural ensemble, consider integrating it harmoniously with the surrounding elements. Incorporate landscaping features, lighting, or architectural details that complement the wall, creating a cohesive and inviting environment. Thoughtful integration enhances the wall’s impact and creates a unified visual statement.
By attending to these finishing touches, you elevate your brick wall from a mere construction project to a refined and enduring feature that enriches its surroundings. The meticulous craftsmanship and attention to detail applied in the final stages of construction ensure that your wall not only meets functional requirements but also stands as a testament to enduring beauty and craftsmanship. With the finishing touches complete, your brick wall is ready to take its place as a timeless and captivating element within its environment.
Read more: How To Insulate A Brick House
Conclusion
Congratulations on completing the journey of building a brick wall for your house! Throughout this comprehensive guide, we’ve delved into the essential steps and considerations involved in constructing a sturdy, visually appealing, and enduring brick wall. From meticulous planning and thorough preparation to the hands-on process of laying bricks and adding the finishing touches, you’ve embarked on a rewarding and empowering endeavor that adds both beauty and functionality to your property.
As you reflect on the journey, it’s evident that building a brick wall is a testament to craftsmanship, patience, and attention to detail. The timeless allure and structural integrity of brick make it a versatile and enduring choice for homeowners and builders alike. Whether you’ve created a decorative garden wall, a protective boundary, or an architectural focal point within your home, the principles and techniques employed in bricklaying have empowered you to bring your vision to life.
By investing time and effort into meticulous planning, gathering high-quality materials, and applying precision in construction, you’ve not only created a physical structure but also a lasting legacy of craftsmanship and dedication. The brick wall stands as a tangible representation of your vision and skill, enriching its surroundings and standing as a testament to enduring beauty and resilience.
Beyond the practical and aesthetic considerations, the process of building a brick wall embodies the spirit of creation and transformation. It’s a journey that fosters a deep connection with your property, allowing you to leave a lasting imprint on the landscape and architecture. Whether you’ve embarked on this endeavor as a DIY enthusiast or collaborated with skilled professionals, the experience of building a brick wall is a testament to the power of craftsmanship and the transformative potential of construction.
As you admire the completed brick wall, take pride in the knowledge that you’ve not only constructed a physical structure but also woven a narrative of dedication, creativity, and enduring beauty. The brick wall stands as a canvas for the passage of time, bearing witness to the seasons, the elements, and the stories of the space it inhabits. It’s a testament to the enduring allure and resilience of brick as a building material, as well as a reflection of your vision and craftsmanship.
With the completion of this project, you’ve not only built a brick wall for your house but also crafted a story of creativity, dedication, and enduring beauty. You’ve left a lasting imprint on your property, creating a structure that stands as a testament to craftsmanship and the transformative power of construction. As you admire the brick wall, take pride in the knowledge that you’ve brought your vision to life, leaving a legacy that will endure for generations to come.
Frequently Asked Questions about How To Build A Brick Wall For A House
Was this page helpful?
At Storables.com, we guarantee accurate and reliable information. Our content, validated by Expert Board Contributors, is crafted following stringent Editorial Policies. We're committed to providing you with well-researched, expert-backed insights for all your informational needs.

0 thoughts on “How To Build A Brick Wall For A House”