Home>Construction & Tools>Building Materials>How To Attach A Pergola To A Brick House

Building Materials
How To Attach A Pergola To A Brick House
Modified: August 28, 2024
Learn how to properly attach a pergola to a brick house using the right building materials. Discover the best practices for a secure and durable installation.
(Many of the links in this article redirect to a specific reviewed product. Your purchase of these products through affiliate links helps to generate commission for Storables.com, at no extra cost. Learn more)
Introduction
Adding a pergola to your outdoor space can transform it into a charming and functional area for relaxation and entertainment. If you have a brick house, attaching a pergola to it requires careful planning and execution to ensure a secure and visually appealing result. By following the right steps and using the appropriate materials, you can successfully attach a pergola to a brick house and create a stunning outdoor living space.
In this comprehensive guide, we will walk you through the process of attaching a pergola to a brick house, providing detailed steps and essential tips to help you achieve a professional and durable installation. Whether you’re a seasoned DIY enthusiast or a homeowner looking to take on a new project, this guide will equip you with the knowledge and confidence to enhance your home with a beautiful pergola attached to your brick house.
Key Takeaways:
- Choosing the right location and preparing the brick wall are crucial for securely attaching a pergola to a brick house. These steps ensure a stable and visually appealing addition to your outdoor space.
- Gathering the necessary materials and making final adjustments post-installation are essential for a long-lasting and beautiful pergola attachment. Attention to detail and maintenance contribute to the durability and charm of the outdoor space.
Step 1: Choose the Right Location
Before you begin the process of attaching a pergola to your brick house, it’s crucial to carefully select the location where the pergola will be installed. Consider the following factors to ensure that you choose the right spot:
- Structural Integrity: Assess the structural integrity of the brick wall where you plan to attach the pergola. Look for areas with solid brick and minimal damage to ensure a secure attachment.
- Orientation: Determine the ideal orientation of the pergola in relation to the house. Consider factors such as sunlight exposure, prevailing winds, and the desired view from the pergola.
- Accessibility: Ensure that the chosen location allows for easy access to the pergola. Consider pathways, doorways, and any potential obstructions that may affect the usability of the outdoor space.
- Utility Lines and Obstructions: Check for the presence of utility lines, such as electrical wiring and plumbing, as well as potential obstructions such as vents or windows. Avoid attaching the pergola in areas that may interfere with these elements.
Once you’ve carefully considered these factors, mark the chosen location on the brick wall using chalk or painter’s tape. This visual guide will help you visualize the placement of the pergola and make any necessary adjustments before proceeding with the installation.
Choosing the right location for your pergola is the first step in ensuring a successful attachment to your brick house. By taking the time to assess the structural and environmental factors, you can set the stage for a secure and aesthetically pleasing addition to your outdoor living space.
Step 2: Gather Necessary Materials
Before embarking on the process of attaching a pergola to your brick house, it’s essential to gather all the necessary materials and tools to ensure a smooth and efficient installation. Here’s a list of the primary materials you’ll need:
- Pergola Kit: Select a high-quality pergola kit that suits the style and dimensions of your outdoor space. Ensure that the kit includes all the essential components, such as posts, beams, rafters, and hardware.
- Pergola Brackets: Invest in sturdy and durable pergola brackets designed for attaching the pergola to a brick or masonry surface. These brackets should be made from corrosion-resistant materials and capable of supporting the weight of the pergola.
- Masonry Anchors: Choose heavy-duty masonry anchors or concrete screws specifically designed for securing attachments to brick walls. Opt for anchors that provide strong holding power and are suitable for outdoor applications.
- Drill and Masonry Bits: Ensure you have a reliable drill equipped with masonry drill bits to create pilot holes for the anchors. The drill should be capable of handling masonry surfaces without compromising power or precision.
- Level and Measuring Tools: A high-quality level and measuring tools are essential for ensuring the accurate and level installation of the pergola. Consider using a laser level for precise alignment.
- Protective Gear: Prioritize safety by wearing appropriate protective gear, including safety glasses, gloves, and a dust mask when working with masonry and power tools.
Additionally, consider any supplementary materials such as outdoor wood sealant, touch-up paint for the brick wall, and landscaping materials to enhance the area around the pergola once it’s installed.
By gathering all the necessary materials and tools in advance, you can streamline the installation process and minimize potential delays. Investing in high-quality materials and tools will contribute to the longevity and stability of the attached pergola, ensuring a reliable and visually appealing outdoor addition to your brick house.
Step 3: Prepare the Brick Wall
Preparing the brick wall for the attachment of a pergola is a critical step that sets the foundation for a secure and long-lasting installation. Follow these essential guidelines to properly prepare the brick wall:
- Clean the Surface: Thoroughly clean the area of the brick wall where the pergola will be attached. Use a stiff brush, mild detergent, and water to remove any dirt, debris, or loose mortar from the surface. Allow the wall to dry completely before proceeding.
- Inspect for Damage: Carefully inspect the brick wall for any signs of damage, such as cracks, spalling, or loose bricks. Address any structural issues before proceeding with the installation to ensure a stable anchoring point for the pergola.
- Locate Studs or Support: If possible, identify the location of wall studs or additional structural support behind the brick facade. This information will help determine the most secure points for attaching the pergola brackets.
- Mark Attachment Points: Use a pencil or chalk to mark the precise locations where the pergola brackets will be attached to the brick wall. Ensure that the markings are level and accurately aligned with your intended layout for the pergola.
- Create Pilot Holes: With the aid of a masonry drill bit, carefully create pilot holes at the marked attachment points. The diameter of the pilot holes should correspond to the size of the masonry anchors or concrete screws you’ll be using.
Properly preparing the brick wall is essential for establishing a stable and reliable foundation for attaching the pergola. By thoroughly cleaning the surface, addressing any structural concerns, and creating precise pilot holes, you’ll pave the way for a successful and secure installation process.
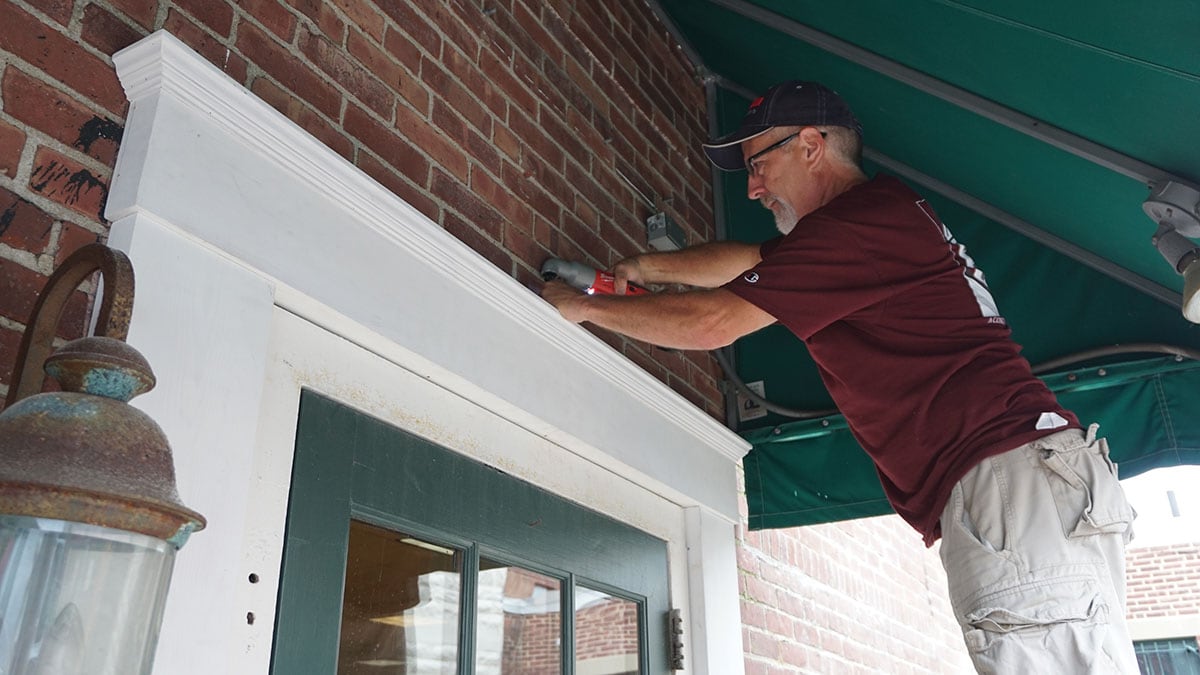
When attaching a pergola to a brick house, use a hammer drill with masonry bit to create pilot holes for the bolts. Insert expansion anchors into the holes and secure the pergola to the house with lag bolts.
Step 4: Install the Pergola Brackets
Installing the pergola brackets onto the prepared brick wall is a crucial stage in the process of attaching a pergola to your house. Follow these steps to ensure a secure and precise installation of the brackets:
- Align the Brackets: Position the pergola brackets at the marked attachment points on the brick wall, ensuring that they are level and aligned according to your intended layout for the pergola. Use a level to verify the alignment of each bracket.
- Secure the Brackets: Insert masonry anchors or concrete screws through the pre-drilled pilot holes in the brackets. Use a drill equipped with the appropriate bit to secure the brackets firmly to the brick wall. Ensure that the brackets are tightly fastened and capable of supporting the weight of the pergola.
- Check for Stability: After attaching the brackets, carefully test the stability and strength of each bracket by applying gentle pressure. Verify that the brackets are securely anchored to the brick wall and can support the weight of the pergola without any signs of movement or instability.
- Verify Alignment: Double-check the alignment and levelness of the brackets to ensure that they are uniformly positioned and ready to receive the structural components of the pergola, such as posts and beams.
By meticulously installing the pergola brackets onto the brick wall, you’ll establish a reliable and durable foundation for attaching the pergola. Paying close attention to the alignment, stability, and secure fastening of the brackets will contribute to the overall strength and integrity of the attached structure.
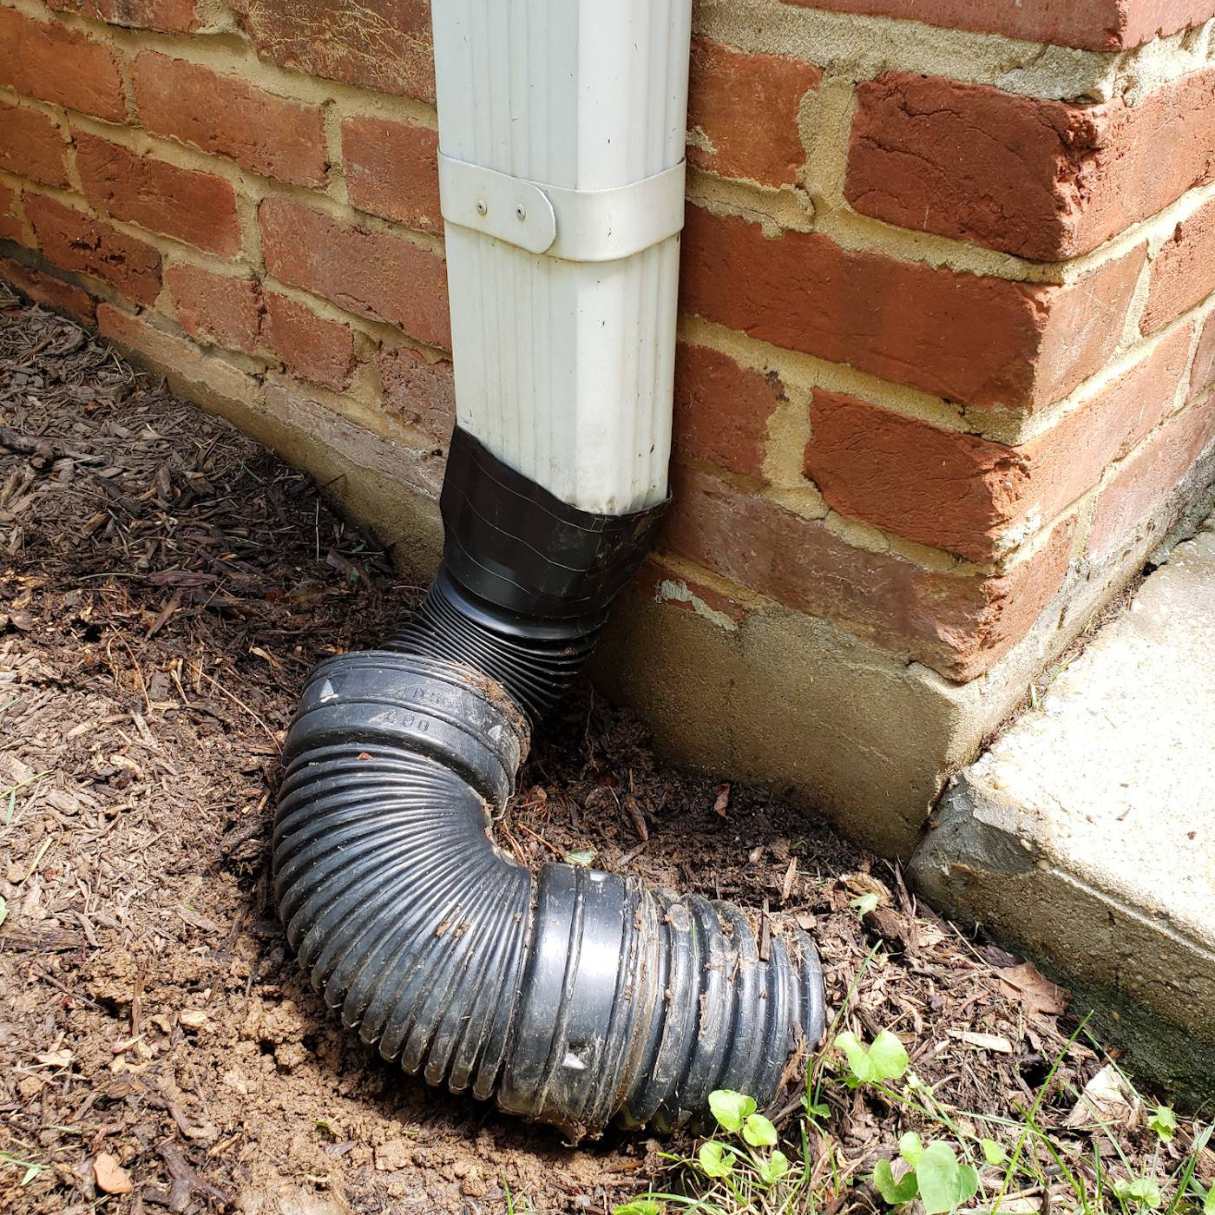
Read more: How To Attach A Downspout To A Brick House
Step 5: Attach the Pergola to the Brackets
Once the pergola brackets are securely installed on the brick wall, it’s time to attach the structural components of the pergola to the brackets. Follow these essential steps to complete the attachment process:
- Position the Pergola: Carefully position the assembled pergola structure so that the posts align with the installed brackets on the brick wall. Enlist the help of a friend or family member to assist with holding the pergola in place during this step.
- Secure the Pergola to the Brackets: With the assistance of additional hardware and fasteners provided in the pergola kit, secure the posts or beams of the pergola to the installed brackets. Follow the manufacturer’s instructions for the specific attachment method recommended for your pergola kit.
- Verify Stability: Once the pergola is attached to the brackets, carefully assess the stability and alignment of the entire structure. Test for any signs of movement or instability and make any necessary adjustments to ensure a secure attachment to the brick wall.
- Finishing Touches: With the pergola securely attached to the brackets, take the time to inspect the overall appearance and functionality of the installation. Make any final adjustments and tighten any hardware to achieve a polished and professionally installed pergola.
Attaching the pergola to the installed brackets is the final step in the process of securing the structure to your brick house. By following these steps with precision and care, you’ll create a visually striking and functional outdoor space that enhances the aesthetic and usability of your home.
Step 6: Final Adjustments and Maintenance
After attaching the pergola to your brick house, it’s essential to make final adjustments and establish a maintenance routine to ensure the longevity and visual appeal of the installation. Follow these important guidelines to complete the process and maintain the attached pergola:
- Check Alignment and Levelness: Verify that the attached pergola is level and uniformly aligned with the brick wall. Use a level to make any necessary adjustments to the structure to achieve optimal aesthetics and functionality.
- Inspect Hardware and Connections: Regularly inspect the hardware and connections used to attach the pergola to the brackets. Ensure that all fasteners are secure and tightened, and address any signs of wear or corrosion promptly.
- Apply Protective Finishes: Consider applying a protective finish, such as outdoor wood sealant or paint, to the exposed components of the pergola. This will help safeguard the wood from the elements and maintain its visual appeal over time.
- Monitor for Debris and Vegetation: Keep the area around the attached pergola clear of debris, leaves, and vegetation that may accumulate and affect the structure. Regularly clean the pergola to prevent the buildup of dirt and organic matter.
- Address Structural Concerns Promptly: If you notice any signs of structural issues, such as movement or instability, address them promptly. Consult with a professional if necessary to ensure the ongoing safety and integrity of the attached pergola.
Establishing a maintenance routine and making final adjustments to the attached pergola will contribute to its long-term stability and visual appeal. By proactively caring for the installation, you can enjoy a beautiful and functional outdoor space that enhances the overall ambiance of your home.
Conclusion
Attaching a pergola to a brick house is a rewarding project that can elevate the aesthetics and functionality of your outdoor living space. By carefully selecting the location, gathering the necessary materials, preparing the brick wall, installing the pergola brackets, and attaching the pergola with precision, you can create a stunning addition to your home. Completing the process with final adjustments and establishing a maintenance routine ensures the long-term durability and visual appeal of the attached pergola.
Whether you’re seeking a cozy retreat for relaxation or a captivating setting for outdoor gatherings, a well-attached pergola can serve as the centerpiece of your outdoor oasis. The careful integration of the pergola with your brick house not only enhances the architectural charm of your property but also provides a functional and inviting space for enjoying the outdoors.
As you embark on the journey of attaching a pergola to your brick house, remember to approach the project with patience, attention to detail, and a commitment to quality. By following the steps outlined in this guide and infusing your creativity and personal touch, you can achieve a captivating and enduring addition that enriches your home and lifestyle.
Embrace the opportunity to create a harmonious connection between your brick house and the outdoor environment, and revel in the beauty and comfort that a well-attached pergola brings to your living space.
Ready to take your home's exterior to the next level? Whether you're jazzing up your deck or embarking on a new project, we've got just the reads. Dive into our guide on vibrant outdoor decor that transforms any deck into a haven for relaxation and social gatherings. Or, if you're feeling handy, why not tackle building a pergola with integrated planters over a few weekends? These additions will not only boost your outdoor aesthetics but also enhance your living space's functionality and charm.
Frequently Asked Questions about How To Attach A Pergola To A Brick House
Was this page helpful?
At Storables.com, we guarantee accurate and reliable information. Our content, validated by Expert Board Contributors, is crafted following stringent Editorial Policies. We're committed to providing you with well-researched, expert-backed insights for all your informational needs.


0 thoughts on “How To Attach A Pergola To A Brick House”