Home>Construction & Tools>Building Materials>How To Tuck Point A Brick House
Building Materials
How To Tuck Point A Brick House
Modified: October 22, 2024
Learn how to tuck point a brick house with the right building materials and techniques. Follow our step-by-step guide for a professional finish.
(Many of the links in this article redirect to a specific reviewed product. Your purchase of these products through affiliate links helps to generate commission for Storables.com, at no extra cost. Learn more)
Introduction
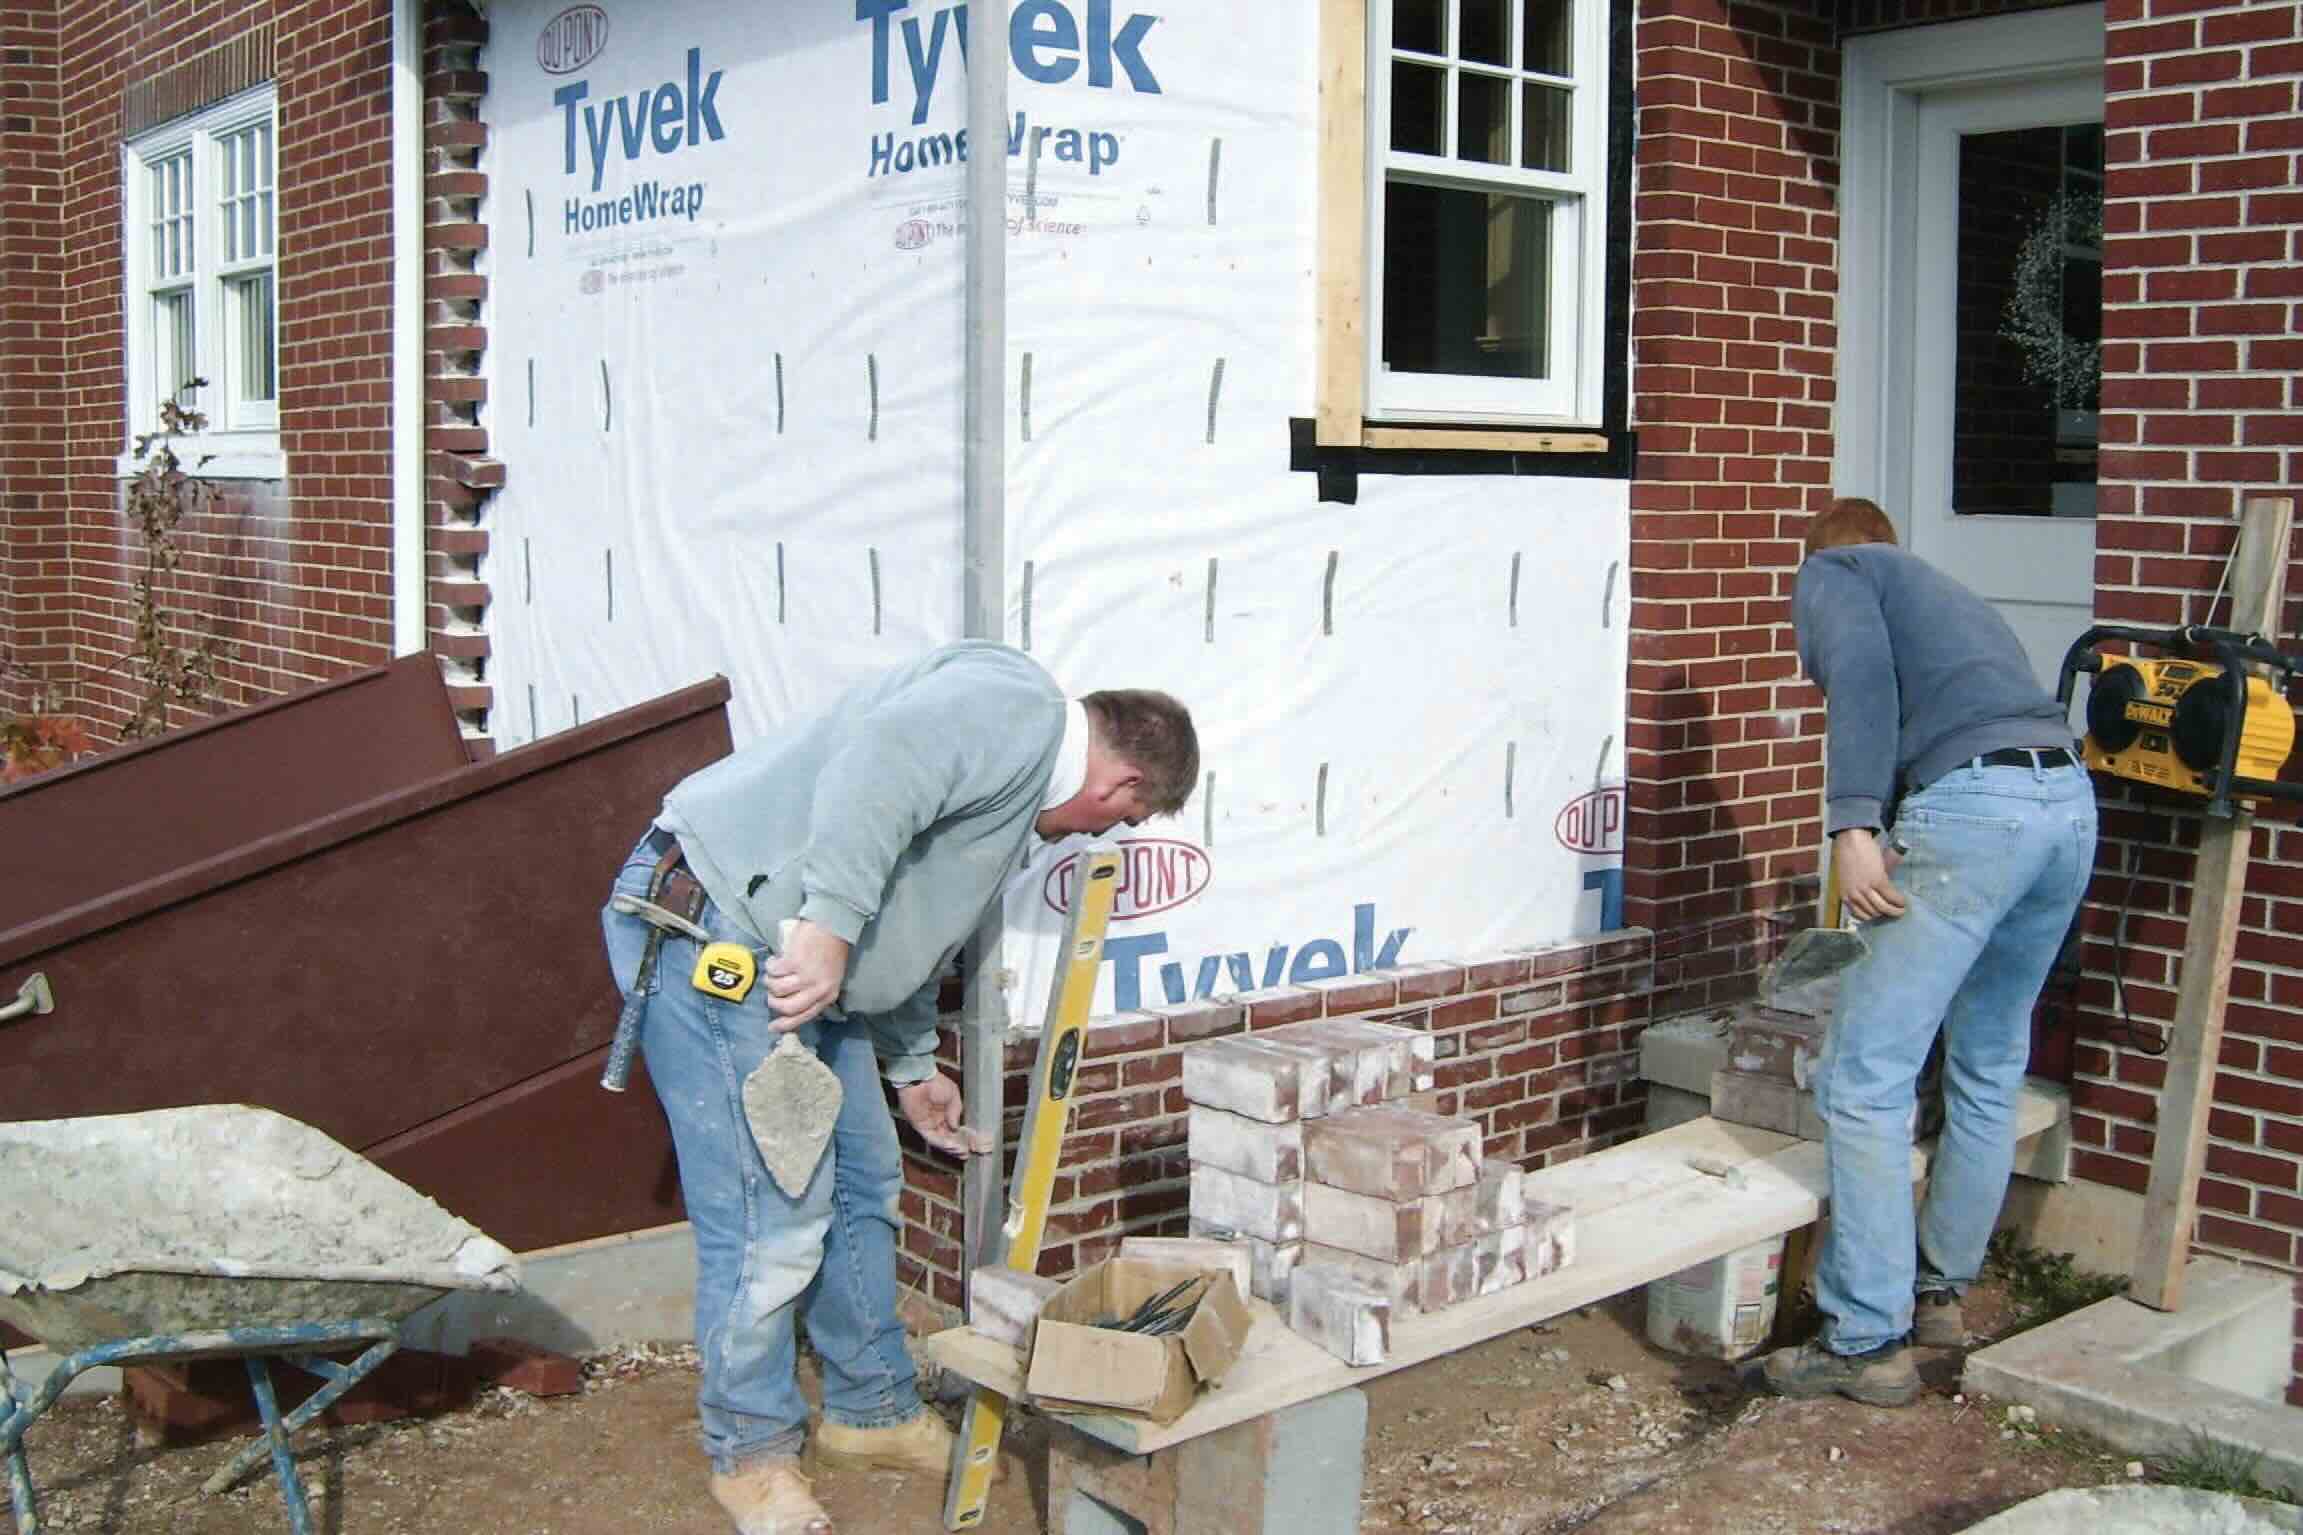
Tuckpointing is a crucial aspect of maintaining the structural integrity and aesthetic appeal of a brick house. Over time, the mortar between the bricks can deteriorate, leading to potential water damage and a weathered appearance. By mastering the art of tuckpointing, homeowners can preserve the charm and durability of their brick exteriors. In this comprehensive guide, we will delve into the essential steps and techniques for tuckpointing a brick house, equipping you with the knowledge and confidence to tackle this rewarding project.
Tuckpointing involves the meticulous process of removing deteriorated mortar and replacing it with fresh mortar, carefully applied to create clean, uniform joints. This not only safeguards the structure against moisture infiltration but also revitalizes the visual allure of the brickwork. With the right tools, materials, and a systematic approach, tuckpointing can be a gratifying endeavor that enhances the longevity and curb appeal of your home.
Whether you are a seasoned DIY enthusiast or a homeowner eager to embark on your first tuckpointing venture, this guide will provide invaluable insights and practical tips to help you achieve professional-quality results. From preparing the work area to mastering the art of applying new mortar, each step is vital in ensuring a successful and enduring tuckpointing endeavor. So, roll up your sleeves, gather your tools, and let's dive into the art of tuckpointing to revitalize and fortify your brick house.
Key Takeaways:
- Tuckpointing is a meticulous process of removing old mortar and applying new mortar to preserve a brick house’s charm and durability, safeguarding it against moisture and weathering.
- By mastering the art of tuckpointing and attending to finishing touches, homeowners can revitalize their brick exteriors, ensuring enduring beauty and structural integrity for generations to come.
Read more: What Is Tuck Pointing Brick
Tools and Materials Needed
Before embarking on a tuckpointing project, it’s essential to gather the necessary tools and materials to ensure a smooth and efficient process. Here’s a comprehensive list of what you’ll need:
Tools:
- Tuckpointing trowel: A narrow, flat-bladed trowel designed specifically for tuckpointing.
- Pointing trowel: A smaller, pointed trowel for applying the new mortar into the joints.
- Brick jointer: Used to create a uniform finish on the mortar joints.
- Hammer and chisel: For removing old, deteriorated mortar from the joints.
- Wire brush: To clean out the joints and remove debris before applying new mortar.
- Masonry brush: Used for applying water to the joints and cleaning off excess mortar.
- Safety goggles and gloves: Essential for eye protection and hand safety during the process.
- Dust mask: To prevent inhalation of dust and debris while removing old mortar.
- Masonry saw or angle grinder (optional): For particularly stubborn mortar removal.
Materials:
- Mortar mix: Choose a high-quality mortar mix suitable for tuckpointing, available in various colors to match your existing mortar.
- Clean water: Needed for mixing the mortar to the proper consistency.
- Bucket and mixing tool: For mixing the mortar to the desired texture.
- Protective sealant (optional): To apply over the new mortar for added protection against moisture.
By ensuring you have the right tools and materials on hand, you’ll be well-prepared to commence the tuckpointing process with confidence and efficiency. With these essentials at your disposal, you can embark on the journey of revitalizing your brick house, ensuring its structural integrity and timeless appeal.
Preparing the Work Area
Before diving into the tuckpointing process, it’s crucial to prepare the work area meticulously to ensure a safe, organized, and effective undertaking. Here are the essential steps to prepare the work area for tuckpointing:
1. Safety First: Begin by donning the necessary safety gear, including safety goggles, gloves, and a dust mask. Tuckpointing involves the use of tools and materials that can generate dust and debris, making protective gear a non-negotiable aspect of the preparation process.
2. Clear the Surrounding Area: Remove any obstacles, furniture, or outdoor decor near the area to be tuckpointed. This creates a clear and unobstructed workspace, allowing for seamless movement and access to the brickwork.
3. Secure the Perimeter: Erect temporary barriers or caution tape around the work area to prevent unauthorized access and ensure the safety of household members, pets, and passersby. Tuckpointing involves the use of tools and materials that can pose hazards if not handled with care.
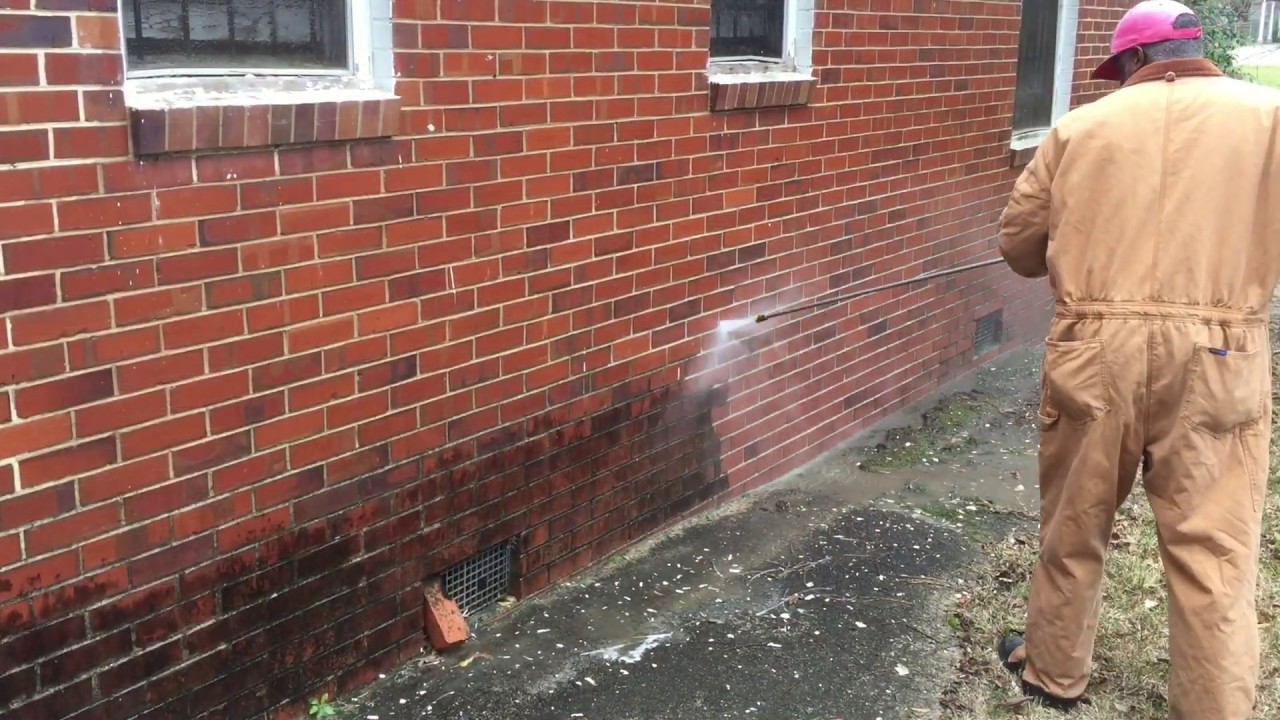
4. Clean the Brick Surface: Use a stiff-bristled brush or a pressure washer to clean the brick surface and remove any loose debris, dirt, or grime. This step is essential for creating a clean and sound substrate for the tuckpointing process.
5. Assess the Weather Conditions: Tuckpointing is best performed in moderate weather conditions, avoiding extreme heat or cold, as these can affect the curing of the mortar. Ensure that the forecast is conducive to the task at hand, allowing for optimal drying and setting of the new mortar.
By meticulously preparing the work area, you set the stage for a successful tuckpointing endeavor. Clearing the space, ensuring safety measures are in place, and assessing environmental factors are vital precursors to the meticulous art of tuckpointing, ultimately contributing to the longevity and visual appeal of your brick house.
Read more: How To Point A Brick Wall
Removing Old Mortar
Removing old, deteriorated mortar is a critical step in the tuckpointing process, laying the foundation for the application of fresh mortar and the restoration of the brickwork’s integrity. Here’s a detailed guide on how to effectively remove old mortar from brick joints:
1. Assess the Mortar: Begin by inspecting the existing mortar to identify areas that require attention. Look for cracks, crumbling sections, or areas where the mortar has loosened from the brick surface.
2. Safety Precautions: Put on your safety goggles, gloves, and a dust mask to protect yourself from debris and dust generated during the removal process.
3. Use a Chisel and Hammer: Carefully position the chisel at the edge of the deteriorated mortar joint and gently tap it with a hammer to break up and dislodge the old mortar. Work systematically along the joints, taking care not to damage the surrounding bricks.
4. Employ a Wire Brush: After removing the bulk of the old mortar, use a wire brush to clean out any remaining debris and residue from the joints. This step ensures that the new mortar will adhere effectively to the brick surfaces.
5. Consider a Masonry Saw or Angle Grinder: In cases where the old mortar is particularly stubborn or extensive, a masonry saw or angle grinder can be used to expedite the removal process. Exercise caution and precision when using these power tools to avoid damage to the bricks.
6. Thorough Cleaning: Once the old mortar has been removed, thoroughly clean the joints and surrounding brick surfaces to eliminate dust, debris, and loose particles. A clean, debris-free substrate is essential for the successful application of new mortar.
By meticulously removing old mortar, you create a clean and sound foundation for the application of fresh mortar, setting the stage for the transformative process of tuckpointing. This meticulous step is fundamental to preserving the structural integrity and visual appeal of your brick house, paving the way for the next crucial phase in the tuckpointing journey.
Mixing New Mortar
Preparing the new mortar mixture is a pivotal stage in the tuckpointing process, demanding precision and attention to detail to achieve optimal consistency and workability. Here’s a comprehensive guide on how to mix new mortar for tuckpointing:
1. Select the Mortar Mix: Choose a high-quality mortar mix suitable for tuckpointing, considering the color that best matches the existing mortar. It’s essential to follow the manufacturer’s guidelines and recommendations for the specific mortar mix being used.
2. Gather the Materials: You will need the mortar mix, clean water, a mixing container (such as a bucket), and a mixing tool, such as a hoe or a margin trowel.
3. Measure the Water: Refer to the instructions on the mortar mix packaging to determine the water-to-mix ratio. Measure the appropriate amount of clean water and pour it into the mixing container.
4. Add the Mortar Mix: Gradually add the mortar mix to the water in the mixing container. Use the mixing tool to combine the water and mix thoroughly, ensuring a consistent texture without lumps or dry pockets.
5. Achieve the Desired Consistency: The goal is to attain a workable consistency that allows the mortar to be easily applied without being too runny or stiff. The mortar should hold its shape when formed into a ball but still be pliable and moldable.
6. Test the Mix: Perform a test by using the pointing trowel to scoop up a small amount of the mortar. If it holds its shape without slumping or crumbling excessively, and if it adheres well to the trowel, the mix is at the desired consistency.
7. Adjust if Necessary: If the mix is too dry, add small amounts of water and remix until the desired consistency is achieved. Conversely, if the mix is too wet, add small amounts of mortar mix and blend thoroughly.
By meticulously mixing the new mortar to the optimal consistency, you ensure that it adheres effectively to the brick joints, facilitating a seamless and durable tuckpointing process. This crucial phase sets the stage for the meticulous application of new mortar, breathing new life into the brickwork and fortifying the structural integrity of your home.
When tuck pointing a brick house, make sure to remove any loose or deteriorated mortar before applying new mortar. Use a pointing trowel to press the new mortar into the joints, and then smooth it out for a clean finish.
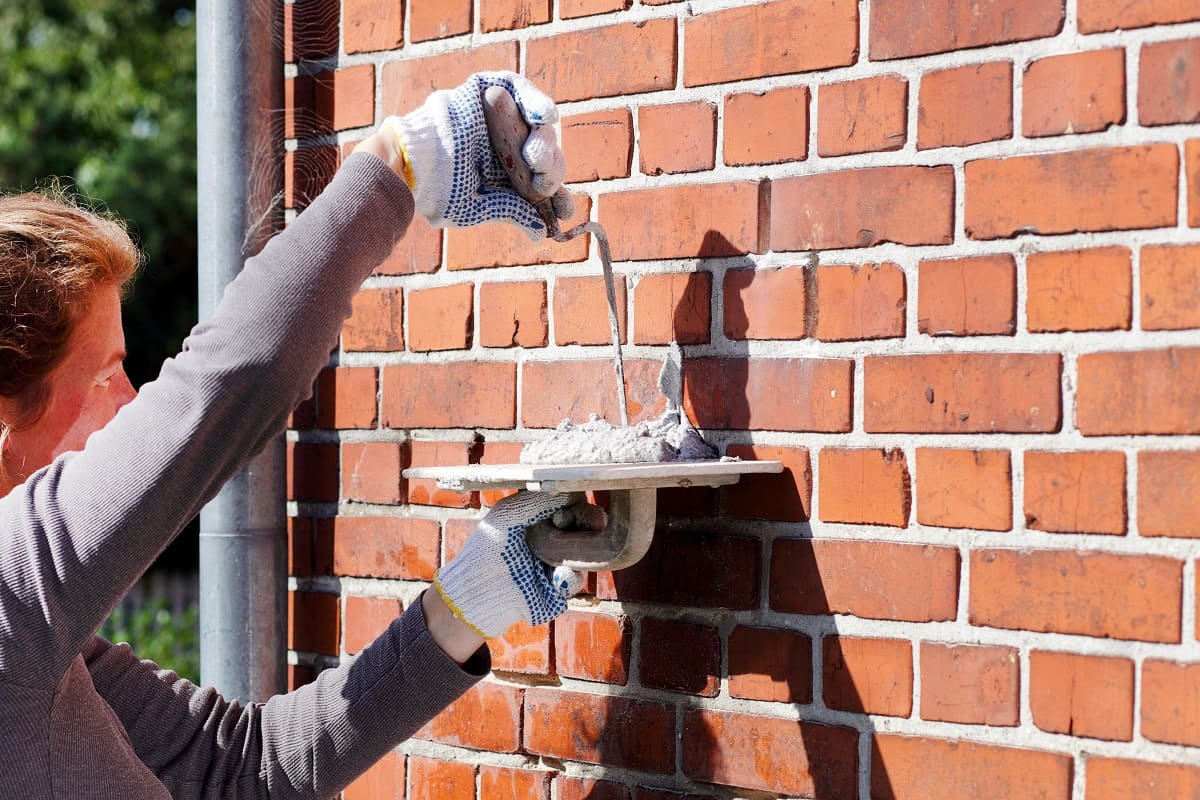
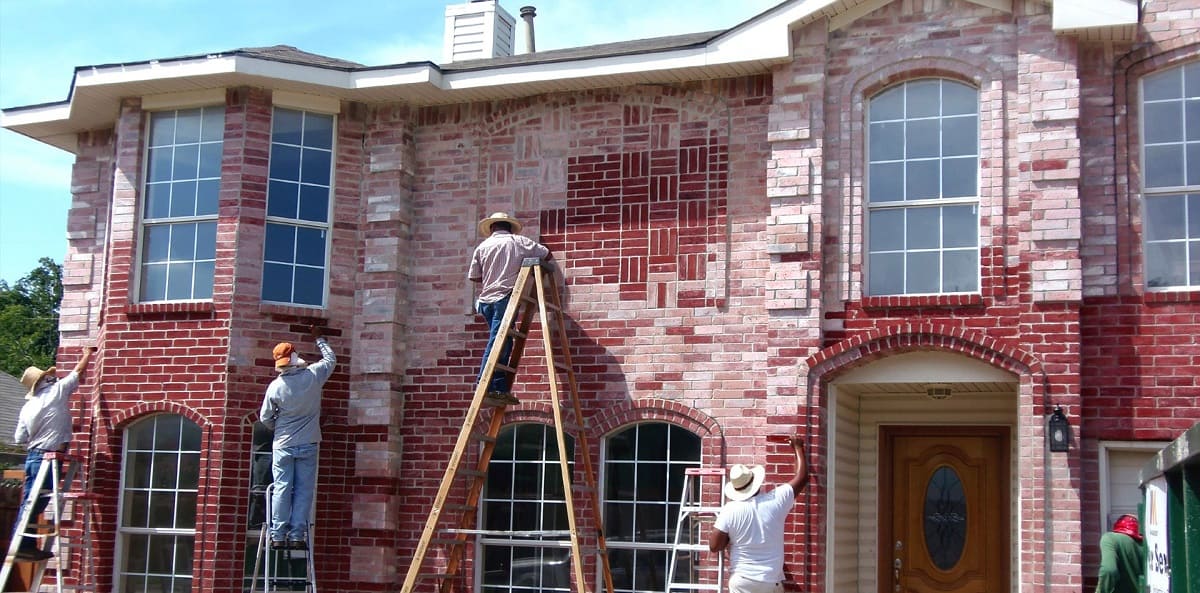
Applying New Mortar
Applying new mortar is the heart of the tuckpointing process, demanding precision, patience, and a keen eye for detail to achieve clean, uniform joints and a seamless integration with the existing brickwork. Here’s a comprehensive guide on how to effectively apply new mortar during the tuckpointing process:
1. Load the Pointing Trowel: Using the pointing trowel, load a generous amount of the prepared mortar onto the tool, ensuring that it is evenly distributed for smooth application.
2. Fill the Joints: Carefully press the mortar-laden pointing trowel into the horizontal joints, ensuring that the mortar fills the entire depth of the joint without leaving voids or air pockets. Use a sweeping motion to pack the mortar firmly into the joint.
3. Create Uniform Joints: Once the horizontal joints are filled, repeat the process for the vertical joints, ensuring that the mortar creates a uniform and seamless transition with the existing brickwork. The goal is to achieve clean, straight joints that enhance the visual appeal of the brickwork.
4. Use the Brick Jointer: After applying the mortar, run a brick jointer along the joints to create a uniform, concave finish. This not only enhances the aesthetic appeal but also ensures that the mortar is securely packed and protected from the elements.
5. Clean Excess Mortar: Use a masonry brush to gently remove any excess mortar from the brick surfaces and achieve a clean, polished appearance. Take care not to disturb the newly applied mortar in the joints.
6. Allow for Curing: Once the new mortar is applied, allow it to cure according to the manufacturer’s recommendations. This typically involves misting the mortar with water and covering it with plastic sheeting to facilitate proper hydration and curing.
By meticulously applying new mortar and creating clean, uniform joints, you breathe new life into the brickwork, fortifying its structural integrity and revitalizing its visual allure. This transformative process not only safeguards your home against moisture infiltration but also bestows it with a timeless charm that speaks to the artistry and craftsmanship of tuckpointing.
Finishing Touches
As the tuckpointing process nears completion, attention to finishing touches is crucial to ensure a pristine and enduring result. Here’s a comprehensive guide on the essential finishing touches that elevate the tuckpointing endeavor:
1. Clean the Brick Surface: After the new mortar has cured, use a soft-bristled brush or a damp cloth to gently clean the brick surface, removing any residual mortar smudges or stains. This step enhances the overall appearance of the brickwork, revealing the revitalized charm beneath.
2. Apply a Protective Sealant (Optional): Consider applying a protective sealant over the newly tuckpointed areas to provide an additional barrier against moisture infiltration and prolong the longevity of the mortar. Select a high-quality masonry sealant suitable for the specific requirements of your brickwork.
3. Inspect and Touch Up: Conduct a meticulous inspection of the tuckpointed areas, ensuring that the joints are uniform, the mortar is securely packed, and the overall finish is consistent. Touch up any areas that may require additional mortar or refinement to achieve a seamless integration with the existing brickwork.
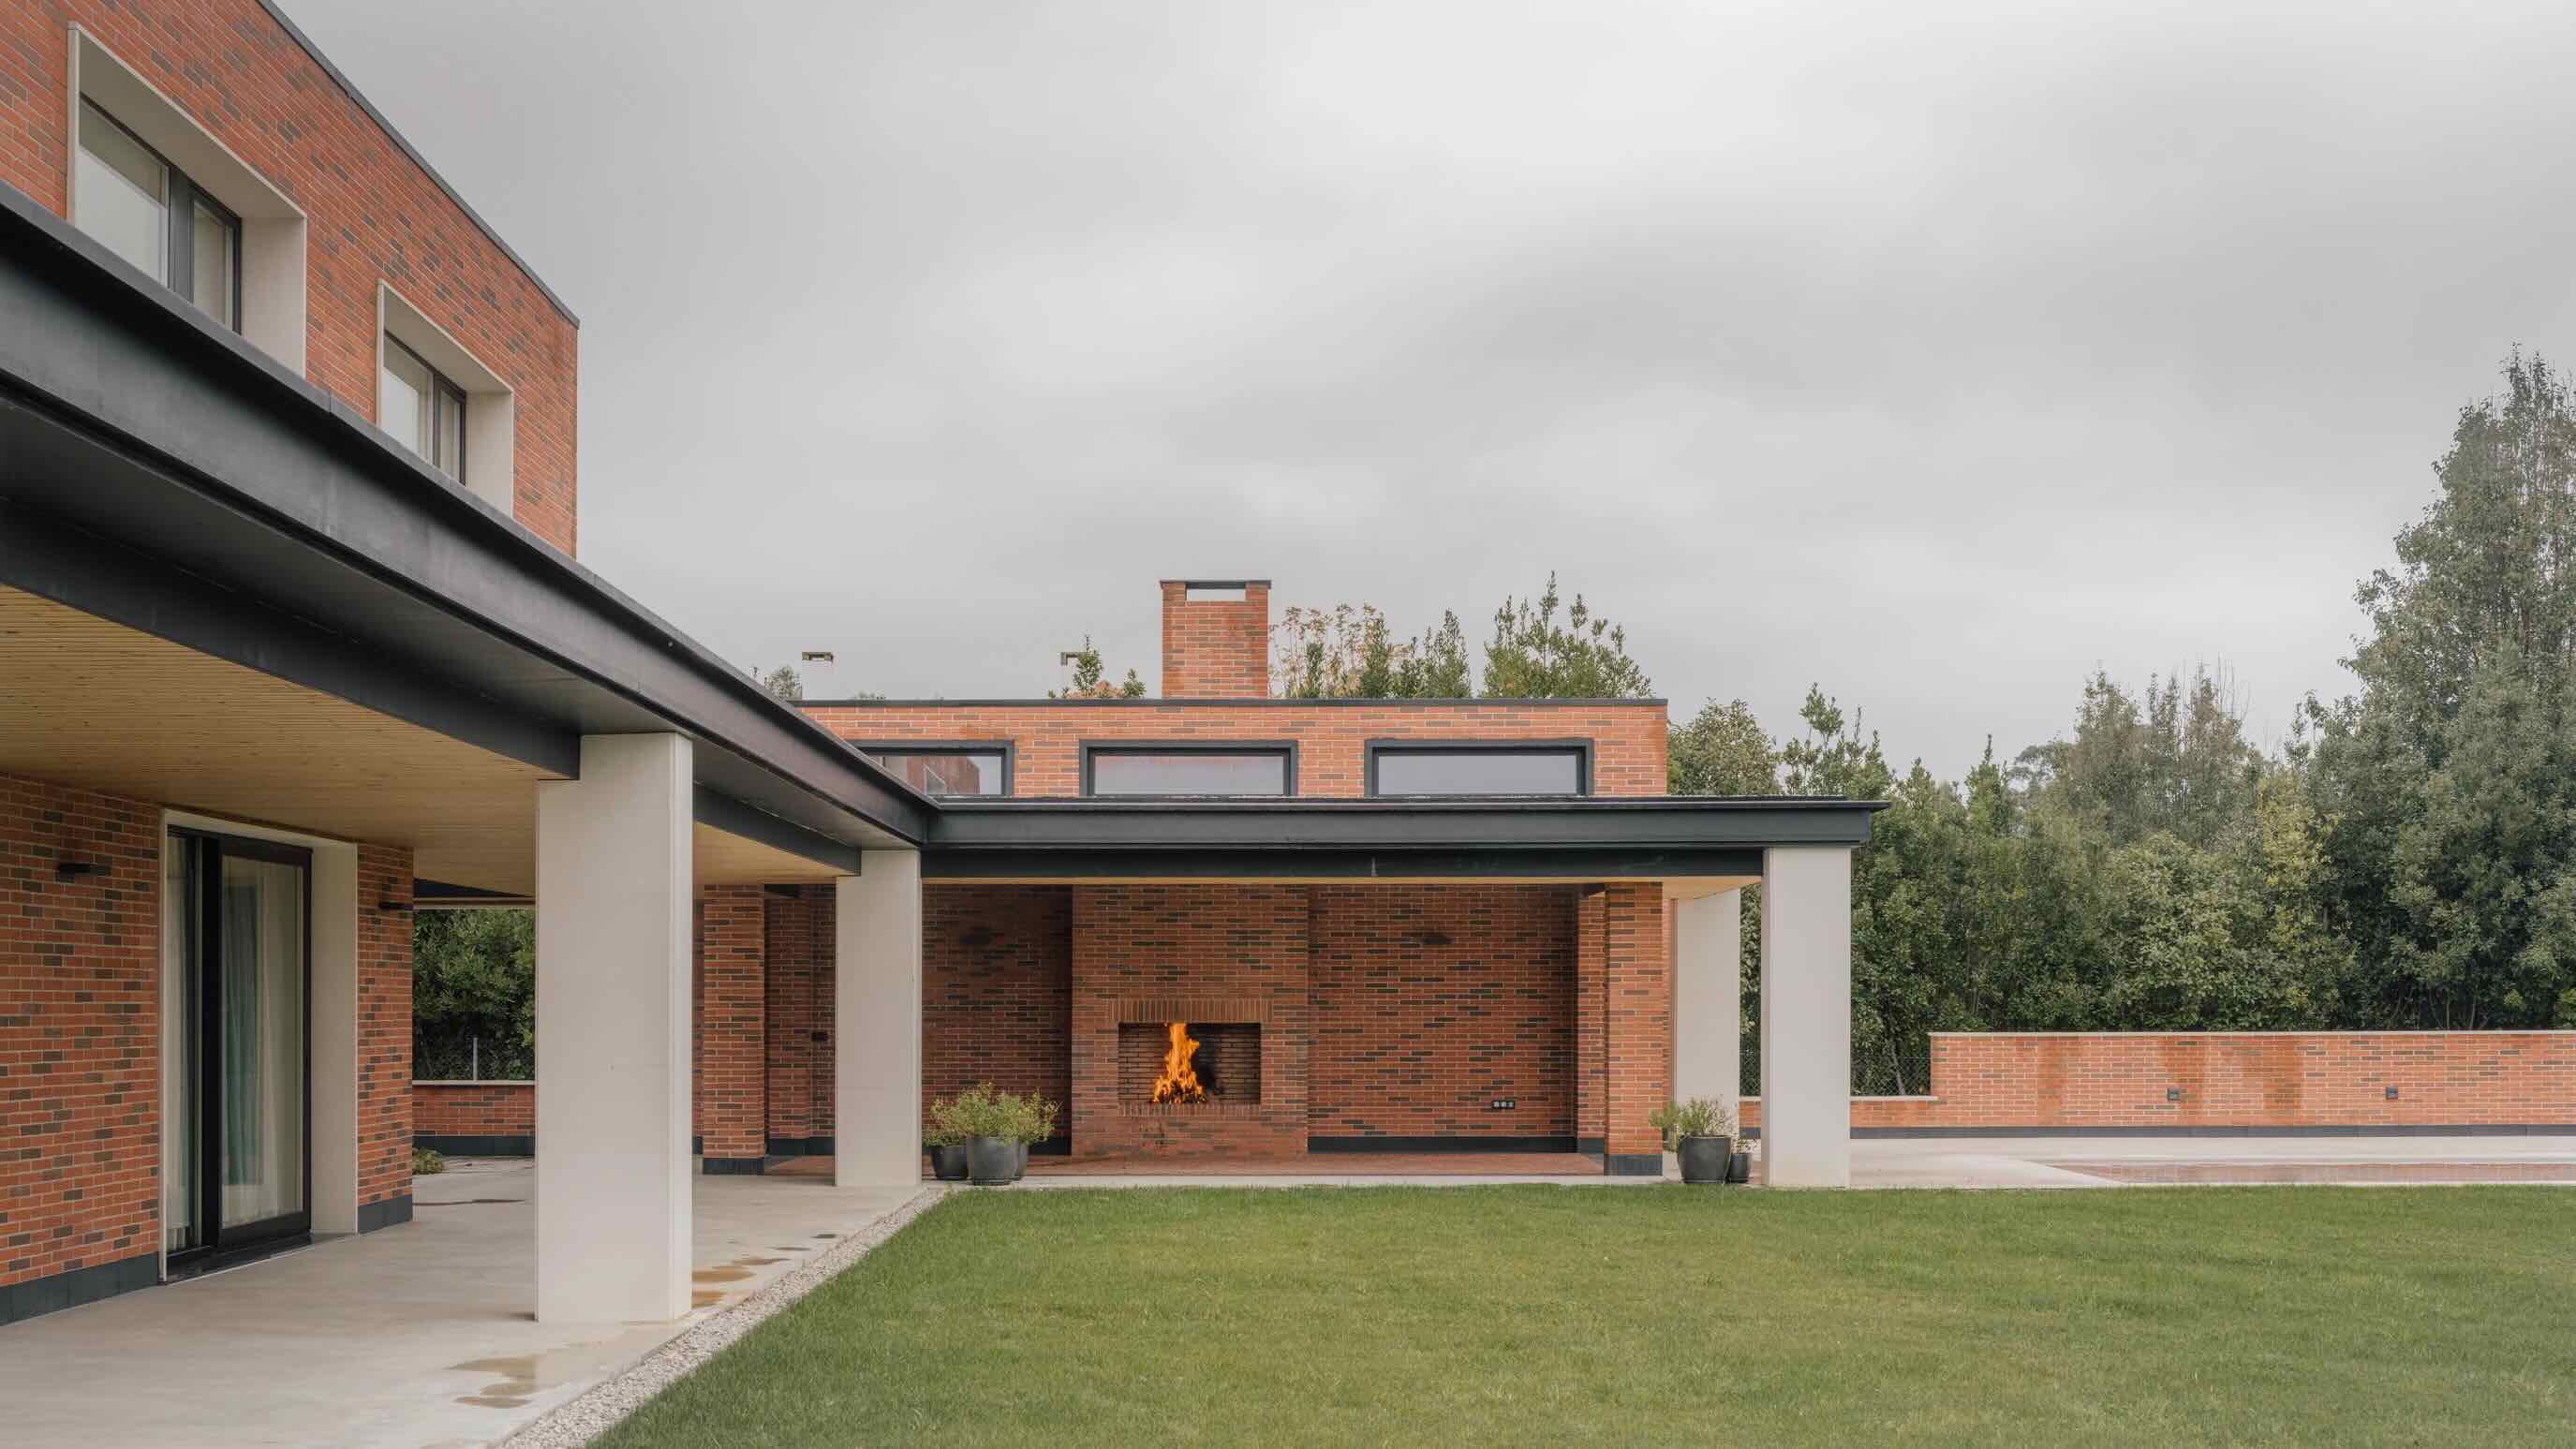
4. Appreciate the Transformation: Take a moment to admire the transformative impact of tuckpointing on your brick house. The revitalized brickwork not only exudes timeless charm but also stands as a testament to your dedication to preserving the structural integrity and visual allure of your home.
5. Maintain Regular Inspections: Following the tuckpointing process, make it a habit to conduct regular inspections of the brickwork, paying attention to the condition of the mortar joints and addressing any signs of deterioration promptly. Proactive maintenance is key to preserving the longevity and beauty of your tuckpointed brick house.
By meticulously attending to finishing touches, you ensure that the tuckpointing endeavor culminates in a result that not only enhances the structural soundness of your home but also bestows it with a timeless aesthetic that withstands the test of time. These final details reflect your commitment to preserving the enduring beauty and integrity of your brick house, setting the stage for years of admiration and protection against the elements.
Read more: How To Whitewash A Brick House
Conclusion
Embarking on a tuckpointing project is a testament to your commitment to preserving the timeless allure and structural integrity of your brick house. The meticulous process of removing old mortar, mixing and applying new mortar, and attending to finishing touches is a labor of love that yields enduring results. As you stand back and admire the revitalized brickwork, you witness the transformation that tuckpointing bestows upon your home.
By mastering the art of tuckpointing, you not only safeguard your home against moisture infiltration and structural compromise but also pay homage to the craftsmanship and artistry of traditional masonry. The clean, uniform joints and revitalized brick surfaces stand as a testament to your dedication to maintaining the architectural charm and durability of your home.
As seasons come and go, your tuckpointed brick house stands resilient, its timeless appeal and structural fortitude a testament to the enduring art of tuckpointing. Regular maintenance and proactive care will ensure that the beauty and integrity of your brickwork endure for generations to come.
So, as you conclude this transformative journey of tuckpointing, take pride in the enduring legacy you have bestowed upon your home. Your commitment to preserving the beauty and structural soundness of your brick house through the art of tuckpointing is a reflection of your reverence for craftsmanship and the timeless allure of traditional masonry.
With each passing year, your tuckpointed brick house stands as a testament to the enduring beauty and craftsmanship that defines your home, leaving an indelible mark on the architectural landscape and standing as a beacon of timeless elegance and structural resilience.
Frequently Asked Questions about How To Tuck Point A Brick House
Was this page helpful?
At Storables.com, we guarantee accurate and reliable information. Our content, validated by Expert Board Contributors, is crafted following stringent Editorial Policies. We're committed to providing you with well-researched, expert-backed insights for all your informational needs.


0 thoughts on “How To Tuck Point A Brick House”