Home>Dining>Table Decor>How To Make Christmas Table Runners
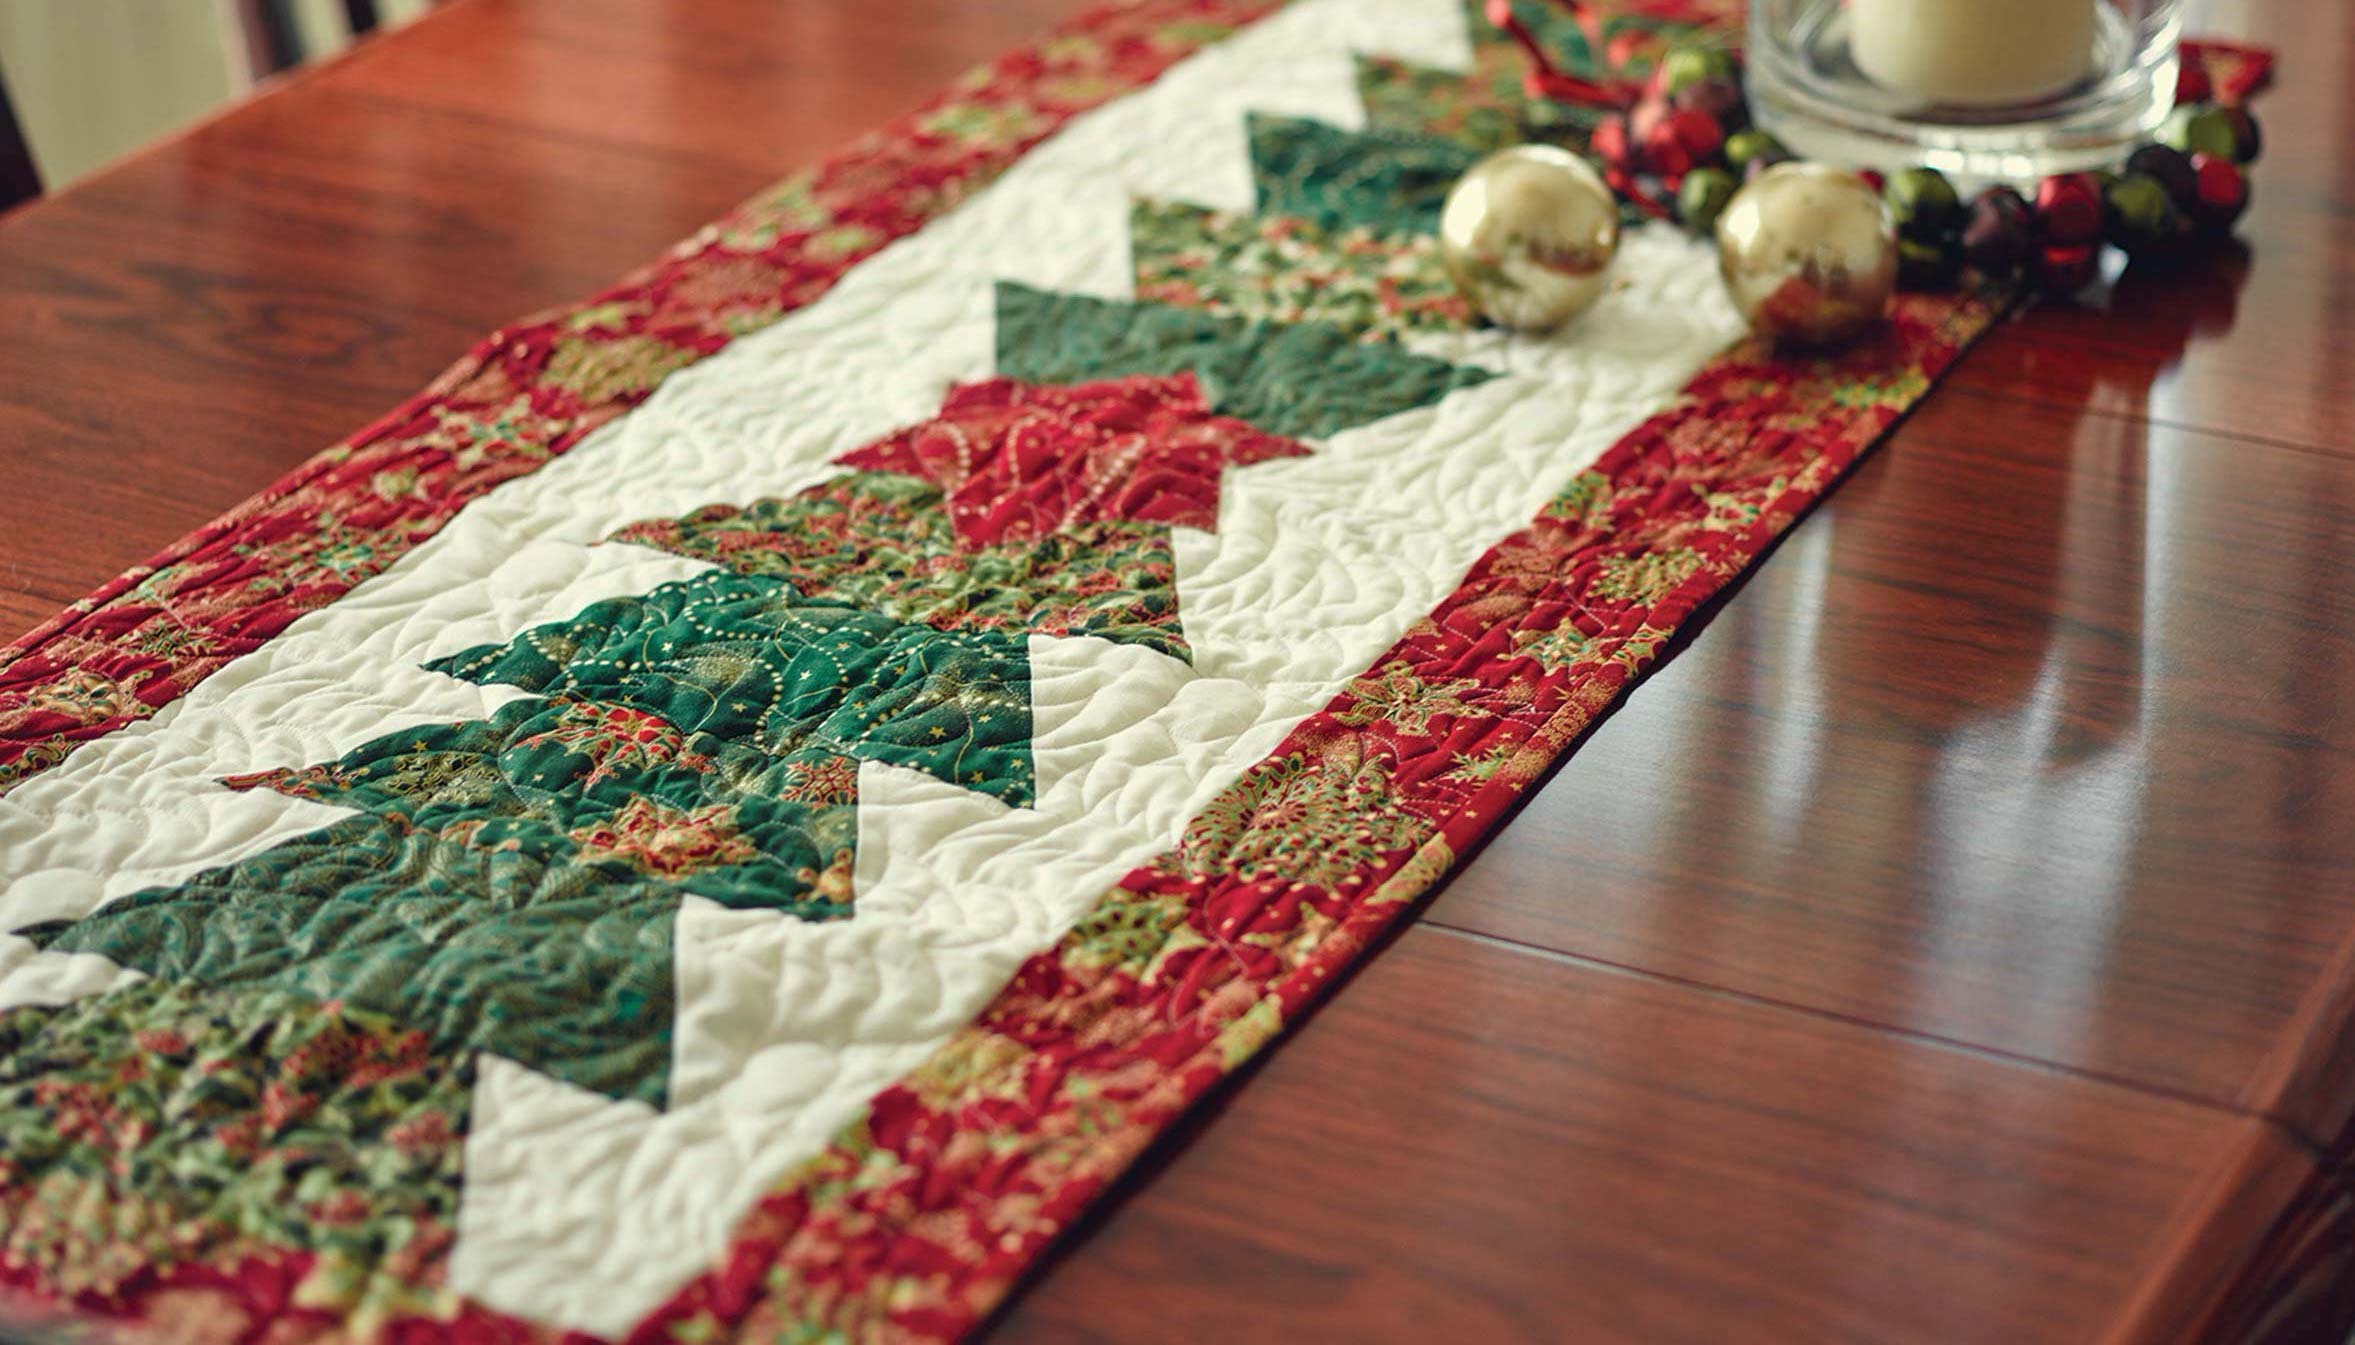
Table Decor
How To Make Christmas Table Runners
Modified: February 24, 2024
Learn how to make beautiful Christmas table runners with our step-by-step guide. Create an unforgettable holiday experience with our table-decor tips and inspirations.
(Many of the links in this article redirect to a specific reviewed product. Your purchase of these products through affiliate links helps to generate commission for Storables.com, at no extra cost. Learn more)
Introduction
Welcome to the world of table decor. As we approach the festive season, it’s time to start thinking about all the wonderful ways we can deck our halls and set our tables for holiday gatherings. One essential element of a beautifully styled table is a well-designed table runner. It adds a touch of elegance and can tie together the entire look of your table setting.
In this article, we will guide you through the process of creating your own Christmas table runners. Whether you’re a seasoned DIY enthusiast or just starting out, this project is a great way to showcase your creativity and add a personal touch to your holiday decor.
Before we dive into the steps, let’s talk about the materials you will need to gather for this project.
Key Takeaways:
- Create a personalized Christmas table runner by choosing festive fabric, adding embellishments, and sewing or gluing the pieces together. Showcase your creativity and set the stage for a magical holiday celebration.
- Infuse your holiday decor with DIY charm by crafting a unique Christmas table runner. From elegant designs to rustic styles, unleash your creativity and impress your guests with a stunning centerpiece.
Read more: How To Make Lace Table Runners
Materials Needed
Before you begin creating your Christmas table runners, it’s important to gather all the necessary materials. Here’s a list of what you’ll need:
- Fabric – Choose a fabric that complements the color scheme and theme of your Christmas decor. Consider using festive patterns like Christmas ornaments, snowflakes, or reindeer.
- Scissors – A good pair of fabric scissors is essential for cutting the fabric and achieving clean edges.
- Measuring Tape – To ensure accurate measurements for your table runner, a measuring tape is a must-have.
- Thread – Select a thread color that matches or complements your fabric choice.
- Needle – If you choose to hand-sew your table runner, make sure to have a needle suitable for your fabric.
- Sewing Machine (Optional) – If you prefer to use a sewing machine, make sure it’s in good working condition and you have the necessary sewing machine accessories.
- Ruler – A ruler can be handy for precise measurements and straight cuts.
- Iron – An iron will be needed to press your fabric and create crisp edges.
- Embellishments (Optional) – If you want to add some extra flair to your table runner, consider embellishments such as ribbons, lace, or decorative buttons.
- Fabric Glue – If you opt for a “no-sew” method, fabric glue can be used instead of stitching.
Now that you have all your materials ready, let’s move on to the first step of creating your Christmas table runners – choosing the fabric.
Step 1: Choosing Fabric
The fabric you choose for your Christmas table runner will set the tone for your table decor. It’s important to select a fabric that not only matches your holiday theme but is also durable and easy to work with. Here are a few considerations when choosing your fabric:
- Design and Pattern: Look for fabrics that feature festive designs and patterns such as Christmas trees, snowflakes, or reindeer. Consider the color scheme of your overall decor and choose a fabric that complements it.
- Material: Opt for fabrics that are sturdy and can withstand repeated use. Cotton, linen, or polyester blends are great options, as they are durable and easy to care for.
- Texture: Consider the texture of the fabric and how it will add visual interest to your table. You can choose smooth and sleek fabrics or go for a textured look with options like burlap or velvet.
- Size: Measure your table to determine the appropriate size for your table runner. Make sure to leave some overhang on each side for a polished look.
When selecting your fabric, take into account the style and ambiance you want to create. If you prefer a more classic and elegant look, opt for rich colors and luxurious fabrics. For a rustic or farmhouse-style decor, consider using natural fabrics and earthy tones.
Once you’ve chosen your fabric, it’s time to move on to the next step – measuring and cutting.
Step 2: Measuring and Cutting
Now that you have your chosen fabric, it’s time to measure and cut it to the appropriate size for your Christmas table runner. Follow these steps:
- Measure Your Table: Use a measuring tape to determine the length and width you want your table runner to be. Remember to account for any overhang on the sides.
- Add Seam Allowance: To ensure that your table runner has neat edges, add about 1 inch to each side for hemming.
- Mark and Cut: Use a ruler and fabric scissors to mark and cut your fabric according to the measurements you determined. Take your time to ensure straight and clean cuts.
It’s always a good idea to double-check your measurements before cutting to avoid any errors. If you’re using patterned fabric, make sure to align the pattern correctly, especially if you’re planning to sew multiple pieces together.
Once you have cut your fabric to the desired size, set aside any leftover fabric scraps for potential embellishments or future projects. Now it’s time to move on to the next step – hemming the edges.
Step 3: Hemming the Edges
With your fabric cut to the right size, it’s time to give your Christmas table runner crisp and finished edges by hemming. Follow these steps to hem the edges:
- Prep Your Fabric: Start by ironing your fabric to remove any wrinkles and create a smooth surface. This will make it easier to create clean and even hems.
- Fold and Press: Fold over the raw edge of your fabric by about half an inch and press it with an iron to create a crease. This will act as a guide for your stitching.
- Hem the Edges: Now, fold the fabric over again, this time by another half an inch. Press the fabric and pin it in place. You can use sewing pins to hold the folded fabric in place while you sew.
- Stitch the Hem: Use a sewing machine or hand-sew along the folded edge of the fabric, securing the hem. Make sure to sew close to the folded edge to create a neat and sturdy hem.
- Trim Excess Threads: After stitching, trim any excess threads, ensuring a clean and tidy finish.
If you prefer a “no-sew” approach, you can use fabric glue to secure the folded edges instead of stitching. Simply fold, press, and apply fabric glue along the folded edge, carefully following the manufacturer’s instructions.
By hemming the edges of your Christmas table runner, you not only give it a professional and polished look but also prevent the fabric from fraying over time. Now that your edges are hemmed, you can move on to the next step – adding embellishments (if desired).
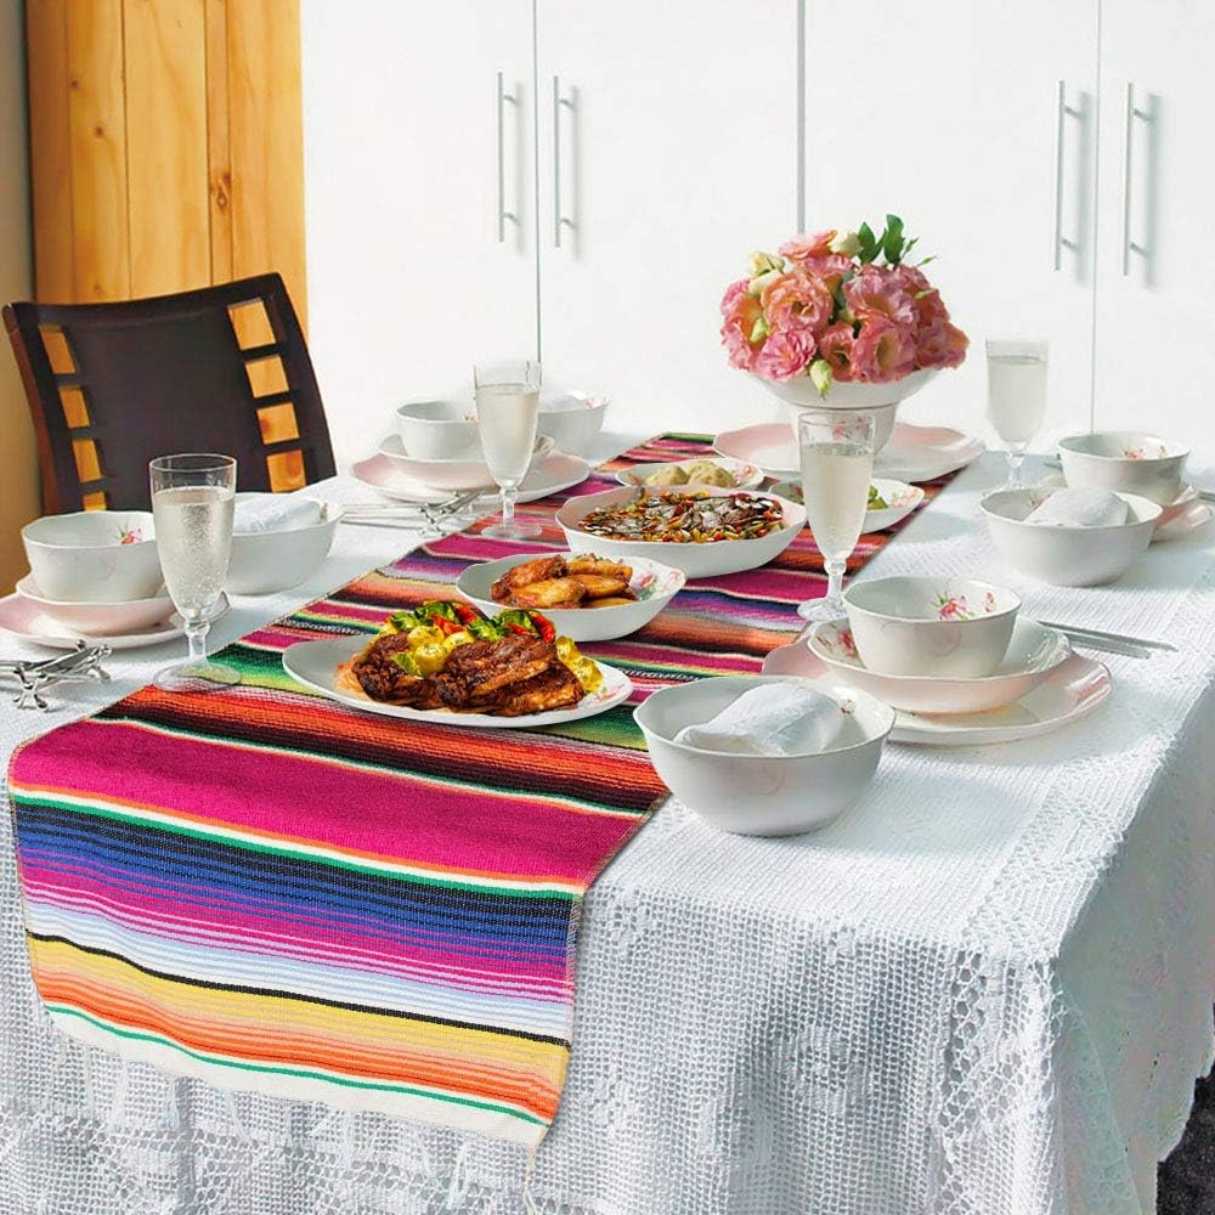
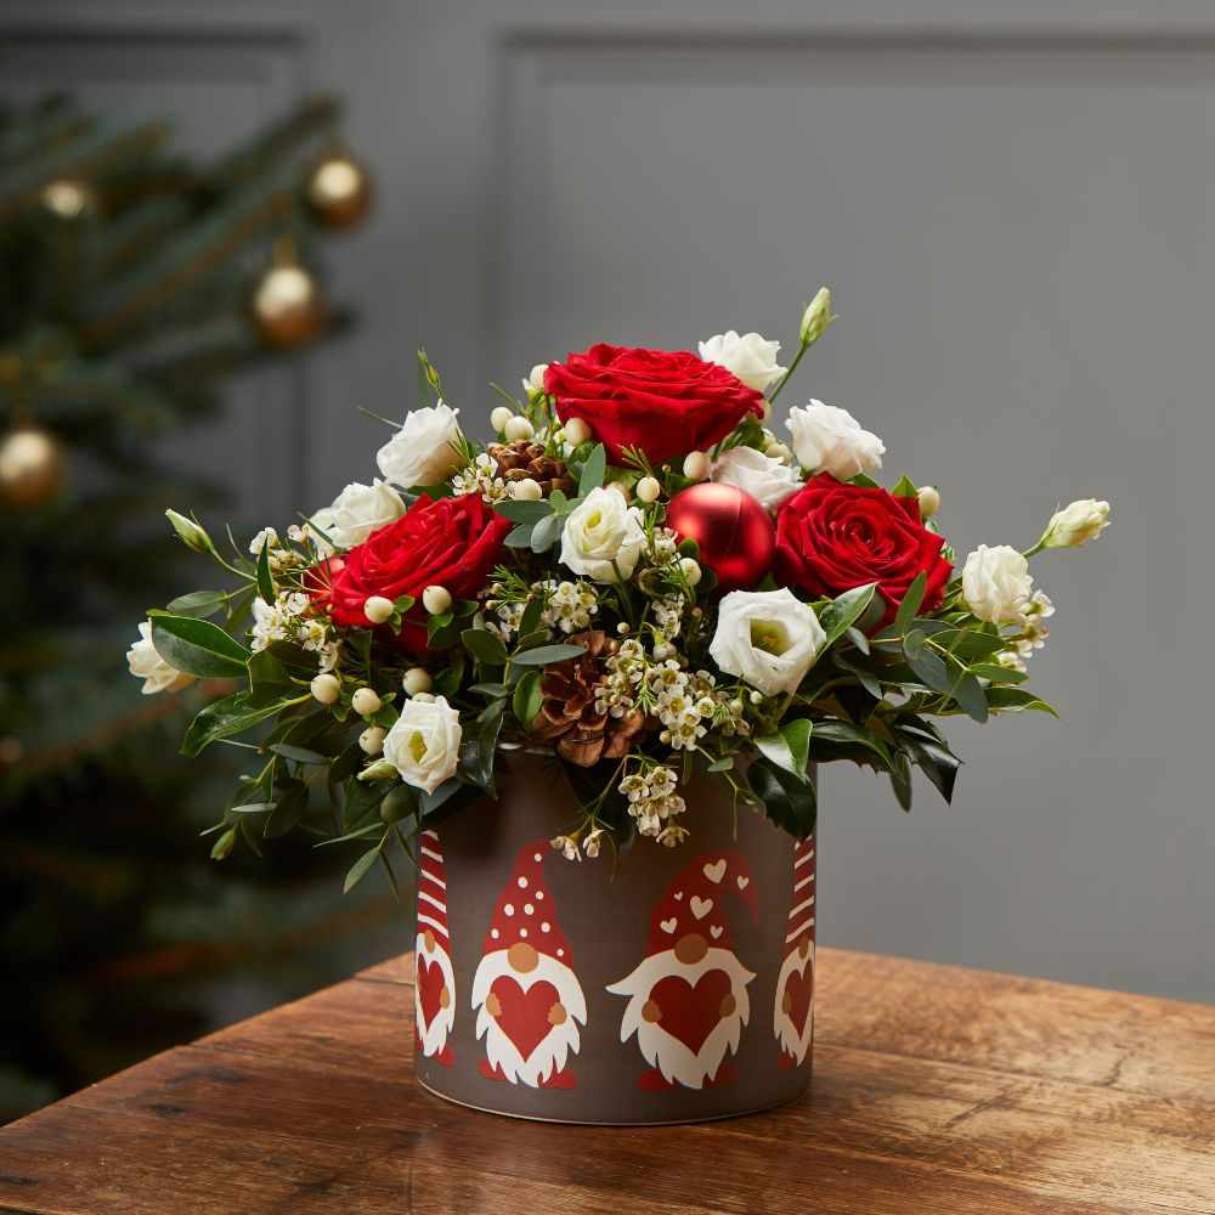
When making a Christmas table runner, consider using festive fabrics like red and green with holiday-themed patterns. This will add a cheerful touch to your table decor.
Read more: How To Make Table Runners And Placemats
Step 4: Adding Embellishments (Optional)
If you want to take your Christmas table runner to the next level, consider adding embellishments to add flair and personalize the design. Here are some ideas to inspire you:
- Ribbon: Attach a festive ribbon along the length of the table runner. You can opt for a single ribbon or multiple ribbons in complementary colors. Secure the ribbon with fabric glue or hand-stitch it in place.
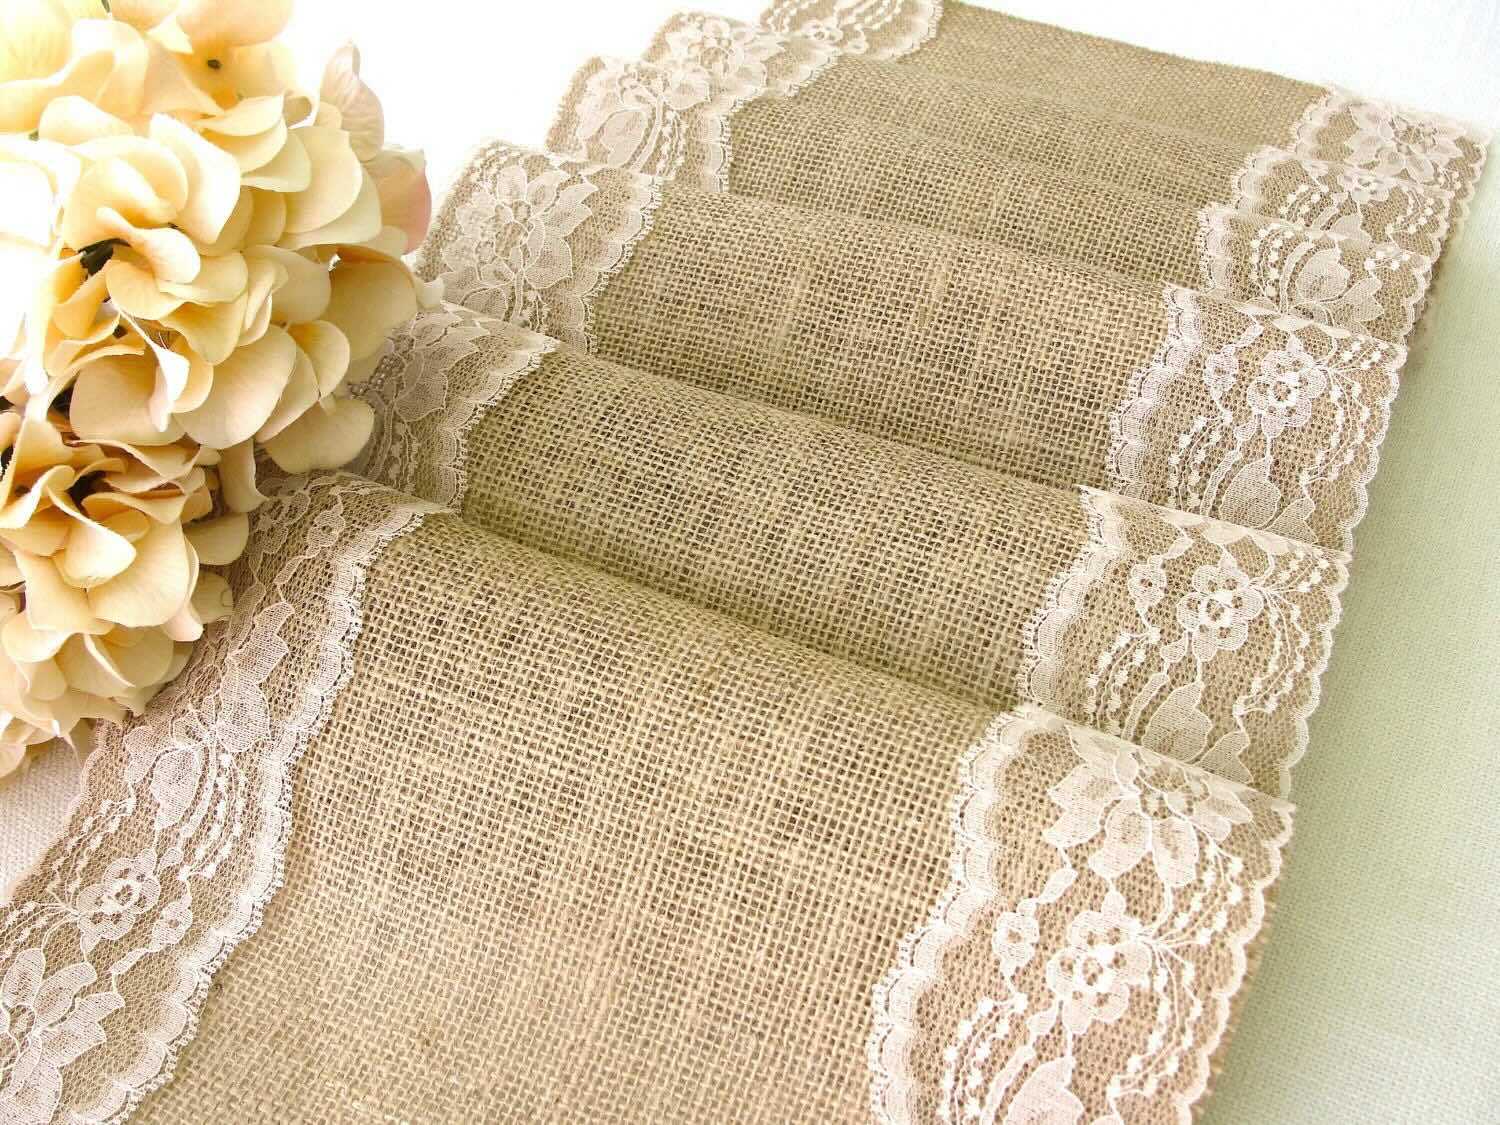
- Lace: Add a touch of elegance by sewing or gluing lace trim along the edges of the table runner. Choose lace that complements the fabric and the overall aesthetic you’re aiming for.
- Embroidery: Get creative with embroidery by adding holiday-themed designs or monograms to your table runner. Use colored threads to make the embroidery stand out.
- Buttons: Sew decorative buttons in the shape of snowflakes, bells, or other festive motifs onto your table runner. They can add a charming and unique touch.
- Appliques: Incorporate fabric appliques in the shape of stars, stockings, or Christmas trees onto your table runner. Attach them with fabric glue or stitch them on for added durability.
- Beads or Sequins: Add some sparkle by hand-sewing beads or sequins onto your table runner. Create patterns or scatter them randomly for a festive touch.
When adding embellishments, be mindful of the overall design and make sure they enhance the theme rather than overpowering it. Use your creativity to experiment with different combinations of embellishments and find what works best for your Christmas table runner.
Once you’re satisfied with the embellishments, it’s time to move on to the next step – sewing or gluing the pieces together.
Step 5: Sewing or Gluing the Pieces Together
Now that you’ve chosen your fabric, hemmed the edges, and added embellishments (if desired), it’s time to put all the pieces together to complete your Christmas table runner. Depending on your preference and sewing skills, you have two options: sewing or gluing the pieces together.
If you choose to sew:
- Align the Pieces: If you have multiple panels or sections for your table runner, lay them out in the desired order and align the edges.
- Pinning: Use sewing pins to secure the pieces together, making sure they don’t shift during sewing.
- Sewing: Using a sewing machine or hand-sewing, carefully stitch along the edges to join the pieces together. Make sure to backstitch at the beginning and end to secure the seam.
- Trim Excess Threads: Once you’ve sewn the pieces together, trim any loose threads for a clean finish.
If you prefer a “no-sew” approach:
- Lay out the Pieces: Arrange the panels or sections of your table runner in the desired order.
- Apply Fabric Glue: Apply fabric glue along the edges where the pieces meet, taking care not to apply too much to prevent it from seeping through the fabric.
- Press and Let Dry: Press the glued edges together firmly and let the glue dry according to the manufacturer’s instructions.
Both sewing and gluing methods can yield beautiful results. Choose the option that best suits your skills and preferences. Once the pieces are securely joined together, move on to the final step – adding the finishing touches.
Step 6: Finishing Touches
Congratulations! You’ve made it to the final step of creating your Christmas table runner. Now it’s time to add the finishing touches to complete the look. Here are a few ideas:
- Press the Table Runner: Before placing it on your table, give your table runner a final press with an iron to ensure it looks crisp and neat.
- Test Placement: Lay your table runner on the table and adjust it to ensure it is centered and has the desired overhang on each side.
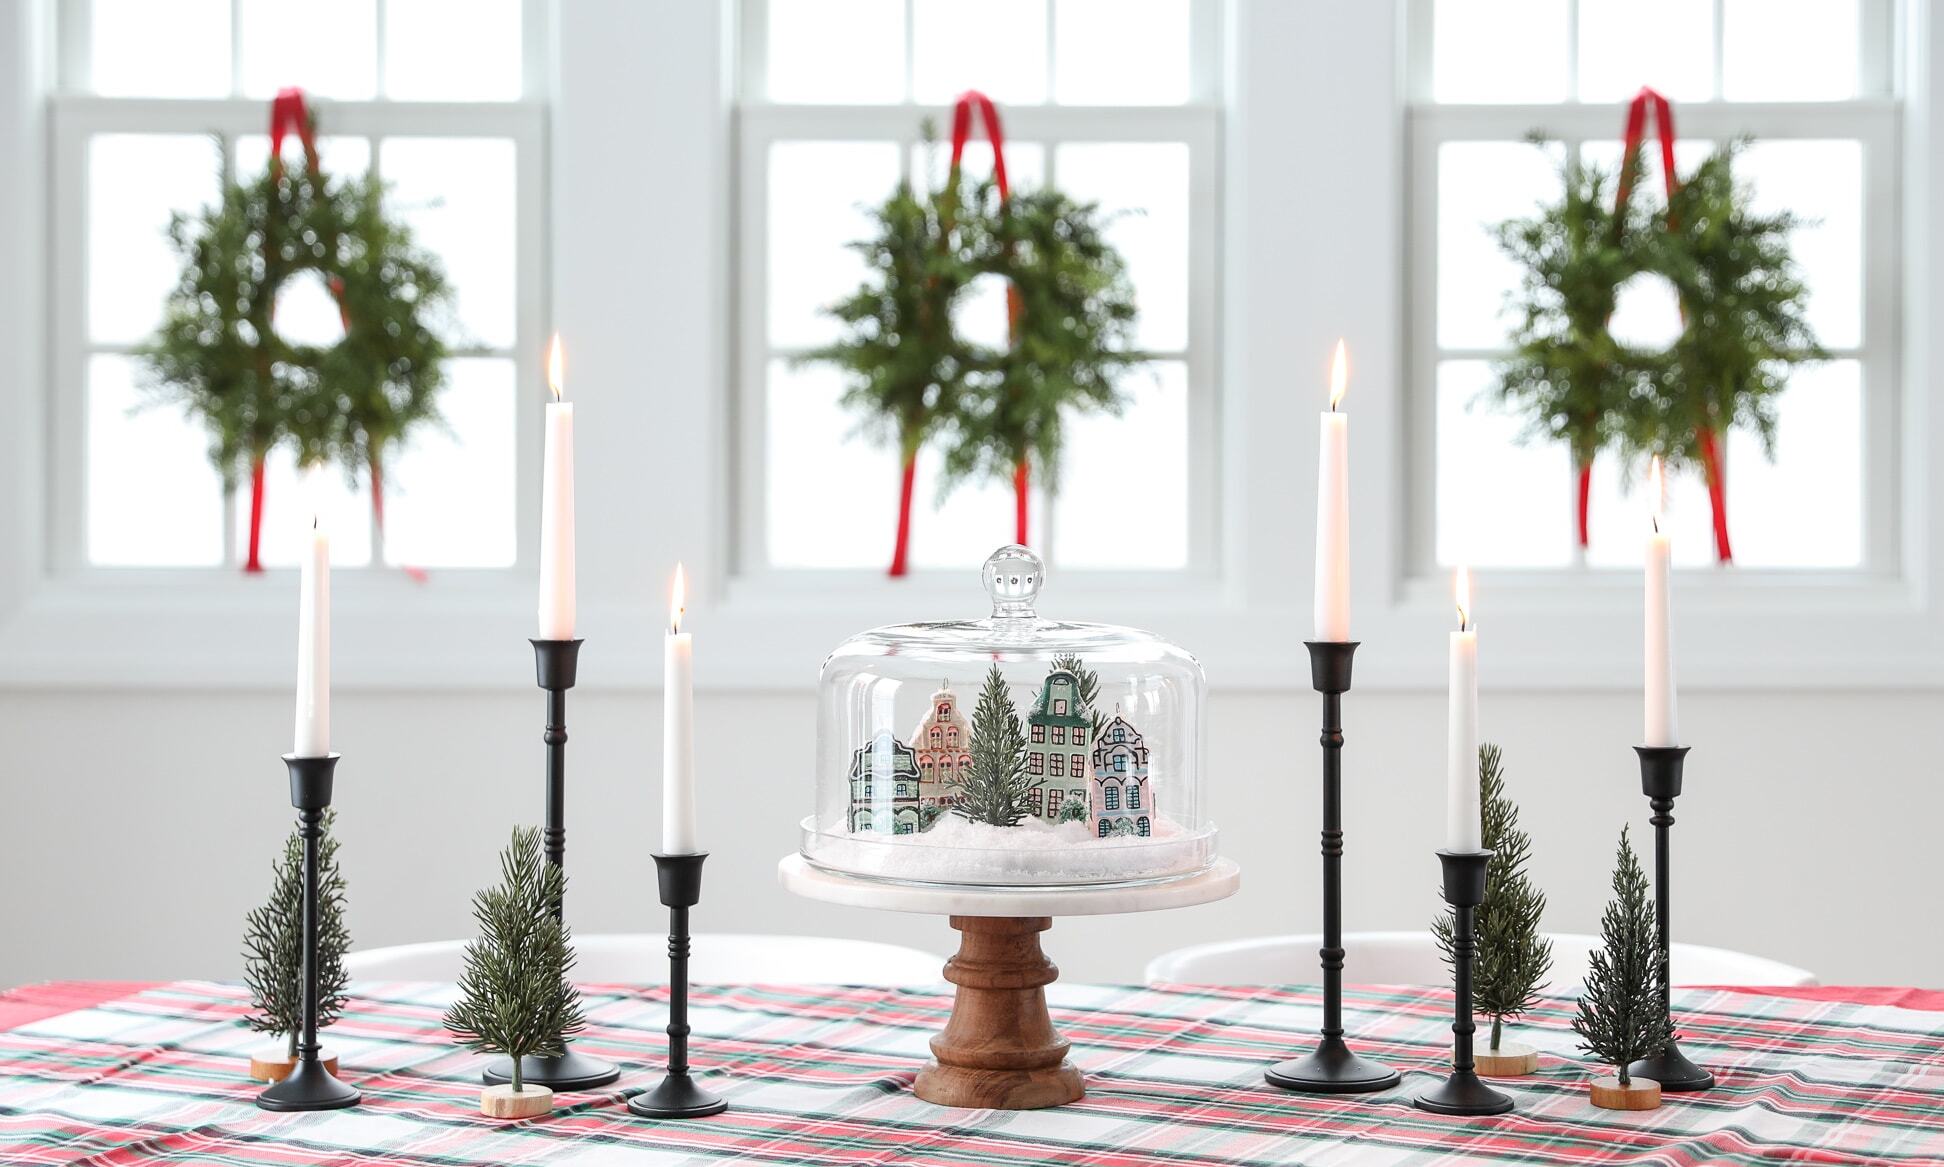
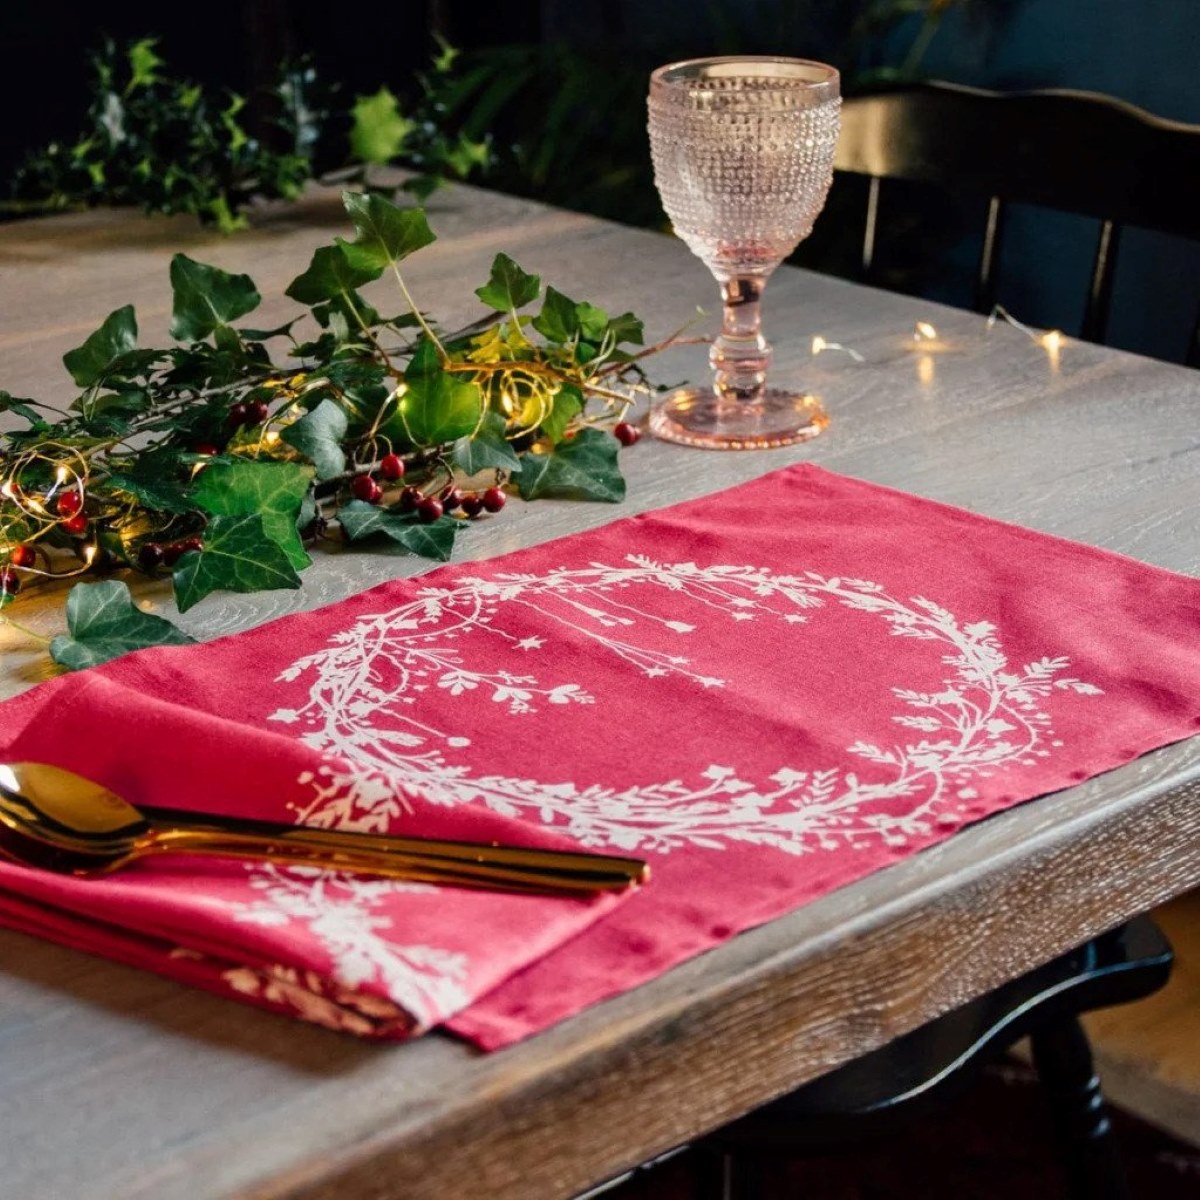
- Accessorize: Add complementary elements to enhance your table setting. Consider using coordinating placemats, napkins, or centerpiece decorations that tie in with the theme of your table runner.
- Set the Table: Once your table runner is in place, arrange your dishes, silverware, and table decorations to create a festive and inviting table setup.
- Enjoy! Step back, admire your creation, and enjoy the delightful ambiance you’ve created for your holiday gatherings.
Remember, the finishing touches are what bring the whole look together. Take your time to ensure everything is arranged to your satisfaction and reflects the festive spirit you want to evoke.
With your Christmas table runner complete, you now have a beautiful and personalized centerpiece that will elevate your holiday table decor. Your guests will certainly be impressed by your creativity and attention to detail.
So don’t be afraid to showcase your DIY skills and create a stunning Christmas table setting with your own handmade table runner. Enjoy the process, have fun, and let your imagination run wild. Happy decorating!
Conclusion
Creating your own Christmas table runners is a rewarding and enjoyable DIY project that allows you to infuse your personal style into your holiday decor. With just a few simple steps, you can craft a beautiful and unique table runner that will become a focal point of your festive gatherings.
Throughout this article, we’ve discussed the materials needed, the process of choosing fabric, measuring and cutting, hemming the edges, adding embellishments, sewing or gluing the pieces together, and finally, adding the finishing touches. Each step allows you to add your own creative touch and bring your vision to life.
Remember, as you embark on your table runner creation journey, it’s important to consider the overall theme and aesthetic you want to achieve. From elegant and traditional designs to rustic and whimsical styles, there are endless possibilities to explore.
Whether you’re an experienced DIY enthusiast or just starting out, making your own Christmas table runner is a wonderful way to showcase your creativity and add a personal touch to your holiday decorations. It’s also a great opportunity to involve friends and family in the crafting process, making it a memorable and collaborative experience.
So gather your materials, choose your fabric, get your measuring tape and scissors ready, and let your imagination guide you. With a little time and effort, you’ll have a stunning Christmas table runner that sets the stage for a magical holiday celebration.
Now, go ahead and unleash your inner DIY master as you create a stunning centerpiece for your holiday table – one that will leave your guests in awe and create memories for years to come.
Frequently Asked Questions about How To Make Christmas Table Runners
Was this page helpful?
At Storables.com, we guarantee accurate and reliable information. Our content, validated by Expert Board Contributors, is crafted following stringent Editorial Policies. We're committed to providing you with well-researched, expert-backed insights for all your informational needs.


0 thoughts on “How To Make Christmas Table Runners”