Home>Dining>Table Decor>How To Quilt Table Runners
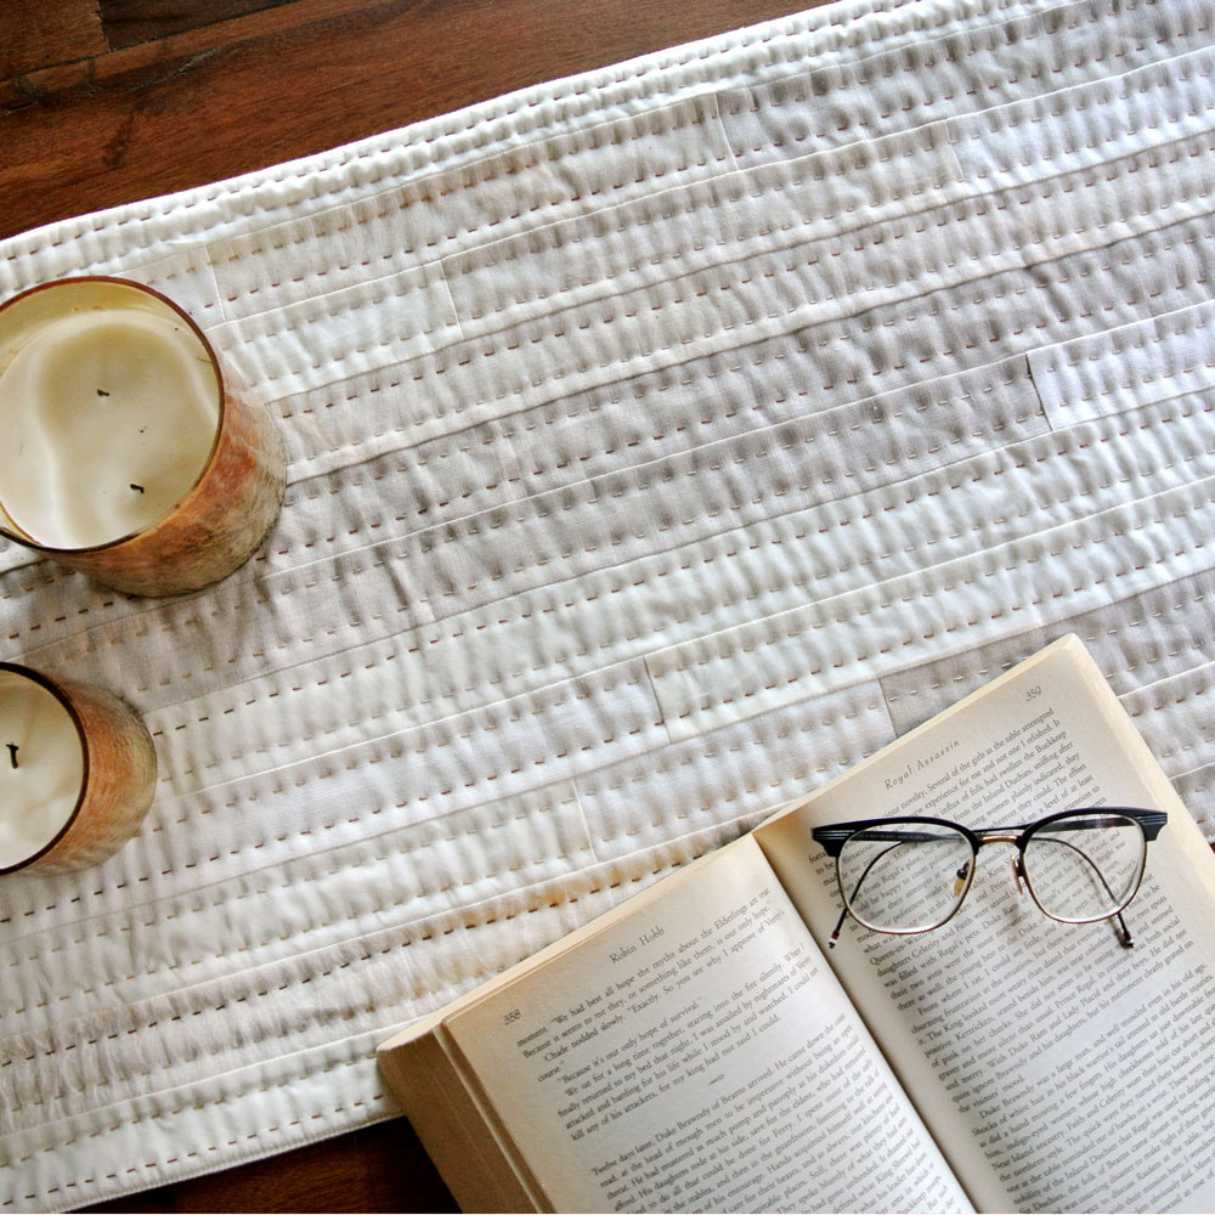
Table Decor
How To Quilt Table Runners
Modified: February 24, 2024
Learn how to quilt beautiful table runners and enhance your table decor with our step-by-step guide. Transform your dining experience with exquisite table-decor creations.
(Many of the links in this article redirect to a specific reviewed product. Your purchase of these products through affiliate links helps to generate commission for Storables.com, at no extra cost. Learn more)
Introduction
Welcome to the wonderful world of table decor! Table runners are a fantastic way to add color, style, and personality to your dining space. Whether you’re planning a special occasion or just want to spruce up your everyday meals, quilting your own table runners can be a rewarding and enjoyable experience.
In this article, we will guide you through the process of creating beautiful quilted table runners. We’ll cover everything from choosing a quilt pattern to selecting fabrics, cutting and piecing the runner top, quilting techniques, and finishing touches.
Quilting table runners not only allows you to showcase your creativity, but it also provides a practical and functional addition to your table. The handmade touch adds warmth and charm, making your dining area feel inviting and special.
So gather your tools, unleash your creativity, and let’s dive into the world of quilting table runners!
Key Takeaways:
- Quilting your own table runners allows you to showcase creativity, personalize your space, and add warmth to your dining area. Each stitch represents love and dedication, making it a unique and special creation.
- Proper care and maintenance, including gentle washing, storage, and display, will ensure your quilted table runner maintains its quality and beauty over time. Embrace the joy of learning and evolving as a quilter, and let your imagination run wild.
Read more: How To Make Braided Quilted Table Runners
Tools and Materials Needed
Before you begin quilting your table runner, it’s important to gather all the necessary tools and materials. Here’s a list of what you’ll need:
- Fabric: Choose a variety of fabrics in different colors and patterns. You’ll need enough fabric to cover the length and width of your desired table runner. Consider the theme and color scheme of your dining area when selecting fabrics.
- Quilt Pattern: Find a quilt pattern that suits your style and desired table runner size. There are countless patterns available online or in quilting books. Choose a pattern that matches your skill level and provides clear instructions.
- Cutting Tools: You’ll need a rotary cutter, cutting mat, and clear acrylic ruler for accurate fabric cutting. These tools make the process faster and more precise.
- Sewing Machine: A sewing machine will make piecing the table runner top quicker and easier. Make sure your sewing machine is in good working condition and has the necessary attachments.
- Thread: Select thread that complements your fabric choices. It’s important to use a high-quality thread that can withstand regular use and washing.
- Scissors: Have a pair of sharp fabric scissors for cutting threads and trimming fabric.
- Pins or Clips: Use pins or clips to hold fabric pieces together during the piecing stage.
- Iron and Ironing Board: Pressing fabric is crucial in quilting. An iron and ironing board will ensure your seams are crisp and your table runner looks professional.
- Marking Tools: Consider using fabric-friendly marking tools like disappearing ink pens or chalk for marking fabric when necessary.
- Quilt Batting: Batting provides the thickness and insulation between the top and backing layers of your table runner. Choose batting that suits your desired level of cushioning.
- Backing Fabric: Select a fabric for the back of your table runner. It can be the same as the top or a coordinating fabric.
- Binding Fabric: Binding is the fabric used to finish the raw edges of the table runner. Choose a fabric that complements the rest of your design.
- Quilting Needles: Quilting needles are designed to handle the thickness of multiple layers of fabric and batting.
- Quilting Thread: Have a spool of quilting thread for stitching the layers of your table runner together.
- Quilting Gloves: These gloves provide grip and control when maneuvering your table runner during the quilting process.
Having these tools and materials on hand will ensure a smooth and enjoyable quilting experience. Gather everything you need before you start, so you can fully immerse yourself in the creative process.
Choosing a Quilt Pattern
When it comes to quilting your table runner, selecting the right quilt pattern is key. The pattern you choose will determine the overall look and style of your table runner. Here are a few tips to help you choose the perfect quilt pattern:
- Consider the Occasion: Think about the purpose of your table runner. Will it be used for everyday meals or for special occasions? For casual settings, you might opt for simple and modern patterns. For formal events, intricate and traditional patterns could be more suitable.
- Match Your Style: Your table runner should reflect your personal style and complement your home decor. Take into account the colors, patterns, and design elements that you’re naturally drawn to. Whether you prefer bold and vibrant or subtle and understated, there’s a quilt pattern out there for you.
- Size Matters: Determine the size you want for your table runner. Measure the length and width of your table and consider how much overhang or drape you prefer. Keep in mind that the size of your table runner will impact the complexity of the pattern and the amount of fabric required.
- Skill Level: Assess your quilting skills and experience before choosing a pattern. Some patterns may be more complex and require advanced techniques, while others are beginner-friendly. If you’re a beginner, start with a simple pattern to gain confidence and gradually work your way up to more challenging designs.
- Pattern Resources: Look for inspiration and pattern ideas in quilting books, magazines, and online platforms. There are countless websites and social media groups dedicated to quilting, where you can find patterns and connect with other quilters for advice and support.
- Testimonials and Reviews: Before committing to a particular pattern, read reviews or seek feedback from other quilters who have already made it. Their insights can give you a better idea of the pattern instructions, difficulty level, and potential modifications.
Remember, there’s no right or wrong choice when it comes to quilt patterns. It’s all about finding a design that speaks to you and fits your vision for your table runner. Have fun exploring different patterns and let your creativity guide you in creating a one-of-a-kind table runner.
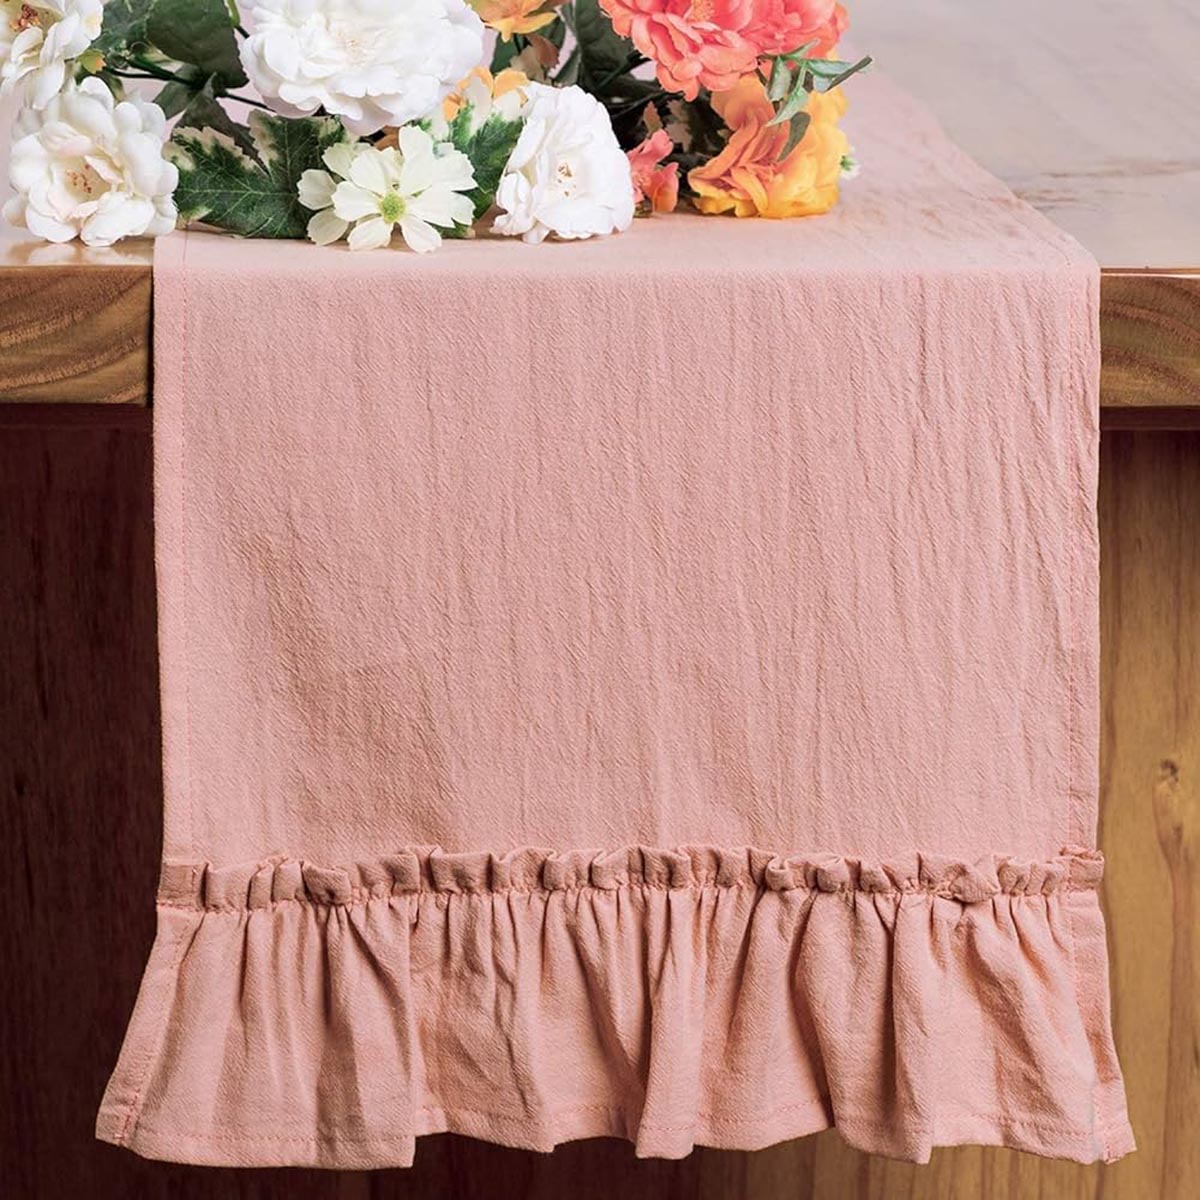
Fabric Selection and Preparation
Choosing the right fabric for your table runner is an important step in the quilting process. The fabric you select will determine the overall look, feel, and durability of your table runner. Here are some tips to help you make the best fabric choices:
- Consider the Purpose: Think about how your table runner will be used. If it’s for everyday meals, a sturdy cotton fabric would be suitable. If it’s for special occasions or holidays, you might consider using a more elegant fabric like silk or linen.
- Coordinate with Your Decor: Take into account the color scheme and style of your dining area. Choose fabrics that complement or enhance the existing decor. Look for fabrics that match or blend well with your tablecloth, napkins, or other table accessories.
- Pattern and Scale: Consider the scale of the pattern on the fabric. If your table is small or if you prefer a more understated look, opt for fabrics with smaller patterns or solids. For larger tables or to make a bold statement, you can go for fabrics with larger prints or more intricate designs.
- Texture and Feel: Think about the texture and feel you want your table runner to have. Fabrics like cotton, linen, or blends provide a crisp and smooth touch. If you’re looking for more texture, consider using fabrics like velvet or corduroy.
- Pre-wash the Fabric: It’s important to pre-wash your fabric before cutting and piecing to ensure there is no shrinkage or bleeding of colors. Follow the washing instructions for each fabric type to avoid any mishaps.
- Iron and Press: Once your fabric is washed, iron it to remove any wrinkles. This will make it easier to cut and piece together your table runner.
- Coordinate Fabrics: If you’re using multiple fabrics for your table runner, make sure they coordinate well together. Lay them out and see how they look side by side before cutting. Consider using a color wheel or fabric swatches if you need help with color coordination.
- Extra Fabric: It’s always a good idea to have some extra fabric on hand for mistakes or to make adjustments during the quilting process. Purchase a bit more fabric than what the pattern suggests to ensure you have enough.
Remember, the fabric you choose will greatly influence the overall aesthetic of your table runner. Take your time in selecting fabrics that you love and that align with your vision. With the right fabric choices, your table runner will be visually stunning and a true reflection of your personal style.
Cutting and Piecing the Table Runner Top
Once you have chosen your fabric and prepared it for quilting, it’s time to cut and piece together the table runner top. This is where you will bring your chosen quilt pattern to life. Here’s a step-by-step guide:
- Measure and Cut: Measure and cut the fabric according to the specific measurements provided in your quilt pattern. Use a rotary cutter, cutting mat, and clear acrylic ruler for precise cuts. Take your time and double-check the measurements to ensure accuracy.
- Arrange Fabric Pieces: Lay out the fabric pieces according to the pattern instructions. Pay attention to the color placement and design elements to ensure a visually appealing table runner top.
- Piecing: Start piecing the fabric together. Match the edges of the fabric pieces right sides together and align the raw edges. Use pins or clips to hold the pieces in place. Sew along the designated seam lines, using a ¼-inch seam allowance. Press the seams open or to one side, depending on your preference and the pattern instructions.
- Block Assembly: If your table runner pattern consists of blocks, piece together the blocks according to the pattern design. Take care to match the seams where necessary to create a cohesive look.
- Sewing Borders: Once the main part of the table runner top is pieced together, you can add borders to enhance the design. Cut the border fabric to the desired width and length, and sew it onto the edges of the table runner top. Press the seams open or to one side.
- Block and Border Alignment: While adding borders, make sure the blocks and borders align correctly. Measure and trim if necessary to achieve a neat and symmetrical appearance.
- Final Pressing: Once the table runner top is complete, give it a final press with an iron to smooth out any wrinkles or creases. This will ensure your table runner looks polished and professional.
Remember to refer to your specific quilt pattern for detailed instructions and measurements. Take your time in cutting and piecing the fabric together, as accuracy is key to achieving a beautifully constructed table runner top. With each seam sewn and each piece aligned, you’ll see your table runner take shape and become a work of art.
When quilting table runners, use a walking foot to prevent shifting and puckering of the fabric layers. This will help you achieve a smooth and professional-looking finish.
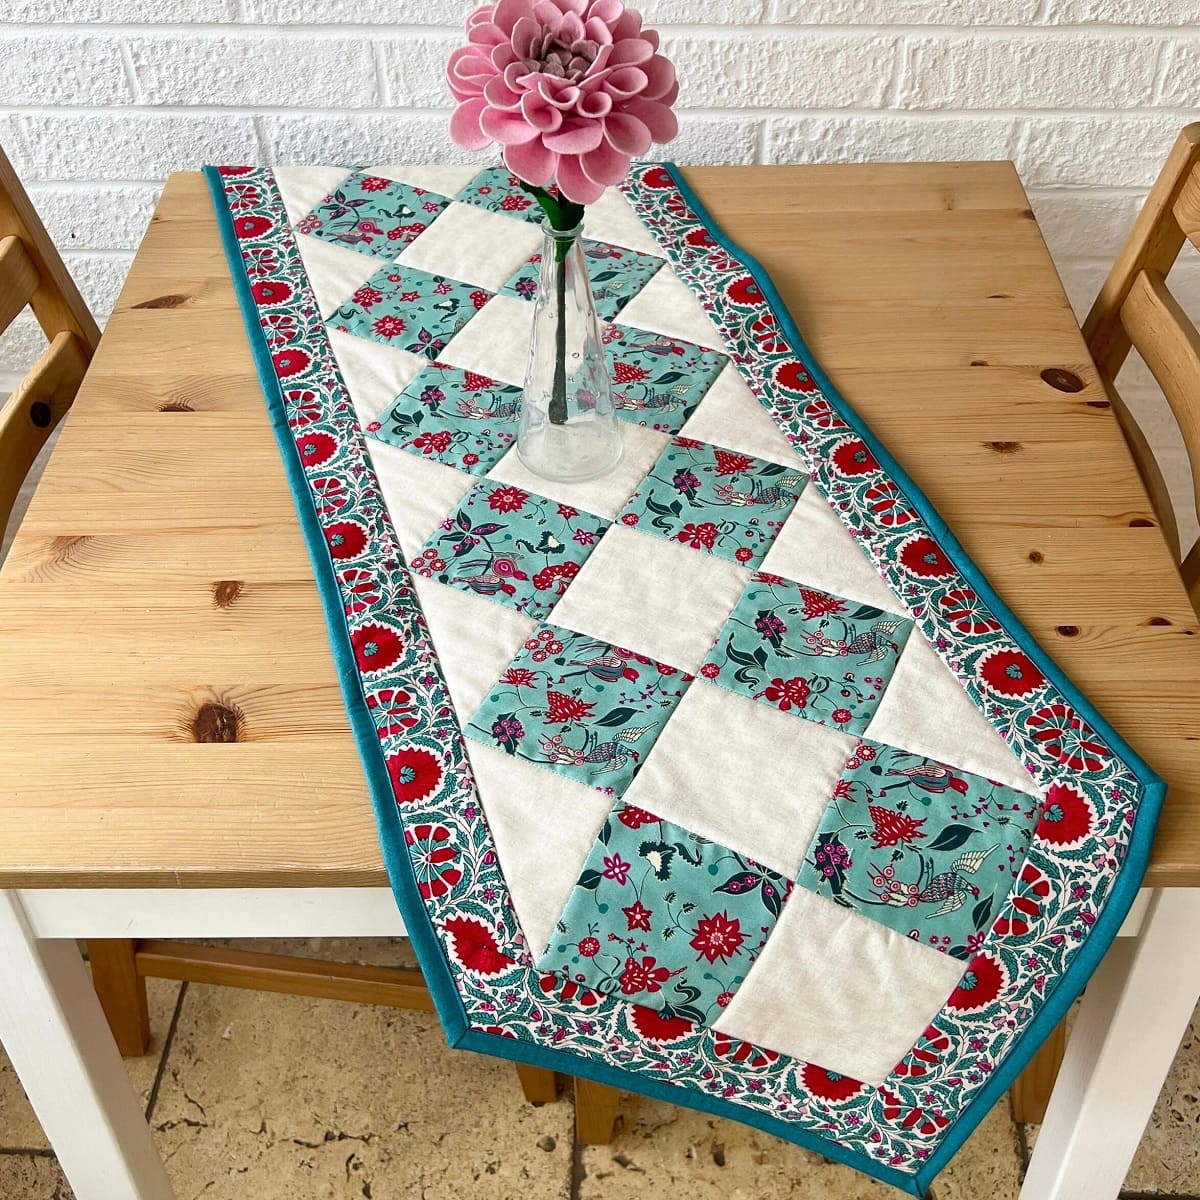
Adding Borders and Design Elements
Adding borders and design elements to your table runner can elevate its visual appeal and enhance the overall design. Borders provide a finished look and can frame the table runner, while design elements such as appliqué or embroidery can add a personal touch. Here’s how to incorporate them into your quilted table runner:
- Border Selection: Choose a border fabric that complements the colors and design of your table runner. Consider using a contrasting color or a fabric with a different pattern to create visual interest.
- Border Width: Determine the desired width of your borders. Measure the perimeter of your table runner and add the width of the border to calculate the total length of the fabric strips needed.
- Cut and Sew Borders: Cut fabric strips for the borders and sew them onto the edges of the table runner. Attach them with a ¼-inch seam allowance, aligning the raw edges. Press the seams open or towards the borders.
- Mitered Corners: If you prefer mitered corners for a polished look, follow a tutorial or pattern instructions for creating them. Mitered corners create a neat and professional finish.
- Appliqué: If you want to add design elements, consider using appliqué. Appliqué involves stitching fabric shapes onto the table runner top. You can use fusible webbing, hand or machine stitching, or a combination of techniques for attaching the appliqué pieces. Choose shapes and motifs that complement your overall design.
- Embroidery: Another way to add design elements is through embroidery. Use embroidery floss or thread to stitch decorative patterns, letters, or images onto the table runner. This adds a personal touch and can make your table runner truly unique.
- Quilting Design: Consider the quilting design you want to incorporate. Quilting adds texture and dimension to your table runner. You can choose from various quilting techniques, such as straight lines, free-motion quilting, or using quilting stencils. Decide on a design that complements the overall theme and style of your table runner.
- Quilting the Borders: When quilting the borders, you can use a different quilting pattern or stitch to make them stand out. This can add depth and interest to the final look of your table runner.
- Final Touches: Once you have added borders, design elements, and quilted the table runner, give it a final press to remove any wrinkles. Trim any excess threads or fabric for a clean finish.
Remember, the borders and design elements you choose should enhance the overall look of your table runner. Don’t be afraid to experiment and let your creativity shine. Adding these finishing touches will make your table runner a true expression of your personal style and craftsmanship.
Quilting Techniques for Table Runners
Quilting is the process of stitching the layers of fabric together to create a quilted design. When it comes to table runners, there are various quilting techniques you can employ to enhance the visual appeal and durability of your creation. Here are some popular quilting techniques for table runners:
- Straight Line Quilting: This technique involves stitching straight lines across the table runner top. You can use a walking foot or a ruler to help guide your lines and maintain even spacing. Straight line quilting can be done parallel to the seams, along the borders, or in a grid pattern.
- Free-Motion Quilting: Free-motion quilting allows you to create intricate and organic designs by moving the fabric freely under the needle of your sewing machine. It requires a darning or free-motion quilting foot. This technique gives you the freedom to create unique patterns, swirls, loops, or stippling.
- Echo Quilting: Echo quilting involves quilting lines that run parallel to a shape or pattern. You can quilt around a specific design element, such as an appliqué or embroidered motif, to make it stand out. Echo quilting adds dimension and texture to your table runner.
- Curved Quilting: Create elegant flowing lines by quilting curves on your table runner. You can use a curved ruler or create your own template to guide the stitching. Curved quilting can add a dynamic and modern touch to your design.
- Stitch-in-the-Ditch: This technique involves quilting along the seam lines or “ditches” created by piecing your table runner top. Stitching in the ditch allows the piecing to take center stage while securing the layers together. It provides a clean and minimalistic quilting effect.
- Outline and Accent Quilting: Quilting the outline or accentuating specific elements of your design can make them pop. By quilting around particular shapes, motifs, or borders, you can draw attention to them. This technique adds depth and visual interest to your table runner.
- Trapunto Quilting: Trapunto is a technique that involves adding extra loft and dimension to specific areas of your table runner. You can achieve this by layering extra batting or using a different fill material under the desired sections. Trapunto quilting adds a luxurious and tactile element to your design.
- Combination of Techniques: Feel free to combine different quilting techniques to create a unique and personalized look. Mix straight lines with free-motion quilting, or juxtapose echo quilting with curved quilting. Experimentation with different techniques can lead to stunning results.
Depending on your skill level and the design of your table runner, choose a quilting technique that complements your vision. Whichever technique you choose, practice on a scrap piece of fabric first to familiarize yourself with the process. Quilting is a creative and enjoyable aspect of table runner making, so let your imagination soar as you stitch!
Binding the Table Runner
Binding is the final step in completing your quilted table runner. It not only adds a polished and finished look but also serves to secure and protect the raw edges of the fabric. Binding can be done in various ways, but the most common method is double-fold binding. Here’s a step-by-step guide on how to bind your table runner:
- Cut Strips: Cut fabric strips for your binding, typically 2.5 inches wide. The length of the strips should be enough to go around the perimeter of your table runner, plus a few extra inches for joining the ends.
- Join Strips: Join the strips together to create a continuous length by sewing them diagonally from one end to another. Trim the excess fabric and press the seams open or to one side.
- Prepare Binding: Fold the strip in half lengthwise, wrong sides together, and press with an iron to create a crease along the entire length. This will be your binding tape.
- Align and Pin: Align the raw edges of the binding with the raw edges of your table runner, starting in the middle of one side. Pin the binding in place, ensuring it is straight and even.
- Machine Stitch: Using a ¼-inch seam allowance, machine stitch along the pinned edge of the binding, starting a few inches from the beginning to leave a gap.
- Mitered Corners: When you reach a corner, stop stitching a ¼-inch away from the corner. Fold the binding up at a 45-degree angle. Then, fold it back down, aligning it with the next side of the table runner. Continue stitching on the next side, repeating this process for each corner.
- Joining Ends: Stop stitching a few inches before reaching the starting point. Overlap the binding ends and mark the overlap point. Cut the excess binding, leaving a ¼-inch seam allowance. Fold and press the raw edge of one end under. Insert the other end into the folded end to create a clean finish. Pin, sew, and press the joint to secure it.
- Hand Stitching: Flip the binding over the raw edge of the table runner to the backside. Hand stitch the folded edge of the binding to the backside of the table runner using a blind or ladder stitch. This will give your table runner a professional and seamless finish.
- Final Pressing: Once the binding is stitched in place, give the entire table runner a final press with an iron to ensure all seams are crisp and the binding lays flat.
Remember, binding not only adds a decorative touch but also protects the raw edges of the fabric and holds the layers of your table runner together. Take your time with binding, as it can be a meticulous process. With each stitch, you’re one step closer to completing your beautiful quilted table runner.
Finishing Touches and Care Instructions
As you near the end of your table runner project, it’s important to add those final touches and learn how to care for your quilted creation. Here are some finishing touches and care instructions to ensure your table runner looks beautiful and lasts for years to come:
Labeling: Consider adding a label to your table runner that includes your name, the date, and any other relevant information. This personal touch will not only make it easier to remember the details of your creation but also add a sentimental value.
Embellishments: If desired, you can embellish your table runner with decorative elements like buttons, beads, or embroidery. Just remember to securely attach them to the surface of the runner to prevent any accidents during use or washing.
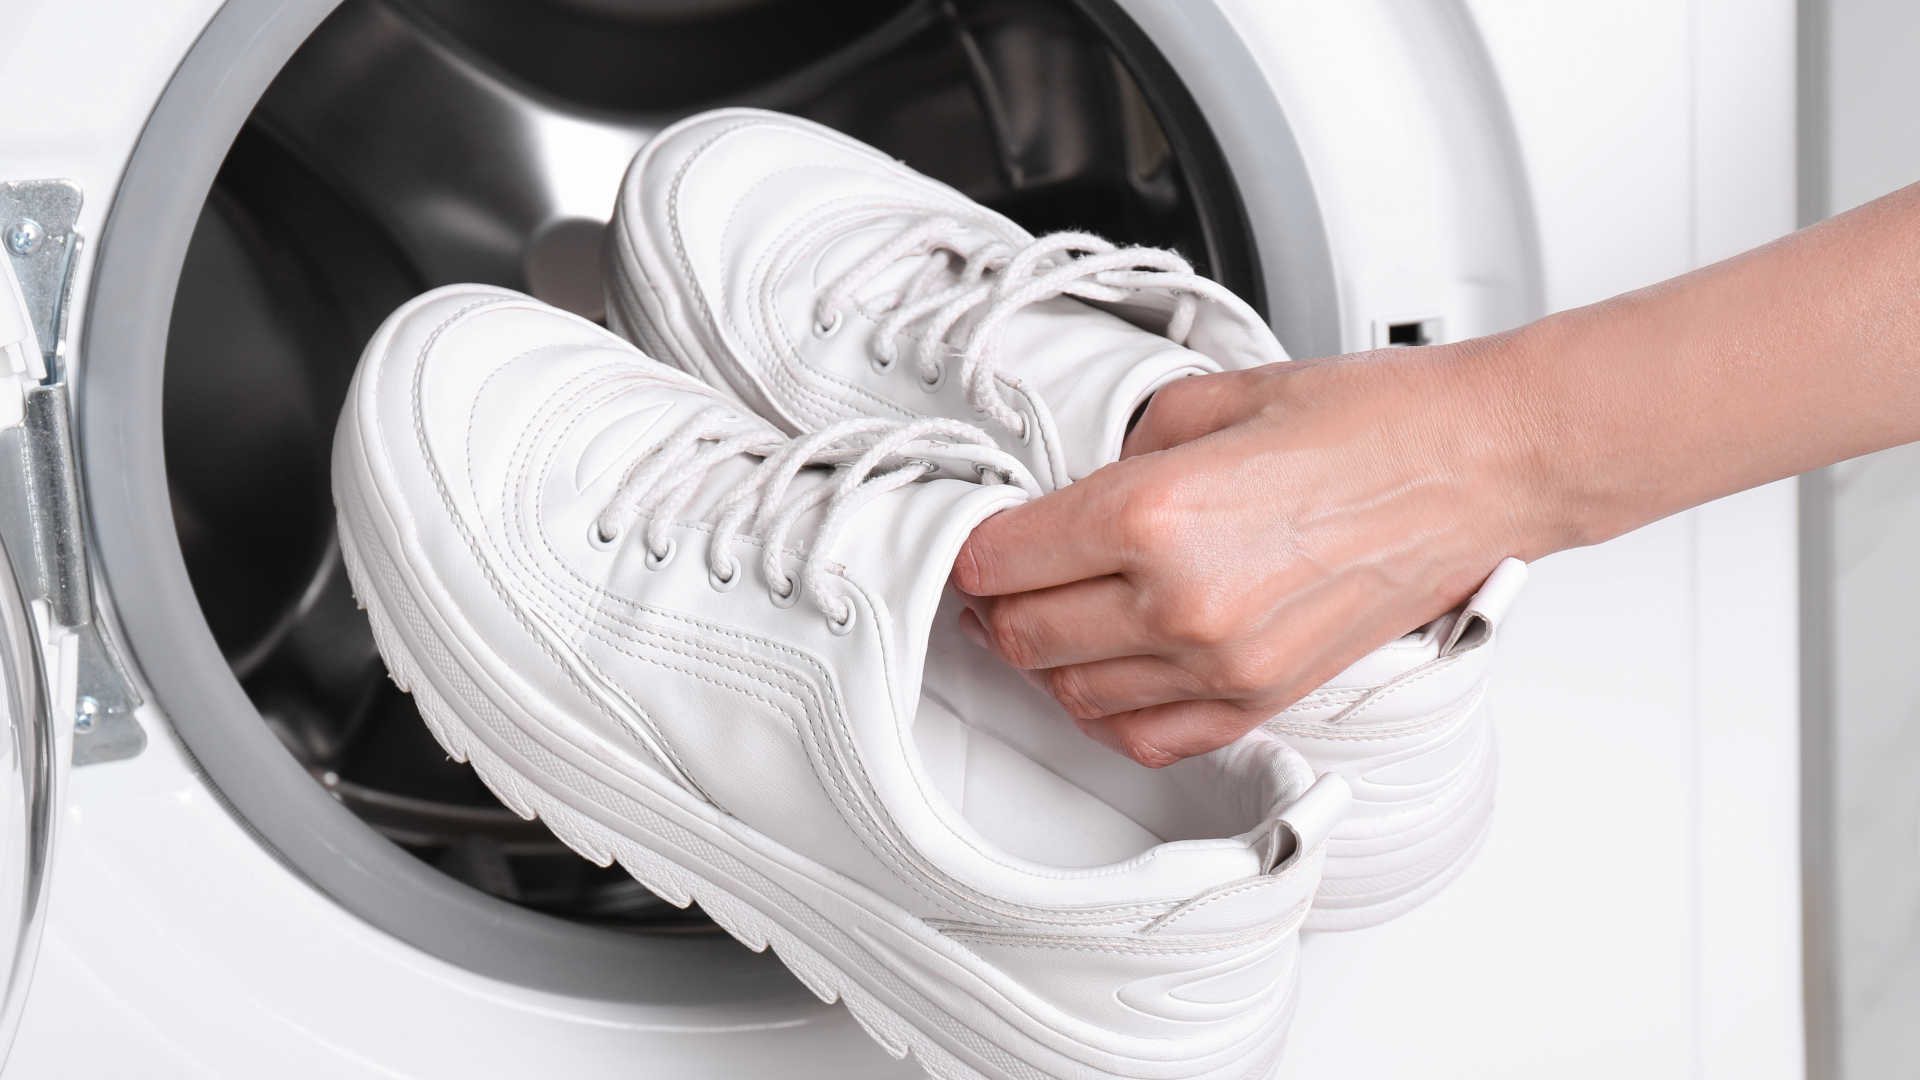
Care Instructions: It’s essential to follow proper care instructions to maintain the integrity of your table runner. Below are general care guidelines:
- Washing: Check the fabric care instructions or any specific recommendations from the fabric manufacturer. Machine wash your table runner on a gentle cycle using a mild detergent.
- Drying: Hang or lay the table runner flat to air dry. Avoid using a dryer, as it may cause shrinkage or damage to the quilted design.
- Ironing: Iron the table runner on a low or medium heat setting. Use a pressing cloth to protect the fabric and prevent any direct heat contact with the quilted design.
- Storage: When not in use, fold your table runner neatly and store it in a clean, dry place. Avoid exposing it to prolonged sunlight, as this can cause fading.
- Spot Cleaning: For spills or stains, attend to them as soon as possible. Gently blot the area with a clean cloth or sponge, using mild detergent and cold water. Avoid scrubbing to prevent damaging the fabric or quilted design.
Frequently Rotate: To ensure even wear, consider rotating and using different table runners throughout the year. This will prevent excessive use on one particular runner and help maintain durability.
Enjoy and Display: Once your table runner is complete, proudly display it on your dining table or sideboard. Let it add a touch of beauty and charm to your home and bring joy to your family and guests.
By adding those final touches and following proper care instructions, your quilted table runner will maintain its quality and beauty over time. It will become a cherished item in your home and a testament to your quilting skills and creativity.
Read more: How To Get Grass Stains Out Of Tennis Shoes
Conclusion
Congratulations on completing your journey into the world of quilting table runners! Through the process of choosing patterns, selecting fabrics, cutting, piecing, quilting, and binding, you’ve transformed simple materials into a beautiful and functional piece of table decor.
Creating your own quilted table runner allows you to showcase your creativity, personalize your space, and add a touch of warmth and charm to your dining area. Each stitch and seam represents the love and dedication you’ve poured into this project, making it a truly special and unique creation.
As you continue to explore the world of quilting, don’t be afraid to experiment with different patterns, fabrics, and techniques. Embrace the joy of learning and evolving as a quilter, and let your imagination run wild. Whether you’re making table runners for your own home or as heartfelt gifts for loved ones, the art of quilting is about more than just the finished product—it’s about the joy and fulfillment that comes with the process.
Remember to care for your quilted table runner with gentle washing, proper storage, and minimal exposure to direct sunlight. Treat it with care, and it will continue to bring beauty and elegance to your table for years to come.
Now that you have the knowledge and skills to quilt table runners, why not explore other quilting projects? There’s an entire world of quilting possibilities just waiting for you to discover. So keep creating, keep challenging yourself, and above all, enjoy the journey!
Frequently Asked Questions about How To Quilt Table Runners
Was this page helpful?
At Storables.com, we guarantee accurate and reliable information. Our content, validated by Expert Board Contributors, is crafted following stringent Editorial Policies. We're committed to providing you with well-researched, expert-backed insights for all your informational needs.


0 thoughts on “How To Quilt Table Runners”