Home>Dining>Table Decor>How To Make Lace Table Runners
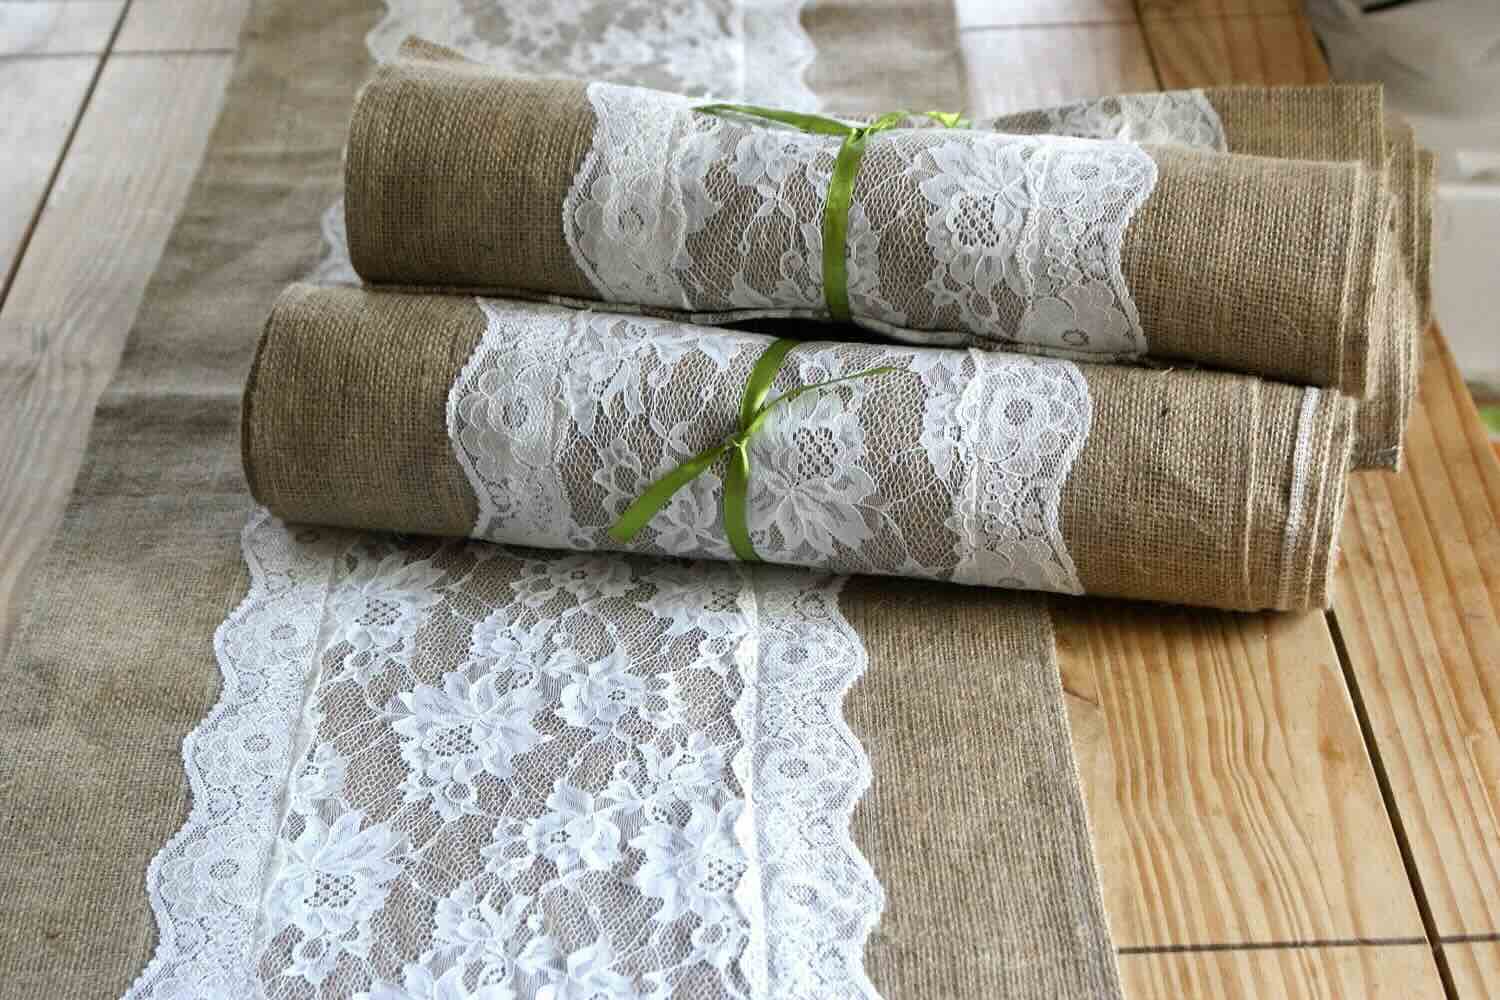
Table Decor
How To Make Lace Table Runners
Modified: December 7, 2023
Learn how to make beautiful lace table runners and enhance your table decor with our step-by-step guide. Perfect for weddings, parties, and special occasions.
(Many of the links in this article redirect to a specific reviewed product. Your purchase of these products through affiliate links helps to generate commission for Storables.com, at no extra cost. Learn more)
Introduction
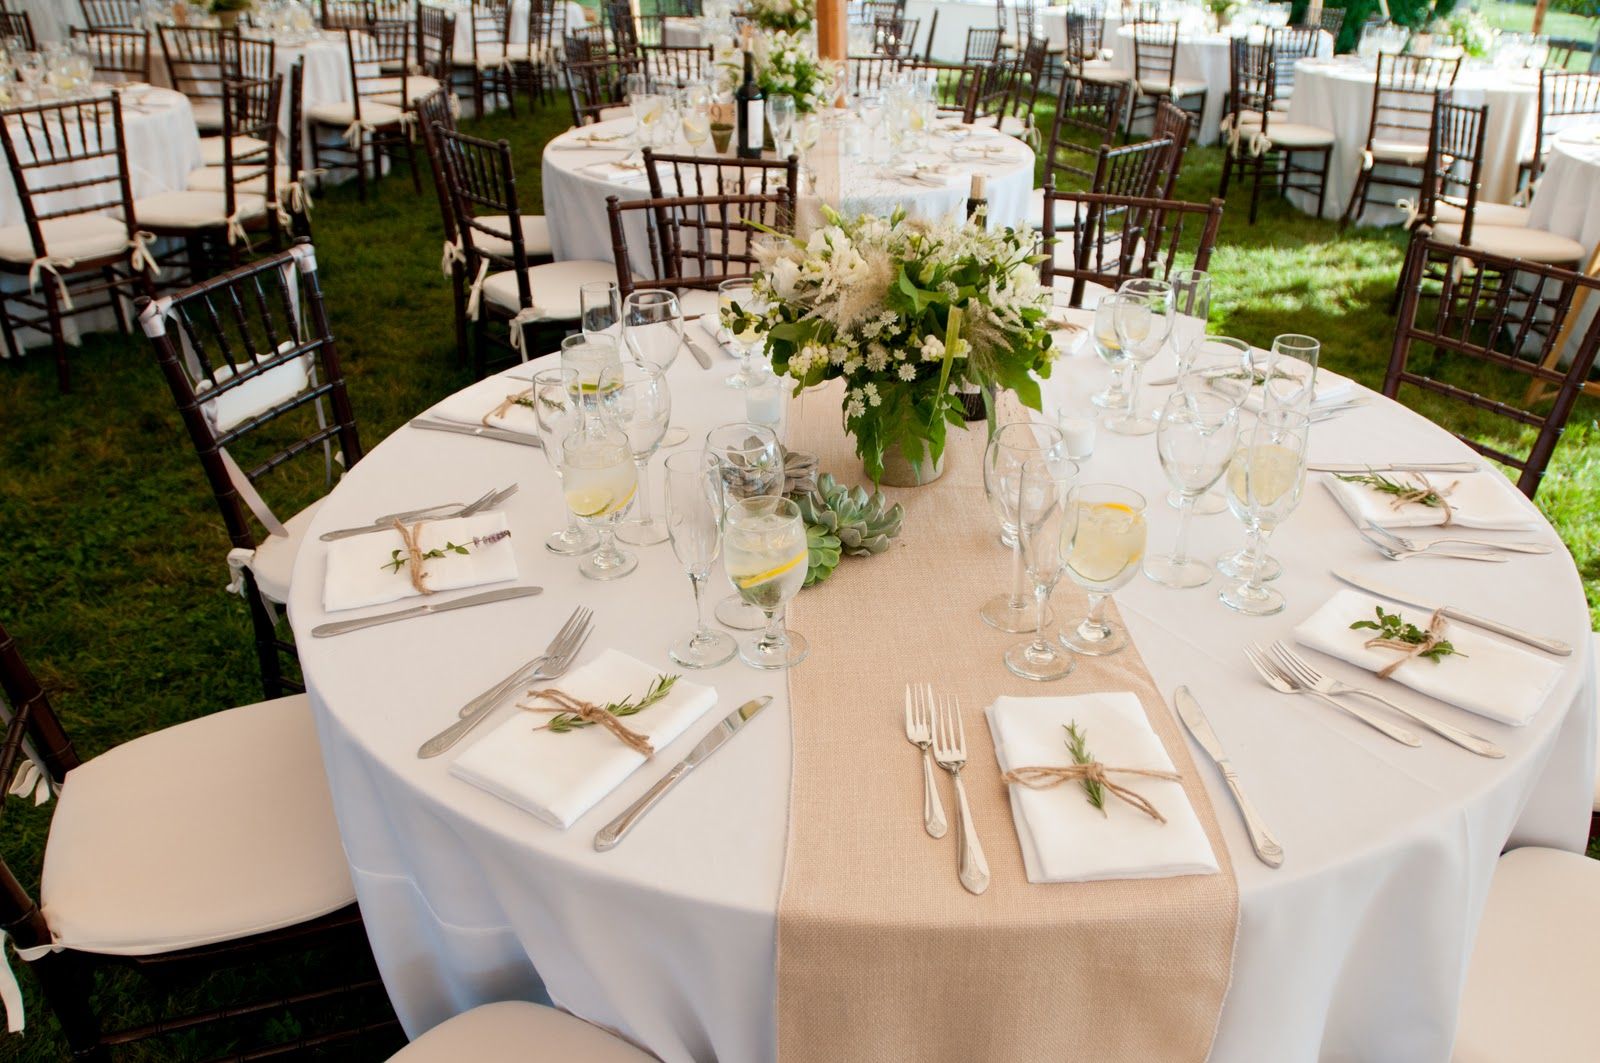
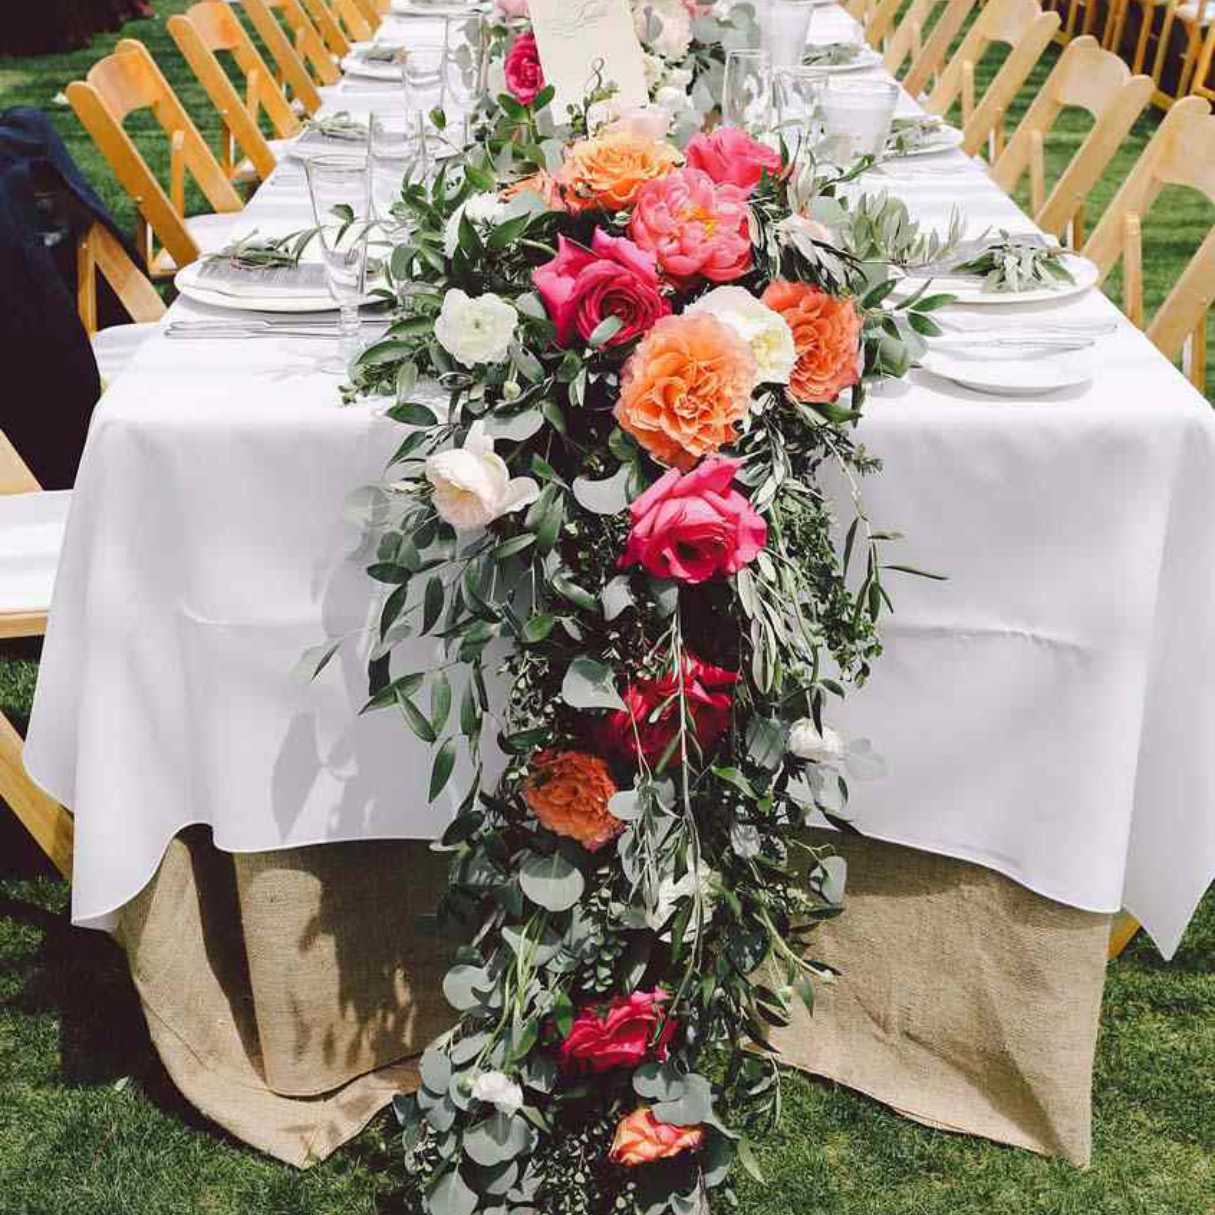
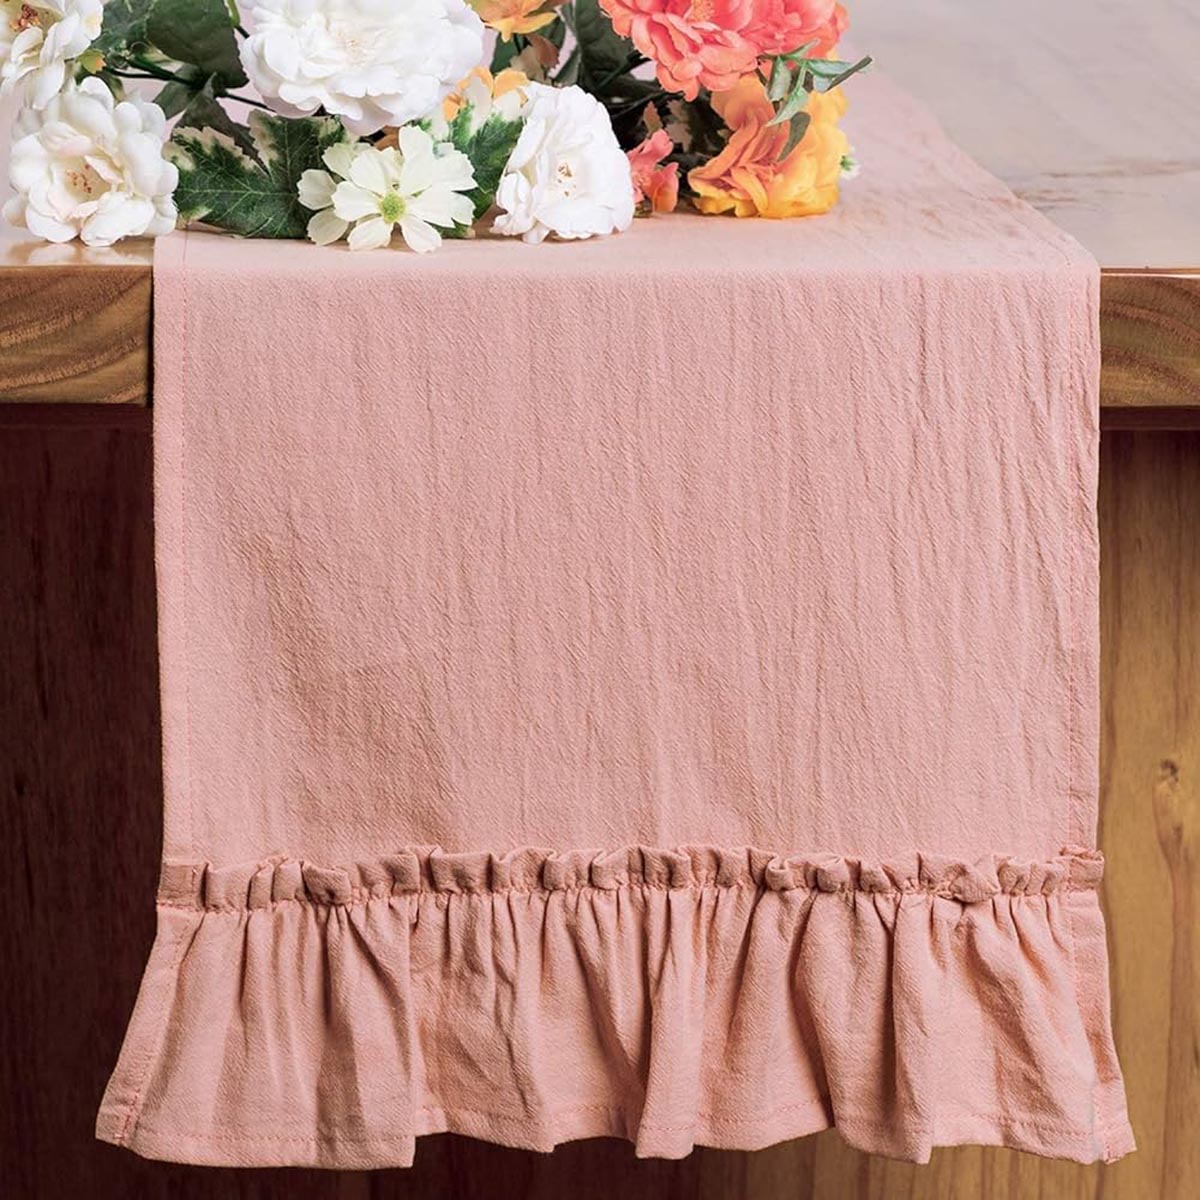
Table runners are a great way to add a touch of elegance and style to any dining table or event setup. And when it comes to table runners, lace is a timeless and classic choice. The delicate patterns and intricate designs of lace can instantly elevate the look of your table, creating a romantic and sophisticated ambiance.
In this article, we will guide you step-by-step on how to make your own lace table runners. Whether you’re hosting a special dinner party, a wedding reception, or simply want to add a touch of charm to your everyday table setting, crafting your own lace table runner is a wonderful DIY project that allows you to personalize your table decor.
Creating your own lace table runner not only gives you the freedom to choose the lace pattern and design that suits your aesthetic taste, but it also allows you to customize the dimensions to perfectly fit your table. So let’s gather our materials and get started on this fun and creative endeavor!
Important note: Before diving into the process of making a lace table runner, it’s essential to have basic sewing skills and access to a sewing machine. If you’re a beginner, we recommend starting with a simple lace pattern and practicing your sewing techniques before tackling more intricate designs.
Key Takeaways:
- Elevate your table decor with a personalized lace table runner, adding elegance and charm to any dining or event setup. Customizable dimensions and embellishments allow for a truly unique and stylish creation.
- Crafting a lace table runner is a rewarding DIY project, offering the opportunity to showcase your creativity and sewing skills. From choosing the perfect lace to adding decorative touches, each step contributes to a beautiful and timeless table decor.
Read more: How To Make Burlap Table Runners With Lace
Materials Needed
Before embarking on your lace table runner project, gather the following materials:
- Lace fabric: Choose a lace fabric that matches your desired aesthetic. Opt for a fabric that is wide enough to cover the length of your table and has a pleasing design.
- Scissors: A pair of sharp fabric scissors will be needed to cut the lace to the desired dimensions.
- Measuring tape: This tool will help you measure the length and width of your table to determine the size of the table runner.
- Sewing machine: Having access to a sewing machine will facilitate the process of sewing the lace pieces together.
- Thread: Select a thread that matches the color of your lace to ensure seamless stitching.
- Sewing pins: These will be used to hold the lace fabric in place while sewing.
- Iron and ironing board: Ironing the lace will help create crisp edges and smooth out any wrinkles.
- Optional: Embellishments such as pearls, beads, or ribbon, to add extra decorative touches to your lace table runner.
Once you have gathered all the necessary materials, you’re ready to move on to the next step in creating your lace table runner.
Step 1: Choosing the Lace
The first step in creating your lace table runner is selecting the lace fabric. Lace comes in a variety of patterns, from floral to geometric, and in various colors. Consider the overall theme or style you want to achieve for your table setting and choose a lace fabric that complements it.
When selecting the lace, pay attention to the width and length of the fabric. Ensure that it is wide enough to cover the length of your table and have some overhang on either side for a visually appealing look. Measure the width of your table and add a few inches to each side to determine the appropriate width of the lace.
Additionally, consider the drape of the lace. Some laces are more stiff and structured, while others are soft and flowy. The drape of the lace will affect how it lays on the table and the overall aesthetic. Choose a lace fabric that suits your preference and the ambiance you want to create.
Lastly, think about the maintenance aspect. Lace can be delicate and may require special care when cleaning. If you anticipate frequent use of the table runner, choose a lace fabric that is easy to clean or consider using a protective cover over the runner during meals.
Once you have carefully selected the lace fabric that matches your vision, it’s time to move on to the next step: measuring and cutting the lace.
Step 2: Measuring and Cutting the Lace
Now that you have chosen the lace fabric, it’s time to measure and cut it to the desired dimensions for your table runner. Follow these steps to ensure a precise fit:
- Measure the length of your table: Use a measuring tape to determine the length of your table. Decide whether you want the table runner to hang over the edges or simply cover the top surface. Add a few inches on each end for a graceful overhang.
- Measure the width of your table: Depending on your preference, you may want the lace table runner to cover the full width of the table or simply run down the center. Measure accordingly.
- Transfer measurements to the lace fabric: Place the lace fabric on a flat surface and use a fabric marker or chalk to mark the measurements. Use a ruler or straight edge to ensure straight lines if needed.
- Cut the lace fabric: Carefully cut along the marked lines using sharp fabric scissors. Take your time to ensure clean and precise cuts.
Remember, it’s always better to cut the lace fabric slightly longer than you anticipate needing. You can trim it later if needed, but it’s challenging to add length once it’s been cut.
Once you have cut the lace fabric to the desired dimensions, you are ready to move on to the next step: hemming the edges of the lace.
Step 3: Hemming the Edges of the Lace
After cutting the lace fabric to the correct dimensions, it’s time to hem the edges to give them a clean and finished look. Hemming will prevent fraying and ensure the longevity of your lace table runner.
- Prepare your sewing machine: Set up your sewing machine with matching thread. If you prefer, use a contrasting thread for a decorative touch.
- Fold over the edges: Start by folding over the raw edge of the lace fabric about ¼ inch towards the wrong side. Pin the fold in place with sewing pins.
- Sew the hems: Using a straight stitch, sew along the folded edge to secure the hem. Be sure to backstitch at the beginning and end of each seam for added durability.
- Trim any excess fabric: Once you’ve sewn the hems, trim any excess fabric that may extend beyond the hemline. Be careful not to cut into the stitches.
- Iron the lace: Finally, use a low-heat setting on your iron to press the lace table runner. This will help smooth out any wrinkles and create a polished look.
Hemming the edges of the lace will not only prevent fraying but also add a professional touch to your table runner. Take your time and ensure that the hems are sewn evenly and securely.
Now that you have hemmed the edges of the lace fabric, it’s time to move on to step 4: adding embellishments and decorative touches to your table runner, if desired.
When making lace table runners, be sure to use a high-quality lace fabric that is durable and easy to work with. It’s also important to measure your table accurately to ensure the runner fits perfectly.
Read more: How To Store Shoe Laces
Step 4: Embellishments and Decorative Touches
If you want to take your lace table runner to the next level, you can add embellishments and decorative touches to enhance its visual appeal. This step is optional and entirely dependent on your personal style and preferences. Here are a few ideas to consider:
- Trims or ribbons: Attach decorative trims or ribbons along the edges of the lace to add a contrasting or coordinating color. This can give your table runner a more defined and finished look.
- Pearls or beads: Sewing small pearls or beads onto the lace can create a glamorous and elegant effect. You can place them sporadically or create a pattern for added visual interest.
- Lace appliqués: If you have extra lace fabric or lace scraps, you can cut out small appliqués and hand-stitch them onto the table runner. This adds texture and dimension to the design.
- Embroidery: Consider adding delicate embroidery stitches to the lace for a personalized touch. You can create monograms, floral motifs, or any design that matches your overall theme.
When adding embellishments, be mindful of the overall aesthetic and avoid overcrowding the design. Less is often more when it comes to decorative elements on a lace table runner.
Take your time to plan out the placement and design of the embellishments before sewing them onto the lace fabric. Once you are satisfied with the decorative touches, it’s time to move on to step 5: sewing the lace pieces together, if applicable.
Step 5: Sewing the Lace Pieces Together
If you have chosen to create a wider lace table runner that requires multiple pieces of lace fabric, this step will guide you on sewing them together to create a seamless and cohesive look.
- Arrange the lace pieces: Place the lace pieces on a flat surface and align them together, ensuring that the pattern and design match seamlessly. Use sewing pins to hold the pieces in position.
- Join the lace pieces: With a sewing machine, stitch along the edges where the lace pieces meet. Use a straight stitch and carefully sew just inside the lace pattern to avoid visible stitches.
- Backstitch at the beginning and end: Remember to backstitch at the beginning and end of each seam to secure the stitches and prevent unraveling over time.
- Trim any excess thread: After sewing the lace pieces together, trim any excess thread using scissors. Be careful not to cut into the lace fabric.
Take your time when aligning and sewing the lace pieces together to ensure a seamless and professional-looking result. The goal is to create a table runner that appears as if it was made from a single piece of lace.
If you are working with a single piece of lace fabric and do not need to sew multiple pieces together, you can skip this step and move on to the next: pressing and finishing the table runner.
Step 6: Pressing and Finishing the Table Runner
After sewing the lace pieces together, or if you’re working with a single piece of lace fabric, it’s time to press and finish your table runner. This final step will ensure that your table runner looks polished and ready to grace your table.
- Prepare your iron: Set your iron to a low-heat setting suitable for the type of lace fabric you are using. Different lace fabrics may have specific ironing requirements, so refer to the fabric’s care instructions if needed.
- Press the table runner: Lay the lace table runner flat on the ironing board. Gently place the iron on the lace, applying light pressure. Make sure to move the iron in a smooth motion to prevent any damage to the delicate fabric.
- Focus on the edges: Pay extra attention to pressing the hemmed edges of the lace to create crisp and defined lines. This step will give your table runner a professional finish.
- Inspect for any loose threads or imperfections: Take a few moments to examine the table runner for any loose threads or imperfections. Trim any stray threads or make any necessary repairs before using or displaying your finished table runner.
Pressing the lace will not only remove any wrinkles but also help set the hems and create a smooth and even appearance. By taking the time to properly finish your table runner, you’ll ensure that it looks its best when adorning your table.
Once you have pressed and inspected your lace table runner, congratulations are in order! You have successfully created a beautiful and customizable lace table runner that will add a touch of elegance to your dining table or event setup.
Now it’s time to display your creation and impress your guests with your DIY talent. Enjoy your new lace table runner and the ambiance it brings to your space!
Conclusion
Crafting your own lace table runner is a rewarding and creative project that allows you to add a personal touch to your table decor. By following the steps outlined in this guide, you have learned how to choose the perfect lace, measure and cut the fabric, hem the edges, add embellishments, sew the pieces together (if applicable), and finish your table runner with precision.
A lace table runner adds a touch of elegance and sophistication to any dining table or event setup. Its delicate patterns and intricate designs create a romantic and timeless ambiance, making your table setting truly memorable.
Remember, when choosing lace, consider the width, drape, and maintenance of the fabric. Take your time to measure and cut the lace to fit your table dimensions, ensuring a perfect fit. Hemming the edges will prevent fraying and give your table runner a professional finish.
If you desire, you can elevate your lace table runner further with embellishments such as trims, pearls, beads, or embroidery. These decorative touches allow you to customize your table runner to match your personal style and the overall theme of your event or dining experience.
Whether you’re hosting a special dinner party, a wedding reception, or simply want to add an element of charm to your everyday table setting, a lace table runner is a versatile and elegant choice. It effortlessly transforms any table into a stylish and inviting space.
Now that you have completed your lace table runner, don’t forget to press and thoroughly inspect it for any loose threads or imperfections. This final step ensures that your table runner looks its best and ready to adorn your table with grace.
Enjoy the beauty and charm that your lace table runner brings to your dining experience. Impress your guests with your handcrafted creation and bask in the satisfaction of knowing that you have added a touch of your personal style to your table decor.
So gather your materials, let your creativity flow, and enjoy the journey of making your own lace table runner. Happy crafting!
Frequently Asked Questions about How To Make Lace Table Runners
Was this page helpful?
At Storables.com, we guarantee accurate and reliable information. Our content, validated by Expert Board Contributors, is crafted following stringent Editorial Policies. We're committed to providing you with well-researched, expert-backed insights for all your informational needs.


0 thoughts on “How To Make Lace Table Runners”