Home>Dining>Table Decor>How To Make Tree Branch Centerpieces
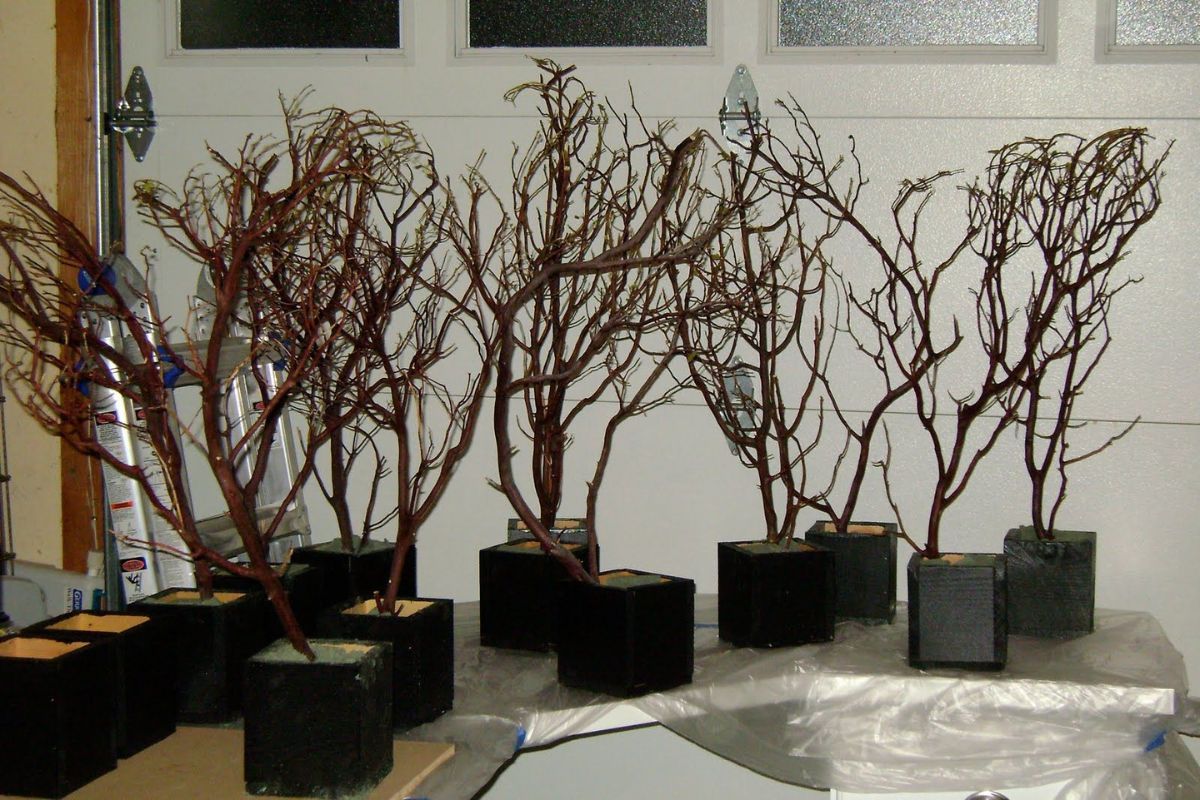
Table Decor
How To Make Tree Branch Centerpieces
Modified: March 1, 2024
Learn how to create stunning tree branch centerpieces for your table decor. Get step-by-step instructions and inspiration to make your event truly memorable.
(Many of the links in this article redirect to a specific reviewed product. Your purchase of these products through affiliate links helps to generate commission for Storables.com, at no extra cost. Learn more)
Introduction
When it comes to decorating your table, an eye-catching centerpiece can make all the difference. While flowers and candles are popular choices, why not add a touch of nature with tree branch centerpieces? These unique and rustic creations bring a natural elegance to any table setting, whether it’s for a wedding, a dinner party, or simply to create a cozy atmosphere at home.
In this article, we will guide you through the process of making your own tree branch centerpieces. From selecting the perfect branches to assembling the final centerpiece, we will provide you with all the steps and tips you need to create a stunning and personalized table decoration.
Before we dive into the details, it’s important to note that tree branch centerpieces can be customized to match any style or theme. Whether you prefer a minimalistic design with sleek branches or a whimsical arrangement with intertwined vines, the possibilities are endless. With a little creativity and some basic materials, you can transform simple tree branches into captivating centerpieces that will impress your guests.
So, let’s get started on this crafty journey of creating beautiful and charming tree branch centerpieces that will be the talk of the table!
Key Takeaways:
- Embrace nature’s beauty and creativity by crafting unique tree branch centerpieces to elevate your table decor for any occasion, from weddings to cozy home settings.
- Personalize your centerpieces with seasonal elements, height variations, and other natural accents to create visually stunning and sensory-rich table decorations that reflect your style and event theme.
Read more: How To Use Tree Branches For Home Decor
Selecting Tree Branches
The first step in creating tree branch centerpieces is selecting the right branches. When choosing branches, consider the size, shape, and overall condition to ensure they are suitable for your project. Here are some tips to help you select the perfect branches:
- Size: Look for branches that are proportionate to the size of your table. Avoid branches that are too short or too long, as they may not fit well or may overpower the centerpiece. Ideally, aim for branches that are around 1-2 feet in length.
- Shape: Consider the shape of the branches and how they will fit into your desired centerpiece design. Some branches may have interesting curves or twists that can add visual interest to your arrangement.
- Condition: Inspect the branches for any signs of damage, such as cracks, splits, or rot. Choose branches that are sturdy and in good condition, as they will be more durable and will hold up better throughout your event.
- Species: Different tree species offer different aesthetics. Consider the overall look and feel you want to achieve and select branches from trees that complement your style. For example, birch branches offer a light and elegant look, while willow branches provide a more whimsical and romantic feel.
- Harvesting: If you plan on collecting branches from your own yard or a local forest, make sure to do so ethically and responsibly. Avoid damaging trees or taking branches that are essential for the health of the tree.
Once you have chosen your branches, it’s time to move on to the next step: preparing the branches for decoration.
Preparing the Branches
Before you begin decorating your tree branches, it’s important to prepare them properly. This step ensures that the branches are clean, free from any pests or debris, and ready to be transformed into stunning centerpieces. Follow these steps to prepare your branches:
- Cleaning: Start by gently brushing off any loose dirt or debris from the branches. You can use a soft-bristle brush or a clean cloth to wipe away any surface dirt.
- Trimming: Inspect the branches and trim away any small twigs or leaves that may hinder the design or make the centerpiece look messy. Use pruning shears or a sharp knife to carefully remove these unwanted elements.
- Sanitizing: To ensure your branches are free from any pests or diseases, it’s recommended to sanitize them. You can do this by soaking the branches in a mixture of water and mild dish soap for about 10-15 minutes. Then, rinse them thoroughly with clean water and pat them dry with a towel.
- Smoothness: If you prefer a smoother texture for your branches, you can gently sand them using fine-grit sandpaper. This will remove any rough spots or bark and give the branches a more polished appearance.
- Preserving: If you want to preserve the natural color of the branches or prevent them from drying out and cracking, you can apply a clear sealant or wood preservative. This step is optional but can extend the lifespan of your centerpiece.
Once you have completed these steps, your branches are now ready to be transformed into beautiful decorative elements. The next section will guide you on how to decorate the branches to suit your desired style and theme.
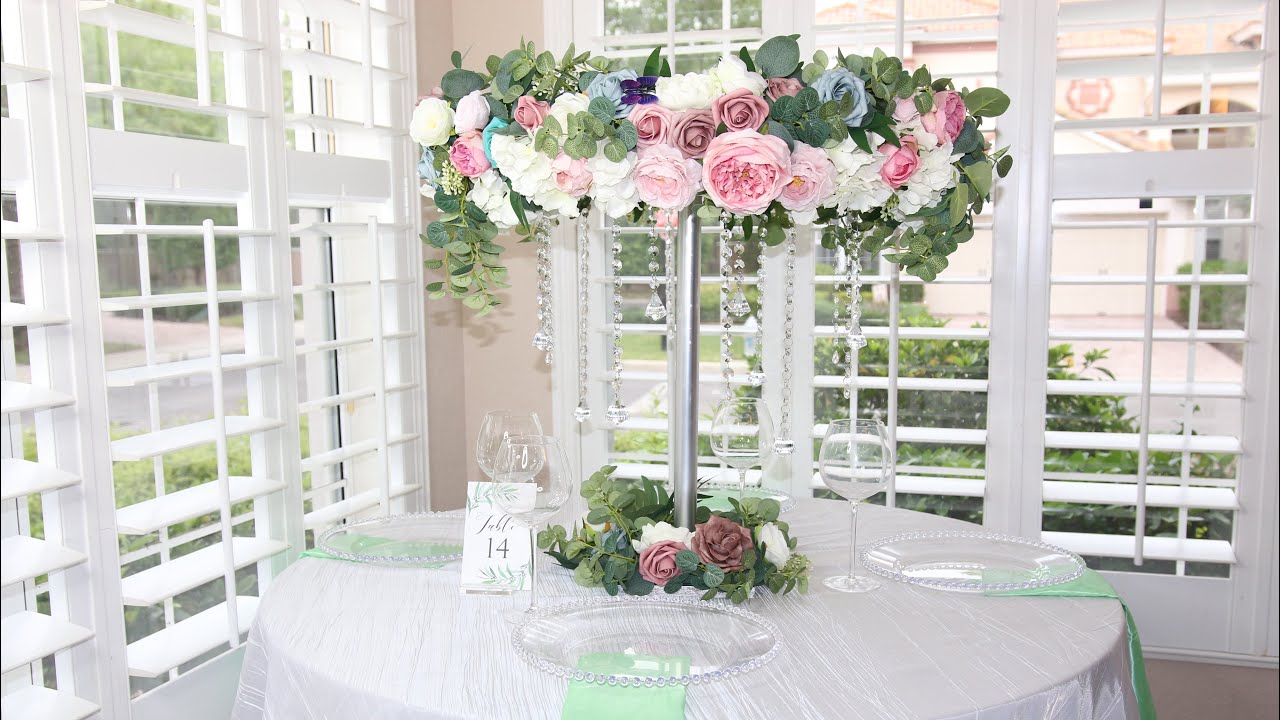
Decorating the Branches
Now that your branches are prepared, it’s time to add some decorative elements to enhance their beauty and tie them into your overall table decor. The decoration process allows you to personalize your tree branch centerpieces and make them truly unique. Here are some ideas for decorating your branches:
- Ribbon or Fabric: Wrap colorful ribbons or strips of fabric around the branches to add a pop of color and texture. You can choose ribbons that match your tablecloth or complement your event theme.
- Fairy Lights: String tiny fairy lights along the branches to create a magical and enchanting ambiance. These delicate lights will add a warm and twinkling glow to your centerpiece, especially in the evening or dimly lit settings.
- Ornaments: Attach small ornaments or decorative baubles to the branches, such as miniature birds, butterflies, or snowflakes. This is a great option for holiday-themed centerpieces or for adding a touch of whimsy to your decor.
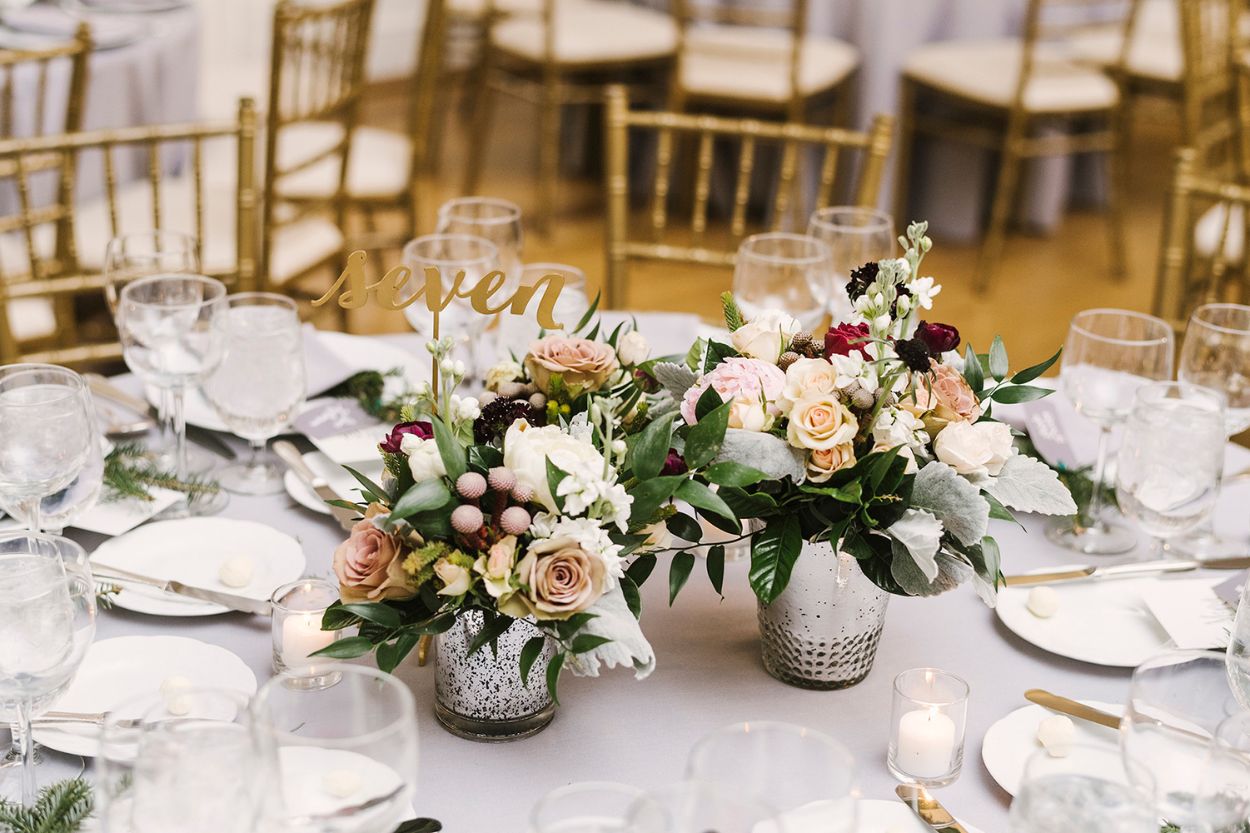
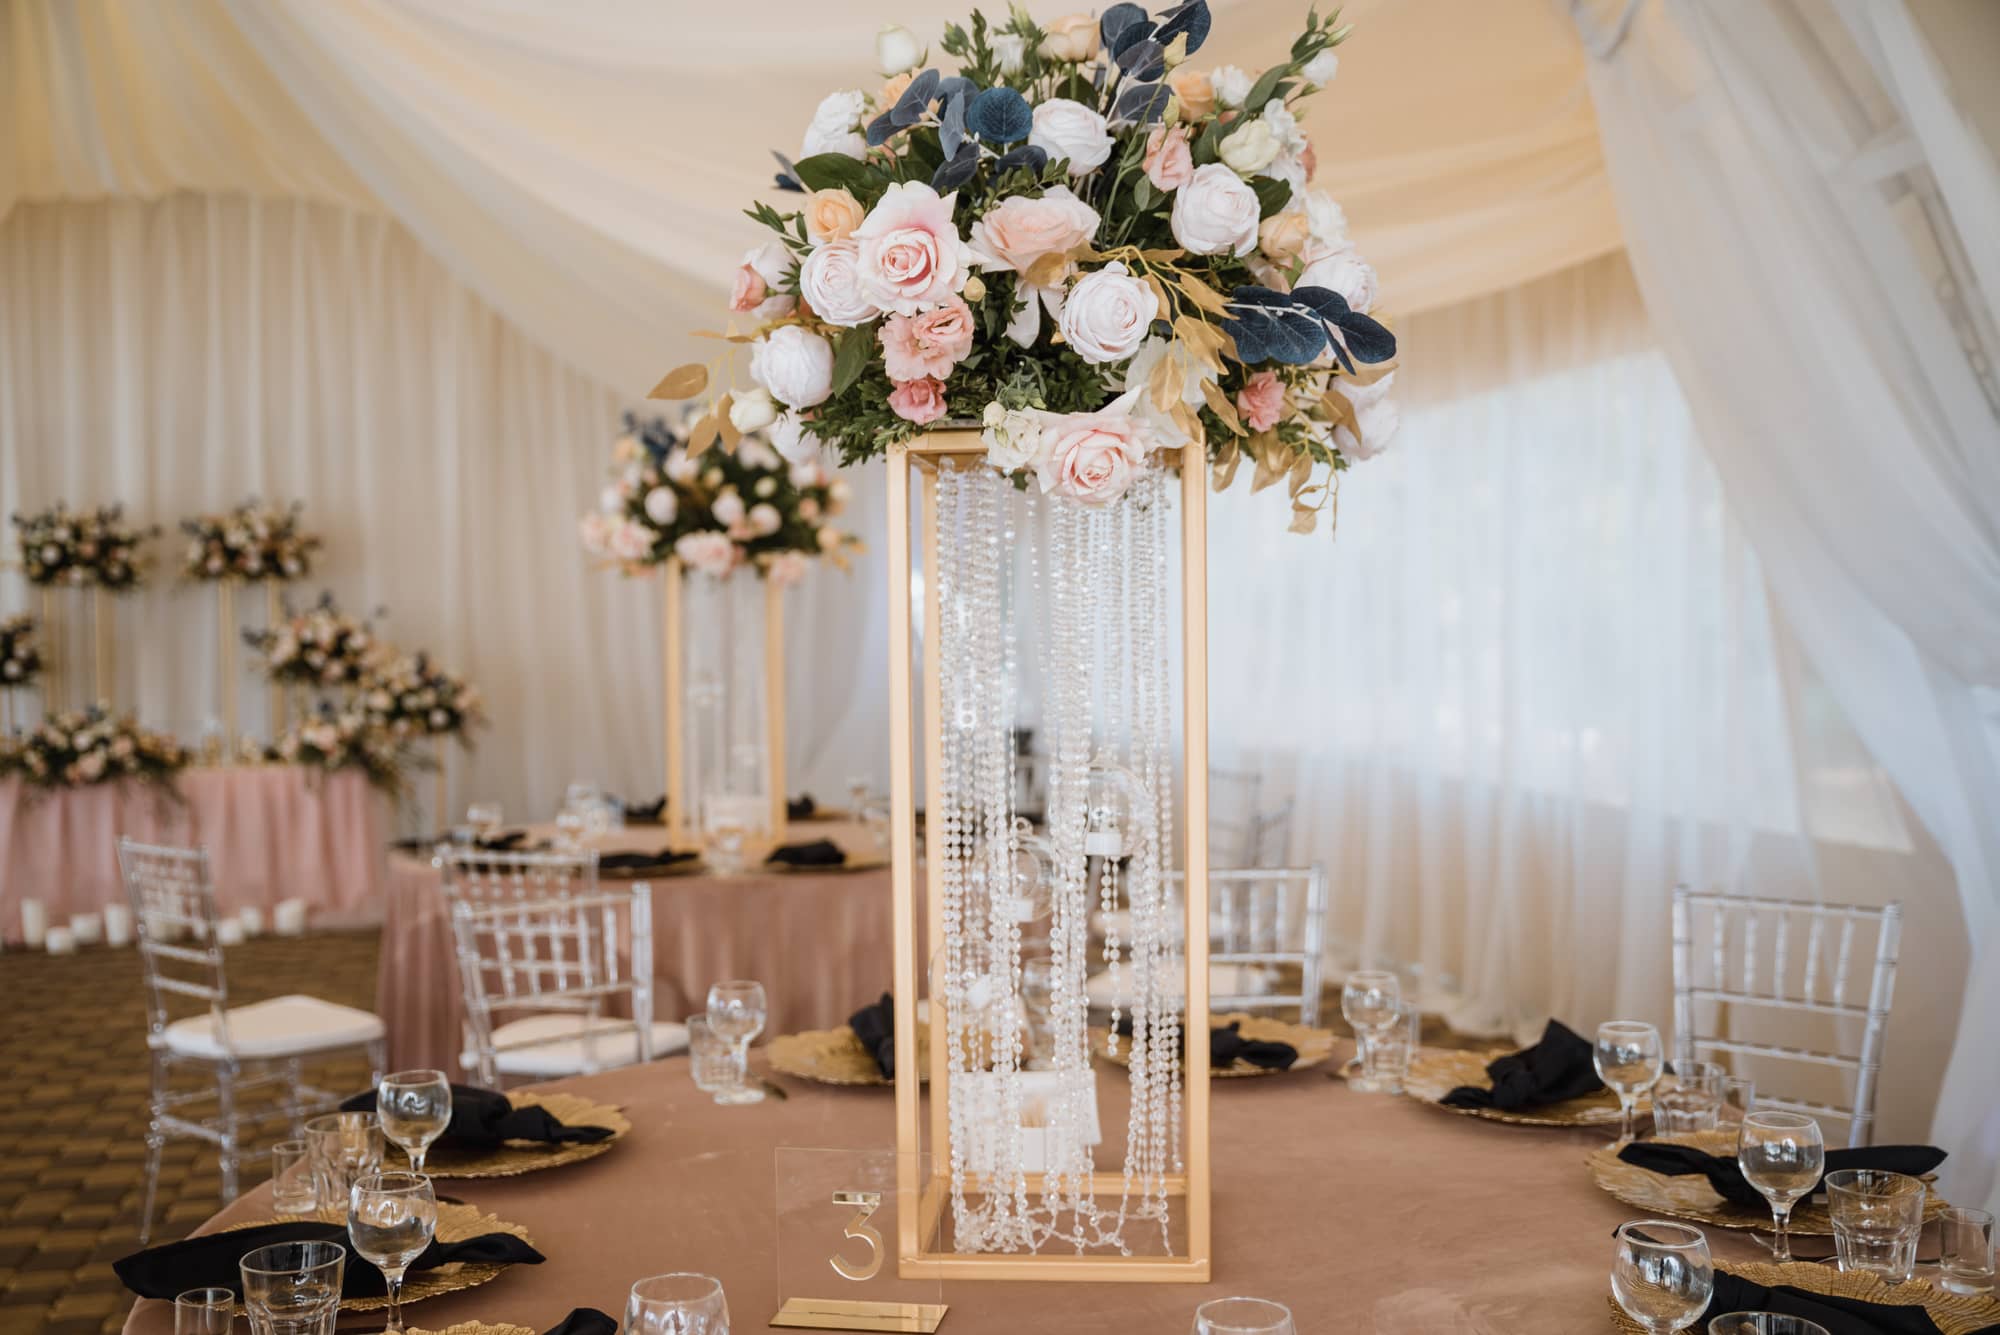
- Flowers: Adorn the branches with faux or fresh flowers that complement your color scheme. You can arrange them in small clusters or garlands to add a touch of elegance and softness to the branches.
- Hanging Decorations: Hang small tea light holders, crystals, or decorative charms from the branches using thin wire or clear fishing line. These dangling elements will add depth and visual interest to your centerpiece.
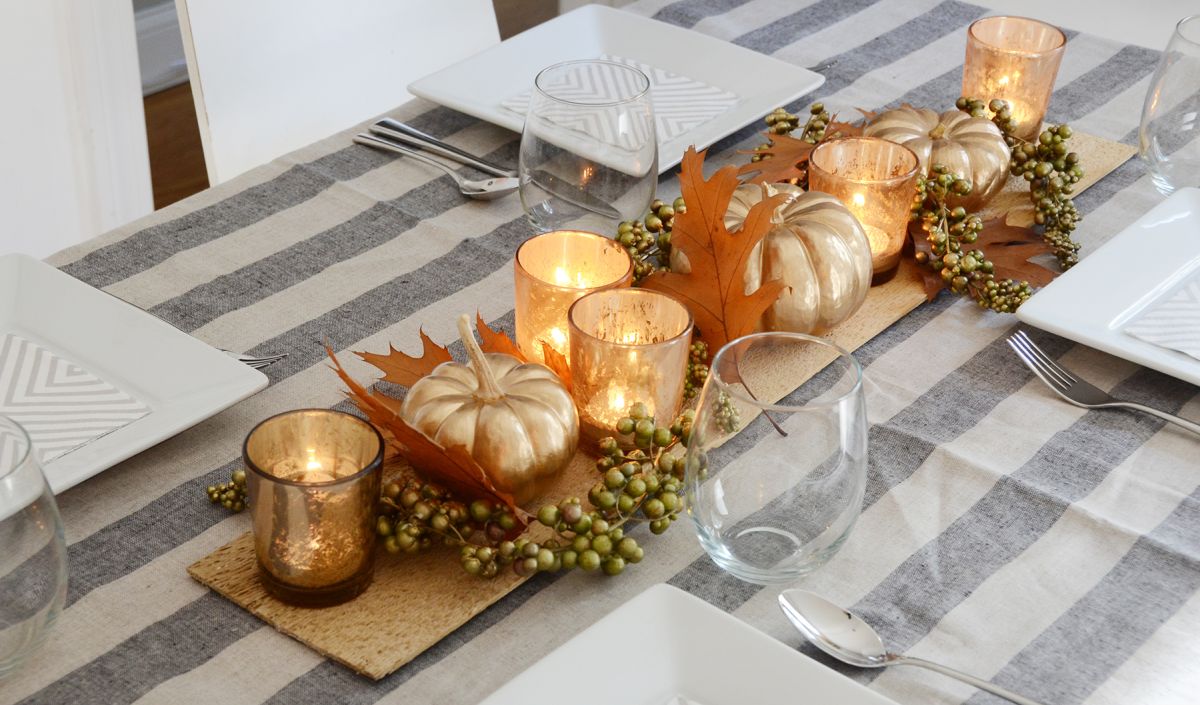
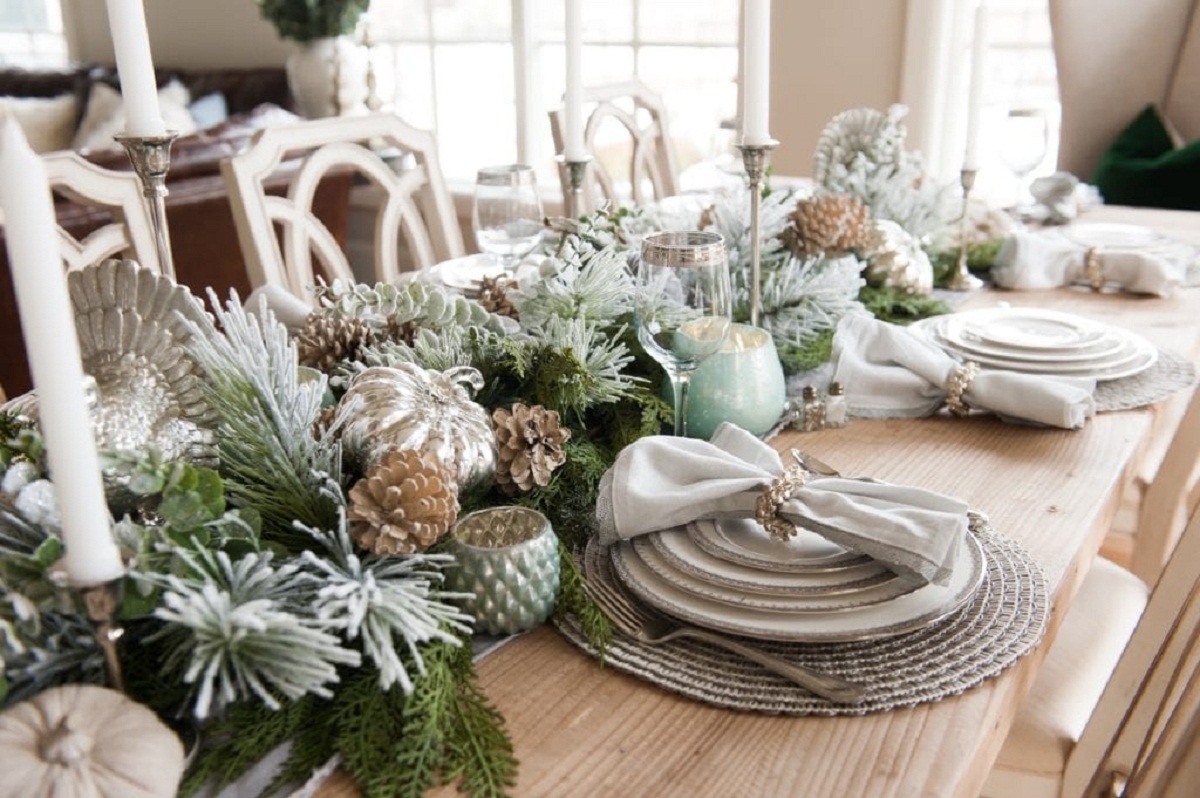
- Seasonal Accents: Incorporate seasonal elements that reflect the time of year. For example, you can add autumn leaves, pinecones, or small pumpkins for a fall-themed centerpiece, or delicate seashells for a beach-inspired table decor.
Feel free to mix and match these decoration ideas to create a centerpiece that perfectly suits your style and event theme. Be creative and experiment with different materials and textures to achieve the desired look. Once you are satisfied with the decorations, it’s time to move on to the next step: creating the base for your centerpiece.
When creating tree branch centerpieces, consider using a variety of branch sizes and textures for visual interest. This will add depth and dimension to your arrangement.
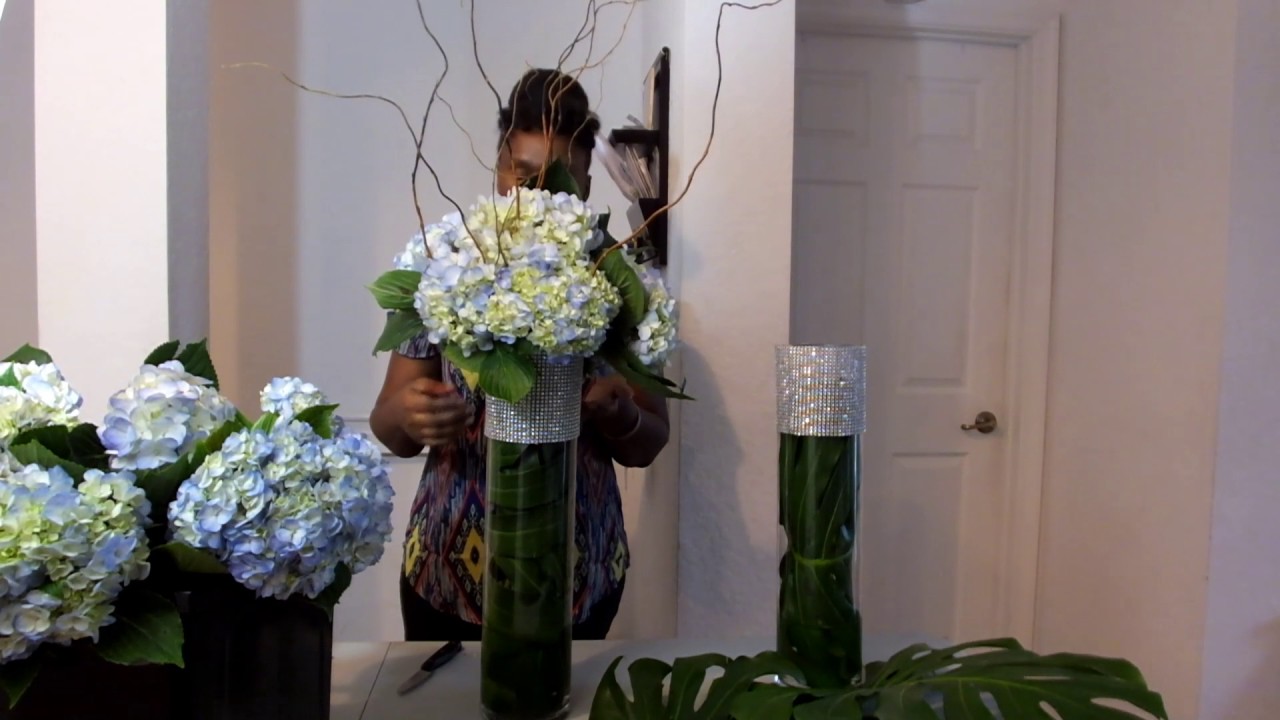
Creating the Base
The base of your tree branch centerpiece serves as a foundation and adds stability to the arrangement. It also provides an opportunity to further customize the look of your centerpiece. Here are a few options for creating the base:
- Vase or Jar: Place the branches in a decorative vase or jar filled with water, stones, or colored sand. This classic option works well for a clean and elegant look. You can choose a vase that matches your table decor or opt for a clear glass container to showcase the branches.
- Basket or Container: If you prefer a more rustic or natural look, consider using a woven basket or a wooden box as the base for your centerpiece. Line the bottom of the container with floral foam or arrange the branches directly in the container, securing them with rocks or floral wire for stability.
- Tree Stump: For a truly rustic and earthy vibe, use a tree stump as the base of your centerpiece. Look for a flat and sturdy stump that can hold the branches securely. You can further embellish the stump with moss, twine, or other natural elements.
- Platter or Tray: Arrange the branches on a decorative platter or tray, adding ornaments, candles, or other small accents around the branches to create a cohesive look. This option is versatile and works well for various table settings.
- Wreath or Ring: Create a circular base using a wreath or floral foam ring. Secure the branches to the ring, and optionally, add additional foliage, flowers, or decorative elements to enhance the design.
Remember to consider the size and shape of the base in relation to your branches and table size. You want to ensure that the base provides enough stability to support the branches without overwhelming the overall centerpiece.
Once you have chosen and prepared your base, it’s time to assemble your tree branch centerpiece. Let’s move on to the next step!
Read more: How To Make Centerpieces With Candy
Assembling the Centerpiece
Now that you have selected your branches, decorated them, and created the base, it’s time to assemble your tree branch centerpiece. Follow these steps to create a beautiful and cohesive arrangement:
- Arrange the branches: Start by placing the branches into the base that you have prepared. Experiment with different angles and heights to create visual interest and balance. You can overlap the branches, crisscross them, or arrange them in a fan shape to achieve the desired look.
- Secure the branches: Once you have arranged the branches to your liking, secure them in place. If you are using a vase or jar, make sure the branches are stable and won’t tip over. If needed, add more water, stones, or sand to secure them. If you used a floral foam-based base, ensure the branches are pushed firmly into the foam to anchor them.
- Add finishing touches: Take a step back and assess the overall appearance of your centerpiece. Make any necessary adjustments to ensure the branches are evenly spaced and well-balanced. Add any additional decorative elements, such as ribbons, flowers, or ornaments, to enhance the overall design.
- Clean up: Once you are satisfied with the arrangement, gently wipe away any fingerprints or smudges on the vase or base. Remove any stray leaves or debris that may have fallen during the assembly process.
After completing these steps, your tree branch centerpiece is ready to be placed on your table or displayed in your desired location. It’s a good idea to double-check the stability of the centerpiece and make sure it is secure before moving or transporting it.
Remember, each centerpiece you create will be unique and reflect your personal style. Don’t be afraid to experiment and adapt the steps to suit your preferences and the overall theme of your event. The beauty of DIY centerpieces is that you have the creative freedom to make them exactly as you envision!
Tips and Variations
As you embark on your journey of creating tree branch centerpieces, consider these additional tips and variations to further enhance your designs:
- Mix and match: Combine different types of branches to add depth and texture to your centerpiece. You can use branches with varying thickness, colors, or shapes to create a visually appealing arrangement.
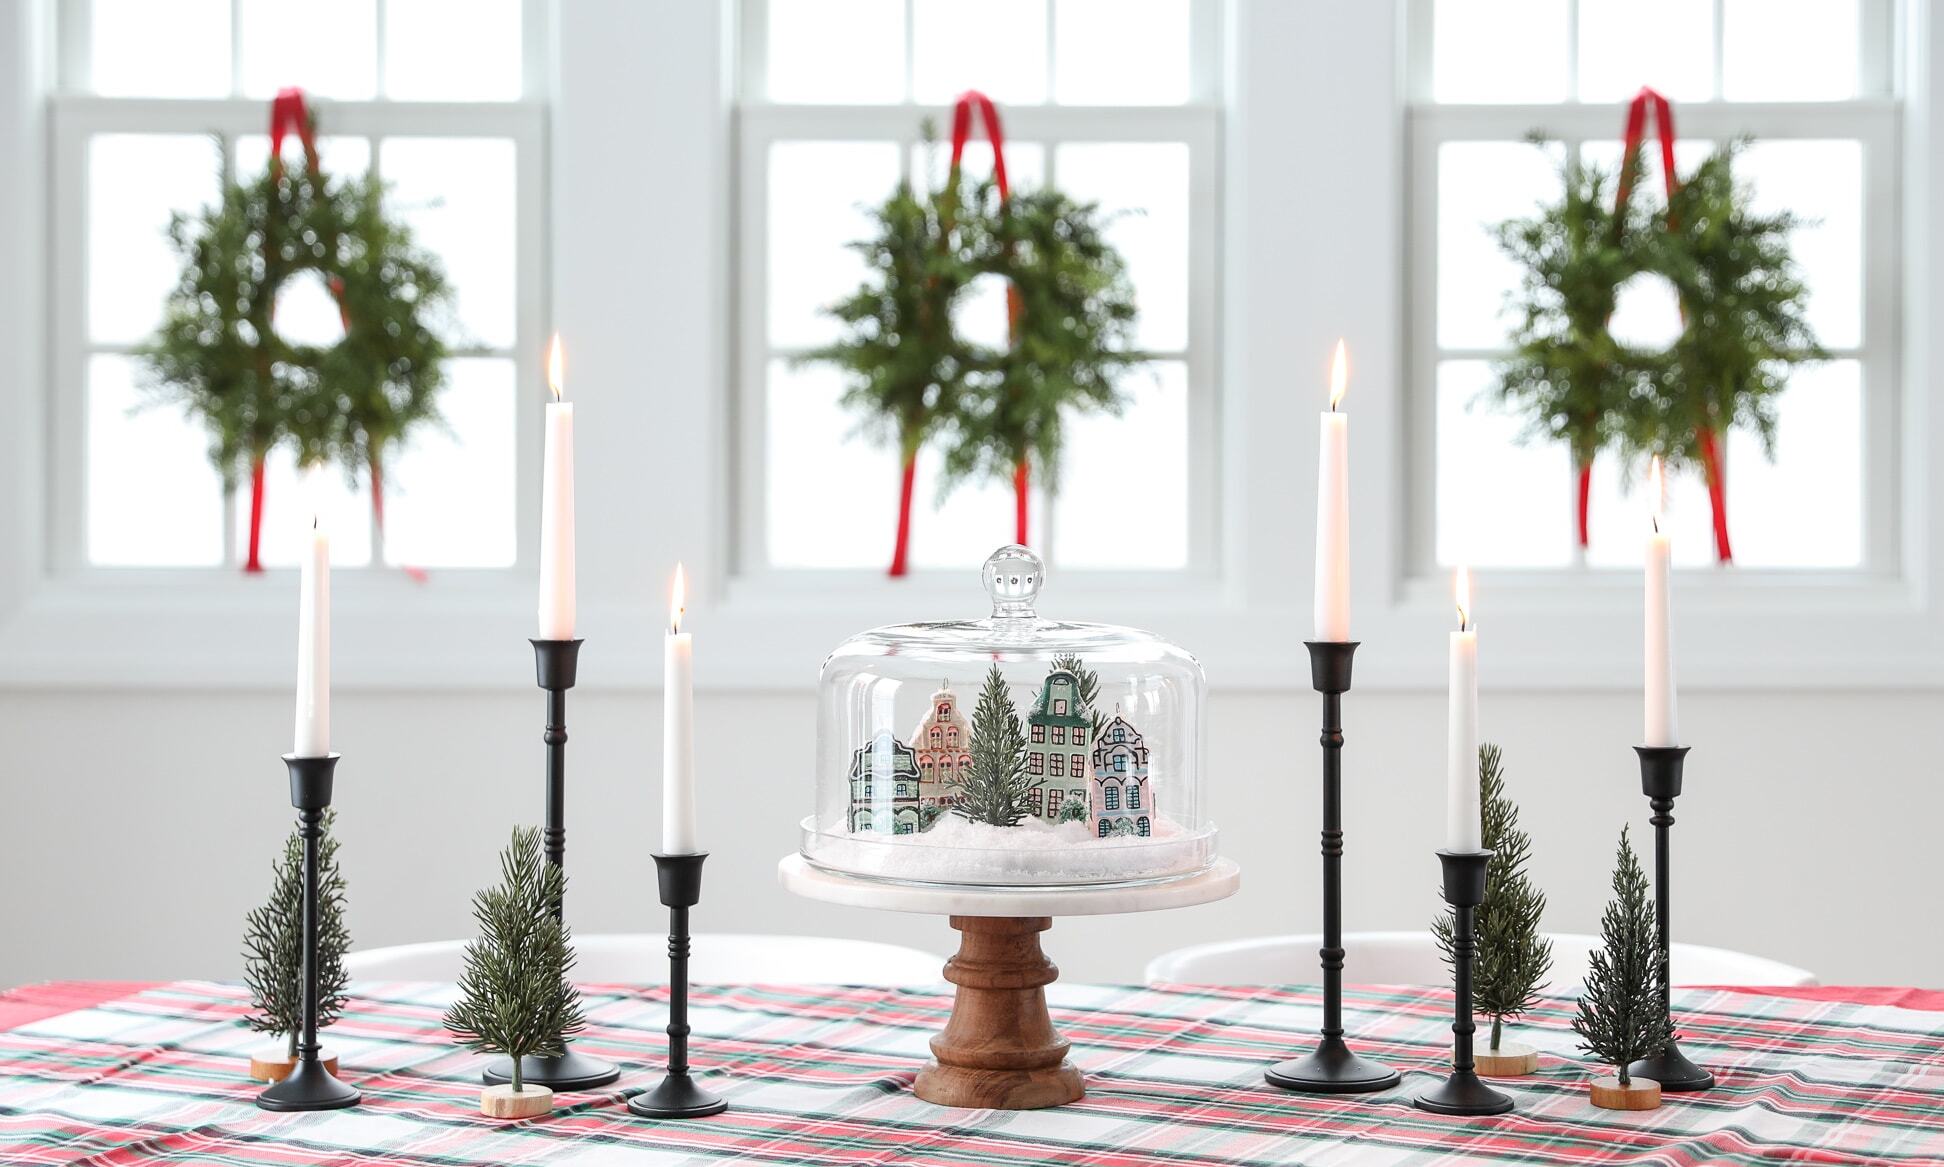
- Seasonal elements: Incorporate seasonal elements that reflect the time of year. For example, you can add pinecones, holly berries, or dried leaves for a festive winter centerpiece, or fresh flowers and green foliage for a vibrant spring arrangement.
- Painted branches: Consider painting the branches in metallic or bold colors to match your event theme or decor. This can add a modern twist to your centerpiece and make it stand out.
- Integrate other natural elements: Besides branches, you can include other natural elements like moss, feathers, or shells to create a more organic and whimsical centerpiece.
- Height variation: Play with the height of the branches to create a dynamic and visually interesting centerpiece. You can cut some branches shorter and leave others longer to add dimension and movement.
- Personalize with photos or labels: Attach small photo frames or labels to the branches with mini clothespins to add a personal touch. This is a great option for events like weddings or milestone celebrations.
- Consider the scent: If you are using fresh branches or flowers, choose varieties with a pleasant scent to add an extra sensory element to your centerpiece.
- Adapt to different occasions: Tree branch centerpieces are versatile and can be adapted to various occasions, from weddings and parties to everyday table decorations. Adjust the colors, decorations, and base options to match the theme of your event.
Remember, the key is to let your creativity shine and customize your centerpieces to match your personal style and the ambiance you want to create. Have fun experimenting and don’t be afraid to think outside the box!
Conclusion
Creating tree branch centerpieces is a creative and rewarding way to add a touch of nature and elegance to your table decor. With a few simple steps and some imagination, you can transform ordinary branches into stunning and unique centerpieces that will impress your guests.
From selecting the right branches to decorating them with ribbons, lights, or ornaments, you have the freedom to design centerpieces that suit your style and event theme. The base you choose, whether it’s a vase, basket, or tree stump, further enhances the visual appeal and stability of your centerpiece.
Throughout the process, remember to consider seasonal elements, incorporate other natural elements, and personalize your centerpieces with photos or labels. Height variation, color choices, and scent can also add depth and sensory appeal to your designs.
As you embark on your DIY journey, don’t be afraid to experiment and let your creativity shine! Each centerpiece you create will be a unique expression of your style and personal touch. Whether you are planning a wedding, a dinner party, or simply want to add a cozy atmosphere to your home, tree branch centerpieces are a versatile and eye-catching choice.
We hope this guide has provided you with the inspiration and guidance you need to create stunning tree branch centerpieces. Remember to have fun, embrace your creativity, and enjoy the process of bringing nature’s beauty to your table!
Frequently Asked Questions about How To Make Tree Branch Centerpieces
Was this page helpful?
At Storables.com, we guarantee accurate and reliable information. Our content, validated by Expert Board Contributors, is crafted following stringent Editorial Policies. We're committed to providing you with well-researched, expert-backed insights for all your informational needs.


0 thoughts on “How To Make Tree Branch Centerpieces”