Home>Dining>Table Decor>How To Make Tulle Centerpieces
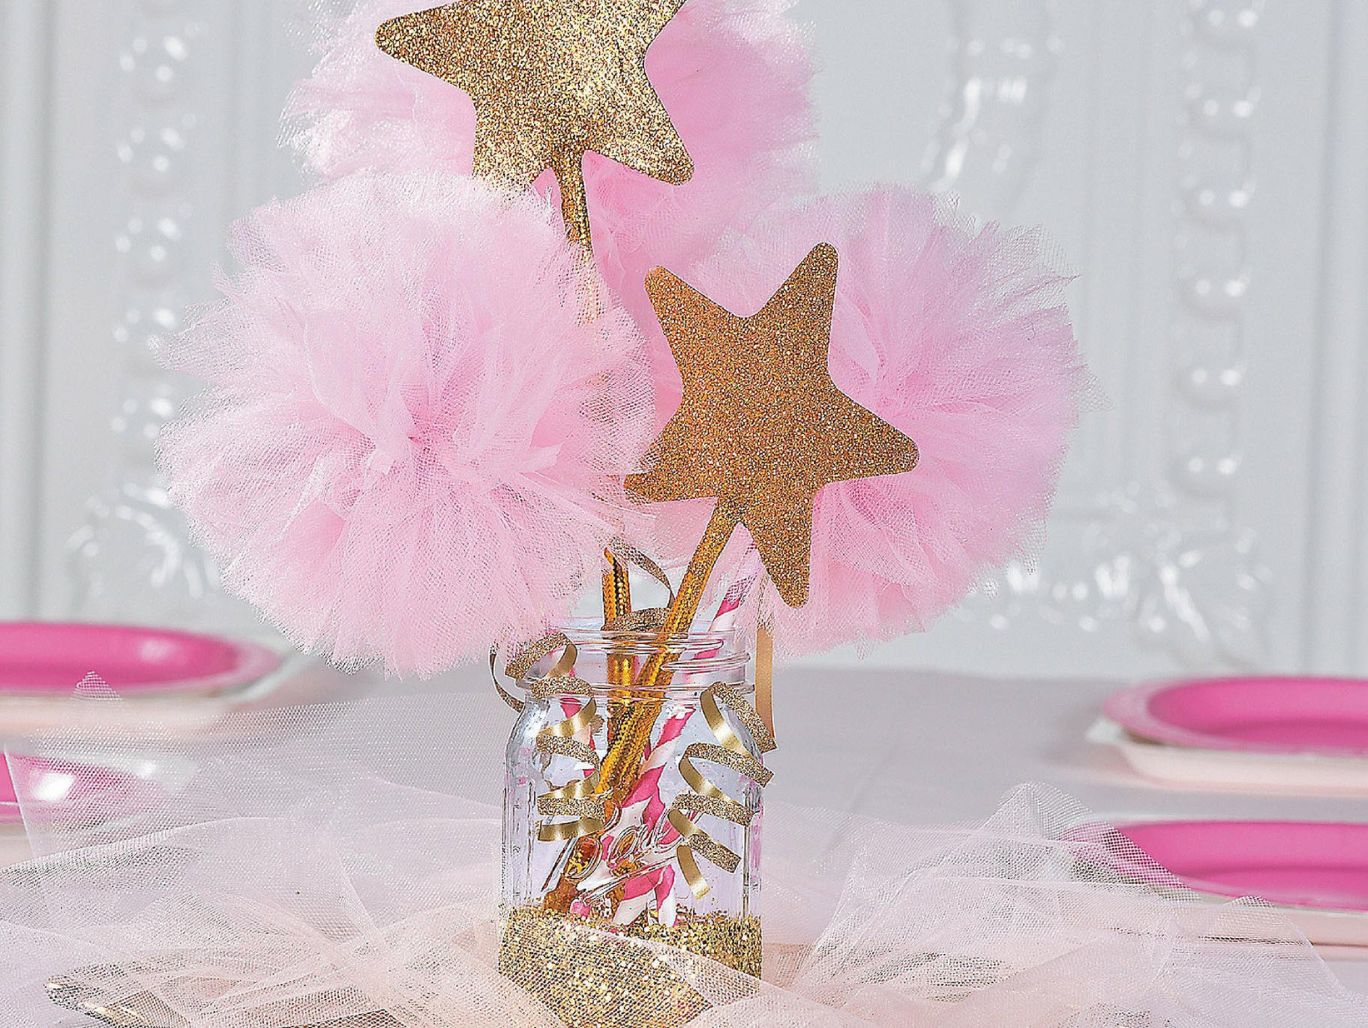
Table Decor
How To Make Tulle Centerpieces
Modified: October 28, 2024
Learn how to create stunning table-decor with tulle centerpieces. Perfect for weddings, parties, and special events. Step-by-step guide!
(Many of the links in this article redirect to a specific reviewed product. Your purchase of these products through affiliate links helps to generate commission for Storables.com, at no extra cost. Learn more)
Introduction
Welcome to the world of table décor! Whether you’re planning a wedding, a birthday party, or any other special occasion, centerpieces play a crucial role in setting the ambience and adding a touch of elegance to your event. While there are various types of centerpieces available, tulle centerpieces are a popular choice for their versatility and delicate beauty.
In this article, we will guide you through the process of creating stunning tulle centerpieces that will wow your guests and make your event truly memorable. With just a few materials and some creativity, you can design centerpieces that perfectly complement your theme and style.
Before we dive into the steps of making tulle centerpieces, let’s first gather the materials you will need:
Key Takeaways:
- Create stunning tulle centerpieces by choosing the right base, wrapping tulle with care, and adding personalized decorative elements for a unique and captivating table décor.
- Elevate your event with breathtaking tulle centerpieces, incorporating personal touches, varying heights, and theme-based embellishments to create a visually appealing and memorable ambiance.
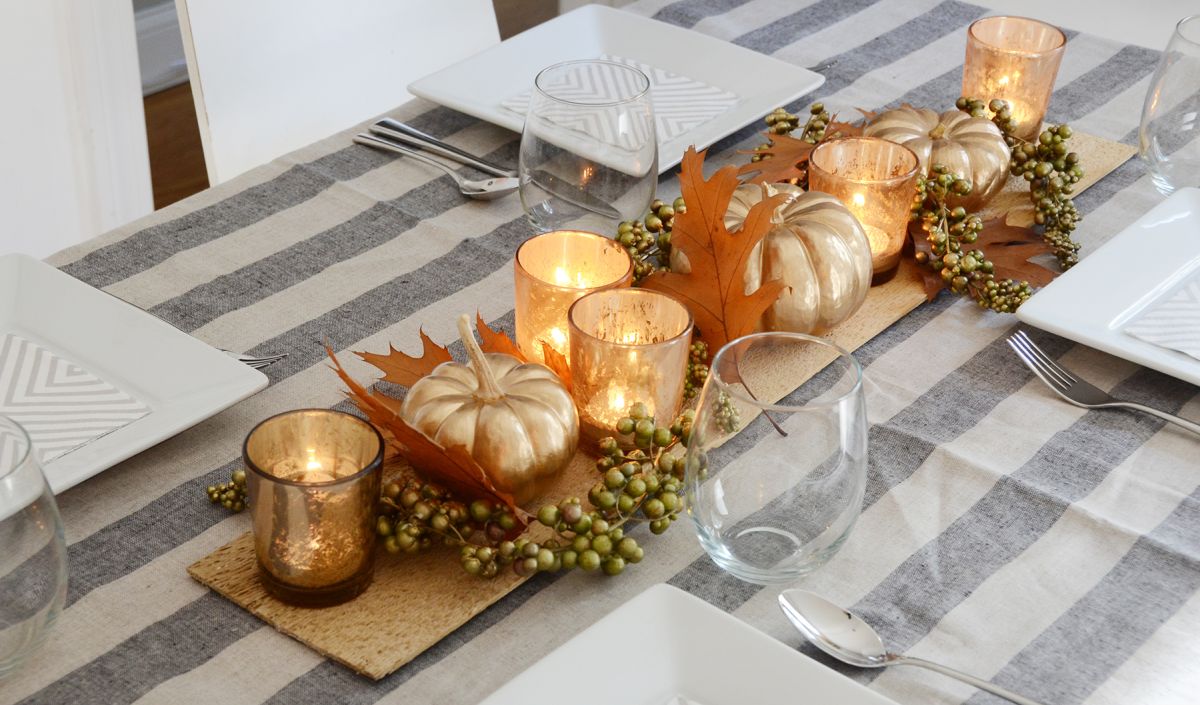
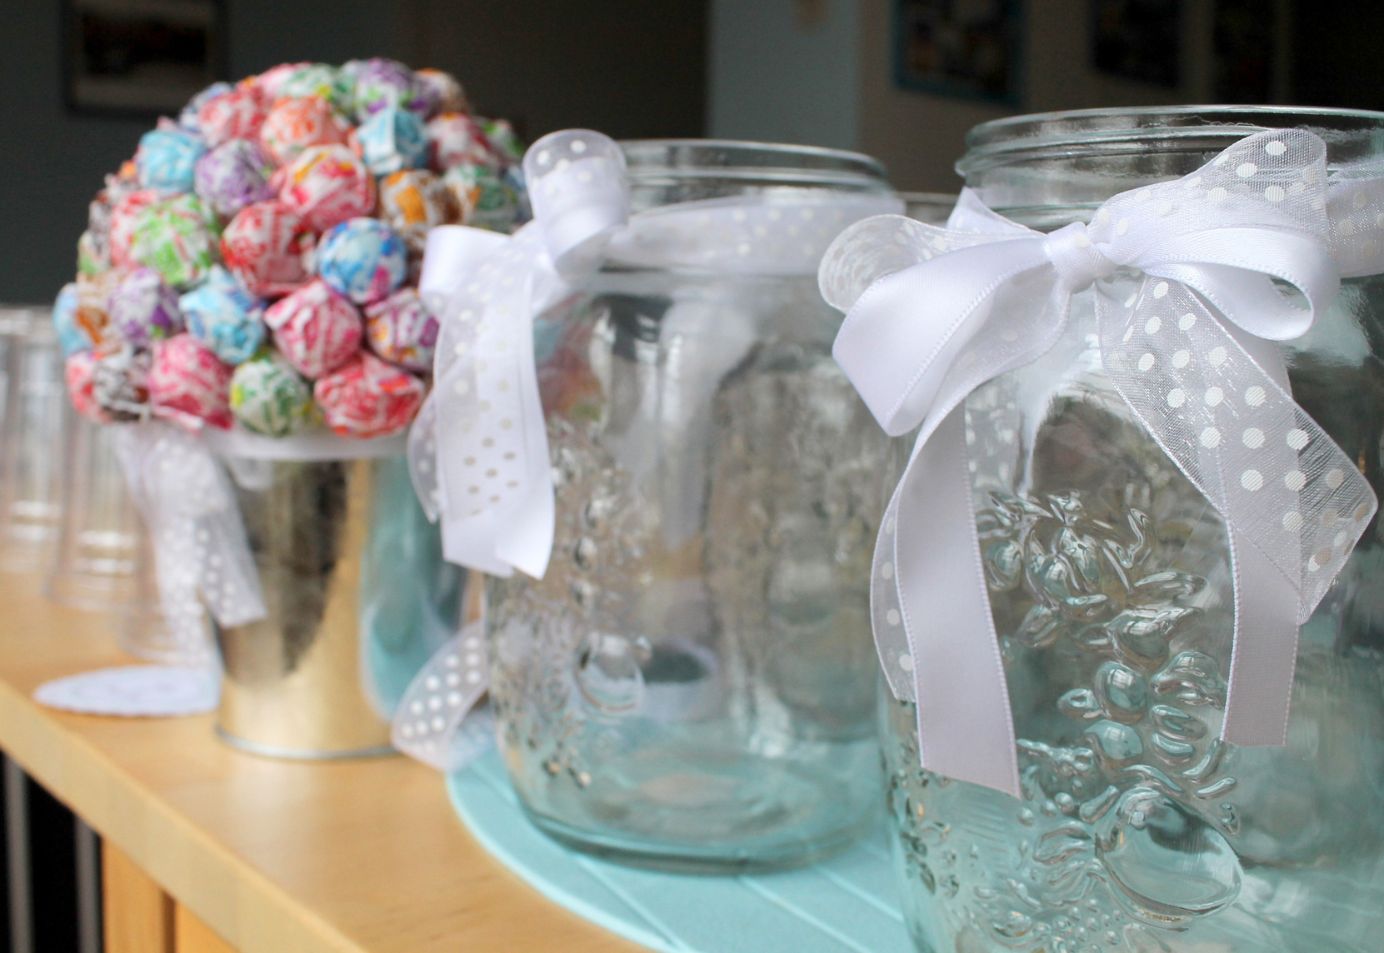
Read more: How To Make Centerpieces With Candy
Materials Needed
- Tulle fabric in your desired color(s)
- Scissors
- Base for the centerpiece (e.g., vase, foam ball, candle holder)
- Decorative elements (e.g., ribbon, flowers, beads, feathers)
- Hot glue gun (optional)
- Tablecloth or runner (optional)
Now that you have everything ready, let’s begin creating your tulle centerpieces!
Key Takeaways:
- Create stunning tulle centerpieces by choosing the right base, wrapping tulle with care, and adding personalized decorative elements for a unique and captivating table décor.
- Elevate your event with breathtaking tulle centerpieces, incorporating personal touches, varying heights, and theme-based embellishments to create a visually appealing and memorable ambiance.
Read more: How To Make Centerpieces With Candy
Materials Needed
To create stunning tulle centerpieces, you will need the following materials:
- Tulle fabric in your desired color(s): Tulle is a lightweight and sheer fabric that comes in various colors and textures. Choose colors that match your event’s theme or go for a classic white or ivory look. Consider using multiple colors for a more dramatic effect.
- Scissors: A sharp pair of scissors will be necessary for cutting the tulle fabric into strips or shapes.
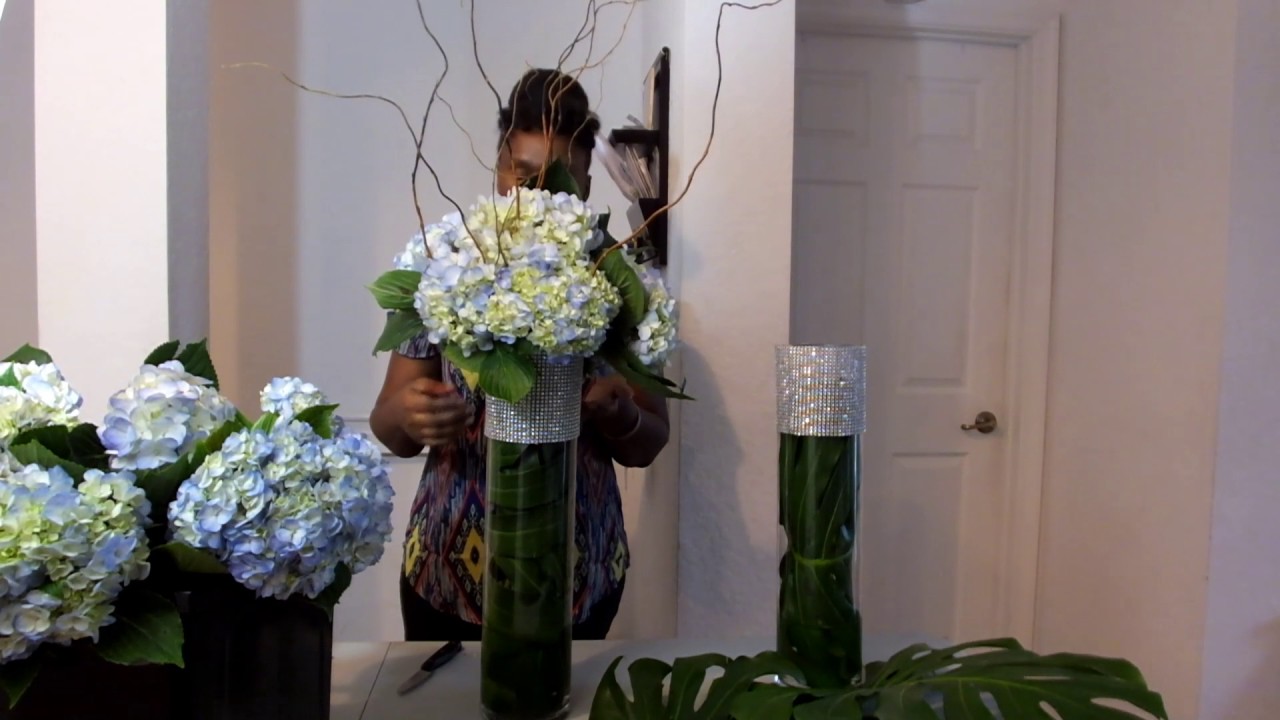
- Base for the centerpiece: You will need a base to attach the tulle fabric to. This could be a vase, a foam ball, a candle holder, or any other object that suits your desired centerpiece style. The size and shape of the base will depend on your preference and the overall look you want to achieve.
- Decorative elements: Add some flair to your tulle centerpiece by incorporating decorative elements. This could be ribbon, flowers, beads, feathers, or anything else that complements your event’s theme. Get creative and experiment with different combinations to make your centerpiece truly unique.
- Hot glue gun (optional): If you’re using heavier decorative elements or want extra security, a hot glue gun can be handy for attaching them to the tulle or the base. However, be cautious when using a hot glue gun and follow safety precautions.
- Tablecloth or runner (optional): Depending on the overall look you’re going for, you may choose to place your tulle centerpiece on a tablecloth or a table runner. This can add an extra layer of elegance and further enhance the visual appeal of your centerpiece.
With these materials at your disposal, you’re all set to create beautiful tulle centerpieces that will captivate your guests’ attention. Set your table with these elegant additions, and let’s move on to the step-by-step process of making these mesmerizing centerpieces.
Step 1: Choosing the Base for the Centerpiece
The base of your tulle centerpiece will serve as the foundation on which you will build the rest of the design. It’s important to choose a base that complements your event’s theme and provides stability for the tulle and other decorative elements.
Here are a few options for your centerpiece base:
- Vase: A classic choice for tulle centerpieces, a vase adds a touch of elegance and allows you to incorporate fresh flowers or other decorative items. Select a vase that matches the size and style you envision for your centerpiece.
- Foam ball: If you want to create a more whimsical and unique centerpiece, consider using a foam ball as the base. This allows you to create a spherical tulle centerpiece that can be hung or placed on a stand.
- Candle holder: For a romantic touch, using a candle holder as the base can create a stunning centerpiece. Add tulle and decorative elements around the candle holder to create a soft and enchanting ambiance.
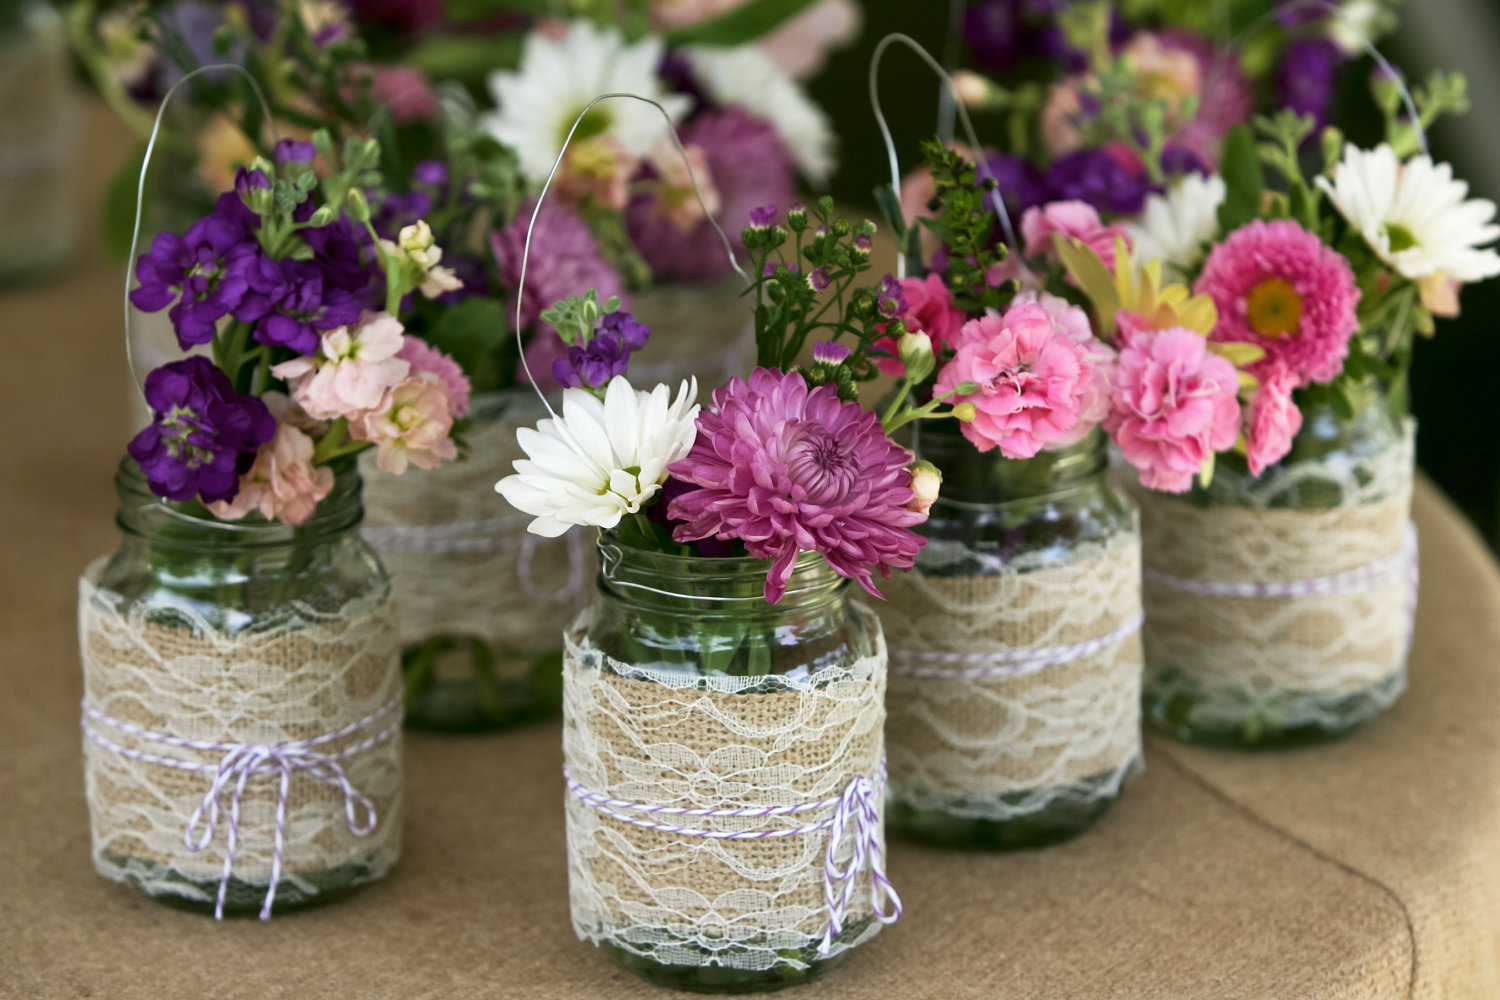
- Wine bottle: For a rustic or eco-friendly look, repurpose empty wine bottles as the base for your tulle centerpiece. Decorate the bottle with tulle and other embellishments to transform it into an eye-catching centerpiece.
- Box or basket: If you prefer a more unconventional centerpiece, consider using a decorative box or a basket as the base. This gives you the opportunity to create a unique display by arranging the tulle and other elements inside the box or basket.
When choosing the base, consider the overall size and shape of your centerpiece, as well as the space where it will be displayed. You want the base to be proportional to the surrounding décor and to provide stability for your tulle centerpiece.
Once you have chosen the base, you’re ready to move on to the next step of preparing the tulle fabric. Let’s get started!
Step 2: Preparing the Tulle
Before you can start wrapping and styling your tulle centerpiece, it’s important to prepare the tulle fabric by cutting it into strips or shapes. This will allow you to have the necessary materials ready for the next steps.
Here’s how you can prepare the tulle:
- Cutting into strips: Measure and cut the tulle fabric into strips of your desired width and length. The width will depend on how thick or thin you want the tulle to look. A width of around 2-3 inches is commonly used. The length of the strips will depend on the size of your base and how much fabric you need to cover it. Cut enough strips to ensure you have ample material to work with.
- Cutting into shapes: If you want to add a touch of whimsy or creativity to your tulle centerpiece, consider cutting the tulle into different shapes. You can cut out hearts, flowers, stars, or any other shapes that resonate with your event’s theme. These shapes can be used individually or combined with the tulle strips to create a unique design.
- Layering and mixing colors: Depending on your desired look, you can layer and mix different colors of tulle. This adds depth and dimension to your centerpiece. Cut strips or shapes in different colors and experiment with different combinations to achieve the desired effect.
- Optional enhancements: If you want to spruce up the tulle even further, consider adding glitter, sequins, or other embellishments. Apply a thin layer of glue on the tulle and sprinkle the desired enhancement on top. Shake off any excess for a subtle, sparkling effect.
Take your time to cut the tulle fabric neatly and precisely, as this will contribute to the overall polished look of your centerpiece. Remember to have extra tulle fabric on hand in case you need more strips or shapes later on.
Now that you have your tulle prepared, it’s time to start wrapping the base with the fabric. Continue reading to learn how to achieve seamless and elegant tulle wraps!
When creating tulle centerpieces, consider using different colors of tulle to add depth and visual interest to the arrangement. Mixing shades can create a beautiful and unique centerpiece.
Read more: How To Make Centerpieces For Baptism
Step 3: Wrapping the Base with Tulle
Now that you have your tulle prepared and ready to go, it’s time to start wrapping the base of your centerpiece. This step is crucial as it sets the foundation for the overall design and creates a beautiful, ethereal look.
Here’s how you can wrap the base with tulle:
- Anchor the tulle: Start by securing one end of a tulle strip or shape to the base using a small dot of hot glue, if necessary. This will ensure that the tulle stays in place as you wrap it around the base. If you prefer not to use glue, you can tightly hold the tulle in place with your fingers.
- Wrap the tulle: Begin wrapping the tulle strip or shape around the base in a spiral or crisscross pattern, depending on your desired look. Make sure to overlap each layer slightly to create a seamless and dense appearance. Continue wrapping until the base is fully covered or until you achieve the desired coverage.
- Be creative with layering: If you’re using multiple colors or shapes of tulle, don’t be afraid to get creative with layering. You can alternate colors, create patterns, or even mix in different textures of tulle. This will add depth and visual interest to your centerpiece.
- Secure the end: Once you have wrapped the tulle around the base, secure the end by either tucking it in or using a small dot of hot glue. Trim any excess tulle if needed, ensuring a clean and polished finish.
- Repeat the process: If your base is large or if you want a fuller look, repeat the wrapping process with additional tulle strips or shapes. The number of times you repeat this step will depend on your preference and the desired appearance of the centerpiece.
As you wrap the tulle, make sure to handle it gently to avoid tearing or bunching. Take your time to achieve a smooth and even coverage, adjusting the tension as needed.
With the base now wrapped in tulle, you can begin adding the decorative elements to further enhance the beauty of your centerpiece. Read on to discover how you can personalize your tulle centerpiece with unique and eye-catching embellishments!
Step 4: Adding Decorative Elements
Now that you have wrapped the base of your tulle centerpiece with the delicate fabric, it’s time to elevate its beauty by adding decorative elements. These elements will bring a personalized touch, complementing your event theme and adding an extra layer of elegance.
Here are some ideas for adding decorative elements:
- Ribbon: Attach a ribbon around the tulle-wrapped base to create a lovely bow or a flowing accent. Choose a ribbon that matches the color scheme or contrasts elegantly with the tulle fabric.
- Flowers: Add flowers to your tulle centerpiece to introduce a natural and vibrant element. You can use real flowers, silk flowers, or even paper flowers, depending on your preference and the durability you desire for your centerpiece.
- Beads or pearls: String beads or pearls and drape them around the tulle to add a touch of glamour and sophistication. This can create a stunning and eye-catching effect, especially when combined with lights or candles.
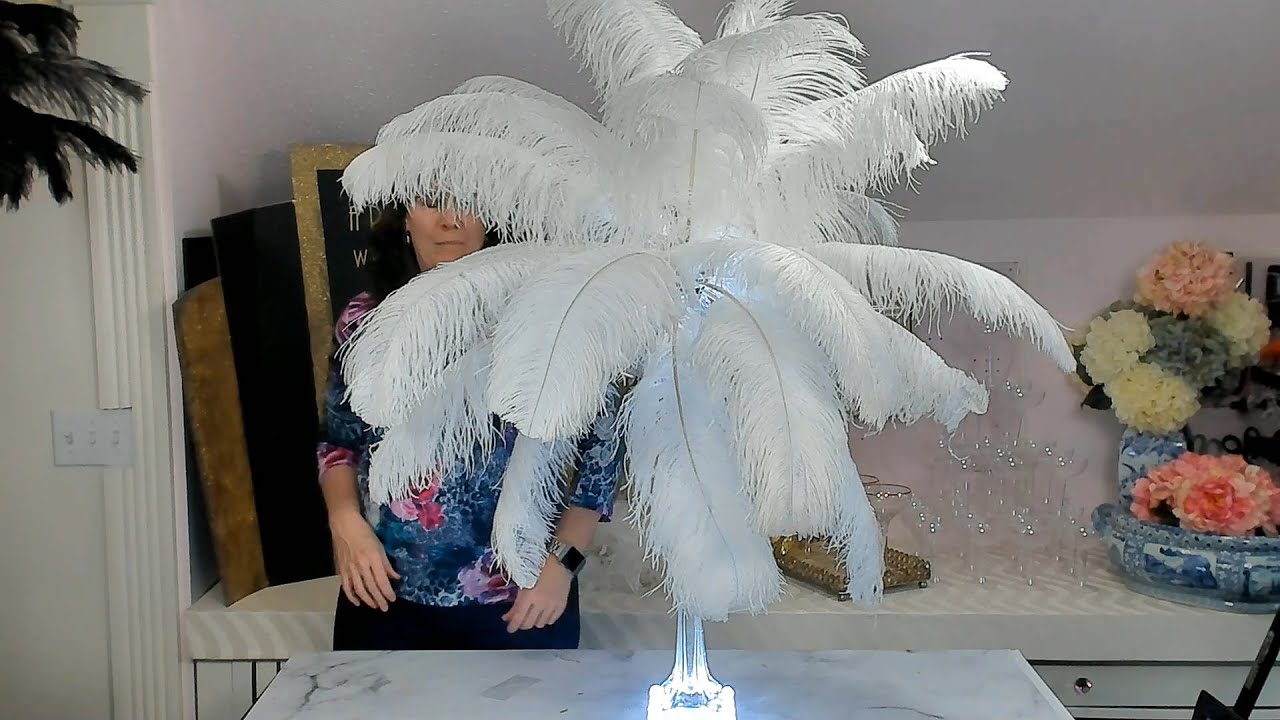
- Feathers: For a whimsical and bohemian vibe, incorporate feathers into your tulle centerpiece. Choose feathers in colors that complement the tulle fabric, and gently tuck them between the tulle layers or attach them to the base with hot glue.
- Charms or trinkets: Attach small charms or trinkets, such as miniature keys, butterflies, or hearts, to the tulle for a charming and unique touch. These small details can add a touch of personality and make your centerpiece more memorable.
- Sparkles or glitter: Add some sparkle to your tulle centerpiece by sprinkling glitter or sparkles on the tulle fabric. This can create a magical and enchanting effect, especially when the centerpiece is placed under lights or candlelight.
When integrating decorative elements, consider the overall style and aesthetic you want to achieve. Ensure that the elements work harmoniously with the tulle fabric and that they enhance rather than overwhelm the centerpiece.
Experiment with different combinations and layouts to find the perfect arrangement. Remember that less can sometimes be more, allowing the tulle to remain the star of the show while the decorative elements enhance its beauty.
With your decorative elements in place, it’s time to move on to the next step of assembling the tulle centerpiece. Let’s continue our journey towards creating a breathtaking table décor!
Step 5: Assembling the Centerpiece
After wrapping the base with tulle and adding beautiful decorative elements, it’s time to assemble your tulle centerpiece and bring all the elements together. This step involves arranging the various components in a cohesive and visually pleasing manner.
Here’s how you can assemble your tulle centerpiece:
- Place the base: Find the perfect spot for your centerpiece and position the base in the center of the table or desired area. Ensure that it is stable and secure, especially if you’re using a vase or a candle holder as the base.
- Add the tulle: Carefully place the tulle-wrapped base on top of the chosen spot. Make any necessary adjustments to ensure that the tulle is evenly distributed and covering the base properly. Smooth out any wrinkles or folds for a polished appearance.
- Arrange the decorative elements: Begin arranging the decorative elements around the tulle centerpiece. This could involve placing flowers in a circular pattern, draping a ribbon around the base, or strategically scattering beads or charms for a whimsical effect. Play around with different arrangements until you find the one that pleases your eye.
- Balance and symmetry: Achieve a balanced and symmetrical look by ensuring that the decorative elements are evenly distributed around the centerpiece. The positioning and spacing of the elements should create a visually pleasing arrangement that complements the tulle fabric.
- Adjust and refine: Step back and assess the overall look of your tulle centerpiece. Make any necessary adjustments to the positioning of the decorative elements. Add or remove elements as needed to achieve the desired aesthetic. Take your time during this step to ensure that every detail is perfect.
Remember to consider the height and size of your centerpiece when placing it on the table. It should not obstruct the view or conversation between guests. If needed, elevate the centerpiece using a stand or platform to create visual interest and ensure it is at an appropriate height.
As you assemble your tulle centerpiece, let your creativity and personal style guide you. Tailor the arrangement to suit your event theme and the ambiance you wish to create.
With the centerpiece components assembled, it’s time to add the final touches and explore some variations. Continue reading to discover the possibilities for customizing your tulle centerpiece.
Step 6: Final Touches and Variations
Congratulations on reaching the final step of creating your stunning tulle centerpiece! This step involves adding the finishing touches and exploring variations to truly make your centerpiece stand out.
Here are some final touches and variations you can consider:
- Tablecloth or runner: Enhance the overall presentation of your centerpiece by placing it on a tablecloth or runner that complements the colors and style of your tulle centerpiece. This will create a cohesive look and add an extra layer of elegance to your table setup.
- Additional layers of tulle: For a fuller and more voluminous look, consider adding additional layers of tulle around the base. This can create a cascading effect and make your centerpiece appear more extravagant and eye-catching.
- Lighting: Incorporate lighting elements to add a soft and enchanting glow to your tulle centerpiece. This can be achieved through the use of fairy lights, LED candles, or even strategically placed spotlights. Experiment with different lighting angles and intensities to create the desired atmosphere.
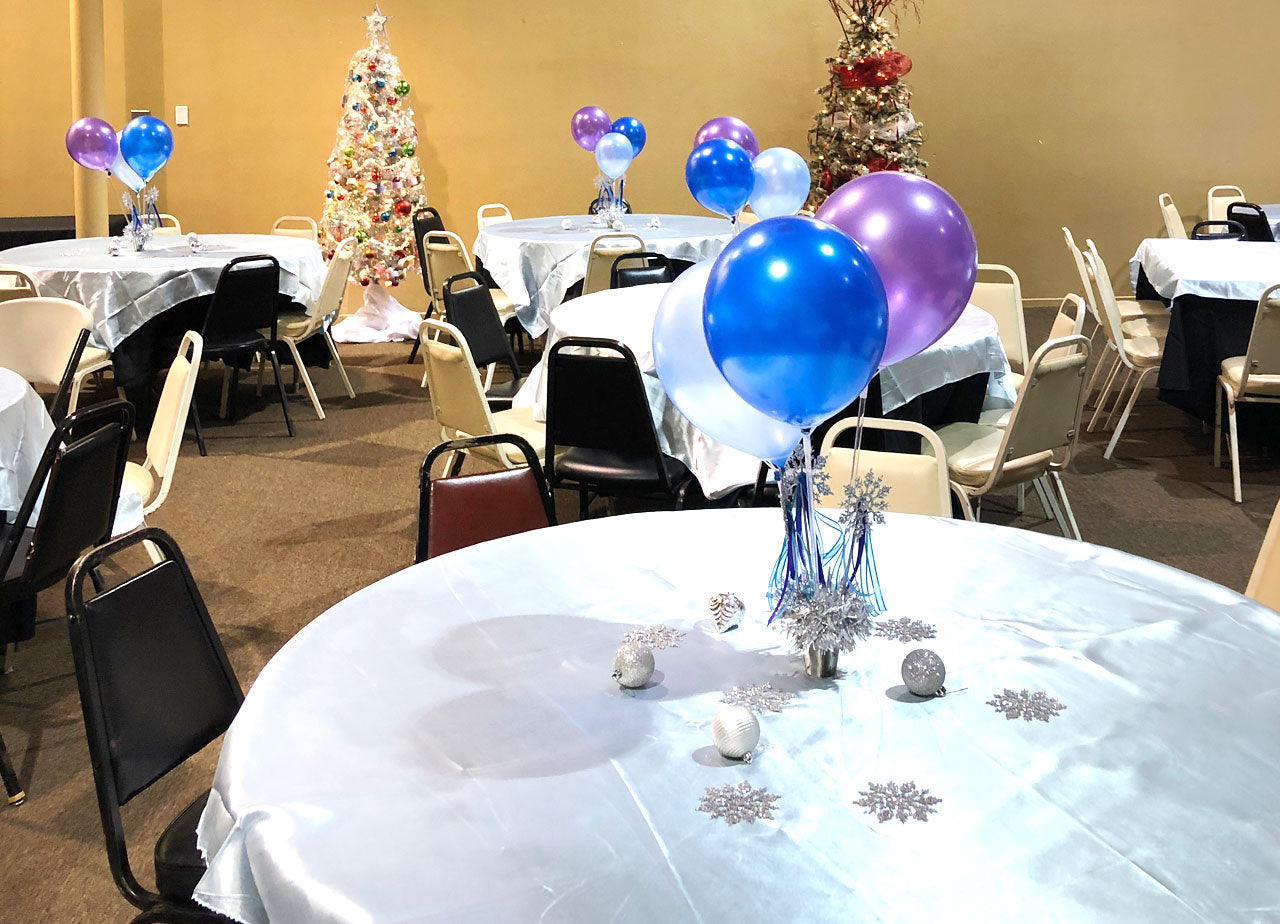
- Theme-based embellishments: Customize your centerpiece to match the theme or occasion. For example, if you’re hosting a beach-themed event, incorporate seashells and starfish into the tulle centerpiece. For a winter wonderland theme, attach snowflakes and silver ornaments. Let your creativity guide you in finding the perfect enhancements for your event.
- Personal touches: Add personal touches that are meaningful to you or the event. This could be miniature photo frames with pictures of loved ones, small trinkets that hold sentimental value, or any other items that tell a story and make the centerpiece more personal and special.
- Varying heights: Create visual interest by incorporating varying heights within your centerpiece. This can be achieved by using different-sized bases or by using stands, candle holders, or pedestals. Play with the height of your centerpiece components to create a dynamic and captivating display.
Remember to step back and admire your centerpiece from different angles to ensure that it looks cohesive and visually appealing. Make any final adjustments or refinements to achieve the perfect balance and harmony.
By adding those final touches and exploring different variations, you can truly personalize your tulle centerpiece, making it a unique and extraordinary addition to your event
With these steps and variations in mind, you now have the knowledge and creativity to craft stunning tulle centerpieces that will leave your guests in awe. Whether it’s a wedding, a birthday celebration, or any special occasion, your tulle centerpiece will undoubtedly be a standout feature, adding an elegant and captivating touch to your event décor.
So, gather your materials, let your imagination run wild, and start creating your breathtaking tulle centerpieces today!
Enjoy the process and have fun designing your table decorations. Happy crafting!
Read more: How To Make Centerpieces For Tables
Conclusion
Congratulations on mastering the art of creating stunning tulle centerpieces! In this article, we have guided you through the step-by-step process of designing and assembling these beautiful table decorations. By following these steps and incorporating your creativity, you can create centerpieces that will leave a lasting impression on your guests and elevate the ambiance of any event.
Remember, the key to a successful tulle centerpiece is attention to detail and personalization. Choose materials that align with your event’s theme, carefully wrap the base with tulle, add tasteful decorative elements, and explore variations to truly make your centerpiece unique. The final result will be a magnificent display that reflects your style and vision.
Throughout the process, keep in mind the importance of balance, symmetry, and cohesion. Step back and assess your centerpiece from different angles to ensure that it looks captivating from all perspectives. Don’t be afraid to experiment and make adjustments until you achieve the desired look.
Furthermore, consider the overall aesthetic of your event and how the tulle centerpiece will fit into the larger setting. Coordinate the colors, textures, and styles with other elements on the table, such as linens, dishes, and surrounding décor. This will create a cohesive and harmonious visual experience for your guests.
Lastly, don’t limit yourself to the ideas presented in this article. Let your imagination soar and explore different variations and personal touches. Each event is unique, and your tulle centerpieces should reflect that individuality. Incorporate elements that hold meaning for you and your guests, making the centerpiece a conversation starter and a reflection of the occasion’s significance.
So, gather your materials, carve out some creative time, and allow your inner artist to shine. With the knowledge and techniques you’ve gained, you have the power to design breathtaking tulle centerpieces that will leave a lasting impression.
Remember, the process of creating tulle centerpieces is not only about the end result, but also about the joy and fulfillment that comes from expressing your creativity. Enjoy the journey, embrace your artistic spirit, and have fun bringing your vision to life!
Now, go forth and amaze your guests with your exquisite tulle centerpieces. Happy crafting!
Frequently Asked Questions about How To Make Tulle Centerpieces
Was this page helpful?
At Storables.com, we guarantee accurate and reliable information. Our content, validated by Expert Board Contributors, is crafted following stringent Editorial Policies. We're committed to providing you with well-researched, expert-backed insights for all your informational needs.


0 thoughts on “How To Make Tulle Centerpieces”