Home>Dining>Table Decor>How To Make A Round Spray Table Centerpiece
Table Decor
How To Make A Round Spray Table Centerpiece
Modified: January 4, 2024
Learn how to create a stunning table centerpiece with our step-by-step guide. Elevate your table decor with a round spray table centerpiece that will impress your guests.
(Many of the links in this article redirect to a specific reviewed product. Your purchase of these products through affiliate links helps to generate commission for Storables.com, at no extra cost. Learn more)
Introduction
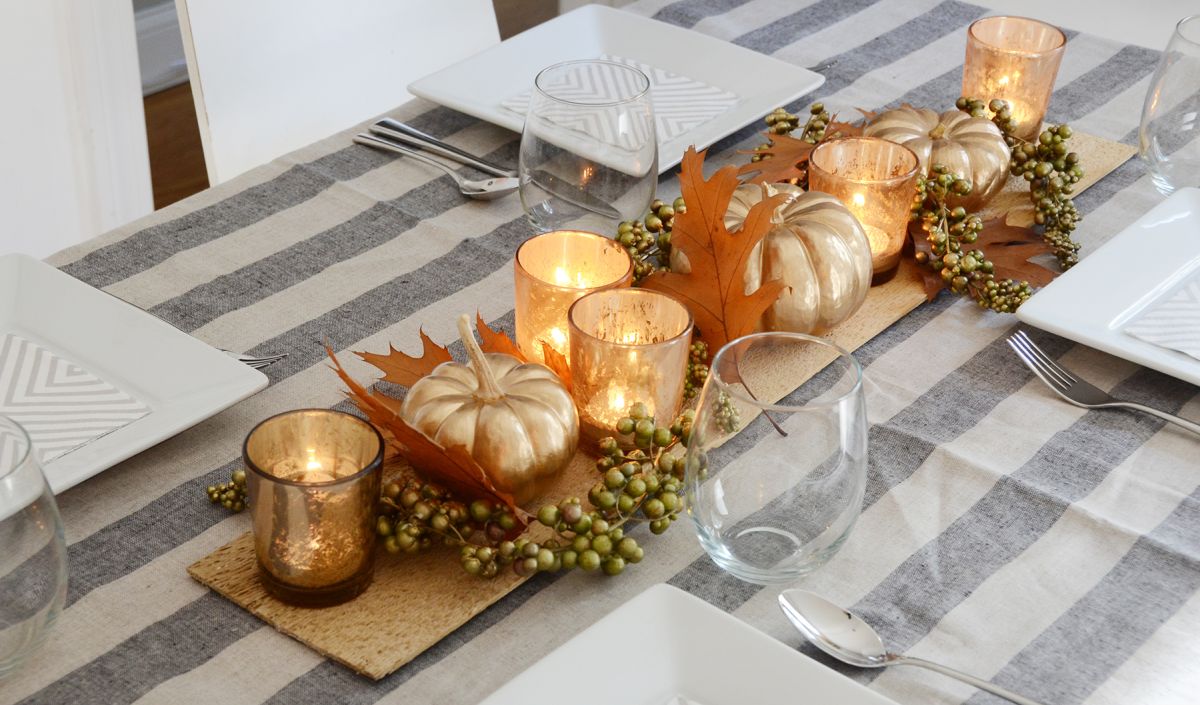
Welcome to the world of table décor, where every detail matters and creativity knows no bounds. When it comes to designing a memorable event or adding a touch of elegance to your home, a round spray table centerpiece can be the perfect choice. This stunning centerpiece is not only visually appealing but also versatile, as it can be customized to match any theme or occasion.
In this article, we will guide you step-by-step on how to create your own round spray table centerpiece that will be the envy of all your guests. With the right materials and a little bit of creativity, you can transform an ordinary tabletop into a breathtaking focal point that will elevate your event or home décor to the next level.
Before we dive into the details, let’s gather all the materials you will need to bring this project to life.
Key Takeaways:
- Elevate any event or home décor with a visually stunning round spray table centerpiece. Follow the step-by-step guide to create a personalized masterpiece that leaves a lasting impression on guests.
- Infuse creativity and attention to detail to customize the centerpiece for any theme or occasion. Add final touches and coordinating accents to elevate the overall impact and create a harmonious atmosphere.
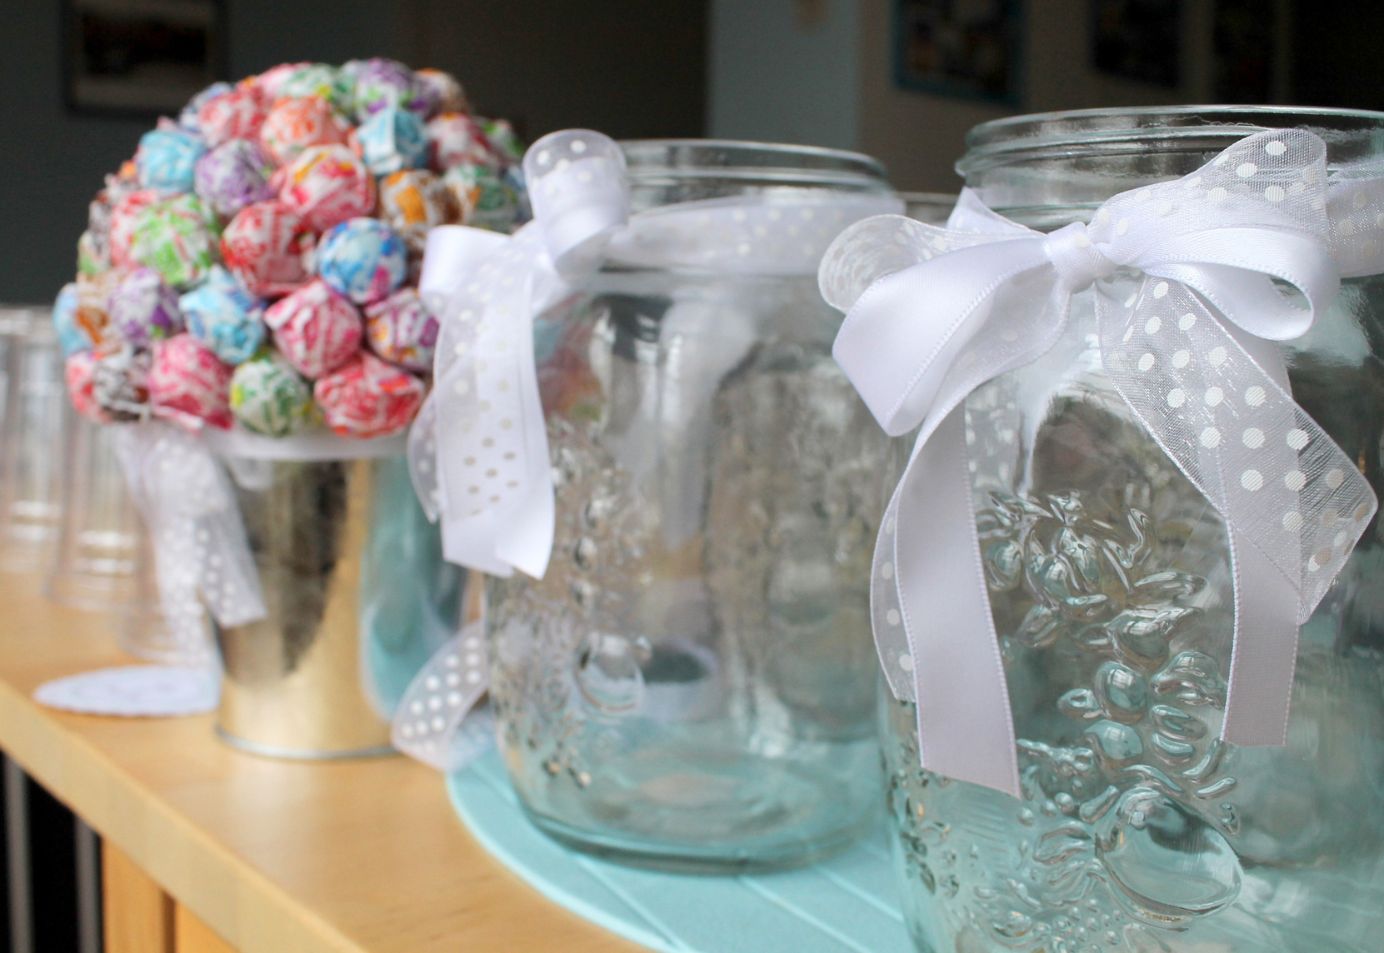
Read more: How To Make Centerpieces With Candy
Materials
To create your round spray table centerpiece, you will need the following materials:
- Tabletop: Choose a flat and sturdy surface as the base for your centerpiece. This could be a wooden table, a glass tabletop, or even a serving tray.
- Spray paint: Select a color that complements your overall theme or event. Metallic or matte finishes can add an extra touch of sophistication.
- Round wooden board: This will serve as the base of your centerpiece. Make sure its diameter is proportional to the size of your table.
- Floral foam: This spongy material will hold the faux flowers in place and keep them hydrated throughout your event.
- Faux flowers: Choose an assortment of artificial flowers in different colors and sizes. Opt for realistic-looking blooms to add a touch of elegance to your centerpiece.
- Hot glue gun: This handy tool will help you secure the flowers and other decorations onto the wooden board.
- Scissors: You’ll need a pair of scissors to trim the flower stems and make any necessary adjustments to your arrangement.
With these materials in hand, you’re ready to embark on the journey of creating a captivating round spray table centerpiece. Let’s get started!
Step 1: Prepare the Tabletop
The first step in creating your round spray table centerpiece is to prepare the tabletop where your centerpiece will be displayed. This step is crucial as it sets the foundation for the overall aesthetic and stability of your centerpiece.
Start by ensuring that the tabletop is clean and free from any dust or debris. Wipe it down with a damp cloth or use a mild cleaner if necessary. This will provide a smooth and clean surface for your centerpiece.
If you’re using a wooden table or a serving tray, you may consider sanding the surface lightly to remove any rough edges or imperfections. This will give a polished and refined look to your final centerpiece.
If you want to add an extra layer of visual interest to your tabletop, you can also consider adding a tablecloth or a decorative runner. Choose a fabric or pattern that complements the color scheme and theme of your event. This will provide a cohesive look and draw attention to your centerpiece.
Once you have prepared the tabletop, ensure that it is stable and level. Gently rock the table to check for any wobbling or unevenness. If needed, adjust the table legs or use leveling pads to ensure that your centerpiece will sit securely on the tabletop.
By preparing the tabletop, you are creating a solid foundation for your round spray table centerpiece. Now that we have a stable base, it’s time to move on to the next step: painting the tabletop.
Step 2: Paint the Tabletop
Painting the tabletop is an essential step in creating a round spray table centerpiece that fits your desired theme or color scheme. This step allows you to add a personal touch and create a cohesive look that ties the entire centerpiece together.
Before you start painting, make sure to protect the surrounding area with a drop cloth or old newspapers. This will prevent any accidental spills or splatters from damaging your furniture or flooring.
Begin by selecting the spray paint color that best suits your vision for the centerpiece. Choose a color that complements the overall theme or event. Metallic finishes can add a touch of elegance and sophistication, while bold colors can create a vibrant and eye-catching centerpiece.
Hold the spray paint can about 8-10 inches away from the tabletop surface, and in a sweeping motion, apply an even coat of paint. Be sure to cover the entire surface, including the edges, for a seamless and polished look.
Allow the first coat of paint to dry completely before applying a second coat. This will ensure a smooth and even finish. Follow the instructions on the spray paint can for the recommended drying time.
If you prefer a distressed or vintage look, you can lightly sand the tabletop after the paint has dried. This will give your centerpiece an antique charm and add texture to the surface.
Once the paint is fully dry, inspect the tabletop for any imperfections or unevenness. If needed, you can touch up with additional coats of paint or use sandpaper to smooth out any rough spots.
Painted to perfection, your tabletop is now ready to become the foundation for your round spray table centerpiece. In the next step, we will guide you through assembling the base of your centerpiece.
Step 3: Assemble the Base
With the painted tabletop ready, it’s time to assemble the base of your round spray table centerpiece. This step involves attaching a round wooden board to the bottom of your centerpiece to create a stable and elevated platform for your floral arrangement.
Start by selecting a round wooden board that is slightly smaller in diameter than your tabletop. This will allow the board to fit seamlessly within the boundaries of your centerpiece while still providing stability.
Place the wooden board in the center of the painted tabletop. Ensure that it is positioned evenly and aligns with your desired aesthetic. You can use a measuring tape or a ruler to make precise adjustments.
Once you are satisfied with the placement, secure the wooden board to the tabletop. You can use strong adhesive or screws to attach it firmly. Make sure to position the screws on the underside of the tabletop to maintain a clean and polished appearance.
Ensure that the wooden board is securely attached, and test its stability by gently pushing down on it from different angles. This will ensure that it can withstand the weight of the floral arrangement and any additional decorations you plan to include.
By assembling the base, you have created a solid and stable foundation for your round spray table centerpiece. Now that the base is securely in place, it’s time to move on to the next step: inserting the floral foam.
Read more: How To Make Centerpieces For Baptism
Step 4: Insert the Floral Foam
In this step, we will be inserting floral foam into the base of your round spray table centerpiece. The floral foam will serve as the anchor for your faux flowers and ensure their stability throughout the event or decoration.
Start by measuring the dimensions of the round wooden board at the base of your centerpiece. Using these measurements, cut the floral foam into a shape that fits snugly within the wooden board. The floral foam should sit flush with the top of the wooden board.
Before inserting the floral foam, soak it in water for a few minutes to ensure maximum hydration for your faux flowers. The water will help keep the flowers looking fresh and vibrant throughout the event or decoration.
Once the floral foam is properly saturated, gently place it into the base of your centerpiece, ensuring it remains centered. Press it down firmly to secure it in place. The foam should fit snugly within the base, with no visible gaps or loose edges.
The floral foam will act as a reservoir for the water, providing moisture to your faux flowers and keeping them looking their best throughout your event. However, be mindful not to overwater the floral foam, as excessive moisture can cause the foam to break apart or deteriorate.
With the floral foam successfully inserted, your round spray table centerpiece is now ready to be adorned with an exquisite arrangement of faux flowers. In the next step, we will guide you through the process of arranging the faux flowers to create a visually stunning centerpiece.
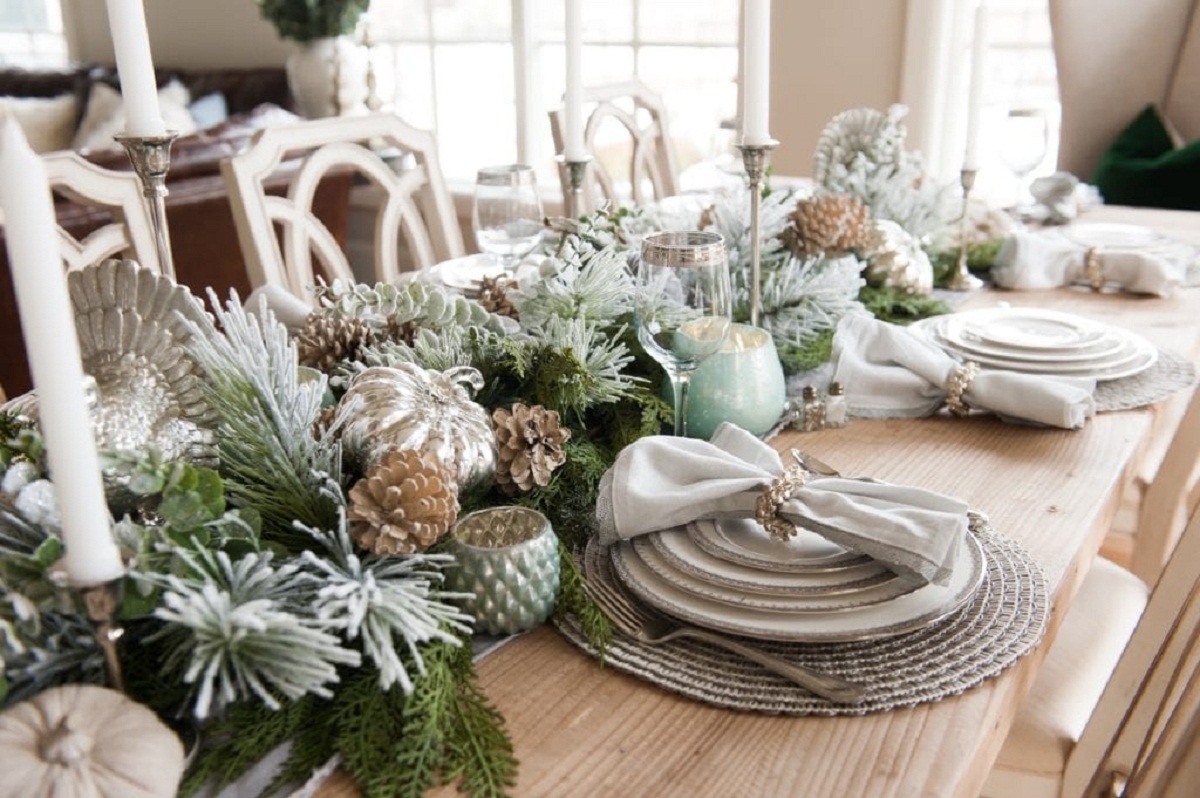
When creating a round spray table centerpiece, start by selecting a variety of flowers in different sizes and textures to create a visually interesting arrangement. Use a mix of foliage to add depth and volume to the centerpiece.
Step 5: Arrange the Faux Flowers
Now comes the fun part – arranging the faux flowers to create a visually stunning centerpiece for your round spray table. This step allows you to unleash your creativity and create a design that perfectly matches your desired aesthetic and theme.
Start by selecting an assortment of faux flowers in different colors, shapes, and sizes. Consider the overall color scheme of your event or home decor to ensure that the flowers complement the surrounding environment.
Begin by placing larger flowers in strategic positions around the centerpiece. These will serve as the focal points of the arrangement. Insert the stems of the larger flowers into the floral foam, ensuring they are securely anchored.
Next, add medium-sized flowers to fill in the gaps between the larger blooms. These flowers will help create a balanced and visually appealing arrangement. Vary the heights and angles of the stems to add depth and dimension to the centerpiece.
Finally, incorporate smaller filler flowers or foliage to add texture and fill any remaining empty spaces. These filler flowers will provide a sense of abundance and fullness to your centerpiece.
As you arrange the faux flowers, step back occasionally to assess the overall balance and composition of the centerpiece. Adjust the position of the flowers as needed to create a visually pleasing arrangement.
Don’t be afraid to let your creativity shine through! Experiment with different flower combinations, mixing colors and floral varieties to create a unique and captivating centerpiece.
Remember to distribute the flowers evenly around the centerpiece, ensuring that each side is visually appealing from all angles. This will ensure that your centerpiece looks stunning from any viewpoint.
With the faux flowers artfully arranged, your round spray table centerpiece is taking shape. However, to ensure the longevity and stability of your arrangement, we have one more step to go — securing the flowers with hot glue.
Step 6: Secure the Flowers with Hot Glue
After arranging the faux flowers in your round spray table centerpiece, it’s time to ensure their stability by securing them with hot glue. This step will prevent the flowers from shifting or falling out of place, ensuring a long-lasting and visually pleasing centerpiece.
Using a hot glue gun, carefully apply small dots or thin lines of hot glue directly onto the base of each flower stem. As you work, be mindful of the placement of your fingers to avoid any burns from the hot glue.
Press the glued portion of the flower stem firmly onto the floral foam, holding it in place for a few seconds to ensure a secure bond. Repeat this process for each flower in your arrangement, making sure to distribute the hot glue evenly across the centerpiece.
While gluing the flowers, pay attention to the overall balance and composition of the arrangement. Make small adjustments as needed to maintain the desired shape and distribution of the flowers. This step allows you to fine-tune the centerpiece and ensure it looks cohesive and visually appealing.
It’s important to note that hot glue dries quickly, so work efficiently to secure the flowers before the glue sets. However, be cautious not to rush and accidentally burn yourself or disturb the arrangement in the process.
For added security, you can also apply hot glue to any sections of the floral foam that are visible or exposed. This will provide extra stability and prevent the foam from shifting within the base of the centerpiece.
Once all the flowers are securely glued in place, gently give the centerpiece a slight shake or tap to ensure that everything is properly fastened. This will help identify any loose flowers that may require additional glue.
With the flowers secured, your round spray table centerpiece is almost complete. It just needs a final touch to give it a polished and professional appearance. In the next step, we will guide you through trimming the excess flower stems.
Step 7: Trim Excess Flower Stems
Now that you have secured the faux flowers in your round spray table centerpiece, it’s time to give it a polished look by trimming any excess flower stems. This final step ensures that the arrangement appears neat and professionally done.
Start by carefully examining each flower stem in your centerpiece. Look for any stems that are longer than the desired height or ones that stick out noticeably from the arrangement.
Using a pair of scissors, trim the excess length of the stems gradually and carefully. It’s better to trim a little at a time rather than cutting too much off at once. This way, you can maintain control and prevent accidentally cutting off too much of the stem.
When trimming the stems, keep in mind the desired height and overall shape of your centerpiece. Aim for a uniform and balanced appearance, making sure that all the flower heads are at a similar height for a cohesive look.
As you trim the flower stems, periodically step back and assess the arrangement from different angles. This will help you identify any areas that need adjustments and ensure that the centerpiece looks visually appealing from all perspectives.
Be cautious not to cut the stems too short, as you can’t undo it once it’s done. It’s better to err on the side of caution and trim conservatively. You can always adjust the stem length later if needed.
Remember to dispose of the trimmed excess stems responsibly. You can place them in a compost bin or discard them in an appropriate manner.
With the excess flower stems trimmed, your round spray table centerpiece is now complete. Step back and admire your creation – a captivating and professionally crafted centerpiece that will surely impress your guests and elevate the ambiance of any setting.
Now that you’ve learned how to create a round spray table centerpiece, you can adapt the process to fit various themes, color schemes, or occasions. With your newfound knowledge, let your creativity soar and continue to explore the wonderful world of table décor.
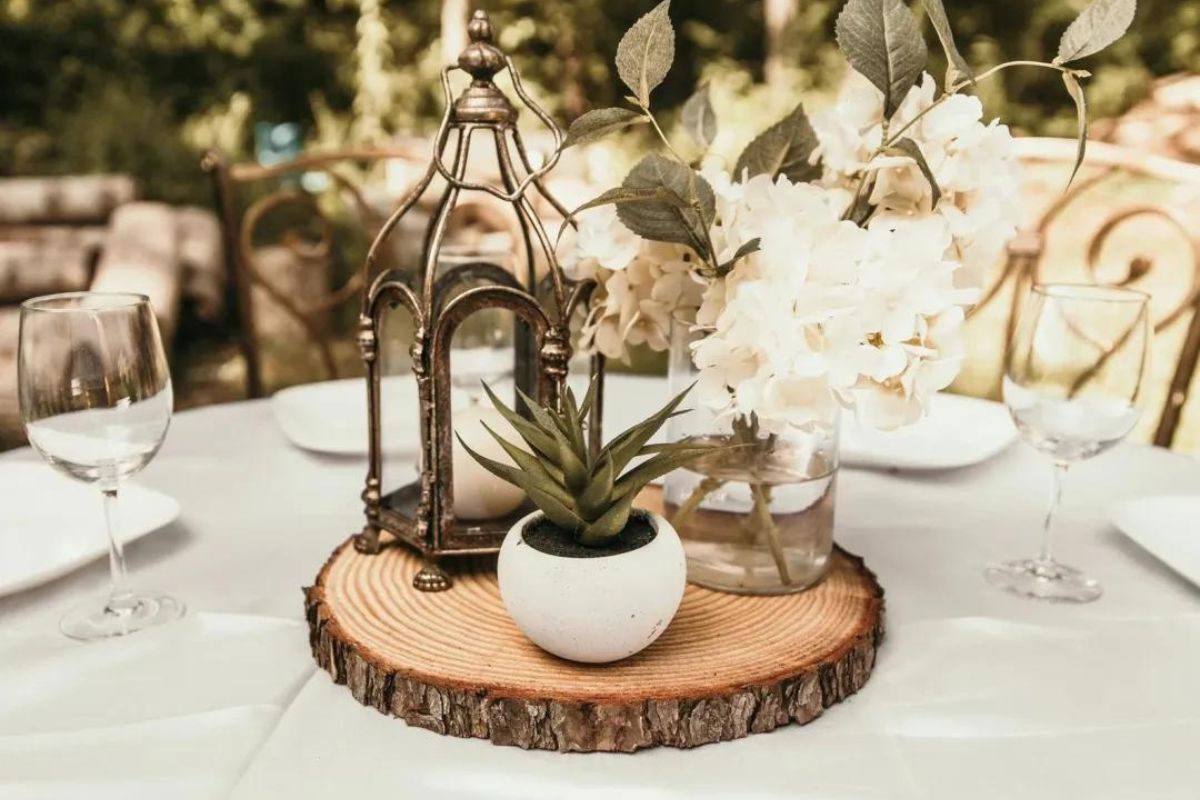
Read more: How To Make Centerpieces For Tables
Step 8: Final Touches
Congratulations! You have successfully created a stunning round spray table centerpiece. Before displaying it, there are a few final touches you can add to enhance its overall look and make it truly stand out:
1. Additional embellishments: Consider adding extra embellishments such as ribbons, decorative beads, or glitter to further enhance the visual appeal of your centerpiece. These small details can add an extra touch of elegance or whimsy, depending on your desired aesthetic.
2. Personalization: Customize your centerpiece to match the occasion or theme by incorporating personalized elements. This can include small trinkets, photographs, or themed accents that hold significance for your event or represent your personal style.
3. Lighting: Enhance the ambiance and showcase the beauty of your centerpiece by incorporating lighting. Strategic placement of LED tea lights or fairy lights around the floral arrangement can create a warm and inviting glow.
4. Table accents: Complete the table setting by adding complementary elements such as place cards, coordinating table linens, or coordinating decorative items that tie in with the centerpiece. This cohesive look will elevate the overall ambiance of your space.
Remember, the final touches should complement your centerpiece rather than overpower it. Keep the focus on the arrangement itself while adding subtle accents that enhance its beauty.
Once you are satisfied with the final touches, carefully transport your centerpiece to its designated location. Place it on the prepared tabletop, ensuring that it sits securely and is level. Step back and admire your masterpiece.
Don’t forget to periodically check on the centerpiece throughout your event or the duration of its display. Make any necessary adjustments to keep it looking fresh and appealing.
With your attention to detail and creative flair, your round spray table centerpiece is sure to be a captivating focal point that leaves a lasting impression on your guests or adds an elegant touch to your home décor.
Thank you for completing this journey of creating a round spray table centerpiece. Enjoy the beauty and joy it brings, and continue to explore your creativity in the world of table décor.
Happy decorating!
Conclusion
Creating a round spray table centerpiece is a rewarding and creative endeavor that allows you to personalize your event or home décor with a visually stunning focal point. By following the step-by-step guide outlined above, you can transform an ordinary tabletop into a captivating centerpiece that will leave a lasting impression on your guests.
Throughout the process, we explored the importance of preparing the tabletop, painting it to create a cohesive look, and assembling a stable base. We then learned how to insert floral foam to securely hold the faux flowers and how to arrange the flowers to create a visually pleasing centerpiece. Securing the flowers with hot glue and trimming the excess stems provided the finishing touches, resulting in a polished and professional appearance.
By infusing creativity, attention to detail, and your own personal style, you can customize the centerpiece to match any theme or occasion. Experiment with different flower varieties, colors, and arrangements to create a centerpiece that is uniquely yours.
Remember, the journey doesn’t end with the completion of your centerpiece. Final touches such as additional embellishments, personalized elements, and strategic lighting will elevate its overall impact. Consider coordinating table accents to complete the look and create a harmonious atmosphere.
Whether you’re hosting a special event, celebrating a milestone, or simply enhancing your everyday space, a round spray table centerpiece is a versatile and visually striking addition. It adds an element of sophistication, style, and elegance, becoming the centerpiece of attention.
Now armed with the knowledge and skills, go forth and create magnificent centerpieces that reflect your unique taste and creativity. Embrace the art of table décor and continue to explore new ways to elevate your events and spaces.
Thank you for joining us on this journey. Happy decorating!
Frequently Asked Questions about How To Make A Round Spray Table Centerpiece
Was this page helpful?
At Storables.com, we guarantee accurate and reliable information. Our content, validated by Expert Board Contributors, is crafted following stringent Editorial Policies. We're committed to providing you with well-researched, expert-backed insights for all your informational needs.


0 thoughts on “How To Make A Round Spray Table Centerpiece”