Home>Dining>Table Decor>How To Make Wood Slices For Centerpieces
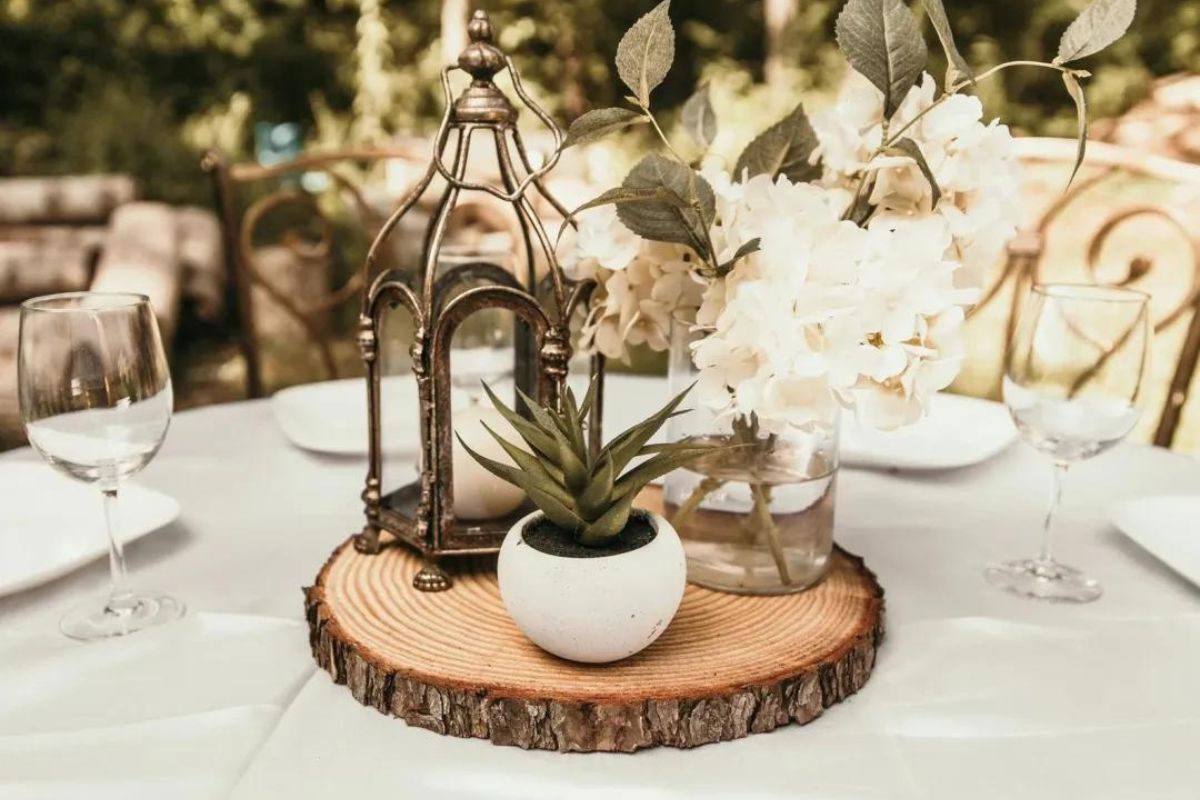
Table Decor
How To Make Wood Slices For Centerpieces
Modified: August 27, 2024
Learn how to make table-decor wood slices for centerpieces and add a rustic touch to your home or event. Perfect for DIY table decorations.
(Many of the links in this article redirect to a specific reviewed product. Your purchase of these products through affiliate links helps to generate commission for Storables.com, at no extra cost. Learn more)
Introduction
Welcome to the world of table decorations and centerpieces! There’s something truly special about adding a touch of natural beauty to your table. Whether you’re hosting a dinner party, setting up a wedding reception, or simply wanting to elevate your everyday dining experience, wood slices can be a fantastic addition to your decor.
Wood slices provide a rustic and warm aesthetic that effortlessly enhances any table setting. They serve as the perfect base for candles, flower arrangements, and various other decorative elements. The best part is that you can easily make your own wood slices, adding a personal touch to your centerpiece creations.
In this guide, we’ll take you through the step-by-step process of making your own wood slices for centerpieces. From selecting the right wood to putting the finishing touches on the slices, we’ll cover all the essential details you need to know.
So, let’s get started on this exciting journey of transforming raw wood into stunning centerpiece elements that will leave your guests in awe!
Key Takeaways:
- Elevate your table decor with DIY wood slices for centerpieces. From selecting the perfect wood to adding personalized decorations, create stunning focal points for any occasion.
- Embrace the rustic charm of wood slices and unleash your creativity. Transform raw wood into captivating centerpieces that leave a lasting impression on your guests.
Materials Needed
Before you dive into the process of making wood slices for centerpieces, it’s important to gather all the necessary materials. Here’s a list of what you’ll need:
- A log or piece of wood: Look for a log or a piece of wood that suits your desired size and thickness. Popular choices include birch, oak, and pine.
- Chainsaw or hand saw: Depending on the size and type of wood you’re working with, you’ll need either a chainsaw or a hand saw to cut the slices.
- Measuring tape: This will help you ensure that your wood slices are of uniform thickness. It’s important to have consistent measurements to maintain balance on your table.
- Safety equipment: Safety goggles, gloves, and ear protection are essential when using power tools like a chainsaw.
- Sandpaper or a sander: To achieve a smooth and polished look, you’ll need sandpaper or a sander to remove any rough edges or imperfections.
- Finishing oil or varnish: Applying a finishing oil or varnish will protect the wood and enhance its natural beauty. Choose a finish that suits your style and the aesthetic you’re going for.
- Decorative supplies: This includes any additional decorations you plan to use on your wood slices, such as candles, flowers, or other embellishments.
Once you have gathered these materials, you’ll be well-prepared to create your own wood slices for centerpieces. Now, let’s move on to the step-by-step process of making wood slices.
Step 1: Selecting the Wood
The first step in creating wood slices for centerpieces is selecting the right type of wood. The type of wood you choose will depend on your personal preference and the overall style and theme of your event or table setting.
Popular options for wood slices include birch, oak, and pine. Birch wood is known for its smooth and light-colored bark, which adds a touch of elegance to any centerpiece. Oak wood provides a classic and rustic look, while pine wood offers a natural and warm aesthetic.
When selecting the wood, consider both the diameter and the length of the log or piece you’ll be working with. For centerpieces, logs with a diameter of around 6 to 8 inches are often used. This size provides enough surface area for decorations while still fitting comfortably on most table settings.
Additionally, ensure that the wood is solid and free from cracks or other damage. It’s important to choose a sturdy piece that can withstand the cutting and finishing processes.
Take some time to explore different wood options and select the one that appeals to your taste and matches the ambiance you want to create. Once you’ve chosen the perfect wood, you’re ready to move on to preparing it for the next steps.
Step 2: Preparing the Wood
After selecting the ideal wood for your wood slices, it’s time to prepare it for the cutting process. Here are the key steps to follow:
- Clean the wood: Start by cleaning the surface of the wood. Remove any dirt, debris, or loose bark using a stiff brush. This will help ensure a smooth cutting process and prevent any unwanted particles from getting trapped in the wood slices.
- Measure and mark: Use a measuring tape to determine the desired thickness of your wood slices. For uniformity, mark the measurements along the length of the wood using a pencil or a marker. This will serve as a guide during the cutting process.
- Secure the wood: For safety purposes, it’s essential to secure the wood before cutting. Place the wood on a stable work surface, such as a workbench or sawhorses, ensuring that it is firmly held in place. This will prevent any unexpected movement and ensure accurate cuts.
- Put on safety gear: Prioritize safety by wearing gloves, safety goggles, and, if necessary, ear protection. These precautions will protect you from any potential hazards while working with the wood and power tools.
By following these preparation steps, you’ll ensure a clean and secure work environment, setting the stage for smooth and precise cutting in the next step.
Step 3: Cutting the Wood Slices
Now that you have prepared the wood, it’s time to cut it into beautiful wood slices. Follow these steps to ensure accurate and clean cuts:
- Choose your cutting tool: Depending on the size and type of wood you’re working with, you can use either a chainsaw or a hand saw. Chainsaws are ideal for larger logs, while hand saws offer more control for smaller pieces.
- Align the saw: Position the saw blade perpendicular to the wood, aligning it with the marked measurement lines. This will ensure that your wood slices are consistent in thickness.
- Make the cut: Start cutting carefully along the marked lines, applying steady pressure and maintaining a controlled motion. Take your time and let the saw do the work, avoiding excessive force that could cause the wood to splinter.
- Continue cutting: Repeat the cutting process for each marked measurement line, creating wood slices of the desired thickness. Remember to take breaks as needed to maintain accuracy and to prevent the saw from overheating.
- Inspect the slices: Once you have finished cutting, inspect each wood slice to ensure that they are even and free from any irregularities. Sand down any rough edges or uneven surfaces if necessary.
Remember to prioritize safety throughout the cutting process. Keep your fingers and hands away from the cutting area and follow proper safety precautions for the specific cutting tool you are using.
Cutting the wood into slices is a fulfilling and rewarding step that brings you one step closer to creating stunning centerpieces.
When cutting wood slices for centerpieces, use a sharp saw to ensure clean and even cuts. Sand the edges to remove any roughness and apply a sealant to prevent cracking or warping.
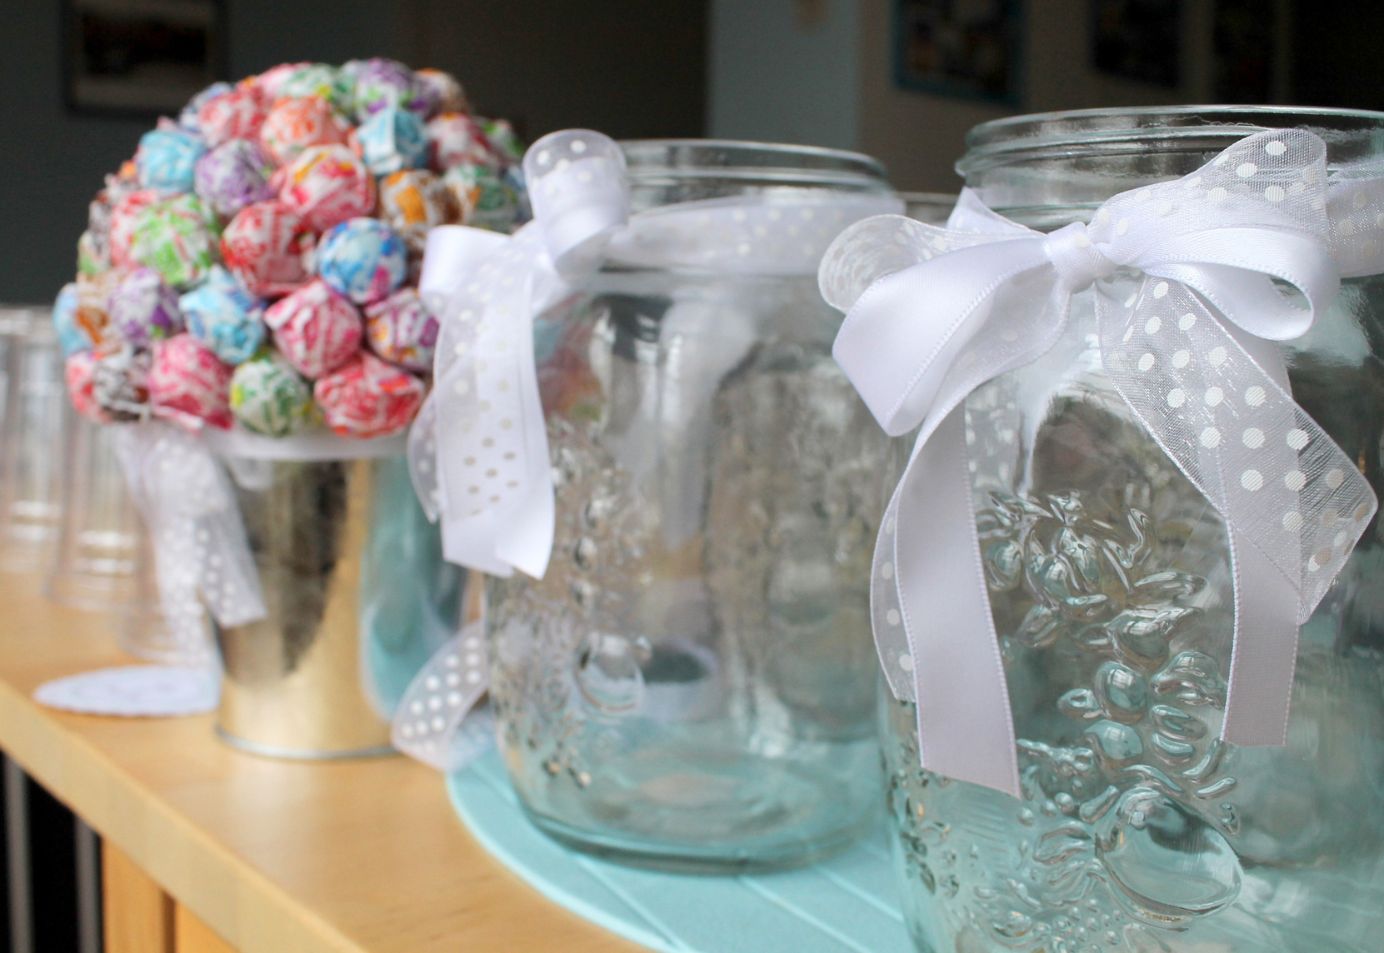
Read more: How To Make Centerpieces With Candy
Step 4: Sanding the Wood Slices
Now that you have cut the wood into slices, it’s time to refine their appearance and create a smooth and polished surface. Sanding plays a crucial role in achieving this. Follow these steps to sand your wood slices:
- Choose the right grit: Start with a coarse-grit sandpaper to remove any rough surfaces or imperfections from the wood. As you progress, switch to finer grits to achieve a smoother finish. A range of sandpaper grits, from 80 to 220, should be sufficient for this process.
- Sand in a circular motion: Hold the sandpaper firmly and sand the surface of each wood slice in a circular motion. This will help to even out any uneven textures and create a uniform look.
- Smooth the edges: Pay special attention to sanding the edges of the wood slices to ensure they are smooth and free from splinters. This will not only enhance the appearance but also make them safe to handle.
- Clean the wood dust: After sanding, use a cloth or a brush to remove any wood dust that may have accumulated. This will give you a clear view of the finished surface and prevent the dust from interfering with the next steps.
Sanding the wood slices will not only improve their aesthetic appeal but also make them more comfortable to touch and handle. It will provide a clean canvas for the final step of finishing the wood slices.
Take your time during the sanding process, paying attention to every detail, and enjoy the transformation of the wood slices into smooth and refined pieces of art.
Step 5: Finishing the Wood Slices
After sanding the wood slices, it’s time to give them a finishing touch to enhance their natural beauty and protect them from wear and tear. Follow these steps to finish your wood slices:
- Choose a finish: There are several options for finishing your wood slices, such as natural oils, varnishes, or even a clear lacquer. Consider the desired look and feel you want to achieve. Natural oils, such as linseed or tung oil, can bring out the natural grain and color of the wood, while varnishes provide a glossy finish.
- Apply the finish: Using a soft cloth or a brush, apply the chosen finish to each wood slice. Make sure to cover all surfaces, including the edges. Follow the manufacturer’s instructions for the specific finish you’re using.
- Allow to dry: After applying the finish, allow the wood slices to dry completely. This may take a few hours or even overnight, depending on the type of finish used. Ensure that the slices are placed on a flat surface to prevent any uneven drying.
- Inspect and reapply if necessary: Once the wood slices are dry, inspect them for any missed spots or uneven finish. If needed, lightly sand the surface with a fine-grit sandpaper and reapply the finish to achieve a smooth and consistent look.
Finishing the wood slices not only adds a protective layer but also enhances their overall appearance. It brings out the natural colors and grain patterns, making them visually appealing and ready to be incorporated into your centerpiece designs.
Remember to follow the recommended safety precautions when working with finishing materials and ensure proper ventilation in the area where you are applying the finish.
With the wood slices now beautifully finished, you’re almost ready to adorn them with your chosen decorations and create stunning centerpieces.
Step 6: Decorating the Wood Slices
Now comes the fun and creative part: decorating the wood slices to transform them into captivating centerpieces. Here are some ideas and tips for decorating your wood slices:
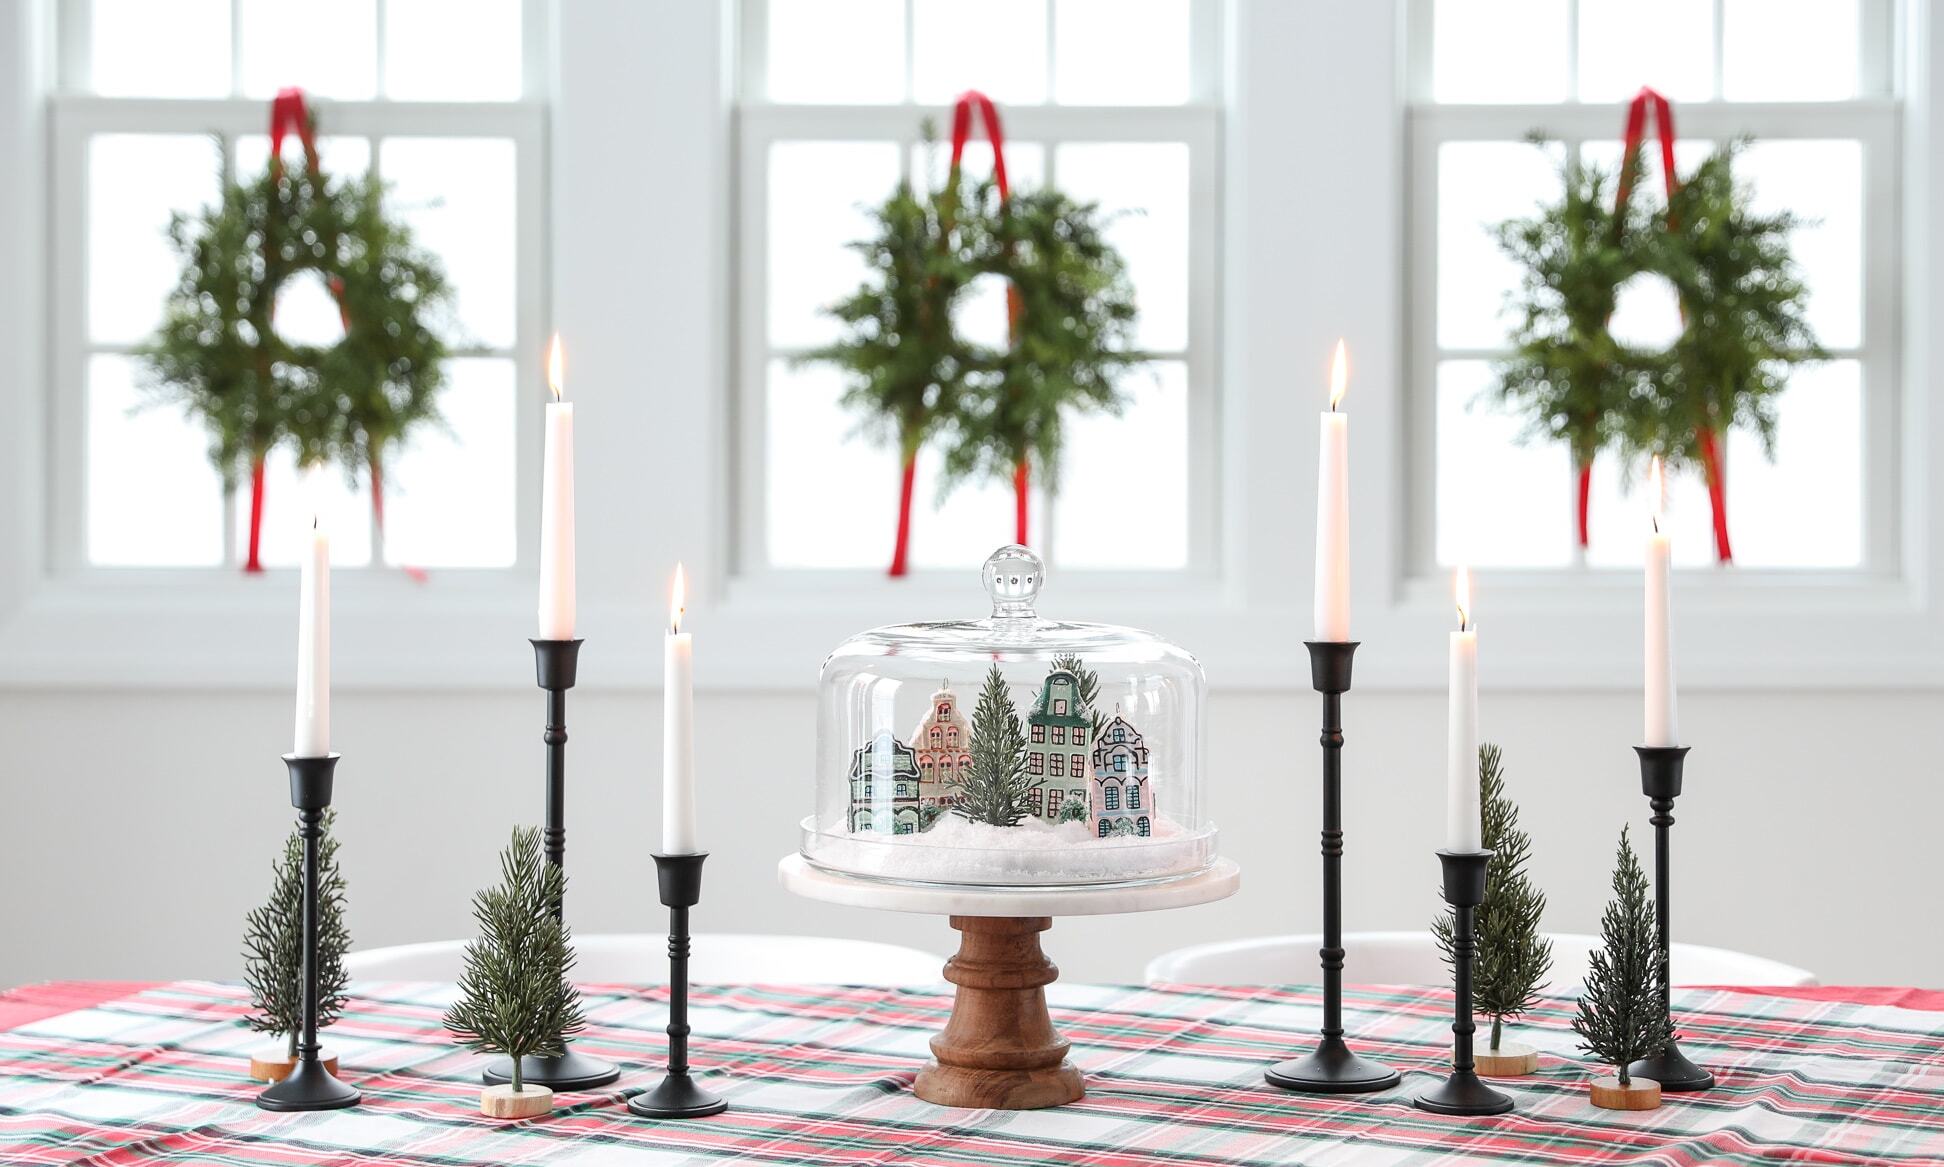
- Candles: Place small tea light candles or pillar candles of varying heights on the wood slices for a cozy and intimate atmosphere. Use candle holders or simply secure the candles with adhesive wax dots.
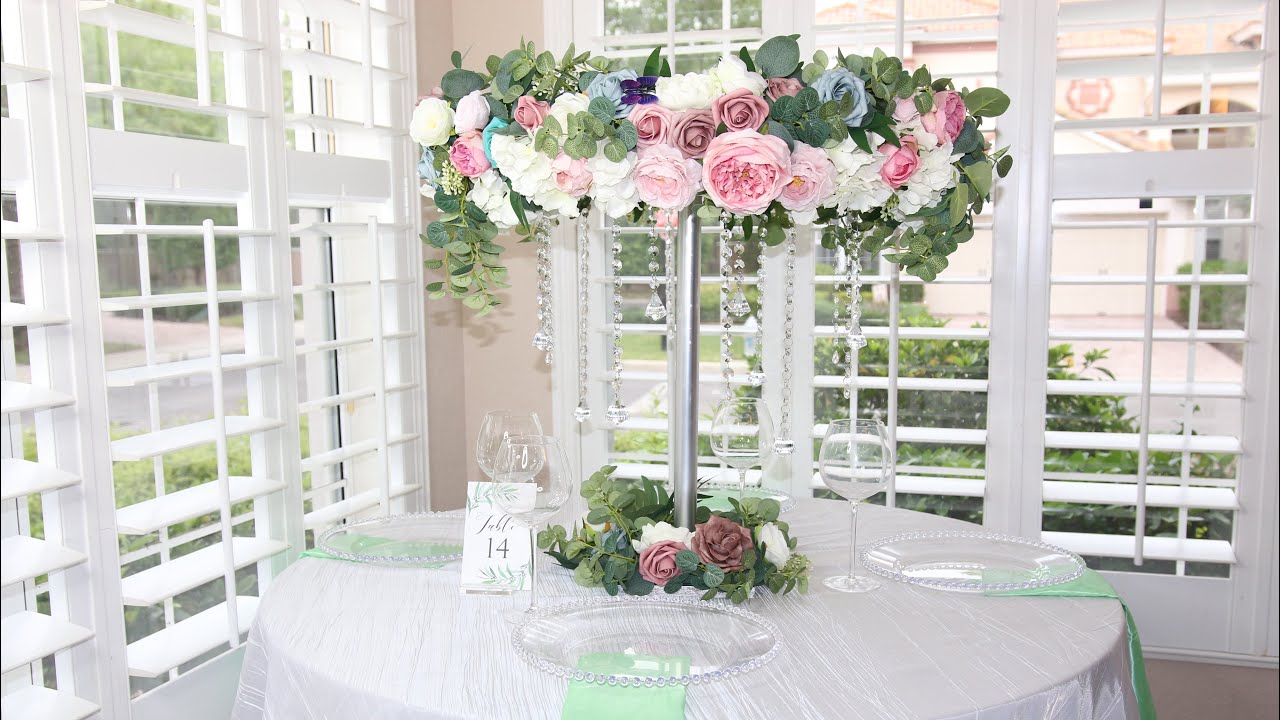
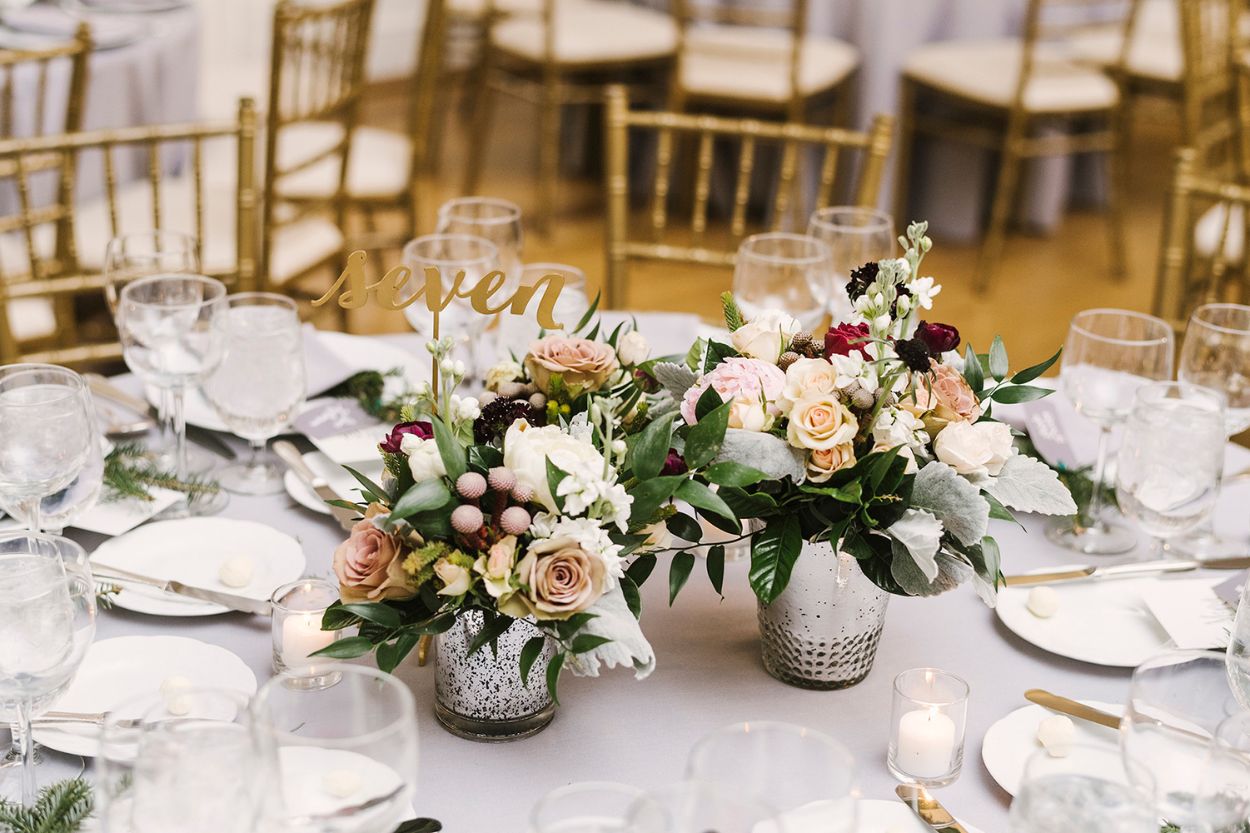
- Flower arrangements: Arrange a bouquet of fresh flowers or dried flowers in a vase or directly on the wood slices. Incorporate a mix of colors and textures to create a visually appealing display.
- Greenery: Add a touch of freshness by placing small potted plants such as succulents or ferns on the wood slices. It brings a vibrant and organic element to your centerpiece.
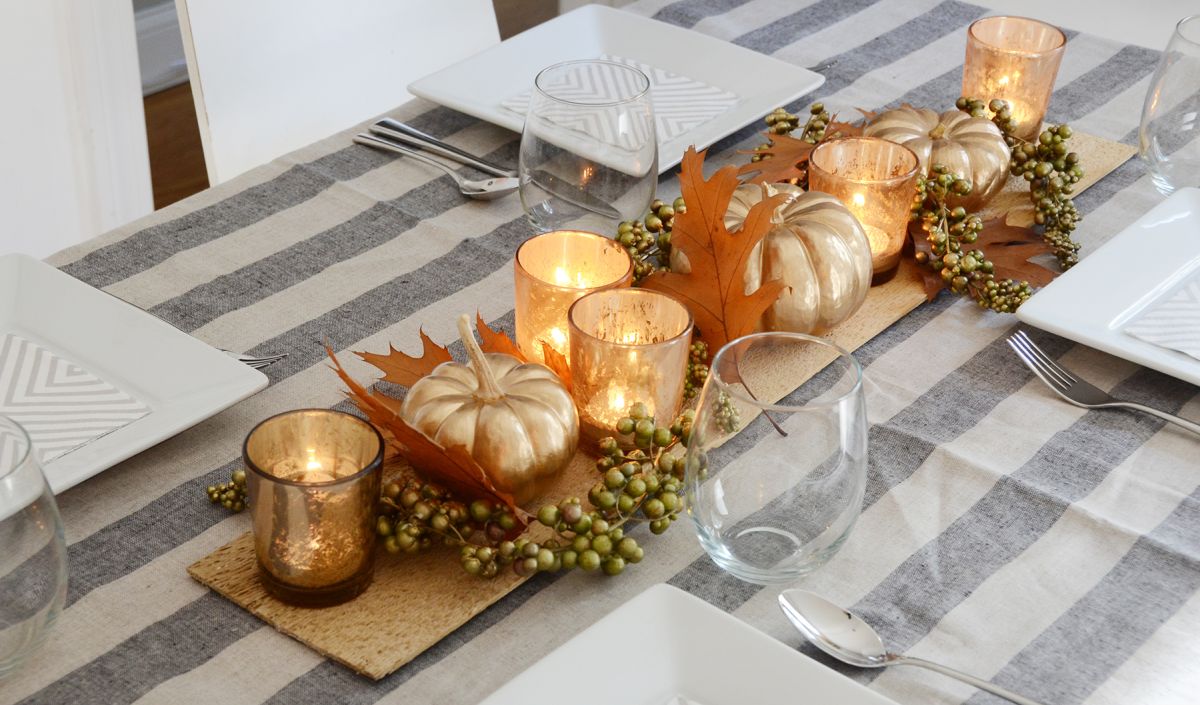
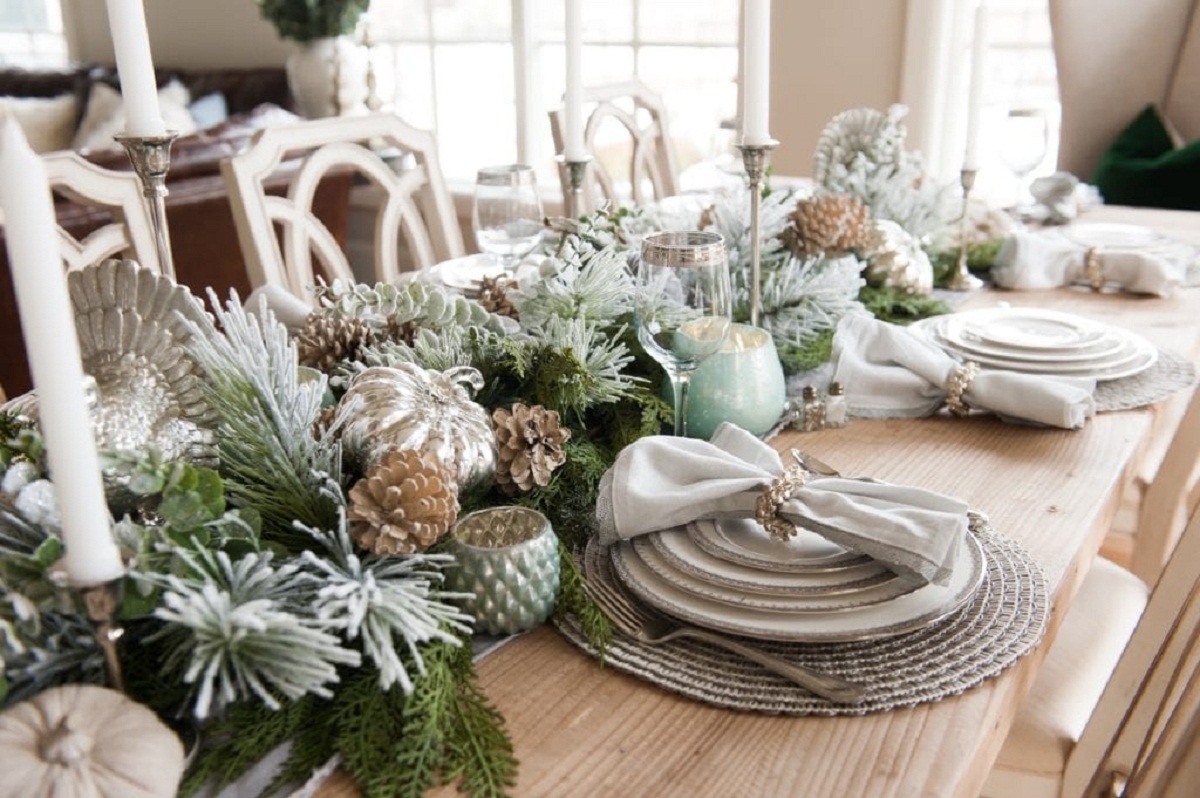
- Seasonal accents: Customize your wood slices according to the season or occasion. For example, decorate with pinecones and berries for a winter-themed centerpiece or colorful leaves and pumpkins for a fall-inspired look.
- Personal mementos: Showcase small personal items like photographs, shells, or sentimental objects on the wood slices. It adds a personal touch and sparks conversation among guests.
- Table numbers or signs: If you’re hosting an event or a wedding, use the wood slices as a base for table numbers or signs. Paint or engrave the numbers on the wood slices to guide guests to their seats.
Experiment with different combinations and arrangements to find the perfect balance of decorations for your wood slices. Let your creativity shine as you create unique centerpieces that reflect your personal style and the theme of your event.
Remember to consider the size of the wood slices and the overall layout of your table when choosing and arranging your decorations. Ensure that the decorations are secure and well-balanced on the wood slices for a visually pleasing centerpiece.
By following these decorating ideas, you’ll transform your wood slices into eye-catching focal points that will leave a lasting impression on your guests.
Conclusion
Congratulations! You have successfully learned how to make wood slices for centerpieces. Turning raw wood into beautifully finished pieces that adorn your table is a rewarding and creative process. By following the steps outlined in this guide, you now have the knowledge and skills to create stunning and unique centerpieces that will elevate any occasion.
Remember, the key is to select the right wood, prepare it properly, cut precise and uniform slices, sand them to perfection, and apply a finishing touch that protects and enhances their natural beauty. The final step is to let your imagination and personal style take over as you decorate the wood slices to suit your event or home decor.
Whether you’re hosting a wedding, a dinner party, or simply wanting to add a touch of nature to your everyday life, wood slices for centerpieces offer a rustic and elegant charm that never fails to impress. Get creative with candles, flowers, greenery, or personal mementos to transform your wood slices into captivating centerpieces that will be the talk of the table.
Now, gather your materials, put on your safety gear, and embark on the journey of creating your own wood slices. Let your creativity flow, and enjoy the process of turning a simple piece of wood into a stunning centerpiece that will truly make a statement.
So go ahead, start creating, and let the natural beauty of wood slices be the centerpiece of your next gathering!
Frequently Asked Questions about How To Make Wood Slices For Centerpieces
Was this page helpful?
At Storables.com, we guarantee accurate and reliable information. Our content, validated by Expert Board Contributors, is crafted following stringent Editorial Policies. We're committed to providing you with well-researched, expert-backed insights for all your informational needs.


0 thoughts on “How To Make Wood Slices For Centerpieces”