Articles
How Wide To Cut Binding For A Quilt
Modified: October 28, 2024
Learn the best technique for cutting binding to achieve the perfect width for your quilt. Get expert advice and helpful tips in our informative articles.
(Many of the links in this article redirect to a specific reviewed product. Your purchase of these products through affiliate links helps to generate commission for Storables.com, at no extra cost. Learn more)
Introduction
When it comes to quilting, one of the final steps in completing a beautiful quilt is adding the binding. Binding not only adds a finished look to the quilt edges, but also helps to protect the quilt’s seams and keep the layers securely intact. But how wide should the binding be for your quilt? This is a common question that quilters often ask, and in this article, we will explore the different factors to consider and provide guidelines for determining the ideal width of binding.
Understanding the proper width of binding is crucial because it can greatly impact the overall appearance and functionality of your quilt. Too narrow, and the binding may unravel or not adequately cover the quilt’s raw edges. Too wide, and the binding might look bulky or overpower the design. By finding the right balance, you can achieve a professional-looking finish that complements your quilt seamlessly.
Before we dive into calculating the width of binding, it’s important to gather the necessary materials and tools for the project. These include:
- Fabric for the binding
- Scissors or rotary cutter
- Ruler or quilting measuring tape
- Sewing machine or needle and thread
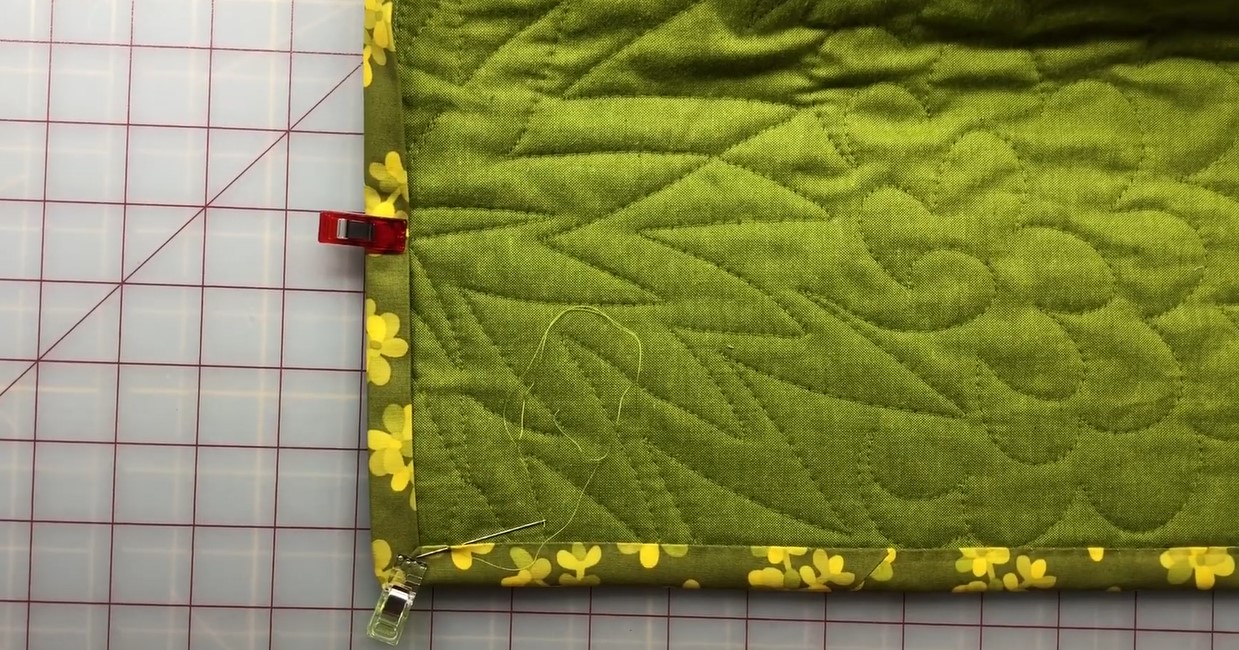
- Pins or clips for securing the binding
- Iron and ironing board
Now let’s move on to understanding how to calculate the width of binding for your quilt.
Key Takeaways:
- Determining the ideal width of quilt binding involves considering factors like quilt thickness, style, and personal preference. Common widths range from 2.25 to 3.5 inches, but experimentation is key to finding the perfect fit for your quilt.
- When cutting quilt binding, accuracy is crucial. Use a quilting ruler, sharp tools, and consider bias binding for curved edges. Label and organize the strips for easy identification, and remember that practice makes perfect!
Read more: How To Join Ends Of Quilt Binding
Understanding Binding in Quilting
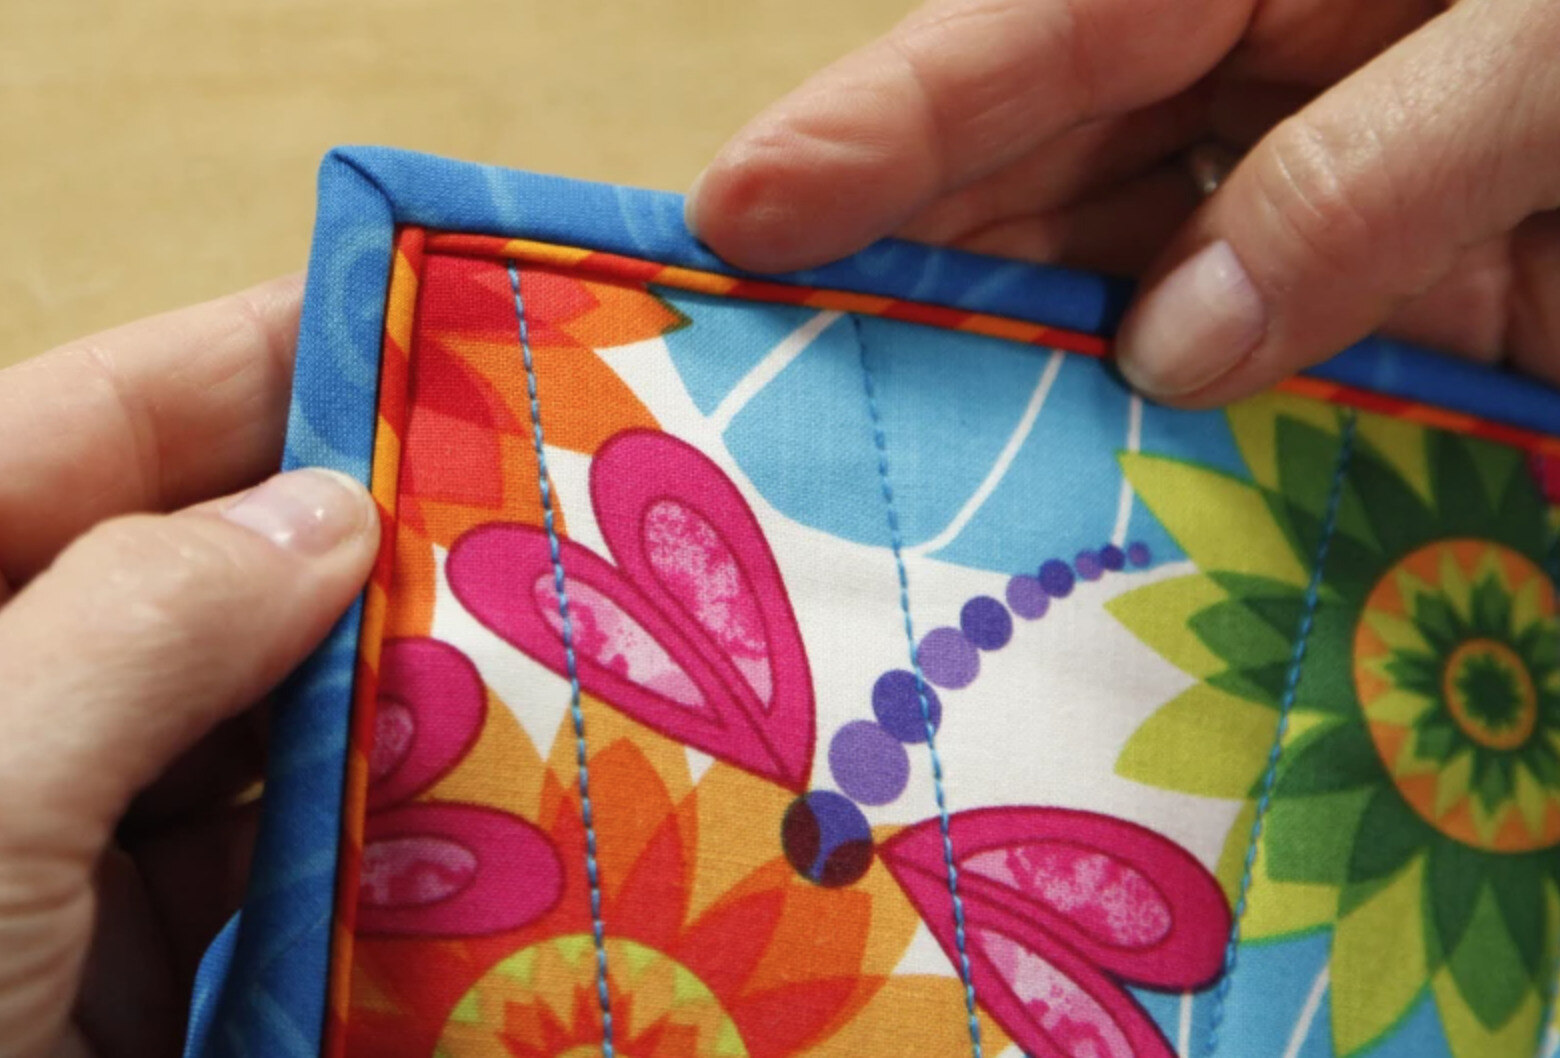
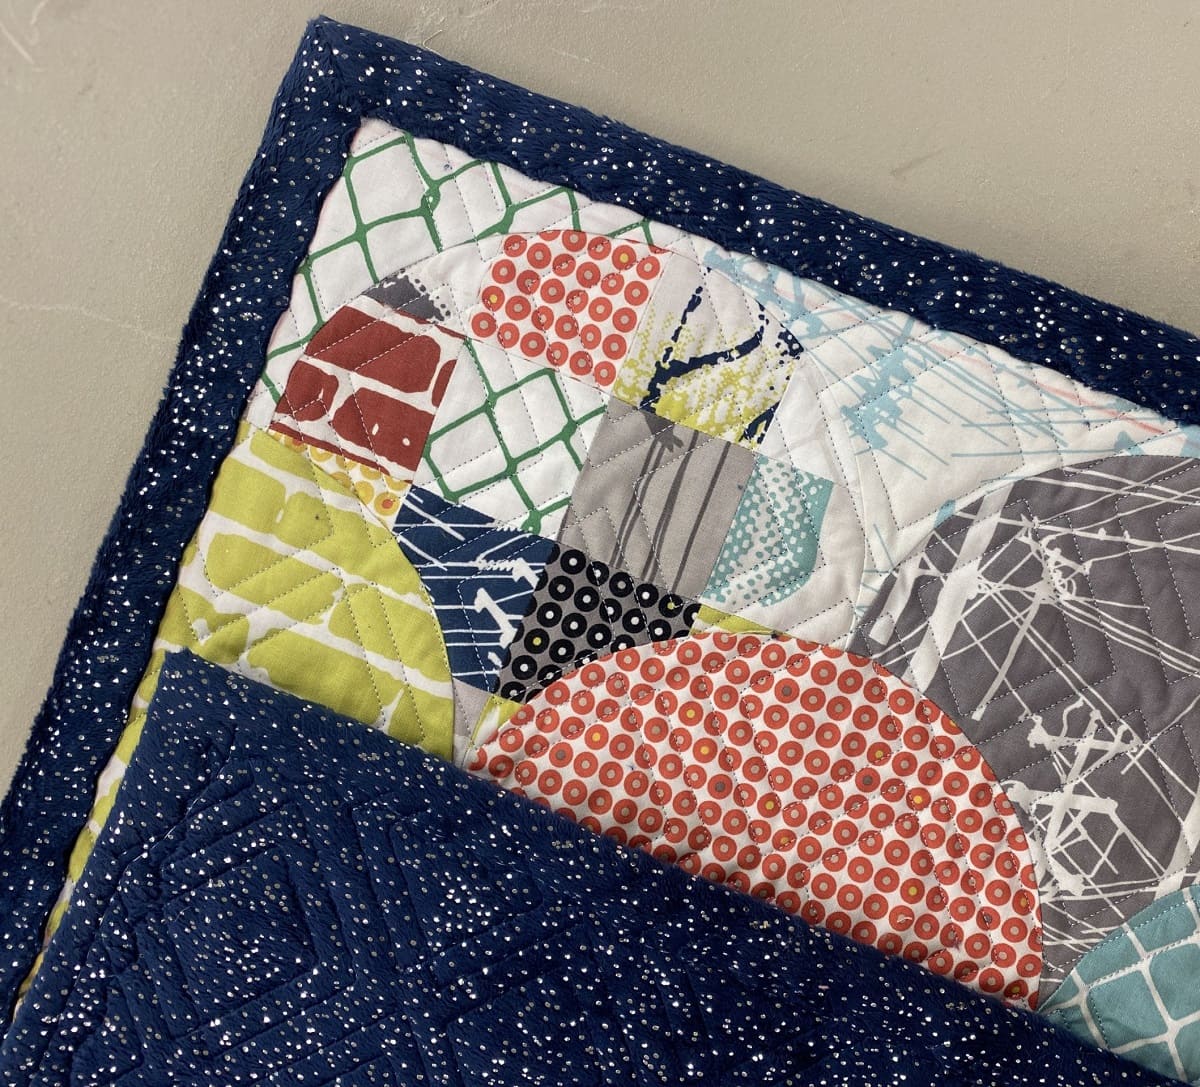
In the world of quilting, binding refers to the fabric strip that is sewn around the edges of the quilt to enclose the raw edges and create a finished look. The binding serves as a protective barrier, preventing the fabric layers from fraying and unraveling over time.
Binding can be made from the same fabric as the quilt top, a coordinating fabric, or even a contrasting fabric to add visual interest. The choice of binding fabric depends on personal preference and the desired aesthetic for the quilt.
There are two main types of binding commonly used in quilting: double-fold binding and single-fold binding. Double-fold binding is the most traditional and widely used method. It involves folding the fabric strip in half lengthwise and then attaching it to the quilt. Single-fold binding, on the other hand, is created by folding one long edge of the fabric strip to the center and then folding the opposite edge over to enclose the raw edges. Single-fold binding is generally used for projects that require a narrower or less bulky finish.
Binding can be attached to the quilt either by machine or by hand. Machine binding offers quicker and more secure results, while hand binding provides a more traditional, meticulous finish.
Now that we have a basic understanding of binding, let’s move on to calculating the width of binding for your quilt.
Materials and Tools Needed
Before you can start cutting your binding for a quilt, it’s important to gather all the necessary materials and tools. Here’s a list of what you’ll need:
- Fabric for the binding: Choose a fabric that complements your quilt top. You can use the same fabric as the quilt or opt for a coordinating or contrasting fabric.
- Scissors or rotary cutter: A good pair of fabric scissors or a rotary cutter with a sharp blade will make the cutting process much easier and more accurate.
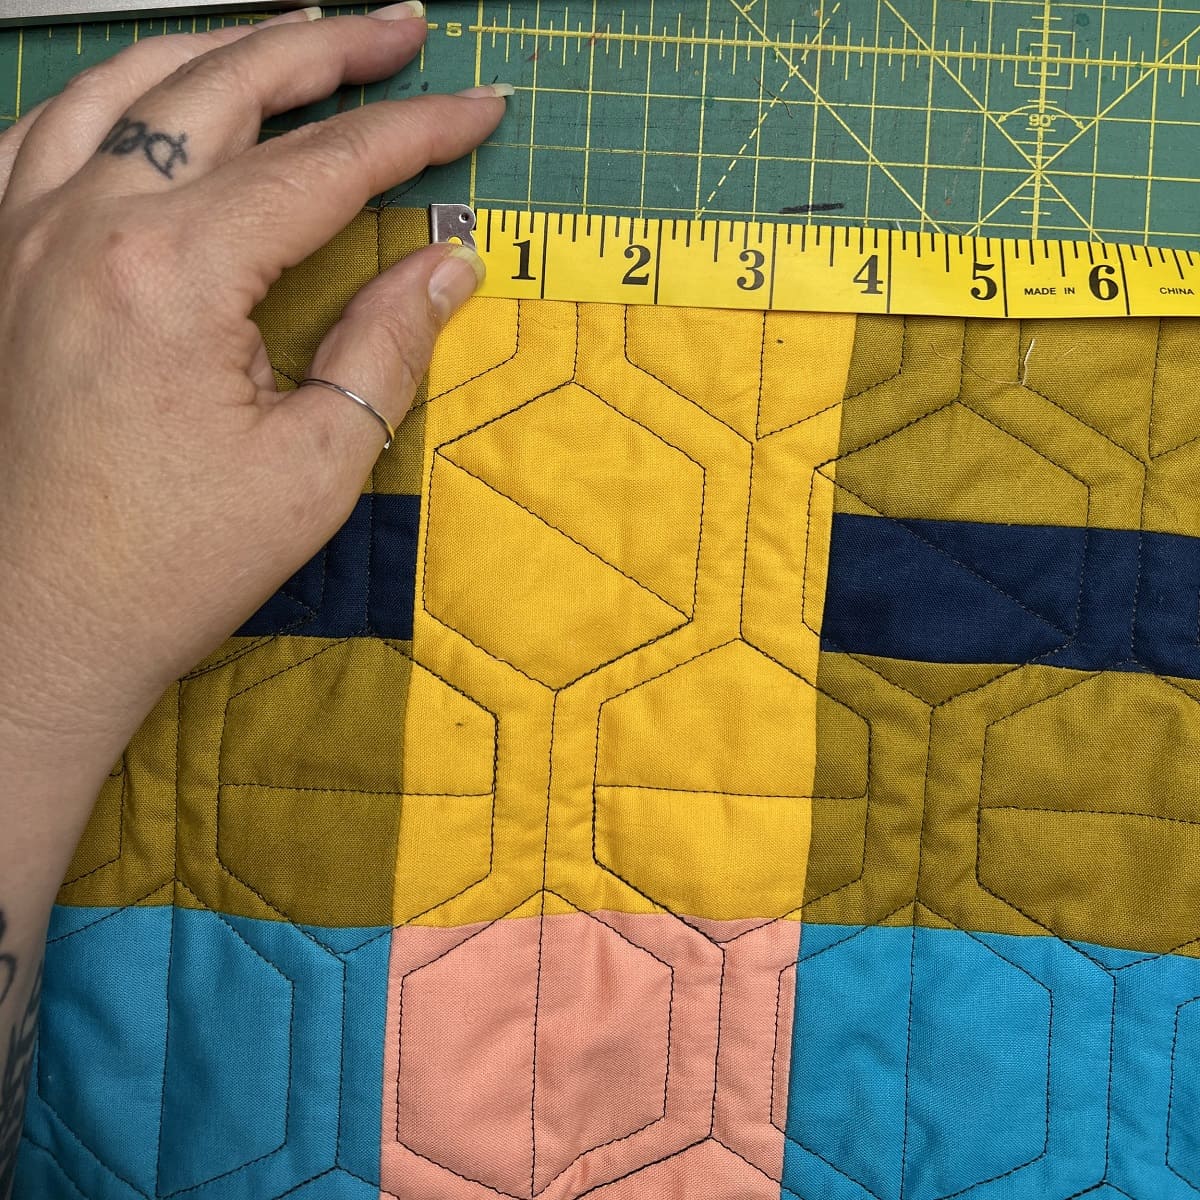
- Ruler or quilting measuring tape: You’ll need a ruler or a quilting measuring tape to measure and mark the fabric strips for cutting.
- Sewing machine or needle and thread: Depending on your preferred method of attaching the binding, you’ll need either a sewing machine or a needle and thread. A sewing machine can provide a faster and more secure finish, while hand sewing can offer a more meticulous and traditional look.
- Pins or clips: Use pins or clips to hold the binding in place while you sew it onto the quilt.
- Iron and ironing board: An iron and ironing board are essential for pressing the fabric and creating crisp, neat folds in the binding strips.
Gather these materials and ensure they are in good condition before you start working on your quilt binding. Having the right tools will make the process smoother and more enjoyable.
Now that we have the necessary materials and tools ready, let’s move on to calculating the width of the binding for your quilt.
Calculating the Width of Binding
Calculating the width of binding for your quilt involves considering several factors. The standard width for binding typically ranges from 2.5 to 3 inches, but it can vary depending on personal preference and the specific needs of your quilt. Here are some factors to consider when determining the width of binding:
- Quilt thickness: The thickness of your quilt can affect the width of the binding. If your quilt has multiple layers or is heavily quilted, you may want to use a wider binding to ensure that it adequately covers the raw edges and holds the layers together.
- Quilt style: The style of your quilt can also influence the width of binding. For example, if you have a more intricate or detailed quilt design, you may want to use a narrower binding to let the quilt take center stage. On the other hand, if you have a simpler or more minimalistic quilt, a wider binding can add a decorative touch.
- Quilt use: Consider how the quilt will be used and washed. If the quilt will be frequently washed or used in high-traffic areas, a wider binding can provide better durability and protection for the quilt edges.
- Personal preference: Ultimately, your personal preference plays a significant role in determining the width of binding. Experimentation and trial and error can help you find the width that you find aesthetically pleasing and functional for your quilts.
As a general guideline, a binding width of 2.5 to 3 inches is a good starting point. It provides enough coverage for most quilts while maintaining a balanced appearance. However, feel free to adjust the width to your liking and the needs of your specific quilt.
Now that we have explored the factors to consider when determining the width of binding let’s move on to common width options and how to cut the binding for your quilt.
Factors to Consider
When deciding on the width of binding for your quilt, there are several important factors to consider. These factors will help you determine the optimal width that ensures both functionality and aesthetics. Here are the key factors to keep in mind:
- Quilt Size and Weight: The size and weight of your quilt can impact the width of the binding. Larger and heavier quilts may benefit from wider bindings to provide a more secure and durable edge.
- Quilt Style and Design: The style and design of your quilt can also influence the choice of binding width. For intricate or complex designs, a narrower binding might be more appropriate to showcase the quilt’s details. On the other hand, a wider binding can add a decorative frame to a simpler design.
- Quilt Fabric: Consider the fabric used in your quilt top. If you have a quilt with delicate or lightweight fabric, a narrower binding will help maintain the overall harmony and balance of the quilt. For heavier fabrics or more structured quilts, a wider binding can provide the necessary stability and support.
- Intended Use of the Quilt: Think about how the quilt will be used. If it will receive frequent washing or heavy use, a wider binding can offer better protection and durability. For quilts intended for decorative purposes, a narrower binding may suffice.
- Personal Preference: Ultimately, your personal preference is a crucial factor. Consider your own style and aesthetic preferences when deciding on the width of the binding. Experiment with different widths to find what pleases your eye and suits your quilting style.
By taking these factors into account, you can make an informed decision about the width of binding that best suits your quilt. Remember that there is no one-size-fits-all approach, and it’s perfectly acceptable to vary the binding width from quilt to quilt based on these considerations.
Now that we have covered the important factors to consider, let’s move on to exploring some common widths for quilt binding.
When cutting binding for a quilt, a good rule of thumb is to cut the strips 2.5 inches wide. This will allow for a 0.25 inch seam allowance and a nice, full binding on the quilt.
Read more: How To Make Binding On Quilt
Common Widths for Binding
When it comes to quilt binding, there are several common widths that quilters often use. While the choice of binding width ultimately depends on personal preference, here are some popular options to consider:
- 2.25 inches: This narrower binding width is often used for mini quilts, small wall hangings, or projects where a delicate and subtle finish is desired.
- 2.5 inches: This is the most commonly used binding width for quilts of all sizes. It provides a balanced look and ample coverage for quilt edges.
- 3 inches: A 3-inch binding is a slightly wider option that works well for larger quilts or quilts with thicker batting or multiple layers.
- 3.5 inches: A wider binding width like 3.5 inches can create a more dramatic and decorative effect. It is often chosen for art quilts or quilts with bold designs.
While these are common widths used by many quilters, feel free to experiment with different widths to find the one that best suits your quilt and personal taste. Additionally, keep in mind that these widths refer to double-fold binding, where the fabric strip is folded in half lengthwise before attaching it to the quilt. The final width will be half of the original measurement after folding.
Remember, the width of the binding should not overpower the quilt design or compromise its functionality. Choose a width that enhances the overall aesthetic and provides sufficient coverage for the quilt edges.
Now that we have explored the common widths for quilt binding, let’s move on to how to cut the binding for your quilt.
Cutting Binding for a Quilt
When it comes to cutting the binding for your quilt, there are a few essential steps to follow to ensure accuracy and efficiency. Here’s a step-by-step guide:
- Calculate the Length: Start by measuring the perimeter of your quilt. Add up the lengths of all four sides and add a few extra inches to account for corners and seam allowances. This calculation will give you the total length of binding needed for your quilt.
- Determine the Width: Refer to the factors we discussed earlier to determine the desired width of your binding. You can choose a standard width or customize it based on your quilt’s specific requirements.
- Cut the Strips: Using your chosen fabric, cut binding strips parallel to the fabric’s selvage edge. The width of the strips should be twice the desired finished binding width, plus an additional ¼ inch for seam allowances.
- Join the Strips: If your quilt requires multiple binding strips to cover the entire perimeter, join the strips together at a 45-degree angle. This will create a diagonal seam that distributes the bulk and ensures a smooth finish.
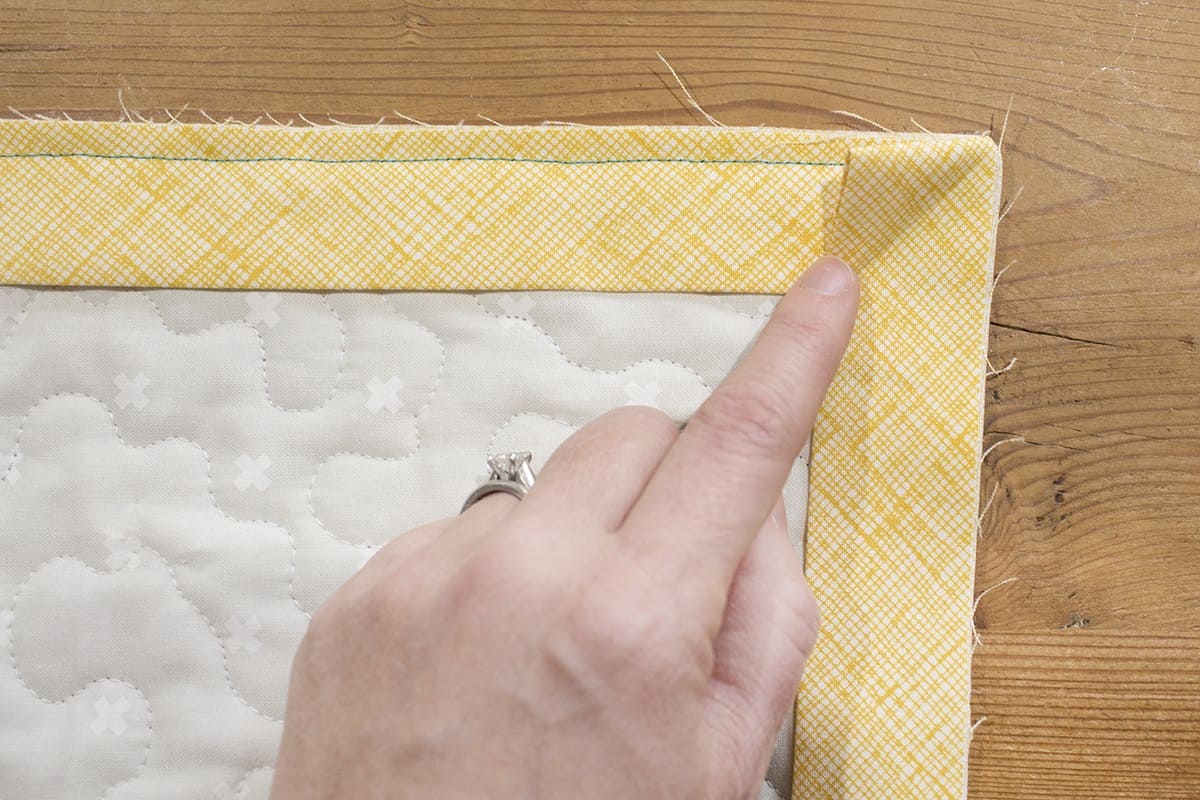
- Press the Strips: After joining the strips, press the seam allowances open or to one side, depending on your preference. Use a hot iron to create a crisp folded edge along the length of the binding strips.
- Store and Label: To keep your binding organized, consider rolling the strips onto a binding card or wrapping them around a ruler. Label each strip with the quilt’s name or any other relevant information for easy identification.
By following these steps, you can accurately cut and prepare your binding for attaching to your quilt. Remember to double-check your measurements and take your time to achieve clean and precise cuts.
Now that we have covered cutting the binding, let’s move on to some tips and tricks for accurately cutting your quilt binding.
Tips and Tricks for Accurate Cutting
Accurate cutting is crucial when it comes to preparing the binding for your quilt. Here are some helpful tips and tricks to ensure precise and clean cuts:
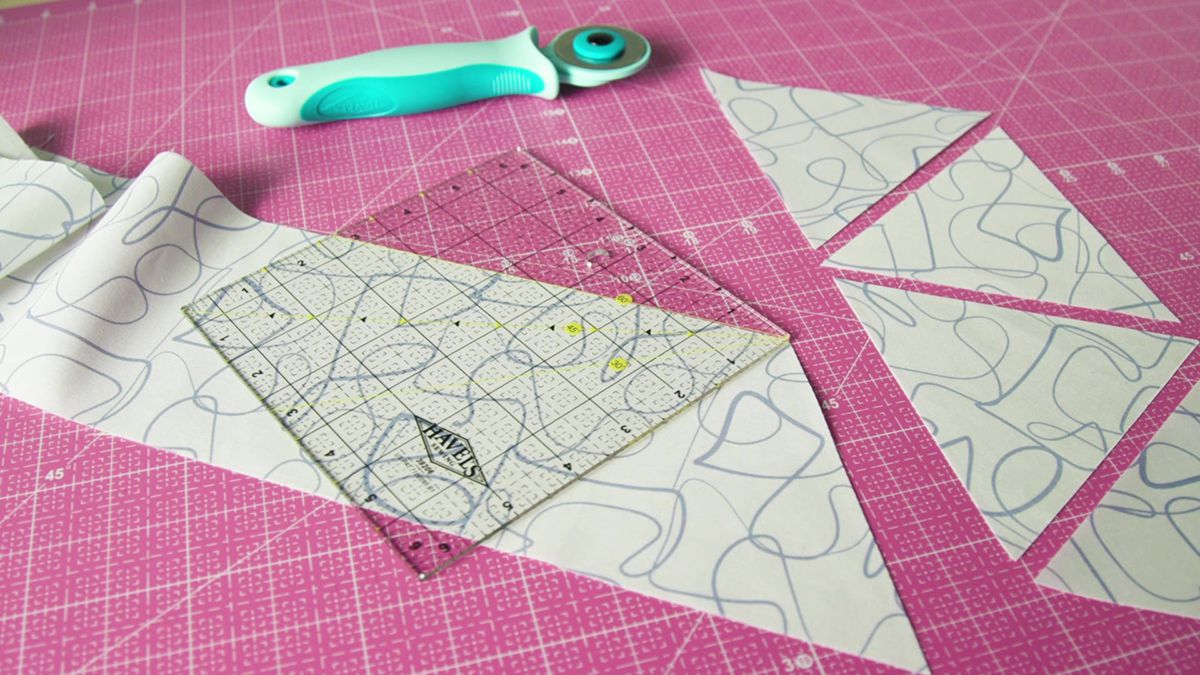
- Use a quilting ruler: A clear, acrylic quilting ruler with precise markings is essential for accurate cutting. Make sure to align the ruler’s edge with the fabric’s edge and use a rotary cutter to make smooth, straight cuts.
- Sharpen your tools: Ensure that your scissors or rotary cutter blades are sharp before you begin cutting. Dull blades can result in jagged edges and uneven cuts.
- Make practice cuts: If you’re using a new fabric or trying a different binding width, make a few practice cuts to familiarize yourself with the fabric and ensure the desired width is achieved.
- Press the fabric: Before cutting your binding strips, press the fabric using a hot iron. This helps to remove any wrinkles or creases, ensuring accurate measurements and clean cuts.
- Consider bias binding: For quilts with curved edges or rounded corners, consider using bias binding. Bias binding stretches and molds easily, allowing for smoother and neater application.
- Label your strips: To avoid confusion, label each strip of binding with a marking pencil or clip. This will help you keep track of which strip belongs to which quilt and prevent any mix-ups during the binding process.
- Check for straight edges: When joining multiple binding strips, ensure that the edges are straight and even before sewing them together. This will result in a seamless and tidy binding.
These tips and tricks will help you achieve accurate and professional-looking cuts for your quilt binding. Take your time, double-check your measurements, and practice if needed to ensure clean and precise cuts.
Now that we have covered the tips and tricks for accurate cutting, let’s conclude our exploration of quilt binding.
Conclusion
Binding is an essential step in completing a quilt, providing both a finished look and protection for the quilt’s edges. Determining the width of the binding is a crucial decision that can greatly impact the overall appearance and functionality of your quilt. By considering factors such as quilt size, style, fabric, and personal preference, you can determine the ideal width for your binding.
Common widths for binding range from 2.25 to 3.5 inches, with 2.5 inches being the most commonly used. However, these are just guidelines, and you can adjust the width based on your specific quilt and preferences.
When cutting the binding, it’s important to accurately measure and join the strips with clean cuts and precise seams. Use the right tools, such as a quilting ruler and sharp scissors or rotary cutter, to ensure accurate cutting. Remember to label and organize the binding strips for easy identification.
By following these guidelines and incorporating the tips and tricks shared, you can achieve accurate and professional-looking binding for your quilts. Remember that practice and experimentation will help you find the perfect width and technique that suits your quilting style.
Now that you have a deeper understanding of how to determine the width of binding for your quilt and how to cut it accurately, you can confidently apply this knowledge to enhance the finish of your quilting projects. So gather your materials, calculate the width, and get ready to add that perfect binding to your beautiful quilts!
Frequently Asked Questions about How Wide To Cut Binding For A Quilt
Was this page helpful?
At Storables.com, we guarantee accurate and reliable information. Our content, validated by Expert Board Contributors, is crafted following stringent Editorial Policies. We're committed to providing you with well-researched, expert-backed insights for all your informational needs.


0 thoughts on “How Wide To Cut Binding For A Quilt”