
Tableware
How To Sew A Tablecloth
Modified: January 19, 2024
Learn how to sew a tablecloth with our step-by-step guide. Enhance your tableware collection with this practical and stylish DIY project.
(Many of the links in this article redirect to a specific reviewed product. Your purchase of these products through affiliate links helps to generate commission for Storables.com, at no extra cost. Learn more)
Introduction
Welcome to the world of tableware! Whether you’re hosting a formal dinner party or simply adding a touch of elegance to your everyday meals, a well-crafted tablecloth can instantly transform your dining experience. With a few sewing skills and a creative eye, you can create a custom tablecloth that perfectly complements your style and adds a personal touch to your table setting.
In this article, we will guide you through the step-by-step process of sewing a tablecloth. From choosing the fabric to completing the finishing touches, we will cover all the essential elements to ensure your tablecloth is not only functional but also visually appealing. Let’s dive in!
Before we begin, let’s gather the materials you’ll need for this project:
- Fabric of your choice
- Measuring tape
- Fabric scissors
- Thread
- Sewing machine or needle and thread for hand-sewing
- Pins
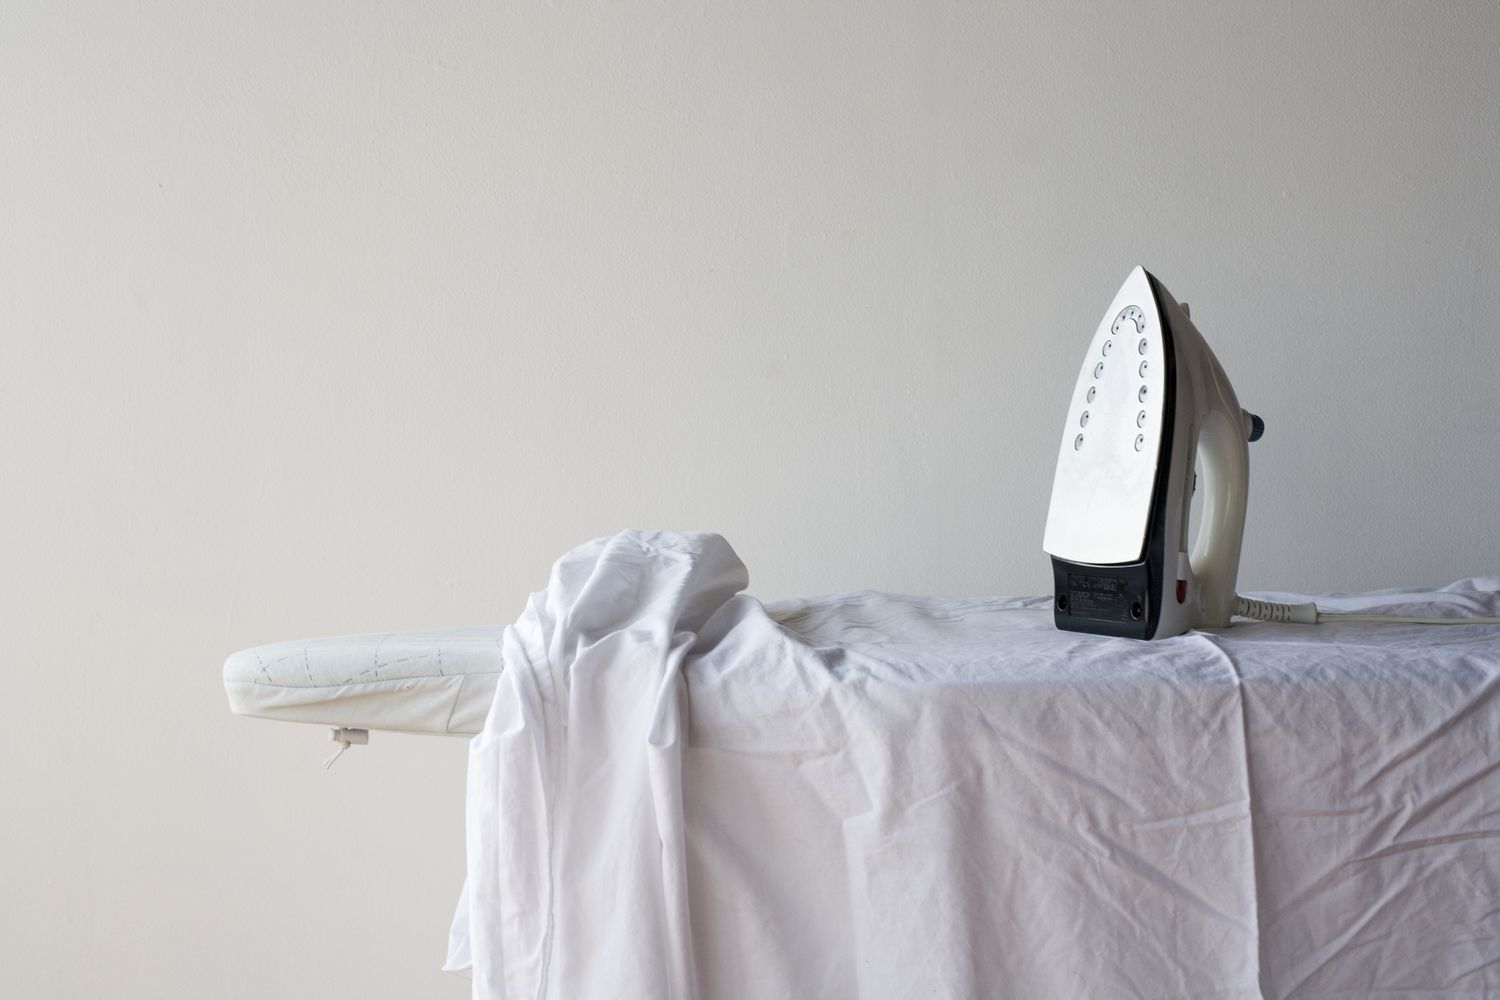
- Iron
Now that we have everything we need, let’s move on to the first step – choosing the fabric for your tablecloth.
Key Takeaways:
- Transform your dining experience by sewing a custom tablecloth that complements your style. Choose the right fabric, measure accurately, and add professional finishes for a polished and elegant table setting.
- Elevate your dining table with a personalized touch. From fabric selection to sewing techniques, create a durable and visually appealing tablecloth that suits any occasion and reflects your unique style.
Read more: How To Make A Tablecloth Without Sewing
Materials Needed
Before you start sewing your tablecloth, it’s essential to gather all the necessary materials. Here’s a list of what you’ll need:
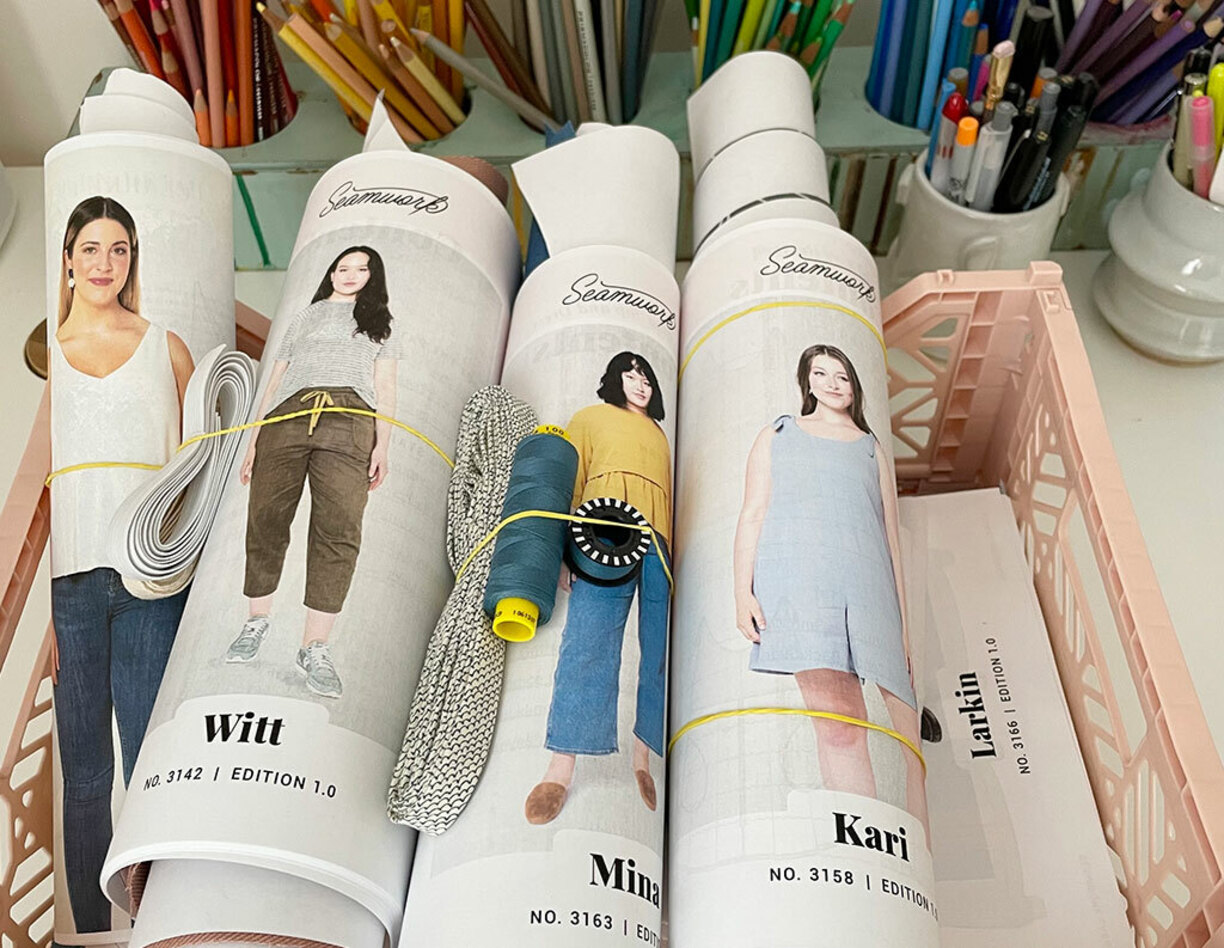
- Fabric of your choice: Select a fabric that suits your style and the occasion. Consider factors like color, pattern, and texture. Cotton, linen, and polyester blends are popular options for tablecloths due to their durability and washability.
- Measuring tape: A measuring tape will help you accurately measure the dimensions of your table and fabric.
- Fabric scissors: Invest in a pair of sharp fabric scissors for clean and precise cuts.
- Thread: Choose a thread color that matches or complements your fabric. Polyester or cotton threads are widely used for sewing tablecloths.
- Sewing machine or needle and thread: Depending on your preference and sewing skills, you can use a sewing machine for faster and more efficient sewing or opt for the traditional hand-sewing method.
- Pins: Use pins to secure the fabric in place while sewing.
- Iron: An iron is essential for pressing and flattening seams to achieve a professional finish.
Having these materials ready before you begin will ensure a smooth and hassle-free sewing process. Additionally, it’s always a good idea to have extra fabric and thread on hand in case of any mishaps or if you decide to make adjustments during the sewing process.
Now that you have gathered all the materials, let’s move on to the next step – choosing the perfect fabric for your tablecloth.
Choosing the Fabric
When it comes to choosing the fabric for your tablecloth, there are a few factors to consider. First, think about the occasion and the overall aesthetic you want to achieve. Are you looking for a formal tablecloth for special occasions, or do you prefer a casual and relaxed vibe for everyday use?
Cotton is a popular choice for tablecloths as it is durable, easy to clean, and comes in a wide range of colors and patterns. It has a natural, breathable feel and is well-suited for both formal and casual settings. Linen is another excellent option known for its elegant and sophisticated appearance. It has a slightly more luxurious feel and is often preferred for formal gatherings.
If you’re looking for a fabric that is resistant to wrinkles, polyester blends are a great choice. They are low-maintenance and don’t require as much ironing as natural fabrics. Polyester also offers a wide variety of colors and patterns to suit your personal style.
Consider the size of your table when choosing your fabric. If you have a large table, you may need to select a wide fabric or sew multiple panels together to ensure adequate coverage. For smaller tables, you can be more flexible with the fabric width.
Take into account the color and pattern of the fabric as well. Solid colors can create a timeless and elegant look, while patterns can add visual interest and fun to your table setting. Consider the existing décor in your dining area and choose a fabric that complements or complements the overall color scheme.
Lastly, think about the texture of the fabric. Smooth and crisp fabrics, like cotton and polyester blends, are ideal for a more formal setting. If you prefer a more relaxed atmosphere, consider fabrics with a bit of texture, such as linen, which adds depth and visual appeal to your tablecloth.
Once you’ve decided on the fabric that aligns with your preferences, it’s time to move on to the next step – measuring your table for the perfect fit!
Measuring the Table
Before you start cutting your fabric, it’s crucial to measure your table accurately to ensure a proper fit for your tablecloth. Here’s a step-by-step guide on how to measure your table:
- Clean your table: Clear off any table decorations or items to have a clean surface to work with.
- Measure the length: Use a measuring tape to measure the length of your table from one end to the other. If you want a drop (the fabric overhang) on the sides of the table, add the desired drop length to the measurement. This will give you the total length of fabric needed for the tablecloth.
- Measure the width: Repeat the same process for measuring the width of the table. Measure from one side to the other, and add the desired drop length if you want a drop on the ends of the table. This will give you the total width of fabric needed.
- Account for seams: If your fabric width is narrower than the total width needed, you will need to sew panels together to achieve the desired width. Keep this in mind when purchasing your fabric.
- Consider the shape of your table: If you have a round or oval-shaped table, measure the diameter or the widest point of the table. For rectangular or square tables, measure the length and width as mentioned above.
It’s important to measure your table accurately to ensure a proper and neat fit for your tablecloth. Remember to account for any desired drop length on the sides and ends of the table, as this will determine the overall dimensions of your tablecloth.
Once you have the measurements, you’re ready to move on to the next step – preparing the fabric for cutting.
Preparing the Fabric
Before cutting your fabric, it’s essential to prepare it properly to ensure a smooth sewing process and a professional-looking tablecloth. Follow these steps to prepare your fabric:
- Wash and iron the fabric: If your fabric is machine washable, it’s best to pre-wash it to remove any sizing or shrinkage. Follow the care instructions on the fabric label. After washing, iron the fabric to remove any wrinkles or creases. This will make it easier to work with and ensure accurate measurements.
- Lay out the fabric: Find a large, clean, and flat surface to lay out your fabric. Smooth it out and make sure there are no wrinkles or folds. If the fabric is wider than your table width, fold it in half lengthwise so that you have a double layer.
- Pinning the fabric: Use pins to secure the fabric layers together, making sure they don’t shift while cutting. Pin along the edges and throughout the middle of the fabric to keep it stable.
- Double-check measurements: Before cutting the fabric, double-check your measurements to ensure accuracy. Measure the length and width of the fabric again to confirm that it matches the dimensions you previously determined.
By washing, ironing, and properly laying out your fabric, you create a solid foundation for sewing your tablecloth. Taking the time to prepare the fabric will result in a cleaner and more polished finished product.
Now that your fabric is ready, it’s time to move on to the next step – cutting the fabric to size.
When sewing a tablecloth, be sure to prewash your fabric to prevent shrinkage. Measure your table and add 8-10 inches to each side for a proper overhang. Use a straight stitch and iron your seams for a professional finish.
Read more: How To Sew An Awning
Cutting the Fabric
With your fabric prepared, it’s time to cut it to the size required for your tablecloth. Follow these steps to ensure accurate and clean cuts:
- Refer to your measurements: Take out your measuring tape and refer to the measurements you took earlier for the length and width of the tablecloth. Use a fabric marker or chalk to mark these measurements on your fabric.
- Adding seam allowance: It’s important to add seam allowance to your measurements to account for hemming and sewing. Typically, a 1-inch seam allowance is recommended for tablecloths. Measure and mark an additional 1 inch around all sides of the fabric.
- Cutting the fabric: Using fabric scissors, carefully cut along the marked lines. Take your time to ensure straight and clean cuts. If you’re using a rotary cutter, make sure to place a cutting mat underneath to protect your work surface.
- For round tables: If you have a round table, use a string or measuring tape to measure the radius or half of the diameter. Hold one end of the string or tape measure in the center of the table, and measure out the desired radius. Mark this on the fabric and use it as a guide to cut out a circular shape.
- For patterned fabric: If you’re using a fabric with a specific pattern or design, take extra care to align the pattern before cutting. You may need to fold the fabric strategically to match the pattern at the seams.
Remember to cut with precision and be mindful of the seam allowance. Accurate cutting will ensure that your tablecloth fits perfectly and allows for seamless sewing.
Once you’ve finished cutting the fabric, it’s time to move on to the next step – hemming the edges.
Hemming the Edges
Hemming the edges of your tablecloth is an essential step in creating a polished and professional finish. The hem not only adds durability to the fabric edges but also gives your tablecloth a neat and tidy look. Follow these steps to hem the edges:
- Prepare your sewing machine: Set up your sewing machine with matching thread and attach the appropriate presser foot for hemming.
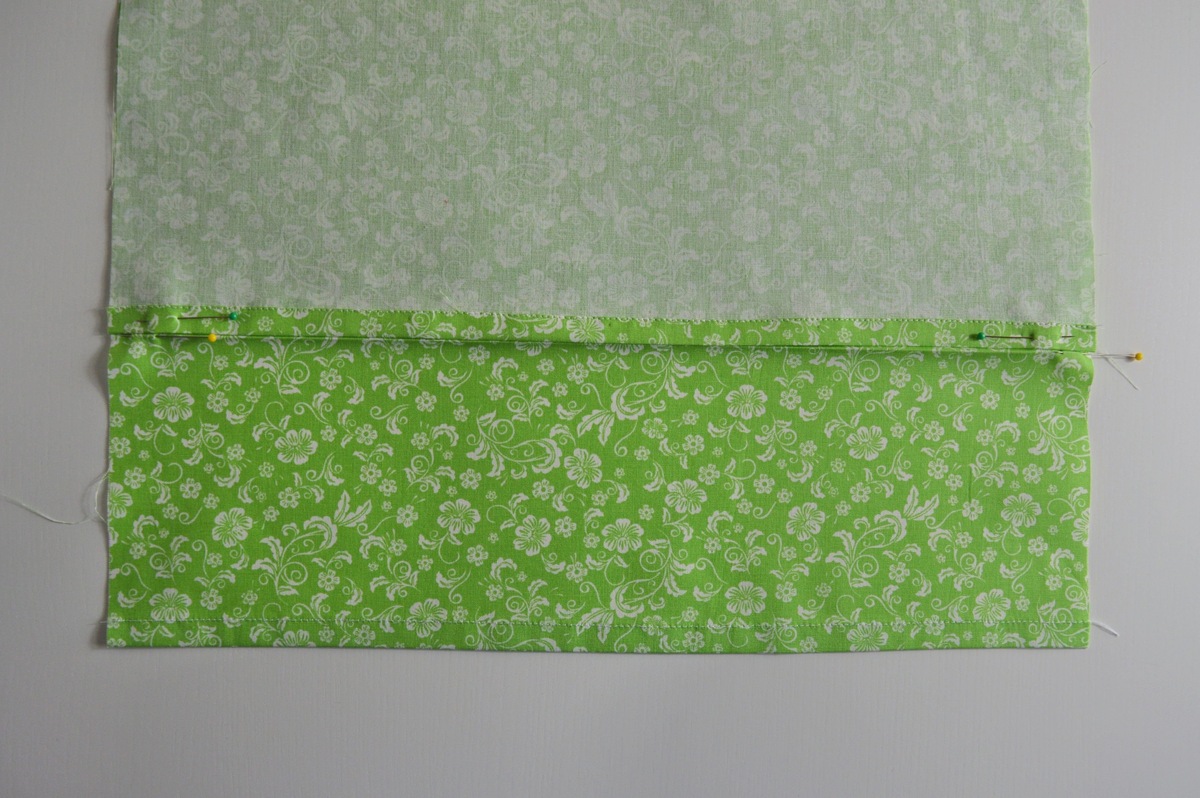
- Fold and press the hems: Take one edge of the fabric and fold it over by ½ inch, towards the wrong side. Use an iron to press the fold and create a crisp crease. Repeat this process for all four edges of the fabric.
- Fold and press again: After the initial ½-inch fold, fold the fabric over by an additional ½ inch, enclosing the raw edge completely. Press the fold again with the iron to create a double-fold hem.
- Pin the hems: Insert pins along the folded edges to hold the hems in place while sewing. Make sure the pins are perpendicular to the edge to avoid sewing over them.
- Sew the hems: Starting at one corner, sew a straight stitch close to the folded edge, removing the pins as you go. Continue sewing along the entire edge, maintaining an even seam allowance. Backstitch at the beginning and end to secure the stitches.
- Repeat for all edges: Repeat the folding, pressing, pinning, and sewing process for all four edges of the tablecloth. Take your time to ensure straight and consistent stitching.
By hemming the edges of your tablecloth, you not only give it a clean and finished appearance but also ensure that it withstands regular use and laundering. Taking the time to properly hem the edges will add longevity to your tablecloth.
Next, we’ll move on to sewing the corners of the tablecloth for a seamless finish.
Sewing the Corners
The corners of your tablecloth require a special technique to ensure a professional and tidy finish. Sewing the corners properly will prevent bulkiness and ensure that the fabric lays flat on your table. Follow these steps to sew the corners:
- Trim the excess fabric: Before sewing the corners, trim the excess fabric from each corner of your tablecloth. Cut diagonally across the corner, about ¼ inch away from the stitching line. This will reduce bulkiness and allow for easier folding.
- Fold and press the corner: Take one corner of the fabric and bring the side edge fold and the bottom edge fold together. Ensure that the side fold aligns with the bottom fold, creating a neat 45-degree angle at the corner. Use an iron to press the folds and create a crisp crease.
- Pin the corner: Insert a pin through both layers of fabric to hold the corner securely in place while sewing. Make sure the pin is perpendicular to the edges and does not interfere with the sewing machine needle.
- Sew the corner: Starting at the folded edge, sew a straight stitch along the side edge, securing the corner folds in place. Backstitch at the beginning and end to reinforce the stitches. Repeat this process for all four corners of the tablecloth.
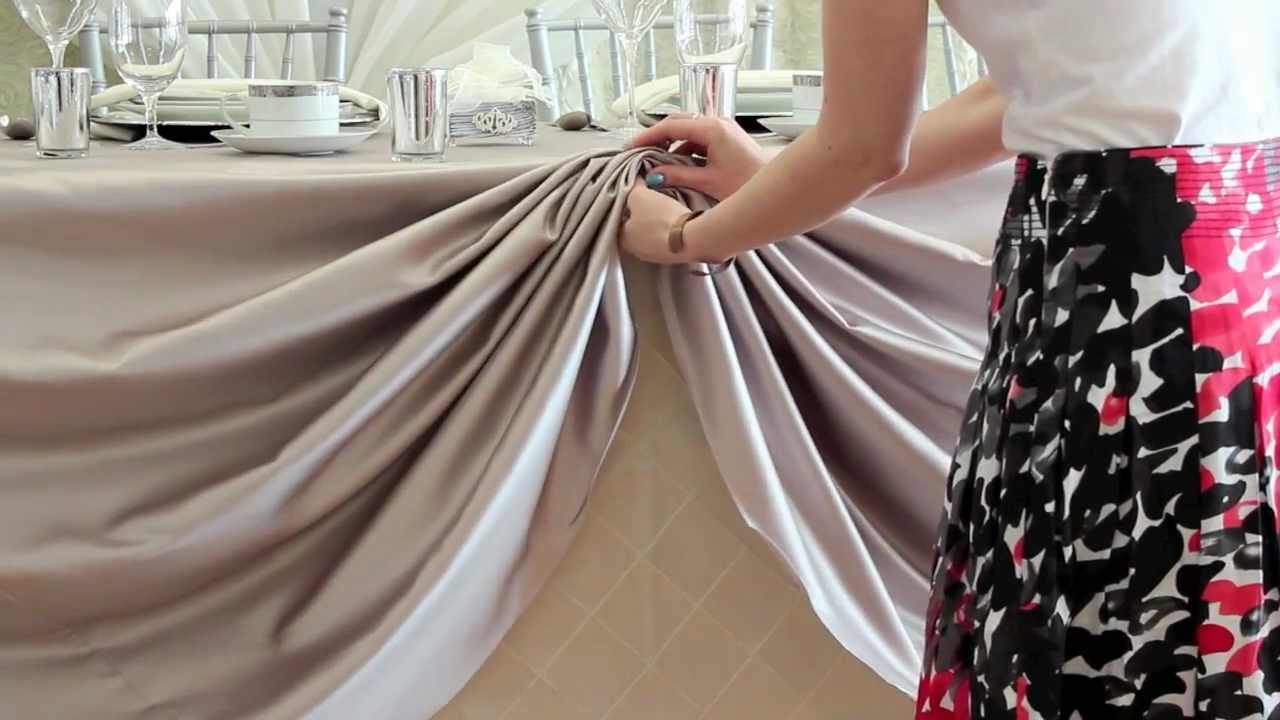
Sewing the corners of your tablecloth with precision will result in clean and well-defined corners. Properly sewn corners will prevent the fabric from bunching up and create a sleek look when the tablecloth is draped over the table.
With the corners sewn, we’re almost done! The next step involves pressing and adding the finishing touches to your tablecloth.
Pressing and Finishing Touches
After sewing the corners and completing the main construction of your tablecloth, it’s time to give it a final touch to ensure a polished and professional look. Pressing the tablecloth and adding a few finishing touches will enhance its overall appearance. Follow these steps to complete your tablecloth:
- Press the seams: Start by pressing the entire tablecloth, both on the right side and the wrong side, to remove any wrinkles or creases. This will give your tablecloth a crisp and tidy appearance. Pay extra attention to pressing the corners and edges to ensure they are well-defined.
- Inspect for loose threads: Check for any loose threads or unraveled stitches along the edges and corners of the tablecloth. Trim any excess threads with scissors to achieve a clean finish.
- Adding embellishments (optional): If you want to add personal touches or embellishments to your tablecloth, now is the time to do so. Consider adding decorative trims, lace, or embroidery to enhance the visual appeal. Make sure to carefully sew these embellishments onto the tablecloth.
- Final pressing: Give your tablecloth one final press to set the creases and ensure a smooth and wrinkle-free finish. Pay attention to any added embellishments to prevent damage or distortion during pressing.
By pressing your tablecloth and examining for any loose threads or imperfections, you’ll have a tablecloth that looks polished and ready to grace your dining table. If you’ve added any embellishments, make sure they are securely attached and well-integrated into the design.
Congratulations! You have successfully sewn a tablecloth from start to finish. Placing your newly sewn tablecloth on your dining table will not only protect the surface but also add a touch of elegance and style to any meal or gathering.
Remember to follow the care instructions for your fabric to ensure that your tablecloth remains in great condition for years to come.
That wraps up our comprehensive guide on sewing a tablecloth. We hope you enjoyed the journey and feel confident to create beautiful tablecloths for any occasion.
Happy sewing!
Read more: How To Sew Curtains With Lining
Conclusion
Congratulations! You have reached the end of our detailed guide on sewing a tablecloth. By following the step-by-step instructions and using your creativity, you can now create custom tablecloths that perfectly suit your style and enhance your dining experience.
We began by gathering the necessary materials, including fabric, measuring tape, scissors, thread, and a sewing machine. Then, we explored the importance of choosing the right fabric based on the occasion, color scheme, and desired texture. Next, we delved into measuring the table to ensure an accurate fit for your tablecloth.
We moved on to preparing the fabric by washing, ironing, and laying it out for cutting. Precision was emphasized in the cutting process, with attention to adding seam allowance and considering pattern alignment for patterned fabrics.
Hemming the edges was the next crucial step, providing durability and a clean appearance to your tablecloth. Sewing the corners properly ensures a polished finish and prevents bulkiness.
Finally, we emphasized the importance of pressing the tablecloth, inspecting for loose threads, and adding any desired embellishments. These final touches elevate your tablecloth and give it a professional look.
Now it’s time for you to put your newfound tablecloth sewing skills to use. Experiment with different fabrics, colors, and patterns to create tablecloths that reflect your personal style and match various occasions.
Remember, sewing is a skill that improves with practice. Don’t be discouraged if your first attempts aren’t perfect. The more you practice, the better you’ll become.
Thank you for joining us on this sewing journey. We hope you enjoyed learning how to sew a tablecloth, and we wish you success in all your future tablecloth sewing endeavors.
Happy sewing and enjoy your beautifully crafted tablecloths!
Frequently Asked Questions about How To Sew A Tablecloth
Was this page helpful?
At Storables.com, we guarantee accurate and reliable information. Our content, validated by Expert Board Contributors, is crafted following stringent Editorial Policies. We're committed to providing you with well-researched, expert-backed insights for all your informational needs.


0 thoughts on “How To Sew A Tablecloth”