
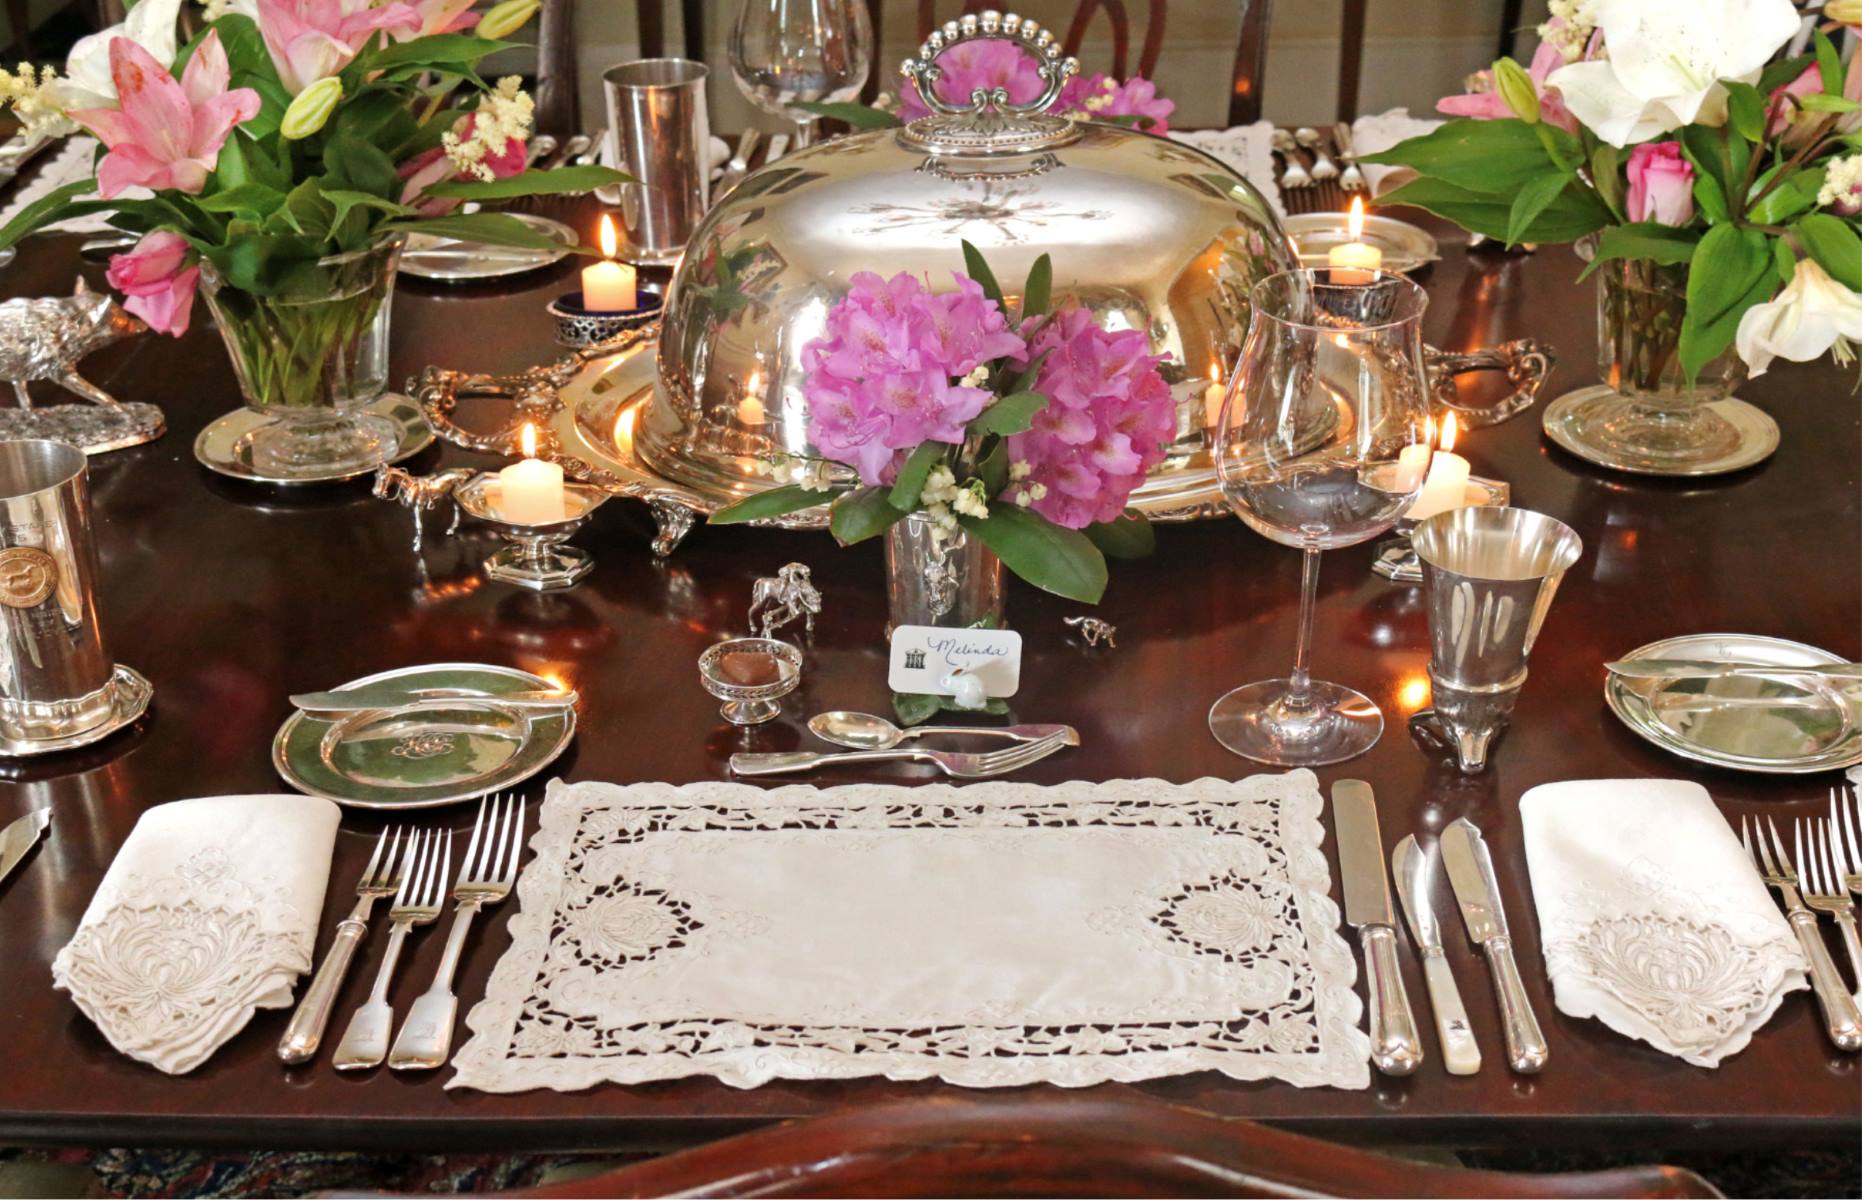
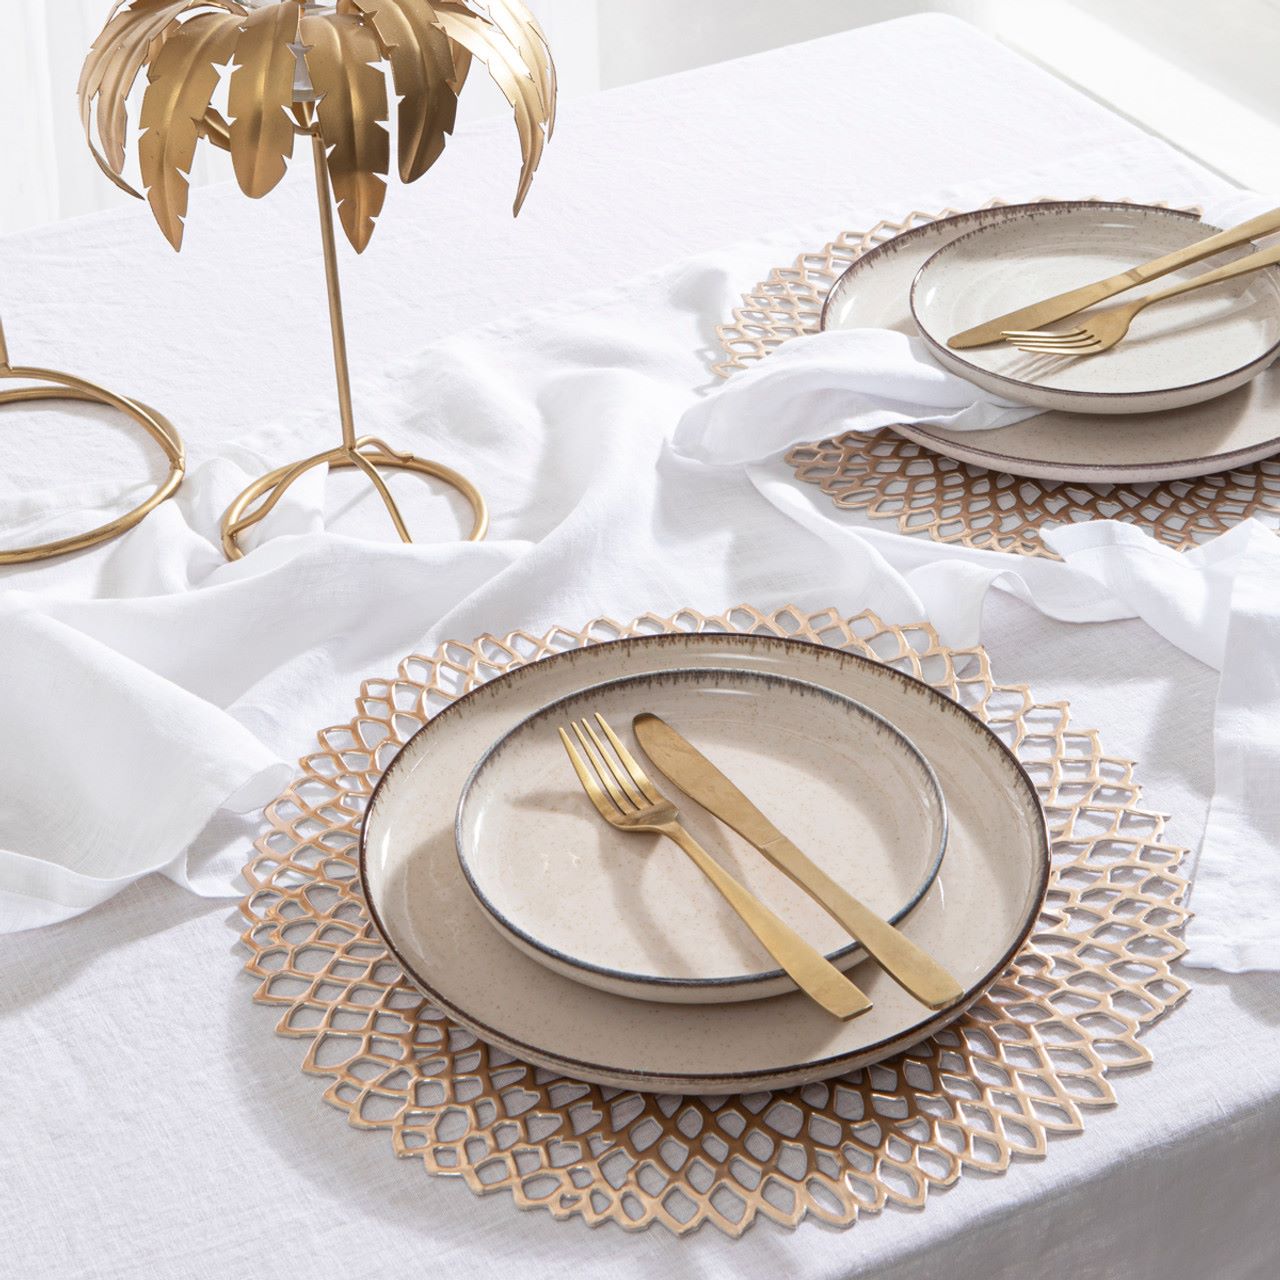
Tableware
How To Sew Placemats And Napkins
Modified: August 27, 2024
Learn how to sew your own tableware with this step-by-step guide on creating beautiful placemats and napkins. Enhance your dining experience with personalized table settings.
(Many of the links in this article redirect to a specific reviewed product. Your purchase of these products through affiliate links helps to generate commission for Storables.com, at no extra cost. Learn more)
Introduction
Welcome to our comprehensive guide on how to sew your own placemats and napkins! Whether you’re a beginner or an experienced sewist, creating your own tableware can be a rewarding and fun project. Not only will you have custom-made pieces to enhance your dining table, but you’ll also have the satisfaction of knowing that you made them yourself.
In this article, we will walk you through the step-by-step process of measuring, cutting, hemming, and sewing your own placemats and napkins. We’ll also provide tips and tricks along the way to ensure that your finished pieces look polished and professional.
By sewing your own tableware, you have the freedom to choose the fabric, pattern, and style that best suits your taste and home decor. You can also customize the dimensions to perfectly fit your table and personal preferences. Whether you prefer a classic and elegant design or a bold and vibrant look, sewing your own placemats and napkins allows you to express your creativity and create truly unique pieces.
Additionally, sewing your own tableware can be a cost-effective alternative to buying expensive sets from stores. With just a few materials and some basic sewing skills, you can save money while still achieving high-quality results.
So, if you’re ready to embark on this exciting sewing journey, gather your materials and let’s get started on creating beautiful placemats and napkins that will impress your family and guests!
Key Takeaways:
- Create personalized tableware with custom fabrics and designs to express your creativity and enhance your dining experience while saving money compared to store-bought sets.
- Sewing your own placemats and napkins allows you to unleash your creativity, showcase your attention to detail, and enjoy the satisfaction of using handmade, personalized tableware.
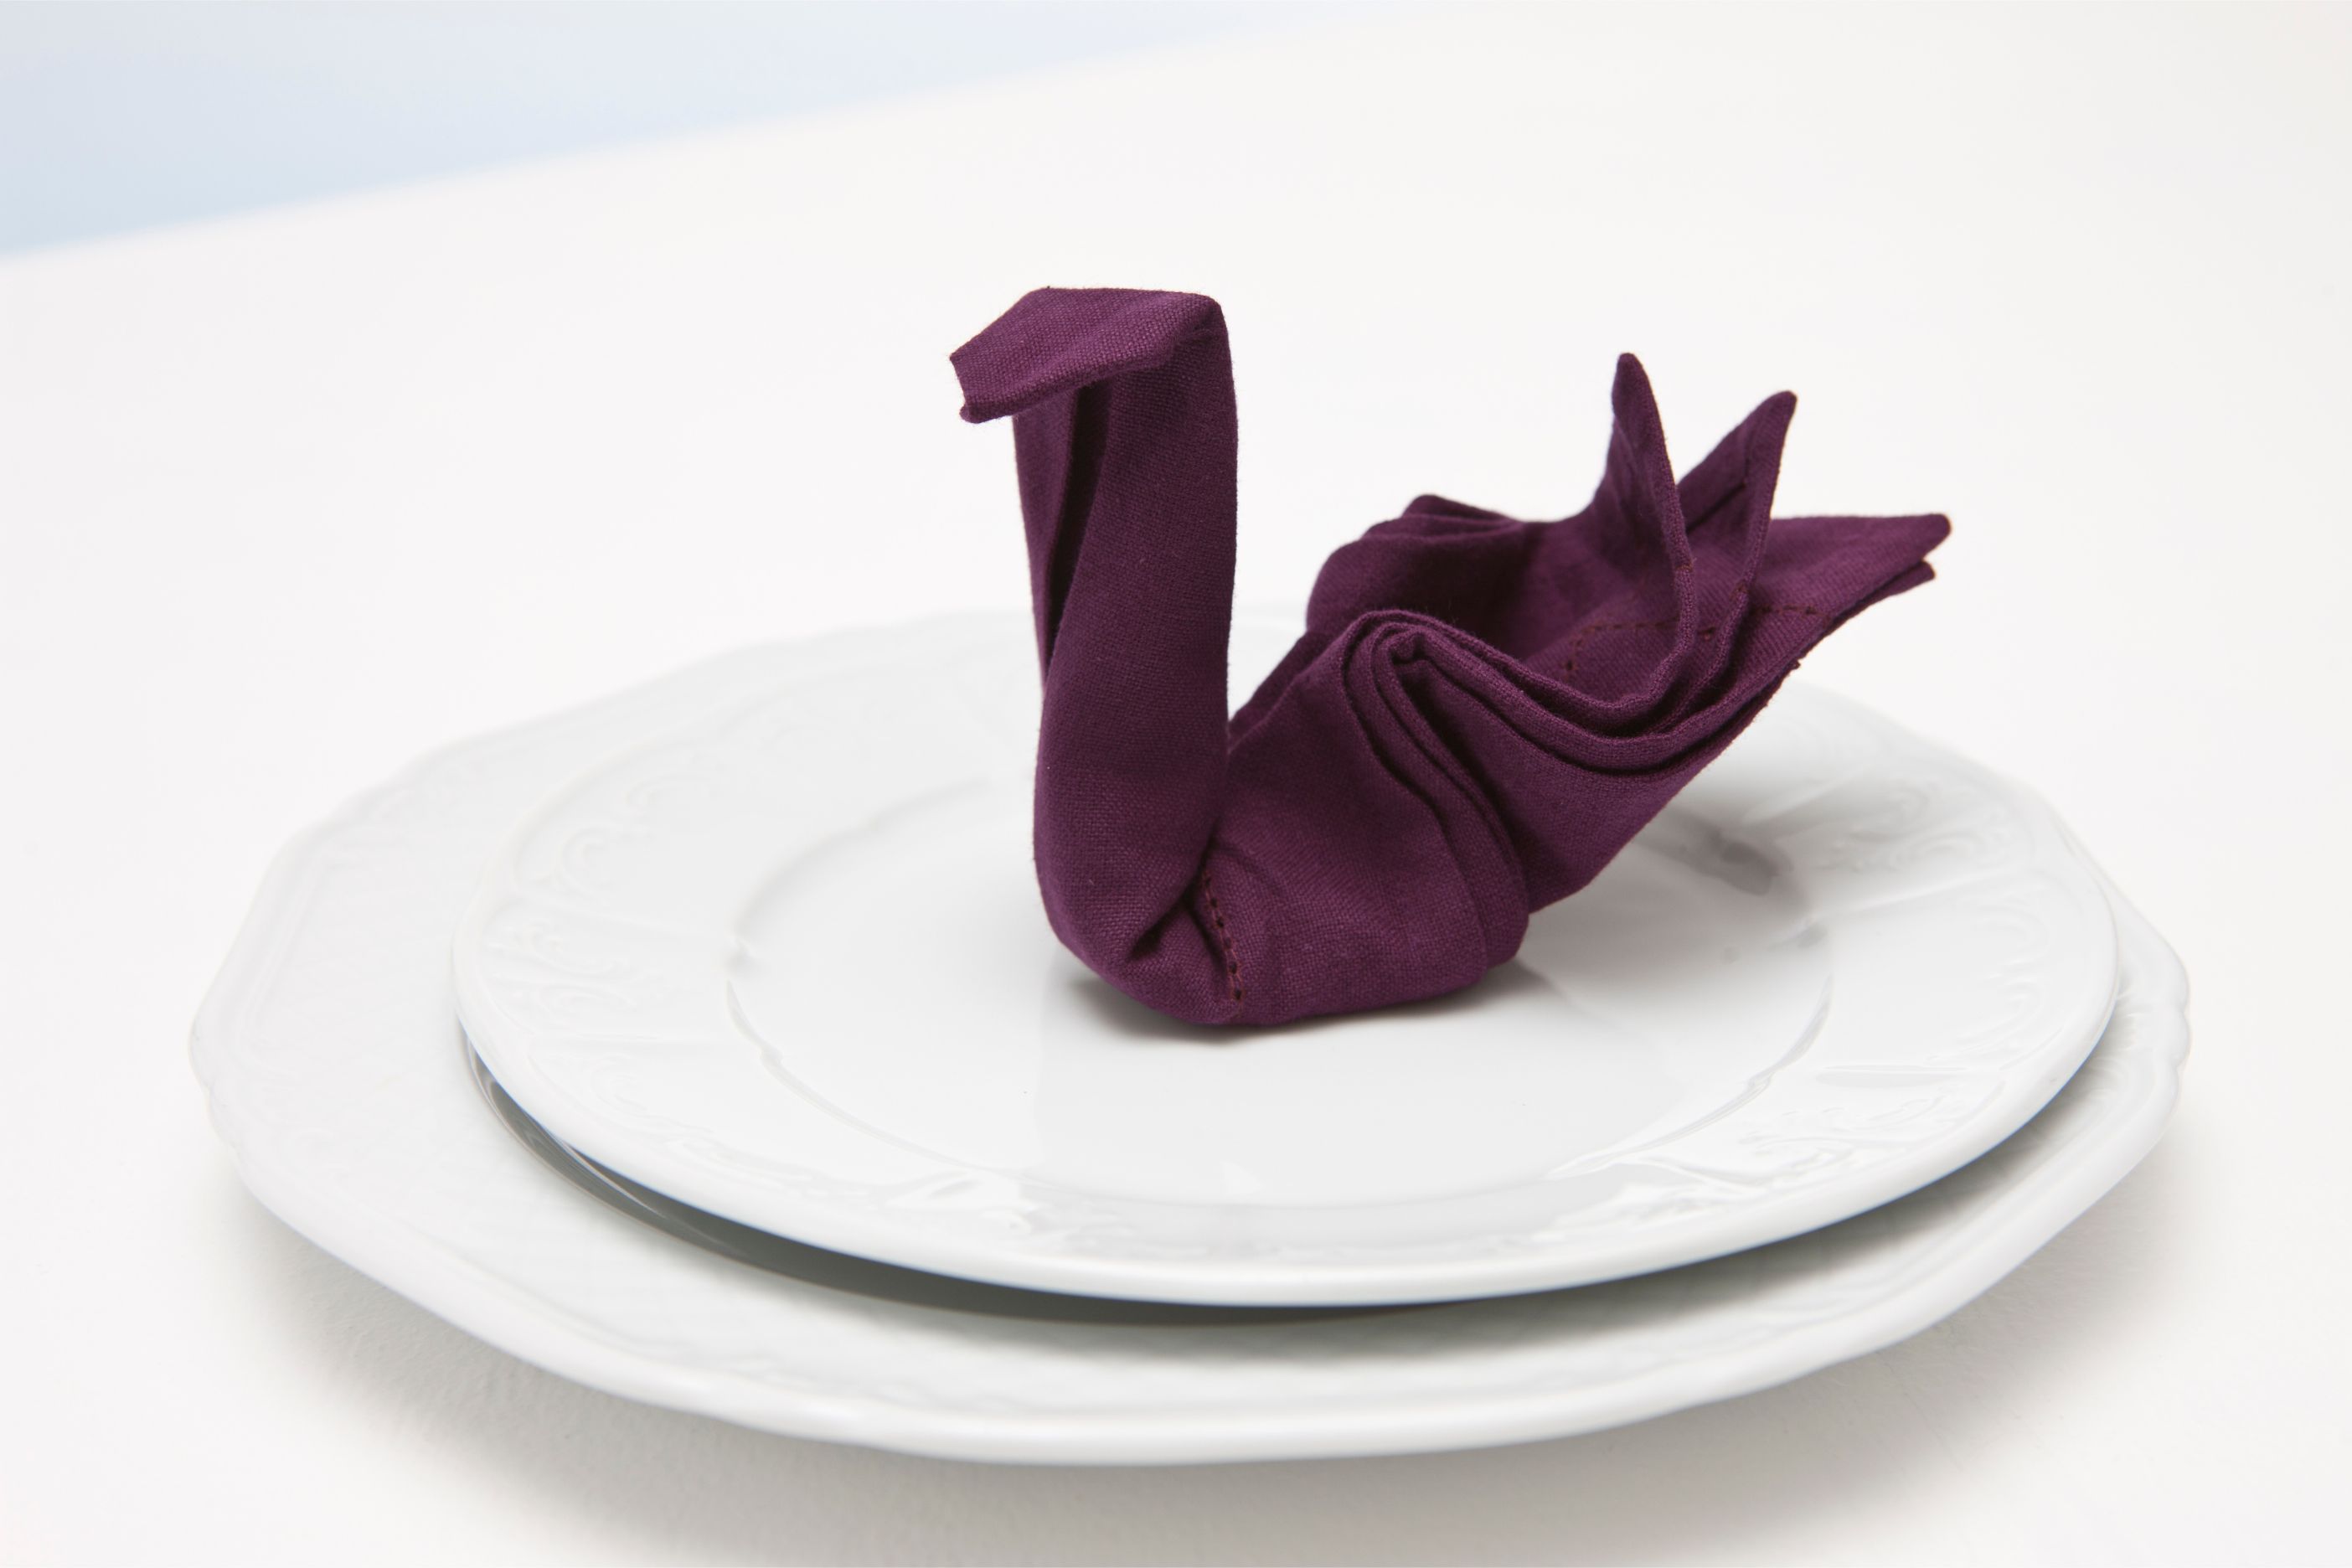
Read more: How To Fold A Napkin With A Napkin Ring
Materials Needed
Before we dive into the step-by-step process, let’s gather all the materials you’ll need to sew your own placemats and napkins. Here’s a list of the essentials:
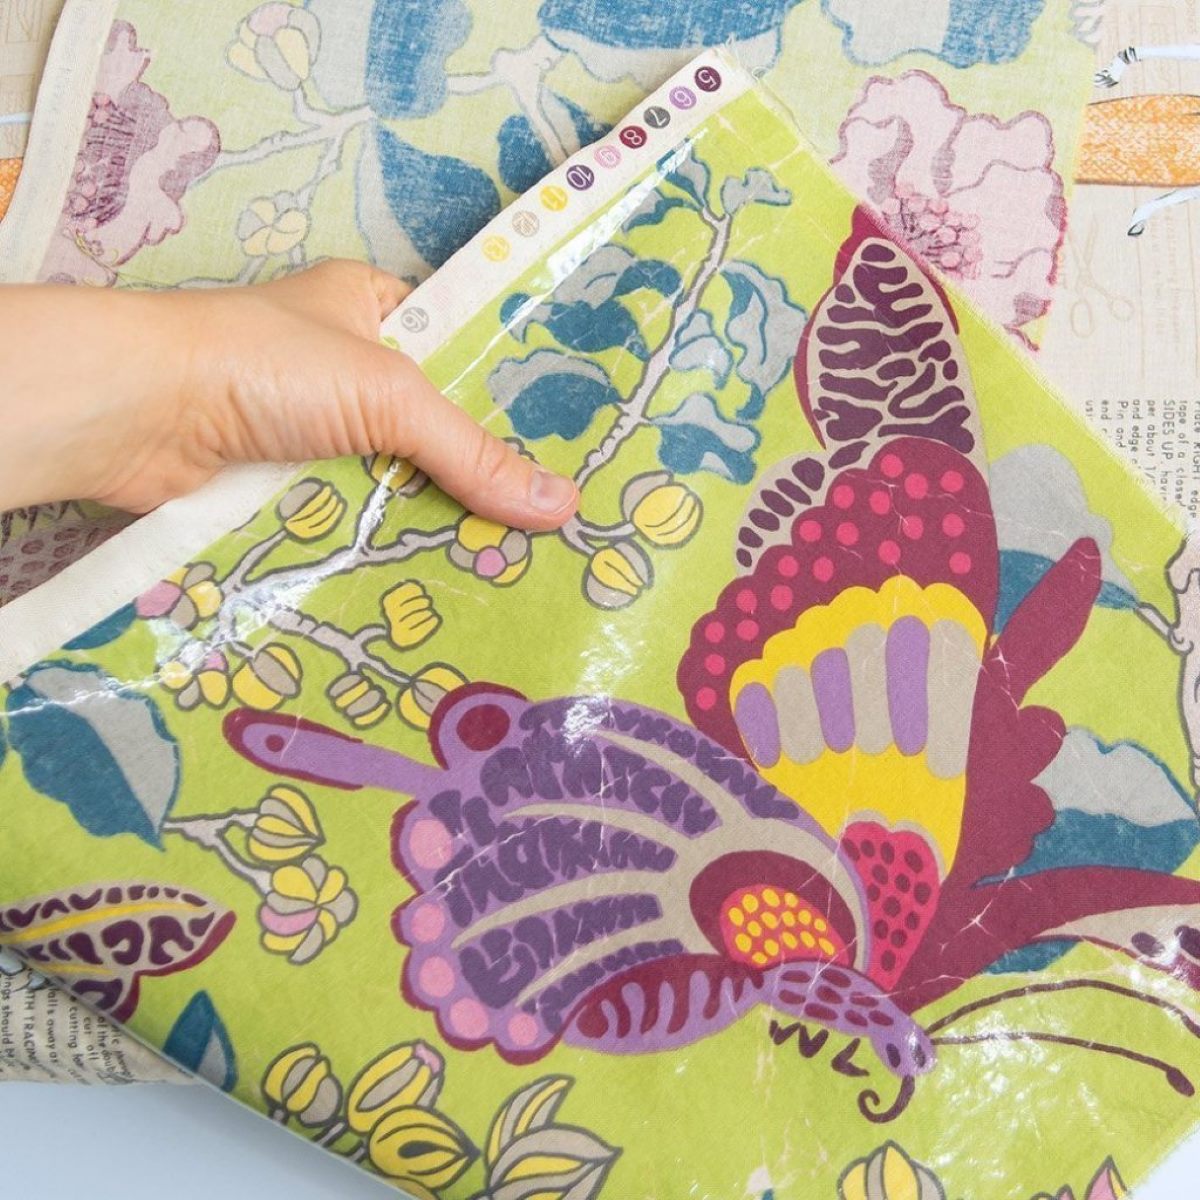
- Fabric: Choose a fabric that is suitable for tableware, such as cotton or linen. Consider the desired color, pattern, and texture that matches your personal style and home decor. You’ll need enough fabric to cut into the desired dimensions for your placemats and napkins.
- Matching Thread: Select thread that complements the color of your chosen fabric. It should be strong enough to withstand frequent use and washing.
- Scissors or Rotary Cutter: A good pair of fabric scissors or a rotary cutter with a cutting mat will help you accurately cut the fabric to the desired dimensions.
- Pins or Clips: These will be used to hold the fabric layers together while sewing. Choose pins or clips that are suitable for your fabric type.
- Ruler or Measuring Tape: You’ll need a ruler or measuring tape to measure and mark the fabric accurately.
- Sewing Machine: While it is possible to sew placemats and napkins by hand, a sewing machine will make the process faster and more efficient. Ensure that your machine is in good working condition with a suitable needle for your chosen fabric.
- Iron and Ironing Board: An iron is essential for pressing the fabric and creating crisp edges. Use an ironing board or a flat surface covered with a pressing cloth.
Optional materials can include fabric markers or chalk for marking the fabric, a seam ripper for any necessary corrections, and a ruler with a 90-degree angle for precise measuring and marking of corners. These additional tools can help you achieve even more professional results, but they are not essential for basic placemat and napkin sewing.
Once you have gathered all the materials mentioned above, you’re all set to embark on your sewing adventure. So, let’s move on to the next step: measuring and cutting the fabric for your placemats and napkins!
Step 1: Measuring and Cutting
Now that you have all your materials ready, it’s time to start measuring and cutting the fabric for your placemats and napkins. Follow these steps to ensure accurate measurements:
- Decide on the dimensions: Determine the desired size of your placemats and napkins. Standard placemat sizes are usually around 12×18 inches, while napkins can range from 16×16 to 18×18 inches. Adjust the measurements according to your preference.
- Prepare the fabric: Lay your chosen fabric on a flat surface. If needed, iron out any wrinkles or creases to ensure a smooth cutting process.
- Measure and mark: Use a ruler or measuring tape to measure and mark the dimensions of your placemats and napkins on the fabric. Make sure to leave a little extra space for seam allowances.
- Cut the fabric: Using fabric scissors or a rotary cutter, carefully cut along the marked lines. Take your time to ensure straight edges and precise measurements.
- Repeat for multiple pieces: If you plan to sew multiple placemats and napkins, repeat the measuring and cutting process for each piece.
Remember, accuracy in measuring and cutting will contribute to the overall professional look of your finished placemats and napkins. Take your time and double-check your measurements before making any cuts. It’s always better to be cautious rather than ending up with fabric that is too small for your desired dimensions.
Once you have all your fabric pieces cut to the correct size, you’re ready for the next step: hemming the edges of your placemats and napkins. This will give your tableware a clean and polished finish. Join us in the next step to learn how to accomplish this!
Step 2: Hemming the Edges
After measuring and cutting the fabric for your placemats and napkins, the next step is to hem the edges to create a neat and finished look. Follow these steps to hem your tableware:
- Prepare your iron: Heat up your iron to the appropriate temperature for your fabric type, following the manufacturer’s instructions.
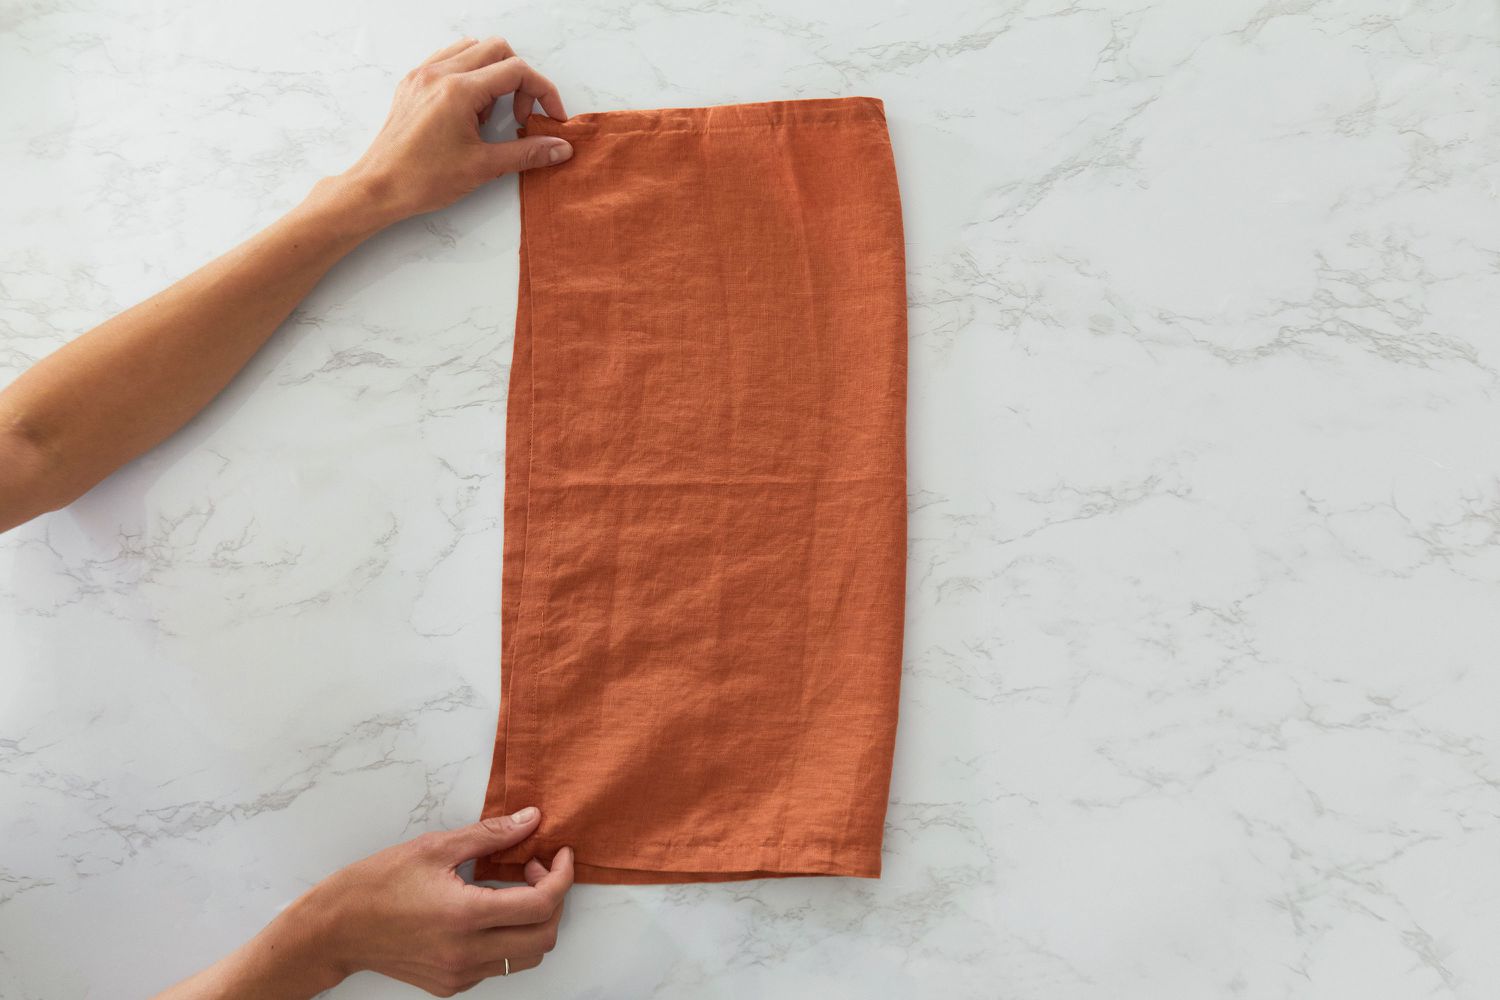
- Fold the edge: Take one side of the fabric and fold it over approximately ½ inch towards the wrong side of the fabric. Use your fingers or an iron to press the fold firmly in place.
- Secure with pins or clips: Once the fold is in place, use pins or clips to hold the fabric in position. Make sure to place them perpendicular to the folded edge to prevent interference with your sewing machine needle.
- Repeat for all edges: Repeat the folding, pressing, and pinning process for all four edges of your placemats and napkins.
- Iron the hem: With all the edges folded and pinned, carefully iron the hem to create a crisp fold and remove any wrinkles.
- Sew the hem: Set up your sewing machine with the matching thread and select a straight stitch. Starting at one corner, sew along the folded edge, removing the pins or clips as you go. Sew close to the folded edge, around ¼ inch from the edge, to secure the hem in place.
- Backstitch at the end: When you reach the end of a side, remember to backstitch a few stitches to secure the thread. Trim any excess thread with scissors.
- Repeat for all edges: Repeat the sewing process for all four edges of your placemats and napkins.
Hemming the edges is a crucial step in creating professional-looking tableware. Take your time to ensure that the folds are even and the stitches are straight. Remember to remove the pins or clips as you sew and backstitch at the beginning and end of each side to secure the thread.
Once you have completed hemming all the edges, you’re ready to move on to the next step: sewing the napkins. Join us in the following step to learn how to sew beautiful and functional napkins that will add style to your table!
When sewing placemats and napkins, prewash and iron your fabric to prevent shrinkage and ensure a smooth sewing process. This will also help the finished product maintain its shape after washing.
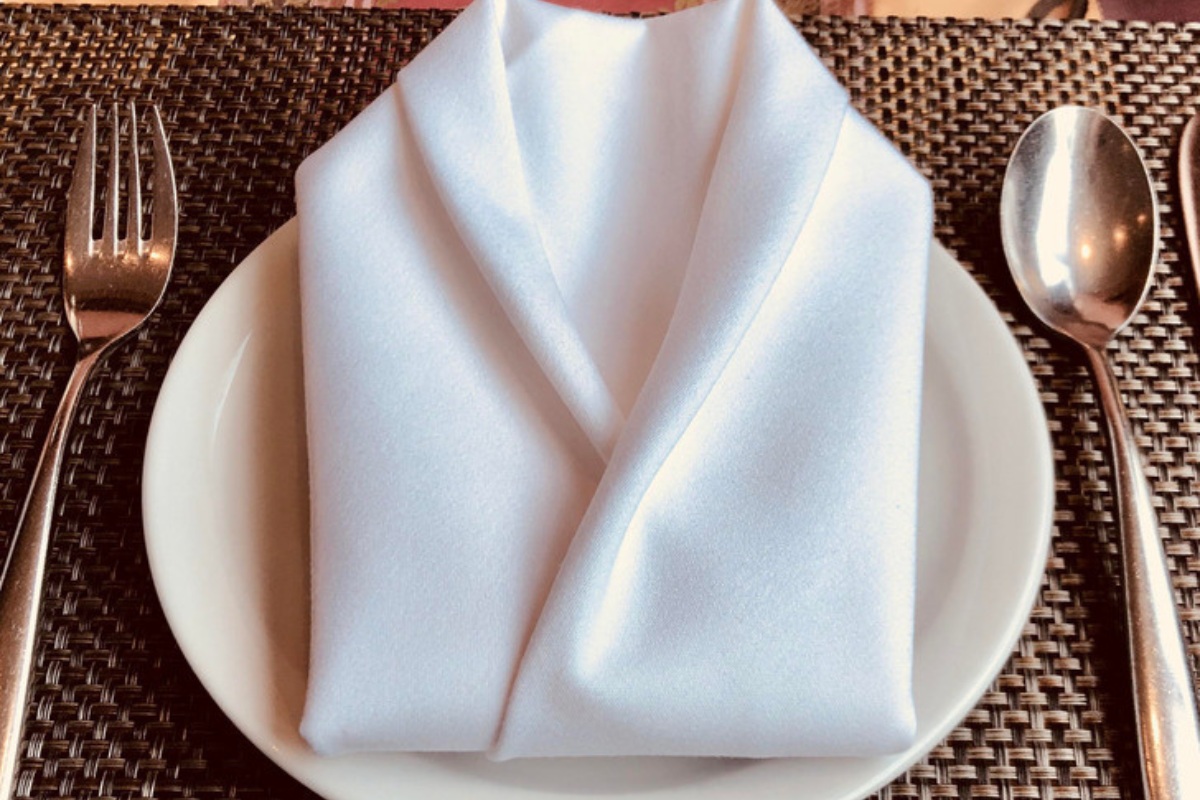
Step 3: Sewing the Napkins
Now that you have hemmed the edges of your placemats, it’s time to move on to sewing the napkins. Napkins are a practical and essential part of any table setting. Follow these steps to sew your own stylish and functional napkins:
- Prepare your sewing machine: Ensure that your sewing machine is set up with the appropriate thread and needle for your chosen fabric.
- Fold the edges: Take one edge of the fabric and fold it towards the wrong side of the fabric, about ½ inch. Press the fold with your fingers or an iron to create a crisp crease.
- Secure with pins or clips: Use pins or clips to hold the folded edge in place. Position the pins or clips perpendicular to the folded edge, ensuring they don’t interfere with your sewing machine needle.
- Sew the edge: Starting at one corner, sew along the folded edge of the fabric using a straight stitch. Sew close to the folded edge, around ¼ inch from the edge, to secure the hem. Remember to remove the pins or clips as you sew.
- Continue for all sides: Repeat the folding, pinning, and sewing process for the remaining three edges of the napkin.
- Backstitch and trim thread: When you reach the end of a side, backstitch a few stitches to secure the thread. Trim any excess thread with scissors.
- Press the napkin: Use an iron to press the completed napkin, ensuring all the edges are smooth and the corners are crisp.
- Repeat for additional napkins: If you’re making multiple napkins, repeat the sewing process for each one.
When sewing the napkins, pay attention to the alignment of your stitches and the consistency of the hem width. Take your time to ensure accuracy, especially when sewing the corners to maintain a clean and polished look.
Once you have completed sewing all your napkins, you can move on to the next step: sewing the placemats. Join us in the next step to learn how to sew beautifully crafted placemats that will elevate your dining experience!
Read more: How To Quilt Placemats
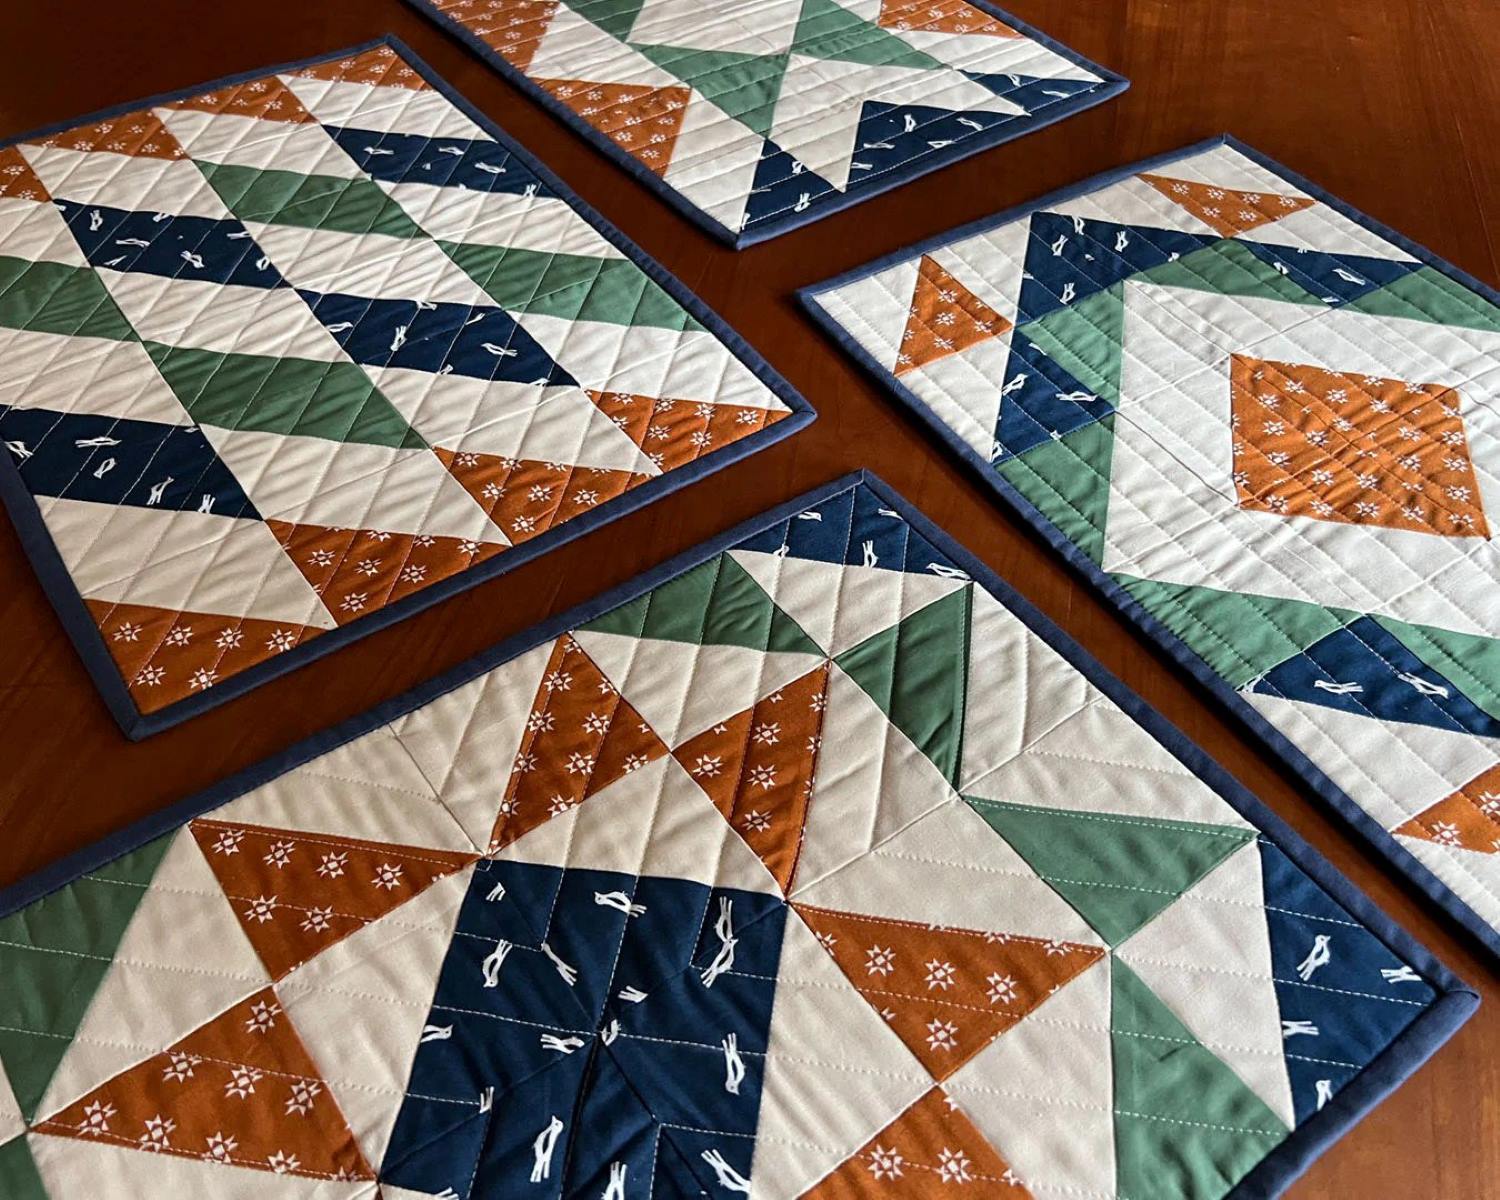
Step 4: Sewing the Placemats
Now that you have sewn the napkins, it’s time to turn your attention to sewing the placemats. Placemats not only protect your table but also add a touch of style to your dining area. Follow these steps to sew your own elegant and functional placemats:
- Prepare your sewing machine: Ensure that your sewing machine is set up with the appropriate thread and needle for your chosen fabric.
- Position the fabric: Lay one fabric piece for the placemat right side up on your workspace.
- Place the lining: Take another fabric piece or a piece of coordinating fabric and place it right side down on top of the first fabric piece. Align the edges and corners of the two pieces.
- Pin or clip the layers: Use pins or clips to secure the layers together, making sure to keep them perpendicular to the edges to avoid interference with your sewing machine needle.
- Sew the layers: Starting at one corner, sew along the edges of the placemat using a straight stitch. Use a ½ inch seam allowance and remove the pins or clips as you sew. Continue sewing all around the placemat, leaving a small opening for turning it right-side out.
- Trim the corners: Before turning the placemat right-side out, trim the excess fabric from the corners. This will help create sharp, clean corners.
- Turn the placemat: Carefully reach into the opening and grab the opposite corner of the placemat. Gently pull it through the opening to turn the placemat right-side out. Use a pencil or similar tool to push out the corners for a crisp finish.
- Press the placemat: Use an iron to press the placemat, paying attention to the edges and corners to ensure they are flat and neat.
- Topstitch around the placemat: To close the opening and add a decorative touch, topstitch around the entire placemat, close to the edge. This will also help secure the layers together.
- Press the placemat again: Give the completed placemat a final press with the iron to ensure it is beautifully finished.
- Repeat for additional placemats: If you’re making multiple placemats, repeat the sewing process for each one.
When sewing the placemats, take your time to ensure that the layers are aligned and the stitches are even. Pay extra attention to the corners to achieve a professional and polished look.
Once you have completed sewing all your placemats, you’re almost done! Join us in the next step to add the finishing touches and make your tableware truly stand out!
Step 5: Finishing Touches
Congratulations on sewing your placemats and napkins! Now it’s time to add the finishing touches to make your tableware truly shine. Follow these steps to complete your project:
- Inspect and trim any loose threads: Carefully examine your placemats and napkins for any loose threads or stray fibers. Use a pair of scissors or a seam ripper to trim them away for a clean and polished finish.
- Press the tableware: Before using your newly sewn placemats and napkins, give them one final press with an iron. This will help smooth out any remaining wrinkles and ensure that the edges are crisp.
- Enjoy your handmade tableware: Your placemats and napkins are now ready to enhance your dining table. Set them out for your family and guests to enjoy a beautiful and personalized dining experience.
- Care instructions: To keep your tableware looking its best, follow the care instructions for the fabric you used. Most cotton and linen fabrics can be machine washed on a gentle cycle and ironed as needed. Avoid using bleach or harsh detergents that can damage the fabric.
- Experiment with variations: Once you are comfortable with the basic process, feel free to experiment with different fabrics, patterns, and styles to create a unique collection of tableware. Add trims, embroideries, or even mix and match fabrics to make each piece truly one-of-a-kind.
Remember, sewing your own placemats and napkins not only allows you to unleash your creativity but also gives you the satisfaction of creating something functional and beautiful with your own hands.
Now that you have completed all the steps and added the finishing touches, it’s time to showcase your sewing skills and enjoy your handmade tableware. Impress your guests with your attention to detail and unique designs, and take pride in the fact that you’ve created something special for your dining table.
Thank you for following our comprehensive guide on how to sew placemats and napkins. Happy sewing and happy dining!
Conclusion
Congratulations! You have reached the end of our comprehensive guide on how to sew your own placemats and napkins. By following the step-by-step instructions and utilizing your sewing skills, you have created beautiful and personalized tableware that will add a touch of elegance to your dining experience.
Throughout this process, you learned how to measure and cut the fabric, hem the edges, sew the napkins, and sew the placemats. Each step was carefully explained to ensure accuracy and professional-looking results. By paying attention to detail and taking your time with each stitch, you have created pieces that are not only functional but also a reflection of your creativity and personal style.
Sewing your own tableware offers a multitude of benefits. Not only do you have the freedom to choose fabrics, patterns, and designs that align with your taste and home decor, but you can also save money compared to purchasing expensive sets from stores. Additionally, handmade items carry a special sentiment and can become cherished heirlooms passed down through generations.
Remember to care for your new tableware by following the appropriate washing and ironing instructions for the fabric you used. By maintaining your pieces, they will continue to look beautiful and last for years to come.
Now that you have completed this sewing project, don’t be afraid to experiment and take your skills to the next level. Try different fabrics, trims, or even embroidery to create unique variations of placemats and napkins. Let your imagination run wild, and make every meal an opportunity to showcase your creativity.
Thank you for joining us on this sewing journey, and we hope you found this guide helpful and inspiring. Enjoy using your handmade tableware, and may every meal be a special occasion filled with joy, warmth, and artistic expression!
Frequently Asked Questions about How To Sew Placemats And Napkins
Was this page helpful?
At Storables.com, we guarantee accurate and reliable information. Our content, validated by Expert Board Contributors, is crafted following stringent Editorial Policies. We're committed to providing you with well-researched, expert-backed insights for all your informational needs.


0 thoughts on “How To Sew Placemats And Napkins”