Home>Dining>Table Decor>How To Build A Parson-Style Sofa Table

Table Decor
How To Build A Parson-Style Sofa Table
Modified: December 7, 2023
Learn how to build a stunning Parson-Style Sofa Table that will elevate your table decor and add a touch of elegance to your living space.
(Many of the links in this article redirect to a specific reviewed product. Your purchase of these products through affiliate links helps to generate commission for Storables.com, at no extra cost. Learn more)
Introduction
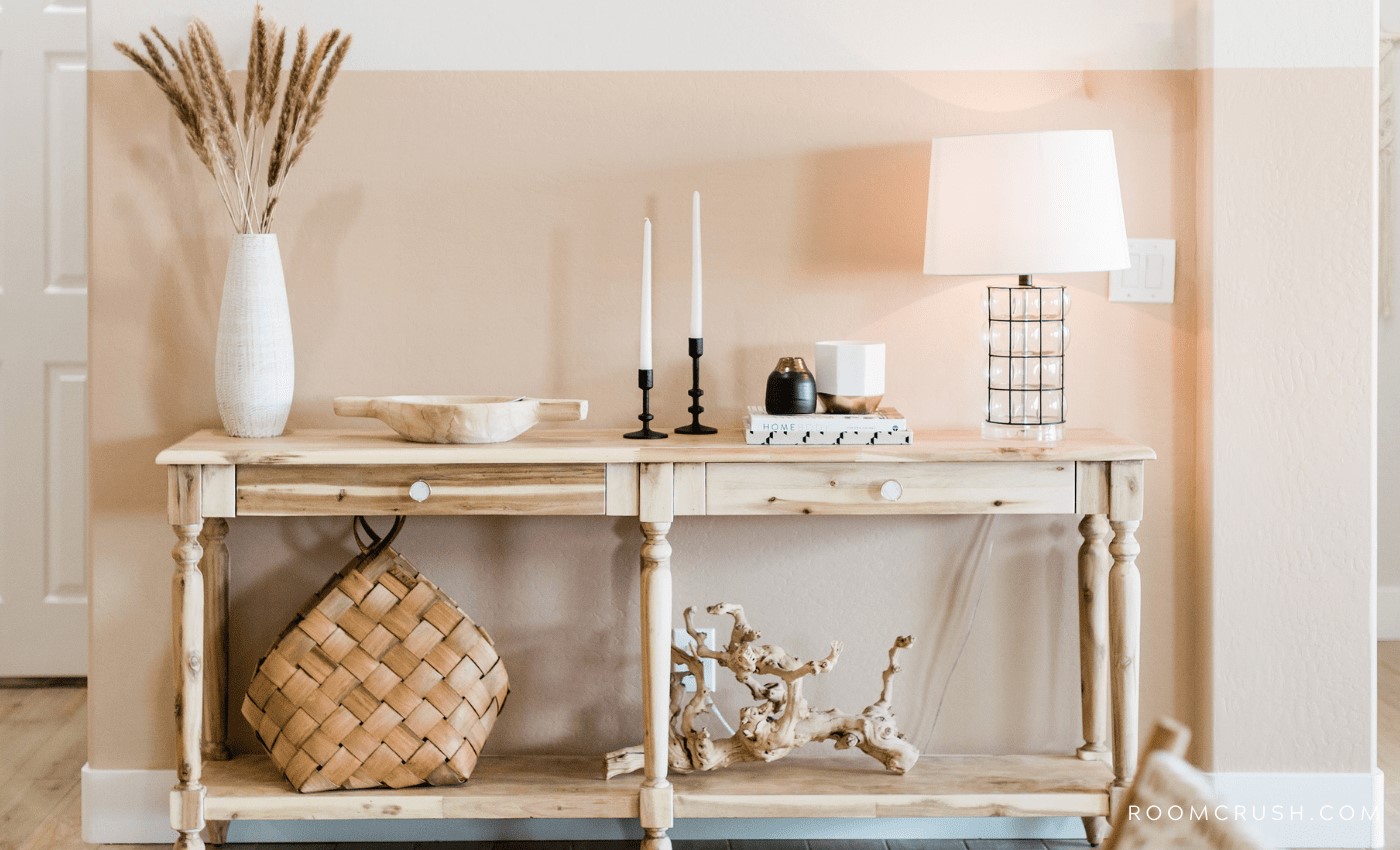
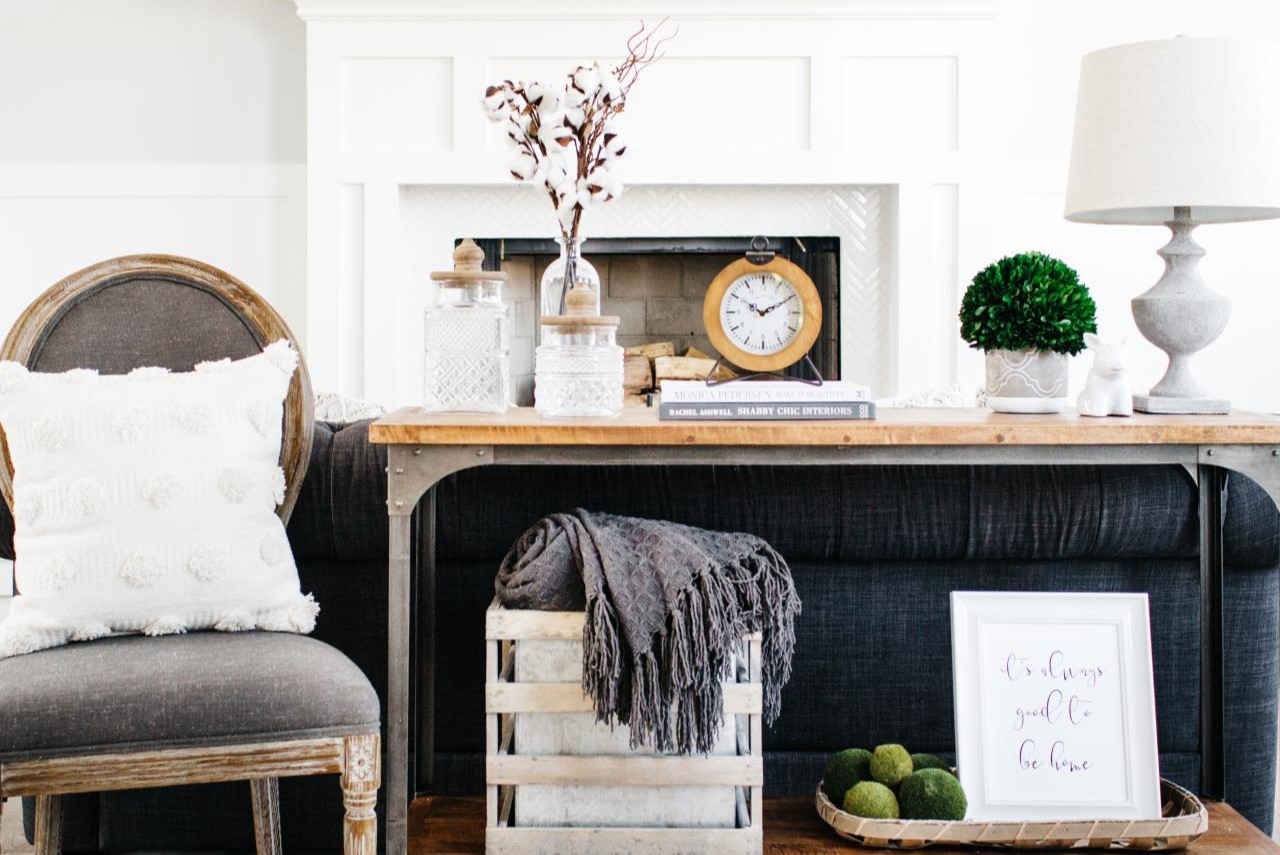
The parson-style sofa table is a versatile and elegant piece of furniture that can elevate the décor of any living space. With its clean lines and minimalist design, it can seamlessly fit into various interior styles, from modern to traditional. Whether you need a place to display decorative items, store books and magazines, or keep your favorite drinks within reach, a parson-style sofa table is the perfect solution.
In this article, we will guide you through the process of building your own parson-style sofa table. From choosing the right materials to sanding and finishing, we will cover every step to ensure that you create a table that is not only functional but also beautiful.
Before we dive into the construction process, it’s essential to have a clear understanding of the style and design of a parson-style table. Inspired by the Parsons School of Design in New York City, this table originated in the 1930s and has become a classic in the world of furniture. It features a rectangular or square top supported by square, sturdy legs placed at each corner. While the basic design remains the same, you can customize your table by choosing different materials and finishes to suit your personal style.
Building a parson-style sofa table is a rewarding DIY project that allows you to showcase your woodworking skills and create a furniture piece that is unique to your home. So, let’s gather our tools and materials and get started on crafting a stylish and functional parson-style sofa table!
Key Takeaways:
- Elevate your living space with a DIY parson-style sofa table, showcasing your woodworking skills and creating a functional, elegant piece that complements your interior décor.
- Careful planning, precise execution, and attention to detail are crucial in building a durable and aesthetically appealing parson-style sofa table that reflects your personal style and meets your specific needs.
Read more: How To Build A Bar-Style Table
Choosing the Right Materials
When it comes to building a parson-style sofa table, selecting the right materials is crucial for both the durability and aesthetic appeal of the final product. Here are some key considerations to keep in mind when choosing the materials:
- Wood: Opt for hardwoods such as oak, walnut, or maple, as they are not only sturdy but also add a touch of natural beauty to the table. Avoid softwoods like pine, as they may not provide the necessary strength.
- Tabletop: Select a solid wood plank or a high-quality plywood panel for the tabletop. Ensure that it is wide enough to provide ample space for displaying items or placing drinks.
- Legs: Use square wooden blanks to create the legs of the table. Choose a wood species that matches or complements the tabletop for a cohesive look.
- Hardware: Depending on your design preference, you can use metal brackets or wood screws to attach the legs and other components. Make sure to select hardware that is strong and durable.
- Finishing: Consider the desired finish for the table. If you prefer a natural look, opt for a clear sealant or oil. For a more polished appearance, choose a wood stain or paint that complements your interior décor.
Remember to visit your local hardware store or lumberyard to browse through their selection of wood species and gather inspiration for your parson-style sofa table. Look for quality materials that will withstand the test of time and create a table that you can enjoy for years to come.
Measuring and Planning
Prior to starting the construction process, it is essential to take accurate measurements and create a detailed plan for your parson-style sofa table. Here’s how to go about it:
- Measure the Space: Measure the area where you intend to place the table. Take note of the length, width, and height restrictions to ensure that the finished table fits perfectly in the designated space.
- Create a Blueprint: Using graph paper or a digital design tool, create a blueprint of the table. Start by drawing the top of the table to scale, specifying the dimensions and any desired overhang. Then, sketch the legs, apron, and shelf, indicating their respective measurements.
- Calculate Material Quantities: With the help of your blueprint, calculate the quantity of wood required for each component of the table. Take into account any additional material needed for assembly, such as screws or brackets.
- Consider Aesthetic Details: Determine if you want any decorative details on the table, such as beveled edges or curved corners. Incorporate these details into your blueprint for a more customized look.
- Review the Plan: Once you have completed your blueprint, take a moment to review it and ensure that all measurements are accurate. This step will help prevent mistakes and save you time and frustration during the construction process.
Taking the time to measure and plan your parson-style sofa table meticulously will set the foundation for a successful build. It will also allow you to visualize the final product and make any necessary adjustments before starting on the construction.
Once your measurements and plan are in place, you are ready to move on to the next step: cutting and assembling the table legs. Stay tuned for our next section, where we will guide you through this process and bring your parson-style sofa table to life!
Cutting and Assembling the Legs
Now that you have your measurements and plan in place, it’s time to start building the legs of your parson-style sofa table. Follow these steps to cut and assemble the legs:
- Gather Your Materials: Prepare the square wooden blanks that you have chosen for the legs. Ensure that they are cut to the desired length, as specified in your plan.
- Marking the Leg Joints: Use a pencil and measuring tape to mark the positions where the legs will be attached to the tabletop and the shelf. These marks will serve as reference points for drilling and screwing.
- Creating the Leg Joints: Using a drill and an appropriate size drill bit, create pilot holes at the marked positions. This will prevent the wood from splitting when you attach the legs to the tabletop and shelf.
- Attaching the Legs: Align the legs with the marked positions and drill screws through the pilot holes to secure them. Ensure that the legs are straight and level before tightening the screws.
- Reinforcing the Joints: To add extra stability, consider using wood glue in addition to the screws when attaching the legs. Apply a small amount of glue to the joint before inserting the screws.
Repeat these steps for all four legs, ensuring that they are evenly and securely attached to the tabletop and the shelf. Take your time during this process to achieve precise and sturdy joints.
Once the legs are successfully attached, your parson-style sofa table will start to take shape. It is important to check the stability of the table at this stage and make any necessary adjustments before moving on to the next step.
In our next section, we will guide you through the process of attaching the tabletop to the legs, bringing us one step closer to completing the construction of your parson-style sofa table. Stay tuned!
When building a Parson-style sofa table, be sure to use straight, square cuts for the legs and apron to ensure a clean, modern look. Sand all surfaces thoroughly before assembly for a professional finish.
Attaching the Tabletop
Now that the legs are securely fastened to the table, it’s time to move on to attaching the tabletop. Follow these steps to ensure a sturdy and seamless connection:
- Preparation: Ensure that the tabletop is clean and free from any debris or dust. Place the tabletop upside down on a flat surface, providing support to prevent any damage.
- Positioning: Carefully lift the table base, aligning the legs with the corners of the tabletop. Double-check the alignment to make sure the legs sit squarely at each corner.
- Marking the Screw Holes: With the legs in position, use a pencil or a small awl to mark the locations of the screw holes on the underside of the tabletop. This will serve as a guide for drilling pilot holes.
- Drilling the Pilot Holes: Use an appropriate size drill bit to create pilot holes at the marked locations on the tabletop. These holes will prevent the wood from splitting when you attach the screws.
- Securing the Tabletop: Align the screw holes on the tabletop with the pre-drilled holes in the legs. Insert screws through the pilot holes and tighten them to securely fasten the tabletop to the legs.
- Checking Stability: Once the tabletop is attached, gently flip the table over and check for stability. Ensure that the table sits evenly on all four legs and does not wobble or tilt.
By following these steps, you will achieve a strong and stable connection between the tabletop and the legs, creating a solid foundation for your parson-style sofa table.
With the tabletop successfully attached, our next focus will be on adding the apron and shelf to complete the construction of your table. We will guide you through this process in the upcoming section. Keep up the great work!
Read more: How To Build A Picnic Style Dining Table
Adding the Apron and Shelf
As we near the completion of your parson-style sofa table, it’s time to add the apron and shelf. These elements not only enhance the aesthetic appeal but also provide additional functionality. Follow these steps to successfully incorporate the apron and shelf:
- Gather Your Materials: Ensure that you have the necessary wood pieces cut to the appropriate sizes for the apron and shelf. Double-check your measurements against your plan to avoid any errors.
- Attaching the Apron: Begin by attaching the apron pieces to the legs. Using wood glue and screws, secure the apron pieces to the inside portion of the legs, creating a supportive and cohesive structure.
- Positioning the Shelf Supports: Determine the desired height of the shelf and mark the corresponding locations on the inside of the legs. This will indicate where the shelf supports will be attached.
- Attaching the Shelf Supports: Align the shelf support pieces with the marked locations and attach them to the legs using wood glue and screws. Ensure that they are level and sturdy enough to support the weight of the shelf.
- Installing the Shelf: Place the shelf on top of the installed supports. Make sure it rests securely and is level. If necessary, adjust the placement or use a level to ensure proper alignment.
- Securing the Shelf: To secure the shelf in place, you can choose to attach it to the support pieces using screws or utilize wood cleats. Both methods offer stability and prevent the shelf from shifting.
With the apron and shelf successfully added, your parson-style sofa table is nearly complete. Take a moment to inspect the table for stability and make any necessary adjustments, such as tightening screws or realigning components.
In our final section, we will focus on sanding and finishing your parson-style sofa table, the steps that will bring out its natural beauty and protect it for years to come. Keep up the great work!
Sanding and Finishing
With the construction of your parson-style sofa table complete, it is time to move on to the final steps: sanding and finishing. These steps will not only enhance the appearance of the table but also protect it from wear and tear. Follow these guidelines to achieve a smooth and beautiful finish:
- Sanding: Begin by sanding the entire surface of the table, including the tabletop, legs, apron, and shelf. Start with a rough-grit sandpaper to remove any rough edges or imperfections. Gradually move to finer-grit sandpaper, being sure to sand in the direction of the wood grain for a seamless finish. Take your time to ensure that all surfaces are smooth and even.
- Removing Dust: After sanding, use a clean cloth or a soft brush to remove any dust or debris from the table. Pay attention to all surfaces, including the nooks and crannies.
- Applying Wood Stain or Finish: If you desire a deeper wood color or a protective finish, now is the time to apply it. Follow the instructions provided by the manufacturer to ensure correct application. Use a brush or a clean cloth to evenly apply the stain or finish to all surfaces of the table. Allow it to dry completely before moving on to the next step.
- Sealing the Table: Once the stain or finish has dried, consider applying a sealant to protect the wood from moisture and other potential damage. Consult your local hardware store for recommendations on a suitable sealant. Apply the sealant according to the manufacturer’s instructions, ensuring that all surfaces are covered evenly. Allow it to dry completely before using the table.
- Final Touches: Once the sealant has dried, inspect the table for any areas that may need touch-ups. Reapply the stain or finish, or sand and reseal as necessary. Take this opportunity to clean the table and polish any metal hardware that was used in the construction.
Once the finishing touches are complete, your parson-style sofa table is ready to be placed in its designated spot and enjoyed to the fullest. Take a step back and admire the craftsmanship and beauty of the table that you have created.
Congratulations on successfully building your own parson-style sofa table! We hope that this article has provided you with the knowledge and inspiration to embark on future woodworking projects. Happy decorating!
Conclusion
Building a parson-style sofa table is a rewarding DIY project that allows you to showcase your woodworking skills and create a beautiful and functional piece of furniture. Throughout this article, we have guided you through the process of building your own table, from choosing the right materials to sanding and finishing. By following these steps, you can create a parson-style sofa table that complements your interior décor and meets your specific needs.
Remember, the key to a successful table build is careful planning and precise execution. Taking accurate measurements, creating a detailed plan, and selecting high-quality materials are crucial steps in ensuring the durability and aesthetic appeal of your table.
Throughout the construction process, it is important to pay attention to the details, such as aligning the legs, securing the tabletop, attaching the apron and shelf, and applying a smooth and even finish. These small steps make a significant difference in the overall appearance and functionality of the table.
Moreover, don’t forget the importance of safety during the construction process. Always wear appropriate safety gear, such as goggles and gloves, and use tools in a responsible and cautious manner.
Building your own parson-style sofa table allows you to personalize your living space and add a touch of elegance and functionality. It showcases your woodworking skills and creates a unique piece that you can be proud of.
We hope that this article has provided you with valuable insights and guidance to embark on your parson-style sofa table project. Whether you’re a seasoned woodworker or a beginner, with patience and dedication, you can create a beautiful table that will be the centerpiece of your living room. Happy crafting!
Frequently Asked Questions about How To Build A Parson-Style Sofa Table
Was this page helpful?
At Storables.com, we guarantee accurate and reliable information. Our content, validated by Expert Board Contributors, is crafted following stringent Editorial Policies. We're committed to providing you with well-researched, expert-backed insights for all your informational needs.







0 thoughts on “How To Build A Parson-Style Sofa Table”