Home>Dining>Table Decor>How To Build A Mission Style Dining Table
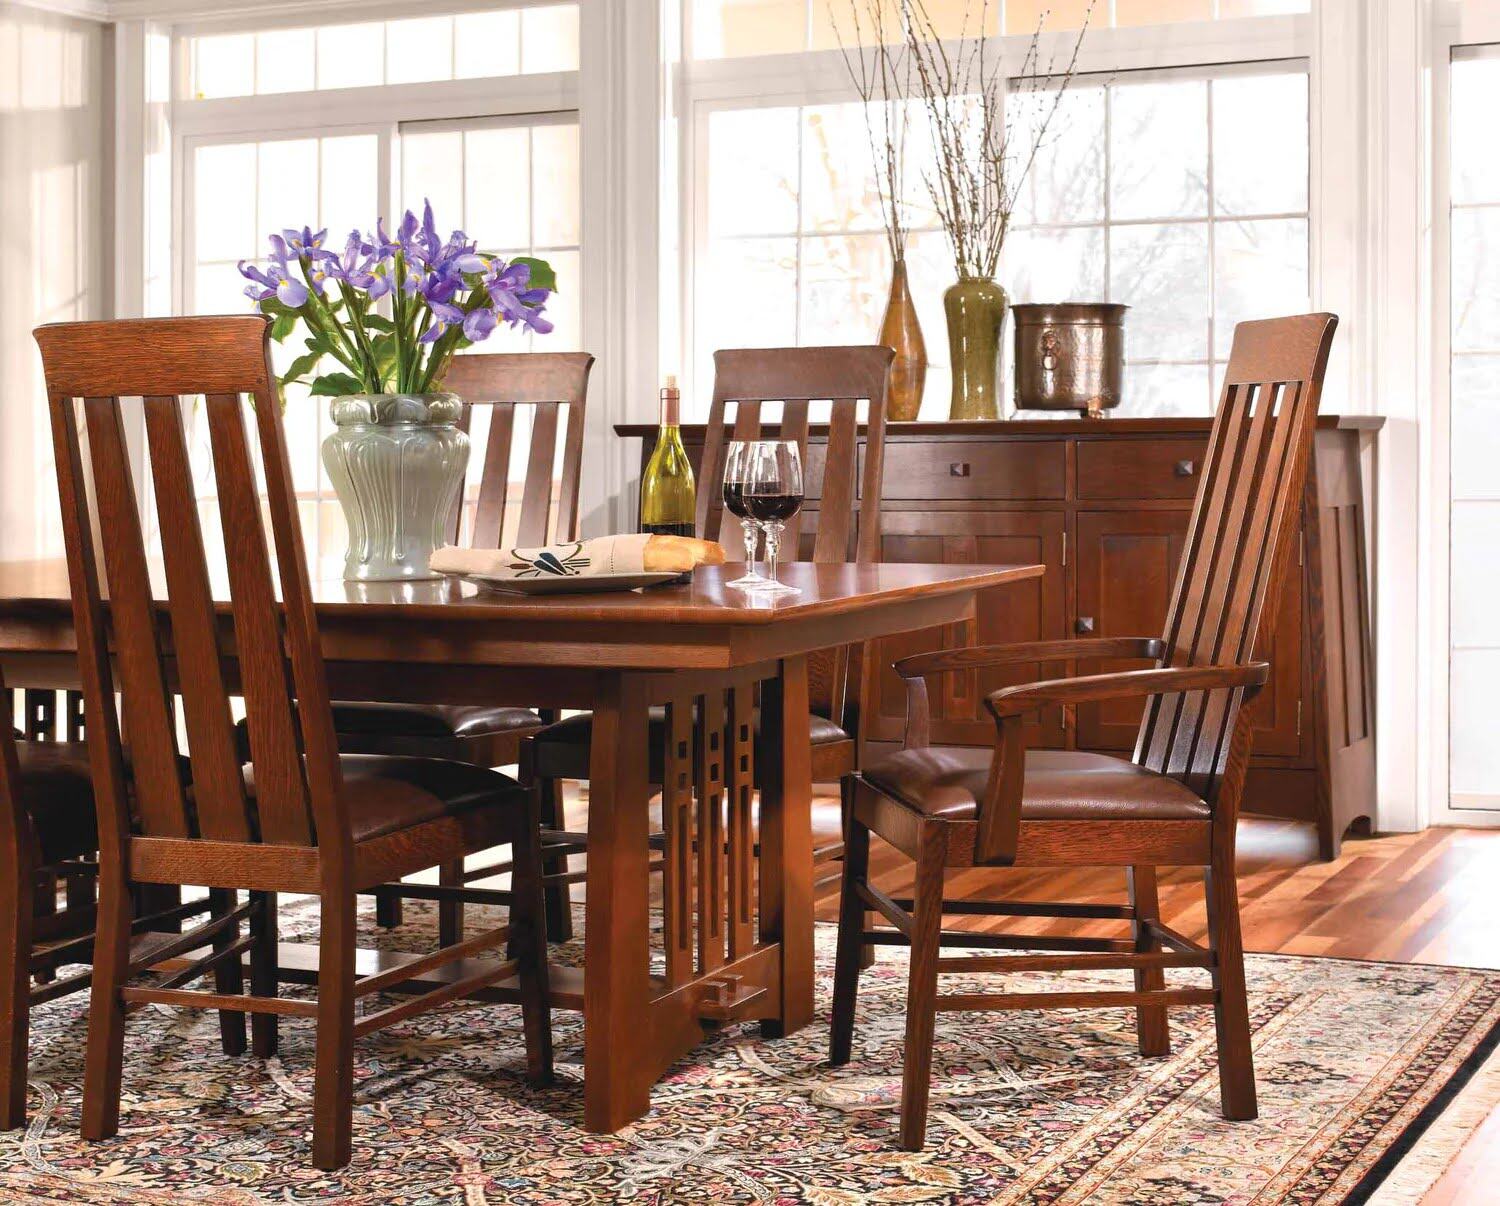
Table Decor
How To Build A Mission Style Dining Table
Modified: October 19, 2024
Learn how to build a stunning Mission style dining table with our step-by-step guide. Find inspiration for table decor ideas and create a beautiful centerpiece for your dining room.
(Many of the links in this article redirect to a specific reviewed product. Your purchase of these products through affiliate links helps to generate commission for Storables.com, at no extra cost. Learn more)
Introduction
Welcome to our comprehensive guide on how to build a stunning mission style dining table. Whether you’re a woodworking enthusiast or a beginner looking to embark on a new project, this step-by-step tutorial will provide you with all the information and guidance you need to create a beautiful and functional piece for your dining room.
With its timeless and traditional design, the mission style dining table is known for its sturdy construction and simple yet elegant lines. This type of table is characterized by its clean, straight edges, tapered legs, and emphasis on craftsmanship. By following the instructions outlined in this guide, you’ll be able to create a custom-made piece of furniture that perfectly fits your style and complements your dining space.
Building a mission style dining table requires careful planning, attention to detail, and a variety of tools and materials. The process may seem intimidating at first, but with some patience and dedication, you’ll be able to create a piece that you can be proud of.
In this guide, we’ll walk you through each step of the process, from gathering the necessary materials and tools to assembling and finishing the table. Following these instructions will not only help you build a beautiful table, but also provide you with valuable woodworking skills that you can apply to future projects.
Before we dive into the construction process, it’s important to note that safety should always be a priority when working with power tools and sharp objects. Be sure to wear protective gear, such as safety glasses and gloves, and familiarize yourself with the proper use of each tool before starting the project.
Now, let’s gather our tools and materials, and begin the journey of creating your very own mission style dining table!
Key Takeaways:
- Crafting a mission style dining table involves meticulous wood preparation, precise cutting, and expert joinery techniques. The result is a timeless piece that adds warmth and character to any dining space.
- Building your own furniture is a fulfilling journey that requires patience and attention to detail. Embrace the art of craftsmanship and enjoy the pride of creating a unique and functional dining table.
Read more: How To Build A Picnic Style Dining Table
Step 1: Gather Materials and Tools
Before you start building your mission style dining table, it’s important to gather all the necessary materials and tools. Having everything on hand will make the construction process smoother and ensure that you have what you need at each stage.
Here’s a list of the materials and tools you’ll need for this project:
Materials:
- Wood: Choose a high-quality hardwood such as oak, cherry, or maple for the tabletop, legs, and apron.
- Wood glue: Opt for a strong and durable wood glue that will provide a solid bond.
- Screws: You’ll need screws of appropriate lengths to secure the tabletop and assemble the table.
- Wood filler: This will come in handy for filling any gaps or imperfections in the wood.
- Sandpaper: Select various grits of sandpaper for the sanding process.
- Stain or paint: Choose a finish that matches your desired aesthetic. Stain will enhance the natural beauty of the wood, while paint allows for more color options.
- Clear protective finish: Apply a clear finish such as polyurethane to protect the wood and give it a smooth, polished look.
- Lint-free cloth or brush: Use this for applying stain, paint, and protective finish.
Tools:
- Table saw or circular saw: This will be used to cut the wood to size.
- Miter saw: Essential for making accurate angled cuts for the table legs.
- Hand saw: Use this for precision cuts and trimming.
- Drill: A power drill will be needed for pre-drilling holes and driving screws.
- Chisels: These will come in handy for fine-tuning the joinery and making mortises.
- Sandpaper block or orbital sander: Choose the appropriate tool for sanding the wood.
- Clamps: Use clamps to hold the wood securely in place while gluing and assembling.
- Measuring tape and ruler: Essential for accurate measurements.
- Safety equipment: Don’t forget to wear safety glasses and gloves to protect yourself during the construction process.
Once you have gathered all the materials and tools, you’ll be ready to move on to the next step: preparing the wood. So let’s roll up our sleeves and get started!
Step 2: Prepare the Wood
Now that you have all the necessary materials and tools, it’s time to prepare the wood for your mission style dining table. Properly preparing the wood will ensure that it is smooth, straight, and ready for the construction process.
Here are the key steps to prepare the wood:
1. Select your boards: Start by carefully selecting the boards for your tabletop, legs, and apron. Look for wood that is free of knots, cracks, and warping. Solid hardwood boards are ideal for this type of project as they are durable and have a beautiful grain pattern.
2. Rip the boards: Use a table saw or circular saw to rip the boards to the desired width for the tabletop and apron. Ensure that all the boards are cut to the same width to maintain consistency.
3. Plane the boards: Use a planer to smooth out the rough surfaces of the boards and achieve consistent thickness. This step is important for ensuring that the table has a flat and even surface.
4. Joint the edges: To create a seamless tabletop, joint the edges of the boards to ensure they fit together perfectly. A jointer or hand plane can be used for this task. Make sure the edges are straight and smooth, allowing for a tight and secure fit.
5. Cut the boards to length: Measure and mark the desired length for your tabletop and legs. Use a miter saw or hand saw to make precise cuts. Take your time to ensure accuracy.
6. Sand the wood: Once the boards are cut to size, it’s time to sand them. Start with a coarse grit sandpaper to remove any rough surfaces or imperfections, then gradually move to finer grits for a smooth finish. Sand in the direction of the grain to avoid scratches.
7. Apply wood filler: Inspect the wood for any small gaps or knots, and fill them with a wood filler. This will ensure a uniform appearance when you apply the stain or paint.
By following these steps, you’ll have beautifully prepared wood that is ready for the construction process. Take your time during this step to ensure that each board is of high quality and properly prepared. Once your wood is prepped, we can move on to the next step: cutting the wood to size.
Step 3: Cut the Wood to Size
With the wood prepared, it’s time to move on to the next step: cutting the wood to the appropriate sizes for your mission style dining table. Accurate and precise cuts are crucial for a seamless and well-constructed table.
Follow these steps to cut the wood to size:
1. Measure and mark: Use a measuring tape, ruler, and pencil to measure and mark the desired dimensions for each piece of wood. Pay special attention to the tabletop, legs, and apron.
2. Set up your saw: Depending on the type of saw you are using, set it up according to the manufacturer’s instructions. Ensure that the blade is sharp and properly aligned.
3. Cut the tabletop: Start by cutting the tabletop pieces to their final length. Use a table saw or circular saw to make straight and clean cuts. Double-check your measurements to ensure accuracy.
4. Cut the legs: Move on to cutting the legs for your dining table. Use a miter saw to make angled cuts at the desired length and shape. Mission style dining tables often have tapered legs, so be sure to accurately measure and cut the angles.
5. Cut the apron: The apron is the horizontal piece of wood that connects the legs and supports the tabletop. Measure and cut the apron pieces according to your design. Again, a miter saw will be useful for making precise cuts.
6. Double-check measurements: Before moving on to the next step, take the time to double-check your measurements and ensure that all the pieces are the correct size. This step is crucial for maintaining a balanced and symmetrical table.
Remember, accuracy is key during the cutting process. Take your time, measure twice, and cut once. It’s better to be patient and ensure correctness rather than rushing and making mistakes that can negatively impact the final outcome of your mission style dining table.
Once you have successfully cut the wood to the correct sizes, you’re ready to move on to the next step: joining the tabletop pieces together to create a solid and beautiful surface.
Step 4: Join the Tabletop
Now that you have cut the wood to the appropriate sizes, it’s time to join the tabletop pieces together. This step is crucial for creating a strong and seamless surface for your mission style dining table.
Follow these steps to join the tabletop:
1. Arrange the tabletop pieces: Lay out the tabletop pieces in the desired order. Take into consideration the grain pattern and color variations to create an aesthetically pleasing arrangement.
2. Apply wood glue: Apply a thin and even layer of wood glue to the long edges of the tabletop pieces. Use a brush or a roller to spread the glue, ensuring full coverage.
3. Clamp the tabletop: Carefully bring the tabletop pieces together, aligning the edges. Use clamps to hold the pieces in place firmly. Apply even pressure to ensure a tight and secure bond.
4. Wipe off excess glue: As you clamp the tabletop pieces, some glue may squeeze out from the joints. Use a damp cloth or sponge to immediately wipe off any excess glue. This will prevent it from drying and interfering with the final finish.
5. Allow the glue to dry: Follow the manufacturer’s instructions regarding the drying time of the wood glue. Keep the clamps in place until the glue is fully cured. This may take several hours or overnight, depending on the specific type of wood glue you are using.
6. Remove the clamps: Once the glue is completely dry, remove the clamps from the tabletop. Check the joints to ensure they are secure and tight. Sand the surface lightly to remove any dried glue residue and create a smooth and even tabletop.
The process of joining the tabletop can be challenging due to the precise alignment required. Take your time and double-check the positioning of each piece before applying the glue. It’s also important to work in a well-ventilated area and follow safety precautions while handling wood glue and working with clamps.
Now that the tabletop is joined and ready, we can move on to the next step: building the table legs that will provide stability and support to your mission style dining table.
When building a mission style dining table, be sure to carefully select high-quality wood that is durable and has a beautiful grain pattern. This will ensure that your table will be both sturdy and visually appealing.
Read more: How To Attach Mission Style Table Legs
Step 5: Build the Table Legs
Building sturdy and visually appealing table legs is an essential step in creating a mission style dining table. The table legs not only provide stability but also contribute to the overall aesthetic of the piece. Follow these steps to build the table legs:
1. Determine leg design: Decide on the design and dimensions of your table legs. Mission style dining tables often feature tapered legs with clean lines. Take into consideration the height and proportion of the legs in relation to the tabletop.
2. Cut the legs to size: Using a miter saw or a hand saw, cut the legs to the desired length. Ensure that all legs are cut accurately and have the same measurements for a balanced and symmetrical appearance.
3. Taper the legs: To achieve the characteristic taper, mark the desired width at the top and bottom of each leg. Use a band saw or a table saw to carefully remove the excess wood, gradually tapering each leg from top to bottom.
4. Create mortises and tenons: The joinery technique commonly used in mission style furniture is the mortise and tenon joint. Use a chisel or a specialized mortising machine to create mortises on the apron where the legs will be attached. Cut corresponding tenons on the top of each leg to fit into the mortises.
5. Dry fit the legs: Before applying any glue, perform a dry fit to ensure that the legs fit snugly into the mortises. Make any necessary adjustments to achieve a tight and secure fit.
6. Apply wood glue and assemble: Apply wood glue to the mortises and tenons, then carefully fit the legs into their designated places. Use clamps to hold the legs in position while the glue dries. Wipe off any excess glue that squeezes out.
7. Allow the glue to dry: Follow the recommended drying time for the wood glue. It’s advisable to keep the clamps in place for several hours or overnight for a solid bond.
8. Sand the legs: Once the glue has fully dried, sand down the legs, ensuring a smooth and even surface. Pay attention to the edges and corners to create a uniform appearance.
Building the table legs requires precision and attention to detail. Take your time to carefully cut, taper, and fit the legs to ensure a strong and visually pleasing foundation for your mission style dining table.
With the legs complete, we can now move on to the exciting step of assembling the table by attaching the legs to the tabletop and apron. Stay tuned!
Step 6: Assemble the Table
Now that you have constructed the tabletop and built the table legs, it’s time to assemble the different components and bring your mission style dining table together. This step will involve attaching the legs to the tabletop and apron to create a stable and functional piece of furniture.
Follow these steps to assemble the table:
1. Position the tabletop: Place the tabletop upside down on a clean and flat surface. Ensure that it is secure and stable, with the joinery and clamps facing upward.
2. Attach the apron: Position the apron pieces on the underside of the tabletop. Align them with the edges of the tabletop and use screws or dowels to secure them in place. Pre-drill holes to prevent splitting and ensure a solid connection. Be sure to evenly space the screws or dowels along the length of the apron for maximum support.
3. Attach the legs: Carefully position the table legs at each corner of the tabletop, aligning them with the apron. Insert the tenons on the legs into the corresponding mortises in the apron. Apply wood glue to ensure a strong bond and then secure the legs in place using screws or dowels. Again, pre-drill holes to ensure a secure attachment.
4. Check for stability: Once all the legs are attached, carefully flip the table over and check for stability. Gently test the table for wobbling or unevenness. If needed, make any adjustments and tighten any loose connections to ensure stability.
5. Reinforce the connections: To further enhance the strength and stability of the table, you may choose to reinforce the connections between the legs and the apron using corner brackets or metal braces. This is an optional step but can provide added support.
6. Clean the table: Before moving on to the next steps, take the time to clean the table and remove any excess glue, sawdust, or debris. Use a damp cloth or brush to wipe down the surfaces and ensure a clean work area.
With the table fully assembled, you can begin to see the transformation from individual pieces of wood to a unified and functional mission style dining table. The next step will focus on sanding and finishing the table to achieve a smooth and polished look. Stay tuned to learn how to bring out the true beauty of your creation!
Step 7: Sand and Finish the Table
Now that your mission style dining table is assembled, it’s time to give it a smooth and polished finish. Sanding and finishing are essential steps that will enhance the beauty of the wood and protect it from wear and tear. Follow these steps to sand and finish your table:
1. Start with coarse sandpaper: Begin by using a coarse grit sandpaper (around 80 or 100) to sand the entire surface of the table. Sand in the direction of the wood grain, applying even pressure. This step will help remove any rough spots, uneven surfaces, or imperfections.
2. Progress to finer grits: Gradually move on to finer grit sandpapers, such as 150, 180, and 220. Each time you switch to a finer grit, sand the entire surface of the table again. This process will gradually smoothen the wood and remove any scratches left by the previous grit.
3. Pay attention to edges and corners: Don’t forget to sand the edges and corners of the table as well. Use sandpaper wrapped around a sanding block or a small piece of wood to ensure even sanding and prevent rounding of corners.
4. Remove dust: After sanding, use a clean cloth or a vacuum cleaner to remove the dust from the table surface. Make sure the surface is clean and free from any debris before moving on to the finishing step.
5. Apply the stain or paint: If you want to enhance the natural beauty of the wood, apply a wood stain of your choice using a lint-free cloth or a brush. Apply the stain evenly, following the manufacturer’s instructions and the desired color intensity. Alternatively, you can choose to paint the table to match your decor. Apply the paint evenly, allowing each coat to dry before adding another layer if necessary.
6. Apply a protective finish: To protect the wood and give it a smooth and polished look, apply a clear protective finish such as polyurethane. Use a clean brush or a lint-free cloth to apply the finish in long, even strokes. Allow the finish to dry as directed by the manufacturer, and then lightly sand between coats for a smoother finish. Apply multiple coats for added durability.
7. Allow the finish to cure: Once you have achieved the desired finish and coverage, allow the table to fully cure according to the instructions provided with the finish. This will ensure that it is fully hardened and ready for use.
By following these steps, you will achieve a beautifully sanded and finished mission style dining table that showcases the natural beauty of the wood while providing protection for years to come.
Now that your table is complete, it’s time to sit back, relax, and enjoy the fruit of your labor. You have successfully built a stunning piece of furniture that will be the focal point of your dining space for years to come!
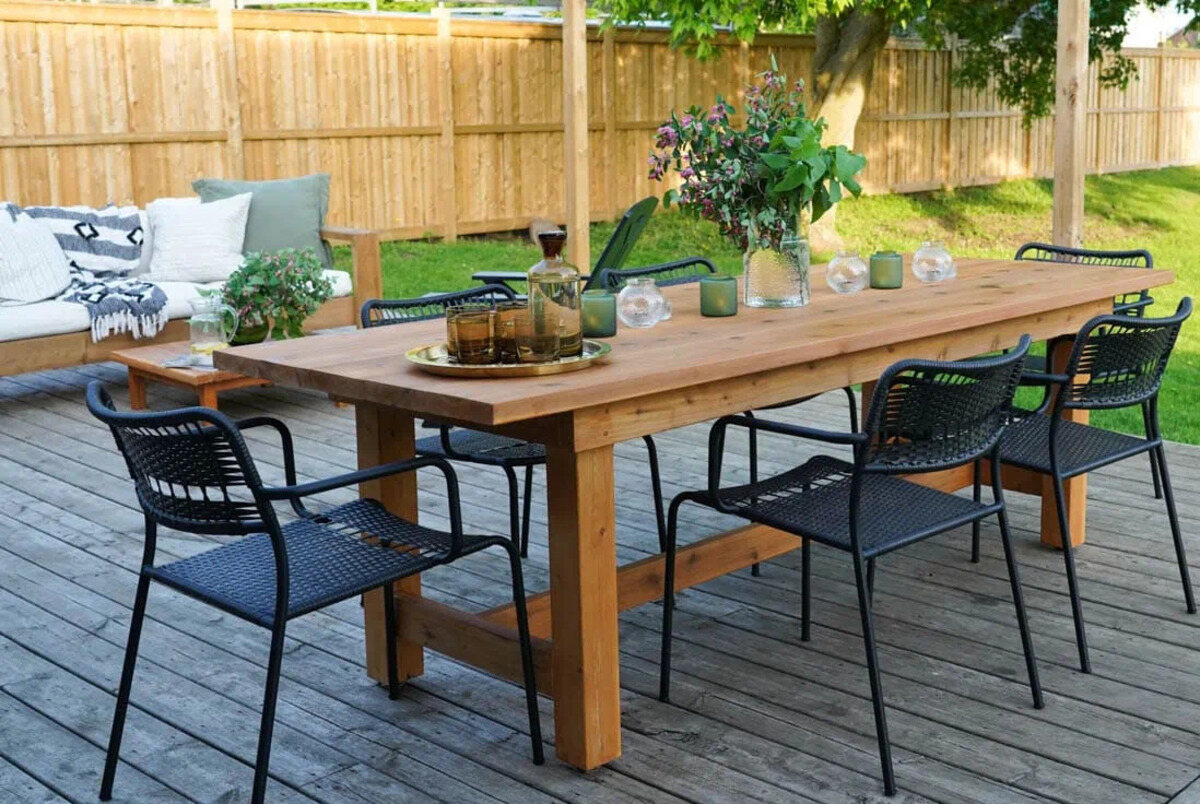
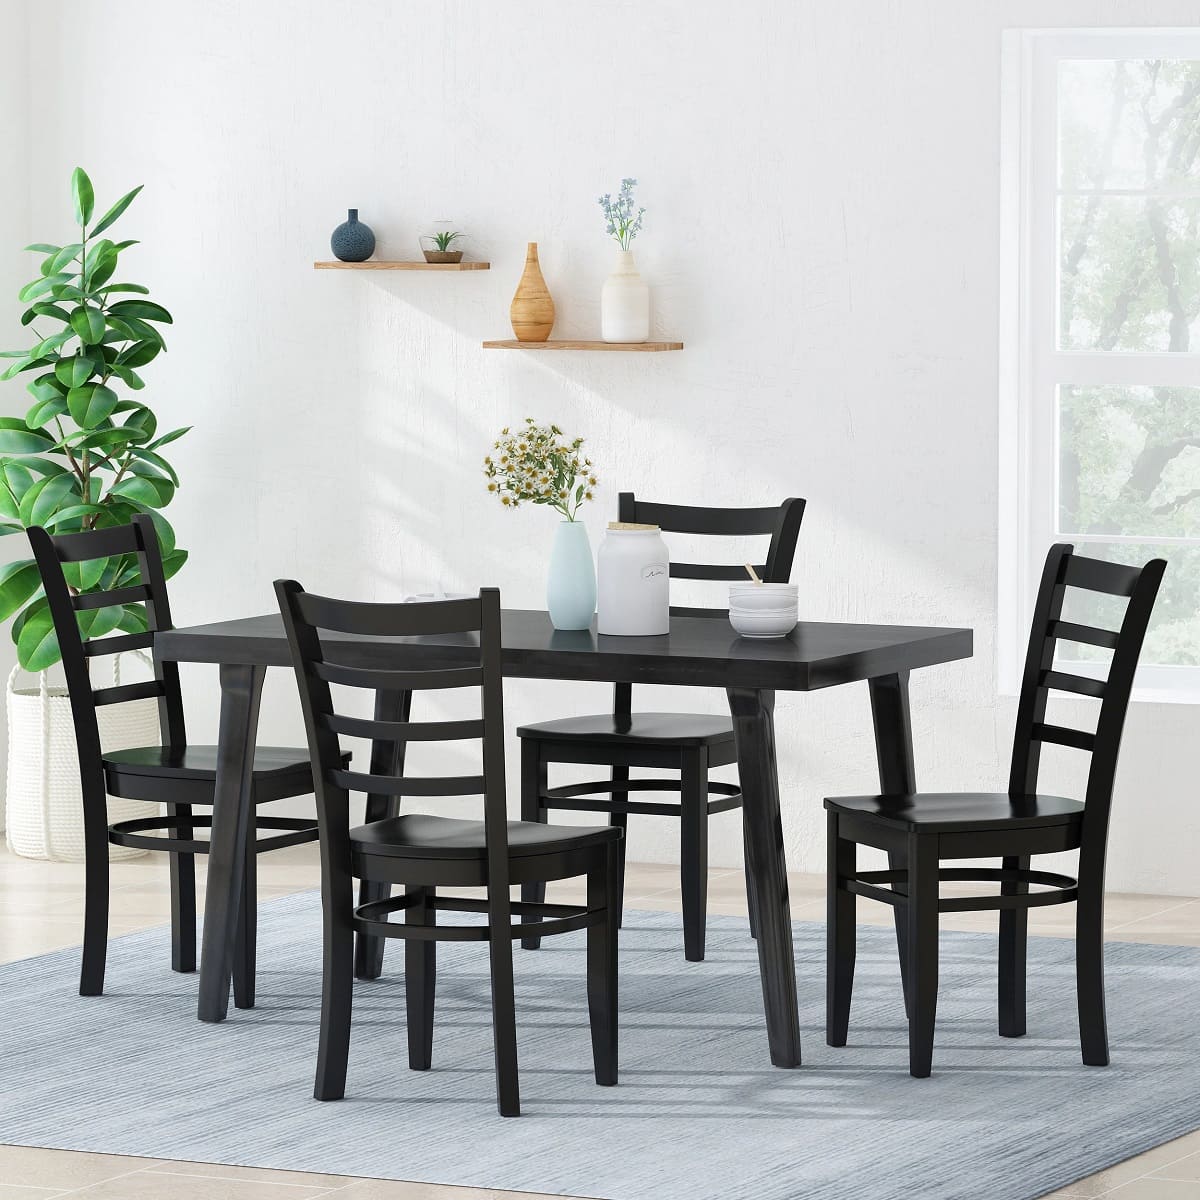
Step 8: Enjoy Your Mission Style Dining Table
Congratulations! You have now completed the construction, sanding, and finishing process of your mission style dining table. It’s time to sit back, relax, and enjoy the fruits of your hard work. Here are a few tips to maximize your enjoyment of your newly built table:
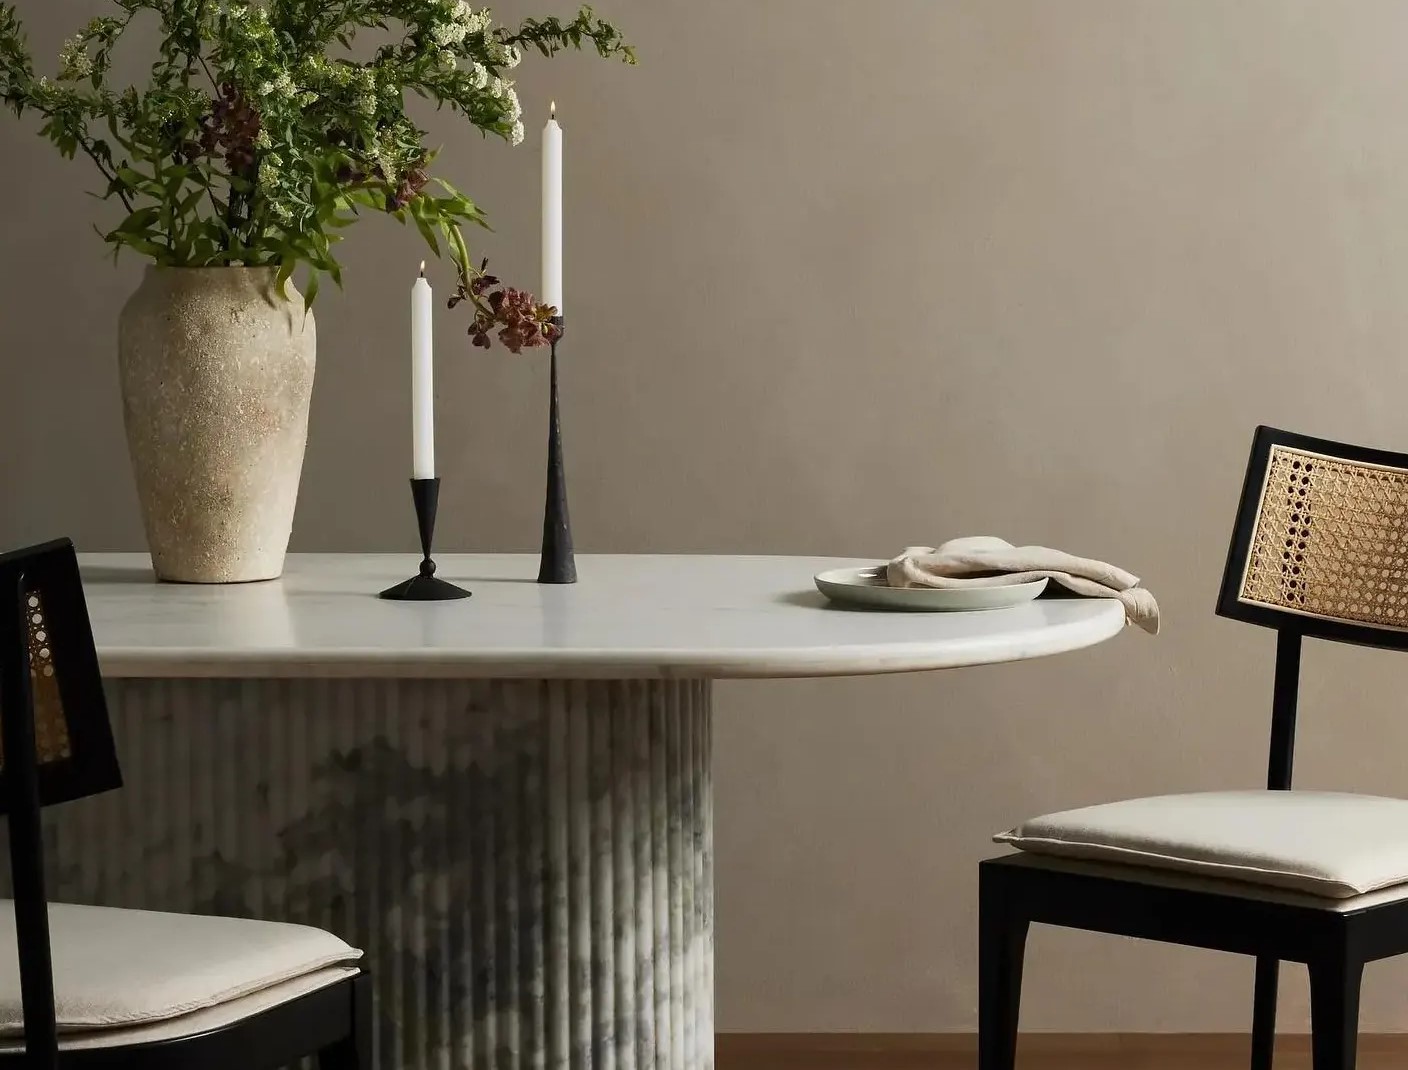
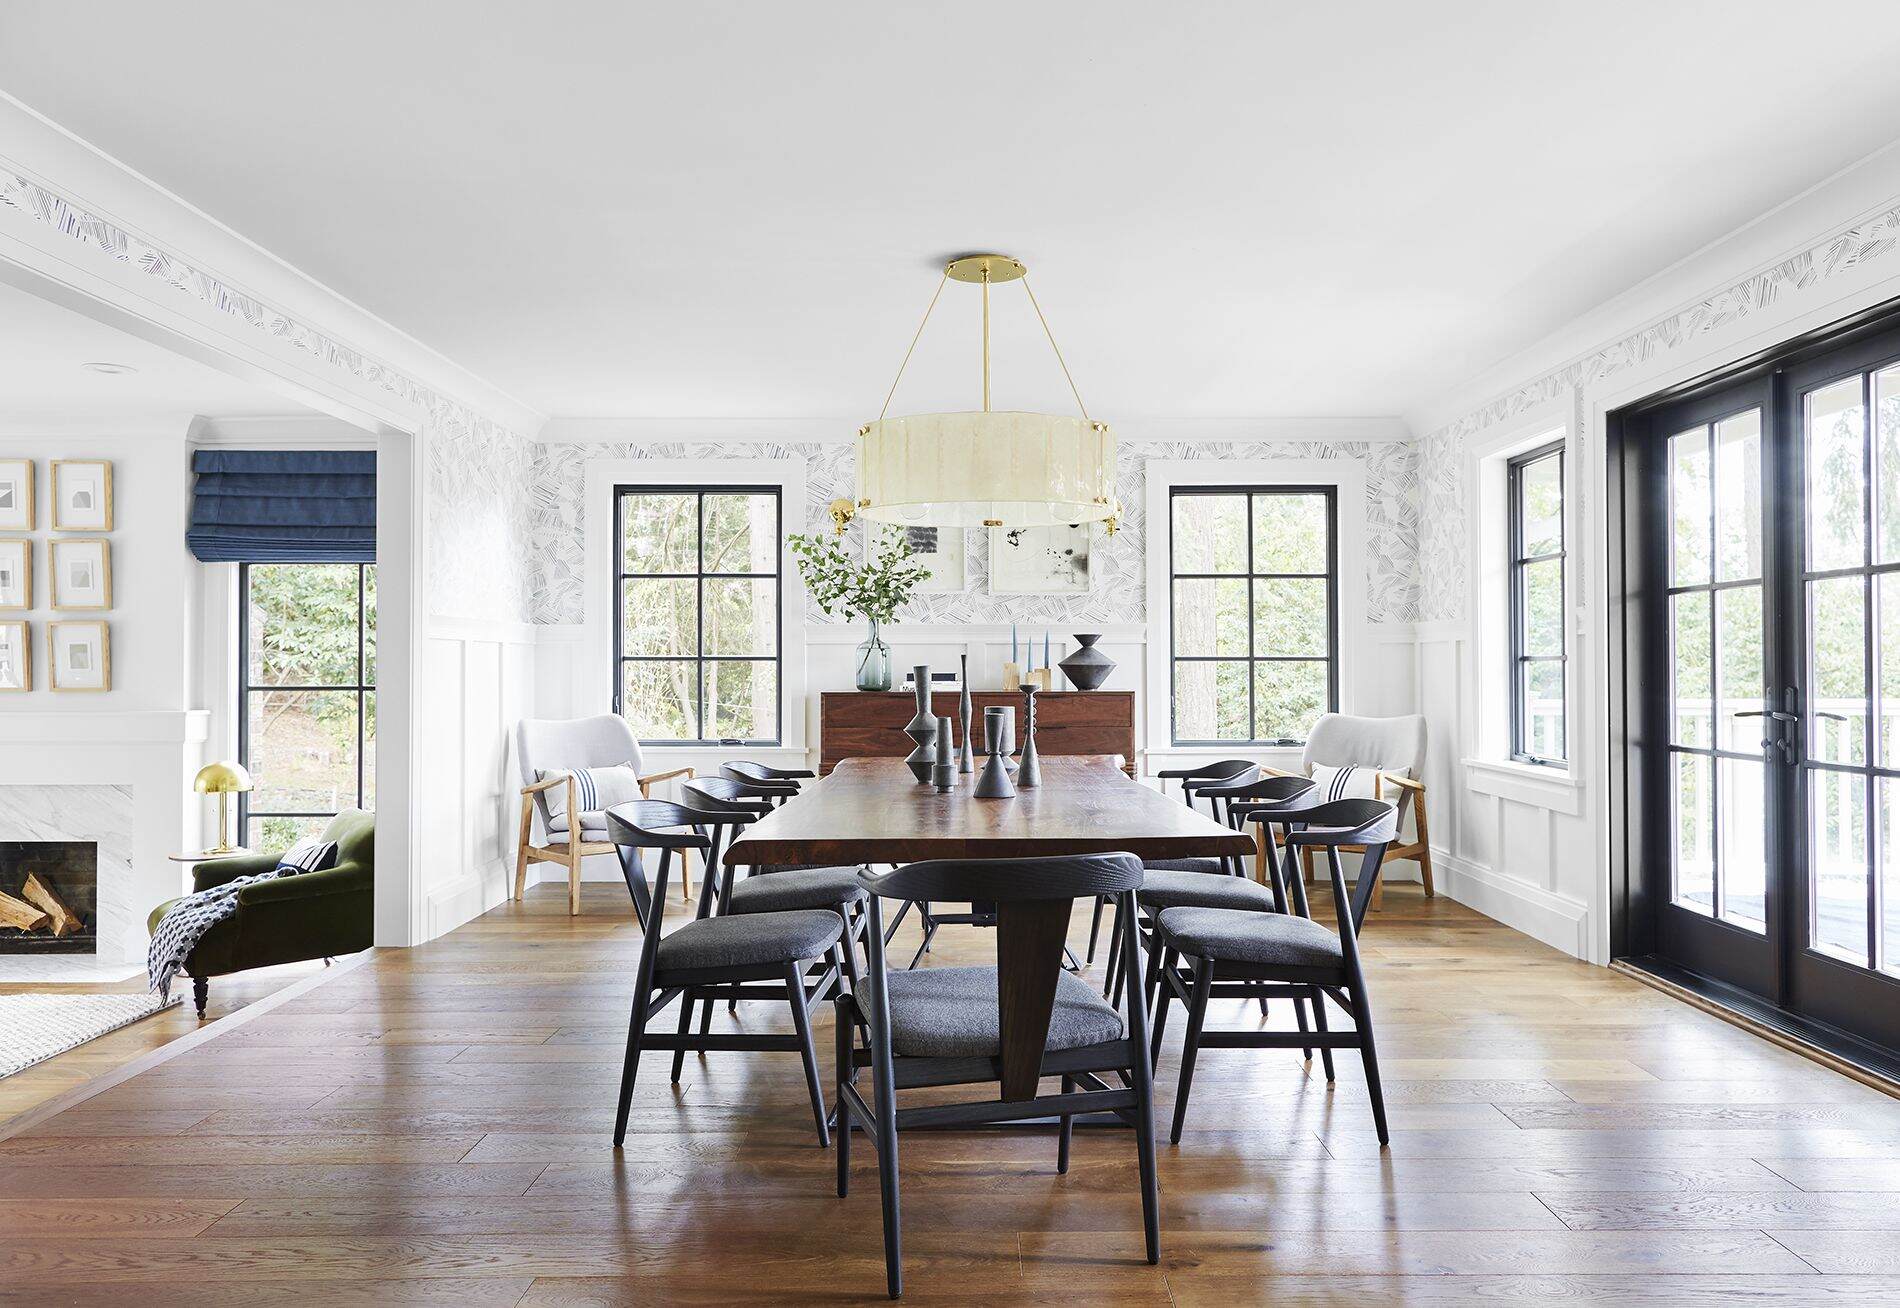
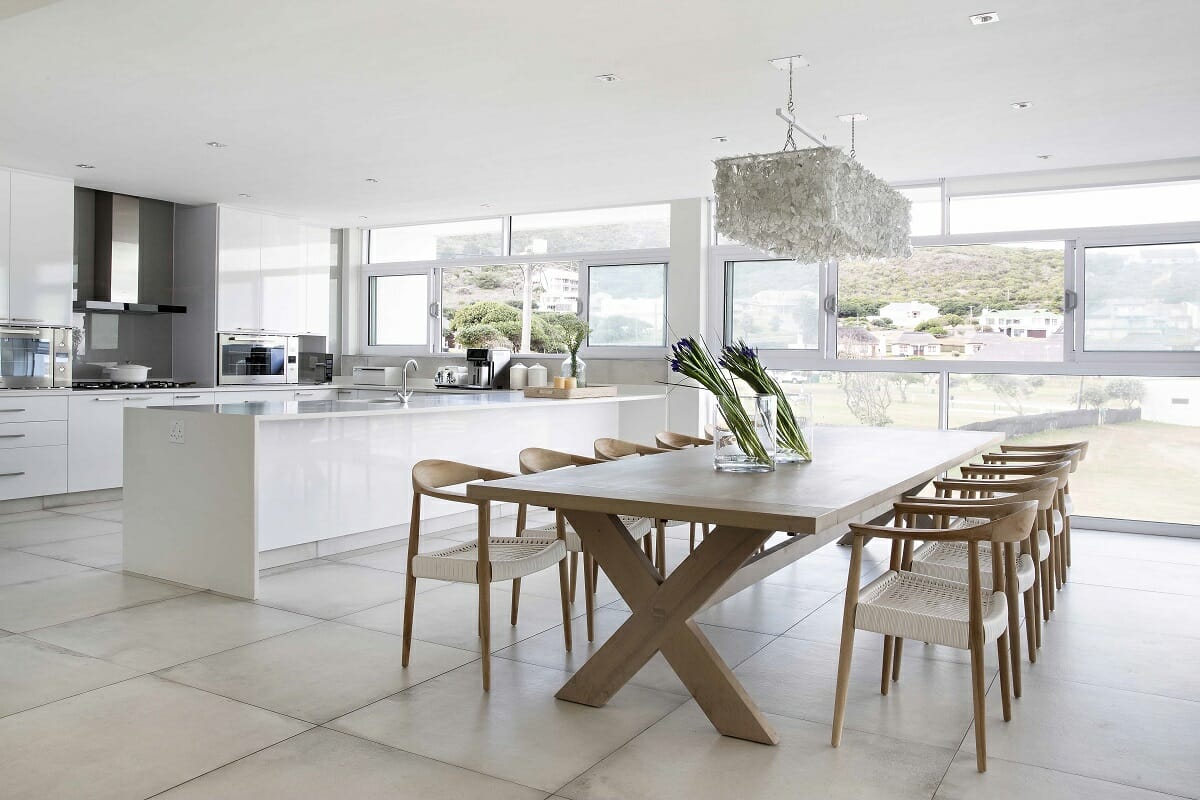
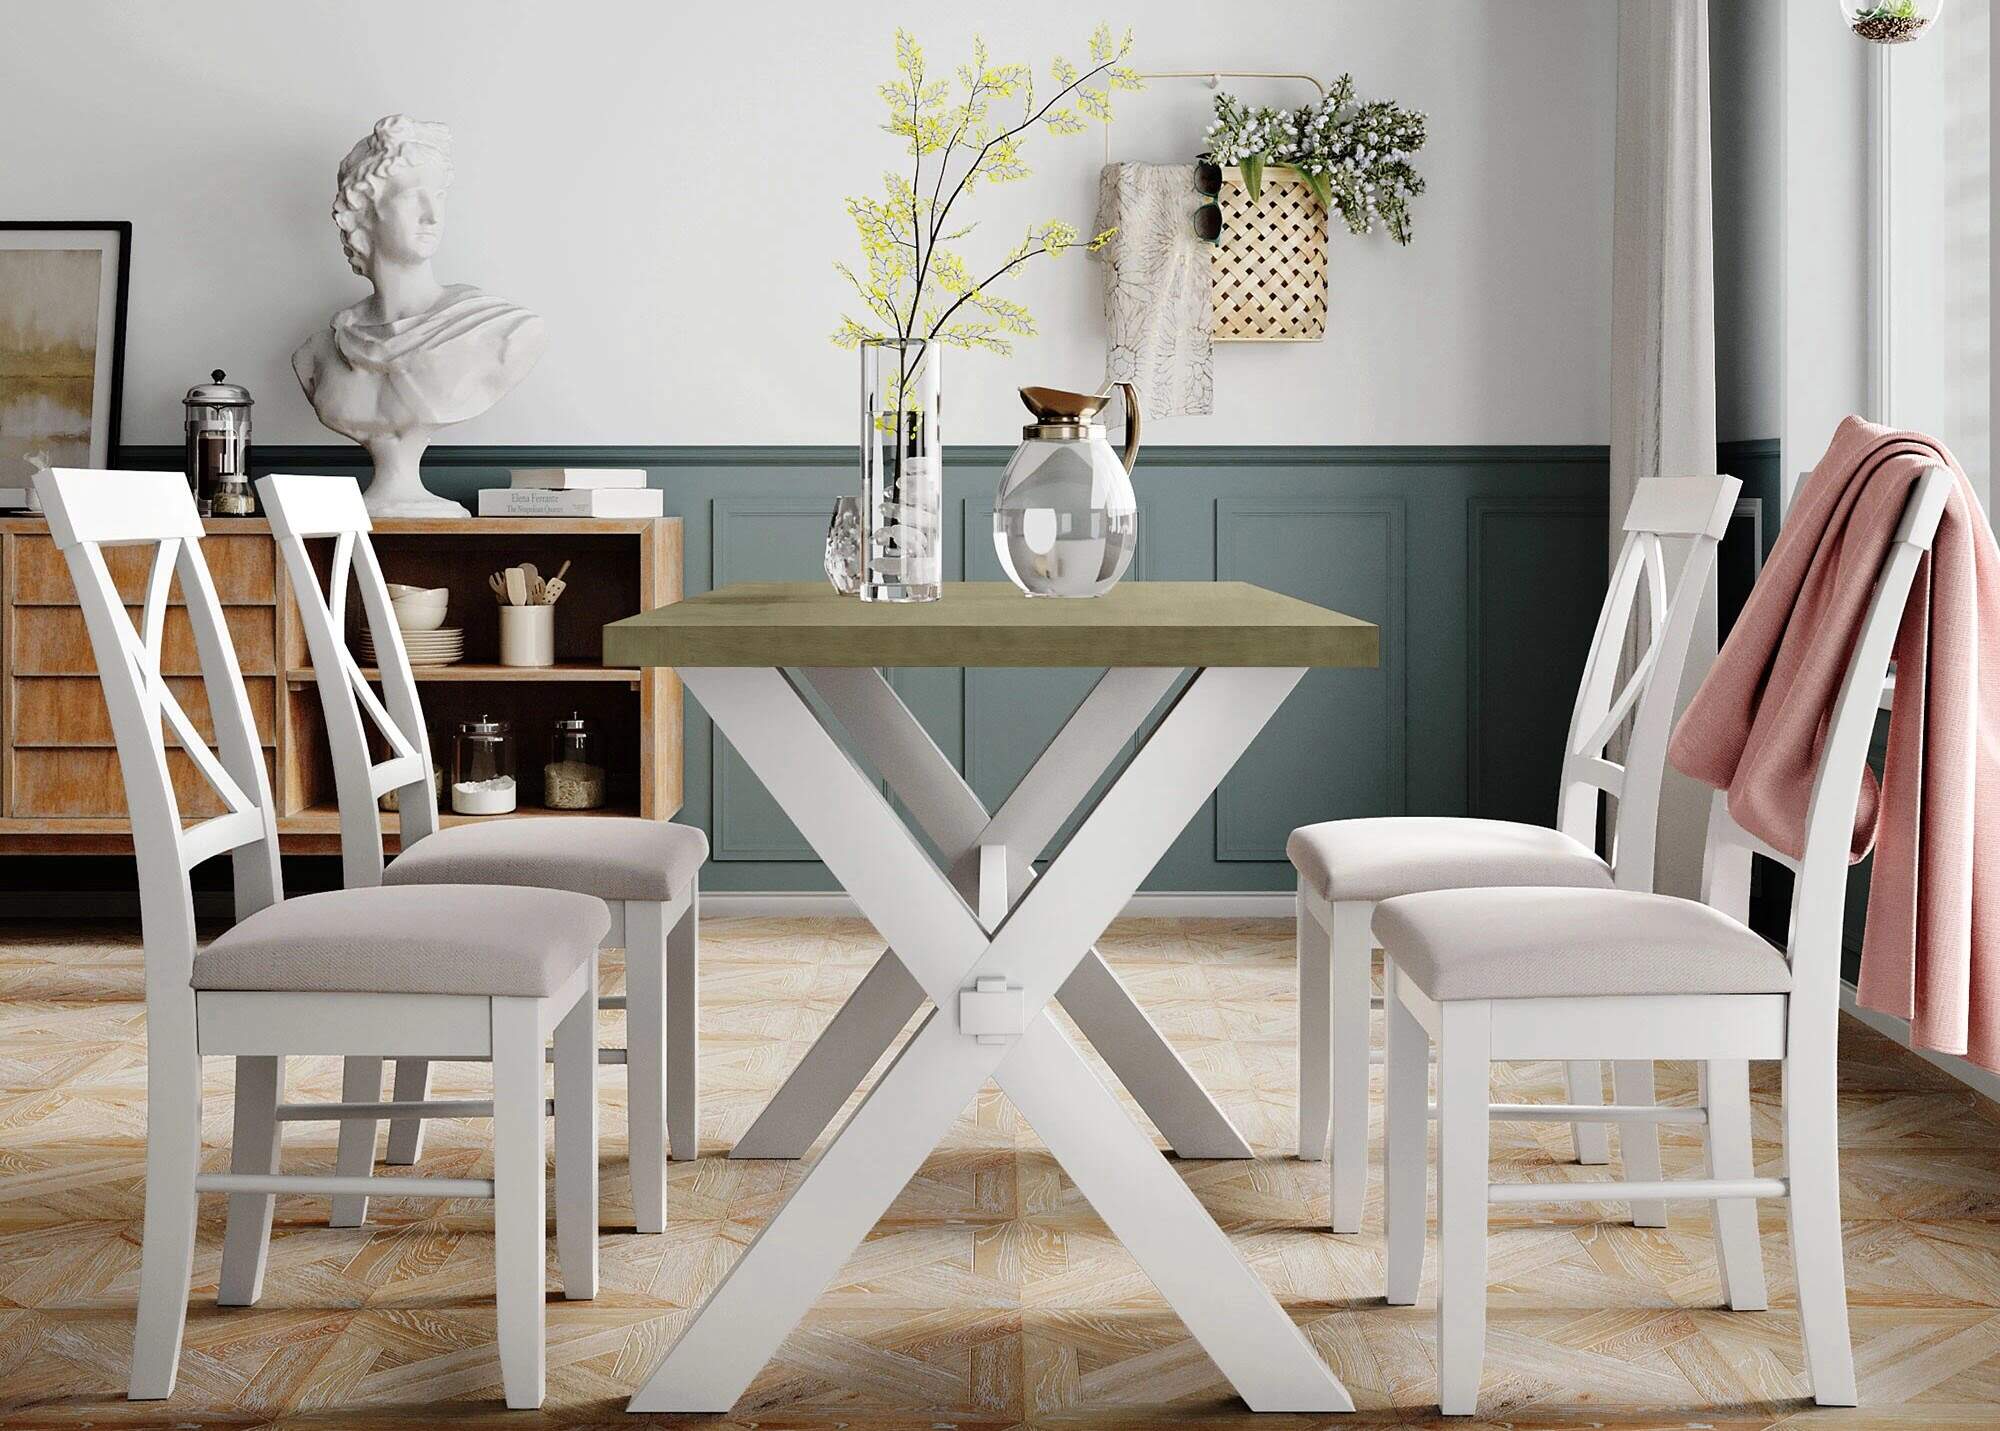
1. Style it with complementary decor: Enhance the overall look and feel of your dining area by styling your table with complementary decor. Consider adding a beautiful table runner, a centerpiece, or some candles to create an inviting ambiance.
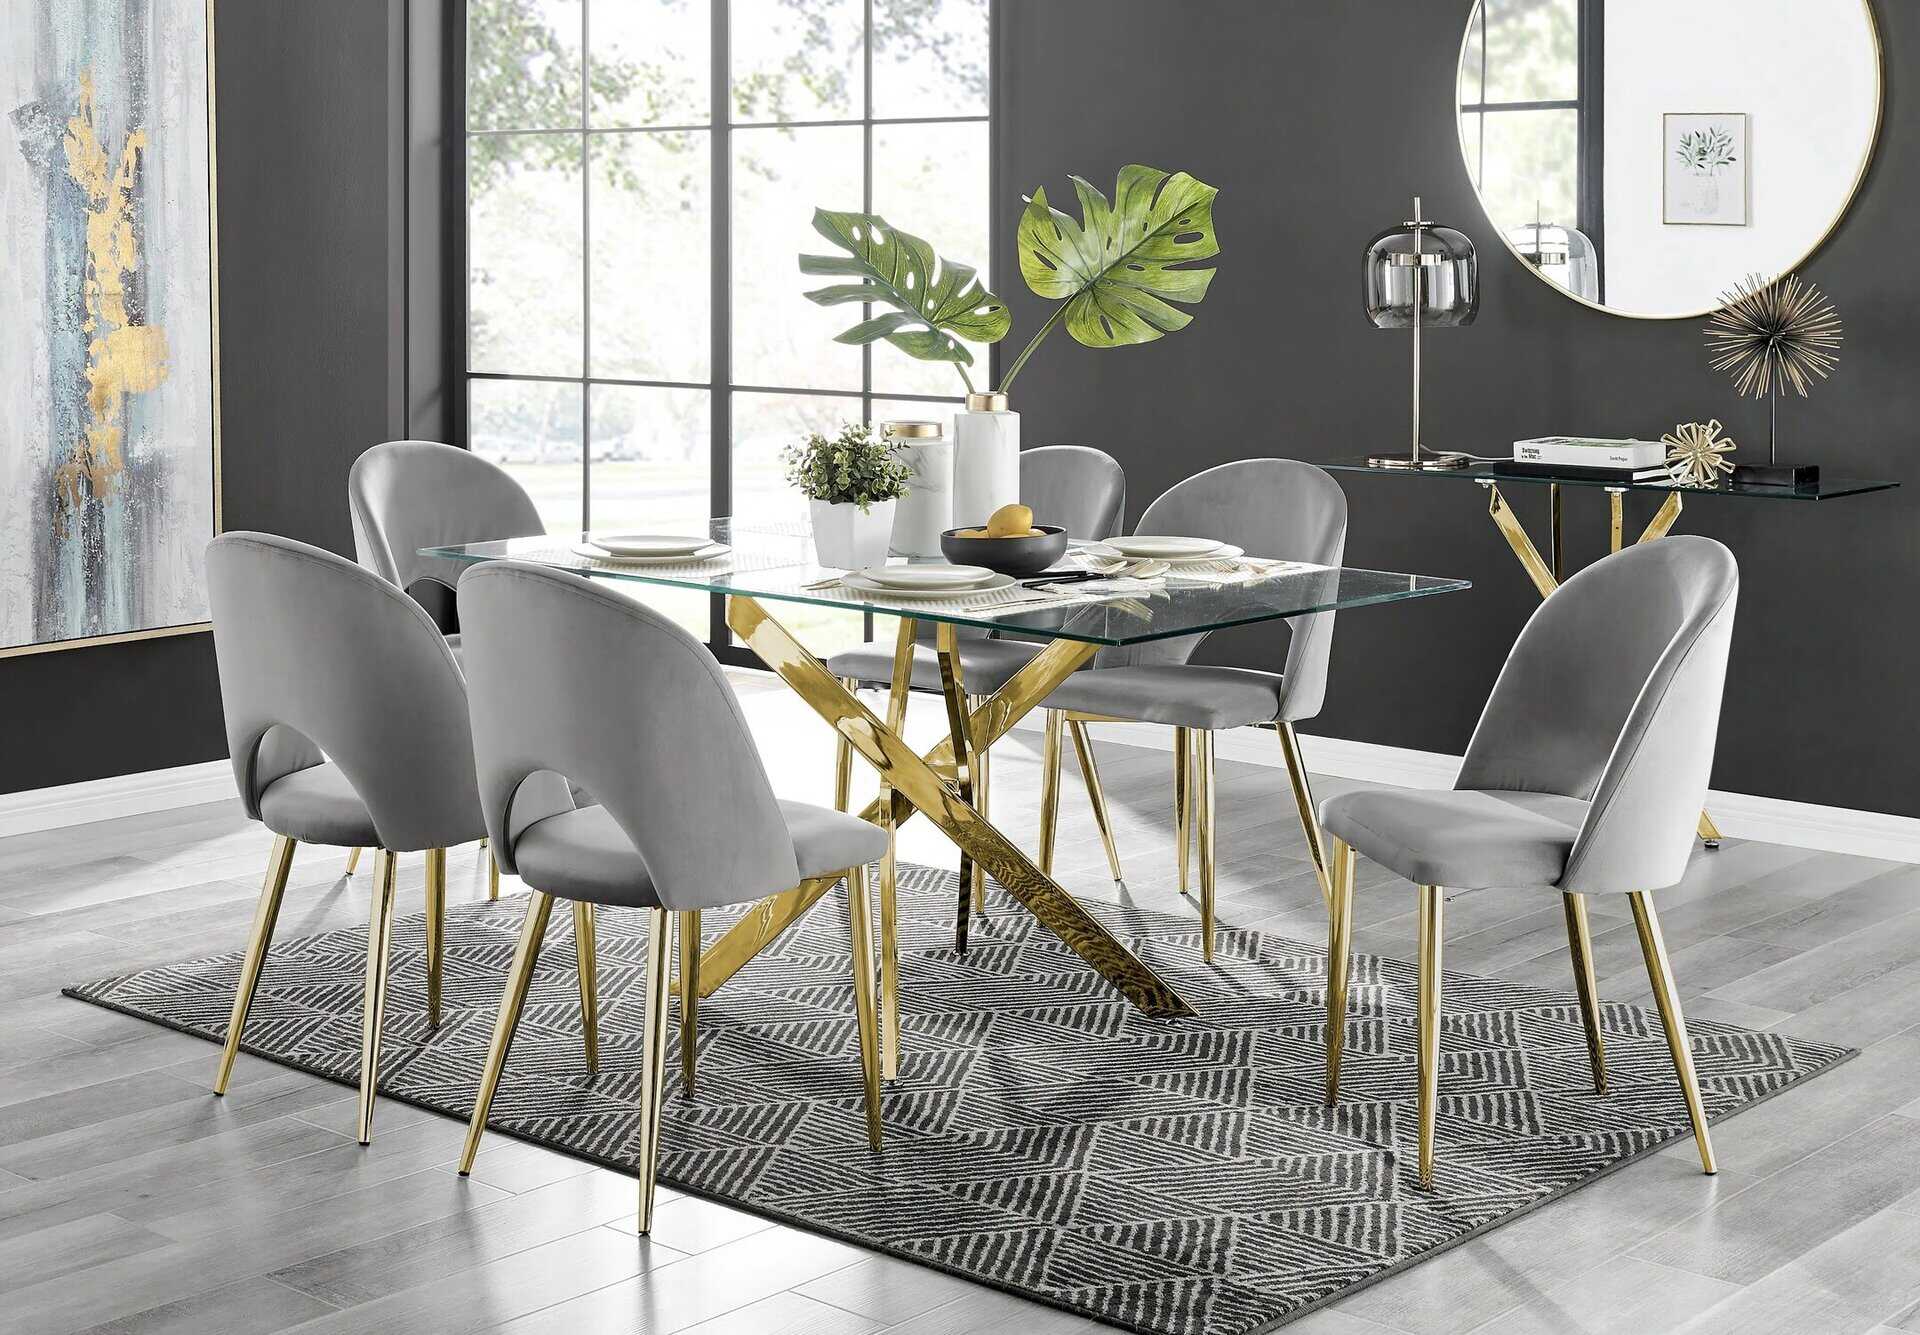
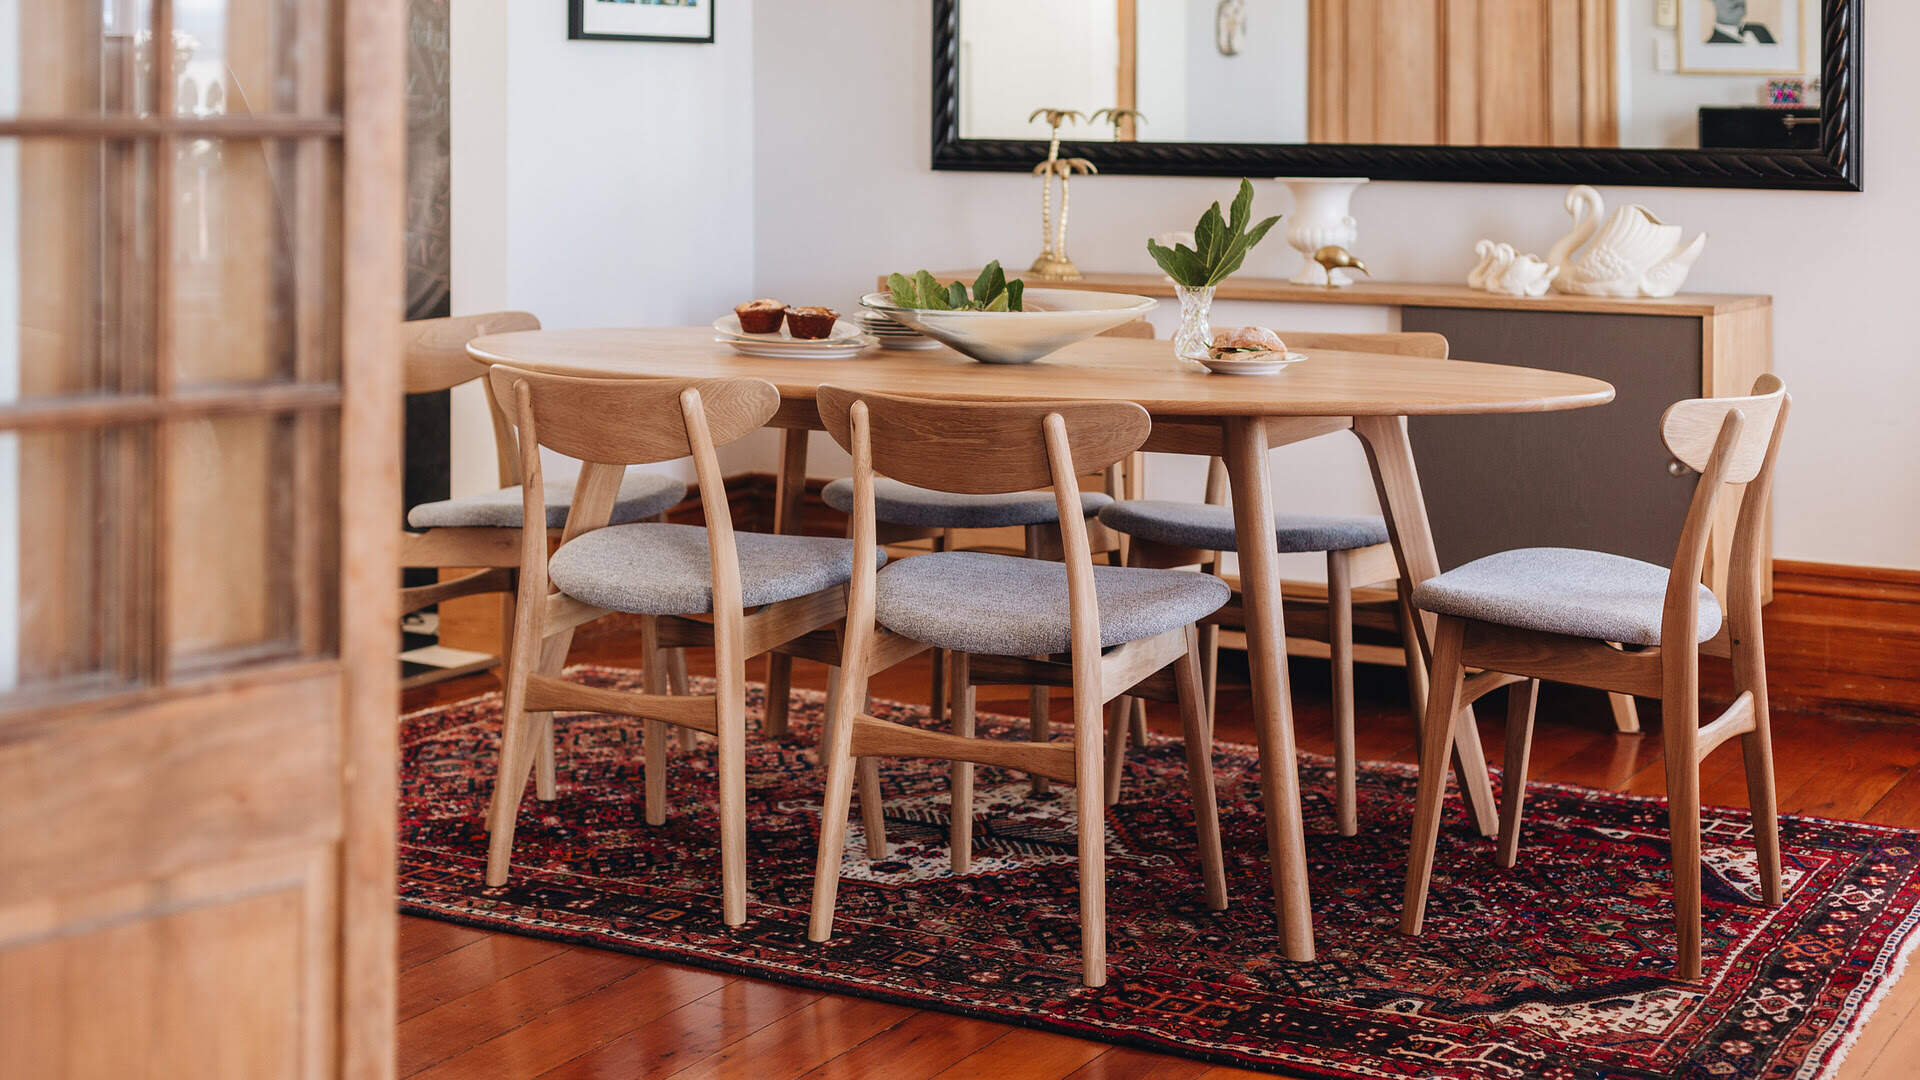
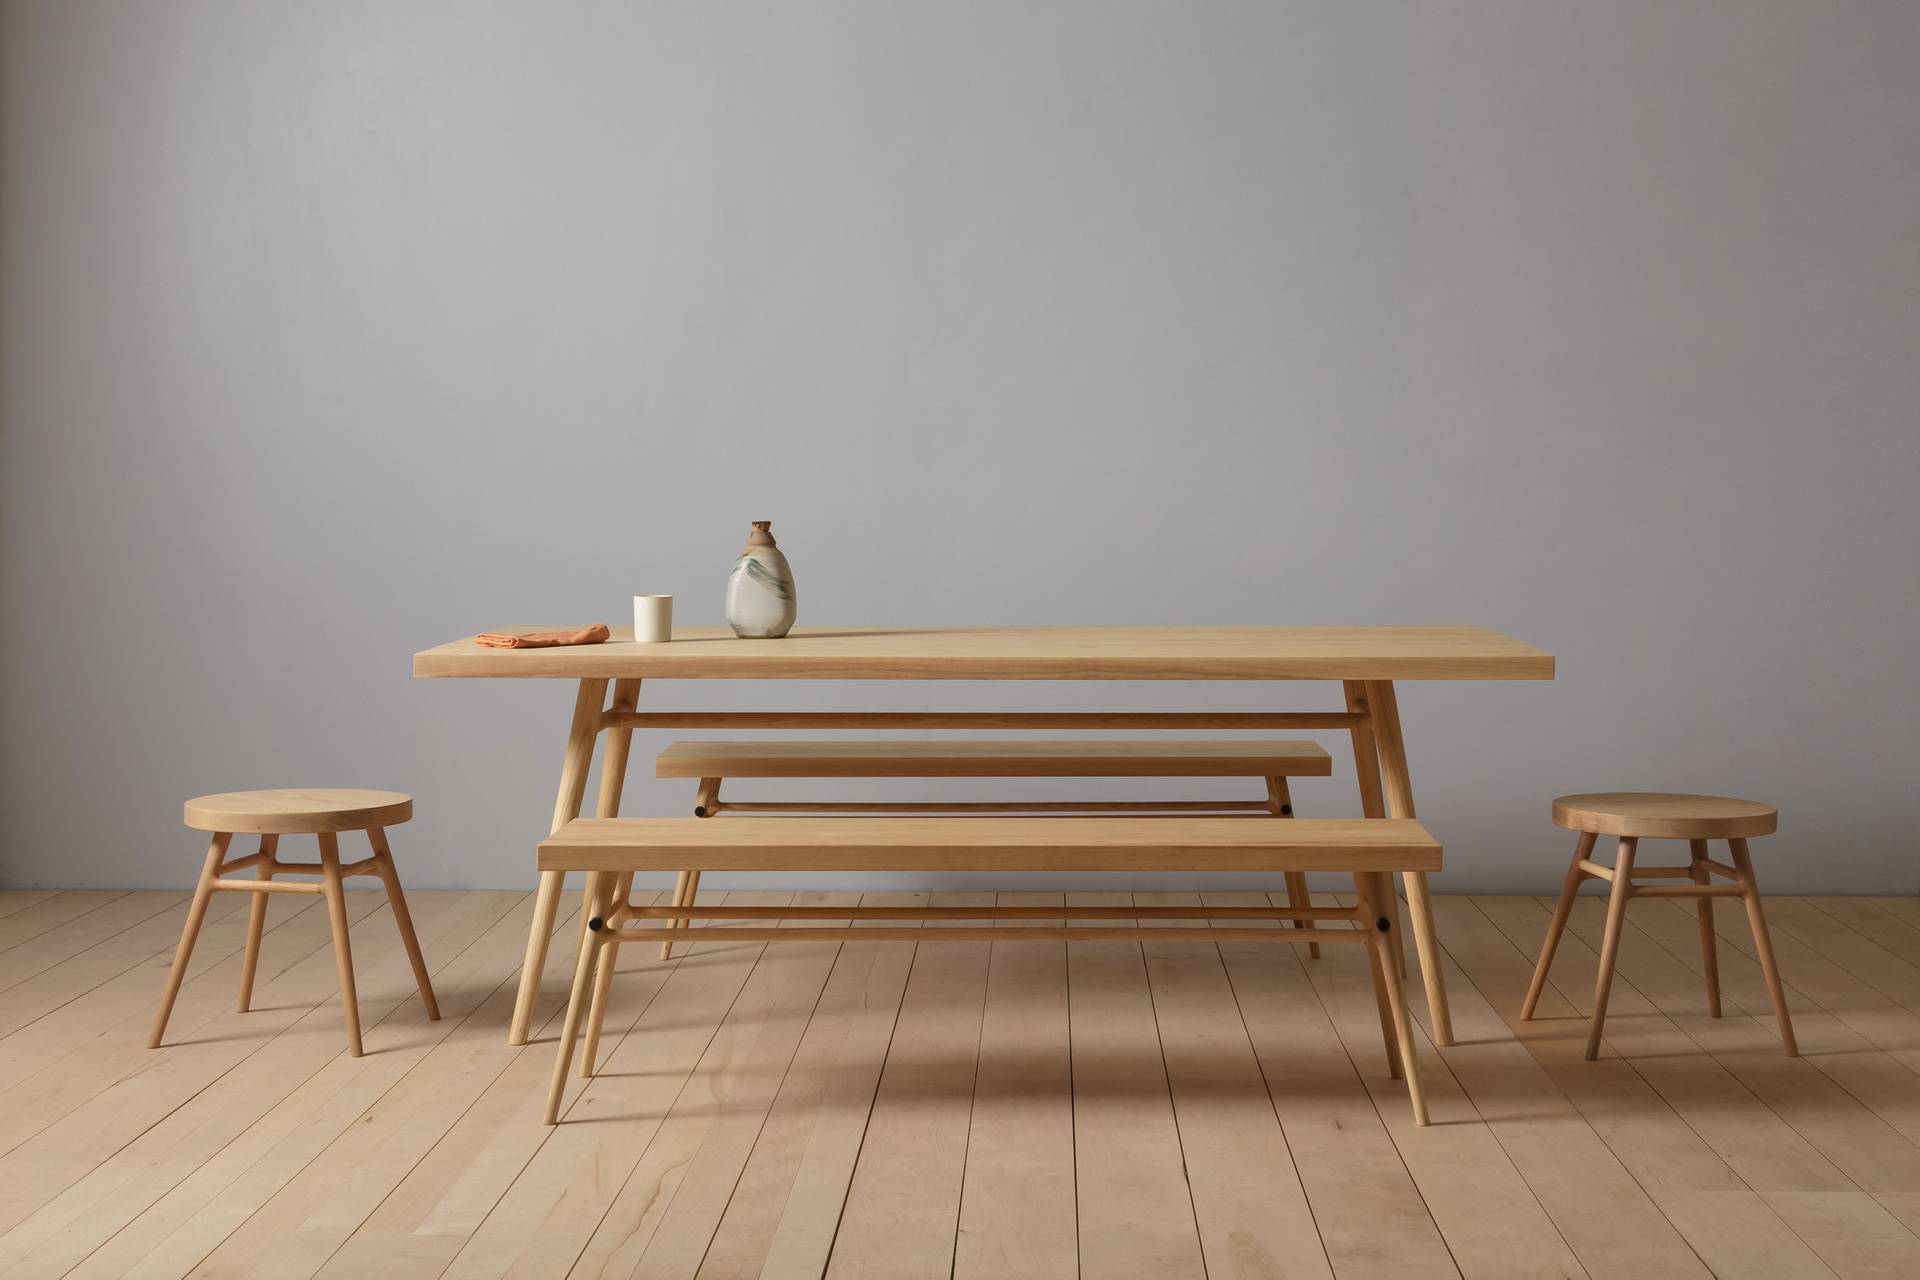
2. Choose comfortable seating: Select comfortable dining chairs or benches that not only match the style of your table but also provide comfort for your family and guests. Consider upholstered seats or cushions for added comfort during mealtime gatherings.
3. Host memorable meals: Your mission style dining table has been crafted to facilitate warm and memorable meals with your loved ones. Take advantage of its beautiful design and ample space to host family gatherings, dinner parties, or intimate dinners with friends.
4. Maintain and care for your table: To ensure the longevity of your dining table, it’s important to maintain and care for it properly. Clean the surface regularly with a soft cloth and mild cleanser, and promptly clean up any spills to avoid staining. Avoid placing excessively hot or cold items directly on the table to prevent damage. Additionally, periodically apply a fresh coat of protective finish to keep the wood in pristine condition.
5. Appreciate the craftsmanship: Take a moment to admire the craftsmanship and attention to detail that went into creating your mission style dining table. Appreciate the beauty of the wood grain, the smoothness of the surface, and the solid construction. Your table is not just a functional piece of furniture; it is a work of art that adds character and charm to your home.
As you gather around your mission style dining table with family and friends, cherish the memories and moments shared over meals. Your table will become the heart of your home, providing a warm and inviting space for connection and nourishment.
Remember, building your own furniture is a rewarding and fulfilling experience. Not only have you created a one-of-a-kind piece, but you’ve also honed your woodworking skills and acquired a deeper appreciation for the art of craftsmanship.
We hope this guide has provided you with the necessary knowledge and inspiration to build and enjoy your mission style dining table. May it bring you joy, comfort, and many memorable gatherings for years to come!
Happy dining!
Read more: How To Make A Mission Style Coffee Table
Conclusion
Building a mission style dining table is a gratifying and rewarding project that allows you to create a custom piece of furniture that reflects your personal style and craftsmanship. Throughout this comprehensive guide, we have taken you through each step, from gathering materials and tools to assembling and finishing the table.
By following the instructions outlined in this guide, you have learned how to prepare the wood, cut it to size, join the tabletop, build the table legs, assemble the table, and sand and finish it to perfection. Each step of the process has been carefully explained to ensure that you have the knowledge and confidence to create a stunning mission style dining table.
As you embark on this woodworking journey, remember to prioritize safety and take your time with each step. Woodworking is a skill that requires practice and patience, but the end result is a handmade masterpiece that you can be proud of.
Your mission style dining table is not just a piece of furniture; it is a statement of your craftsmanship and a centerpiece for family gatherings and memorable meals. Take the time to appreciate the beauty of the wood, the precision of the joinery, and the thoughtfulness behind each step of the construction process.
As you enjoy your newly built table, remember to care for it with regular maintenance and proper cleaning. With proper care, your table will continue to bring joy and serve as a gathering place for years to come.
We hope this guide has inspired you to embark on your woodworking journey and create a beautiful mission style dining table. Building furniture with your own hands is an experience unlike any other, and the end result is a piece that holds both sentimental and practical value.
Thank you for taking the time to follow along with our guide. We wish you the best of luck in your woodworking endeavors and hope that your mission style dining table becomes a beloved centerpiece in your home.
Happy woodworking and enjoy your newfound culinary adventures!
Frequently Asked Questions about How To Build A Mission Style Dining Table
Was this page helpful?
At Storables.com, we guarantee accurate and reliable information. Our content, validated by Expert Board Contributors, is crafted following stringent Editorial Policies. We're committed to providing you with well-researched, expert-backed insights for all your informational needs.

0 thoughts on “How To Build A Mission Style Dining Table”