Home>Dining>Table Decor>How To Take Pictures Of Your Floral Arrangements
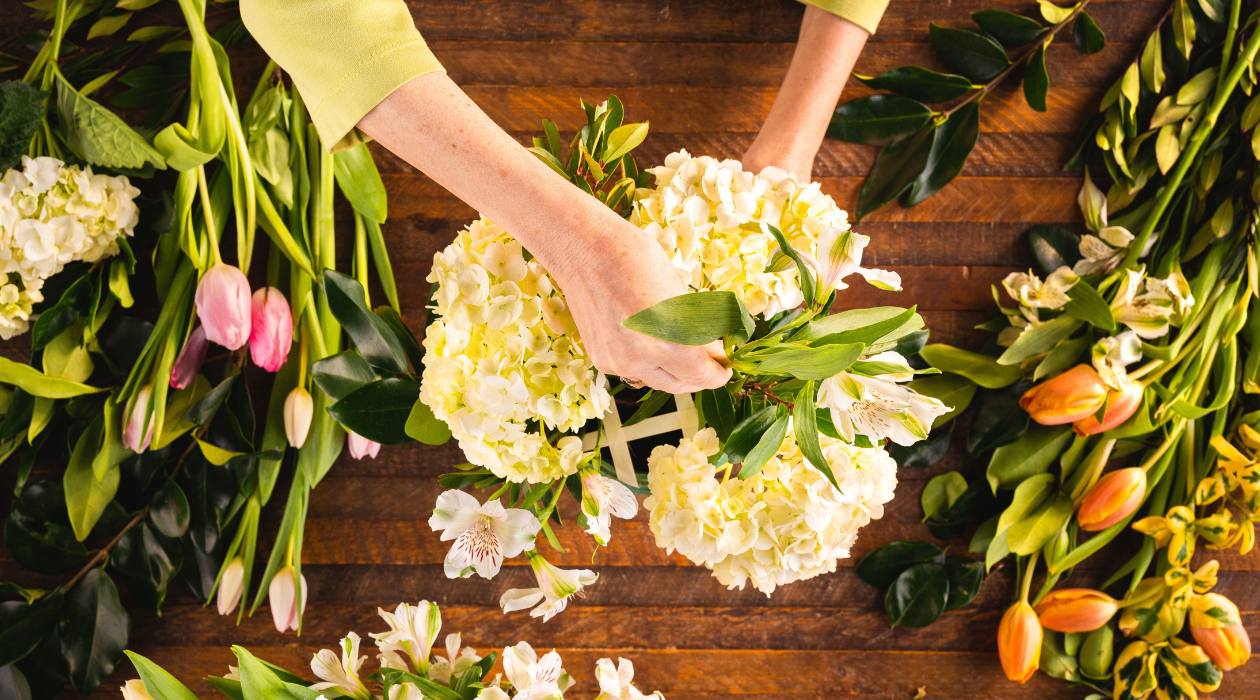
Table Decor
How To Take Pictures Of Your Floral Arrangements
Modified: December 7, 2023
Learn how to capture stunning photos of your floral arrangements with this comprehensive guide. Improve your table decor photography skills and create beautiful images.
(Many of the links in this article redirect to a specific reviewed product. Your purchase of these products through affiliate links helps to generate commission for Storables.com, at no extra cost. Learn more)
Introduction
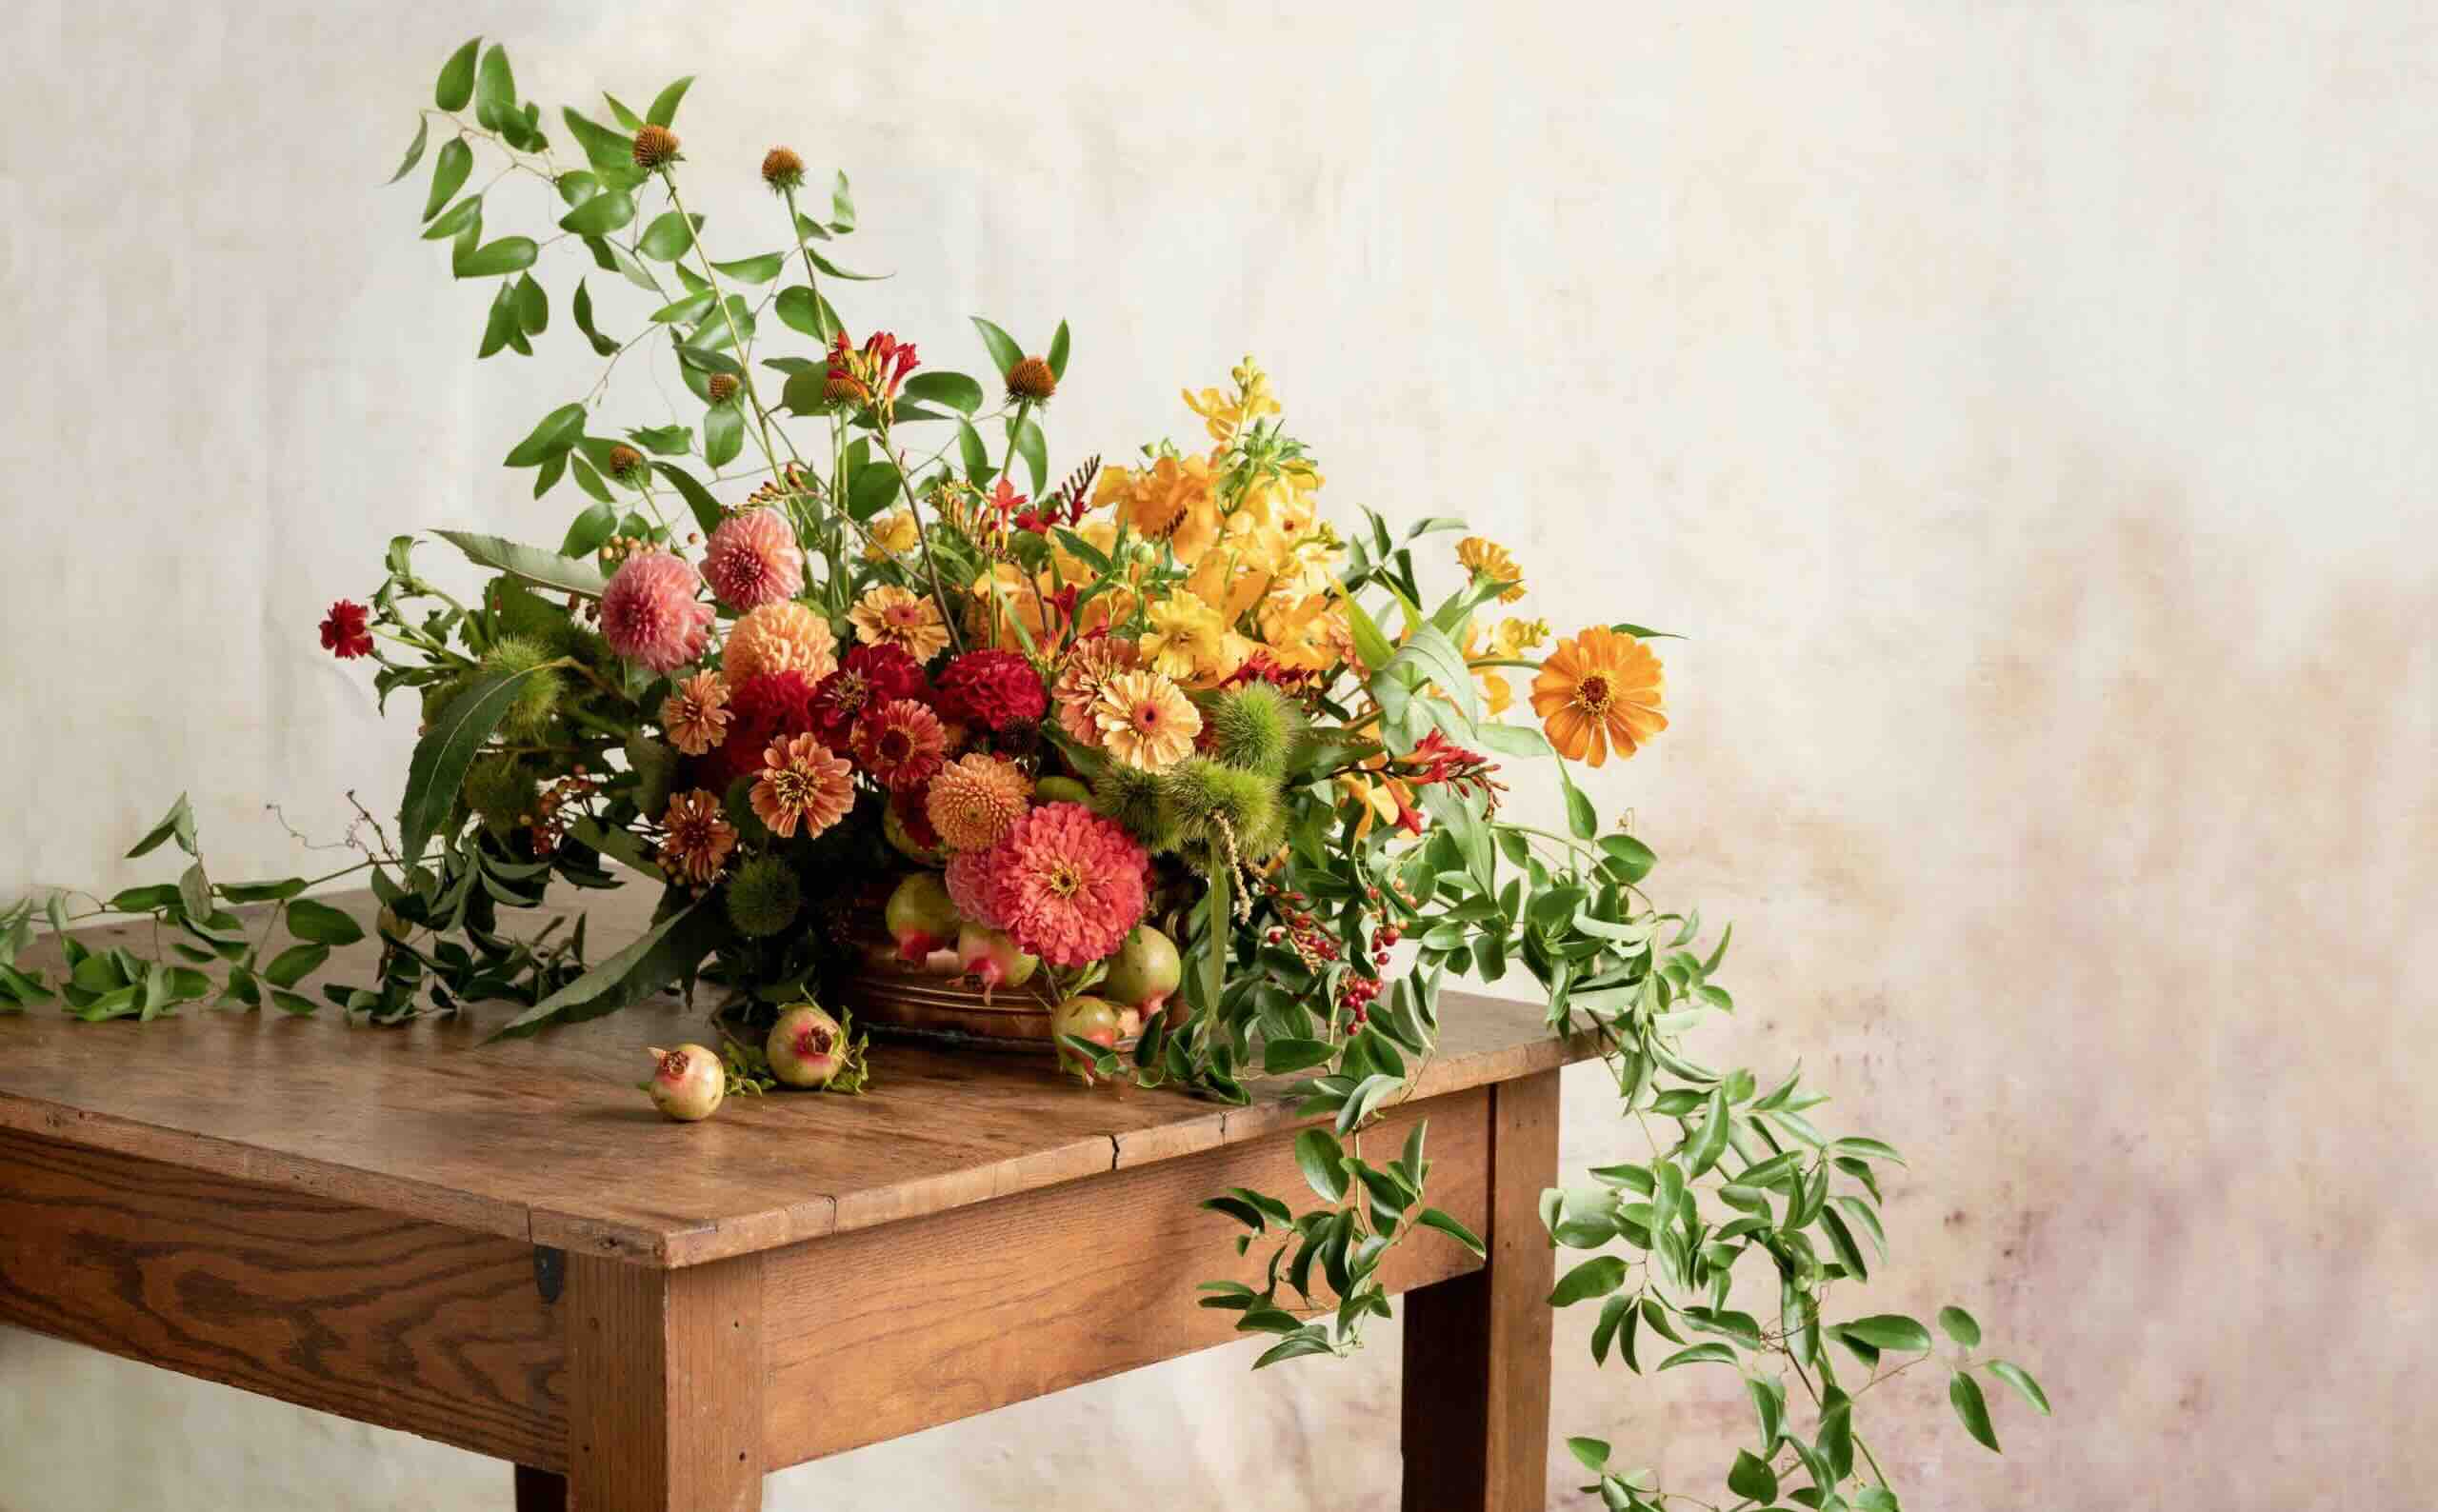
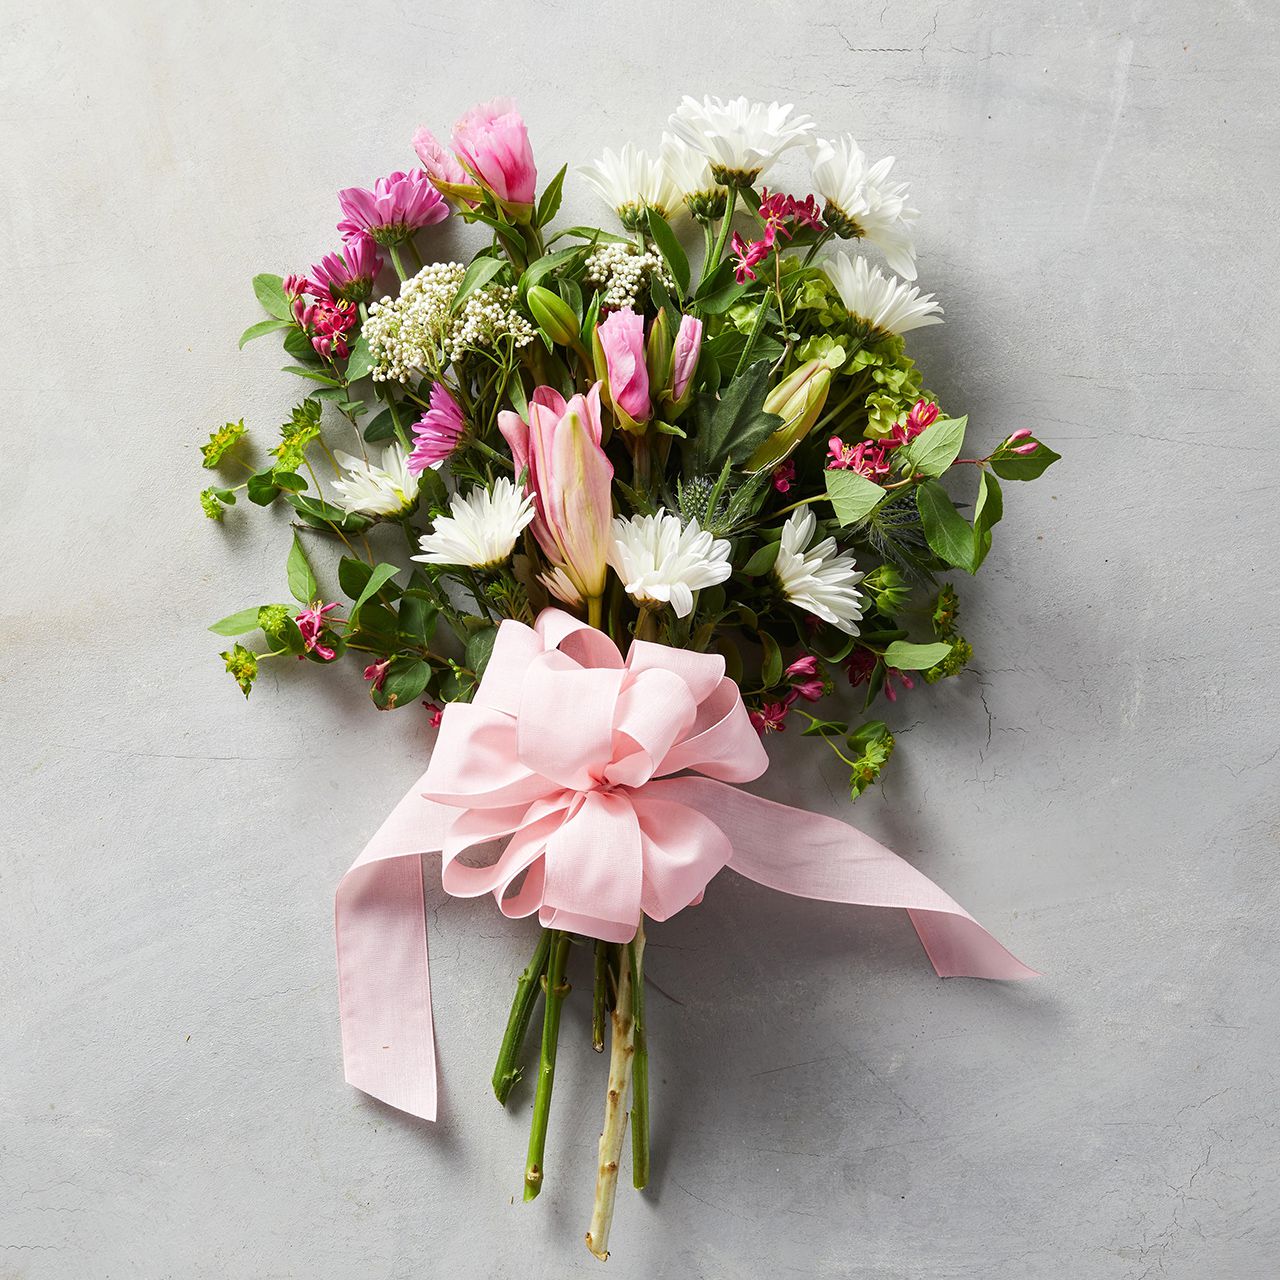
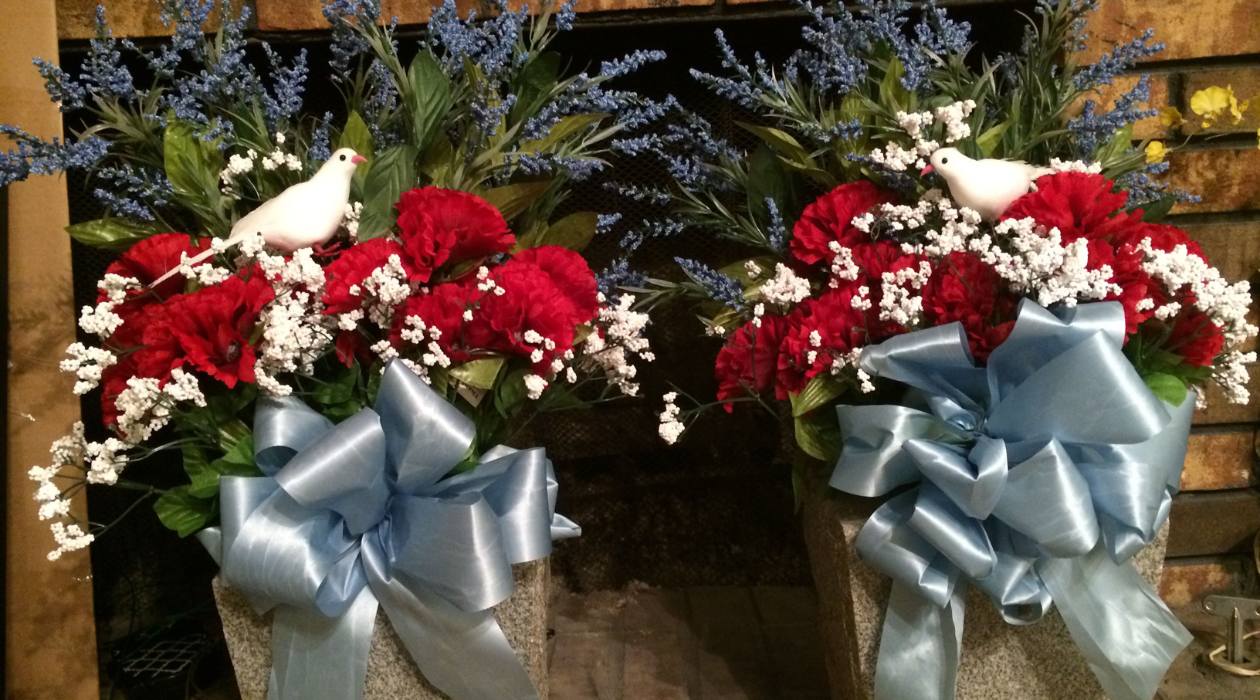
When it comes to table decor, there is nothing quite as stunning as a beautifully arranged floral centerpiece. Whether it’s for a wedding, a special event, or simply adding some elegance to your dining table, capturing the essence of these arrangements through photography is a wonderful way to preserve their beauty.
Taking pictures of floral arrangements may seem like a simple task, but capturing their true essence and bringing out their vibrant colors and intricate details requires some skill and know-how. In this article, we will explore the art of photographing floral arrangements, from the equipment and lighting to composition and editing techniques.
Whether you’re a professional event planner, a florist showcasing your work, or simply an enthusiast who loves capturing the beauty of nature, this guide will provide you with valuable insights and tips to take stunning photos of your floral creations.
So grab your camera, prepare your flowers, and let’s dive into the world of floral photography!
Key Takeaways:
- Master the art of floral photography by understanding lighting, composition, and focusing techniques. Experiment with natural light and editing to capture the essence and beauty of floral arrangements.
- Elevate your floral photography with the right equipment, background selection, and depth of field manipulation. Embrace creativity and practice to capture stunning images that showcase the intricate details of nature.
Read more: How To Arrange Ikebana Floral Arrangements
Equipment Needed
Before you start photographing your floral arrangements, it’s important to have the right equipment. While it’s true that you can achieve great results with a smartphone camera, having a DSLR or a mirrorless camera will give you more control and flexibility over your shots.
Here are the essential pieces of equipment you’ll need:
- Camera: A DSLR or mirrorless camera will provide you with the best image quality and manual control. Choose a camera that suits your budget and level of expertise.
- Lens: Invest in a macro or close-up lens to capture the intricate details of the flowers. Macro lenses allow you to get up close and personal, revealing the textures and patterns that make each bloom unique.
- Tripod: Using a tripod will help you stabilize your camera and avoid blurry images, especially when shooting in low light or using longer exposure times. Look for a sturdy tripod that can hold your camera steady.
- Remote Shutter Release: A remote shutter release will allow you to trigger the camera without touching it, resulting in sharper images and minimizing the risk of camera shake.
- Reflectors and Diffusers: Reflectors and diffusers are handy tools for manipulating light and creating the desired lighting conditions. Reflectors bounce light onto your subject, while diffusers soften harsh light and reduce shadows.
It’s worth mentioning that while having the right equipment is important, the true key to successful floral photography lies in understanding lighting, composition, and attention to detail. So, don’t fret if you’re just starting out and don’t have access to professional-grade gear. With practice and creativity, you can still capture breathtaking images with basic equipment.
Now that you have your equipment ready, let’s move on to the next step: understanding lighting and how to make the most of it in your floral photography.
Lighting
Lighting plays a crucial role in photography, and floral arrangements are no exception. Understanding how to use light to your advantage can greatly enhance the beauty and impact of your floral photos.
Here are some tips to help you make the most of lighting:
- Natural Light: Whenever possible, utilize natural light as your primary light source. Position your floral arrangement near a window or take it outdoors to take advantage of the soft, diffused light. Avoid direct sunlight, as it can create harsh shadows and overexpose your images. If the natural light is too bright or you need to diffuse it further, you can use a sheer curtain or a white sheet to soften the light.
- Artificial Light: In situations where natural light is limited, you can use artificial lighting options such as continuous LED lights or off-camera flashes. Experiment with different angles and intensities to create the desired mood and highlight the details of your floral arrangement.
- Backlighting: Backlighting can create a striking and ethereal effect in floral photography. Position your light source behind the flowers, allowing the light to shine through their petals. This technique can accentuate the translucency and delicate textures of the blooms. Be cautious about the exposure; you may need to use exposure compensation to avoid blowing out the highlights.
- Side Lighting: Side lighting can add depth and dimension to your floral photos. Place your light source to the side of your arrangement and observe how the shadows and highlights interact with the flowers. This technique can bring out the textures and create a sense of drama.
- Diffusing the Light: If the light source is too harsh, consider using diffusers to soften and spread the light evenly. You can use commercial diffusers or even a plain white sheet or translucent material to achieve a similar effect. Experiment with different levels of diffusion to determine the desired look.
Remember to take test shots and review the lighting conditions before proceeding with your full photoshoot. Pay attention to the balance between light and shadow and adjust your setup accordingly.
Now that you understand the importance of lighting, let’s move on to the next aspect of floral photography: composition and framing.
Composition and Framing
Composition and framing play a vital role in creating visually compelling floral photographs. By carefully arranging the elements within the frame, you can guide the viewer’s eye and create a sense of balance and harmony. Here are some tips to help you with composition:
- Rule of Thirds: The rule of thirds is a fundamental element of composition. Imagine dividing your frame into a grid of nine equal squares (like a tic-tac-toe board). The intersecting points of these lines are known as the “power points.” Positioning your focal point or the most interesting elements of your flower arrangement along these power points can create a visually pleasing composition.
- Leading Lines: Use lines within your frame, such as stems or leaves, to lead the viewer’s eye towards the main subject. These lines can add depth and guide the viewer’s gaze through the image.
- Foreground and Background: Consider the foreground and background elements when composing your shot. Is there a distracting object that could be removed or obscured? Is there a background that complements the colors and shapes of the flowers? Experiment with different angles and distances to achieve the desired look.
- Negative Space: Negative space refers to the empty areas around your subject. Using negative space can create a sense of simplicity and draw attention to the main subject. Experiment with different compositions, incorporating negative space to add emphasis and visual impact.
- Symmetry and Asymmetry: Symmetry can create a sense of harmony and balance in your floral photos. Centering the subject or arranging the flowers symmetrically can be visually appealing. On the other hand, asymmetry can add interest and create a dynamic composition. Experiment with both symmetrical and asymmetrical compositions to find what works best for each floral arrangement.
Remember to take multiple shots from different angles, experimenting with composition and framing. Don’t be afraid to get creative and try unconventional angles or focus on specific details of the arrangement. The goal is to showcase the beauty and uniqueness of the flowers in an engaging and visually compelling way.
Now that we have covered composition and framing, let’s move on to selecting the right background for your floral photography.
Choosing the Right Background
The background you choose for your floral photography can significantly impact the overall look and feel of your images. It serves as a canvas that can either enhance or distract from the beauty of your floral arrangements. Here are some tips to help you select the right background:
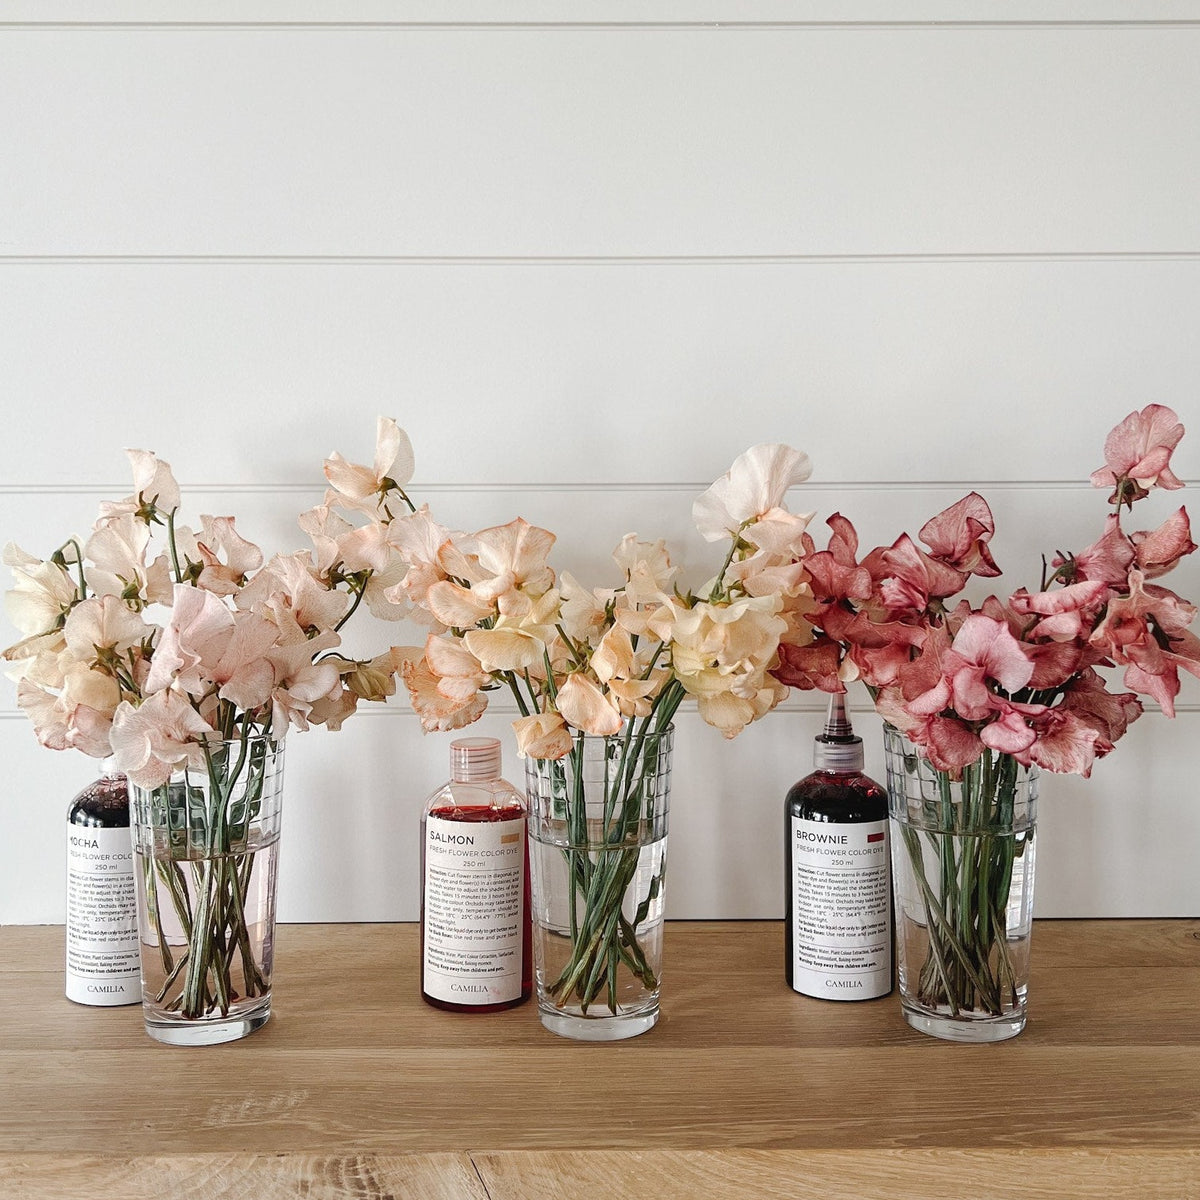
- Contrast: Consider the colors and tones of your flowers and choose a background that creates contrast. For example, if you have vibrant, colorful blooms, a neutral or monochromatic background can make them pop and become the focal point of the image. On the other hand, if your flowers have soft pastel tones, a darker or more textured background can create a beautiful contrast.
- Texture: Experiment with different textures for your background, such as rustic wooden boards, delicate fabrics, or patterned paper. These textures can add depth and visual interest to your photos. Just make sure the texture does not overpower the floral arrangement and complements the overall aesthetic.
- Minimalism: Sometimes, simplicity is the key to making your flowers stand out. Opting for a clean, uncluttered background can create a sense of elegance and emphasize the beauty and intricacy of your arrangement. A plain white or black background can often create a timeless and sophisticated look.
- Natural Setting: Consider incorporating elements of nature into your background for a more organic and authentic feel. You can choose to shoot your floral arrangement in a garden, surrounded by lush foliage, or utilize natural materials like rocks, branches, or grass as a backdrop.
- Experimentation: Don’t be afraid to try different backgrounds and see what works best for each floral arrangement. Sometimes unexpected choices can result in a unique and captivating image. Just remember to keep the focus on the flowers and ensure that the background enhances without overpowering them.
Remember to pay attention to the overall composition and color harmony when selecting your background. Take test shots and review them to see how the background interacts with the flowers. Don’t hesitate to make adjustments or try different options until you find the perfect background that complements your floral arrangement.
Now that you’ve selected the right background, let’s dive into focusing techniques to capture the intricate details of your floral arrangements.
Read more: How To Sell Floral Arrangements
Focusing Techniques
When it comes to floral photography, capturing the intricate details of your arrangements is essential. Achieving sharp focus on the flowers allows you to showcase their beauty and draw attention to their unique features. Here are some focusing techniques to help you capture stunning images:
- Manual Focus: Depending on your camera and lens, manually adjusting the focus can give you more control over where you want the viewer’s attention to be. Take your time to carefully and precisely focus on the most important parts of the flowers, such as the petals or the center. This technique works especially well when using a macro lens or when capturing close-up shots of individual blossoms.
- Autofocus Points: Most cameras have multiple autofocus points that you can utilize to focus on different parts of the floral arrangement. Experiment with selecting specific autofocus points to ensure that the key areas of your flowers are in sharp focus.
- Depth of Field: The depth of field refers to the area that appears sharp in the image. By controlling the aperture and selecting the appropriate depth of field, you can determine how much of your floral arrangement is in focus. When photographing a bouquet or multiple flowers, use a smaller aperture (larger f-number) to increase the depth of field and ensure that more of the arrangement is sharp. Conversely, if you want to isolate a single bloom or specific details, use a wider aperture (smaller f-number) to create a shallow depth of field and blur the background.
- Focusing on Details: Flowers have many intricate and captivating details that deserve to be highlighted. When using a macro or close-up lens, focus on specific elements such as the texture of the petals, the delicate stamen, or the patterns on the leaves. By showcasing these details, you can create visually engaging and intimate images.
- Focus Stacking: In cases where you want to capture a wide range of details and ensure that every part of the floral arrangement is in focus, you can utilize focus stacking techniques. This involves taking multiple shots at different focus points and combining them in post-processing to create a final image with exceptional depth of field.
Experiment with these focusing techniques to find the approach that best suits your style and the subject of your floral arrangement. Remember, achieving sharp focus on the flowers is crucial, as it allows you to capture their unique beauty and create compelling visual narratives.
Now that we’ve covered focusing techniques, let’s explore how to capture the intricate details of your floral arrangements and make them visually stunning.
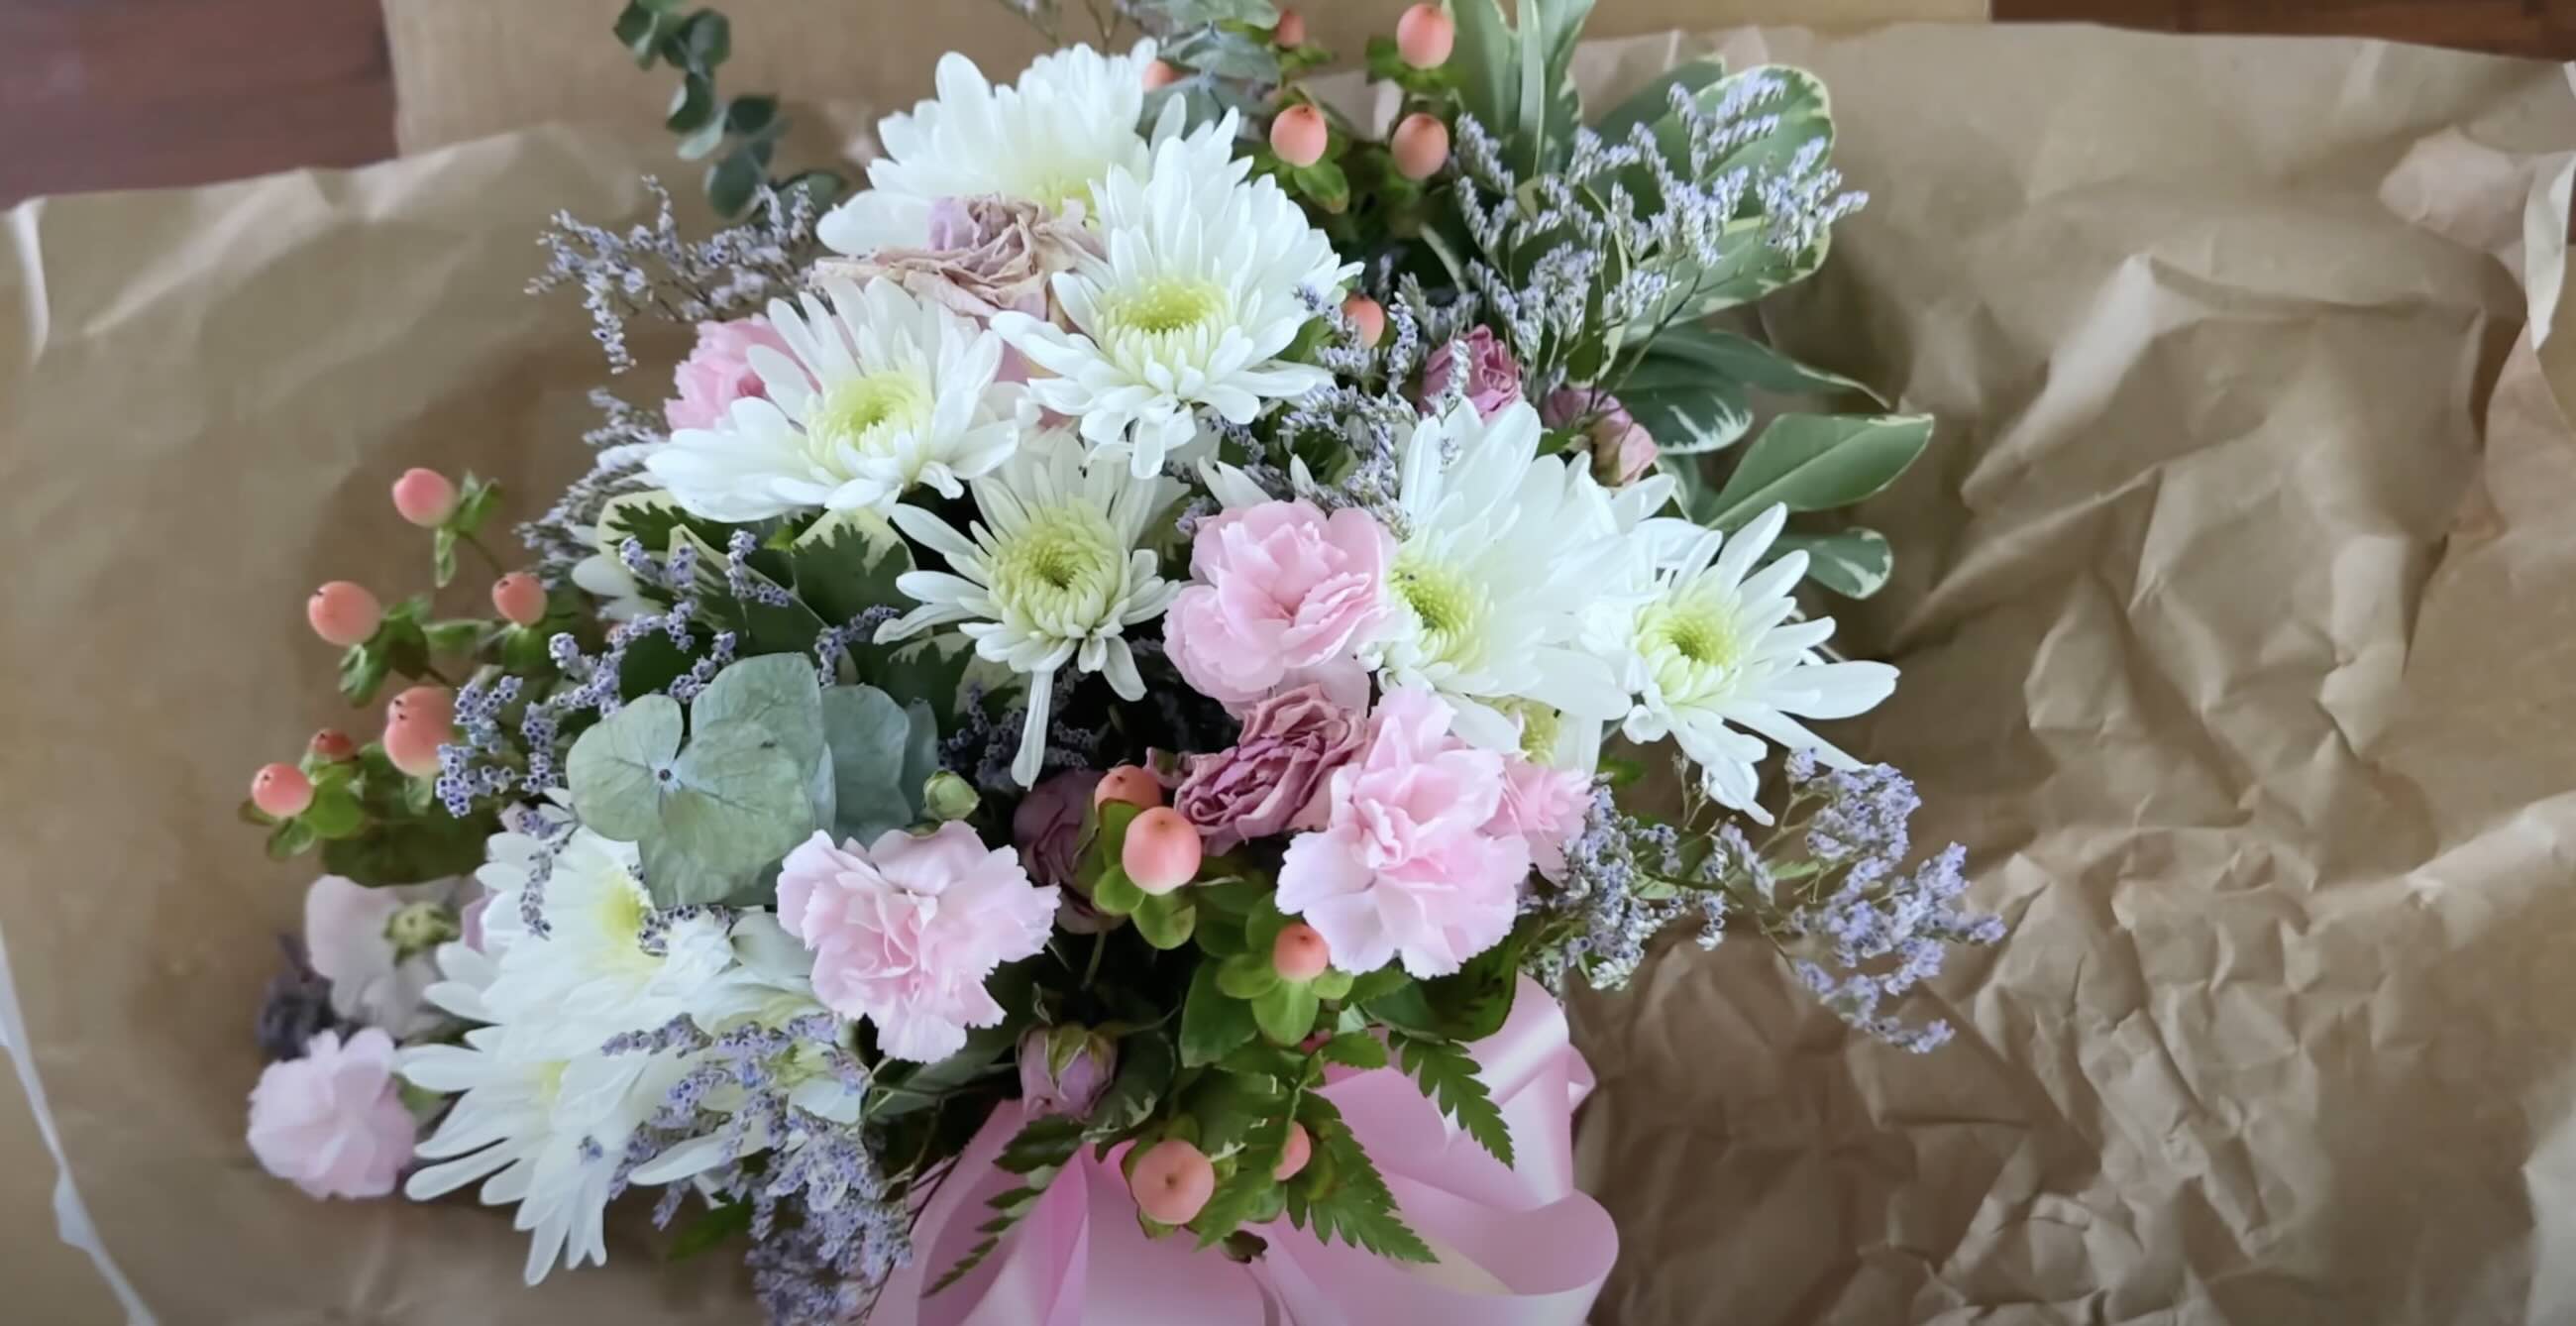
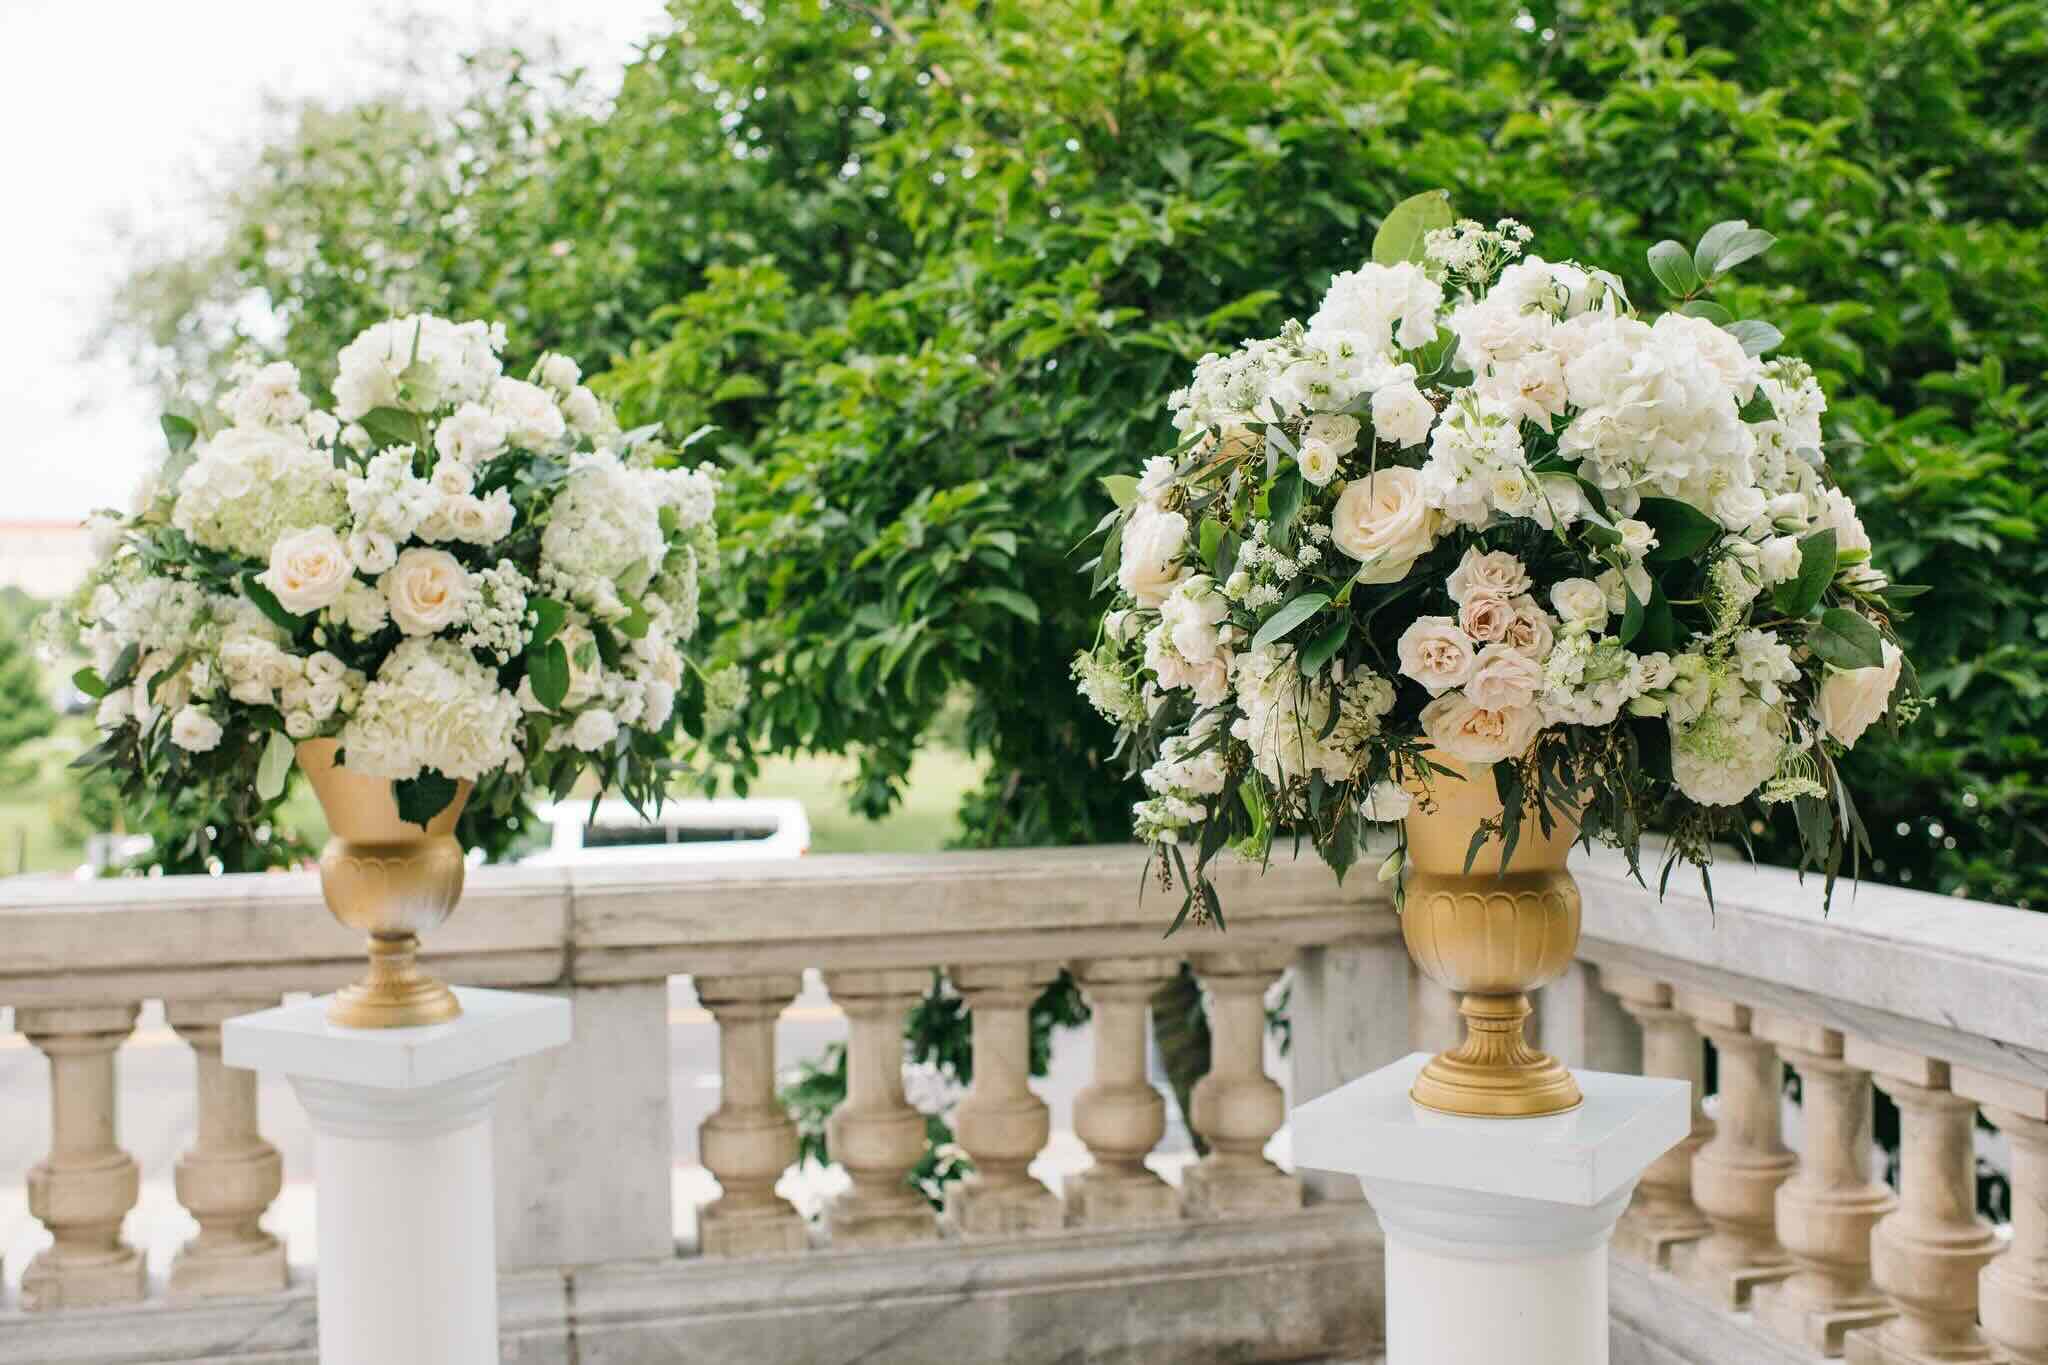
Use natural light to capture the true colors of your floral arrangements. Position them near a window or take photos outside in the early morning or late afternoon for the best results.
Capturing the Details
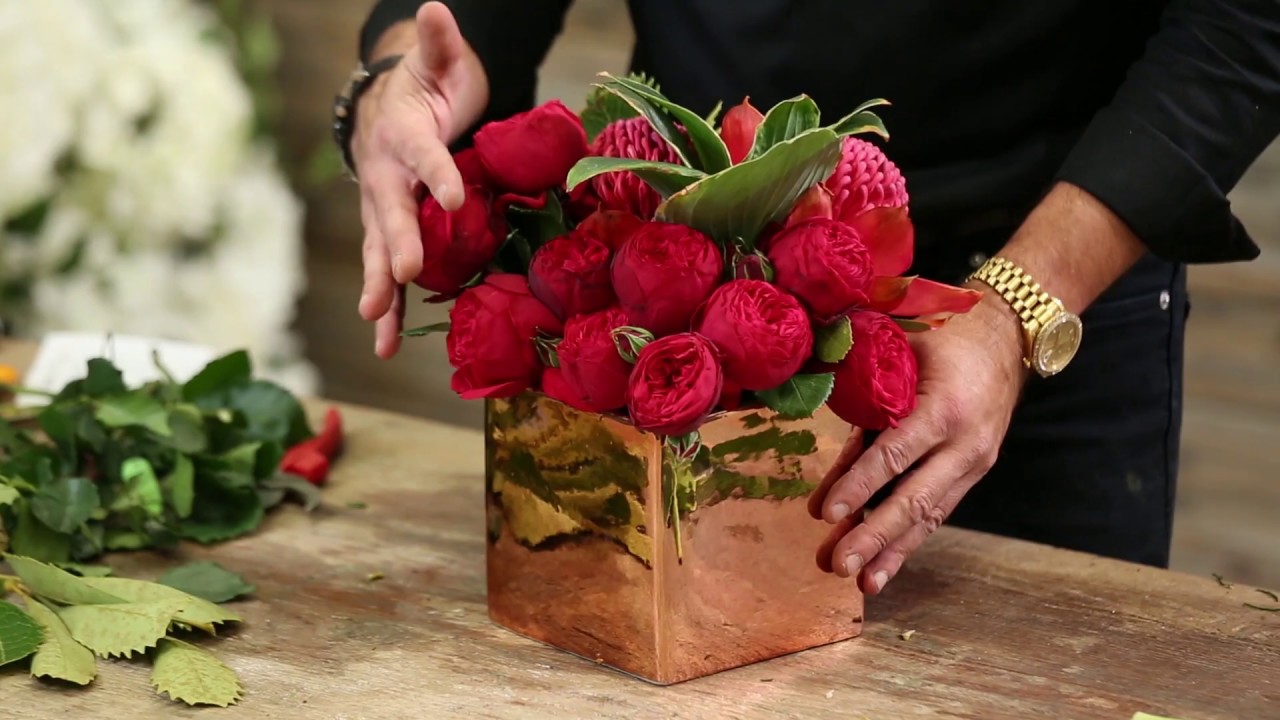
When photographing floral arrangements, capturing the details is what takes your images from ordinary to extraordinary. It’s the intricate textures, vibrant colors, and delicate features that make each flower unique. Here are some tips to help you capture the details and bring out the beauty of your floral arrangements:
- Get Up Close: Don’t be afraid to get close to your subject. Use a macro lens or switch your camera to macro mode to capture the exquisite details of each petal, stamen, and leaf. Fill the frame with the flower and explore its intricate patterns and textures to create visually captivating images.
- Use a Tripod: When capturing the details, even the slightest movement can result in blurry images. Use a tripod to keep your camera steady and ensure sharpness. Additionally, a tripod allows you to take your time to compose the shot and make precise adjustments to showcase the small details effectively.
- Focus on the Stamen: The stamen of a flower often holds fascinating details, such as pollen grains or tiny filaments. By focusing on the stamen, you can create visually stunning images that showcase the intricate beauty of the flower’s reproductive organs. Experiment with different angles and compositions to capture this delicate part of the flower.
- Highlight Textures and Patterns: Flowers come in various shapes, forms, and textures. Some have velvety petals, while others have intricate patterns or ridges. Pay attention to these unique features and experiment with different lighting angles to accentuate their textures and patterns. This will add depth and visual interest to your images.
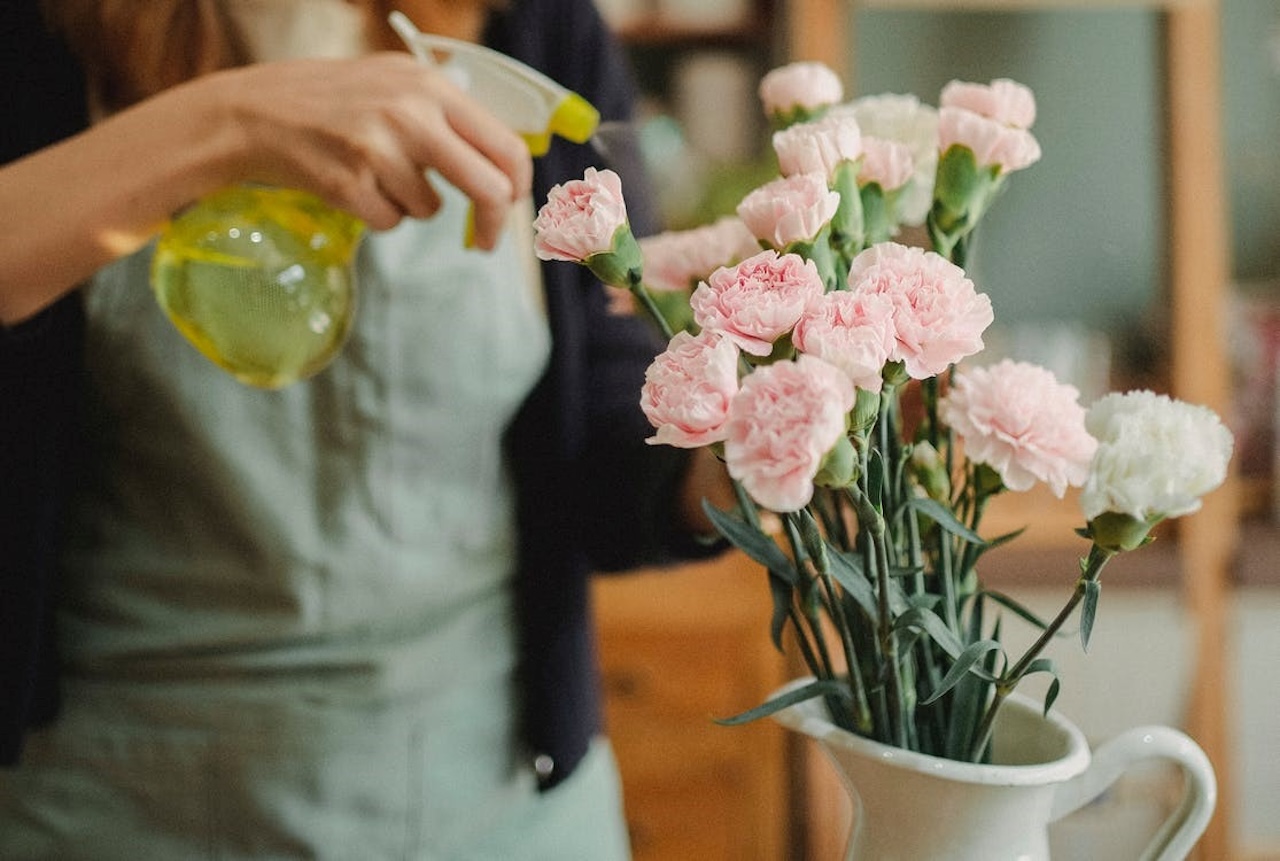
- Capture Water Droplets: Water droplets on the flowers can add a touch of freshness and create a sense of realism in your photos. Whether they occur naturally due to dew or you add them manually using a spray bottle, water droplets can enhance the details and bring the flowers to life. Be mindful of lighting and angle to capture the reflections within the droplets.
- Utilize Different Perspectives: Don’t limit yourself to photographing flowers from a straight-on perspective. Explore different angles and viewpoints to capture the details from unique perspectives. Get down low to the ground or shoot from above to showcase the intricate details in a fresh and engaging way.
Remember, capturing the details is all about attention to the smallest elements and using techniques to highlight their beauty. Take your time, experiment, and let your creativity guide you in showcasing the stunning intricacies of your floral arrangements.
Next, let’s explore an aspect of photography that adds an artistic touch to your floral images: playing with depth of field.
Playing with Depth of Field
One of the most creative aspects of floral photography is playing with depth of field. By controlling the focus and depth of field, you can create a sense of depth, isolate your subject, and add an artistic touch to your images. Here are some tips to help you experiment with depth of field in your floral photography:
- Shallow Depth of Field: Using a wide aperture (small f-number) creates a shallow depth of field, where only a portion of your floral arrangement is in sharp focus while the rest blurs into a dreamy, bokeh background. This technique works well to isolate a single bloom or highlight specific details like the center of a flower or a delicate petal.
- Foreground and Background Blur: To create a creamy, blurred foreground and background, use a wide aperture and position your camera at a close distance to the flowers. This technique adds a sense of depth and brings focus to the main subject, while the out-of-focus elements add visual interest and a sense of ambiance.
- Deep Depth of Field: On the other hand, a deep depth of field is achieved by using a smaller aperture (larger f-number). This technique is useful when you want to capture the entire floral arrangement in sharp focus, from the front flowers to the ones placed far behind. It’s great for capturing larger floral compositions or showcasing the intricate details of every blossom in a bouquet.
- Focus Stacking: If you want to maintain a sharp focus from the foreground to the background, focus stacking is a technique to consider. Take multiple shots at different focus points, focusing on different parts of the floral arrangement, and then blend them together in post-processing. This method allows you to achieve a crisp focus throughout the entire image while maintaining a wider depth of field.
- Experiment with Aperture Settings: Each lens has its sweet spot aperture range where it produces the sharpest images. Experiment with different aperture settings to find the ideal balance between the desired depth of field and image sharpness.
Playing with depth of field allows you to add a creative and artistic touch to your floral images. It enables you to emphasize certain elements, create a sense of depth, and guide the viewer’s attention to specific details. Remember to experiment with different techniques and aperture settings to achieve the desired effects.
Now that you’ve learned about depth of field, let’s explore the importance of utilizing natural light in your floral photography.
Utilizing Natural Light
Natural light can be a photographer’s best friend when it comes to capturing the beauty of floral arrangements. It provides softness, warmth, and a natural glow that enhances the colors and textures of the flowers. Here are some tips for utilizing natural light in your floral photography:
- Golden Hour: The golden hour, which occurs shortly after sunrise or before sunset, is a magical time for outdoor photography. During this time, the sunlight is softer, diffused, and has a warm, golden tone. Take advantage of the golden hour to capture your floral arrangements in a soft and enchanting light.
- Soft Diffused Light: Look for areas where the light is naturally diffused, such as under a tree canopy or near a sheer curtain. This diffused light softens shadows and creates an even and gentle illumination on your flowers.
- Avoid Harsh Shadows: If photographing in direct sunlight, pay attention to harsh shadows that can detract from the beauty of your floral arrangement. To mitigate this, you can use a diffuser (such as a white sheet or translucent material) to soften and spread the light, or wait for a cloud to pass over the sun to create a more even lighting condition.
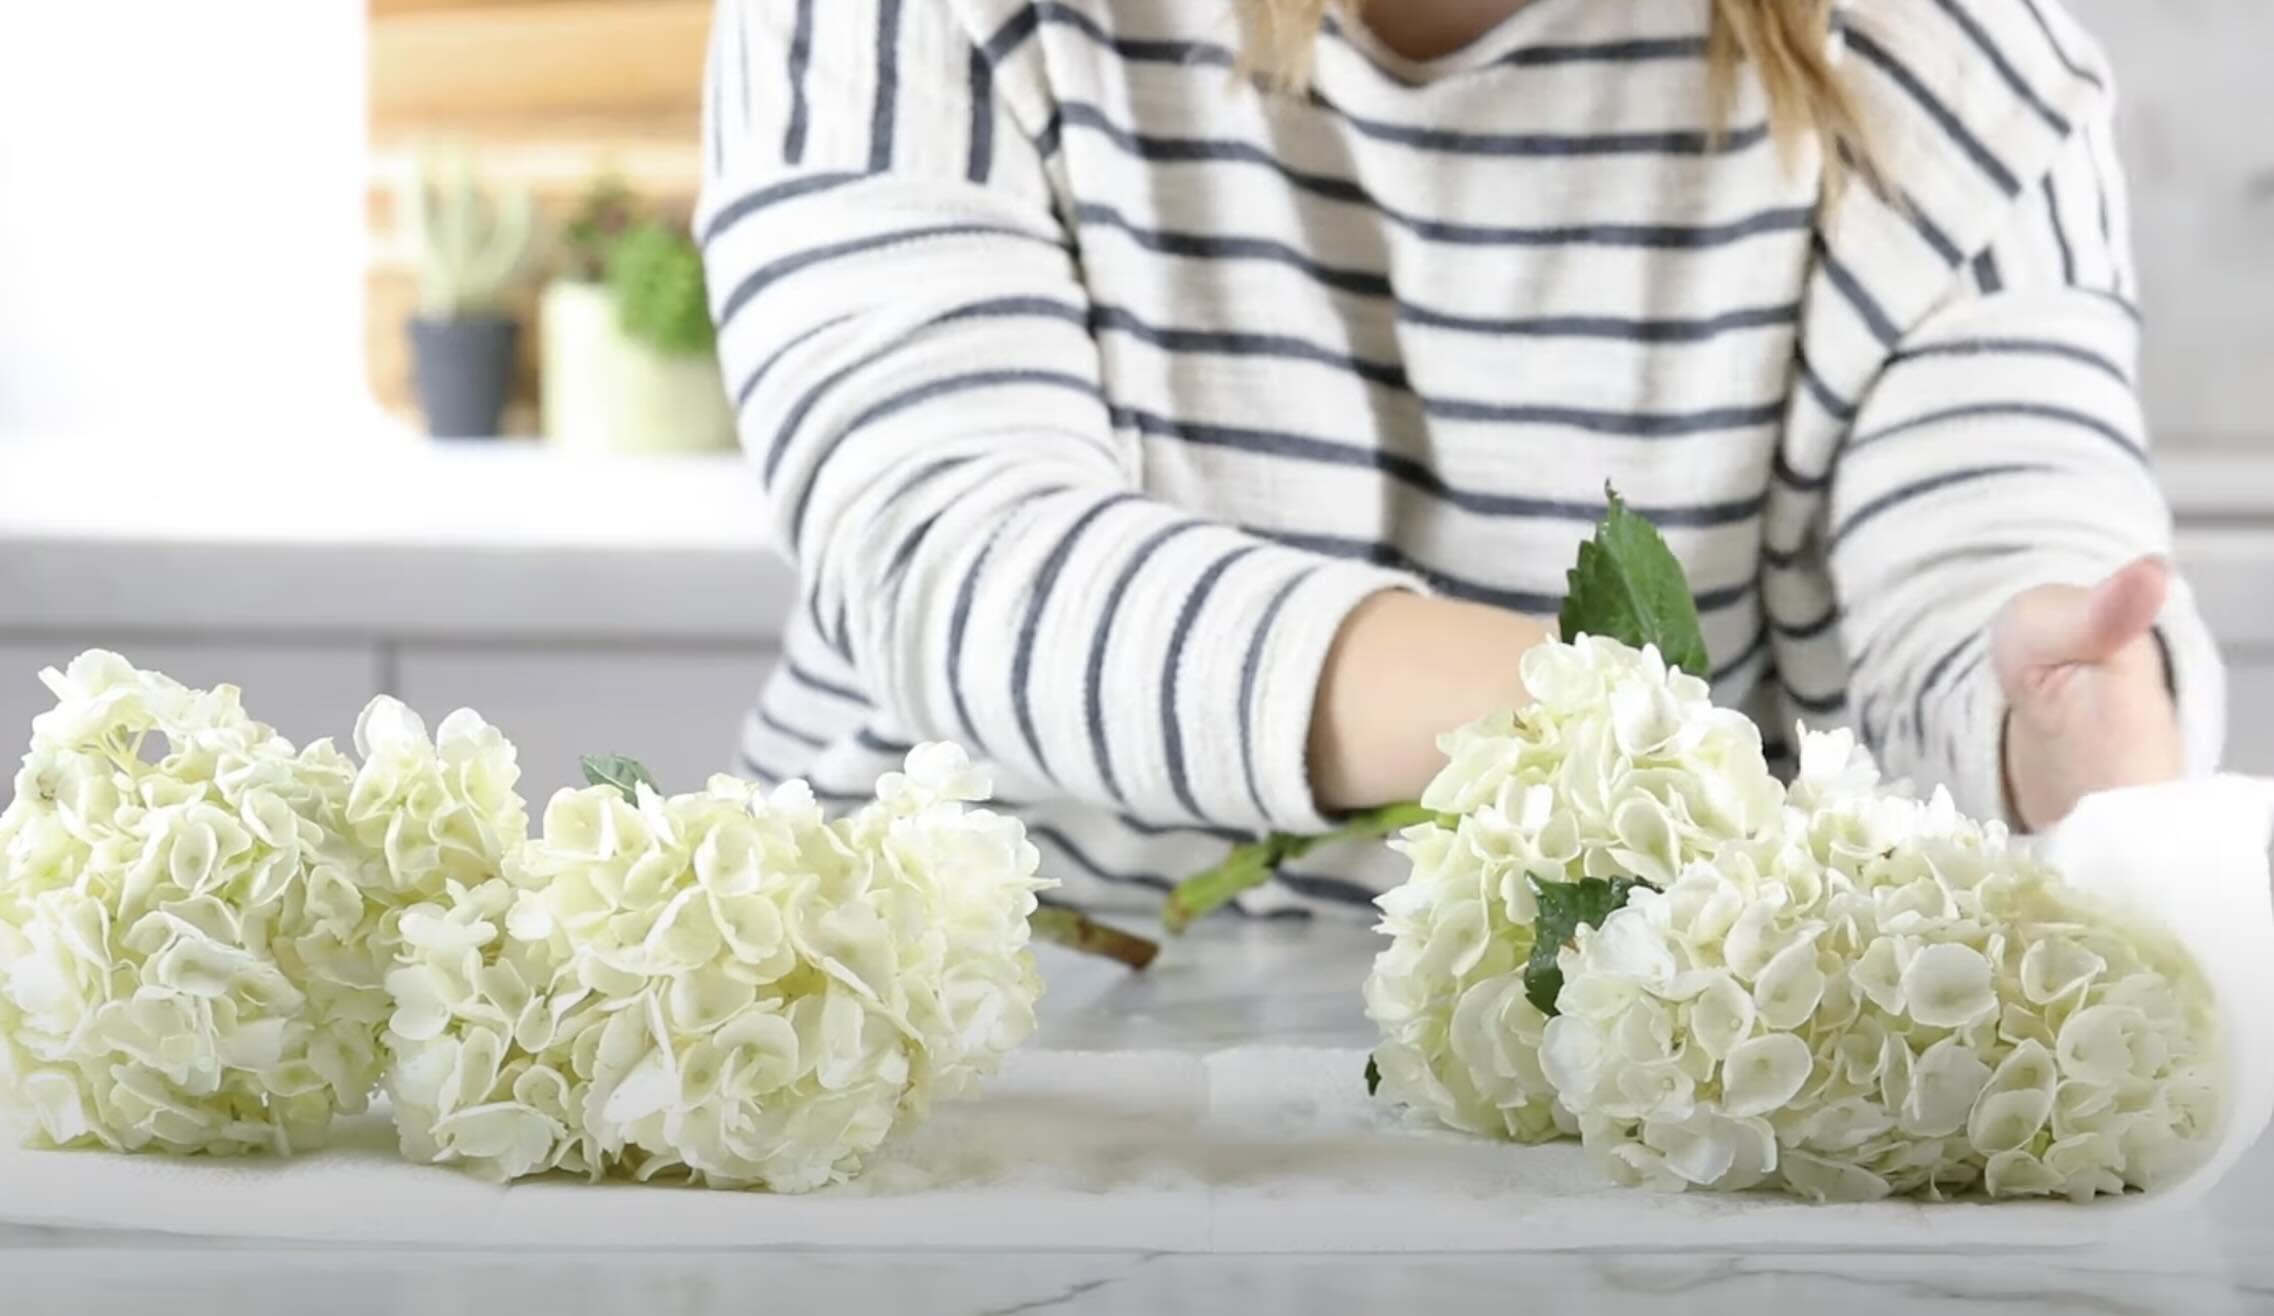
- Indoor Natural Light: If you’re shooting indoors, place your floral arrangement near a window where natural light is abundant. The soft, directional light coming through the window can create beautiful highlights and shadows on your flowers.
- Backlighting: Experiment with backlighting by positioning your flowers between the light source and your camera. This technique can create a luminous effect, with the petals glowing from behind. Be mindful of the exposure and adjust accordingly to avoid losing details in the bright areas.
- Reflectors: You can use reflectors to bounce natural light onto your flowers and fill in shadows. White foam boards, mirrors, or even aluminum foil can be used as reflectors to enhance the light and create a more balanced illumination.
When working with natural light, it’s essential to observe and adapt to the lighting conditions. Be patient and wait for the right moment when the light is most flattering for your floral arrangement. Experiment with different angles, positions, and camera settings to make the most of the natural light available.
Utilizing natural light in your floral photography can create stunning, natural-looking images that showcase the true beauty of your arrangements. Now, let’s move on to editing and enhancing your photos to further elevate their visual impact.
Read more: How To Dry Floral Arrangements
Editing and Enhancing Your Photos
Editing is a crucial step in the process of creating beautiful and impactful floral photos. It allows you to refine your images, enhance colors, adjust exposure, and bring out the best qualities of your floral arrangements. Here are some tips for editing and enhancing your photos:
- Choose the Right Editing Software: There are various editing software options available, ranging from beginner-friendly to professional-grade. Popular choices include Adobe Lightroom and Adobe Photoshop, which offer powerful tools for image editing. Experiment with different software to find the one that suits your needs and skill level.
- Crop and Straighten: Use the crop tool to remove any distracting elements and adjust the composition. Straighten the image if needed to ensure that the floral arrangement appears balanced and visually pleasing.
- Adjust Exposure: Make adjustments to the exposure, brightness, and contrast to enhance the overall look of your photo. Be careful not to overexpose or underexpose the image, as it can affect the details and colors of the flowers.
- Enhance Colors: Bring out the vibrant hues of your floral arrangement by adjusting the saturation and vibrance levels. Use targeted adjustments to enhance specific colors or experiment with color grading techniques to create a specific mood or atmosphere.
- Sharpen and Reduce Noise: Use the sharpening tools to enhance the details of your flowers and reduce any softness caused by camera shake or lens limitations. Additionally, reduce noise in your images, especially if you shot in low light conditions or used a higher ISO setting.
- Retouching: If necessary, use the retouching tools to remove any distracting elements or imperfections from your floral arrangement. Be mindful of maintaining the natural look and feel of the flowers while making any necessary touch-ups.
- Experiment with Filters and Presets: Filters and presets can add unique effects and styles to your floral photos. Explore different options, such as vintage, black and white, or matte filters, to give your images a distinctive look. However, use them judiciously to ensure that the focus remains on the flowers.
- Save in Proper Format: When saving your edited images, consider the purpose and use. If you plan to print the photos, save them in a high-resolution format like TIFF or JPEG with minimum compression. For online sharing or web use, save them in a web-friendly format such as JPEG or PNG.
Remember, editing is subjective, and it’s important to develop your own editing style by experimenting and fine-tuning the look of your floral photos. Pay attention to the details and strive to enhance the natural beauty of the flowers without going overboard with editing effects.
Now that we’ve covered the editing process, let’s conclude our journey into the world of floral photography.
Conclusion
Capturing the beauty of floral arrangements through photography is a truly rewarding experience. From the delicate petals to the intricate details, each flower has a story to tell, and it’s your job as a photographer to tell it in the most captivating way.
In this guide, we’ve explored the essential equipment needed, lighting techniques, composition and framing tips, choosing the right background, focusing techniques, playing with depth of field, utilizing natural light, and editing and enhancing your photos. By understanding these elements and experimenting with different techniques, you can take stunning photos that showcase the unique qualities of your floral arrangements.
Remember, practice is key when it comes to mastering the art of floral photography. Take the time to study different blooms, experiment with lighting setups, and explore various angles and perspectives. Don’t be afraid to work with different types of flowers and incorporate your creativity and personal style into your images.
Lastly, always strive to capture the essence and beauty of nature in your floral photography. Each flower is a work of art, and your photography should convey the same level of elegance and enchantment. So grab your camera, immerse yourself in the world of floral arrangements, and let your creativity bloom!
Happy photographing!
Frequently Asked Questions about How To Take Pictures Of Your Floral Arrangements
Was this page helpful?
At Storables.com, we guarantee accurate and reliable information. Our content, validated by Expert Board Contributors, is crafted following stringent Editorial Policies. We're committed to providing you with well-researched, expert-backed insights for all your informational needs.
0 thoughts on “How To Take Pictures Of Your Floral Arrangements”