Home>Dining>Tableware>How To Attach A Banner To A Tablecloth
Tableware
How To Attach A Banner To A Tablecloth
Modified: August 27, 2024
Learn how to easily attach a banner to your tablecloth with our step-by-step guide. Perfect for adding a personalized touch to your tableware.
(Many of the links in this article redirect to a specific reviewed product. Your purchase of these products through affiliate links helps to generate commission for Storables.com, at no extra cost. Learn more)
Introduction
When it comes to hosting a special event or an important occasion, a beautifully decorated table can make all the difference. Adding a banner to your tablecloth is a fantastic way to personalize and enhance the overall look. Whether it’s a birthday party, a wedding reception, a corporate event, or any other gathering, attaching a banner to a tablecloth can create a stunning focal point that grabs attention and sets the tone for the occasion.
In this comprehensive guide, we will take you through the step-by-step process of attaching a banner to a tablecloth. Not only will you learn the materials needed for this project, but you will also gain valuable insights on measuring, marking, and securing the banner to the tablecloth. By following these simple instructions, you’ll be able to achieve a professional and polished look that will impress your guests.
So, let’s dive in and discover the secrets to creating a stunning table display by attaching a banner to a tablecloth. Whether you’re a DIY enthusiast or just looking to add a personal touch to your event, this guide is here to help you make a statement with your table decorations.
Key Takeaways:
- Elevate your event with a personalized touch by attaching a banner to your tablecloth. Follow our comprehensive guide for a stunning and professional table display that impresses your guests.
- Create visually captivating table decorations by carefully choosing, measuring, and securing your banner to the tablecloth. With attention to detail, achieve a polished and impressive final product.
Read more: How To Attach A High Chair Banner
Materials Needed
Before getting started, gather the following materials:
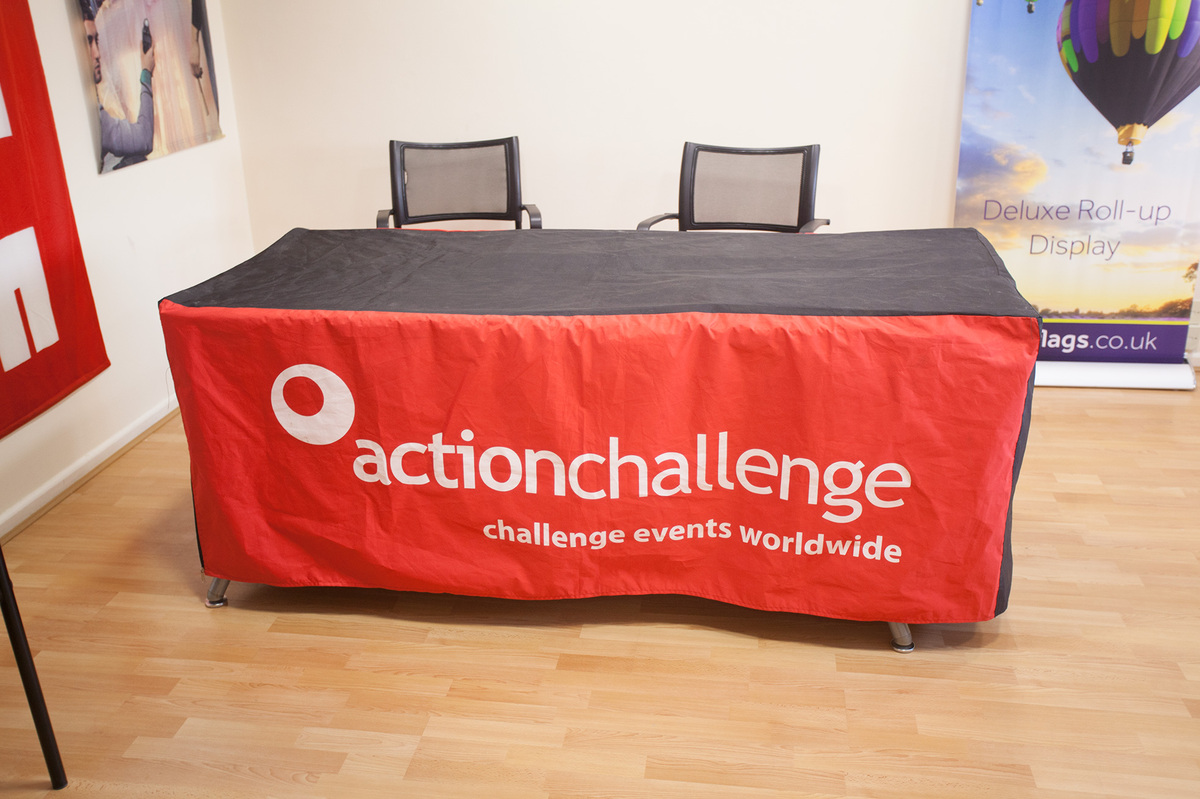
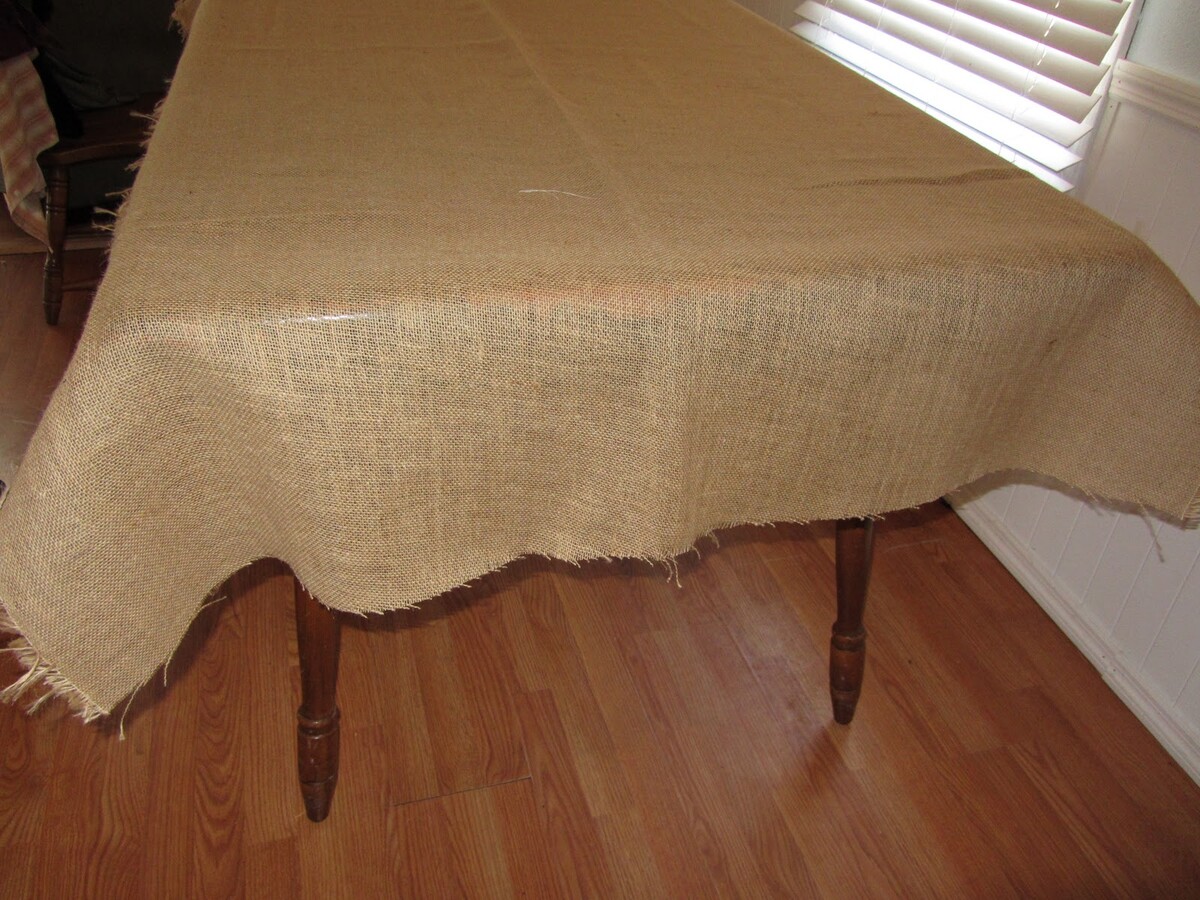
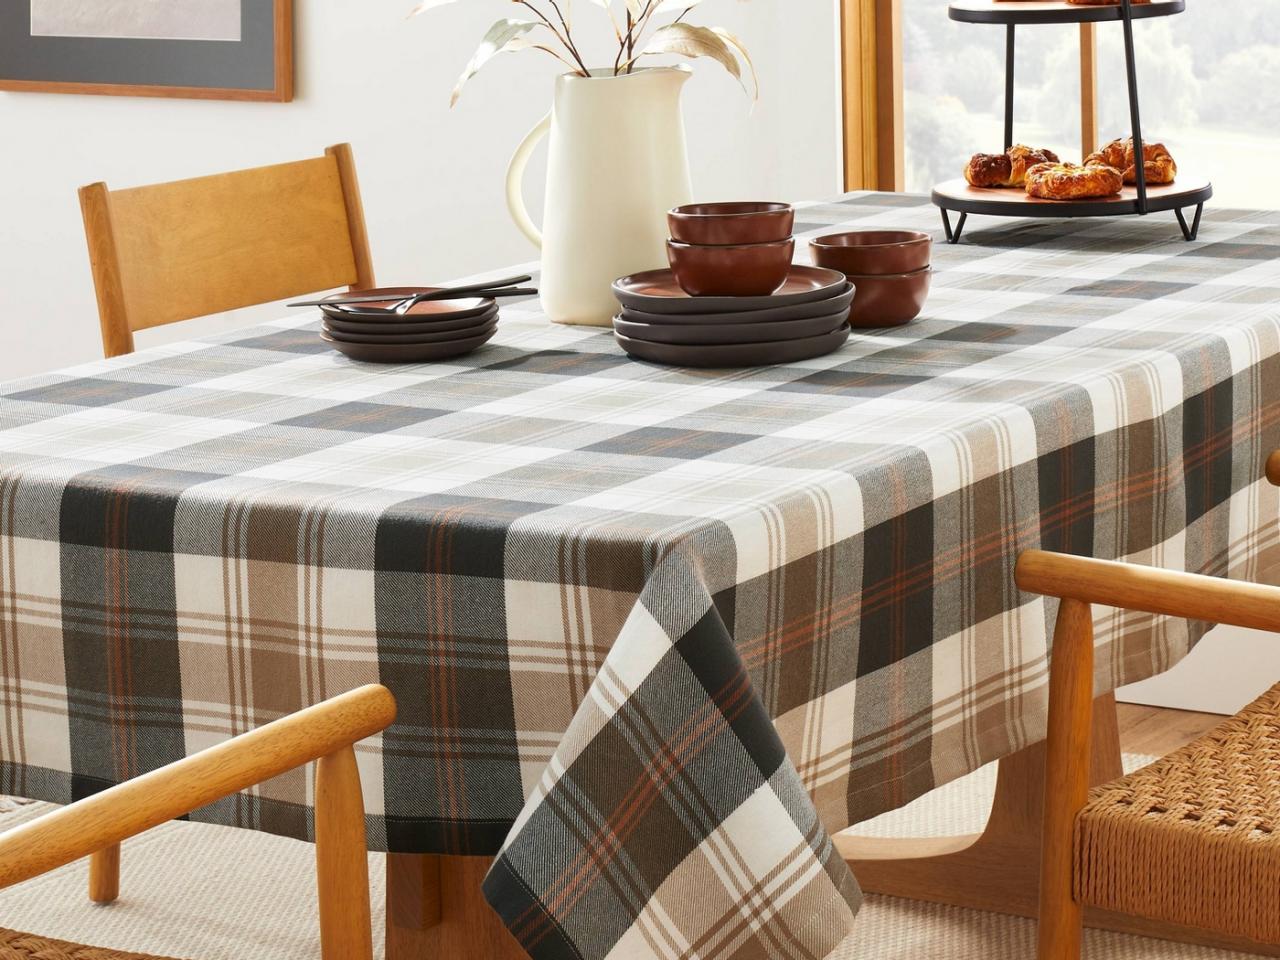
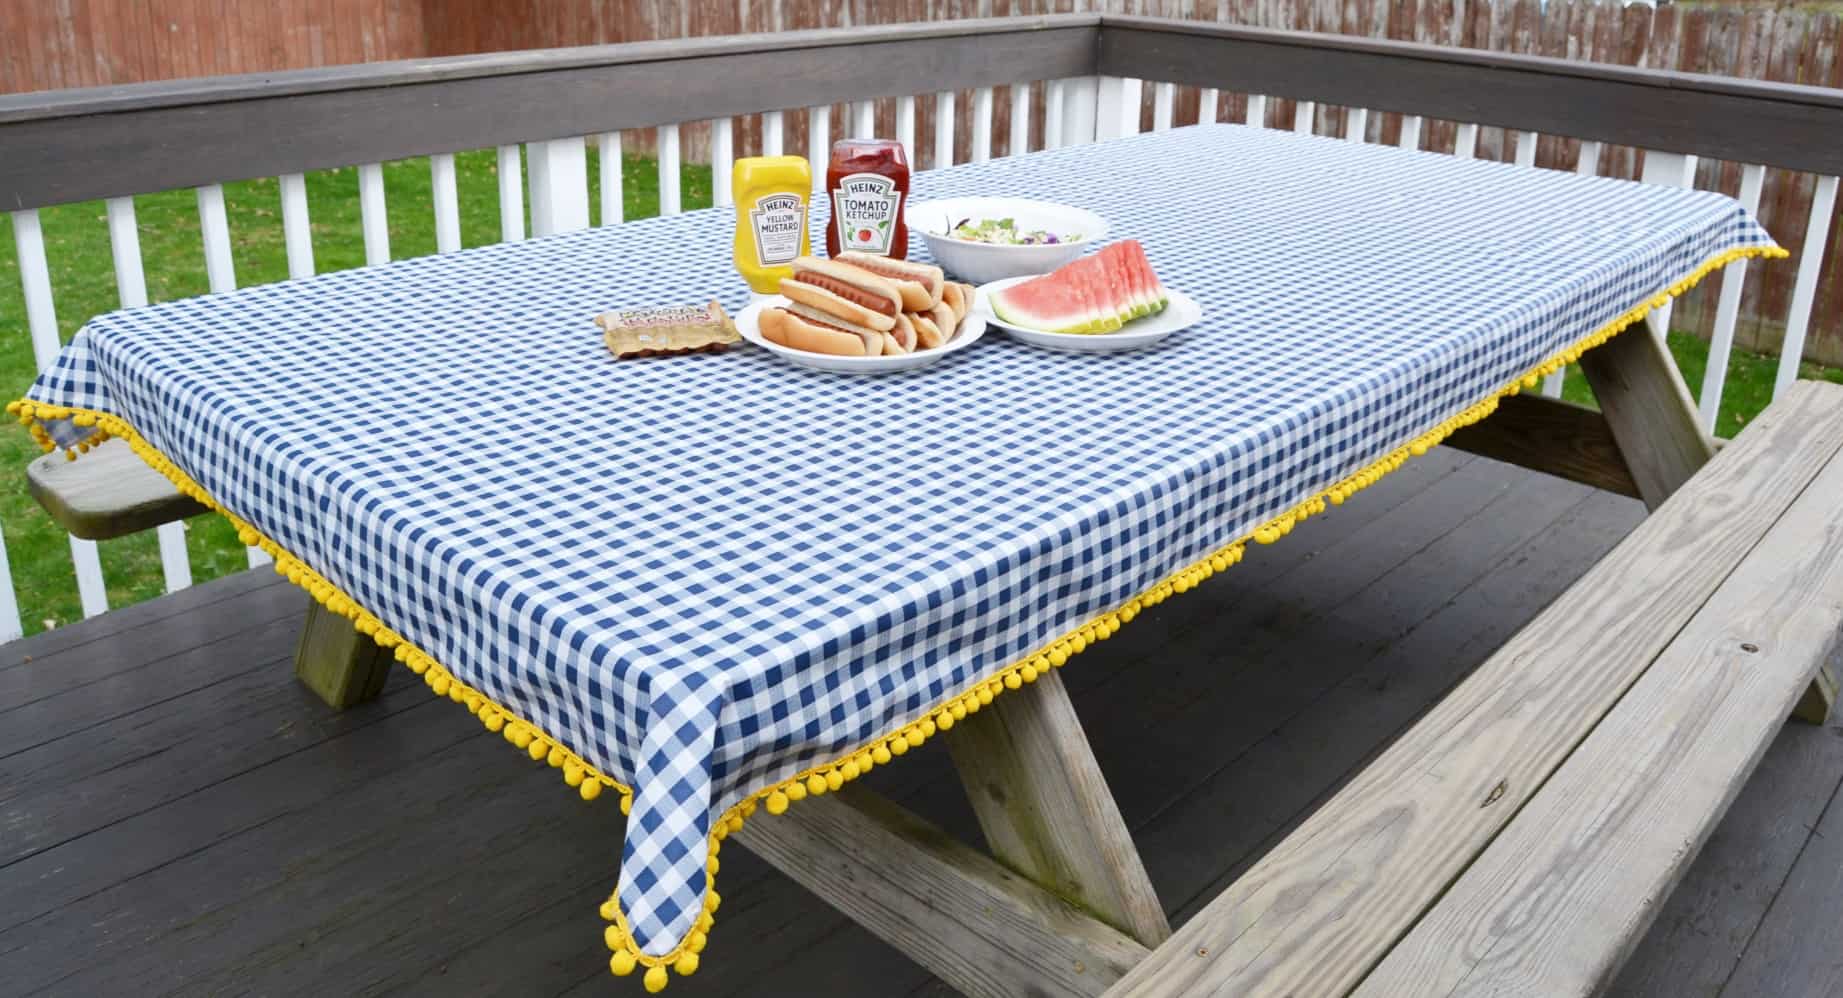
- Tablecloth: Choose a tablecloth that coordinates with the theme of your event. Opt for a fabric that is durable and can withstand the weight of the banner.
- Banner: Select a banner that fits the dimensions of your tablecloth and complements the overall aesthetic of your event. You can choose a pre-made banner or create a customized one.
- Hook and loop fasteners: Also known as Velcro, these adhesive strips will be used to attach the banner to the tablecloth securely.
- Measuring tape: You’ll need a measuring tape to ensure accurate placement of the banner on the tablecloth.
- Fabric adhesive: If your tablecloth or banner requires extra reinforcement, fabric adhesive can be used to secure the edges.
- Scissors: Have a pair of sharp scissors on hand to trim the hook and loop fasteners and make any necessary adjustments.
By having these materials ready, you’ll be fully equipped to attach your banner to the tablecloth with ease and efficiency.
Step 1: Choosing a Tablecloth and Banner
The first step in attaching a banner to a tablecloth is selecting the right tablecloth and banner for your event. Consider the theme, color scheme, and overall ambiance you want to create. Here are some tips to help you make the right choice:
- Theme: Determine the theme of your event. Are you going for a formal, elegant look or something more casual and fun? The tablecloth and banner should align with the theme to create a cohesive aesthetic.
- Color: Choose colors that complement each other and match the overall color scheme of your event. You can go for contrasting colors to create visual interest or opt for a monochromatic look for a more sophisticated feel.
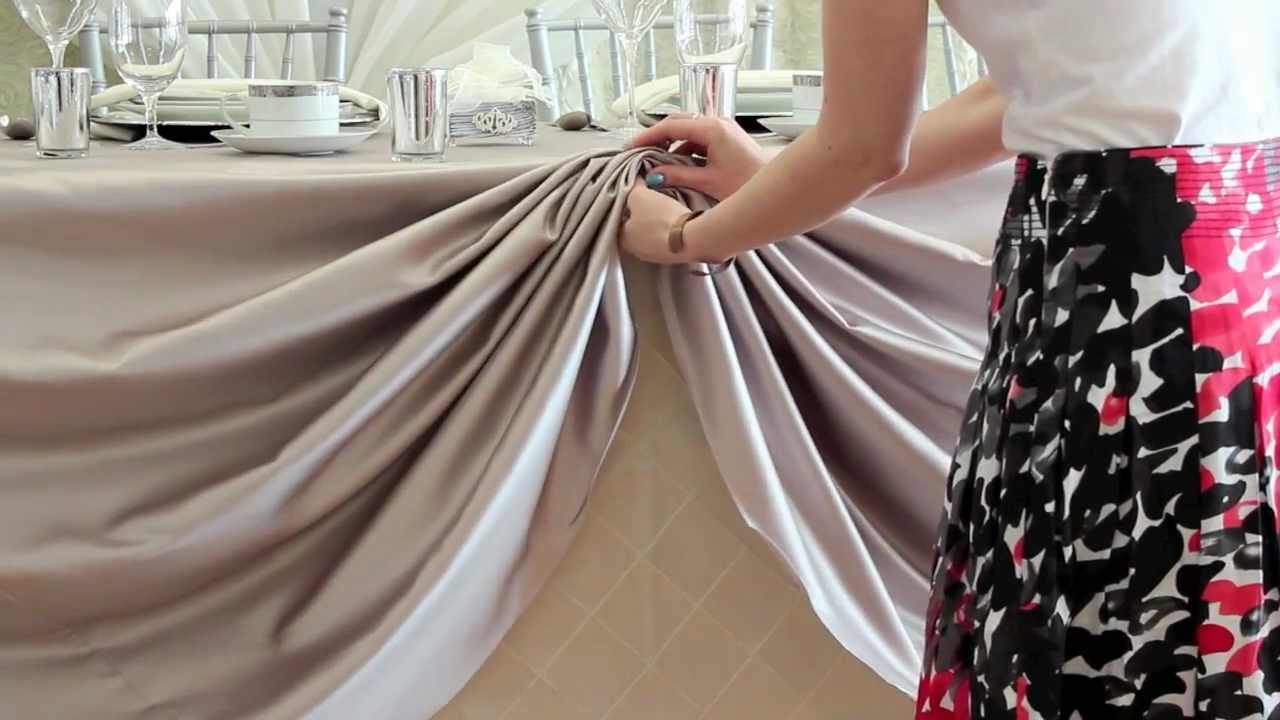
- Fabric: Consider the type of fabric that will best suit your needs. If you expect spills or heavy use, choose a durable and stain-resistant fabric. For a more luxurious feel, opt for satin or velvet.
- Size: Ensure that the tablecloth and banner are the appropriate size for your table. Measure the dimensions of your table to determine the correct sizing. A tablecloth that drapes a few inches over the edges is ideal.
- Banner Design: Choose a banner design that complements the tablecloth and enhances the overall decor. You can choose a banner with graphics, text, or a combination of both, depending on the purpose of your event.
By carefully considering these factors, you’ll be able to choose a tablecloth and banner that create a visually appealing and cohesive look for your event. Remember, the goal is to make a statement and capture the attention of your guests, so select items that reflect the ambiance you want to create.
Step 2: Measuring and Marking
Once you have chosen the perfect tablecloth and banner, it’s time to measure and mark the placement of the banner on the tablecloth. This step is essential to ensure a properly centered and balanced display. Follow these steps:
- Lay out the tablecloth: Start by laying out the tablecloth on a flat surface, such as a table or the floor.
- Position the banner: Carefully position the banner on top of the tablecloth, aligning it with the edges or desired placement.
- Measure the width: Using a measuring tape, measure the width of the tablecloth and the banner. Ensure that the banner is centered horizontally on the tablecloth.
- Mark the placement: Once you have determined the exact placement of the banner, make small marks on the tablecloth using a fabric pen or chalk. These marks will serve as a guide during the attachment process.
- Measure the height: Measure the height of the tablecloth and the banner to ensure proper alignment. The banner should be centered vertically on the tablecloth.
- Make additional marks: Use the fabric pen or chalk to make additional marks on the tablecloth, indicating the vertical placement of the banner.
By measuring and marking the placement of the banner on the tablecloth, you’ll achieve a visually pleasing and symmetrical display. Take your time during this step to ensure accuracy, as it will greatly impact the final result of your table decoration.
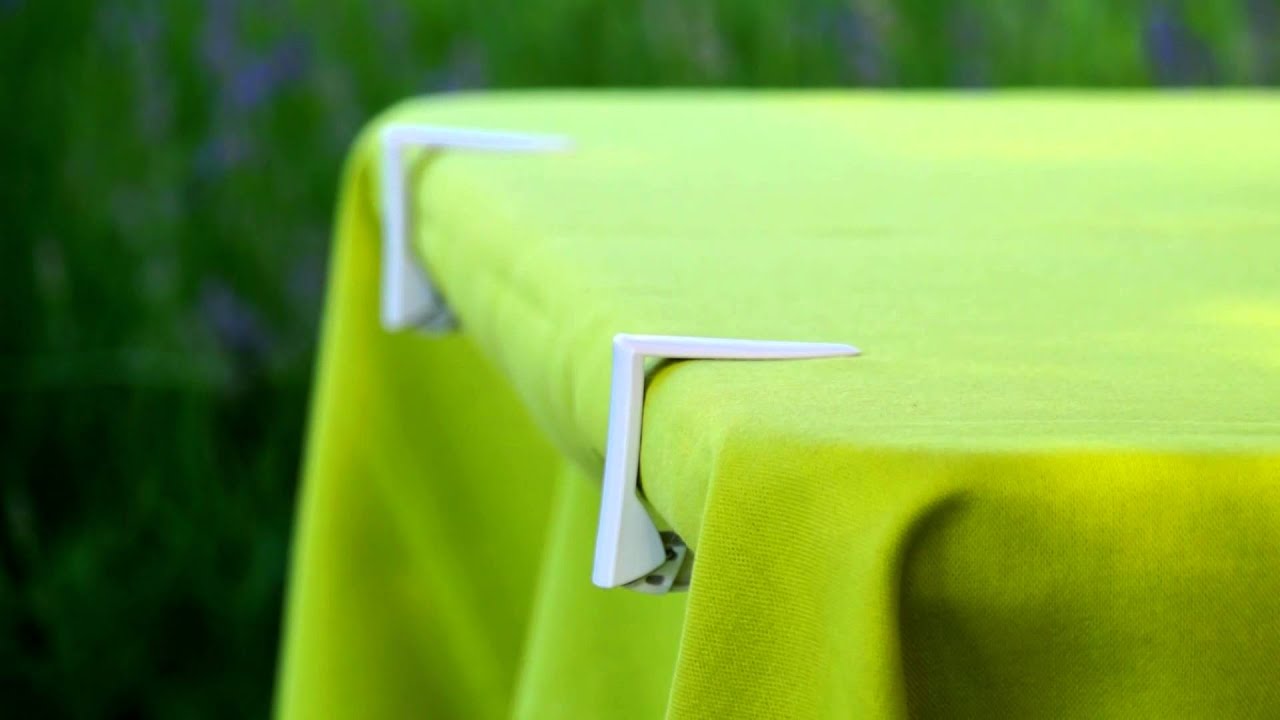
Step 3: Attaching the Hook and Loop Fasteners
Once you have measured and marked the placement of the banner on the tablecloth, it’s time to attach the hook and loop fasteners. These adhesive strips will securely hold the banner in place. Follow these steps:
- Cut the fasteners: Using a pair of scissors, cut the hook and loop fasteners into small 2-3 inch strips. You will need enough strips to attach the entire perimeter of the banner.
- Attach the hook side: Peel off the backing from the hook side of the fasteners and place them along the marked edges of the banner. Press firmly to ensure they adhere well.
- Attach the loop side: Peel off the backing from the loop side of the fasteners and attach them to the corresponding marked spots on the tablecloth. Make sure they align with the hook side.
- Secure the corners: If the corners of the banner tend to lift up, cut small pieces of the hook and loop fasteners and attach them diagonally across the corners for added stability.
- Press firmly: Once all the fasteners are in place, press down firmly to activate the adhesive and ensure a strong bond.
When attaching the hook and loop fasteners, make sure that the hooks on the banner align with the loops on the tablecloth. This will allow for a secure and seamless attachment. Additionally, consider using fabric adhesive on the edges of the banner for extra reinforcement, especially if it is a larger or heavier banner.
By securely attaching the hook and loop fasteners, you can be confident that your banner will stay in place throughout the event, even with guests moving around and interacting with the table.
Use double-sided tape or adhesive Velcro strips to attach the banner to the tablecloth. This will ensure a secure and seamless attachment without damaging the tablecloth.
Read more: What Are The Best Outdoor Banners
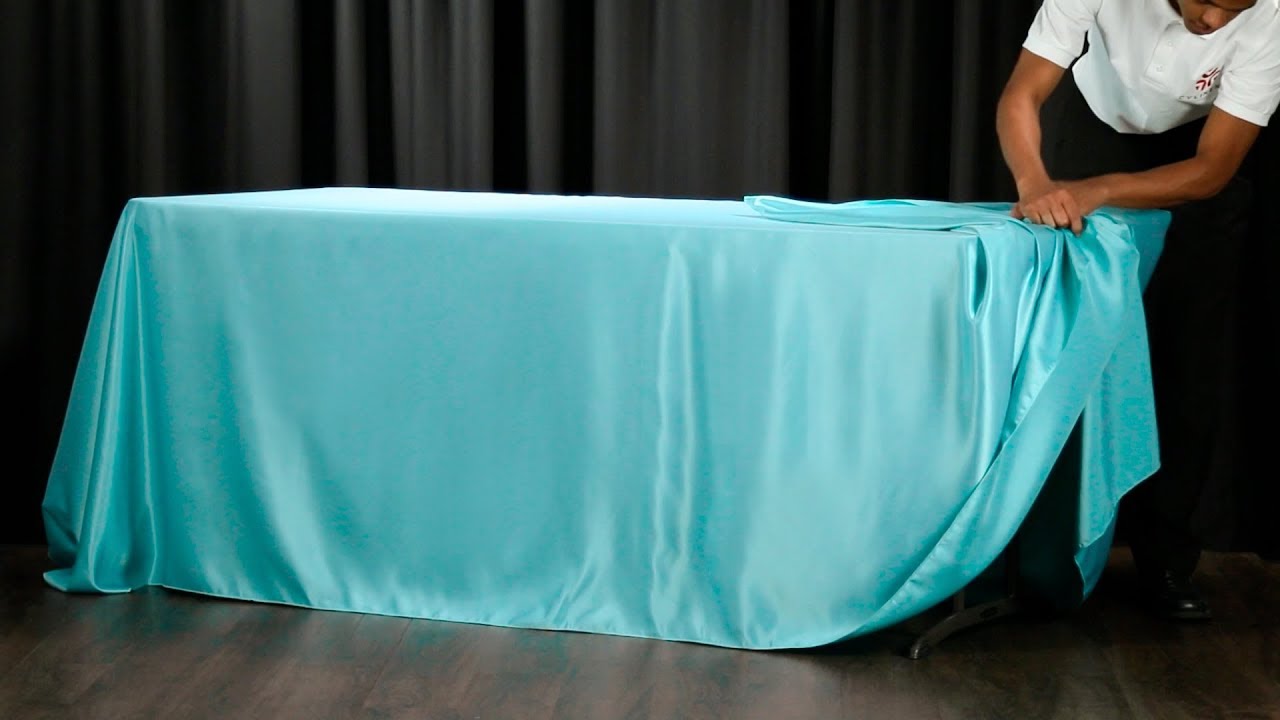
Step 4: Placing the Banner on the Tablecloth
Now that you have attached the hook and loop fasteners to the banner and the tablecloth, it’s time to place the banner on the tablecloth. This step ensures that the banner is aligned properly and ready for final adjustments. Follow these steps to place the banner:
- Lift the banner: Gently lift the banner, taking care not to disturb the fasteners.
- Position the banner: Place the banner on top of the tablecloth, aligning it with the marked spots. The hook and loop fasteners should easily snap together.
- Smooth out any wrinkles: Smooth out any wrinkles or creases in the tablecloth and the banner for a polished appearance.
- Check the alignment: Step back and visually inspect the placement of the banner. Ensure that it is centered and aligned properly on the tablecloth. Make any necessary adjustments to achieve the desired look.
Spend some time adjusting the banner until you are satisfied with its placement. Take a step back and view it from different angles to ensure it looks visually appealing from all sides of the table. This step is crucial in achieving a professional and well-balanced table decoration.
Once you are happy with the placement of the banner, move on to the next step to secure it firmly to the tablecloth.
Step 5: Securing the Banner to the Tablecloth
Securing the banner to the tablecloth is an important step to ensure that it stays in place throughout your event. By following these steps, you can provide extra stability and prevent the banner from shifting or falling:
- Press down on the fasteners: Once the banner is in the desired position, press down firmly on the fasteners to ensure a strong connection between the hook and loop sides. This will prevent the banner from coming loose during the event.
- Tug gently: Give the banner a gentle tug from different directions to test its stability. If any areas feel loose, press down on the fasteners again to reinforce the attachment.
- Adjust the fasteners if needed: If you notice any areas where the fasteners are not securely attached, make any necessary adjustments by reattaching them and pressing down firmly.
- Ensure even tension: If the banner appears to have uneven tension, gently adjust it by applying equal pressure to different sections. This will help create a smooth and balanced look.
Pay attention to the edges and corners of the banner, as they can be prone to lifting or loosening. If needed, add extra fasteners or fabric adhesive in those areas to keep them securely in place. Taking these precautions will ensure that your banner remains beautifully displayed and doesn’t distract from the overall ambiance of your event.
Once you have secured the banner to the tablecloth, you can move on to the final step to make any necessary adjustments and add the finishing touches.
Step 6: Adjustments and Final Touches
After securing the banner to the tablecloth, take some time to make any final adjustments and add those extra touches that will elevate the overall presentation. Follow these steps to ensure the banner looks perfect:
- Check for symmetry: Step back and visually assess the placement of the banner. Ensure that it is centered and balanced on the tablecloth. Make any necessary adjustments to achieve symmetry.
- Smooth out any wrinkles: Smooth out any remaining wrinkles or creases in both the tablecloth and the banner. Use your hands or a fabric steamer to gently remove any visible folds.
- Trim excess fasteners: If necessary, trim any excess hook and loop fasteners that extend beyond the edges of the banner or tablecloth. This will give a cleaner and neater appearance.
- Inspect for any visible adhesive: Carefully inspect the tablecloth and the banner for any visible adhesive residue. If you find any, use a fabric-safe adhesive remover to gently remove it.
- Step back for a final look: Take a step back and view the table from multiple angles. Ensure that the banner complements the overall decor and adds the desired impact to your event.
By making these adjustments and adding those final touches, you can ensure that your banner looks professionally attached and enhances the overall aesthetic of your table display.
Remember, the key is to create a visually captivating and cohesive look that leaves a lasting impression on your guests. When done right, attaching a banner to a tablecloth can transform a simple table into a centerpiece that sets the tone for your event.
Congratulations! You have successfully learned how to attach a banner to a tablecloth. Enjoy the beautiful table display you’ve created and the attention it will attract!
Conclusion
Attaching a banner to a tablecloth is a simple yet effective way to elevate your table decorations and add a personalized touch to any special event or gathering. By following the step-by-step guide outlined in this article, you can achieve a perfectly centered and securely attached banner that enhances the overall ambiance of your event.
From choosing the right tablecloth and banner to measuring, marking, and attaching the hook and loop fasteners, each step is crucial in creating a visually appealing and professional-looking table display. Taking the time to make adjustments, smooth out wrinkles, and ensure symmetry will result in a polished and impressive final product.
Remember to focus on the details, such as trimming excess fasteners and removing any visible adhesive residue, to achieve a clean and finished appearance. Step back and view the table from different angles to ensure that the banner complements the overall decor and makes a statement.
Attaching a banner to a tablecloth is a versatile technique that can be used for various occasions, from weddings and birthday parties to corporate events and holiday gatherings. With a wide range of tablecloths and banners available in different colors, patterns, and materials, you can easily customize the look to suit your specific event theme and style.
So, go ahead and unleash your creativity by adding a banner to your tablecloth. Impress your guests, create a memorable atmosphere, and make your event truly unique. With the knowledge gained from this comprehensive guide, you’re now equipped to master the art of attaching a banner to a tablecloth like a pro!
Frequently Asked Questions about How To Attach A Banner To A Tablecloth
Was this page helpful?
At Storables.com, we guarantee accurate and reliable information. Our content, validated by Expert Board Contributors, is crafted following stringent Editorial Policies. We're committed to providing you with well-researched, expert-backed insights for all your informational needs.


0 thoughts on “How To Attach A Banner To A Tablecloth”