
Tableware
How To Make Fitted Tablecloths
Modified: February 24, 2024
Learn how to create stunning fitted tablecloths with our step-by-step guide. Find the perfect tableware and transform your tablescape effortlessly.
(Many of the links in this article redirect to a specific reviewed product. Your purchase of these products through affiliate links helps to generate commission for Storables.com, at no extra cost. Learn more)
Introduction
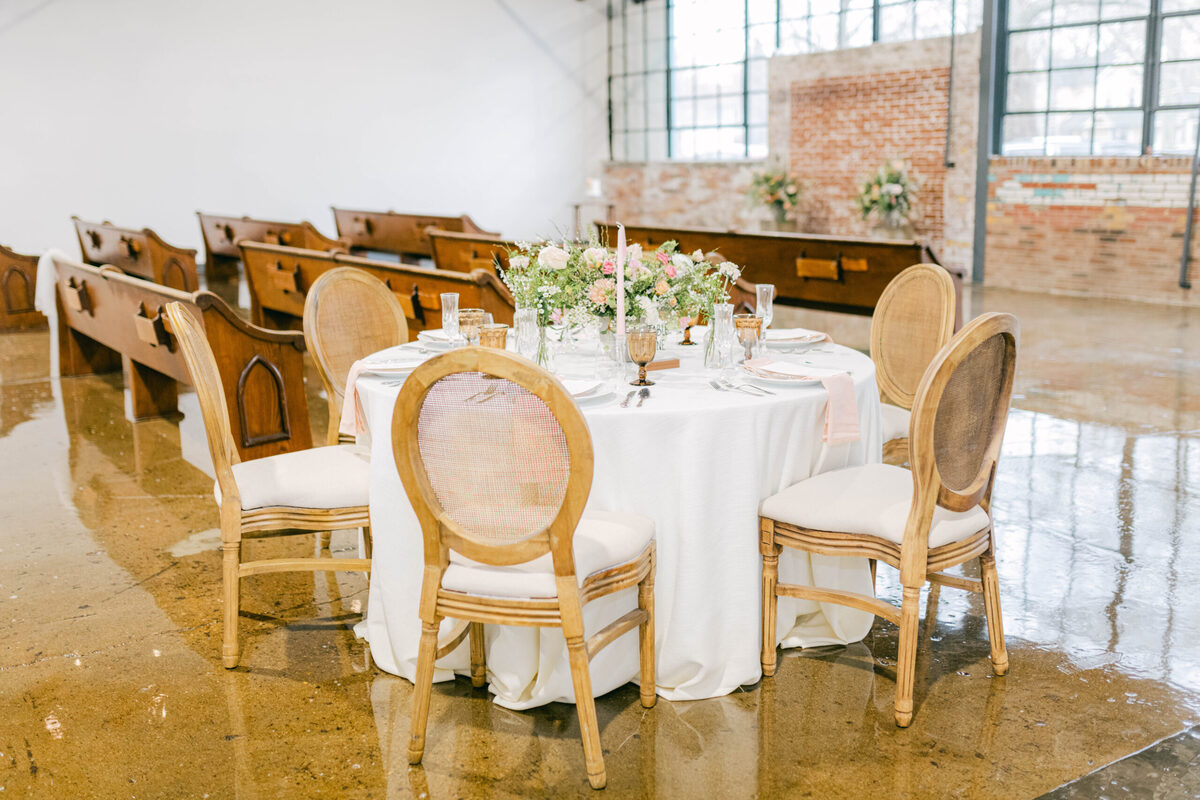
When it comes to tableware, having a perfectly fitted tablecloth can make all the difference. Whether you’re hosting a formal dinner party or setting the table for a casual gathering, a well-fitted tablecloth adds a touch of elegance and sophistication. It not only protects your table from spills and stains but also enhances the overall aesthetic appeal.
In this article, we will guide you through the process of making fitted tablecloths. We will provide step-by-step instructions, along with helpful tips and tricks, to help you create custom-made tablecloths that fit your table flawlessly.
To get started, let’s gather the materials you will need:
- Fabric of your choice
- Measuring tape
- Fabric scissors
- Pins
- Needle and thread
- Elastic
- Sewing machine (optional)
Now that you’re prepared, let’s move on to the first step: measuring your table.
Key Takeaways:
- Create custom fitted tablecloths using durable fabrics like cotton and linen. Follow step-by-step instructions to measure, cut, sew, and fit the tablecloth for a polished and elegant dining experience.
- Elevate your table settings with custom-made fitted tablecloths. Choose the right fabric, sew precise corners and hems, and attach elastic for a snug fit. Enjoy crafting and showcasing your creativity!
Read more: How To Make A Fitted Ruffled Tablecloth
Materials Needed
Before you start making your fitted tablecloth, it’s important to gather all the necessary materials. Here’s a list of what you’ll need:
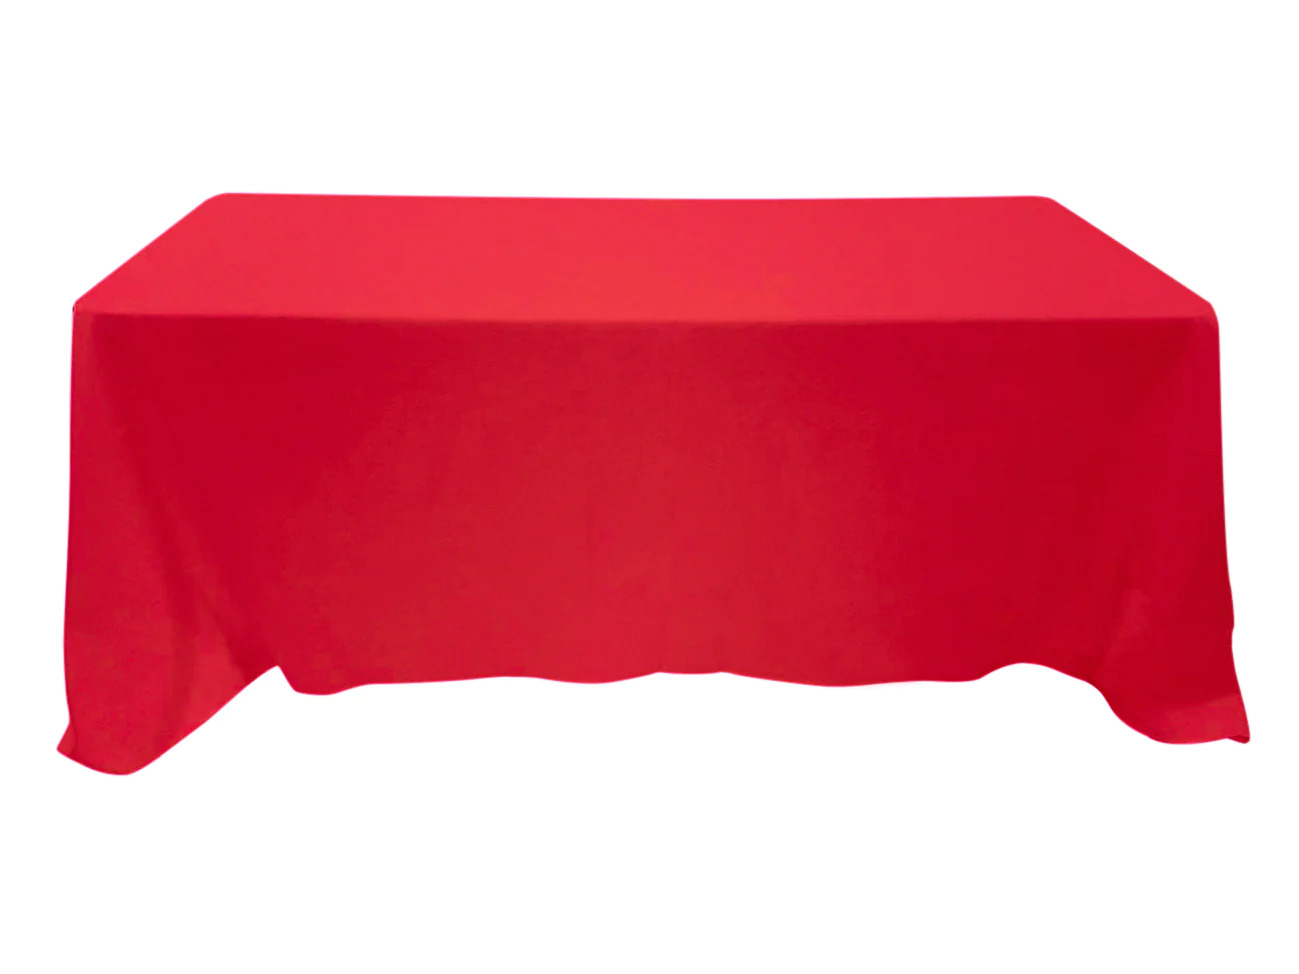
- Fabric: Choose a fabric that is suitable for tablecloths. Cotton, linen, and polyester blends are popular choices as they are durable and easy to clean.
- Measuring tape: This will help you accurately measure your table and determine the size of your tablecloth.
- Fabric scissors: You’ll need a pair of sharp fabric scissors to cut the fabric to the desired size.
- Pins: Pins will keep the fabric in place while you are cutting and sewing.
- Needle and thread: These are essential for sewing the tablecloth and attaching the elastic.
- Elastic: Elastic will be used to create a snug fit around the edges of the tablecloth.
- Sewing machine (optional): If you have access to a sewing machine, it can make the sewing process faster and more efficient. However, you can also sew the tablecloth by hand if you prefer.
Having these materials ready will ensure a smooth and efficient tablecloth-making process. Now that you’re equipped, it’s time to move on to the next step: measuring your table.
Measuring the Table
Before you can start cutting and sewing your fitted tablecloth, it’s crucial to measure your table accurately. This step will determine the dimensions of your tablecloth and ensure a proper fit. Here’s how to do it:
- Clear your table: Remove any table decorations, dishes, and other objects from the table so that you have a clear and unobstructed surface.
- Locate the corners: Identify the corners of your table. These will be the reference points for measuring the length and width of the table.
- Measure the length: Starting from one corner, use a measuring tape to measure the length of the table. Extend the tape measure to the opposite end and note down the measurement.
- Measure the width: Next, measure the width of the table by extending the measuring tape from one corner to the other.
- Consider the drop: Decide on the desired drop length, which refers to how much the tablecloth will hang down from the edges of the table. Common drop lengths range from 6 to 12 inches.
Once you have these measurements, you can calculate the final dimensions of your tablecloth. Add twice the drop length to both the length and width of your table measurements. For example, if your table measures 60 inches long and 30 inches wide, and you want a 9-inch drop, your final tablecloth dimensions would be 78 inches by 48 inches (60 + 9 + 9, 30 + 9 + 9).
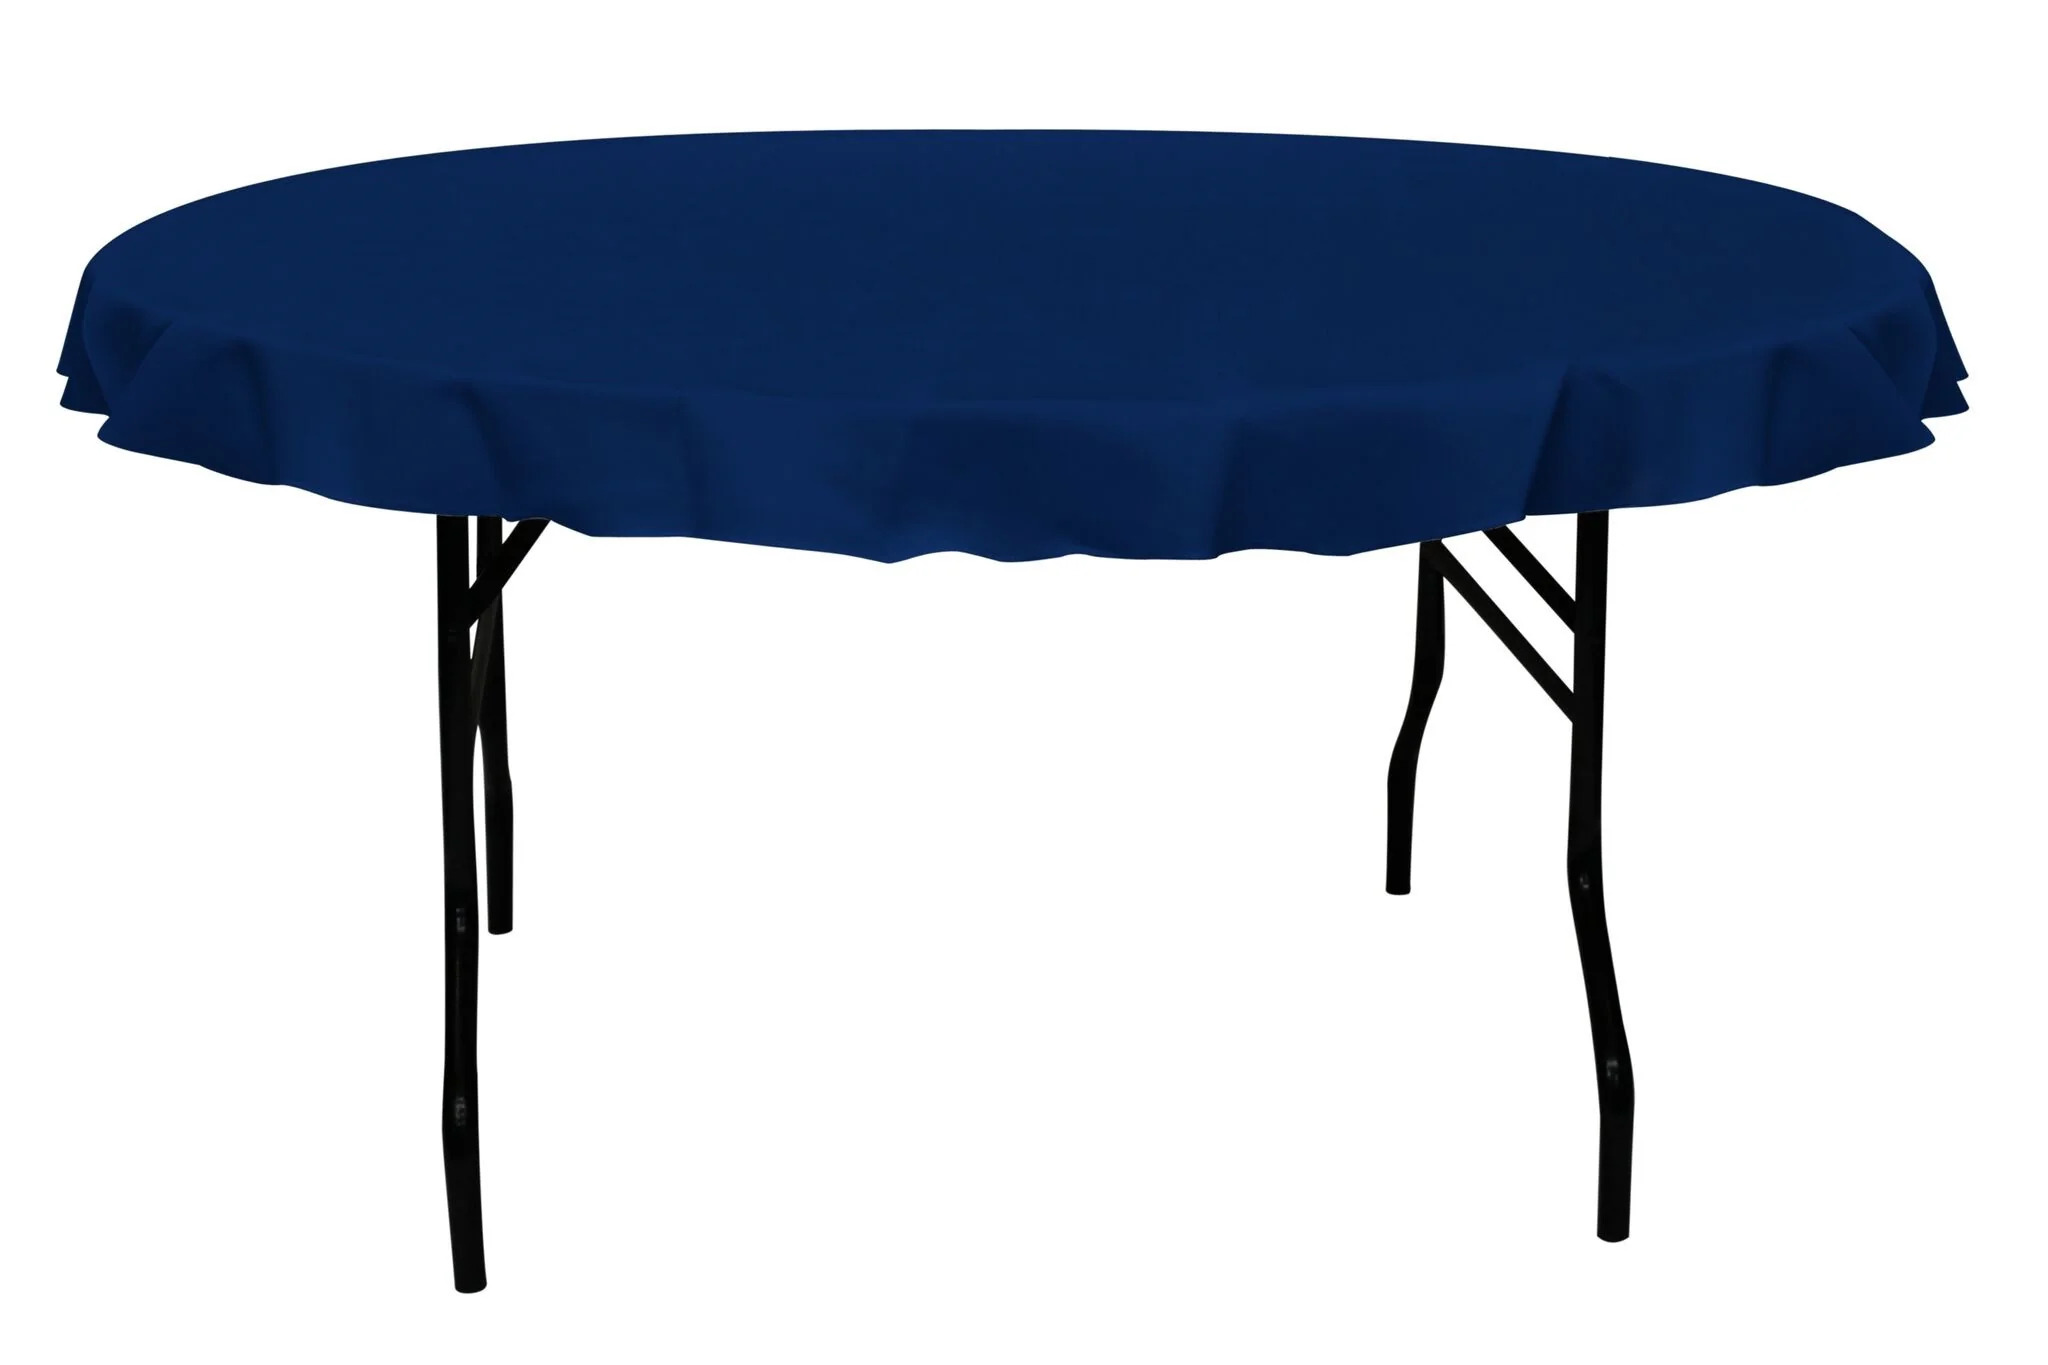
Keep in mind that these measurements are for a rectangular or square table. If you have a round or oval table, use a flexible measuring tape to measure the diameter or the longest and widest points of the table.
Now that you have the dimensions of your tablecloth, you can move on to the next step: selecting the fabric.
Selecting the Fabric
Choosing the right fabric for your fitted tablecloth is essential to achieve both the desired aesthetic and functionality. Here are some factors to consider when selecting the fabric:
- Durability: Look for a fabric that can withstand regular use and washing without fading or showing signs of wear and tear. Fabrics like cotton, linen, and polyester blends are known for their durability.
- Ease of cleaning: Consider how easy it is to clean the fabric. Opt for fabrics that are machine washable or can be easily wiped clean. This will make maintenance and care hassle-free.
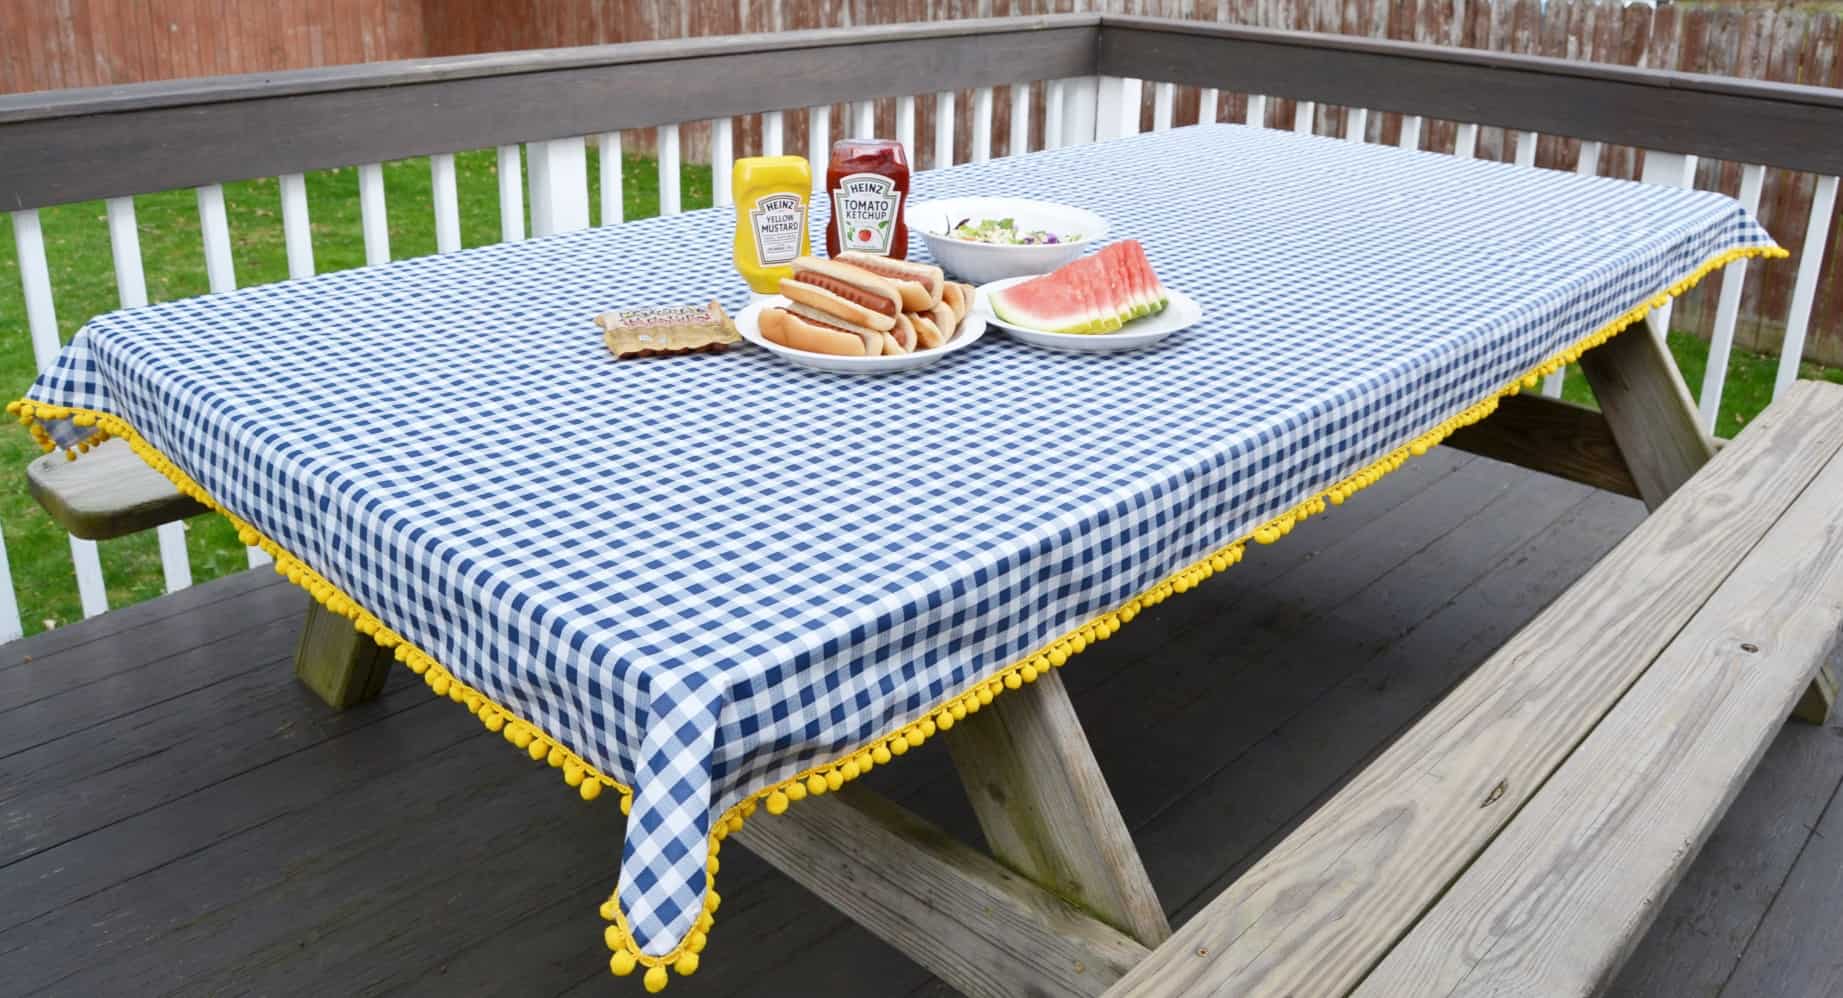
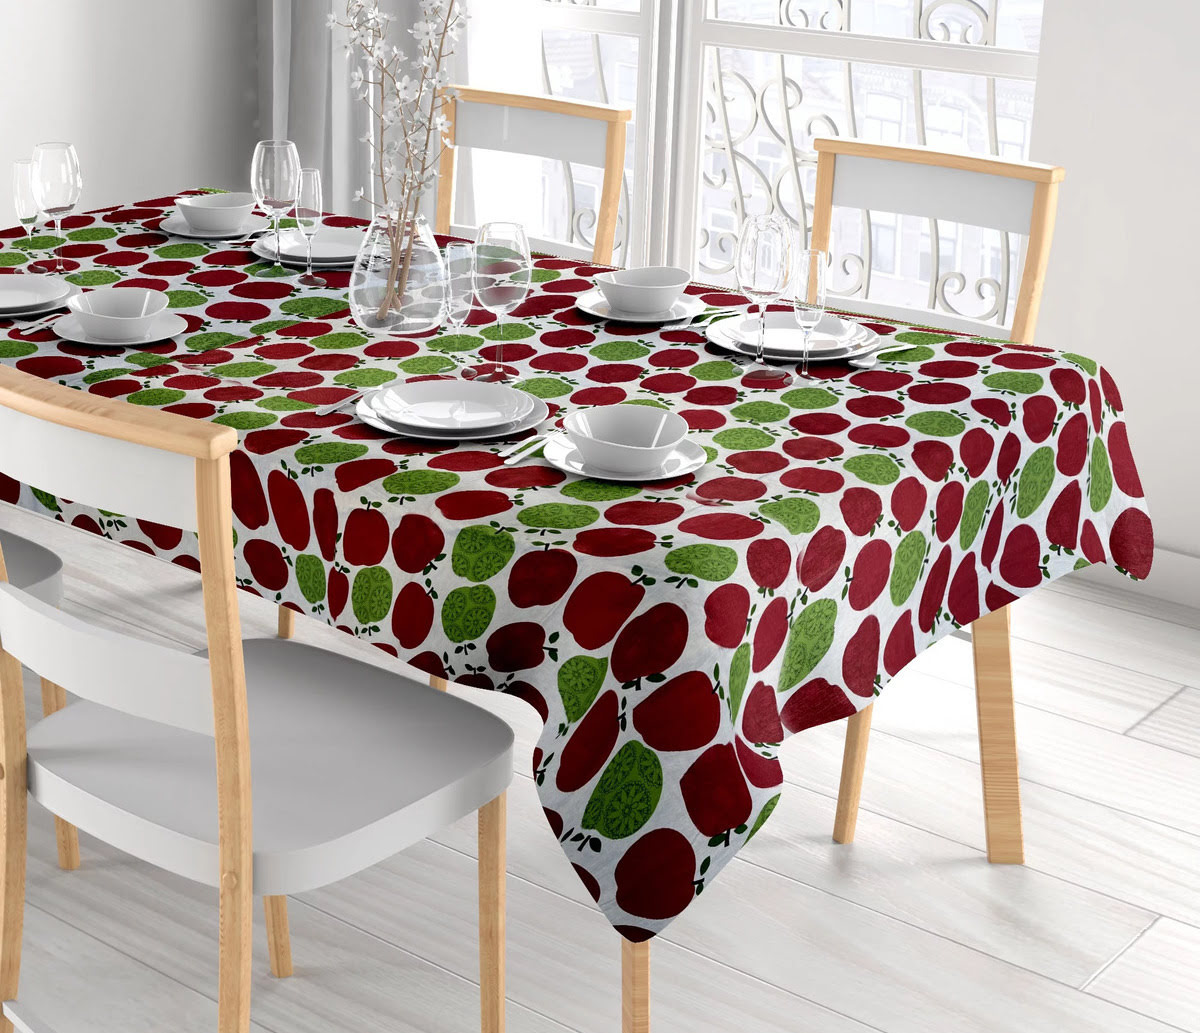
- Pattern and design: Decide on the pattern or design you want for your tablecloth. Consider the existing décor and color scheme in your dining area and choose a fabric that complements the overall aesthetic.
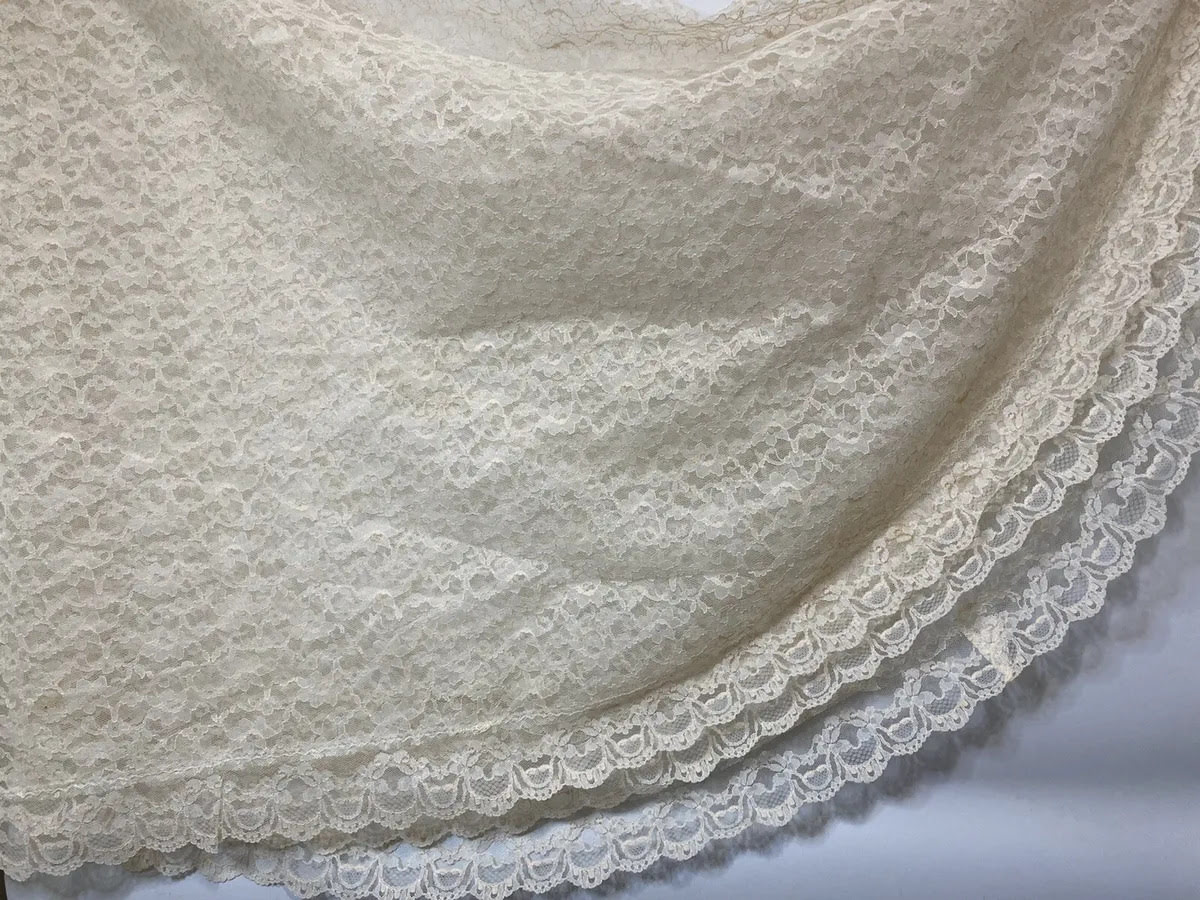
- Texture: Think about the texture you want the tablecloth to have. Some fabrics have a crisp and smooth feel, while others may be more textured or have a slight sheen.
- Weight and drape: Consider the weight and drape of the fabric. Lighter fabrics like cotton or linen will create a more casual and breezy look, while heavier fabrics like velvet or heavy-duty polyester will provide a more formal and structured appearance.
Once you have a clear idea of the characteristics you want in your fabric, visit a local fabric store or explore online options. Feel the fabrics, check their care labels, and ask for assistance if needed. You can also order fabric samples to get a better sense of how they will look and feel in your space.
Keep in mind that you will need enough fabric to accommodate the dimensions of your table and the desired drop. If the fabric you choose has a directional print or pattern, make sure to account for this in your calculations and purchase additional fabric accordingly.
Now that you’ve selected your fabric, it’s time to move on to the next step: cutting the fabric.
Cutting the Fabric
Now that you have selected the perfect fabric for your fitted tablecloth, it’s time to cut it to the appropriate size. Follow these steps to ensure accurate and precise cuts:
- Prepare the fabric: Lay the fabric on a clean and flat surface. Smooth out any wrinkles or creases to ensure an even cut.
- Measure and mark: Using your measurements from the previous step, use a measuring tape and fabric marker or chalk to mark the dimensions of the tablecloth on the fabric. Start by marking the length and width of the tablecloth and ensure they are equal to or slightly larger than the desired final dimensions.
- Include seam allowances: Add seam allowances of approximately ½ inch to all sides of the marked dimensions. This will provide room for sewing and prevent the tablecloth from being too tight.
- Cut the fabric: Using sharp fabric scissors, carefully cut along the marked dimensions, following the lines precisely. Take your time and make clean, straight cuts to ensure a professional finish.
While cutting, it’s essential to maintain the fabric’s shape and keep the edges as straight as possible. If you’re using a patterned fabric, make sure to align the pattern correctly to maintain a cohesive look. If your tablecloth is larger than the width of the fabric, you may need to join multiple fabric pieces together. In this case, make sure to add additional fabric for seam allowances and plan the seams to be inconspicuous.
Once you have cut the fabric to the correct size, remove any remaining markings and trim any loose threads. Your fabric is now ready to be transformed into a fitted tablecloth. In the following steps, we will guide you through sewing the corners, hemming the edges, and attaching elastic to create a snug fit for your tablecloth.
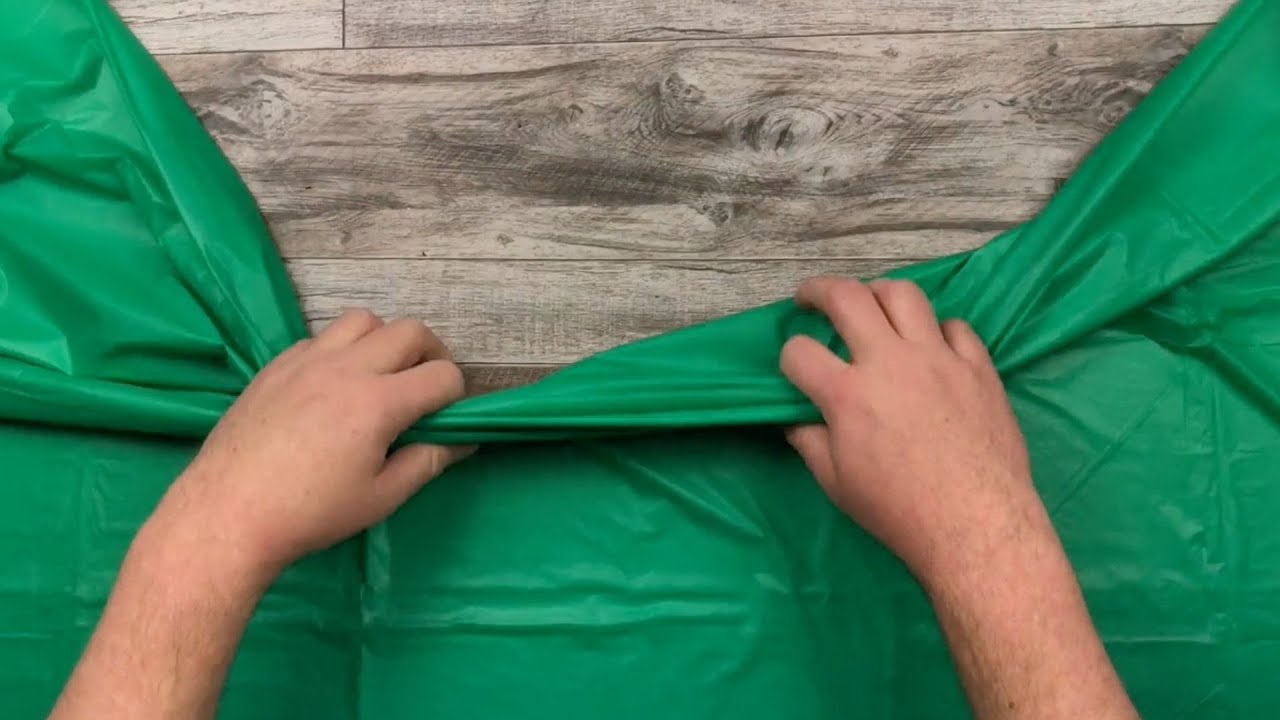
When making fitted tablecloths, be sure to measure your table accurately to ensure a snug fit. Use a stretchy fabric for the best results, and consider adding elastic around the edges for a secure fit.
Sewing the Corners
Now that you have your fabric cut to the right size, it’s time to sew the corners of your fitted tablecloth. This step is crucial as it ensures a neat and professional-looking finish. Follow these steps to sew the corners:
- Fold the fabric: Take one corner of the fabric and fold it diagonally so that the edges meet, forming a triangle. Make sure the edges are aligned perfectly.
- Pin the fabric: Use pins to secure the folded edges in place. This will prevent the fabric from shifting while sewing.
- Measure and mark: Measure and mark a line from the folded corner edge. The length of this line will depend on the desired drop length you determined earlier. For example, if your drop length is 9 inches, measure and mark a line 9 inches along the folded edge.
- Sew along the marked line: Using a sewing machine or hand-stitching, sew along the marked line, ensuring a straight and secure seam. Repeat this step for all four corners of the tablecloth.
- Trim excess fabric: Once you have sewn the corners, carefully trim any excess fabric beyond the seam allowance. This will help reduce bulk and create a clean and professional finish.
By sewing the corners of the tablecloth, you create a tailored look that allows the fabric to drape neatly over the table’s edges. Take your time and ensure that your stitches are even and secure.
With the corners sewn, you can now move on to the next step: sewing the hem.
Sewing the Hem
After sewing the corners of your fitted tablecloth, the next step is to sew the hem. The hem adds a finished look to the tablecloth while preventing the edges from fraying. Follow these steps to sew the hem:
- Prepare the fabric: Fold the edge of the fabric over to the desired depth for the hem. A common hem depth is ½ inch to 1 inch, but you can adjust it based on your preference.
- Press the fold: Use an iron to press the folded fabric, creating a crisp crease along the edge. This will help you sew a straight and even hem.
- Pin the fabric: Use pins to secure the folded fabric in place. This will keep the fabric from shifting while sewing and help maintain an even hem.
- Sew the hem: Using a sewing machine or hand-stitching, sew along the folded edge of the fabric, creating a straight and secure hem. Ensure that your stitches are evenly spaced and that the thread matches the fabric color for a seamless finish.
- Trim any excess fabric: Once you have sewn the hem, carefully trim any excess fabric beyond the seam allowance. This will give your tablecloth a clean and polished appearance.
Take your time and sew the hem with precision. This step is important for achieving a professional-looking tablecloth. If using a sewing machine, use a straight stitch or a zigzag stitch if the fabric has some stretch to it.
Once you have sewn the hem, you are one step closer to having a completed fitted tablecloth. The final step is attaching the elastic to ensure a snug fit on your table. Keep reading to learn how to do it!
Attaching Elastic
Attaching elastic to your fitted tablecloth will help it stay securely in place on your table. The elastic ensures a snug and wrinkle-free fit, preventing the tablecloth from slipping or shifting during use. Follow these steps to attach the elastic:
- Measure the elastic: Start by measuring the circumference of your table. Add a few additional inches to allow for stretching and overlap. Cut the elastic to this measured length.
- Pin the elastic: Place the tablecloth on a flat surface with the wrong side facing up. Position the elastic around the edge of the tablecloth, aligning it with the hemmed edge. Use pins to pin the elastic in place at regular intervals to secure it temporarily.
- Sew the elastic: Using a zigzag stitch on your sewing machine or a stretch stitch if sewing by hand, carefully sew the elastic to the tablecloth. Stretch the elastic slightly as you sew to ensure a snug fit. Continue sewing the elastic around the entire circumference of the tablecloth, removing the pins as you go.
- Overlap the elastic ends: Once you have sewn all the way around, overlap the ends of the elastic by an inch or two. Sew back and forth a few times to secure the ends together.
- Trim any excess elastic: Trim any excess elastic beyond the seam allowance, being careful not to cut into the tablecloth fabric.
When attaching the elastic, it’s essential to create even tension throughout. This will allow the tablecloth to fit snugly without being too tight or too loose. Test the fit on your table before sewing the elastic to ensure it fits properly.
With the elastic attached, your fitted tablecloth is complete! You’ve created a custom-made tablecloth that will add a touch of elegance and functionality to your dining area. All that’s left is to fit the tablecloth onto your table, which we’ll cover in the next step.
Following these steps, you can easily create a fitted tablecloth that adds a beautiful finishing touch to your table setting. Whether you’re hosting a formal dinner or enjoying a casual meal with friends and family, your custom-made fitted tablecloth will elevate the dining experience. Take pride in your craftsmanship and enjoy the compliments from your guests!
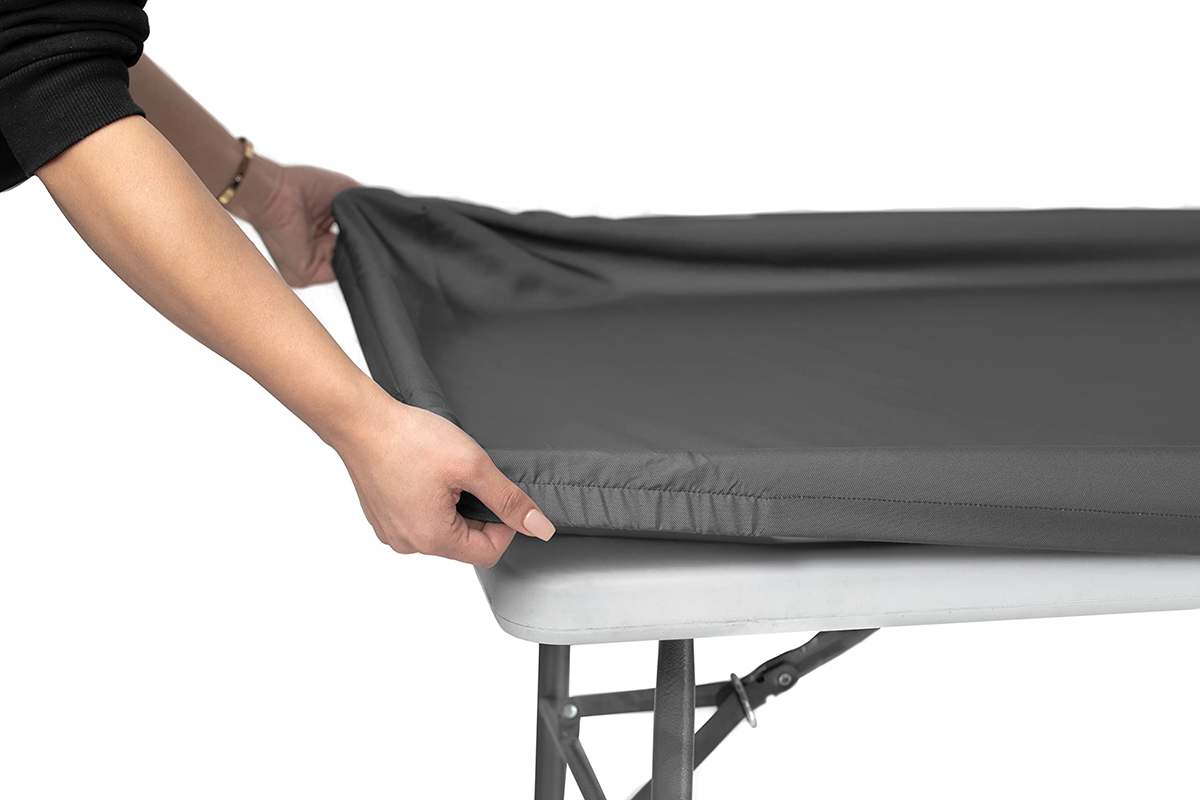
Fitting the Tablecloth
Now that you have successfully made your fitted tablecloth, it’s time to put it to use and fit it onto your table. Here’s how to ensure a perfect fit:
- Clean your table: Make sure your table is clean and free from any dust, debris, or spills. This will ensure a clean and smooth surface for your tablecloth.
- Position the tablecloth: Place your fitted tablecloth on top of the table, ensuring that it is centered and aligned with the edges. Allow the tablecloth to drape evenly over the sides.
- Stretch the elastic: Gently stretch the elastic along the edges of the table. The elastic will provide a snug fit and keep the tablecloth in place, preventing it from slipping or shifting during use.
- Adjust the fit: If the tablecloth is slightly loose or too tight in certain areas, adjust the elastic accordingly. You can slightly stretch or tighten the elastic as needed to achieve a perfect fit.
- Smooth out wrinkles: Once the tablecloth is in place, use your hands to smooth out any wrinkles or creases. Smooth the fabric over the table’s surface and ensure a clean and polished appearance.
Once you have fitted the tablecloth, step back and admire the results. Your custom-made fitted tablecloth will not only protect your table but also enhance the overall aesthetic of your dining area. It will remain in place, providing a neat and tidy appearance, even during mealtime.
Remember to remove the tablecloth after use, especially if it is soiled or stained. Proper care and maintenance will ensure the longevity of your fitted tablecloth, allowing you to enjoy its beauty for years to come.
Congratulations! You have successfully made and fitted your tablecloth. Now it’s time to gather around the table, enjoy a meal, and appreciate the beauty and functionality of your custom creation.
With these comprehensive instructions, you are well-equipped to create fitted tablecloths that will elevate your table settings. Take your time, be precise in your measurements and cuts, and enjoy the process of creating something unique and special for your dining area. Happy crafting!
Read more: How To Fold A Tablecloth To Fit The Table
Conclusion
Crafting your own fitted tablecloth is a rewarding and creative project that allows you to add a personal touch to your table settings. By following the step-by-step instructions outlined in this article, you have learned how to make a fitted tablecloth that not only protects your table but also enhances its aesthetic appeal.
We started by gathering the necessary materials, such as fabric, measuring tape, scissors, pins, needle and thread, elastic, and optionally, a sewing machine. Then, we moved on to measuring the table accurately to determine the dimensions of the tablecloth. Selecting the right fabric was the next step, where you had the opportunity to consider factors such as durability, ease of cleaning, pattern and design, texture, and weight.
After selecting the fabric, we covered the process of cutting the fabric to the desired size and shaping the corners by folding and sewing the fabric. We then delved into sewing the hem, which adds a polished finish to the tablecloth and prevents fraying. Lastly, we attached elastic to ensure a snug fit on the table, improving the functionality of the tablecloth.
Once you have completed all the steps, you can fit the tablecloth onto your table, ensuring it is centered and aligned with the edges. Adjust the fit as needed by stretching or tightening the elastic, and smooth out any wrinkles to achieve a clean and refined look.
By crafting your own fitted tablecloth, you have the opportunity to showcase your creativity and create a custom-made piece that reflects your personal style. Whether you’re hosting formal dinners, casual gatherings, or everyday meals, your fitted tablecloth will elevate the dining experience and add a touch of elegance to your table settings.
Remember to care for your tablecloth by removing it after use, cleaning it as necessary, and storing it properly to maintain its quality and longevity. With proper care, your fitted tablecloth will continue to be a beautiful and functional addition to your dining area for years to come.
Now, armed with your newfound knowledge and skills, it’s time to start creating your own fitted tablecloths. Get creative, experiment with different fabrics and designs, and enjoy the process of making something special for your home. Happy crafting!
Frequently Asked Questions about How To Make Fitted Tablecloths
Was this page helpful?
At Storables.com, we guarantee accurate and reliable information. Our content, validated by Expert Board Contributors, is crafted following stringent Editorial Policies. We're committed to providing you with well-researched, expert-backed insights for all your informational needs.
0 thoughts on “How To Make Fitted Tablecloths”