Tableware
How To Crochet A Tablecloth
Modified: January 6, 2024
Learn how to crochet a beautiful tablecloth and impress your guests with this easy-to-follow tutorial. Discover the joy of creating stunning tableware pieces.
(Many of the links in this article redirect to a specific reviewed product. Your purchase of these products through affiliate links helps to generate commission for Storables.com, at no extra cost. Learn more)
Introduction
Crocheting a tablecloth is a beautiful and rewarding project that allows you to add a touch of elegance to your dining table. Whether you’re a beginner or an experienced crocheter, creating a tablecloth can be a fun and fulfilling endeavor. In this article, we’ll explore the step-by-step process of crocheting a tablecloth, from gathering the necessary materials to blocking and finishing your masterpiece.
By following this guide and utilizing your crocheting skills, you’ll be able to create a unique and personalized tablecloth that will impress your friends and family. Get ready to embark on a creative journey and transform your dining experience with a gorgeous crocheted tablecloth.
Key Takeaways:
- Crocheting a tablecloth is a delightful and rewarding project that allows you to showcase your creativity and add a touch of handmade elegance to your dining experience. From gathering materials to finishing touches, enjoy the process and embrace your creativity!
- Mastering basic crochet stitches, choosing the right yarn and hook, and adding a beautiful border are essential steps in creating a stunning crocheted tablecloth. Let your creativity shine through and revel in the satisfaction of your handiwork.
Read more: How To Crochet Curtains
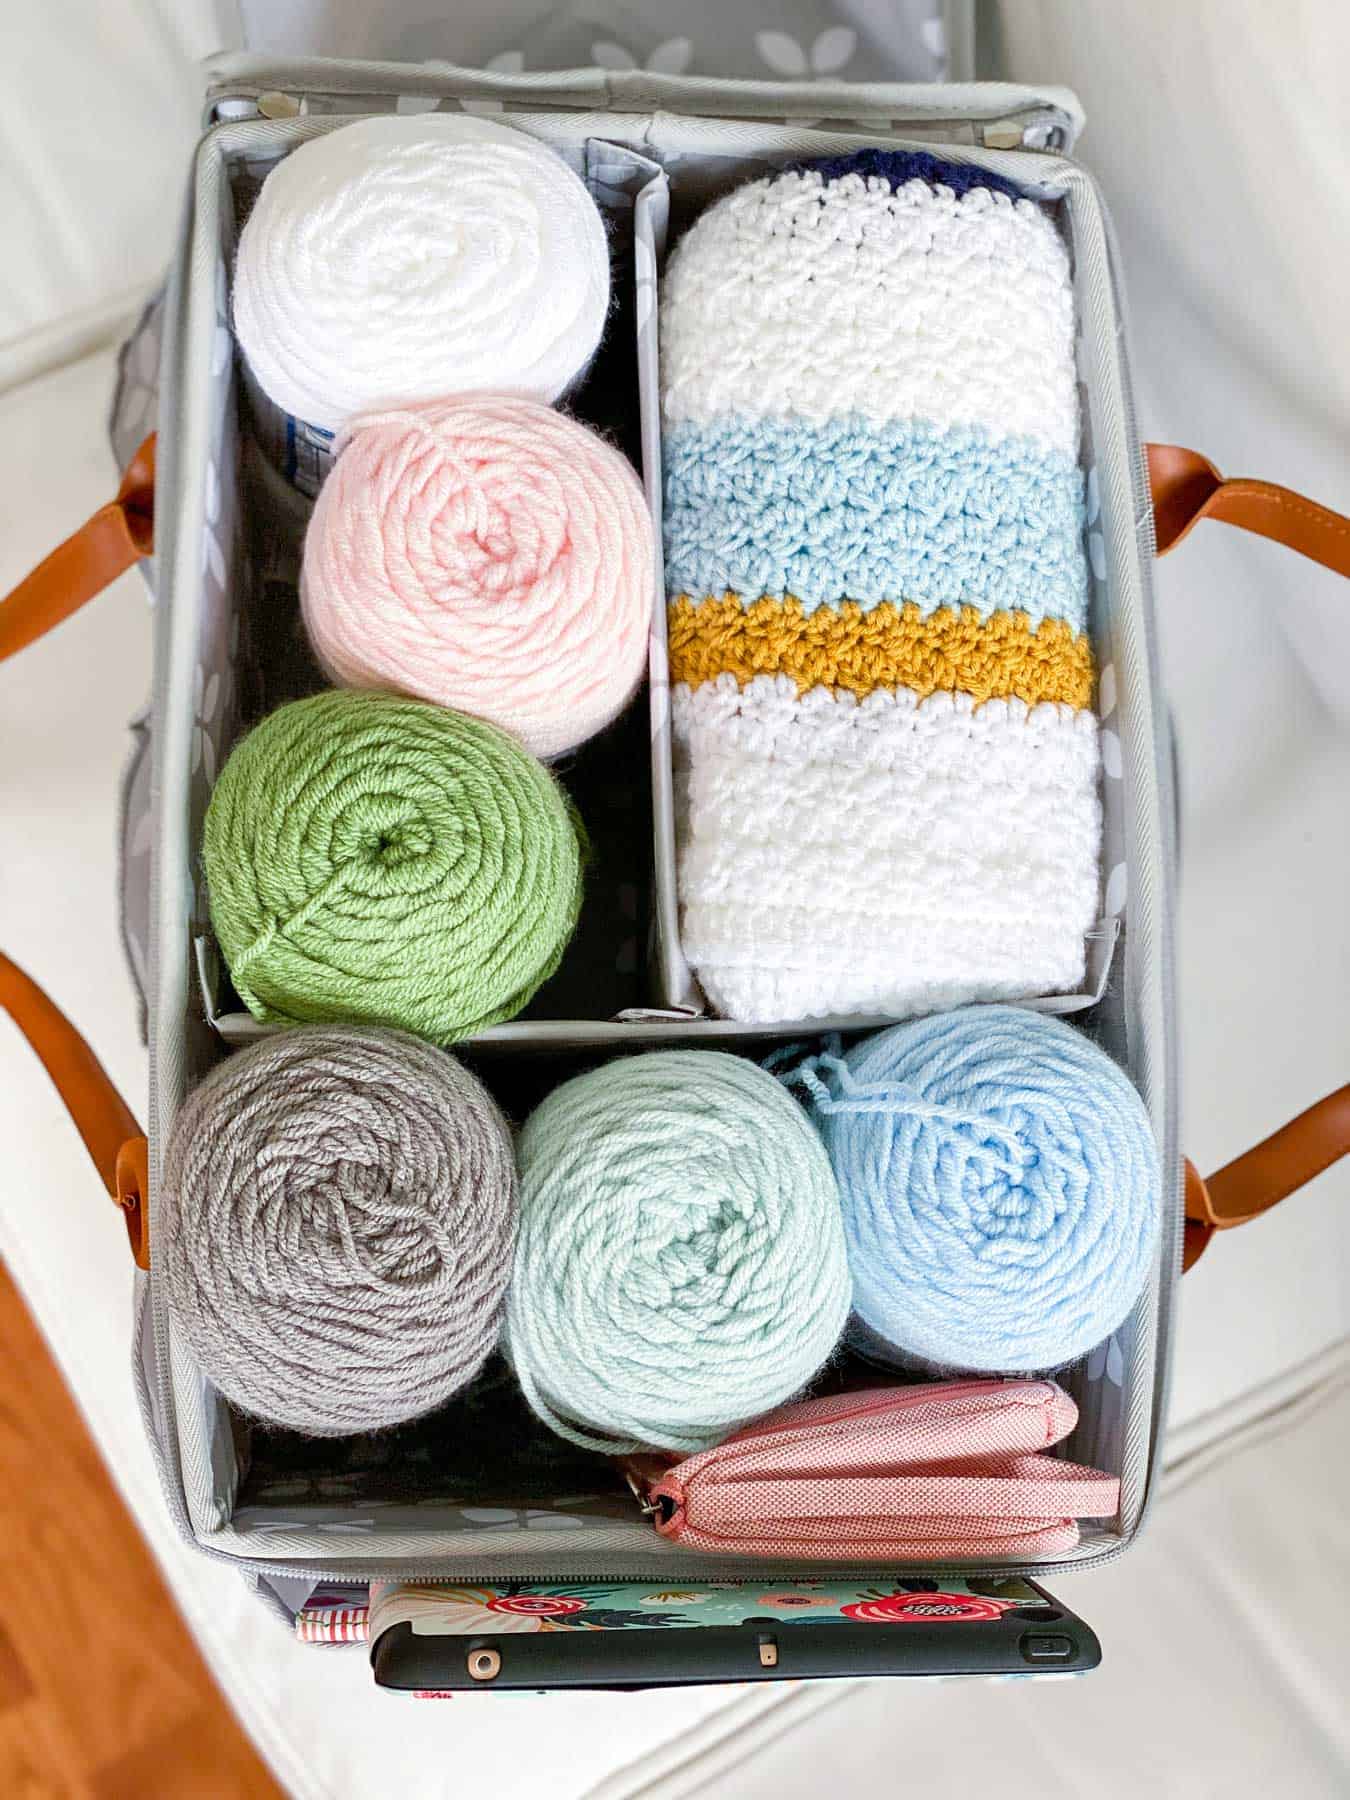
Materials Needed
Before you begin crocheting your tablecloth, it’s important to gather all the necessary materials. Here’s a list of what you’ll need:
- Yarn: Choose a high-quality yarn that is suitable for tablecloths. Look for yarn that is durable and easy to clean.
- Crochet Hooks: Select crochet hooks in various sizes depending on the thickness of the yarn you’re using. This will allow you to achieve the desired tension and gauge.
- Tape Measure: A tape measure will help you accurately measure the dimensions of your tablecloth, ensuring a perfect fit for your table.
- Scissors: Sharp scissors are essential for cutting yarn and weaving in loose ends.
- Tapestry Needle: A tapestry needle is used for weaving in ends and joining different pieces of the tablecloth.
- Stitch Markers: Stitch markers are useful for marking specific stitches or sections as you work on your tablecloth.
- Blocking Tools: To achieve a professional finish, you’ll need blocking tools such as blocking pins or wires to shape and stretch the crocheted tablecloth.
Once you have gathered all of these materials, you’re ready to dive into the world of crocheting and start creating your beautiful tablecloth.
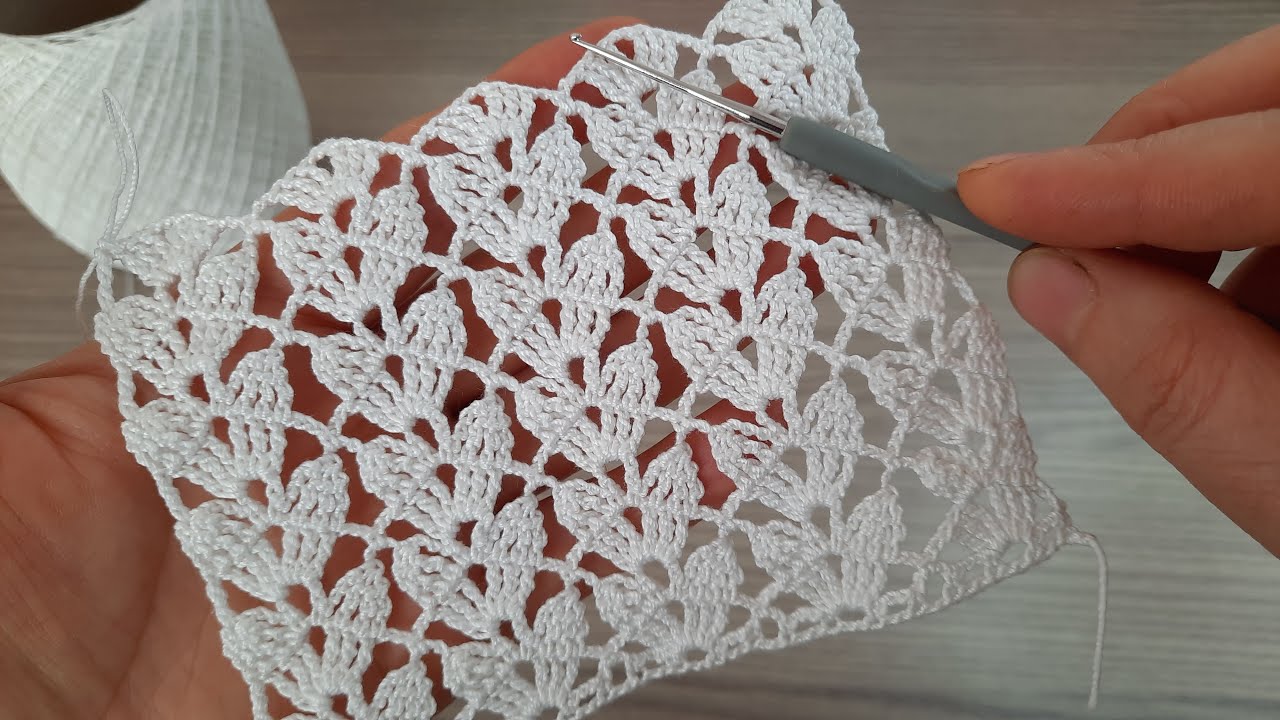
Basic Crochet Stitches
Before you begin crocheting your tablecloth, it’s important to familiarize yourself with the basic crochet stitches that you will be using. Here are the essential stitches you need to know:
- Chain Stitch (ch): This stitch is the foundation of most crochet projects. It creates a row of interconnected loops and is used to start your work.
- Single Crochet (sc): This stitch is simple and versatile. It involves inserting the hook into the next stitch, pulling up a loop, and then pulling the yarn through both loops on the hook.
- Double Crochet (dc): This stitch is taller than the single crochet. It involves yarning over, inserting the hook into the next stitch, pulling up a loop, yarning over again, and then pulling through two loops on the hook.
- Treble Crochet (tr): This stitch is even taller than the double crochet. It involves yarning over twice, inserting the hook into the next stitch, pulling up a loop, yarning over, and then pulling through two loops on the hook multiple times until only one loop remains.
These are the foundational stitches that will be used to create various patterns and designs in your tablecloth. Practice these stitches until you feel comfortable with them before starting your project.
Additionally, there are other advanced stitches such as the half double crochet (hdc) and the double treble crochet (dtr) that you may encounter in more complex patterns. However, mastering the basic stitches will provide you with a strong foundation for your crocheting journey.
Remember to maintain consistent tension and gauge as you crochet. This will ensure that your stitches are even and your tablecloth turns out beautifully.
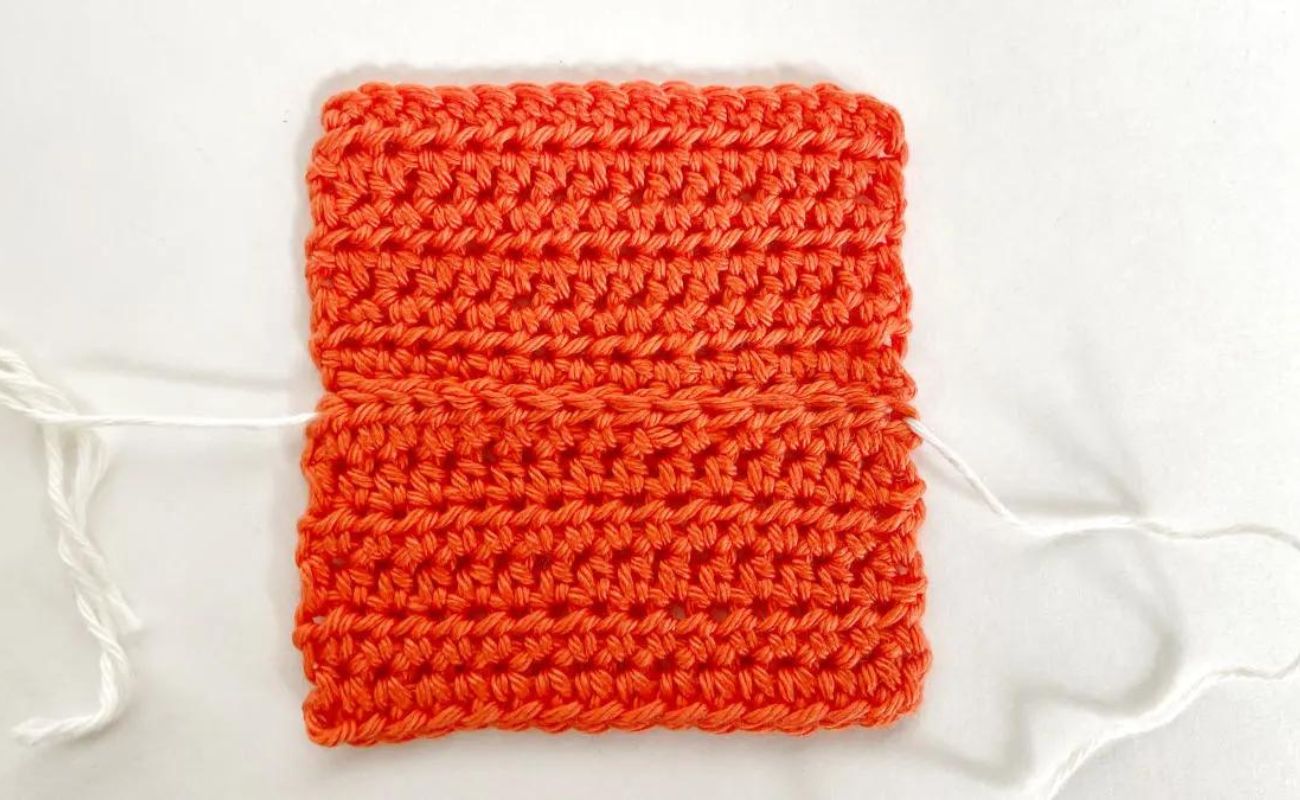
Starting the Tablecloth
Now that you have gathered your materials and familiarized yourself with basic crochet stitches, it’s time to start working on your tablecloth. Follow these steps to begin:
- Measure your table: Use a tape measure to determine the dimensions of your table. This will help you determine the size of the tablecloth you need to crochet.
- Choose a pattern: Select a crochet pattern that suits your style and complements your table. You can find a variety of tablecloth patterns online or in crochet pattern books.
- Choose your yarn and hook: Based on your chosen pattern, select the appropriate yarn and hook size. Remember to consider the yarn weight, texture, and color that will best enhance the overall look of your tablecloth.
- Create a foundation chain: Start by creating a foundation chain that is slightly longer than the width of your table. Use the chain stitch (ch) to do this, making sure to keep the tension even.
- Row 1: Once you have your foundation chain, start working row 1 according to your chosen pattern. This may involve a combination of different stitches such as single crochet (sc), double crochet (dc), or treble crochet (tr) to create the desired design.
- Follow the pattern: Continue following the pattern instructions, working row by row, to build the body of your tablecloth. Pay attention to any stitch changes, increases, or decreases as specified in the pattern.
As you work on your tablecloth, make sure to count your stitches regularly to ensure that you’re maintaining the correct number and achieving the desired width and length.
Take your time and enjoy the process of creating a functional and beautiful piece of tableware that will become a cherished item in your home.
Next, we’ll explore how to create an eye-catching border that will add the finishing touch to your crocheted tablecloth.
When crocheting a tablecloth, use a larger hook size to create a more open and lacy design. This will give your tablecloth a delicate and elegant look.
Crocheting the Center
Now that you have started your tablecloth, it’s time to focus on crocheting the center section. This is where you will create the main design or pattern that will be the focal point of your tablecloth. Here are the steps to follow:
- Refer to your chosen pattern: Review the pattern instructions to understand the specific stitches and techniques required for the center section.
- Work row by row: Follow the pattern and work row by row to build the design. This may involve different stitch combinations, color changes, or texture variations to create the desired effect.
- Pay attention to stitch counts: Count your stitches periodically to ensure that you’re maintaining the correct number. This will help keep your design symmetrical and prevent any irregularities.
- Use stitch markers: If the pattern requires specific stitch placements, consider using stitch markers to mark those stitches. This will make it easier to keep track of where to place certain stitches or groups of stitches.
- Adjust as needed: If you encounter any issues or find that the design isn’t aligning properly, don’t hesitate to make adjustments. You can frog (unravel) a few rows or stitches and redo them to achieve the desired look.
As you work on the center section, take your time and pay attention to the details. Crocheting a tablecloth is a labor of love, and the center design is where you can truly showcase your creativity and skill.
Remember to refer to the pattern instructions consistently and consult any stitch diagrams or charts provided, if applicable. This will help you stay on track and ensure that your tablecloth turns out as intended.
Once the center section is complete, you’re ready to move on to the next phase: adding a beautiful border to your crocheted tablecloth.
Read more: How To Crochet Cat Coasters
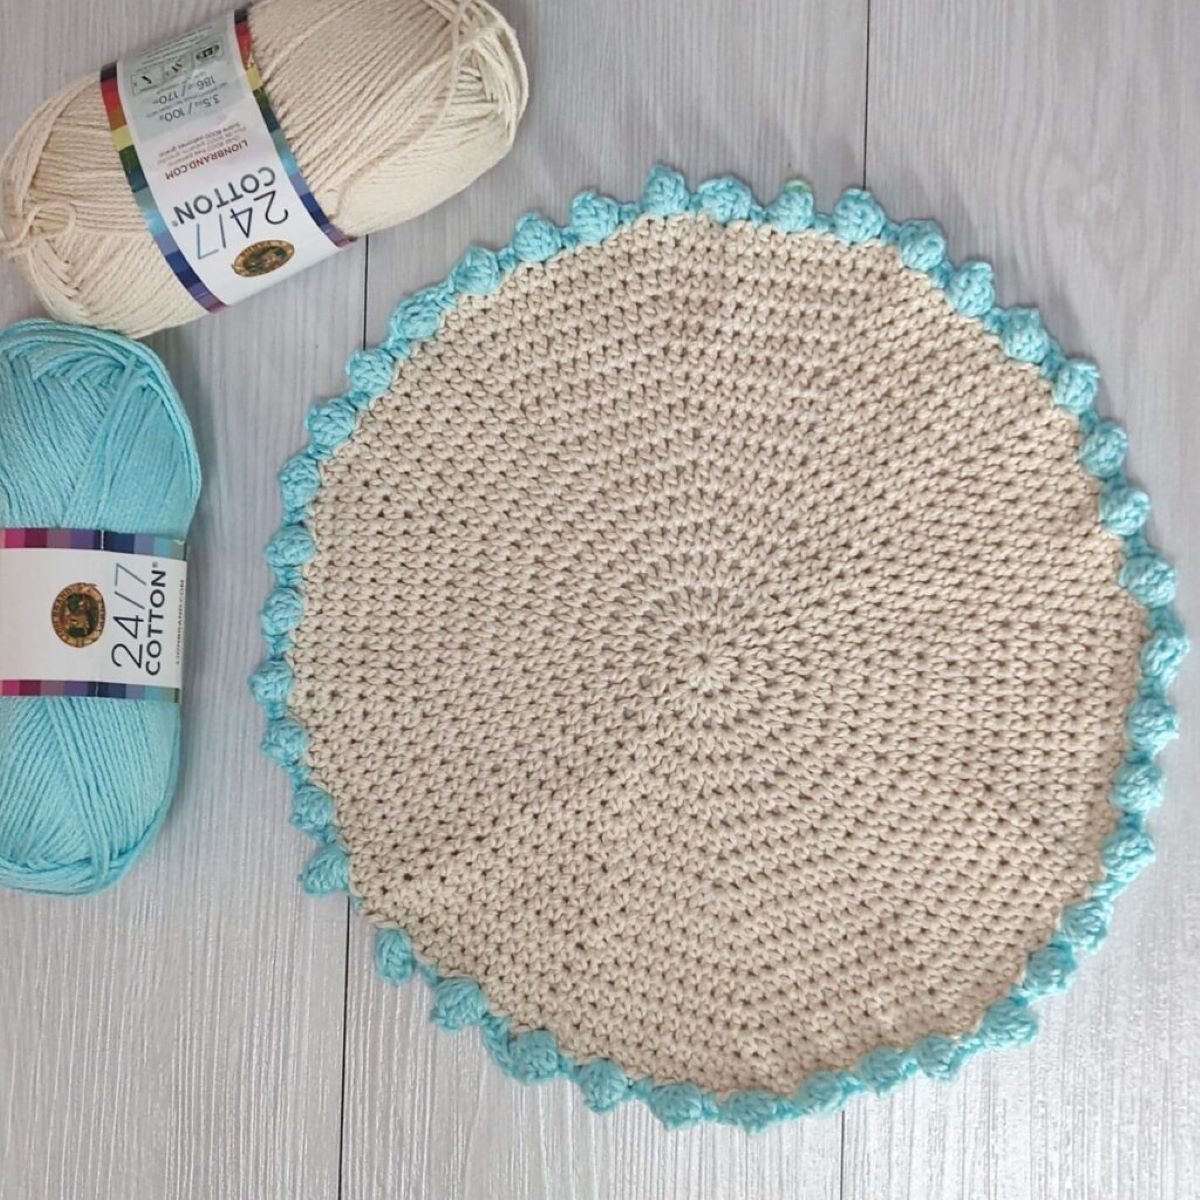
Creating the Border
Adding a border to your crocheted tablecloth not only gives it a polished and finished look, but it also adds a decorative element that complements the design. Follow these steps to create a beautiful border:
- Choose a border design: Select a border pattern that complements the overall design of your tablecloth. You can opt for a simple and classic border or something more intricate, depending on your personal style.
- Measure the dimensions: Measure the length and width of your tablecloth to determine the number of stitches needed for the border. This will ensure that the border fits perfectly around the edges.
- Add extra rounds if desired: If you want a wider border, consider adding extra rounds of stitches. This will create a more substantial border that frames the center design beautifully.
- Follow the pattern instructions: Once you have chosen a border design and determined the number of stitches needed, follow the pattern instructions carefully. Pay attention to stitch placements, stitch counts, and any special techniques required for the border.
- Consider color changes: You can choose to maintain the same color as the center section or introduce contrasting or complementary colors for the border. This will add visual interest and highlight the design elements.
- Weave in loose ends: As you crochet the border, remember to weave in loose ends as you go. This will save you time and effort at the end of the project and ensure a clean and neat finish.
Working on the border allows you to showcase your creativity and add a personalized touch to your crocheted tablecloth. Experiment with different stitch combinations, textures, or color effects to make your border truly unique.
Once you have completed the border, your tablecloth is almost ready for use. The final step is to block and finish it to achieve a professional and polished appearance.
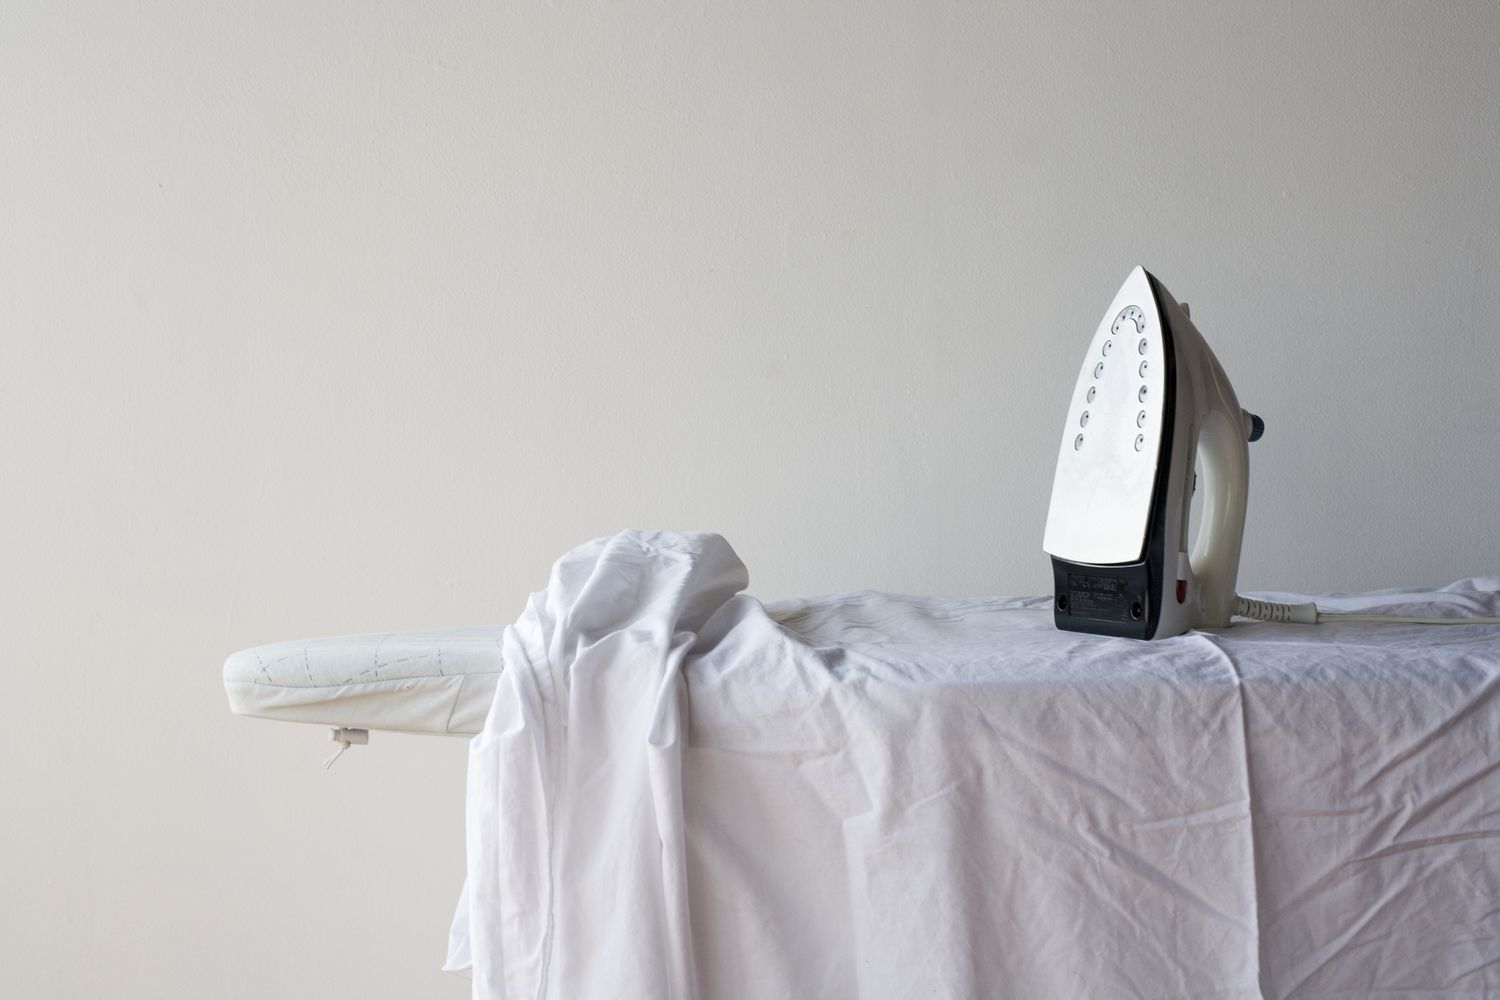
Blocking and Finishing
Blocking your crocheted tablecloth is an essential step to give it a professional and polished finish. Blocking helps to even out the stitches, relax the fibers, and shape the tablecloth to its intended dimensions. Here’s how to block and finish your tablecloth:
- Prepare a blocking surface: Find a flat surface large enough to accommodate your tablecloth. You can use a foam blocking mat, a clean towel, or even an ironing board covered with a towel.
- Wet or steam the tablecloth: Depending on the fiber content of your yarn, you can either wet the tablecloth by soaking it in cool water or steam it using a garment steamer or iron. Follow the care instructions for your specific yarn.
- Lay the tablecloth on the blocking surface: Gently remove any excess water or moisture from the tablecloth and place it on the blocking surface. Use blocking pins or blocking wires to secure the edges and shape the tablecloth according to the desired dimensions.
- Allow the tablecloth to dry: Leave the tablecloth undisturbed on the blocking surface until it is completely dry. This may take several hours or even overnight.
- Remove the blocking pins or wires: Once the tablecloth is dry, carefully remove the blocking pins or wires. You will notice that the stitches have relaxed and the tablecloth has taken its final shape.
- Inspect and make any final adjustments: Take a close look at the tablecloth and make any necessary adjustments or corrections. This could include removing any stray threads or smoothing out any uneven edges.
After blocking, your tablecloth is now ready for use or display. The blocking process not only enhances the overall appearance of the tablecloth but also helps to ensure its longevity.
To maintain the beauty of your crocheted tablecloth, follow the care instructions for the specific yarn you have used. This may involve hand washing, laying flat to dry, or gentle machine washing on a delicate cycle.
Congratulations! You have successfully crocheted and finished your very own tablecloth. Enjoy showcasing your creation and adding a touch of handmade elegance to your dining table.
Conclusion
Crocheting a tablecloth is a delightful and rewarding project that allows you to showcase your creativity and add a touch of handmade elegance to your dining experience. By following the step-by-step process outlined in this article, you have learned how to crochet a tablecloth from start to finish.
From gathering the necessary materials to mastering basic crochet stitches, starting the tablecloth, crocheting the center, creating the border, and finishing with blocking, you have gained the knowledge and skills needed to create a beautiful tablecloth that will be the centerpiece of your dining table.
Remember to choose a pattern that reflects your personal style and complements your home décor. Take your time to crochet each stitch with precision and care, paying attention to detail and maintaining consistent tension. This will ensure that your tablecloth turns out as envisioned.
As you crochet, let your creativity shine through by experimenting with color combinations, stitch patterns, and border designs. Personalize your tablecloth and make it a true reflection of your skills and artistic flair.
Once your tablecloth is complete, don’t forget to block it to achieve a professional finish. Blocking helps to shape the tablecloth, even out the stitches, and give it a polished appearance that will truly impress.
Whether you’re creating a tablecloth for yourself or as a thoughtful gift, the time and effort invested in crocheting this beautiful piece of tableware will be well worth it. Sit back, admire your handiwork, and revel in the satisfaction of creating a functional and stunning tablecloth that will make your dining experiences even more special.
Now it’s time to gather your materials, pick a pattern, and let your crochet hook bring your tablecloth to life. Enjoy the process, embrace your creativity, and happy crocheting!
Frequently Asked Questions about How To Crochet A Tablecloth
Was this page helpful?
At Storables.com, we guarantee accurate and reliable information. Our content, validated by Expert Board Contributors, is crafted following stringent Editorial Policies. We're committed to providing you with well-researched, expert-backed insights for all your informational needs.

0 thoughts on “How To Crochet A Tablecloth”