Tableware
How To Hem A Round Tablecloth
Modified: February 24, 2024
Learn how to hem a round tablecloth with our step-by-step guide. Perfect for adding a polished touch to your tableware collection.
(Many of the links in this article redirect to a specific reviewed product. Your purchase of these products through affiliate links helps to generate commission for Storables.com, at no extra cost. Learn more)
Introduction
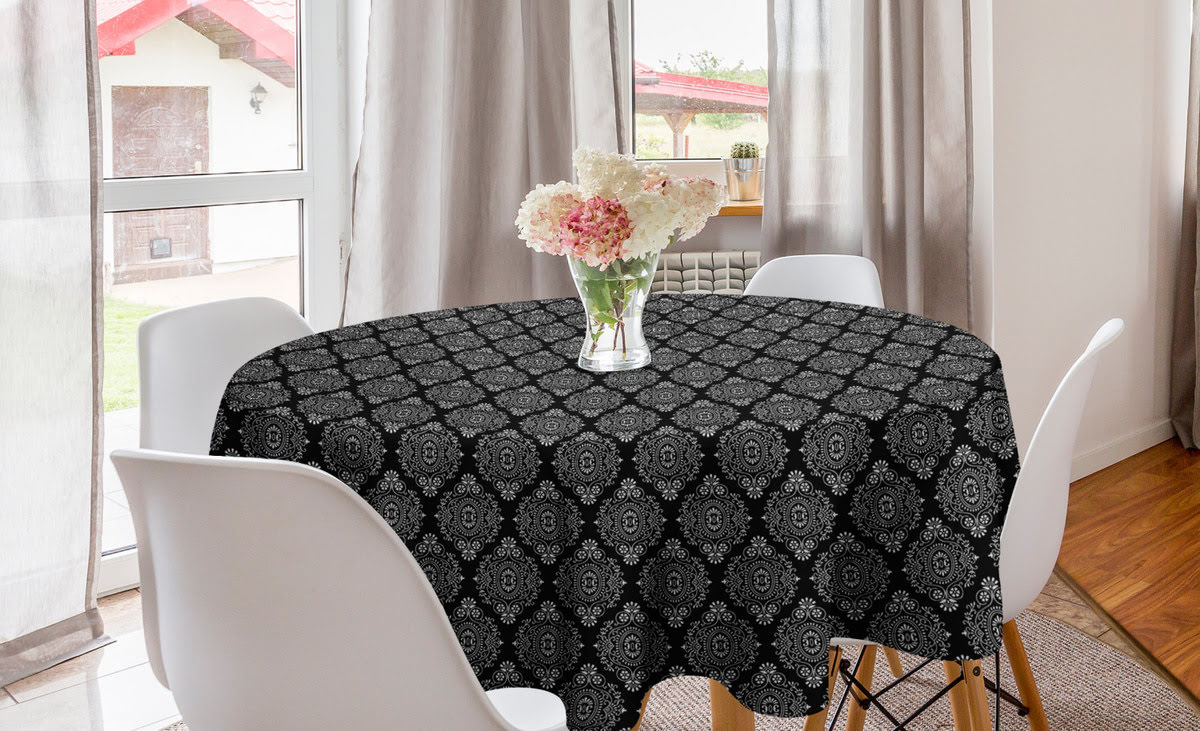
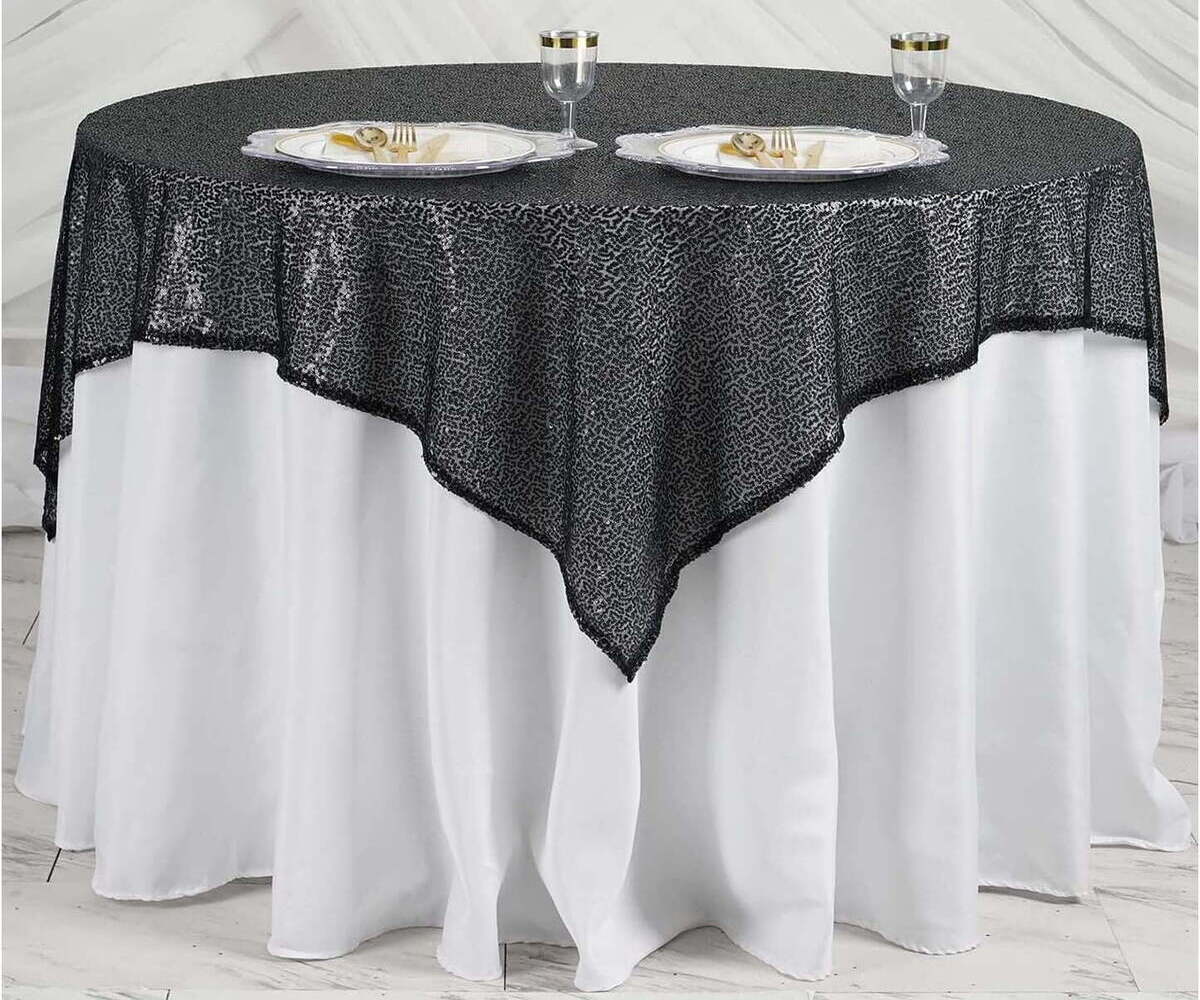
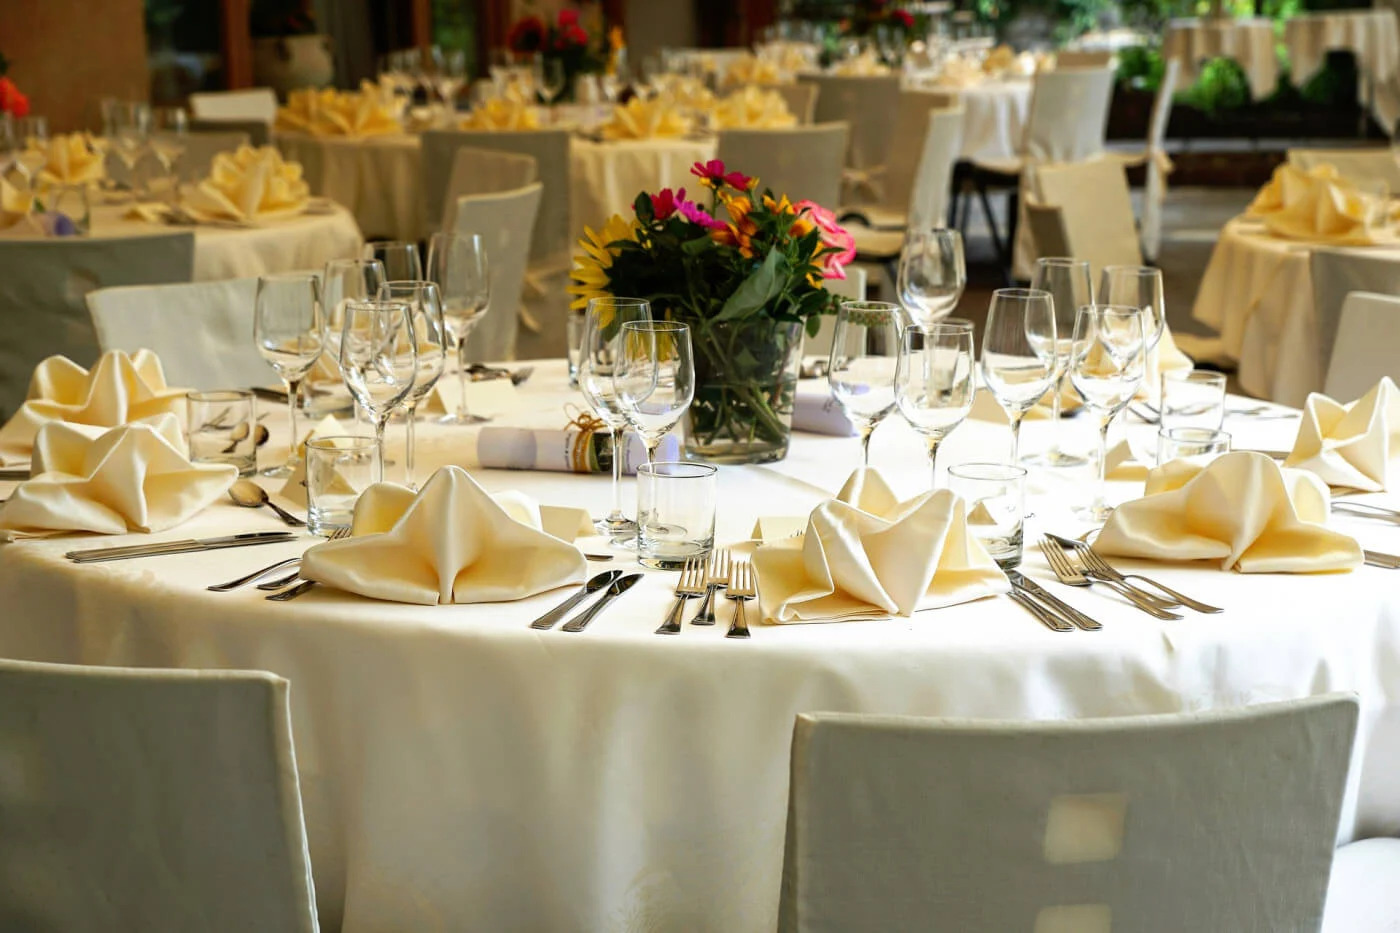
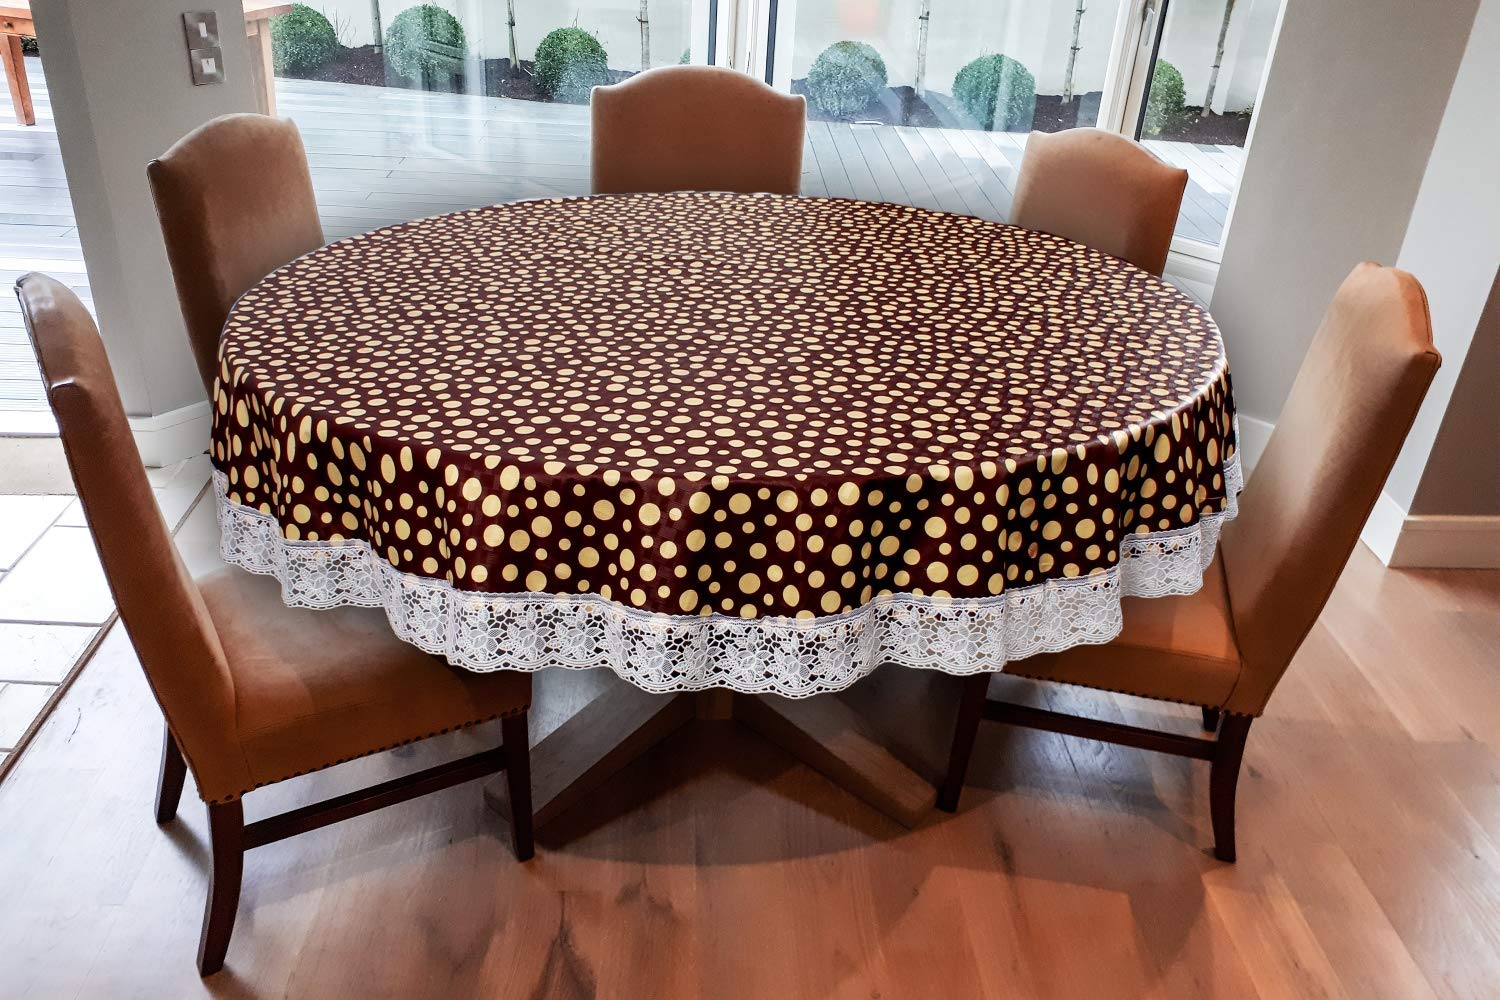
When it comes to tableware, one of the most beautiful and versatile pieces you can have is a round tablecloth. Round tablecloths not only add an elegant touch to any dining setting, but they also protect your table from spills and scratches. However, finding the perfect round tablecloth with the exact measurements can be a challenge. That’s where hemming comes in.
Hemming a round tablecloth is a simple yet effective way to customize the fit to your table and create a polished, professional look. Whether you have a store-bought tablecloth that needs some alteration or you want to make one from scratch, hemming it is a skill worth mastering.
In this comprehensive guide, we will take you through the step-by-step process of hemming a round tablecloth. We will cover everything from measuring and marking to cutting, folding, pinning, sewing, and adding the finishing touches. So, grab your sewing supplies and let’s get started on this fun and rewarding project!
Key Takeaways:
- Master the art of hemming to customize and perfect the fit of your round tablecloth, creating a polished and professional look that adds elegance to any dining setting.
- Embrace your creativity and enjoy the rewarding process of hemming a round tablecloth, knowing that your custom-fit creation will elevate the ambiance of your dining space.
Read more: How To Fold A Round Tablecloth
Materials Needed
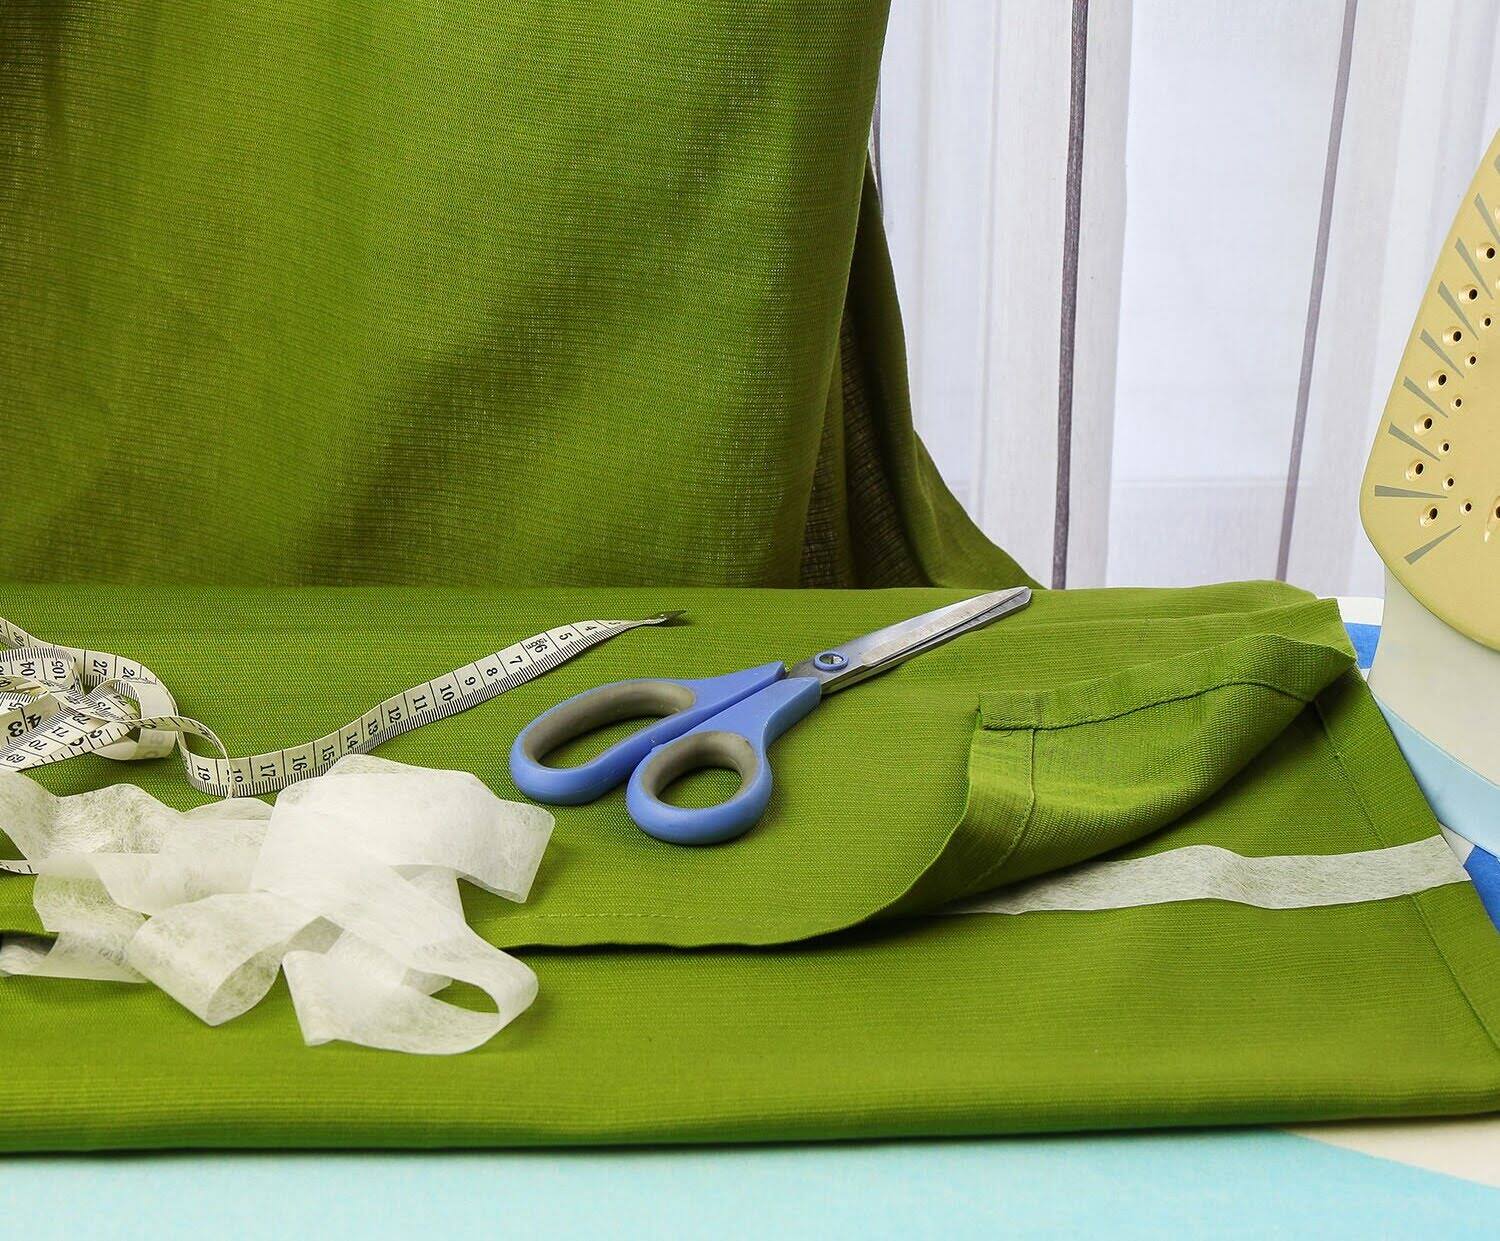
Before you embark on hemming your round tablecloth, it’s important to gather all the necessary materials. Here’s a list of items you’ll need:
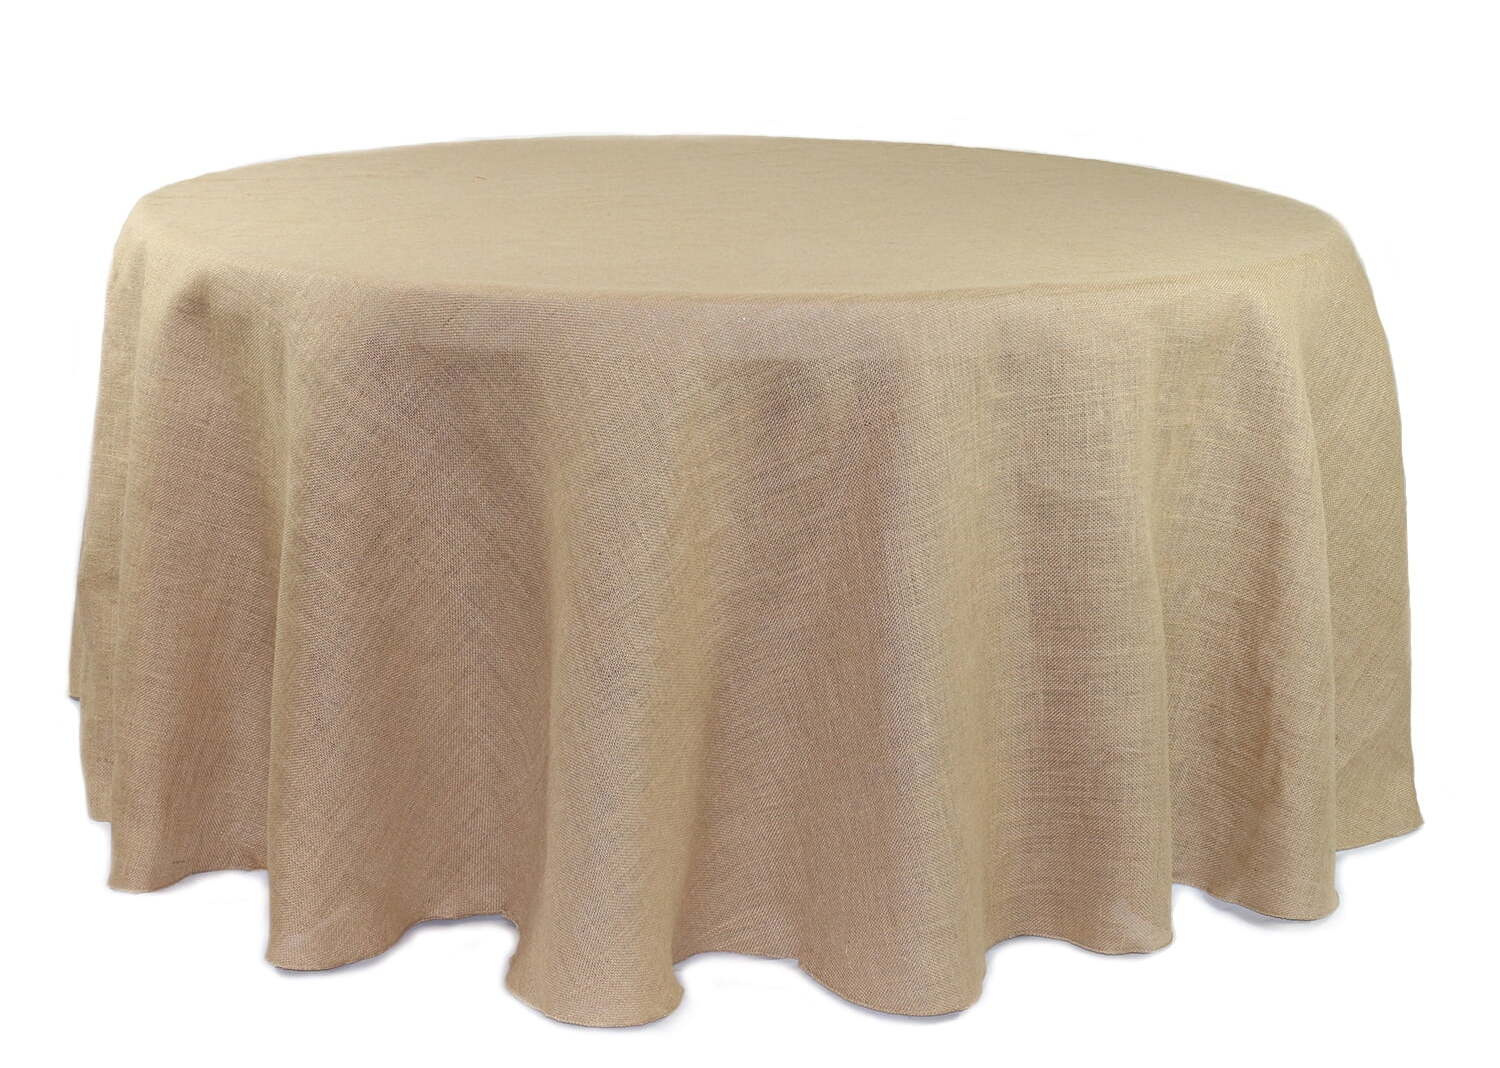
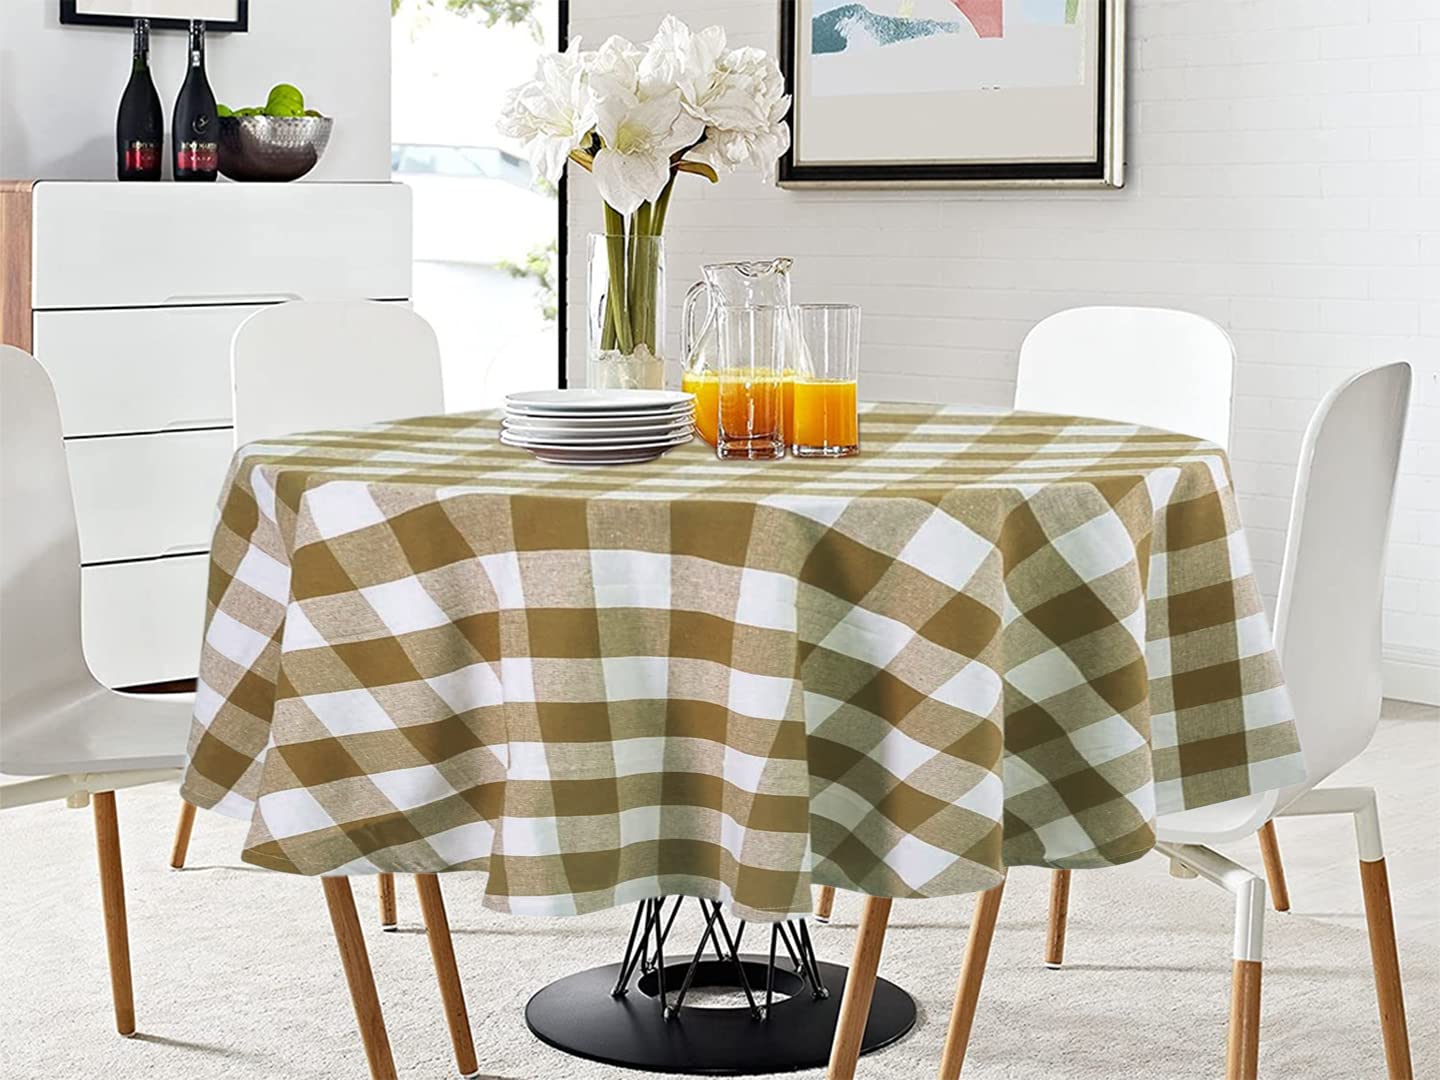
- Fabric – Choose a fabric that complements your table and is suitable for a tablecloth. Cotton, linen, and polyester blends are popular choices.
- Thread – Select a thread color that matches or coordinates with your fabric.
- Measuring tape – You’ll need a measuring tape to measure the circumference and diameter of your table.
- Fabric marker or chalk – These tools will help you mark the fabric accurately for cutting and sewing.
- Pins – Use straight pins to hold the fabric in place while you work.
- Scissors – A pair of sharp fabric scissors is essential for cutting the fabric neatly.
- Sewing machine – While it’s possible to hand sew the hem, a sewing machine will save time and ensure a more secure stitch.
- Iron – An iron is necessary to press the fabric and create crisp edges.
- Ironing board or ironing surface – This will provide a flat, sturdy surface for ironing.
- Ruler or straightedge – A ruler or straightedge will aid in achieving straight, even hems.
- Optional: Serger or overlock machine – If you have access to a serger or overlock machine, it can be used to finish the raw edges of the fabric for a more professional look.
Having these materials on hand will make the hemming process much smoother and ensure a successful outcome. Once you’ve gathered everything, you’re ready to move on to the next step: measuring and marking.
Step 1: Measuring and Marking
Before you start cutting your fabric, it’s important to accurately measure and mark the dimensions for your round tablecloth. This step will ensure that your tablecloth fits your table perfectly. Here’s how to do it:
- Measure the tabletop – Use a measuring tape to measure the diameter of your table. This is the distance from one side of the table to the other, passing through the center. Note down this measurement.
- Add measurements for the drop – Determine how much overhang or “drop” you want your tablecloth to have. The standard drop length is typically between 6 to 12 inches. Measure and mark the desired drop length from the edge of your table all the way around.
- Calculate the tablecloth dimensions – To calculate the final dimensions of your tablecloth, add twice the drop length to the diameter of your table. For example, if your table has a diameter of 40 inches and you want a 10-inch drop, the total diameter of your tablecloth will be 40 + (2 x 10) = 60 inches.
- Mark the fabric – Spread out your fabric and use a fabric marker or chalk to mark the dimensions you calculated. Start by marking the diameter (half the total) with a dot at the center of the fabric. Then, using the measuring tape, measure and mark the radius (half the diameter) from the dot out to the edge of the fabric in several places. Connect these marks to create a perfectly round shape.
Double-check your measurements to ensure accuracy before moving on to the next step. Once you’re confident in your markings, you can proceed to the cutting stage.
Remember, accuracy is key at this stage, as it will determine how well your tablecloth fits your table. Take your time and measure carefully to achieve the best results. With the measuring and marking complete, you’re now ready to cut the fabric and move on to the next step of hemming your round tablecloth.
Step 2: Cutting
With your fabric marked and double-checked for accuracy, it’s time to cut out the shape of your round tablecloth. Follow these steps to ensure a clean and precise cut:
- Gently fold your fabric in half, aligning the edges together. This will create a semi-circle shape.
- Using a pair of sharp fabric scissors, carefully cut along the marked line to create your round shape. Take your time and use smooth, steady strokes to ensure a clean cut. Make sure to cut through both layers of fabric.
- Unfold the fabric to reveal the full round shape of your tablecloth. Smooth out any wrinkles or creases.
After cutting, you should have a perfectly shaped round piece of fabric ready for hemming. If there are any uneven edges or excess fabric, trim them off to create a more symmetrical shape. Take care not to cut into your intended measurements.
Now that your fabric is cut, it’s time to move on to the next step: folding and pinning the hem. This crucial step prepares the fabric for sewing and ensures a polished finish, so let’s get started!
When hemming a round tablecloth, use a narrow rolled hem to create a clean and professional finish. Pin the hem in place before sewing to ensure an even and smooth edge. Use a matching thread color for a seamless look.
Step 3: Folding and Pinning
Now that your fabric is cut to the proper shape, it’s time to fold and pin the hem. This step will create a neat and secure edge for sewing. Follow these steps to fold and pin your tablecloth:
- Start by folding the raw edge of the fabric towards the wrong side by about 1/2 inch. Use your fingers or an iron to press the fold in place. This will create the first fold of your hem.
- Next, fold the raw edge towards the wrong side again, this time by the desired hem width. Common hem widths range from 1 inch to 2 inches, depending on personal preference and fabric thickness.
- Using straight pins, carefully pin the folded hem in place at regular intervals around the edge of the fabric. Make sure the pins are inserted parallel to the edge and secure both layers of fabric.
- Continue folding and pinning the hem all the way around the tablecloth, adjusting as needed to maintain an even hem width. Take extra care at the corners to create smooth and professional-looking mitered corners if desired.
As you fold and pin the hem, periodically check the alignment of the fabric and adjust as necessary. The pins will hold the hem in place and prevent it from shifting during sewing.
Remember to always fold towards the wrong side of the fabric for a clean finish on the right side. Take your time with this step to ensure that the hem is straight, even, and securely pinned.
With the hem folded and pinned, you are now ready to move on to the next step: sewing the hem. Grab your sewing machine and let’s bring your round tablecloth one step closer to completion!
Read more: How Are Round Tablecloths Measured
Step 4: Sewing
With the hem neatly folded and pinned in place, it’s time to sew the hem of your round tablecloth. Follow these steps to secure the hem with a professional finish:
- Set up your sewing machine with a matching thread color and a straight stitch.
- Starting at any point along the edge of the hem, position the fabric under the presser foot of the sewing machine, ensuring that the folded edge is aligned with the edge of the presser foot.
- Lower the presser foot and begin sewing a straight line, backstitching at the beginning and end for added reinforcement. Sew approximately 1/4 inch from the folded edge, guiding the fabric smoothly through the machine.
- Continue sewing all the way around the edge of the tablecloth, removing the pins as you go. Take your time to maintain a consistent seam allowance. If you encounter any mitered corners, sew across them carefully, ensuring that the stitching catches both sides of the fabric.
- Once you reach the starting point, backstitch a few stitches to secure the thread, then cut the thread with a pair of scissors.
Throughout the sewing process, ensure that the fabric stays smooth and taut under the needle of the sewing machine. Take care to avoid stretching or pulling the fabric, as this can cause uneven stitching or puckering.
After completing the hem, give it a final press with an iron to set the stitches and create a crisp edge. Be cautious when ironing, especially if you are using delicate or heat-sensitive fabrics.
Congratulations! You have successfully sewn the hem of your round tablecloth. The next step will add those finishing touches to make your tablecloth truly shine.
Step 5: Finishing Touches
Now that you’ve sewn the hem, it’s time to add the finishing touches to your round tablecloth. These final steps will give your tablecloth a professional and polished appearance. Here’s what you need to do:
- Trim any excess threads – Using a pair of sharp scissors, carefully trim any loose threads or stray threads along the hemline. This will give your tablecloth a clean and tidy finish.
- Optional: Finish the raw edges – If you want to prevent fraying and add extra durability to your tablecloth, consider finishing the raw edges. This step is particularly important for fabrics that tend to fray easily. You can use a serger or overlock machine to create a finished edge or use a zigzag stitch on your sewing machine. Alternatively, you can apply a fabric glue or fray check to the edges to prevent fraying.
- Give it a final press – Before using your tablecloth, give it one last press with an iron to remove any wrinkles or creases that may have formed during the sewing process. Be sure to use the appropriate heat setting for your fabric to avoid damage.
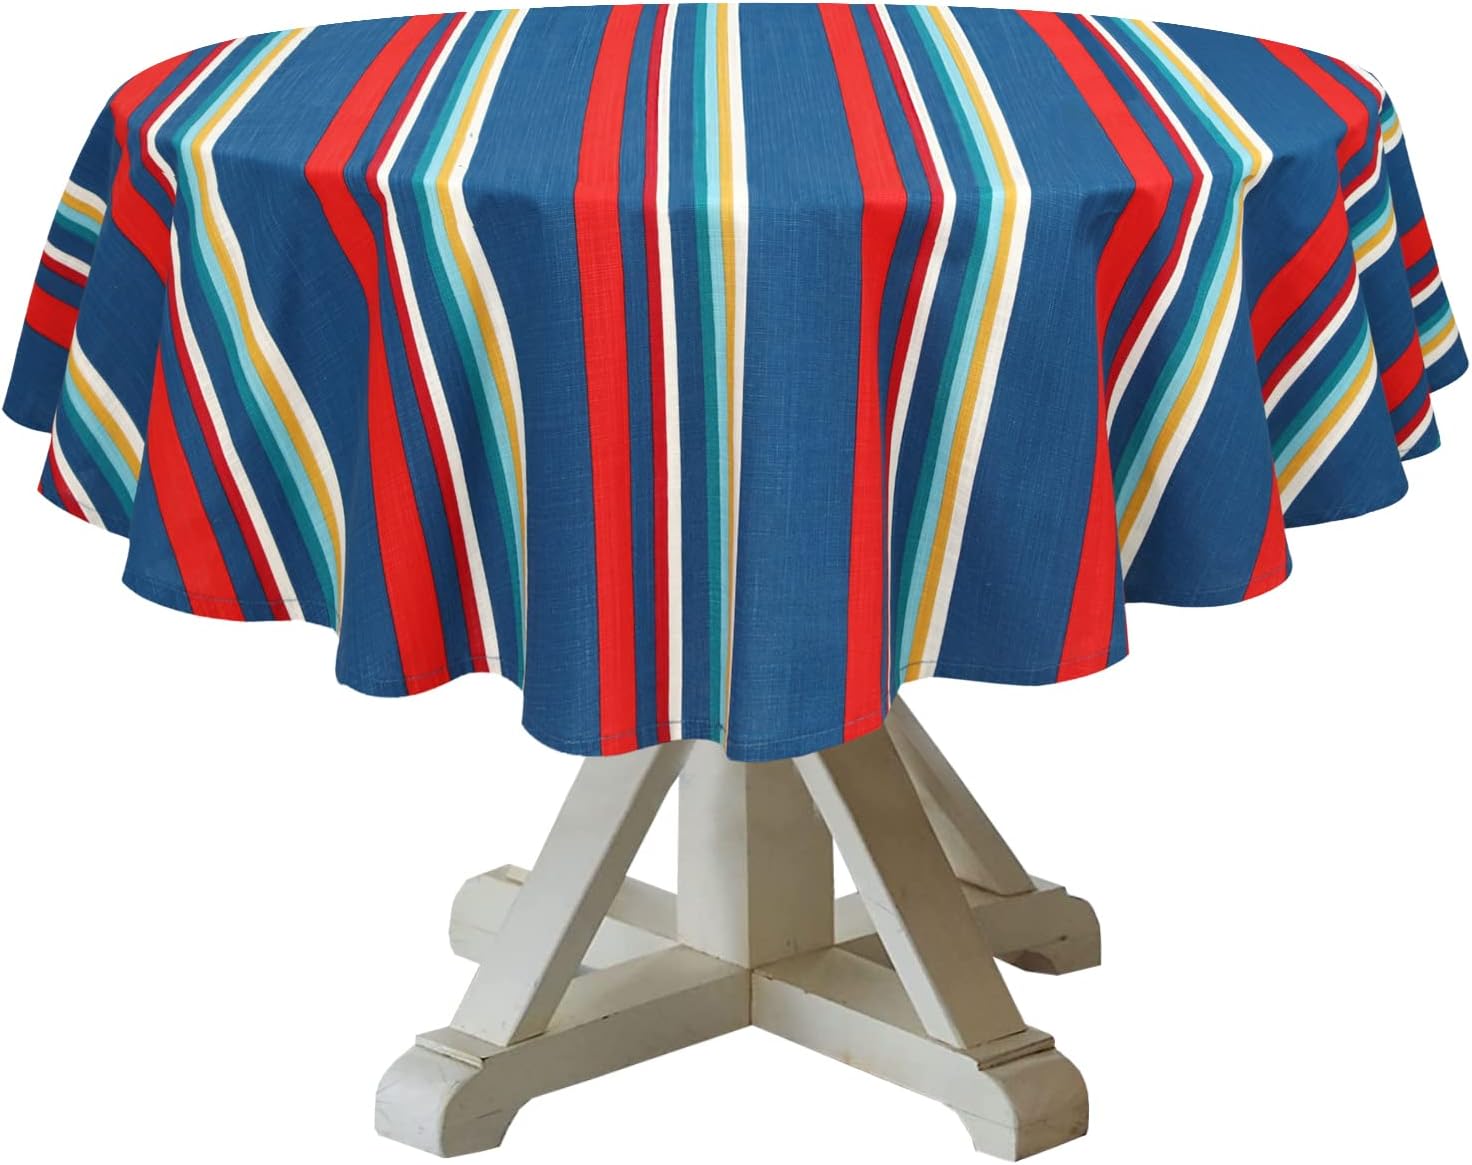
- Place it on your table – With the finishing touches complete, it’s time to enjoy your newly hemmed round tablecloth. Place it on your table, ensuring that it is centered and the hem reaches the desired drop length. Admire the clean lines and custom fit that you have achieved.
- Care instructions – Finally, be sure to follow the care instructions specific to your fabric when cleaning your tablecloth. Some fabrics may require hand washing or gentle machine washing, while others may be suitable for machine drying or may need to be air-dried. Always consult the care label or fabric manufacturer’s recommendations to preserve the quality and lifespan of your tablecloth.
Congratulations! You have successfully completed the steps to hem a round tablecloth. Take pride in your craftsmanship, as your custom-fit tablecloth will add a touch of elegance to your dining experience.
Remember, the skills you have learned in this guide can be applied to hemming other round fabric items as well, such as skirts or curtains. So feel free to unleash your creativity and experiment with different projects!
Enjoy your beautifully hemmed round tablecloth and the delightful ambiance it brings to your dining space.
Conclusion
Hemming a round tablecloth is a creative and rewarding project that allows you to customize the fit and style of your tablecloth. With the step-by-step guide provided, you now have the knowledge and skills to confidently hem your own round tablecloth.
By measuring and marking the fabric accurately, cutting with precision, folding and pinning the hem securely, sewing with care, and adding those finishing touches, you can create a professional-looking tablecloth that perfectly fits your table.
Remember to gather all the necessary materials before starting, including fabric, thread, measuring tape, pins, scissors, a sewing machine, and an iron. These tools will ensure a smooth and successful hemming process.
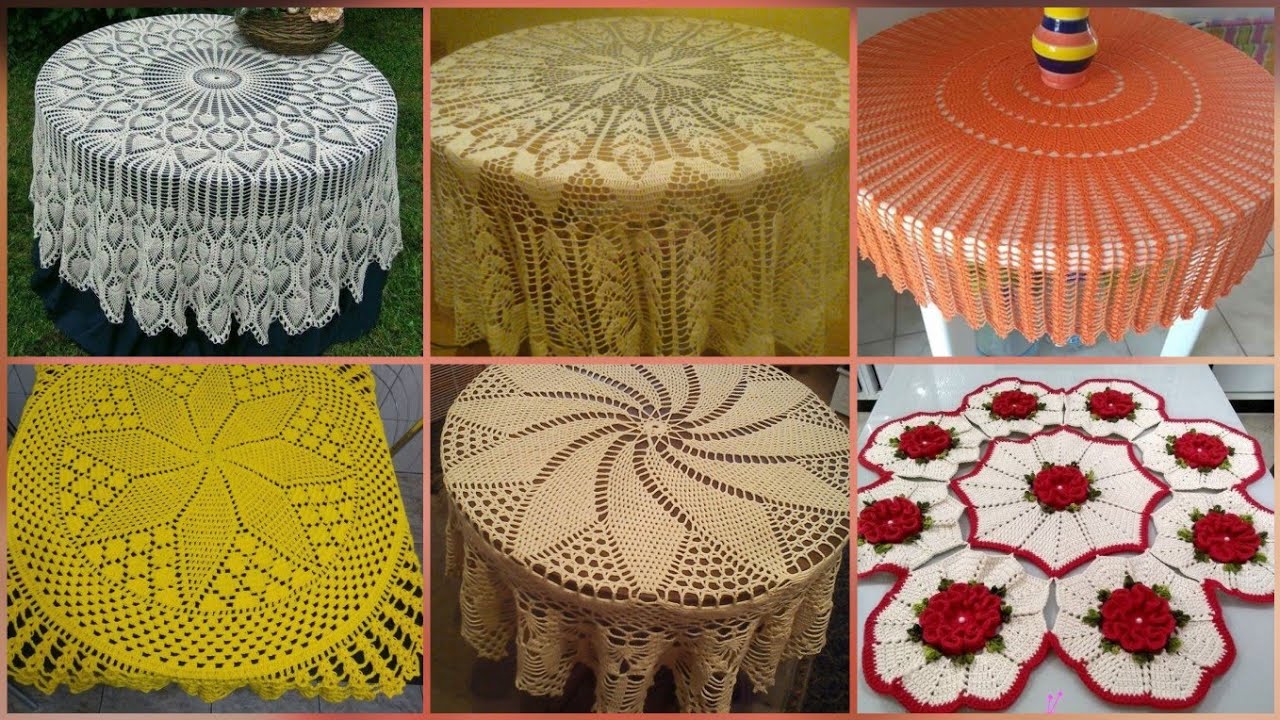
Throughout your journey, embrace your creativity and don’t be afraid to experiment with different fabrics, patterns, and hem widths. Hemming a round tablecloth gives you the opportunity to showcase your personal style and add a touch of elegance to your dining space.
Now that you are equipped with the knowledge and skills needed to hem a round tablecloth, go ahead and give it a try. With practice, your hemming techniques will continue to improve, and you’ll soon be able to create beautifully customized tablecloths for any occasion.
Enjoy the satisfaction of crafting a tablecloth that fits perfectly and enhances the beauty of your dining area. Whether it’s for everyday meals or special gatherings, your hemmed round tablecloth will impress your guests and elevate the ambiance of your dining experience.
So, grab your materials, set up your sewing machine, and let your creativity flow as you transform your fabric into a stunning round tablecloth that’s made just for you.
Happy hemming!
Frequently Asked Questions about How To Hem A Round Tablecloth
Was this page helpful?
At Storables.com, we guarantee accurate and reliable information. Our content, validated by Expert Board Contributors, is crafted following stringent Editorial Policies. We're committed to providing you with well-researched, expert-backed insights for all your informational needs.
0 thoughts on “How To Hem A Round Tablecloth”