Home>Dining>Tableware>How To Make A 120-Inch Round Tablecloth
Tableware
How To Make A 120-Inch Round Tablecloth
Modified: February 24, 2024
Learn how to easily create a 120-inch round tablecloth for your tableware needs. Follow our step-by-step guide and make your dining table look elegant and stylish.
(Many of the links in this article redirect to a specific reviewed product. Your purchase of these products through affiliate links helps to generate commission for Storables.com, at no extra cost. Learn more)
Introduction
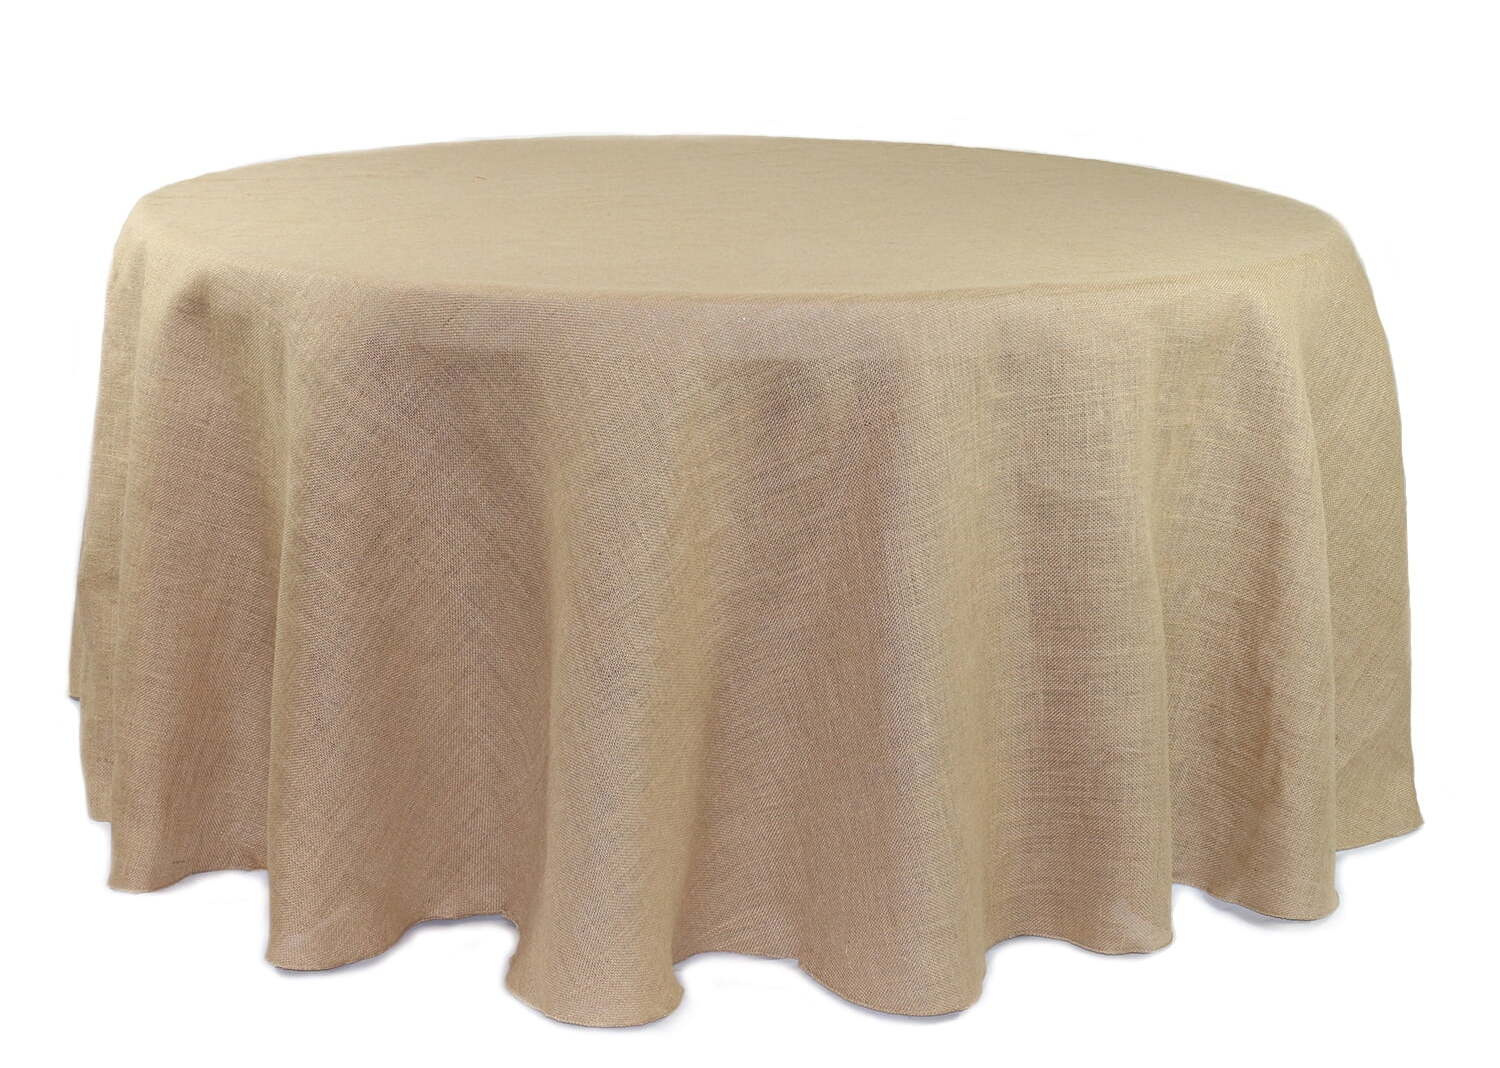
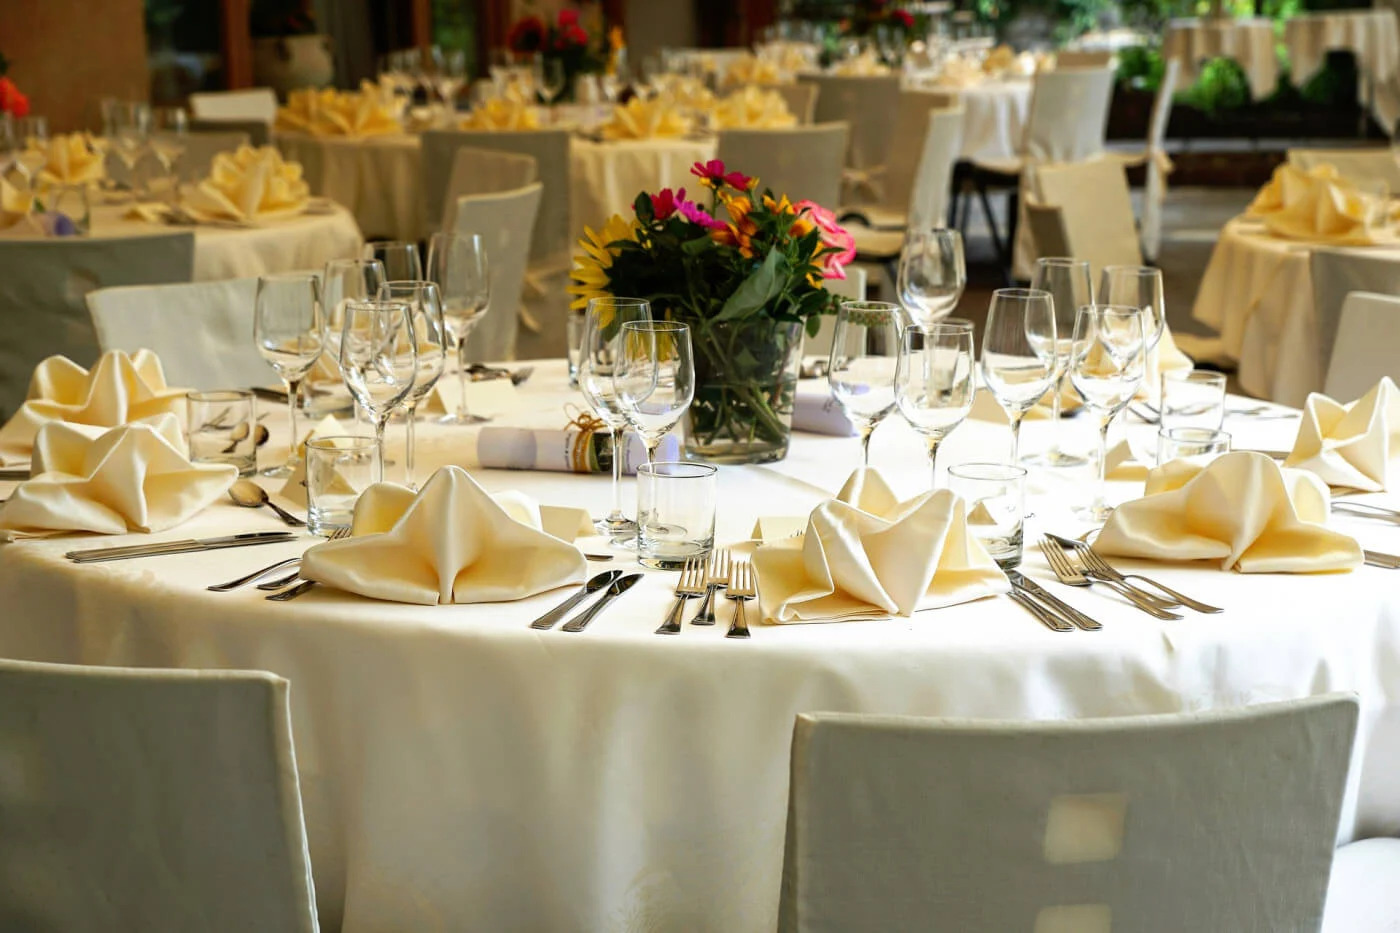
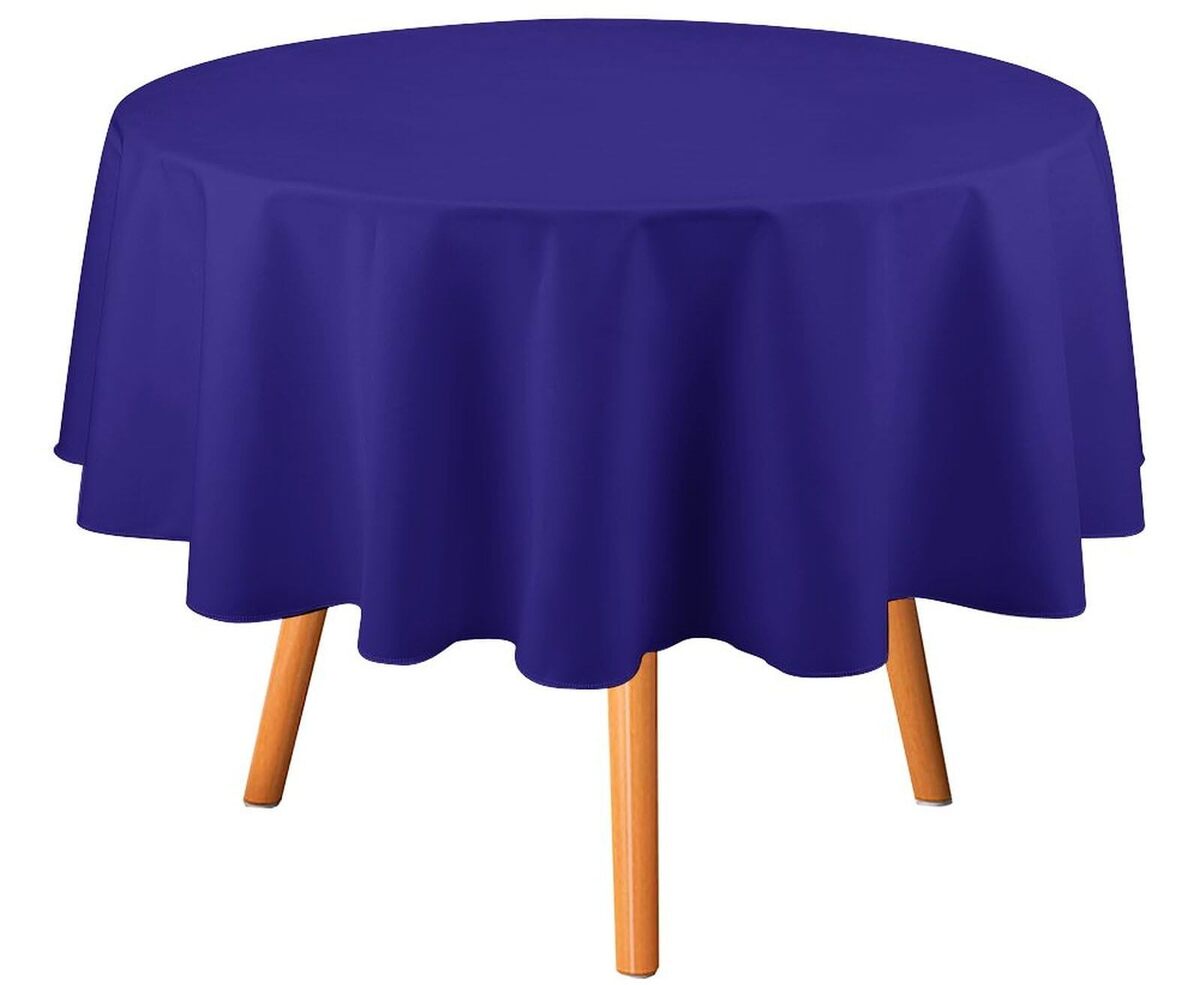
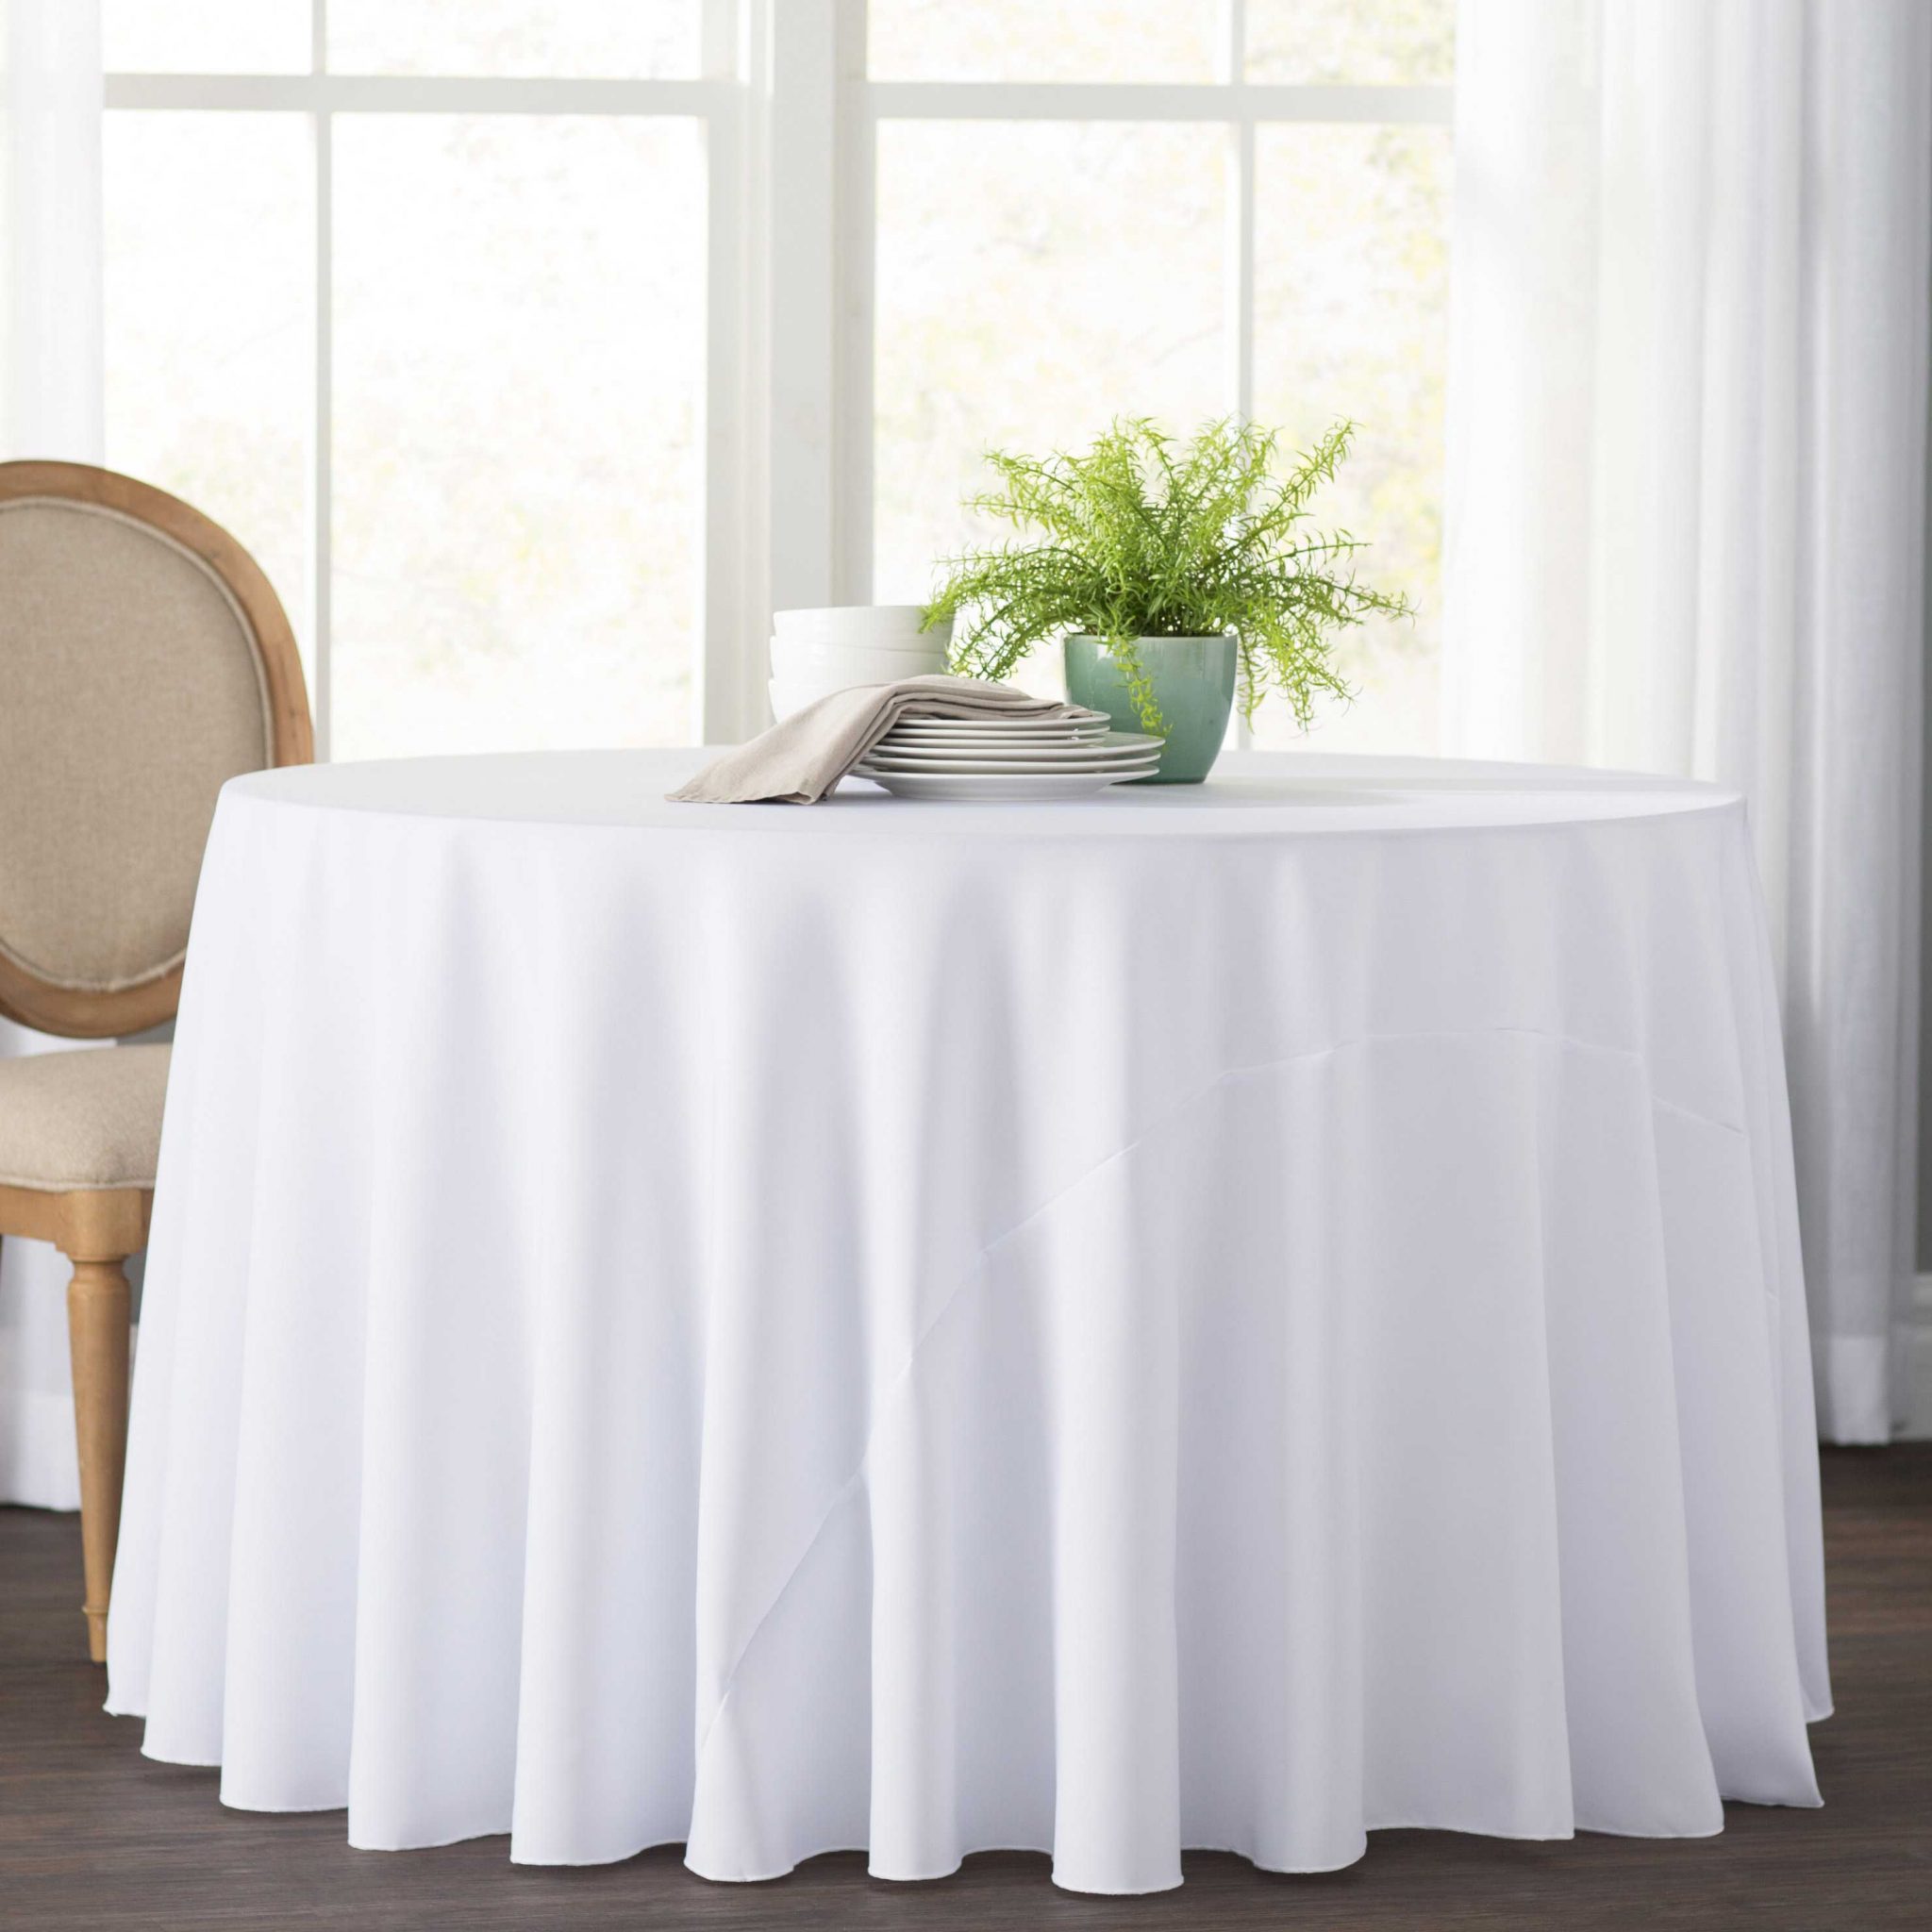
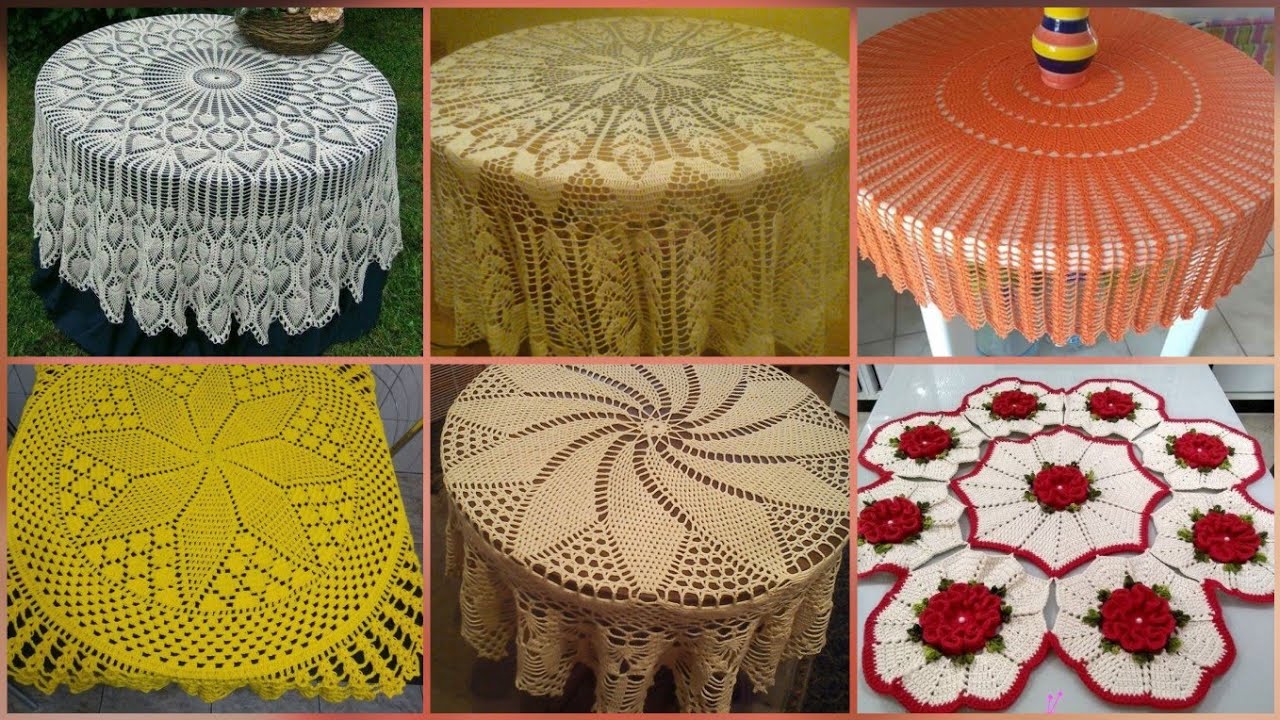
Welcome to our comprehensive guide on how to make a 120-inch round tablecloth! Whether you’re hosting a special event, planning a wedding reception, or simply wanting to give your dining area a fresh look, a custom-made tablecloth can instantly transform any space. A 120-inch round tablecloth is a popular choice as it provides ample coverage for larger tables.
While purchasing a tablecloth is always an option, making your own allows you to personalize the fabric, choose the perfect color or pattern, and ensure the exact dimensions you need. Plus, it can be quite a rewarding and satisfying DIY project!
In this article, we’ll guide you through the step-by-step process of making a 120-inch round tablecloth. We’ll cover everything from measuring the table to adding the finishing touches. So, grab your measuring tape and sewing kit, and let’s get started!
Key Takeaways:
- Transform any space with a personalized 120-inch round tablecloth, adding a touch of elegance and creativity to your dining area or special event setup.
- Enjoy the rewarding process of creating a custom tablecloth that perfectly fits your table and reflects your personal style, making every gathering or occasion extra special.
Materials Needed
Before diving into the process, make sure you have the following materials on hand:
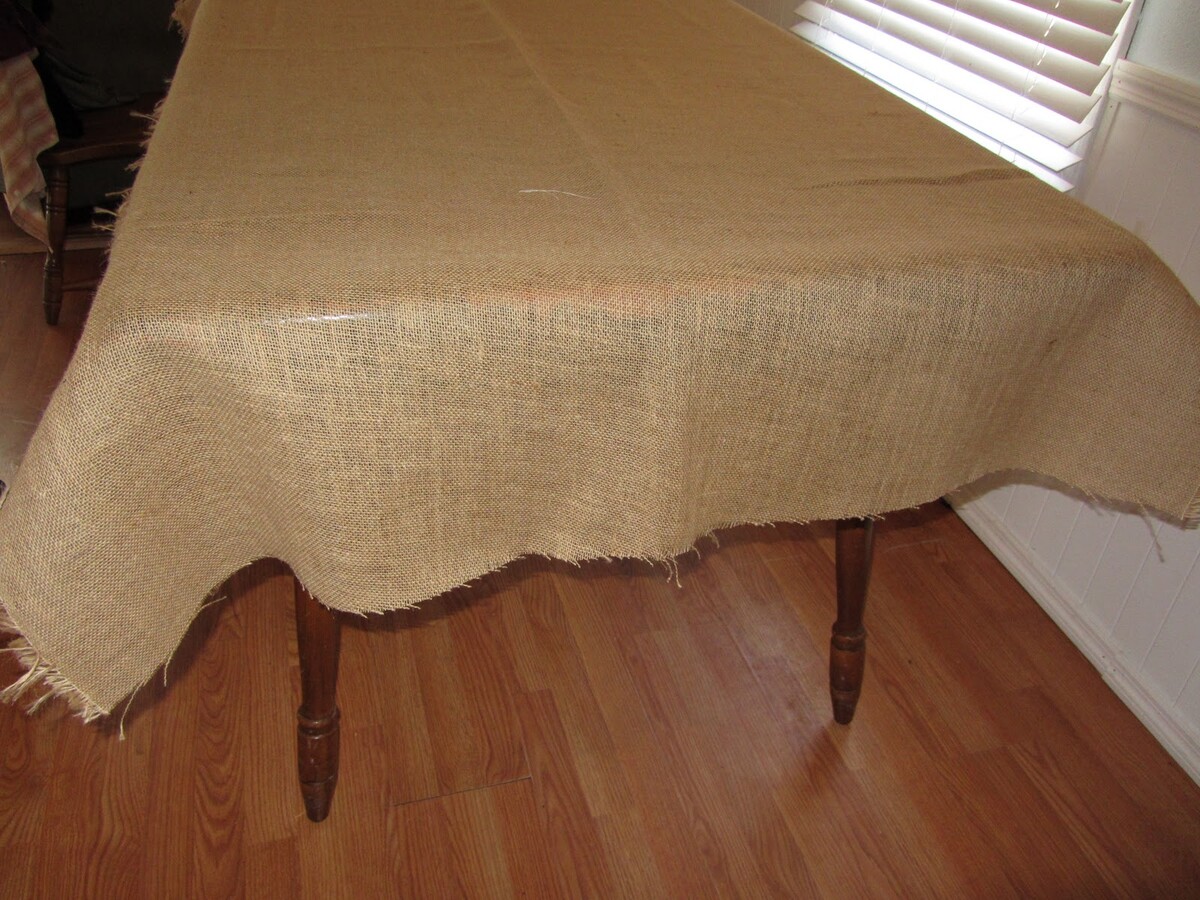
- Fabric: Choose a fabric of your preference, such as cotton, linen, polyester, or a combination. Ensure that the fabric is wide enough to cover the diameter of your table with some overhang.
- Measuring tape: Essential for accurately measuring the dimensions of your table.
- Fabric scissors: A sharp pair of scissors specifically designed for cutting fabric.
- Sewing machine: While it is possible to hand sew the tablecloth, a sewing machine will make the process quicker and more efficient.
- Pins: Used to secure the fabric in place while cutting and sewing.
- Thread: Choose a color that matches or complements your fabric.
- Iron and ironing board: These will be used to press the fabric and create crisp edges.
- Optional: Embellishments such as lace trim, decorative buttons, or fabric flowers.
Having these materials prepared and within reach will ensure a smooth and successful tablecloth-making process. Now that you have everything you need, let’s move on to the next step: measuring the table.
Step 1: Measuring the Table
The first and most important step in making a 120-inch round tablecloth is measuring the table accurately. This will ensure a proper fit and drape once the tablecloth is finished. Follow these steps to measure your table:
- Clean the table: Remove any items or tableware from the table to get a clear surface for measuring.
- Measure the diameter: Using a measuring tape, find the center of the table and measure across the tabletop to get the diameter. Round the measurement to the nearest inch.
- Add the drop length: Determine how long you want the tablecloth to drape over the edges of the table. For a standard drop, add around 10-12 inches to the diameter measurement. If you prefer a longer or shorter drop, adjust accordingly.
For example, if your table has a diameter of 60 inches and you want a 10-inch drop, the total measurement for your tablecloth will be 60 + 10 + 10 = 80 inches.
Once you have calculated the desired measurements, make a note of them. This will come in handy when determining the size of fabric needed in the next step. With the table measurements complete, it’s time to move on to calculating the fabric size.
Step 2: Calculating the Fabric Size
Now that you have the measurements for your table, it’s time to calculate the size of fabric you’ll need to create a 120-inch round tablecloth. Follow these steps:
- Calculate the radius: Divide the diameter of your table by 2 to find the radius. For example, if the diameter is 60 inches, the radius will be 60 / 2 = 30 inches.
- Add the drop length: Take the radius measurement and add the desired drop length. Continuing with the previous example, if the drop length is 10 inches, the total measurement will be 30 + 10 = 40 inches.
- Calculate the fabric size: To determine the fabric size, multiply the total measurement by 2. For example, 40 inches x 2 = 80 inches.
- Account for seam allowance: If you plan to add a center seam to your tablecloth, add an additional 1-2 inches to the fabric size to account for the seam allowance. This will ensure that the finished tablecloth is the desired size.
For a 120-inch round tablecloth without a center seam, the final fabric size should be approximately 80 inches. However, if you decide to include a center seam, adjust the fabric size accordingly.
Understanding the fabric size needed is crucial for purchasing the right amount of fabric and achieving the desired result. Now that you have the measurements and fabric size determined, let’s move on to the next step: preparing the fabric.
Step 3: Preparing the Fabric
Before you can begin cutting and sewing the fabric for your tablecloth, it’s important to properly prepare it. Follow these steps to ensure your fabric is in the best condition for your project:
- Wash and dry the fabric: If your fabric is machine-washable, it’s recommended to wash and dry it before starting. This will help remove any chemicals or residue, prevent shrinkage, and ensure the fabric is clean and ready for use.
- Iron the fabric: Once your fabric is clean and dry, iron it to remove any wrinkles or creases. This will make cutting and sewing easier and create a neater finished product.
- Layout the fabric: Find a large, flat surface to lay out your fabric. Make sure there’s enough space to accommodate the fabric size you calculated earlier. Smooth out any wrinkles or folds in the fabric.
By preparing your fabric properly, you’ll ensure a smoother sewing process and eliminate any potential issues that may arise from unwashed or wrinkled fabric. With the fabric ready, it’s time to move on to the next step: cutting the fabric.
Step 4: Cutting the Fabric
With your prepared fabric, it’s time to cut it to the correct size for your 120-inch round tablecloth. Follow these steps to ensure accurate and clean cuts:
- Lay out the fabric: Place your fabric on a large, flat surface, ensuring it is smooth and free of any wrinkles or folds.
- Measure and mark the fabric: Using your measuring tape, locate the center of the fabric and mark it with a fabric pen or a pin. This will serve as a reference point for cutting.
- Measure the fabric size: Starting from the center point, measure the desired fabric size based on the calculations you made earlier. Use straight pins or fabric weights to hold the fabric in place as you measure.
- Mark the fabric size: Once you have measured the fabric size, mark it along the edges of the fabric using a fabric pen or pins. This will create a clear cutting line.
- Cut the fabric: Carefully cut along the marked lines using fabric scissors. Take your time to ensure straight and accurate cuts. If necessary, use a ruler or straight edge as a guide to maintain a clean cut.
Remember, accuracy is key when cutting the fabric for your tablecloth. Take your time and double-check your measurements before making any cuts. With the fabric cut to size, it’s time to move on to the next step: hemming the edges.
When making a 120-inch round tablecloth, be sure to use a large, flat surface for cutting and measuring the fabric. Consider using a rotary cutter and a large cutting mat to ensure precise and even edges.
Step 5: Hemming the Edges
Now that you have the fabric cut to the desired size for your 120-inch round tablecloth, it’s time to hem the edges. Hemming will give your tablecloth a polished and finished look. Follow these steps to hem the edges:
- Prepare your sewing machine: Set up your sewing machine with a thread color that matches or complements your fabric. Ensure that you have the appropriate needle and presser foot for your fabric type.
- Fold and press the edges: Take one edge of the fabric and fold it over by about ¼ inch, towards the wrong side of the fabric. Press this fold with an iron to create a crease. Repeat this process for all the edges of the fabric.
- Fold and press again: After the initial fold, fold over the fabric a second time, this time by about ½ inch. Press this fold as well, creating a double-fold hem.
- Sew the hem: Starting at one end, carefully stitch along the folded edge of the hem using a straight stitch. Sew all the way around the tablecloth, ensuring your stitches are neat and even. Backstitch at the beginning and end to secure the stitches.
Be sure to take your time while sewing the hem to ensure a clean and professional finish. Remember to maintain a consistent seam allowance throughout. Once you have hemmed all the edges, your tablecloth will start to take shape. However, if you wish to add a center seam or any embellishments, continue to the following steps.
Step 6: Adding the Center Seam (Optional)
If you want to add a decorative element or create a two-tone effect, you can choose to include a center seam in your 120-inch round tablecloth. Follow these steps to add a center seam:
- Measure and mark the center: Locate the center of the tablecloth by folding it in half and making a small mark or pin at that point. This will serve as a reference for creating the center seam.
- Cut the fabric for the center seam: From the edge of the tablecloth to the center mark, cut a straight line along the fold. This will create two separate pieces of fabric.
- Prepare the fabric edges: Fold and press the raw edges of the fabric where the center seam will be sewn. This will create a clean and finished look once the seam is in place.
- Sew the center seam: Place the two fabric pieces right sides together, aligning the edges. Stitch along the pressed edges, creating a straight seam. Backstitch at the beginning and end to secure the seam.
Adding a center seam can add visual interest to your tablecloth and allow for creative options with color and pattern combinations. Once you have sewn the center seam, proceed to the next step if you wish to further embellish your tablecloth.
Step 7: Adding Additional Embellishments (Optional)
If you want to take your 120-inch round tablecloth to the next level, you can add some additional embellishments to showcase your creativity and style. Here are a few ideas to consider:
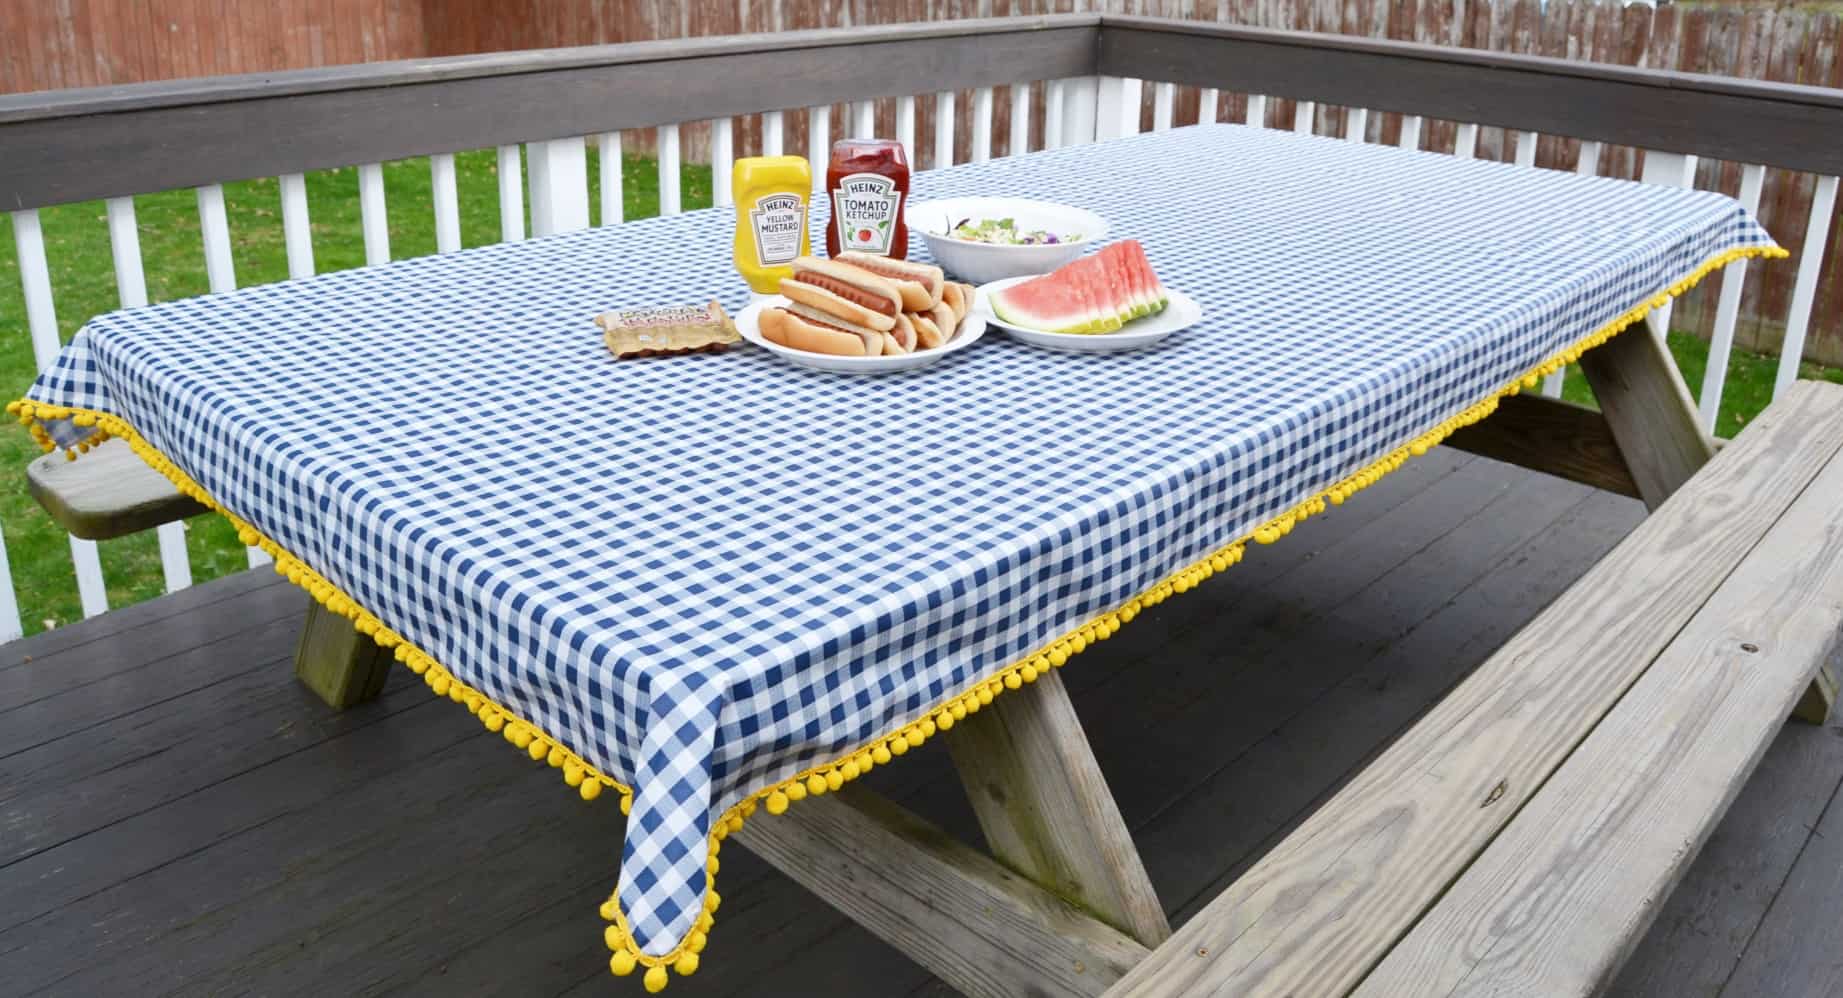
- Lace trim: Sew a delicate lace trim along the edge of the tablecloth to give it a touch of elegance and femininity.
- Embroidery: Add embroidered designs or monograms to personalize your tablecloth and make it truly unique.
- Fabric appliques: Cut out fabric shapes like flowers or geometric patterns and applique them onto the tablecloth for a textured and eye-catching effect.
- Ribbon accents: Attach ribbons in coordinating colors to the edge of the tablecloth or along the center seam to add a pop of color and visual interest.
- Fringe or tassel trim: Attach fringe or tassel trim to the hem of the tablecloth to create a playful and bohemian look.
These are just a few examples, but feel free to let your imagination run wild and experiment with different embellishments that resonate with your personal style. Remember to sew or attach these additional embellishments securely to ensure they withstand use and washing.
Once you are satisfied with the embellishments, you are ready for the final step: adding the finishing touches.
Step 8: Finishing Touches
Now that your 120-inch round tablecloth is almost complete, it’s time to add the final touches to ensure a polished and professional finish. Follow these steps:
- Inspect the tablecloth: Take a close look at the tablecloth, checking for any loose threads, uneven hems, or imperfections. Trim any excess threads and make any necessary adjustments.
- Press the tablecloth: Use an iron to press the entire tablecloth, focusing on the hems and seams. This will give your tablecloth a crisp and neat appearance.
- Test it on the table: Place your newly created tablecloth on the table it was measured for. Ensure that it fits properly and has the desired drape and overhang.
- Make any final adjustments: If necessary, make any final adjustments to the tablecloth, such as adjusting the hem length or fixing any uneven edges.
By giving your tablecloth a thorough inspection, pressing it, and testing it on the table, you can ensure that it meets your expectations and looks stunning in its intended space.
Congratulations! You have successfully completed the process of making a 120-inch round tablecloth. Now you can enjoy the satisfaction of creating a custom tablecloth that perfectly fits your table and reflects your personal style.
Remember to take proper care of your tablecloth by following the care instructions for the fabric you used. With proper maintenance, your tablecloth can be enjoyed for many gatherings and special occasions to come.
Thank you for following this comprehensive guide. We hope you found it helpful and inspiring. Happy sewing!
Conclusion
Congratulations on completing your homemade 120-inch round tablecloth! By following this comprehensive guide, you have learned how to measure your table, calculate the fabric size, prepare the fabric, cut and hem the edges, and even add optional embellishments. The end result is a custom-made tablecloth that fits your table perfectly and matches your personal style.
Making your own tablecloth not only allows for customization but also gives you a sense of pride and accomplishment. It is a rewarding DIY project that adds a personal touch to your dining area or event setup.
Remember to choose the right fabric for your needs and take your time when measuring, cutting, and sewing. Accuracy and attention to detail are key to achieving a professional-looking tablecloth.
Whether you’re hosting a special occasion, setting the table for a holiday meal, or simply looking to refresh your dining space, a well-made tablecloth can instantly transform the ambiance and create an inviting atmosphere.
We hope this guide has provided you with valuable insights and inspiration to create your own 120-inch round tablecloth. Enjoy the process, showcase your creativity, and let your tablecloth become a conversation piece among your guests.
Thank you for joining us on this DIY tablecloth-making journey. Feel free to refer back to this guide whenever you need a refresher or inspiration for future projects. Happy tablecloth-making!
Frequently Asked Questions about How To Make A 120-Inch Round Tablecloth
Was this page helpful?
At Storables.com, we guarantee accurate and reliable information. Our content, validated by Expert Board Contributors, is crafted following stringent Editorial Policies. We're committed to providing you with well-researched, expert-backed insights for all your informational needs.


0 thoughts on “How To Make A 120-Inch Round Tablecloth”