Home>Dining>Tableware>How To Make A Large Round Dining Room Table
Tableware
How To Make A Large Round Dining Room Table
Modified: February 24, 2024
Discover how to make a stunning large round dining room table with our comprehensive guide. Upgrade your tableware game and create a statement piece that will impress your guests.
(Many of the links in this article redirect to a specific reviewed product. Your purchase of these products through affiliate links helps to generate commission for Storables.com, at no extra cost. Learn more)
Introduction
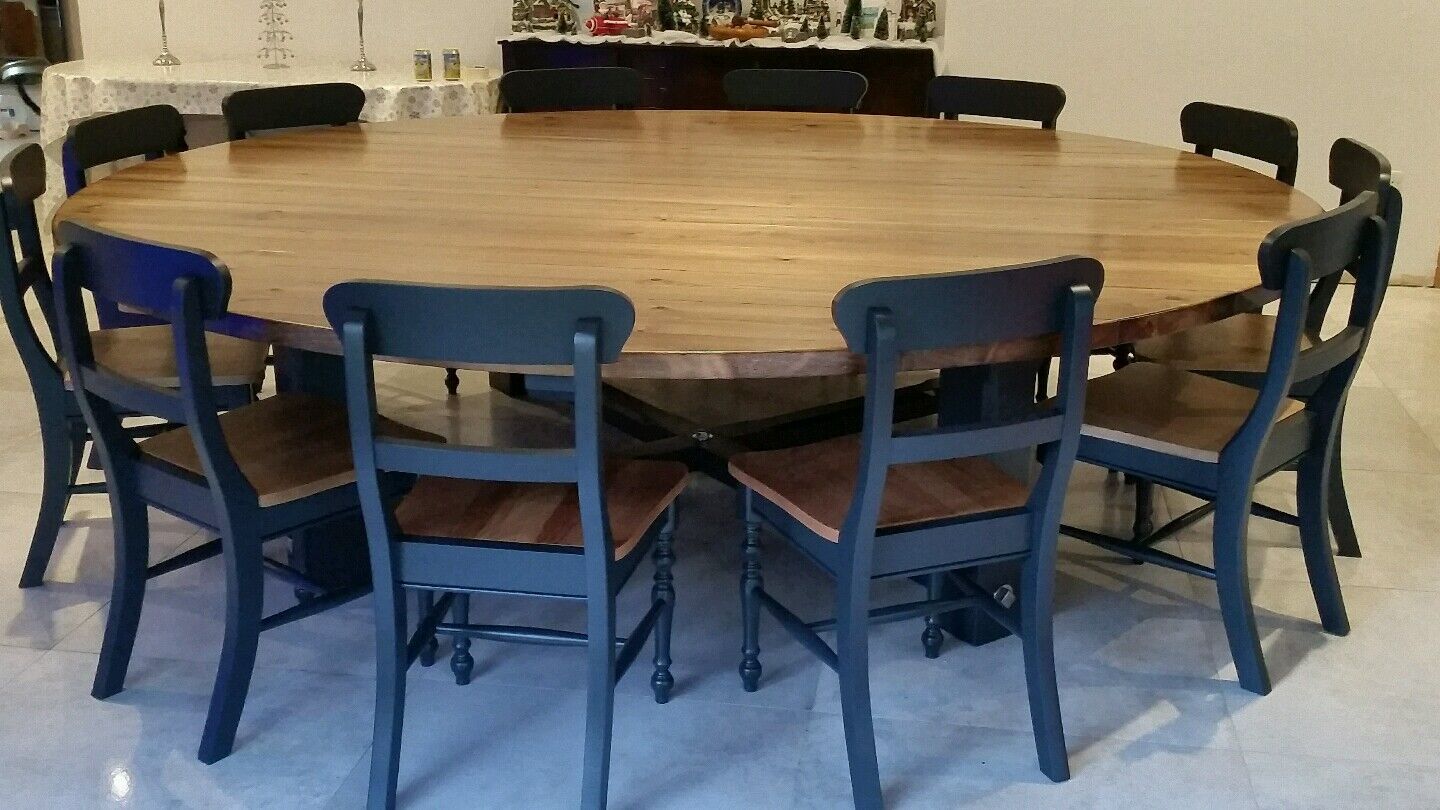
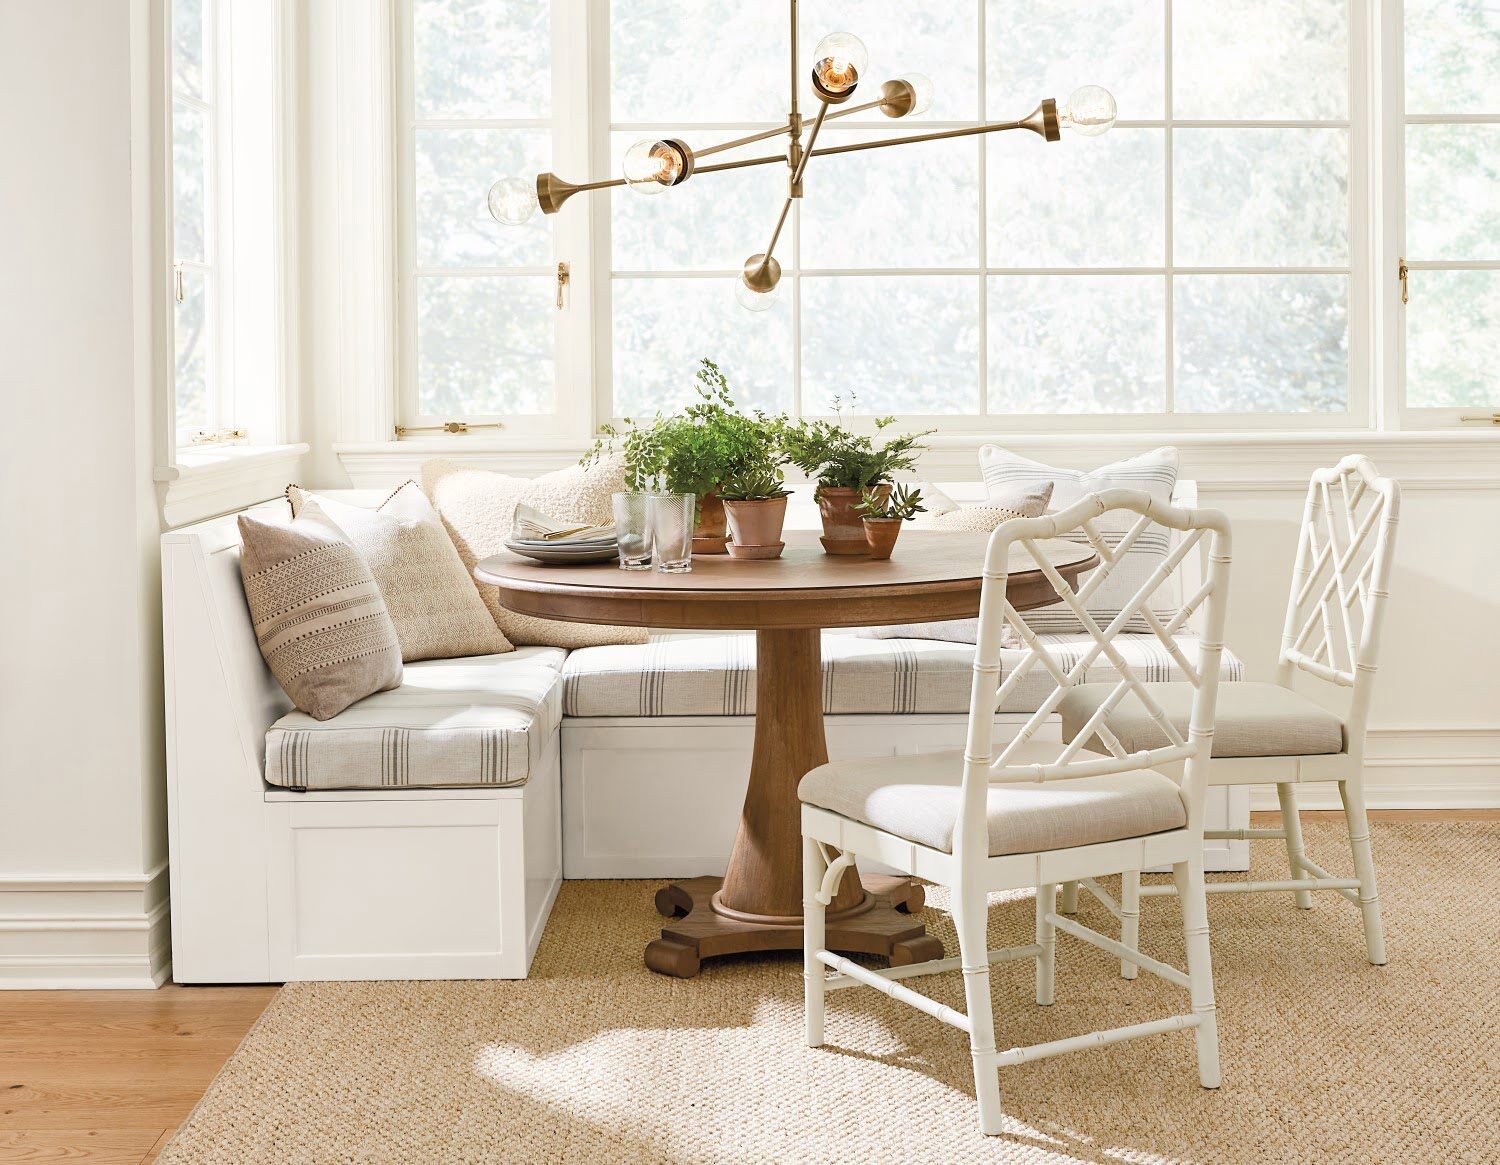
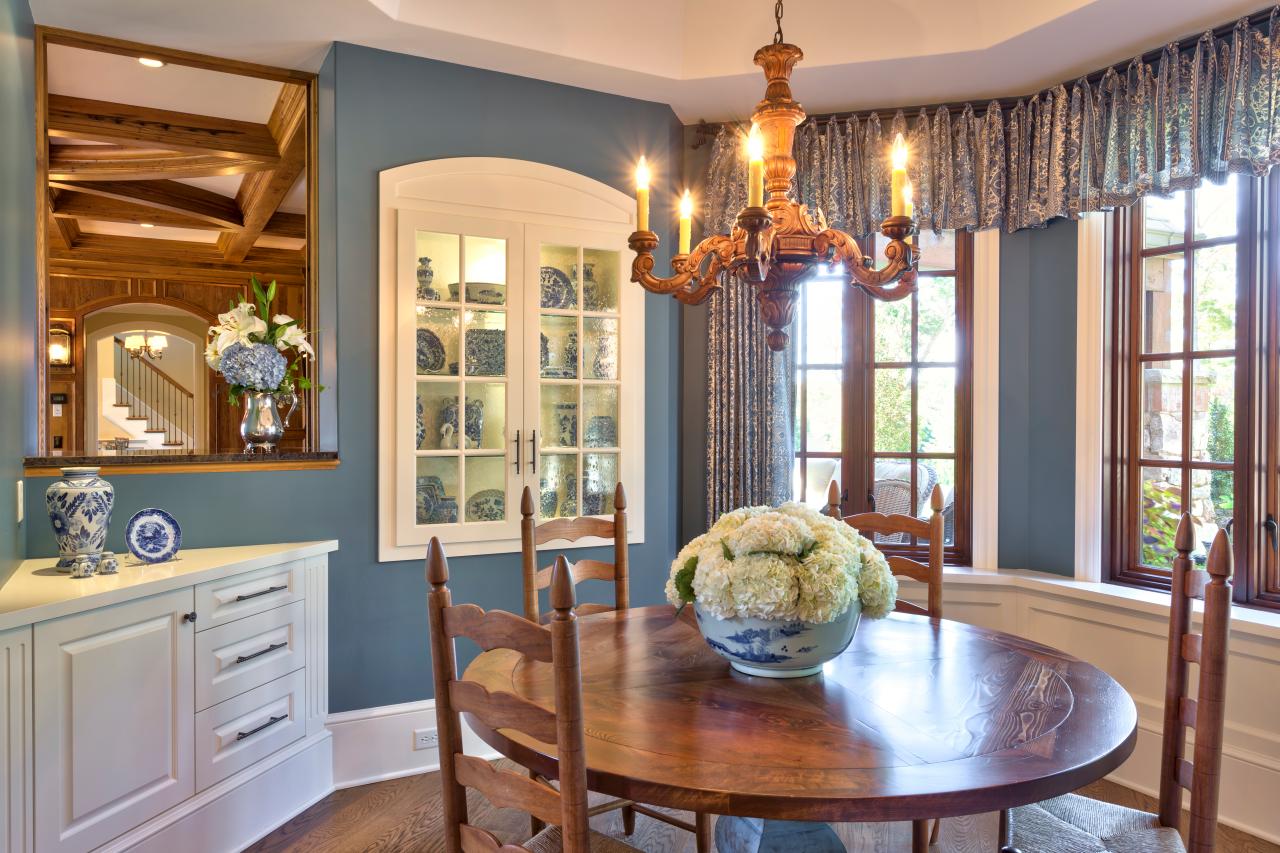
Having a large round dining room table is not only aesthetically pleasing, but it also creates a warm and inviting space for family and friends to gather. Whether you’re a seasoned woodworker or a DIY enthusiast, building a large round dining room table can be a rewarding project that showcases your craftsmanship.
In this comprehensive guide, we will walk you through the process of building a beautiful and sturdy large round dining room table from scratch. We will cover everything from choosing the right materials to putting on the finishing touches. So, grab your tools and let’s get started!
Key Takeaways:
- Building a large round dining room table requires careful material selection, precise wood preparation, and sturdy base construction. Attention to detail and craftsmanship are essential for creating a beautiful and functional centerpiece for your home.
- Adding finishing touches such as sanding, staining, and sealing ensures the longevity and beauty of your handmade table. Embrace the pride of woodworking and enjoy memorable gatherings around your skillfully crafted dining room table.
Read more: How To Make A Round Dining Table Base
Choosing the Right Materials
When it comes to building a large round dining room table, selecting the right materials is crucial for both the aesthetic appeal and functionality of the final product. Here are a few key considerations to keep in mind:
- Wood: The choice of wood will significantly impact the look and durability of your table. Hardwoods such as oak, maple, and cherry are popular options due to their strength and attractive grains. Alternatively, you can opt for more budget-friendly options like pine or plywood.
- Tabletop Thickness: A thick tabletop not only adds visual impact but also enhances stability. Aim for a minimum thickness of 1 inch, but you can adjust this based on personal preference and the overall style of your table.
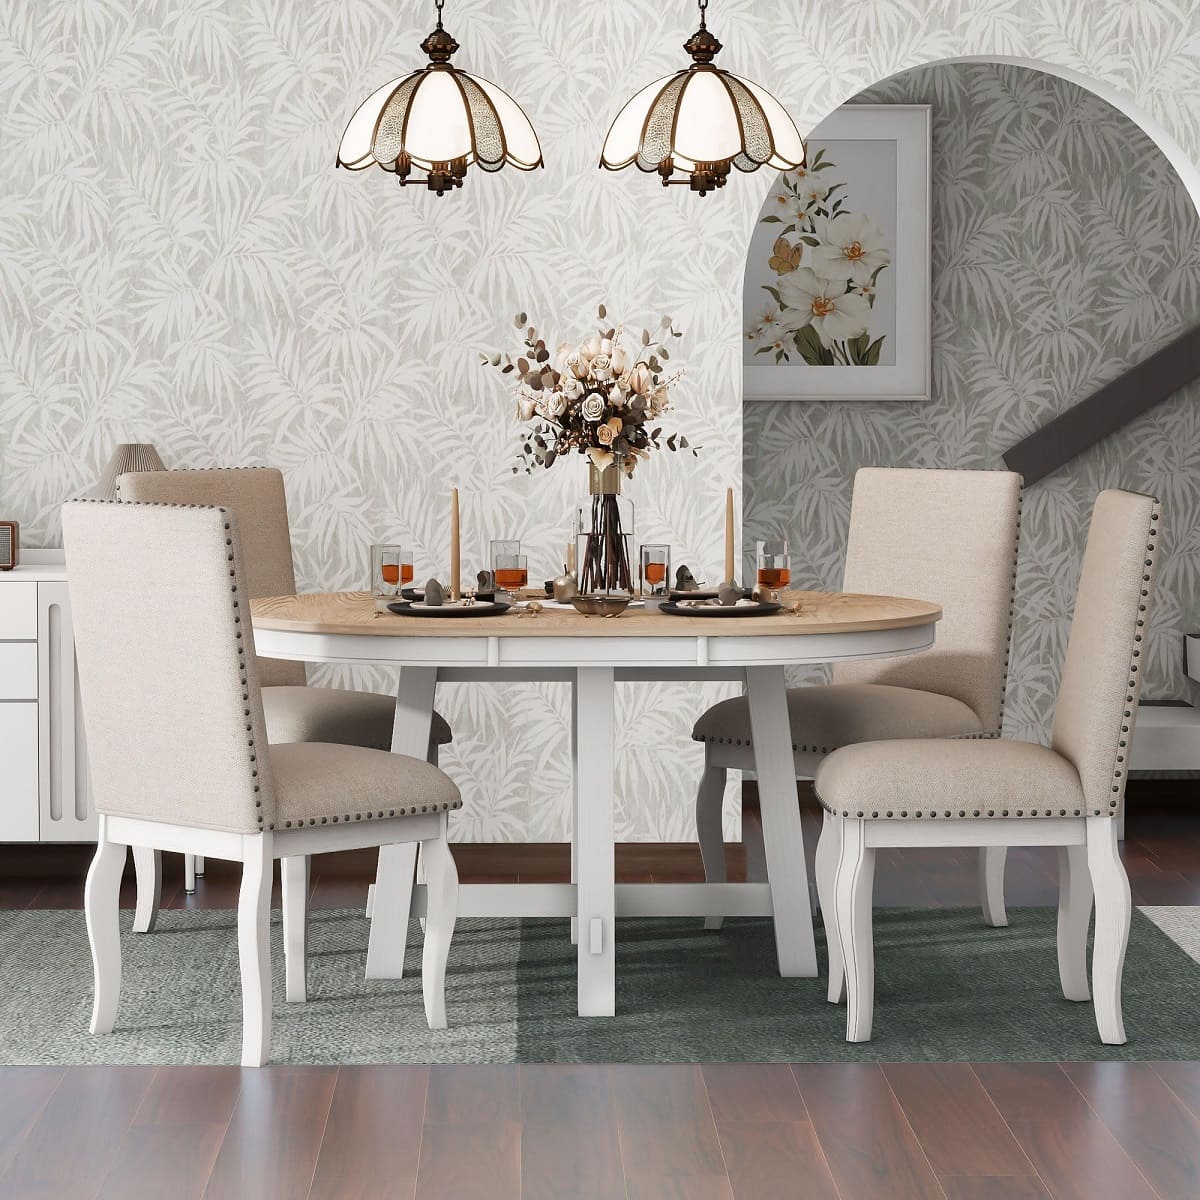
- Finish: The finish you choose will protect the wood and give it a polished look. Consider using a varnish, stain, or paint that complements the rest of your dining room décor.
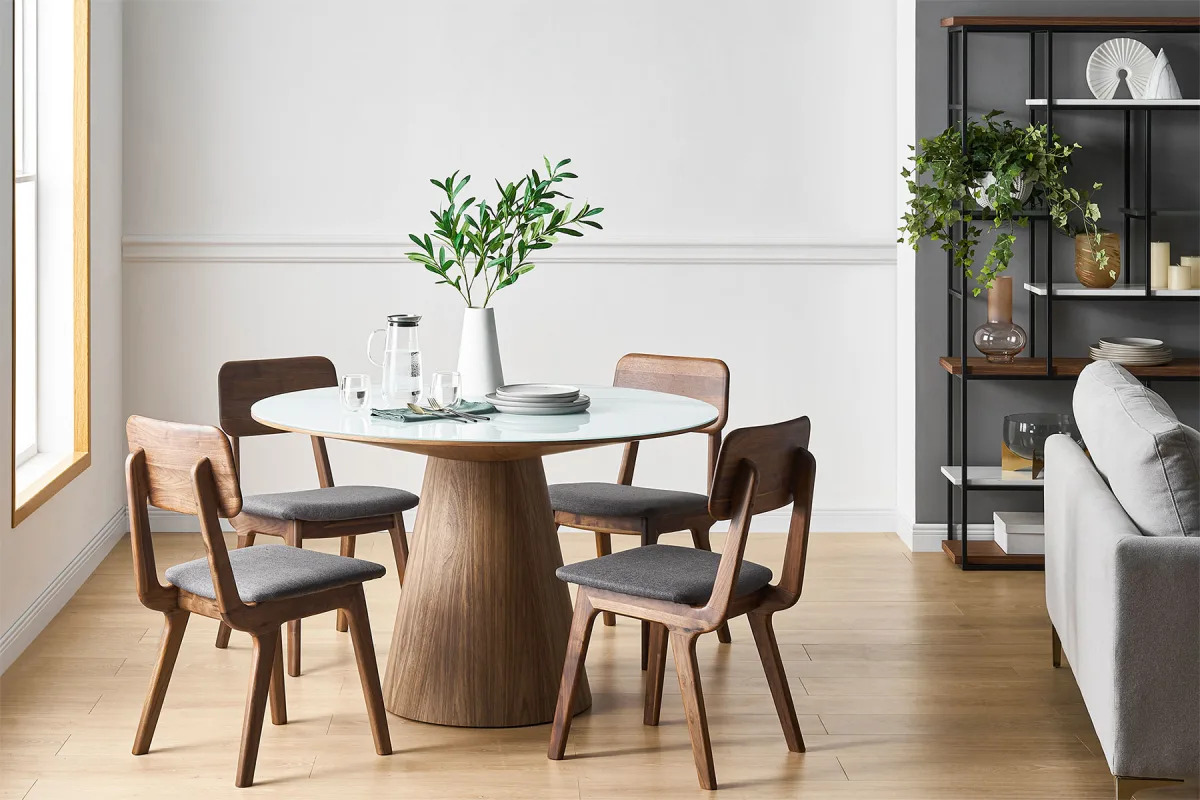
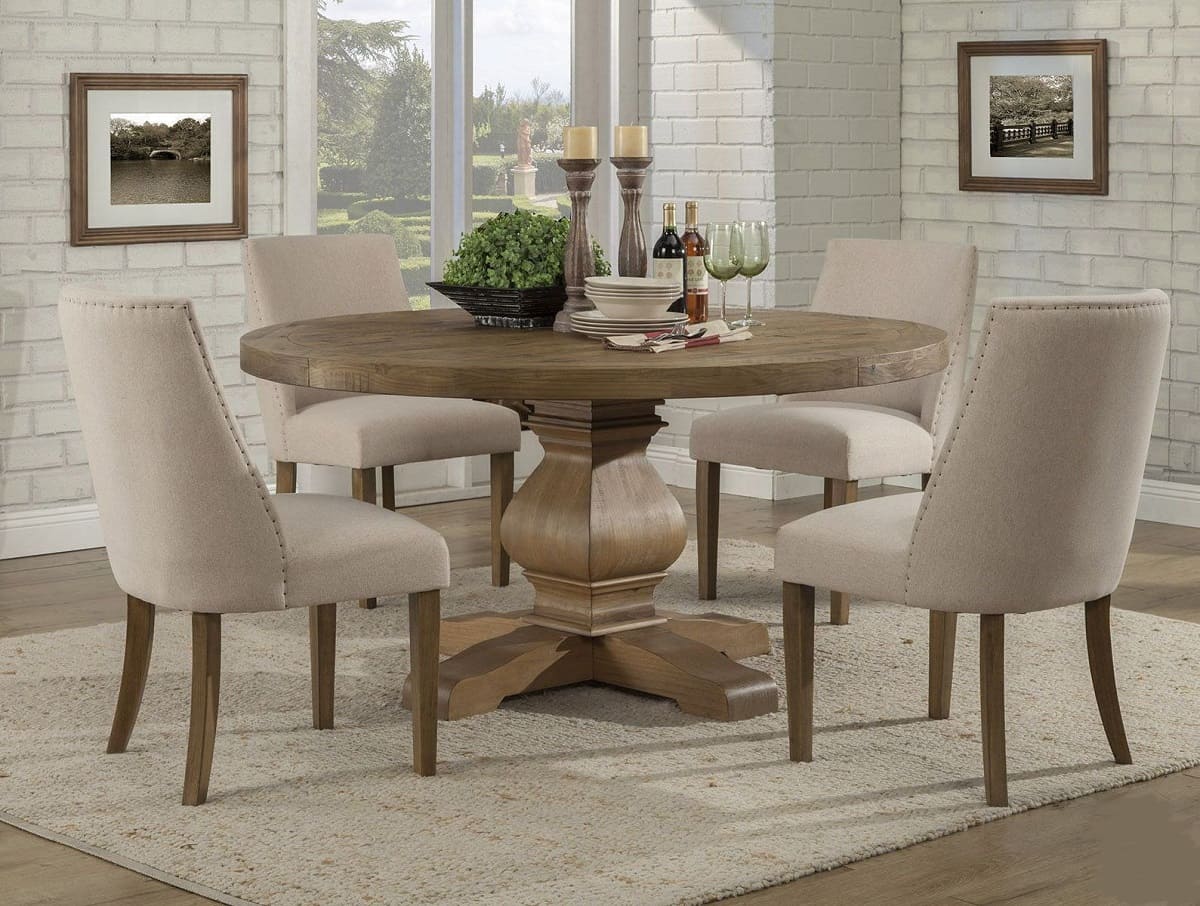
- Table Base: The base of your table should be sturdy and well-built to provide proper support. Popular options include four-legged bases, pedestal styles, or even a combination of both.
- Hardware: Don’t overlook the importance of choosing quality hardware, such as screws, bolts, and brackets, to ensure the table remains secure and stable.
It’s advisable to visit a local hardware store or lumberyard to inspect different wood types in person. This will help you make an informed decision based on your preferences and budget.
Keep in mind that while building a large round dining room table can be cost-effective compared to buying one, selecting high-quality materials will ensure its longevity and make it a cherished piece of furniture in your home for years to come.
Preparing the Wood
Before you start building the large round dining room table, it’s crucial to properly prepare the wood to ensure a smooth and flawless finish. Follow these steps to prepare the wood:
- Measurements: Start by determining the desired dimensions of your table. Measure the diameter and mark it on your wood slab. Make sure to leave extra inches for the final shaping and trimming.
- Cutting: Using a circular saw or a jigsaw, carefully cut along the marked lines to create the basic shape of the round tabletop. Take your time to ensure precise cuts.
- Sanding: Once the basic shape is cut, use a belt sander or sandpaper to smooth out the surface of the wood. Begin with a coarse grit sandpaper and gradually move to a finer grit for a polished finish. Sand in the direction of the wood grain to avoid scratches.
- Edging: Use a router with an edging bit to create a decorative edge on the tabletop. This step will add a touch of elegance and give your table a finished look.
- Sealing: Apply a wood sealer or primer to protect the wood from moisture and ensure longevity. Follow the manufacturer’s instructions for application and drying time.
Preparing the wood before assembly is crucial as it sets the foundation for the rest of the construction process. Take your time to make precise cuts and sand the wood thoroughly for a professional-looking result.
Remember to wear safety goggles, ear protection, and a mask when cutting and sanding the wood to protect yourself from any debris.
Building the Base
The base of your large round dining room table plays a crucial role in providing stability and support. Here’s a step-by-step guide on building a sturdy base:
- Choose a Design: Select a base design that suits your style and complements the overall aesthetics of your dining room. Popular options include four-legged bases, pedestal styles, or a combination of both.
- Measurements: Carefully measure and mark the desired height of your table base. Take into consideration the thickness of the tabletop and the desired clearance between the tabletop and the base.
- Cut the Base Pieces: Using a saw, cut the wooden pieces according to the design and dimensions of the base. Ensure that all pieces are cut accurately to ensure stability.
- Assemble the Base: Begin by attaching the legs to the base pieces using wood glue and screws or bolts. Make sure the legs are securely attached to provide proper support. Next, assemble any additional components of the base, such as crossbars or stretchers, according to your chosen design.
- Reinforce the Joints: To ensure the base is strong and durable, reinforce the joints by using corner brackets or dowels. This step will provide additional stability and prevent any wobbling.
- Sand and Finish: Once the base is assembled, use sandpaper to smooth out any rough edges or surfaces. Apply a finish of your choice to protect the wood and enhance its appearance.
Remember to follow the manufacturer’s instructions when using adhesives, screws, or bolts during the assembly process. Take your time with each step to ensure accuracy and precision for a solid and stable base.
Keep in mind that the design and construction of the base should align with the weight and size of the tabletop to provide adequate support and balance.
When making a large round dining room table, ensure the base is sturdy enough to support the weight of the table and provide enough legroom for seated guests. Use high-quality, durable materials for the tabletop to prevent warping or damage over time.
Attaching the Tabletop
Attaching the tabletop to the base is a critical step in the construction of your large round dining room table. Follow these steps to ensure a secure and stable attachment:
- Positioning: Carefully place the tabletop on the assembled base, ensuring it is centered and aligned properly. Use clamps or weights to hold the tabletop in place temporarily.
- Marking: Mark the locations where the tabletop will be attached to the base. Depending on the design of your base, you may need to mark the positions for screws or brackets.
- Drilling: Use a drill to create pilot holes on the marked positions. The size of the drill bit should match the size of the screws or bolts you will be using.
- Securing the Tabletop: Once the pilot holes are drilled, carefully position the tabletop back onto the base. Use screws, bolts, or brackets to secure the tabletop to the base, ensuring a tight and secure fit.
- Checking Stability: After attaching the tabletop, check the stability and balance of the table. Gently apply pressure from various directions to ensure it is secure and doesn’t wobble.
- Trimming and Touch-ups: If needed, use a saw to trim any excess material or uneven edges of the tabletop. Sand the trimmed edges and apply a finish to match the rest of the table.
Take your time during the attachment process to ensure accuracy and a secure connection between the tabletop and the base. If desired, you can also add decorative elements or trim to further enhance the appearance of your table.
Remember to follow safety precautions when handling tools and equipment, and always wear protective gear to prevent any accidents or injuries.
Finishing Touches
Adding the finishing touches to your large round dining room table is an opportunity to elevate its appearance and ensure its longevity. Here are some essential steps to consider:
- Sanding: Use fine-grit sandpaper to smooth out any rough spots or imperfections on the table’s surface and edges. Pay extra attention to the areas where the wood was cut or joined.
- Staining or Painting: Apply a stain or paint of your choice to enhance the natural beauty of the wood or match your dining room decor. Ensure that you apply an even coat and follow the manufacturer’s instructions for drying time and additional coats.
- Sealing: Seal the table with a clear coat or polyurethane finish to protect the wood from scratches, spills, and heat. Apply multiple coats, allowing each coat to dry thoroughly before applying the next.
- Hardware: Attach any desired hardware, such as drawer handles or knobs, to complete the look and functionality of your dining room table if applicable.
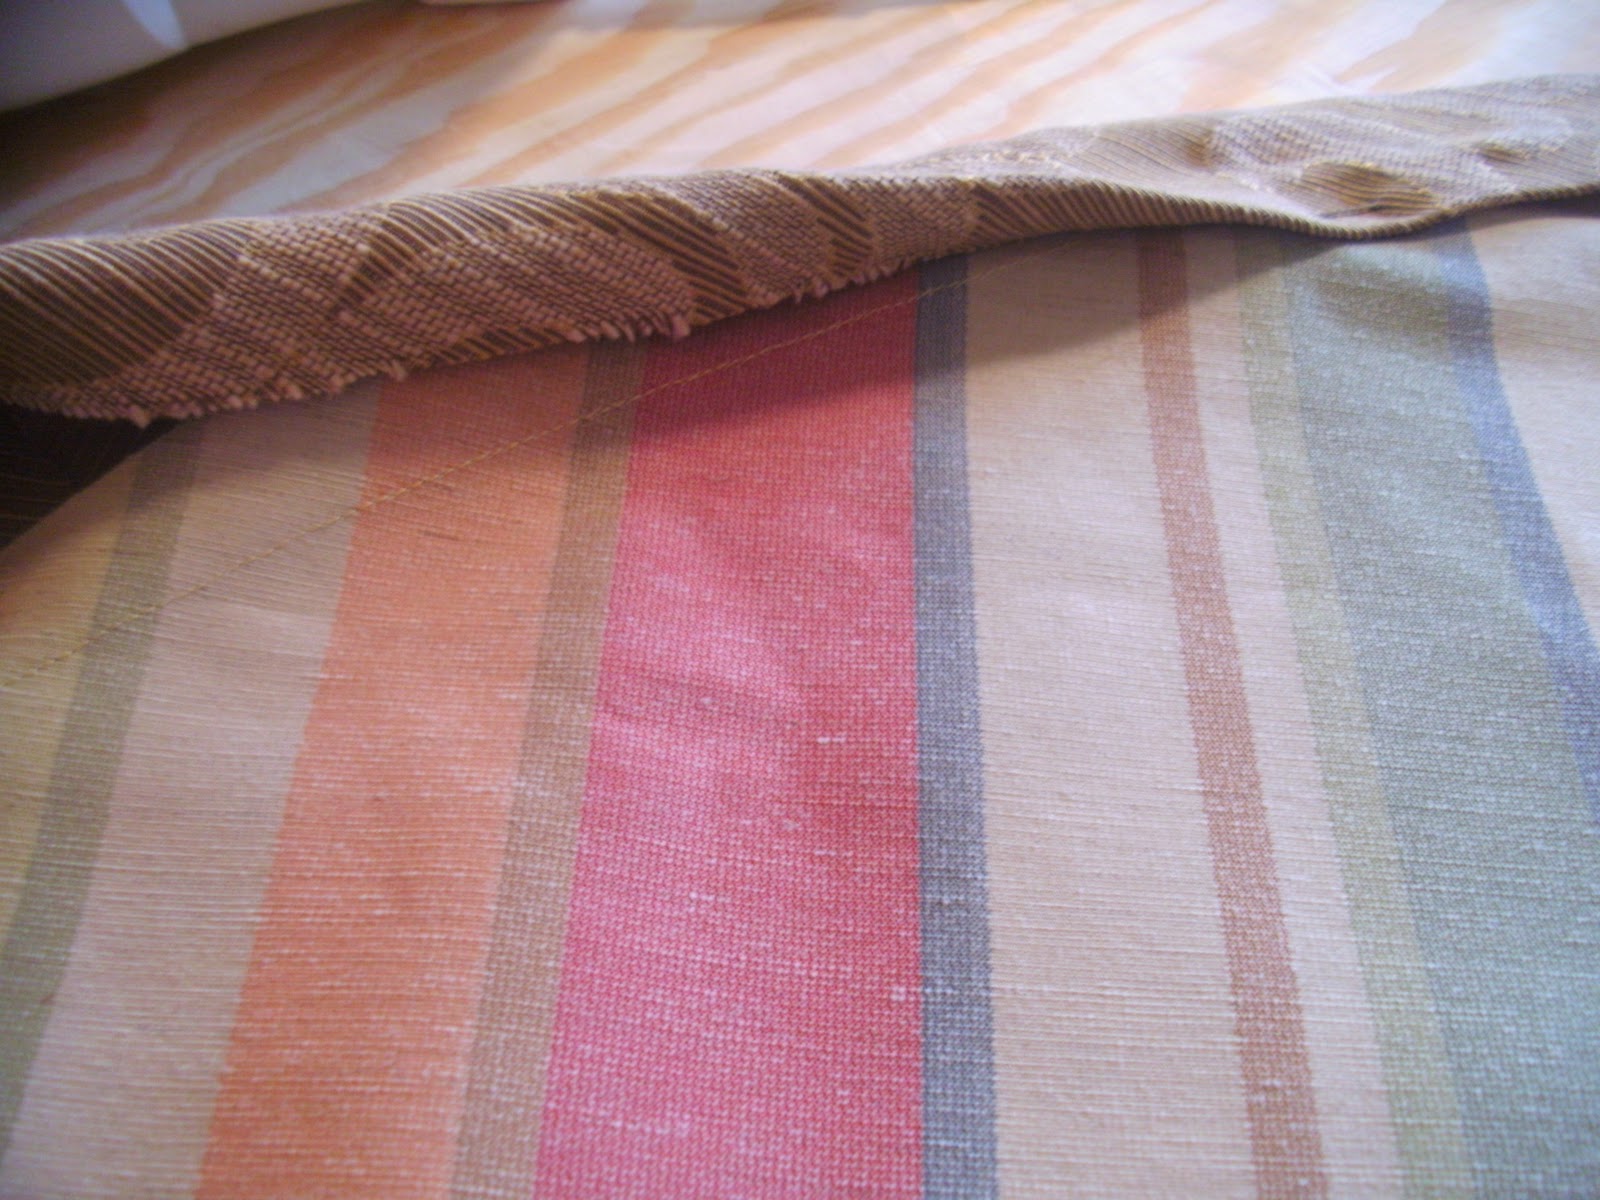
- Tabletop Protection: To further protect your table, consider using table pads or tablecloths when dining. These additional layers will prevent scratches and heat damage, ensuring that your table remains in pristine condition.
- Maintenance: Regularly clean and maintain your table using a mild wood cleaner and a soft cloth. Avoid using harsh chemicals or abrasive cleaners that can damage the finish or the wood itself.
By paying attention to these finishing touches, you can enhance the beauty and durability of your large round dining room table. Remember that proper care and maintenance will preserve its appearance for years to come.
Now that your table is complete, it’s time to gather your loved ones around it and enjoy unforgettable meals, conversations, and memories together!
Conclusion
Congratulations! You have successfully built your own large round dining room table. By carefully selecting the right materials, preparing the wood, building a sturdy base, attaching the tabletop, and adding those all-important finishing touches, you have created a beautiful and functional centerpiece for your dining room.
Throughout the process, you have honed your woodworking skills and showcased your craftsmanship. The time and effort you have invested in this project will be evident every time you gather around the table with family and friends.
Remember, building furniture is a continuous learning experience. Don’t be afraid to experiment with different designs, wood types, and finishes in future projects. Your newfound knowledge and skills can open the door to more creative endeavors and enable you to create stunning pieces that reflect your personal style.
As you enjoy your new dining room table, take pride in the fact that you have created a unique and long-lasting piece of furniture that will be cherished for years to come. Whether it’s hosting dinner parties, celebrating special occasions, or simply sharing meals with loved ones, your large round dining room table will be the heart of your home.
So, gather your loved ones around, share laughter and good food, and enjoy the beauty and functionality of the table you have skillfully crafted. Cheers to your woodworking success!
Frequently Asked Questions about How To Make A Large Round Dining Room Table
Was this page helpful?
At Storables.com, we guarantee accurate and reliable information. Our content, validated by Expert Board Contributors, is crafted following stringent Editorial Policies. We're committed to providing you with well-researched, expert-backed insights for all your informational needs.

0 thoughts on “How To Make A Large Round Dining Room Table”