Articles
How To Make Dining Room Chair Cushions
Modified: February 23, 2024
Learn how to make dining room chair cushions with our informative articles. Enhance your dining experience with comfortable and stylish cushions.
(Many of the links in this article redirect to a specific reviewed product. Your purchase of these products through affiliate links helps to generate commission for Storables.com, at no extra cost. Learn more)
Introduction
Creating your own dining room chair cushions is a great way to add a personal touch to your dining space while ensuring maximum comfort during mealtime. Not only can you customize the design and fabric to match your decor, but you can also tailor the cushions to fit the exact dimensions of your dining chairs.
In this article, we will guide you through the step-by-step process of making dining room chair cushions. We will provide a list of the materials and tools you’ll need, as well as detailed instructions on measuring and cutting the fabric, sewing the cushion panels, attaching Velcro or ties, stuffing the cushion, and adding finishing touches.
Whether you are a seasoned DIY enthusiast or a beginner, this project is achievable and rewarding. So, gather your supplies and let’s get started!
Key Takeaways:
- Create personalized dining room chair cushions to add comfort and style to your space. Follow our step-by-step guide for a rewarding DIY project that showcases your creativity and enhances your dining experience.
- With basic sewing skills and the right materials, anyone can make custom dining chair cushions. Enjoy the process of crafting something unique and functional, and add a personal touch to your dining room setup.
Read more: How To Make Dining Chair Cushions
Materials Needed
Before you begin your DIY dining room chair cushion project, gather the following materials:
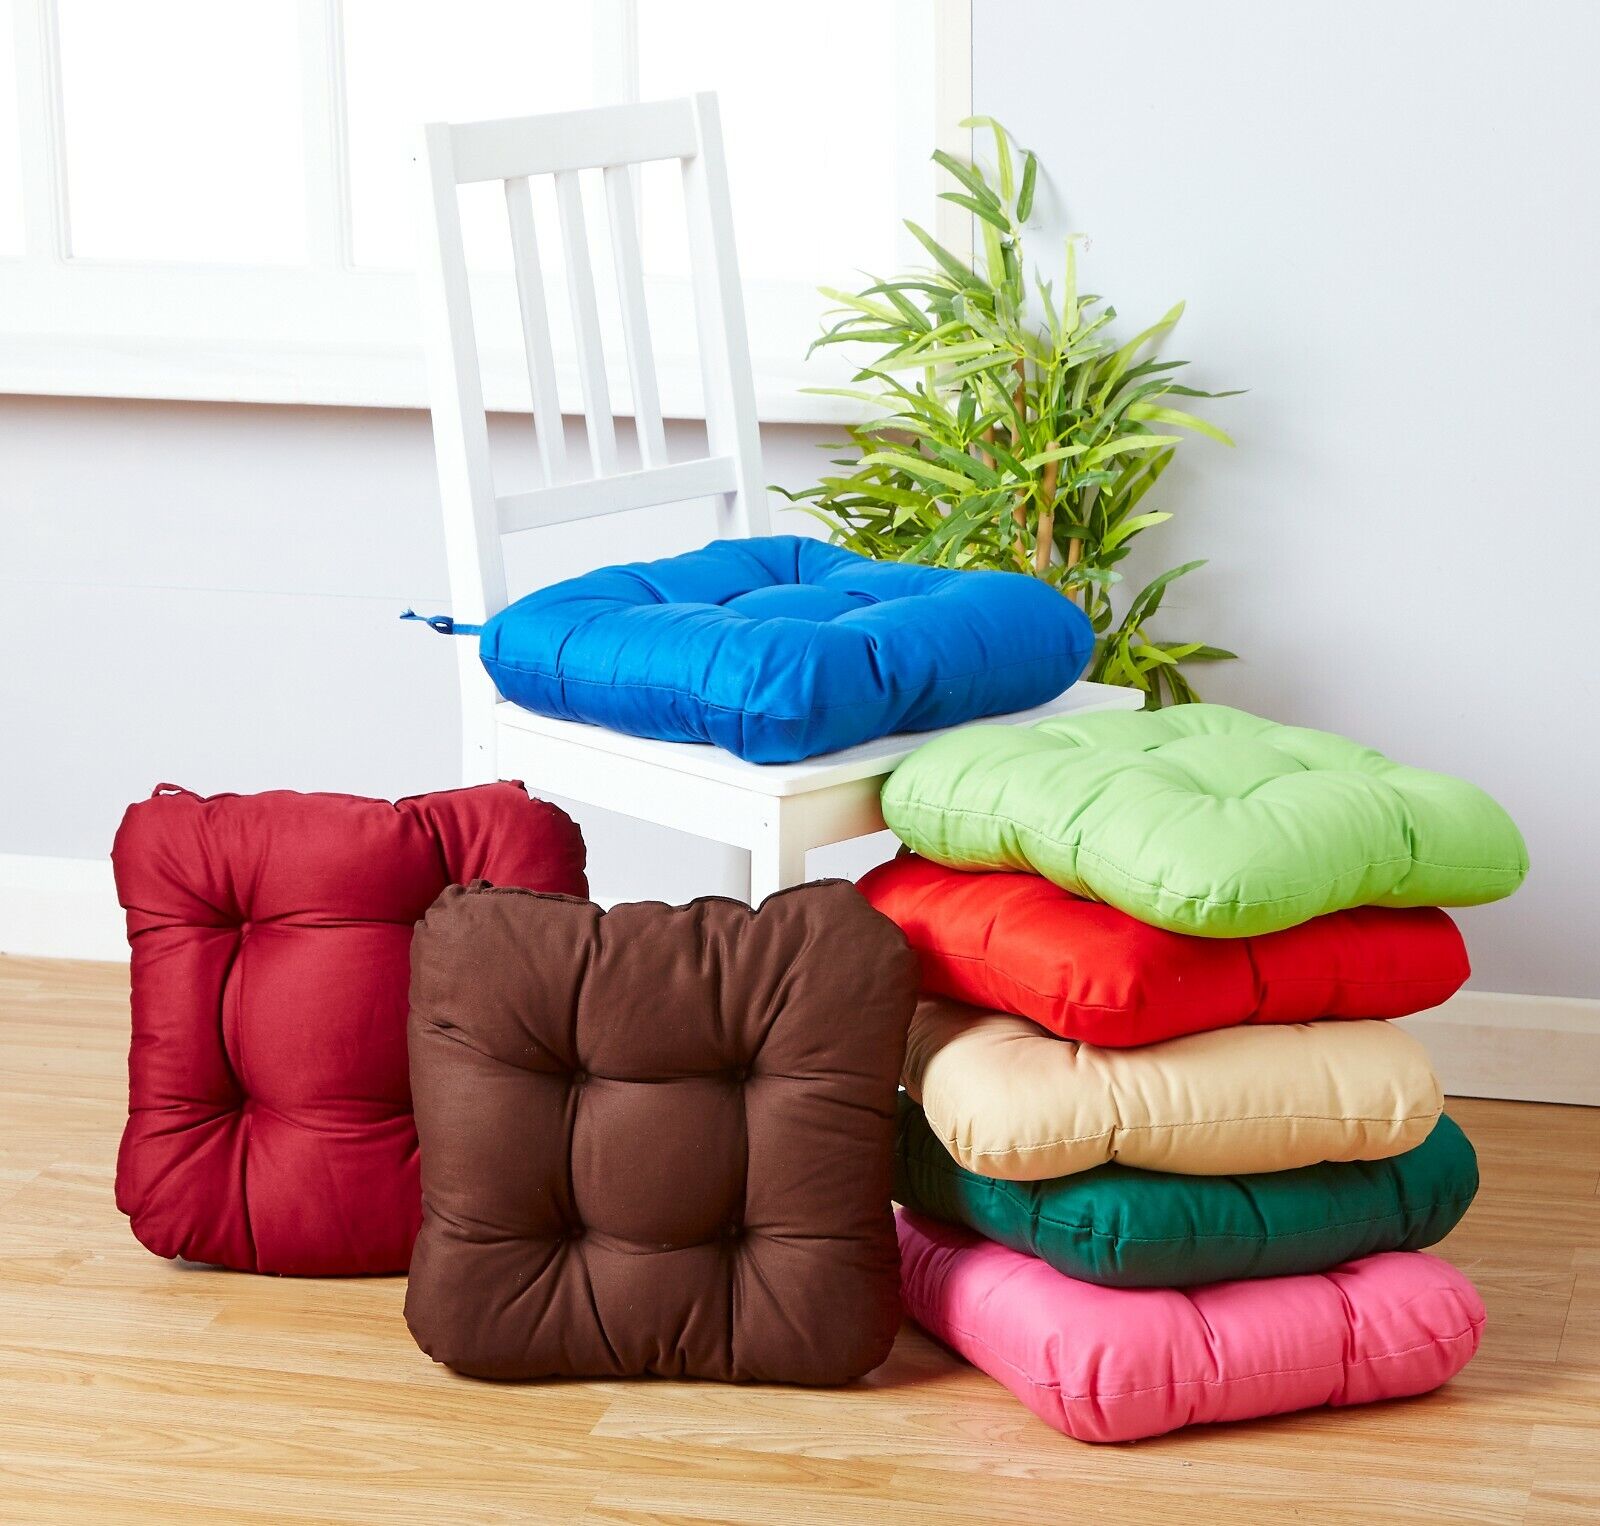
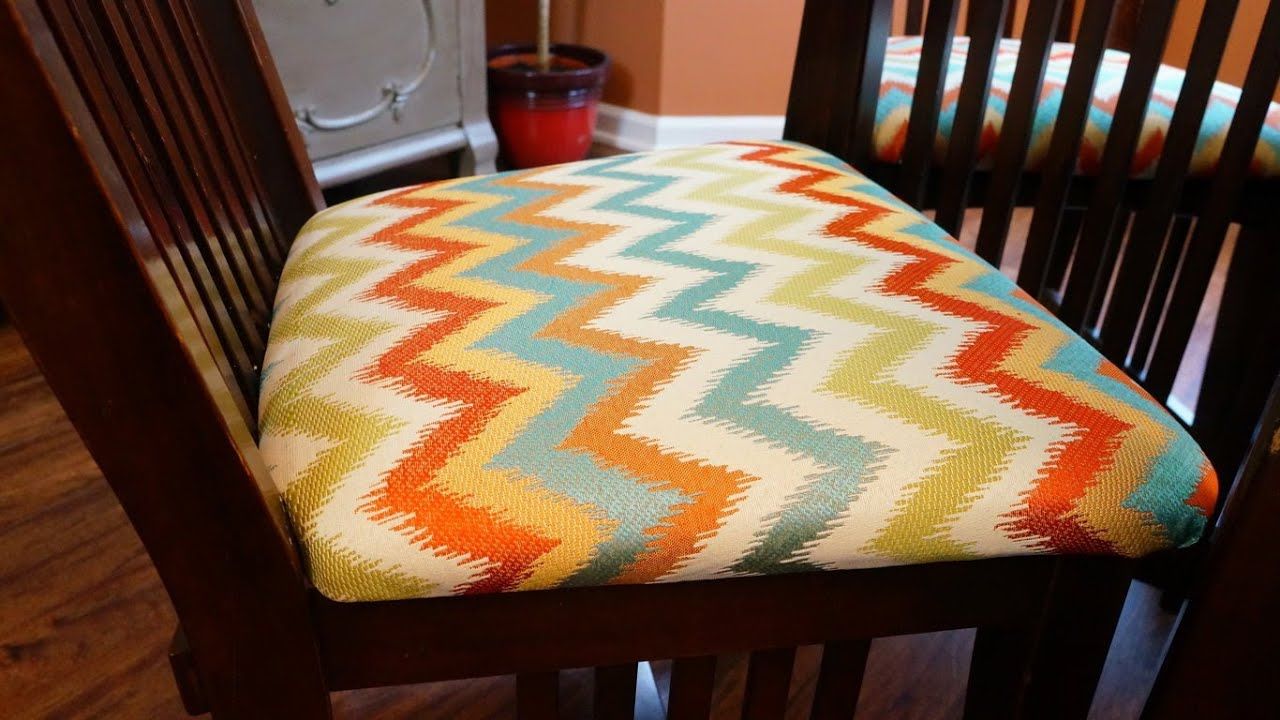
- Fabric: Choose a durable and washable fabric that complements your dining room decor. Consider using upholstery fabric or a heavyweight cotton fabric.
- Foam or Padding: Select high-density foam or cushion padding to provide a comfortable seating experience.
- Velcro or Ties: Depending on the style you prefer, you will need either adhesive-backed Velcro strips or fabric ties to secure the cushion to the chair.
- Sewing Thread: Use a strong thread that matches or complements the fabric.
- Sewing Pins or Clips: These will be used to hold the fabric in place during sewing.
- Scissors or Rotary Cutter: You’ll need a sharp pair of fabric scissors or a rotary cutter to cut the fabric to the desired size.
- Sewing Machine: A sewing machine will help you achieve neat and secure stitches. However, if you don’t have access to a machine, you can hand sew the cushion panels.
- Measuring Tape: Use a measuring tape to accurately measure the dimensions of your dining chair.
- Iron and Ironing Board: An iron will come in handy for pressing the fabric and ensuring crisp edges.
Once you have gathered all the necessary materials, you’re ready to move on to the next step: gathering the required tools.
Required Tools
In addition to the materials listed above, you will need the following tools to successfully complete your dining room chair cushion project:
- Measuring Tape: A measuring tape is essential for accurately measuring the dimensions of your dining chair and fabric.
- Straight Edge Ruler: Use a ruler to draw straight lines and make precise measurements.
- Fabric Marker or Chalk: These tools will allow you to mark the fabric accurately for cutting and sewing.
- Pins or Clips: Pins or clips will help secure the fabric layers together while you sew.
- Seam Ripper: A seam ripper is useful for removing stitches and making corrections if necessary.
- Iron and Ironing Board: An iron will help you press the fabric, making it easier to sew and achieve professional-looking results.
- Needles: If you plan on hand sewing some parts of your cushion, make sure to have a selection of fine needles at hand.
- Thread Snips or Scissors: These small scissors or snips will come in handy for trimming excess threads.
- Safety Pins: Safety pins can be helpful for holding the cushion in place and adjusting the fit.
- Sewing Machine: While not absolutely necessary, a sewing machine will save you time and ensure strong and consistent stitches.
With the right tools at your disposal, you’ll be well-prepared to tackle the next steps in creating your own dining room chair cushions.
Step 1: Measuring and Cutting the Fabric
The first step in making dining room chair cushions is to measure your dining chair and cut the fabric accordingly. Follow these steps:
- Start by measuring the seat of your dining chair. Measure the length, width, and depth of the seat, taking into account any curves or contours.
- Add an additional 1 inch (2.5 cm) to each measurement to allow for seam allowance.
- Transfer the measurements onto your fabric using a fabric marker or chalk. Use a straight edge ruler to ensure straight lines.
- Carefully cut out the fabric panels according to your measurements. Use fabric scissors or a rotary cutter for clean and precise cuts.
Remember to cut two panels for each cushion, one for the top and one for the bottom. If you prefer a thicker cushion, you can cut additional panels to layer on top of the foam or padding.
Once you have your fabric panels cut, you’re ready to move on to the next step: sewing the cushion panels together.
Step 2: Sewing the Cushion Panels
Now that you have your fabric panels cut, it’s time to sew them together to create the cushion cover. Follow these steps:
- Place the two fabric panels together, with the right sides facing each other. Pin or clip the edges to secure them in place.
- Using a sewing machine or hand sewing needle, sew along the edges of the fabric, leaving one side open for inserting the foam or padding. Use a ½-inch (1.3 cm) seam allowance.
- If using a sewing machine, backstitch at the beginning and end of the seam to reinforce the stitches. If hand sewing, make sure to use strong and secure stitches.
- Once you have sewn three sides of the fabric panels, remove the pins or clips.
- Trim any excess fabric and clip the corners diagonally to reduce bulk when turning the cushion cover right side out.
- Turn the cushion cover right side out by pulling it through the open side. Use a pencil or chopstick to gently push out the corners and create clean edges.
- Press the cushion cover with an iron, taking care to flatten the seams and create crisp edges.
With the cushion cover sewn and turned right side out, you’re now ready to attach Velcro or ties to secure the cushion to the chair. This will be covered in the next step.
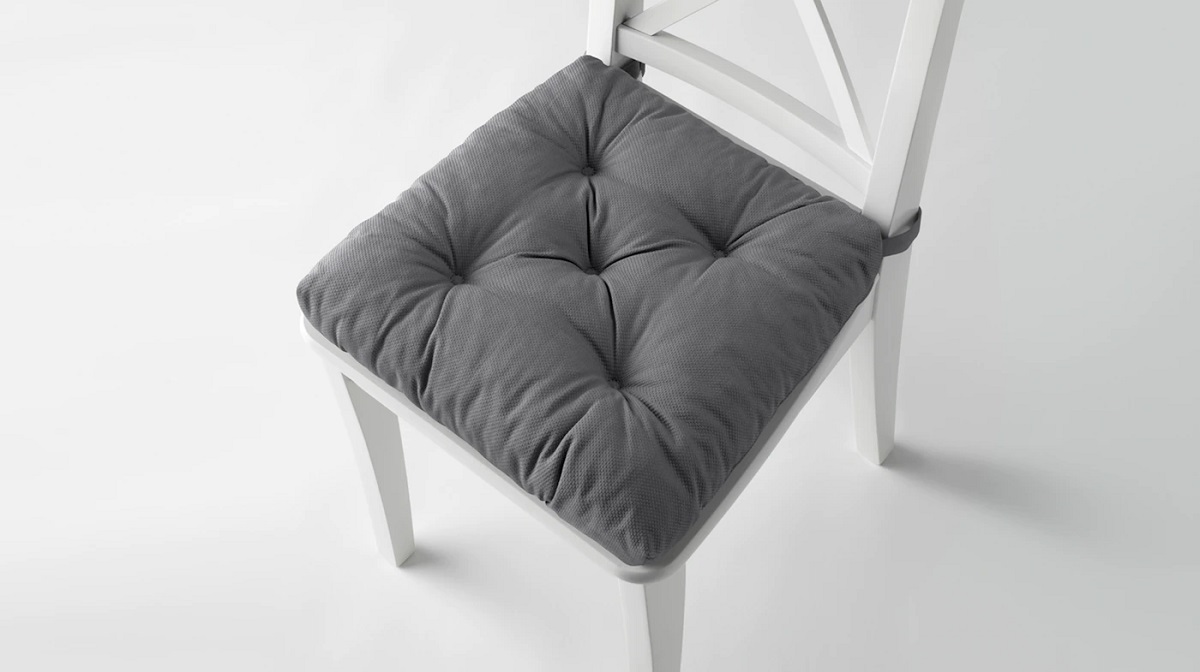
When making dining room chair cushions, be sure to use durable and easy-to-clean fabric to ensure longevity and practicality. Additionally, consider adding ties to the cushions to keep them securely in place on the chairs.
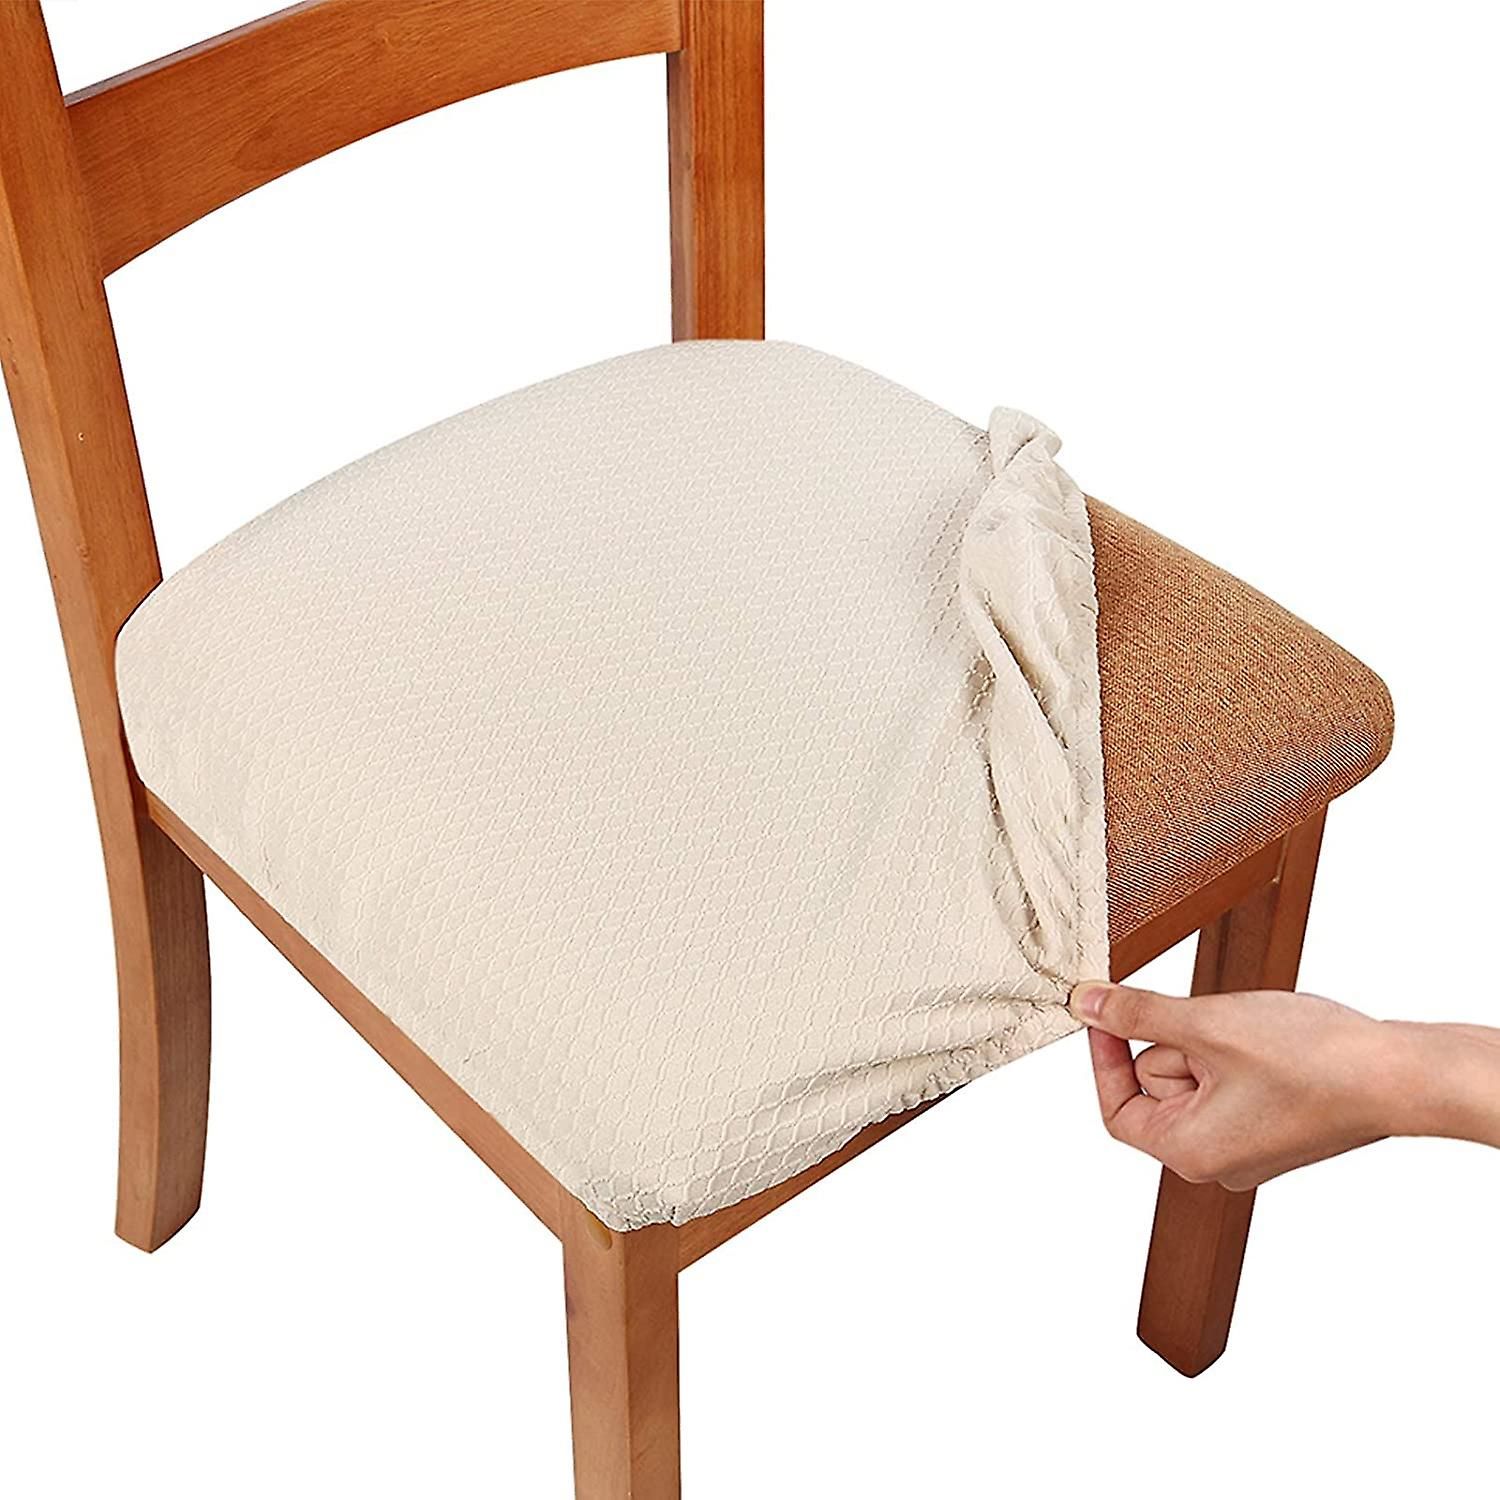
Step 3: Attaching Velcro or Ties
Attaching either Velcro or ties to the cushion will help secure it to the dining chair. Choose the option that best suits your preference and style. Follow these steps:
- If using Velcro, cut two equal lengths of adhesive-backed Velcro strips. Measure and place one strip on the underside of the front of the cushion cover, near the edge. Attach the second strip to the corresponding area on the underside of the back of the cushion cover.
- If using ties, cut four equal lengths of fabric strips. Fold each strip in half lengthwise and press with an iron for a neat appearance.
- Place one set of ties near the front corners of the cushion cover, with the folded ends facing inward. Sew them securely in place.
- Repeat the same process for the other set of ties near the back corners of the cushion cover.
When attaching the Velcro or ties, make sure they are positioned in a way that allows for easy and secure fastening when placed on the dining chair.
With the Velcro or ties securely attached, your cushion is now prepared for stuffing. Proceed to the next step: stuffing the cushion.
Step 4: Stuffing the Cushion
Now that your cushion cover is complete with Velcro or ties attached, it’s time to fill it with foam or padding for maximum comfort. Follow these steps:
- Measure and cut the foam or padding according to the dimensions of your cushion cover. It should fit snugly inside without any gaps.
- Place the foam or padding inside the cushion cover, ensuring it is centered and properly aligned.
- If using multiple layers of foam or padding for extra thickness, stack them on top of each other.
- Closely inspect the cushion to ensure the foam or padding is evenly distributed and there are no lumps or bumps.
Once the cushion is properly stuffed, you can move on to the final step: adding the finishing touches.
Note: It is recommended to choose high-density foam or cushion padding for optimal comfort and durability.
Step 5: Finishing Touches
With the cushion stuffed and ready, it’s time to add the final touches to ensure a polished and professional-looking dining room chair cushion. Follow these steps:
- Check the open side of the cushion cover to make sure it is aligned and closed securely.
- If necessary, hand sew the open side closed using a ladder stitch or a slip stitch. Make sure your stitches are hidden and secure.
- Inspect the entire cushion for any loose threads or fabric edges. Trim them with thread snips or scissors for a clean finish.
- Finally, give the cushion cover a final press with an iron to smooth out any wrinkles or creases.
- Place the finished cushion on your dining chair and fasten it securely using the Velcro or ties.
Once the cushion is in position, sit back and enjoy the added comfort and stylish update it brings to your dining room setup.
Remember, you can always personalize your cushion further by adding decorative buttons, trimmings, or piping for extra flair. Get creative and make it uniquely yours!
Congratulations! You have successfully created your own dining room chair cushions. Now you can sit back, relax, and enjoy your mealtime in comfort and style.
Thank you for following our step-by-step guide. We hope you found it helpful and inspiring. Happy crafting!
Conclusion
Creating your own dining room chair cushions is a rewarding and satisfying DIY project that allows you to showcase your creativity while adding comfort to your dining space. By following the step-by-step process outlined in this guide, you can customize the design, fabric, and fit to meet your specific preferences and needs.
Throughout the project, we discussed the materials and tools needed, how to measure and cut the fabric, sew the cushion panels, attach Velcro or ties, stuff the cushion, and add the finishing touches. Each step was designed to ensure a seamless and professional result.
Whether you’re a seasoned DIY enthusiast or a beginner, this project is accessible and achievable. With some basic sewing skills and the right materials, you can transform your dining chairs and enhance the overall aesthetic of your dining room.
Remember to choose a durable fabric and high-density foam or padding to ensure long-lasting comfort and durability. Additionally, don’t be afraid to add your own personal touch by incorporating decorative elements like buttons or trimmings.
We hope this guide has provided you with the necessary knowledge and confidence to embark on your own dining room chair cushion project. Enjoy the process of creating something with your own hands and the satisfaction of sitting down to a meal in ultimate comfort.
Thank you for following along with us. Now, it’s time to gather your materials and let your creativity shine!
Frequently Asked Questions about How To Make Dining Room Chair Cushions
Was this page helpful?
At Storables.com, we guarantee accurate and reliable information. Our content, validated by Expert Board Contributors, is crafted following stringent Editorial Policies. We're committed to providing you with well-researched, expert-backed insights for all your informational needs.


0 thoughts on “How To Make Dining Room Chair Cushions”