Articles
How To Make A Dining Room Chair
Modified: October 19, 2024
Learn how to make a stylish and comfortable dining room chair with our informative articles. Step-by-step instructions for DIY enthusiasts.
(Many of the links in this article redirect to a specific reviewed product. Your purchase of these products through affiliate links helps to generate commission for Storables.com, at no extra cost. Learn more)
Introduction
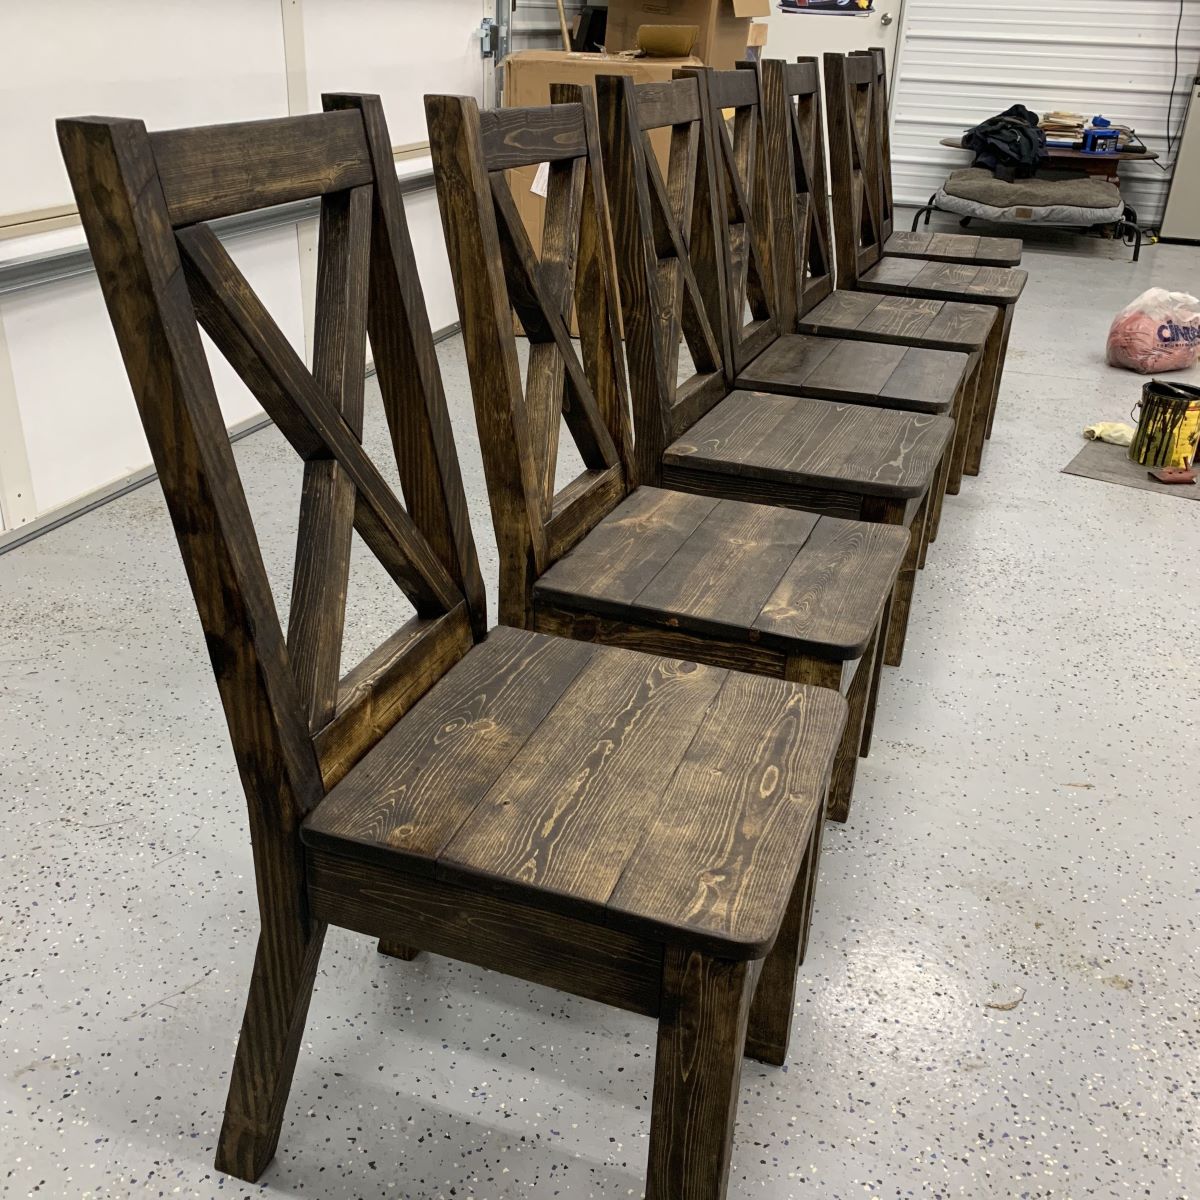
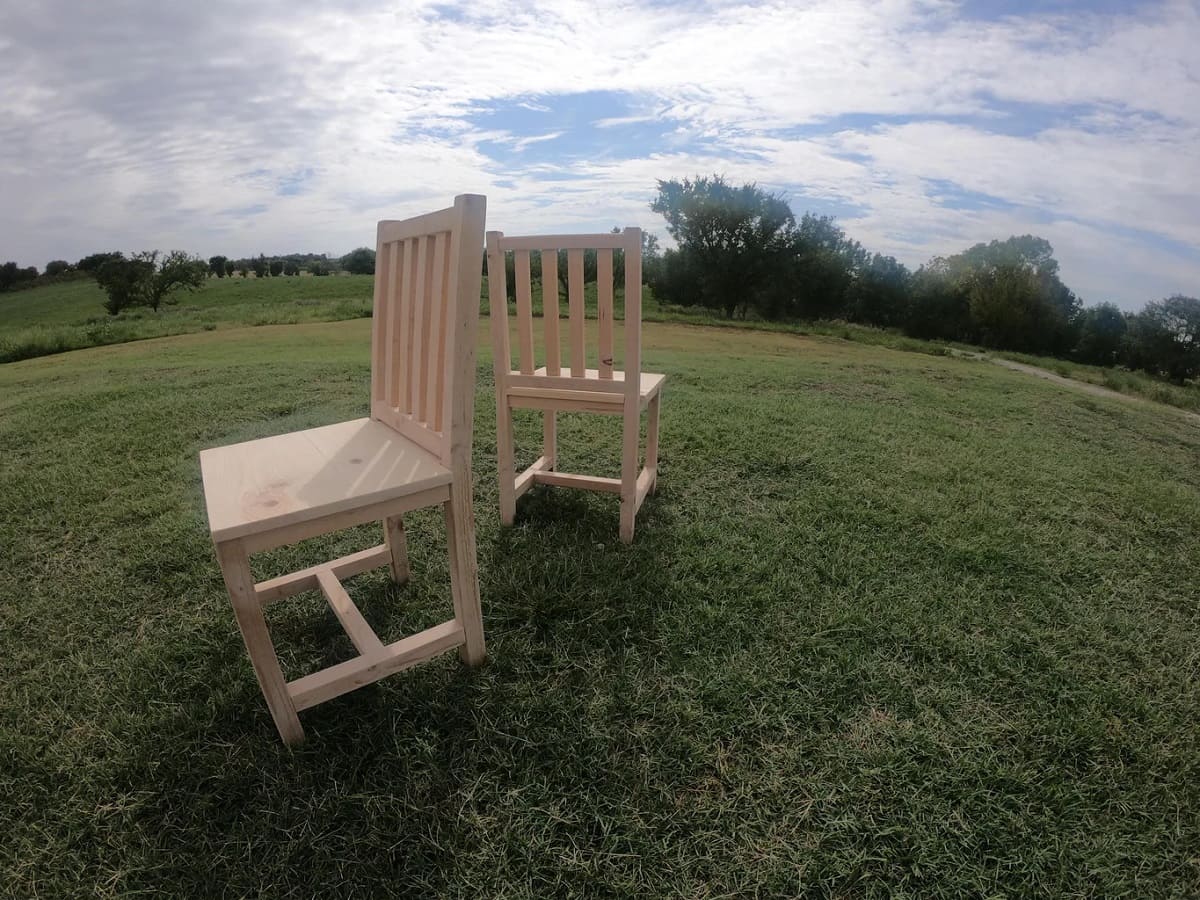
Welcome to our guide on how to make a dining room chair. Whether you’re a DIY enthusiast or simply looking to add a personal touch to your dining space, building your own dining room chair can be a rewarding and fulfilling project. Plus, it allows you to customize the design and materials to match your unique style and preferences.
In this article, we will take you through the step-by-step process of creating a dining room chair from scratch. From gathering materials to adding the finishing touches, you’ll have all the information you need to embark on this creative endeavor.
Building your own dining room chair is not only a budget-friendly option, but it also gives you the opportunity to create a piece of furniture that is both functional and aesthetically pleasing. Whether you’re a novice or a seasoned woodworker, this project can be tailored to your skill level.
Before we dive into the specific steps, it’s important to note that safety should always be a priority when working with tools and materials. Be sure to wear protective gear such as safety goggles and gloves, and follow proper safety precautions at all times.
Now, let’s get started on our journey to make a dining room chair that will be the centerpiece of your dining area.
Key Takeaways:
- Building a dining room chair from scratch is a fulfilling and customizable project that allows you to create a functional and aesthetically pleasing piece of furniture tailored to your unique style and preferences.
- Prioritizing safety, attention to detail, and patience are crucial throughout the process of making a dining room chair. From gathering materials to adding finishing touches, each step contributes to the overall stability and quality of the chair.
Read more: How To Make Dining Room Chair Cushions
Step 1: Gathering Materials
The first step in making a dining room chair is gathering all the necessary materials. Here’s a list of the items you’ll need:
- Wood: Choose a high-quality hardwood such as oak, maple, or cherry for the chair’s frame. You’ll need pieces that are suitable for different parts of the chair, such as legs, backrest, and seat.
- Screws or Nails: Select appropriate screws or nails for joining the wood pieces together. Make sure they are durable and suitable for the type of wood you’re using.
- Wood Glue: Opt for a strong wood glue that bonds well and dries clear. This will be used to reinforce the joints and add stability to the chair.
- Sandpaper: Get sandpaper in various grits for smoothing the wood surfaces and achieving a polished finish.
- Finishing Supplies: Depending on your desired look, you may need stain, paint, varnish, or other finishes to protect and enhance the appearance of the wood.
- Upholstery Materials (Optional): If you plan to add cushions or upholstered seats, gather the necessary foam, fabric, and upholstery tools.
- Tools: You’ll need a range of tools, including a saw or jigsaw for cutting the wood, a drill for making holes, screwdrivers or a nail gun for fastening the pieces together, clamps for holding the wood in place, and sanding tools for smoothing the surfaces.
It’s important to have all the materials ready before you start the construction process. This will make the process smoother and help you avoid unnecessary delays. Take the time to research and choose materials that are of high quality and suitable for your desired design.
Once you have gathered all the materials, you’re ready to move on to the next step: preparing the wood.
Step 2: Preparing the Wood
After gathering all the necessary materials, the next step is to prepare the wood for construction. Here’s what you need to do:
- Measure and Mark: Start by measuring and marking the dimensions of each wood piece according to your chosen chair design. Use a pencil or a marking tool to make accurate markings.
- Cut the Wood: Once you have marked the measurements, it’s time to cut the wood pieces. Use a saw or a jigsaw to carefully cut along the marked lines. Take your time and ensure precise cuts.
- Smooth the Edges: After cutting the wood, use sandpaper to smooth the rough edges and surfaces. This will make the pieces easier to handle and prevent any splinters while assembling the chair.
- Drill Holes: Depending on your chair design, you may need to drill holes for attaching the different pieces together. Use a drill and the appropriate drill bit size to create clean and accurate holes.
- Test Fit: Before moving on to the assembly stage, perform a test fit by placing the wood pieces together to ensure that they align properly. Make any necessary adjustments if the pieces do not fit securely.
Preparing the wood is a crucial step in building a dining room chair. It sets the foundation for a sturdy and well-constructed piece of furniture. Take your time during this step to ensure that the wood is cut accurately and smoothly, as any imperfections can affect the overall quality of the chair.
Once you have prepared the wood pieces, you’re ready to move on to the next step: cutting the remaining pieces and assembling the chair base.
Step 3: Cutting the Pieces
Now that you have prepared the main wood pieces, it’s time to move on to cutting the remaining pieces for your dining room chair. This step involves cutting the legs, backrest, and any other components according to your chosen design. Here’s what you need to do:
- Measure and Mark: Using your design plans or measurements, mark the dimensions for each additional piece onto your chosen wood. Ensure that the measurements are accurate.
- Cut the Wood: Carefully cut along the marked lines to achieve the desired shapes for the legs, backrest, and other components of the chair. Take your time and use a saw or jigsaw to make clean and precise cuts.
- Smooth the Edges: After cutting the additional pieces, use sandpaper to smooth any rough edges or surfaces. This will make the pieces easier to handle and give them a polished appearance.
It’s important to double-check your measurements and make accurate cuts to ensure that all the pieces fit together properly during the assembly process. Take your time and be patient, as cutting the wood accurately is crucial for the overall stability and functionality of the chair.
Once you have cut all the necessary pieces, it’s time to move on to the next step: assembling the chair base.
Step 4: Assembling the Chair Base
With all the wood pieces cut and prepared, it’s time to assemble the base of your dining room chair. This step involves joining the legs and other support pieces to create a stable foundation. Follow these steps to assemble the chair base:
- Align the Legs: Start by aligning the legs in the desired position. Use clamps to hold them securely in place while you work.
- Attach the Support Pieces: Take the support pieces, such as the stretchers or aprons, and attach them to the legs. Use wood glue and screws or nails to join the pieces together. Make sure the joints are secure and stable.
- Check for Stability: Once the support pieces are attached, check for stability by gently rocking the chair base. If there is any wobbling or instability, make any necessary adjustments or reinforce the joints with additional screws or glue.
- Allow the Glue to Dry: If you used wood glue, allow sufficient drying time according to the manufacturer’s instructions before proceeding to the next step.
Assembling the chair base properly is crucial for the overall stability and durability of your dining room chair. Take your time to ensure that the joints are secure and the base is solid. Making sure the legs and support pieces are aligned correctly will prevent any wobbling or unevenness once the chair is completed.
Once you have assembled the chair base, you can move on to the next step: attaching the seat.
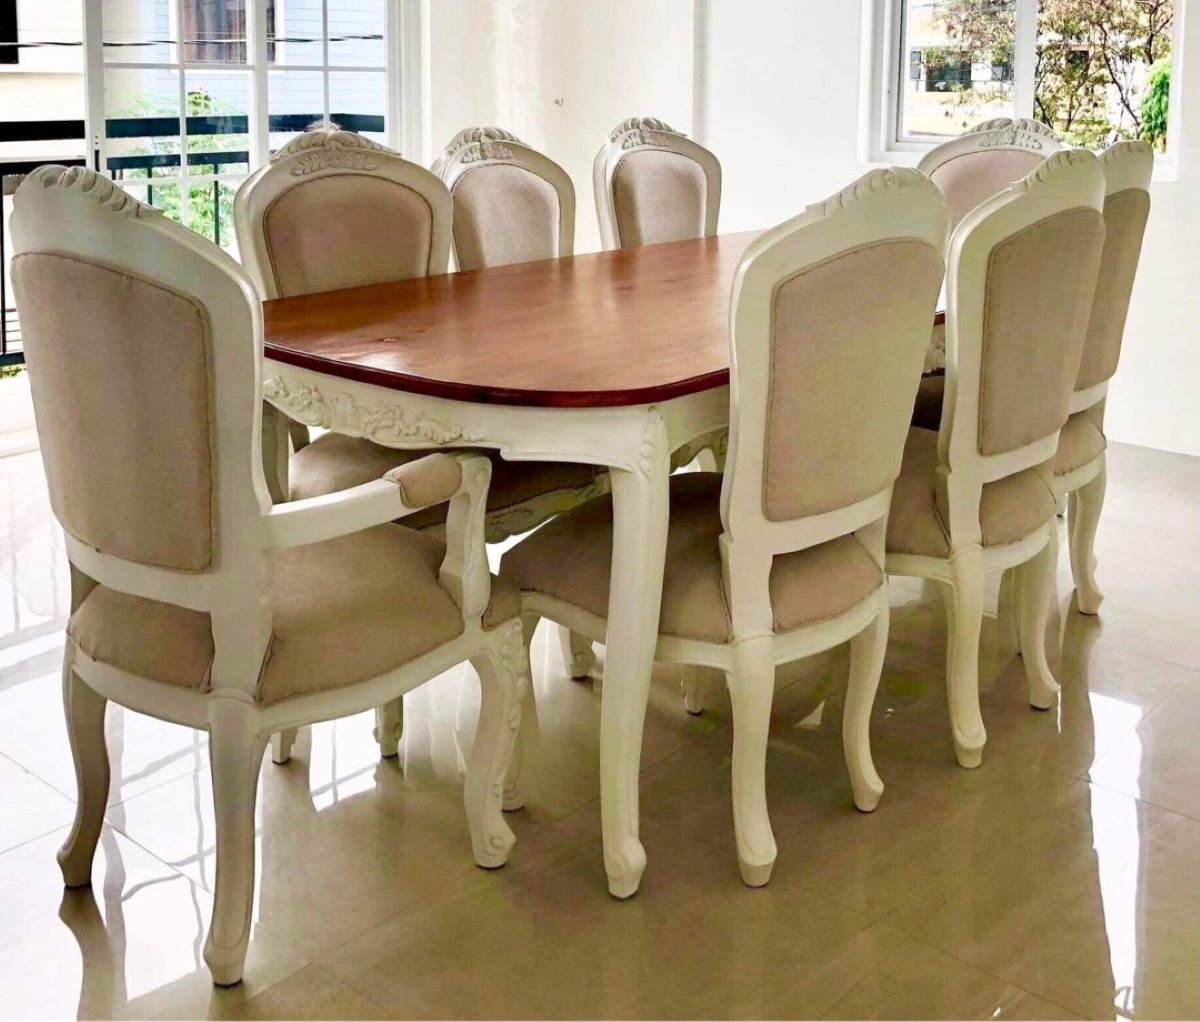
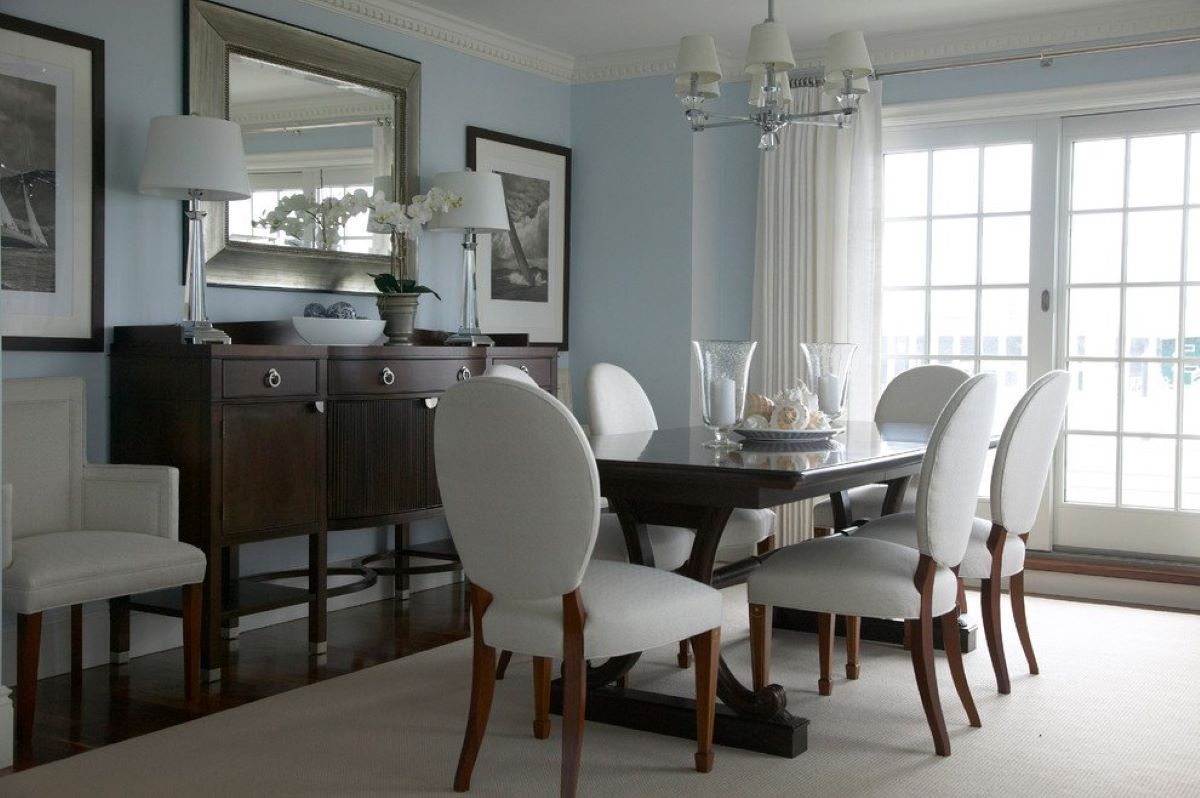
When making a dining room chair, ensure that the seat is comfortable and the backrest provides adequate support for long periods of sitting. Use high-quality, durable materials to ensure the chair’s longevity.
Read more: How To Make Dining Room Chair Covers
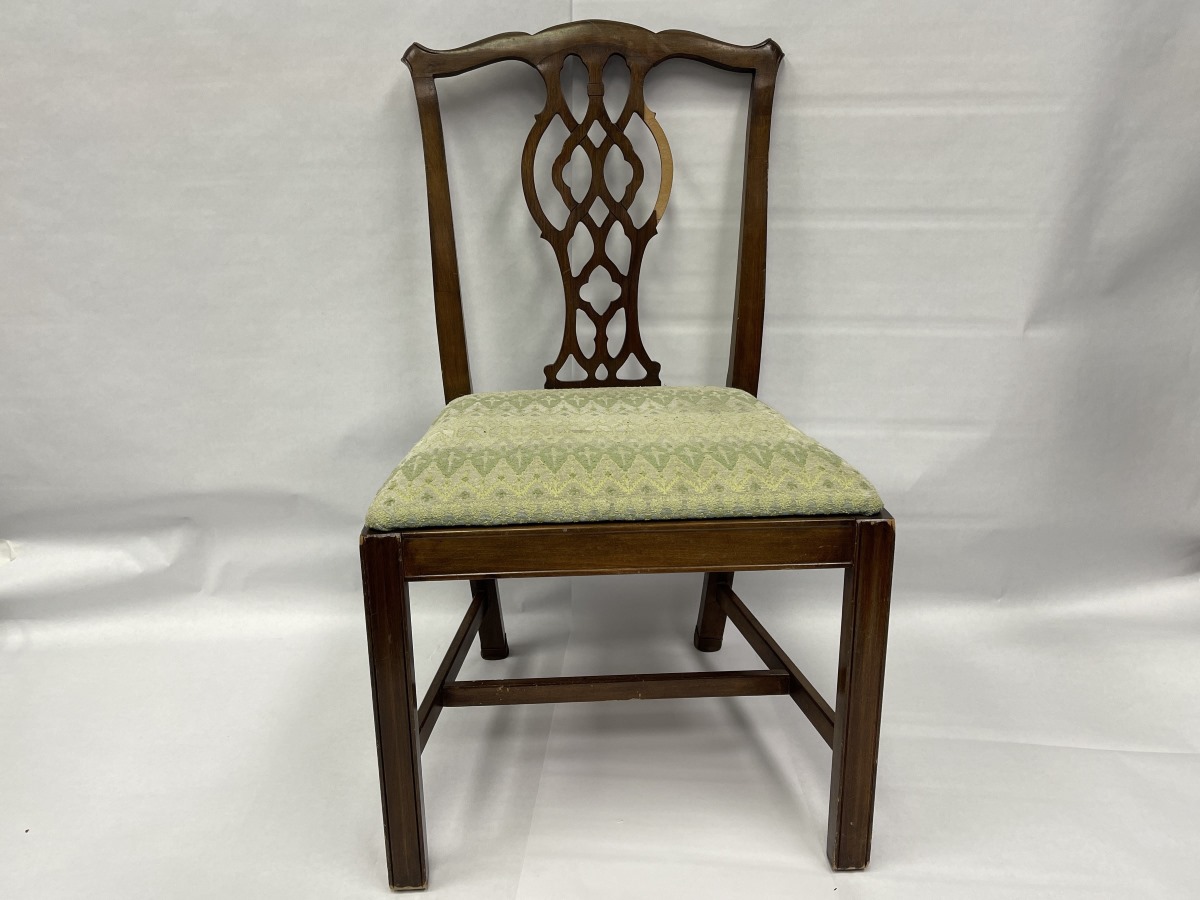
Step 5: Attaching the Seat
Now that the chair base is complete, it’s time to attach the seat. This step involves securing the seat onto the chair base to create a comfortable and functional dining room chair. Follow these steps to attach the seat:
- Measure and Mark: Start by measuring and marking the dimensions of your seat onto a piece of plywood or another suitable material for the seat. Ensure that the measurements are accurate.
- Cut the Seat: Use a saw or jigsaw to carefully cut along the marked lines to create the seat. Take your time and make precise cuts for a clean and professional finish.
- Align the Seat: Place the seat onto the chair base, ensuring that it is aligned properly. Use clamps to hold it securely in place while you work.
- Attach the Seat: Using screws or nails, secure the seat to the chair base. Make sure to place the screws or nails evenly and along the edges of the seat for stability.
- Check for Stability: Once the seat is attached, check for stability by sitting on the chair and applying gentle pressure. If there is any wobbling or instability, reinforce the seat attachments or make necessary adjustments.
Attaching the seat is an important step to complete your dining room chair. It not only enhances the functionality of the chair but also provides a comfortable seating surface. Take your time during this step to ensure that the seat is aligned properly and securely attached to the chair base.
Once the seat is attached, you can move on to the next step: sanding and finishing.
Step 6: Sanding and Finishing
After attaching the seat, it’s time to sand and finish your dining room chair. This step involves smoothing the surfaces and applying the desired finish to enhance the appearance and protect the wood. Follow these steps to sand and finish your chair:
- Sanding: Start by using sandpaper or a sanding block to smooth the entire surface of the chair. Start with a coarse grit sandpaper to remove any rough spots or imperfections, and then gradually move to finer grits for a polished finish. Sand in the direction of the wood grain for the best results.
- Cleaning: Once the sanding is complete, thoroughly clean the chair to remove any dust or debris. This will ensure a clean surface for applying the finish.
- Applying the Finish: Choose your desired finish, such as stain, paint, or varnish, and apply it according to the manufacturer’s instructions. Use a brush, sponge, or cloth to apply an even coat, and allow it to dry completely before applying additional coats if needed.
- Additional Coats and Finishing Touches: Depending on the look you want to achieve, you may need to apply multiple coats of finish. Sand lightly between coats for a smooth and professional finish. Once the desired number of coats is applied, allow the finish to dry completely.
- Final Sanding: After the finish is dry, perform a final light sanding with a fine grit sandpaper to remove any imperfections or bumps. This will give your chair a smooth and refined finish.
Sanding and finishing are essential steps in the construction of your dining room chair. They not only improve the look and feel of the chair but also protect the wood from wear and tear. Take your time during this step to achieve a polished and professional finish that will enhance the overall appearance of your chair.
Once the sanding and finishing are complete, you can move on to the final step: adding cushions or upholstery if desired.
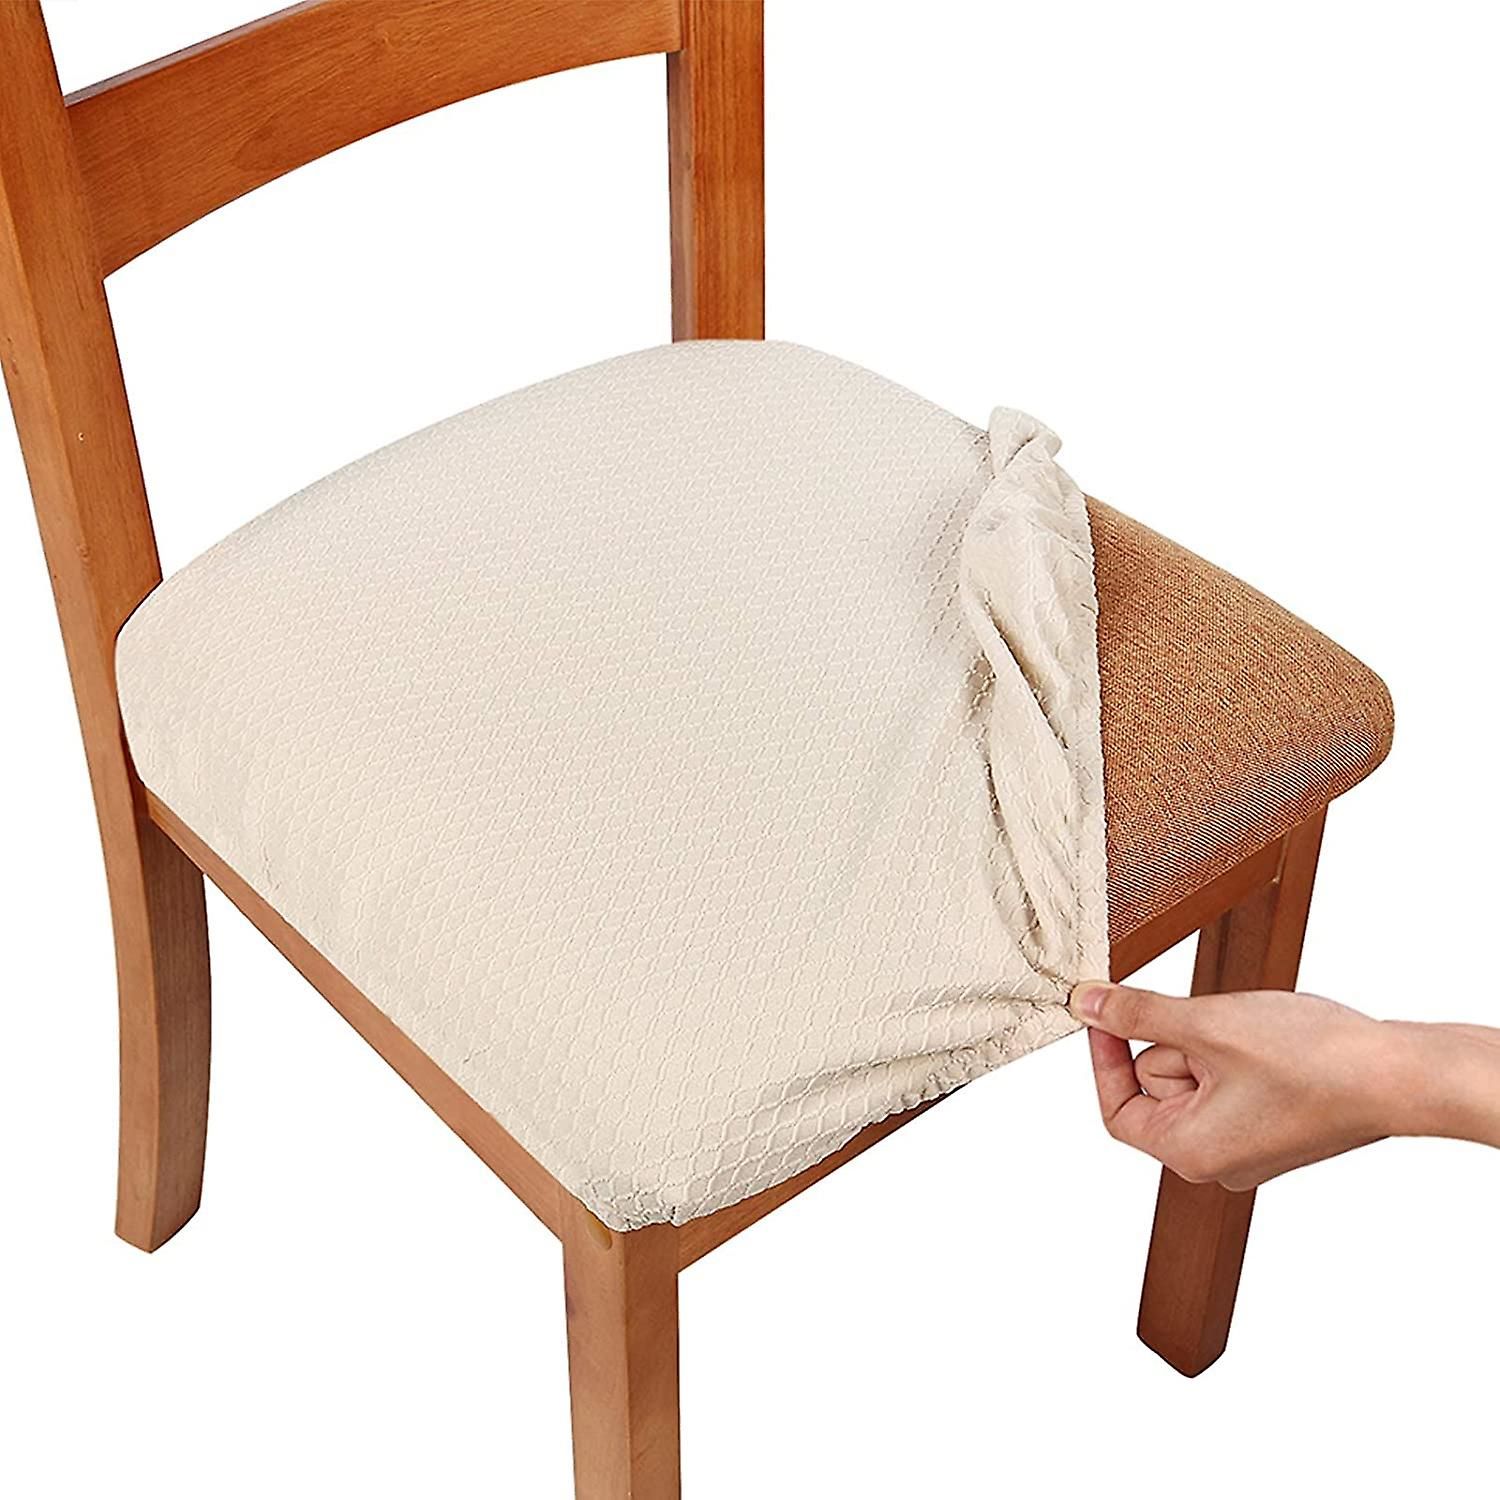
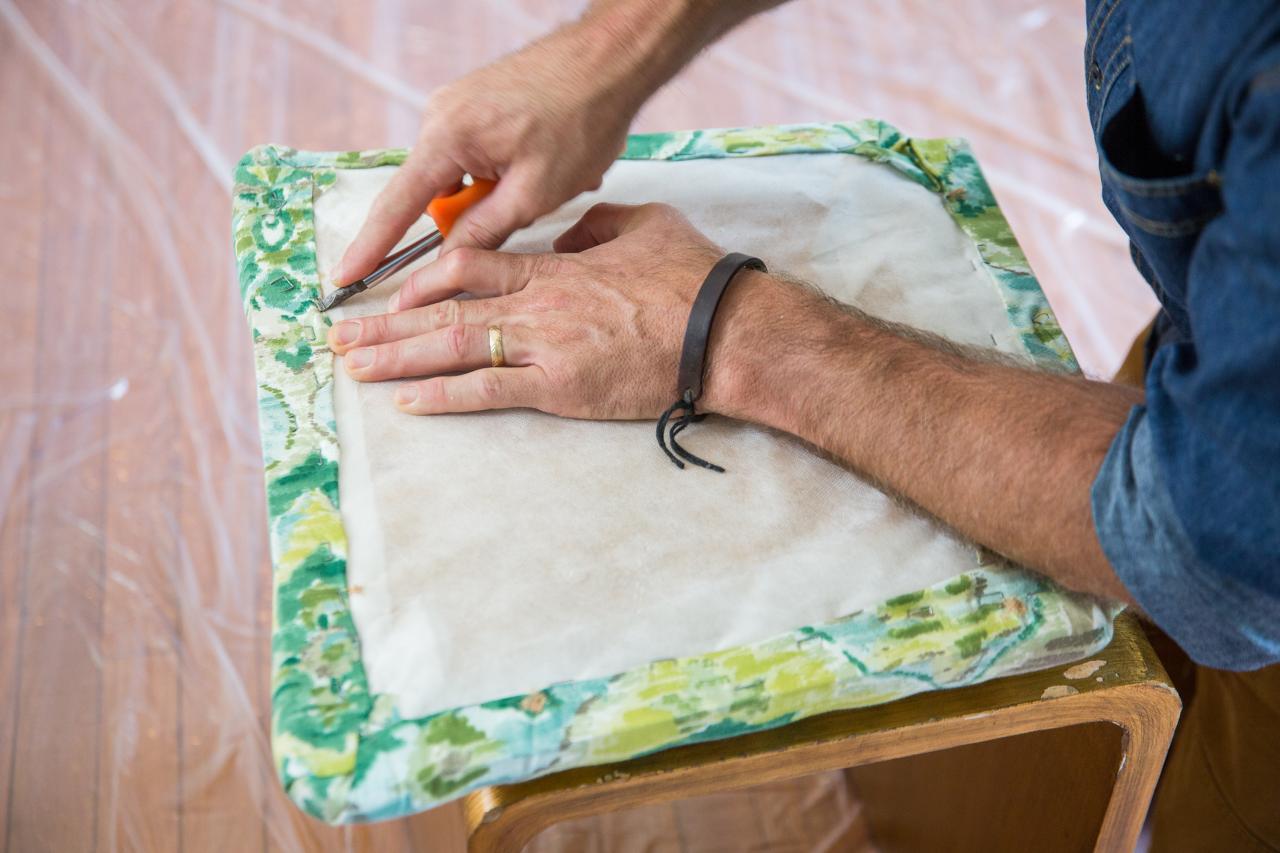
Step 7: Adding Cushions or Upholstery
In the final step of creating your dining room chair, you have the option to add cushions or upholstery to enhance comfort and aesthetics. This step allows you to personalize your chair and make it even more inviting. Follow these steps to add cushions or upholstery to your chair:
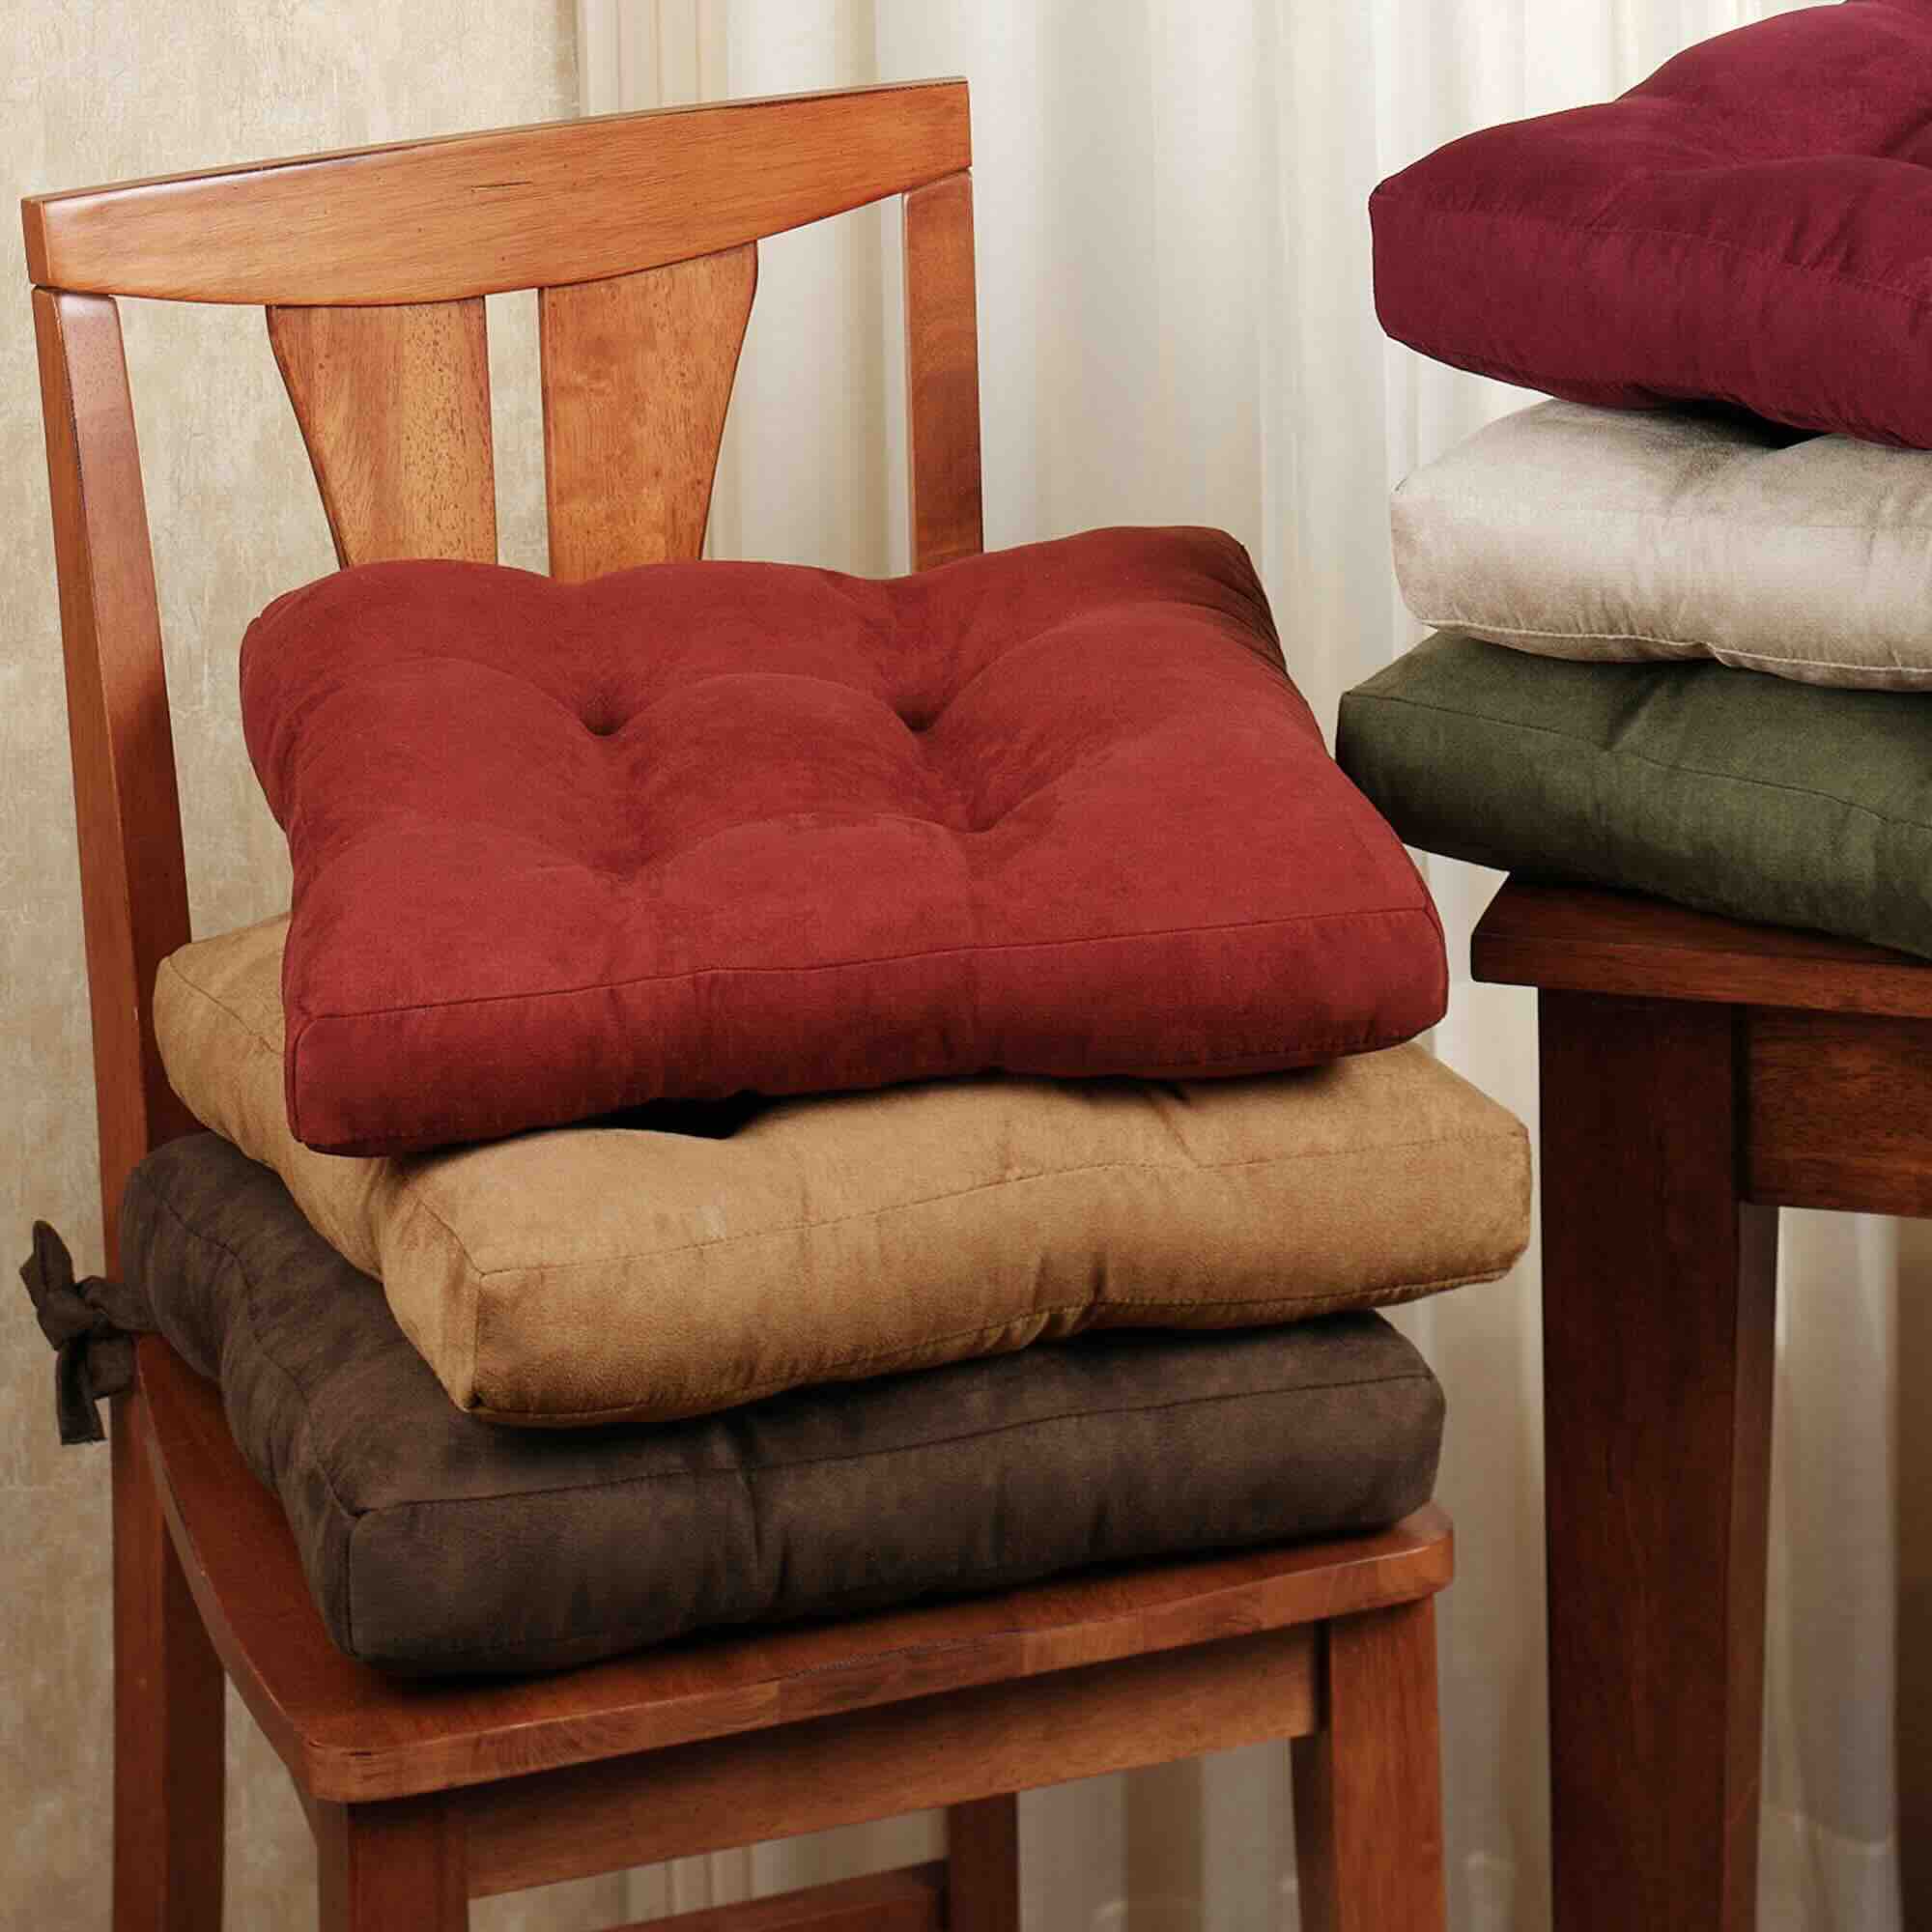
- Choose Your Cushion or Upholstery Materials: Select the type of cushions or upholstery fabric that suits your style and comfort preferences. Consider factors such as durability, color, pattern, and texture when making your selection.
- Measure and Cut: If you’re adding cushions, measure the dimensions of the seat and cut the foam or cushion padding to fit. If you’re upholstering, measure the dimensions of the seat and backrest and cut the fabric accordingly, leaving a few extra inches for folding and hemming.
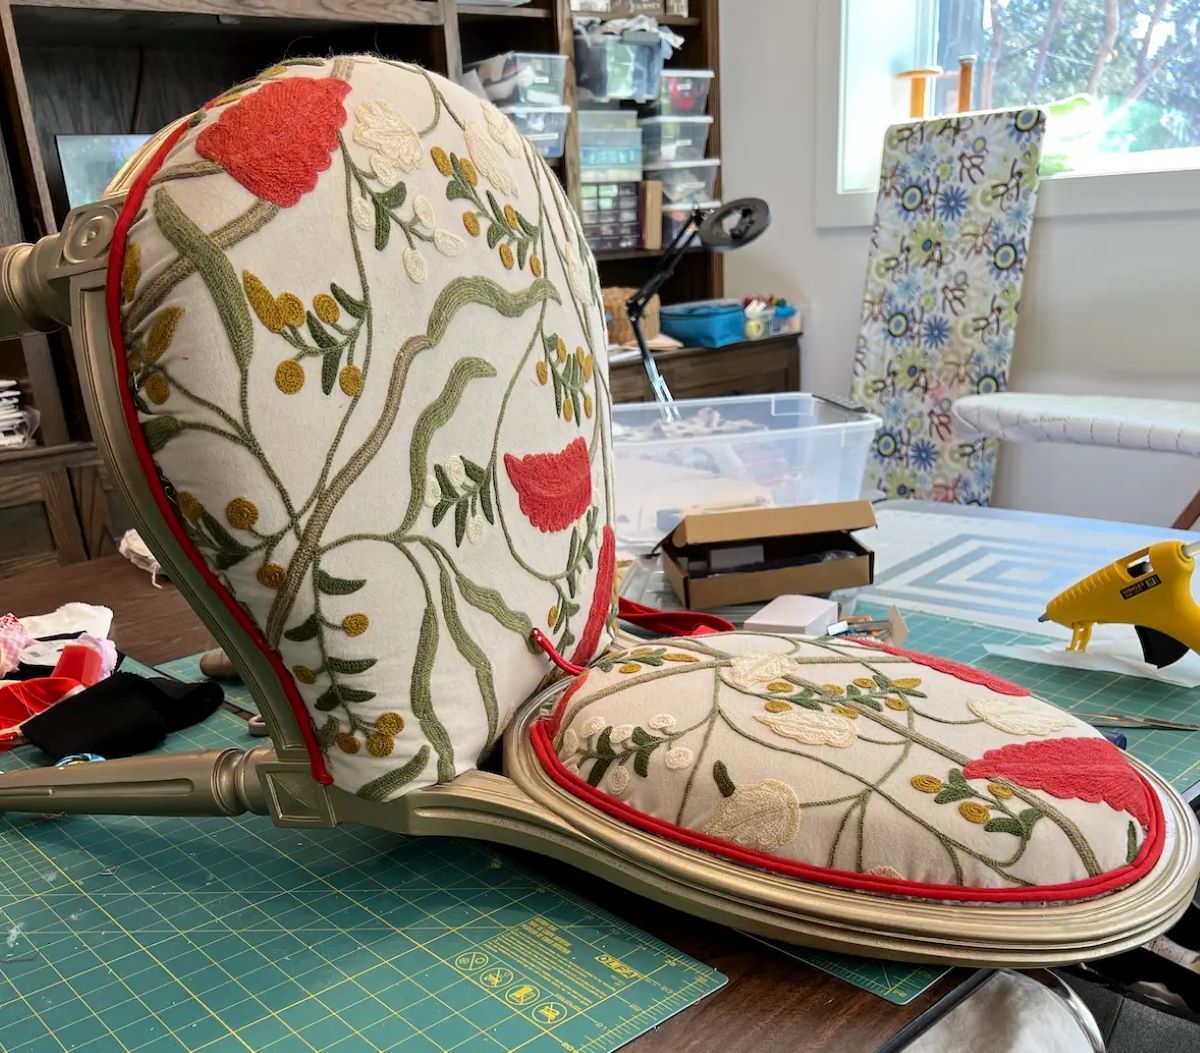
- Attach the Cushions or Upholstery: For cushions, place the cut foam or cushion padding onto the seat and secure it with fabric glue or upholstery staples. Make sure it fits securely and is comfortable to sit on. For upholstery, drape the cut fabric over the seat and backrest, and tuck and fold it neatly. Use an upholstery staple gun to secure the fabric to the underside of the chair.
- Trim and Finish: Trim any excess fabric and ensure that the cushions or upholstery are neatly secured. Take care to hide and secure any loose ends or raw edges for a polished look.
Adding cushions or upholstery to your dining room chair offers an opportunity to add a personal touch and make the chair more enjoyable to sit on. Consider the overall design and style of your chair when selecting cushions or upholstery materials to ensure they complement the chair’s aesthetics.
Once you have added the cushions or upholstery, take a moment to admire your completed dining room chair. You’ve successfully built a customized and functional piece of furniture that adds character to your dining space.
Congratulations on completing the process of making a dining room chair! Your hard work and attention to detail have resulted in a unique and stylish addition to your home.
Remember to take the time to maintain and care for your chair to ensure its longevity. Regular cleaning and occasional touch-ups will keep it looking beautiful for years to come.
We hope this guide has been helpful in guiding you through the process of making your own dining room chair. Enjoy the fruits of your labor and revel in the satisfaction of creating a piece of furniture with your own hands.
Happy dining!
Conclusion
Building a dining room chair from scratch is a fulfilling and rewarding project that allows you to create a piece of furniture that is not only functional but also customized to match your personal style. Throughout this guide, we have walked you through the step-by-step process of making a dining room chair and provided valuable tips to help you along the way.
From gathering materials and preparing the wood to cutting the pieces, assembling the chair base, and attaching the seat, each step contributes to the overall stability and quality of your chair. Sanding and finishing the chair is crucial for a polished appearance and protection against wear and tear. Adding cushions or upholstery is the final touch that brings comfort and personalization to your creation.
Throughout the process, remember to prioritize safety by wearing protective gear and working in a well-ventilated area. Take your time, measure accurately, and pay attention to detail to ensure the best results. If you encounter challenges or feel unsure, don’t hesitate to consult resources or seek advice from experienced woodworkers.
By following this guide, you have learned the skills and techniques needed to make a dining room chair. Not only have you created a functional piece of furniture, but you have also gained the satisfaction of building something with your own hands. Your dining room chair will undoubtedly become a centerpiece in your dining space, showcasing your craftsmanship and adding a touch of personalization.
We hope this guide has inspired you to embark on this DIY project and unleash your creativity. Whether you’re a novice or an experienced woodworker, building a dining room chair is a gratifying endeavor that allows you to create a lasting piece of furniture that reflects your unique style.
It’s time to gather your materials, get your tools ready, and start building your own dining room chair. Embrace the process, enjoy the journey, and revel in the satisfaction of completing a project that showcases your skills and creativity.
Happy woodworking!
Frequently Asked Questions about How To Make A Dining Room Chair
Was this page helpful?
At Storables.com, we guarantee accurate and reliable information. Our content, validated by Expert Board Contributors, is crafted following stringent Editorial Policies. We're committed to providing you with well-researched, expert-backed insights for all your informational needs.


0 thoughts on “How To Make A Dining Room Chair”