Home>Furniture & Design>Living Room Furniture>How To Make A Round Dining Table Base
Living Room Furniture
How To Make A Round Dining Table Base
Published: January 5, 2024
Learn how to create a stylish round dining table base for your living room furniture. Get expert tips on furniture and design for a perfect centerpiece.
(Many of the links in this article redirect to a specific reviewed product. Your purchase of these products through affiliate links helps to generate commission for Storables.com, at no extra cost. Learn more)
Introduction
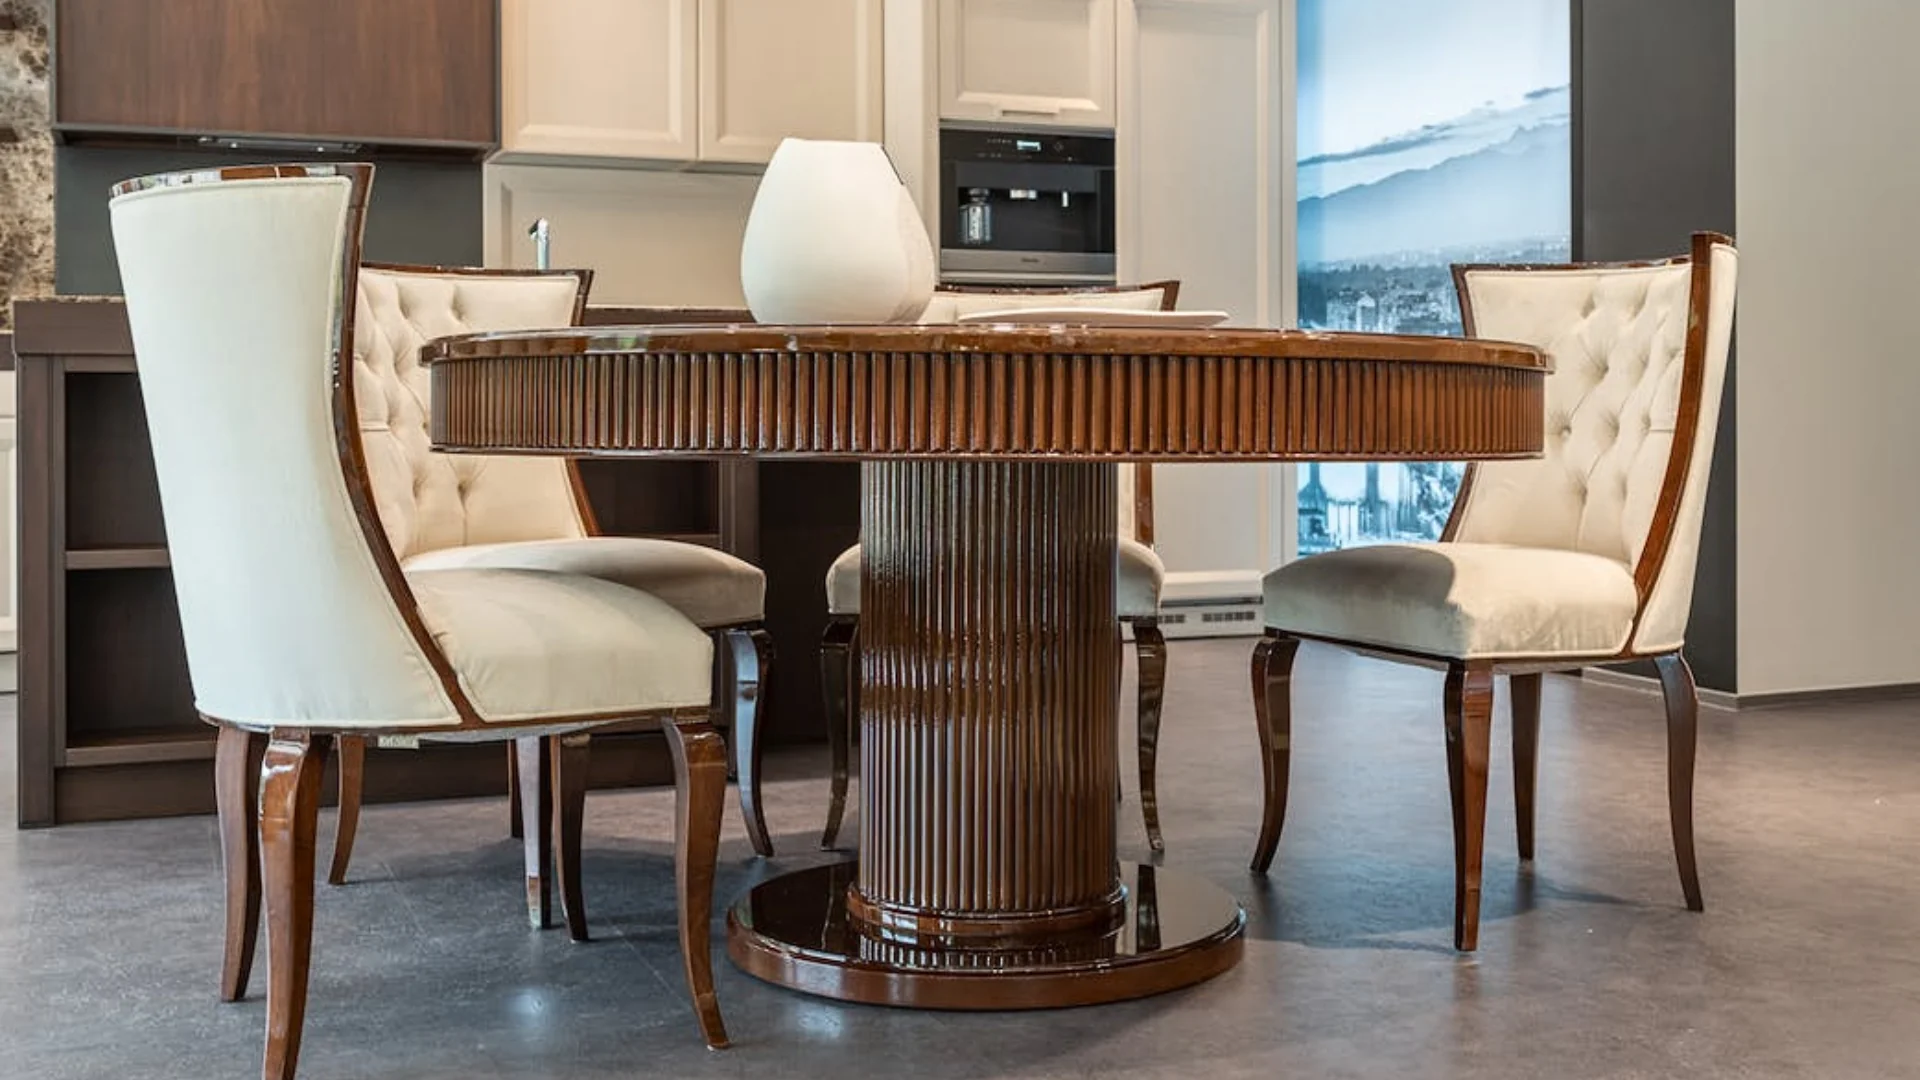
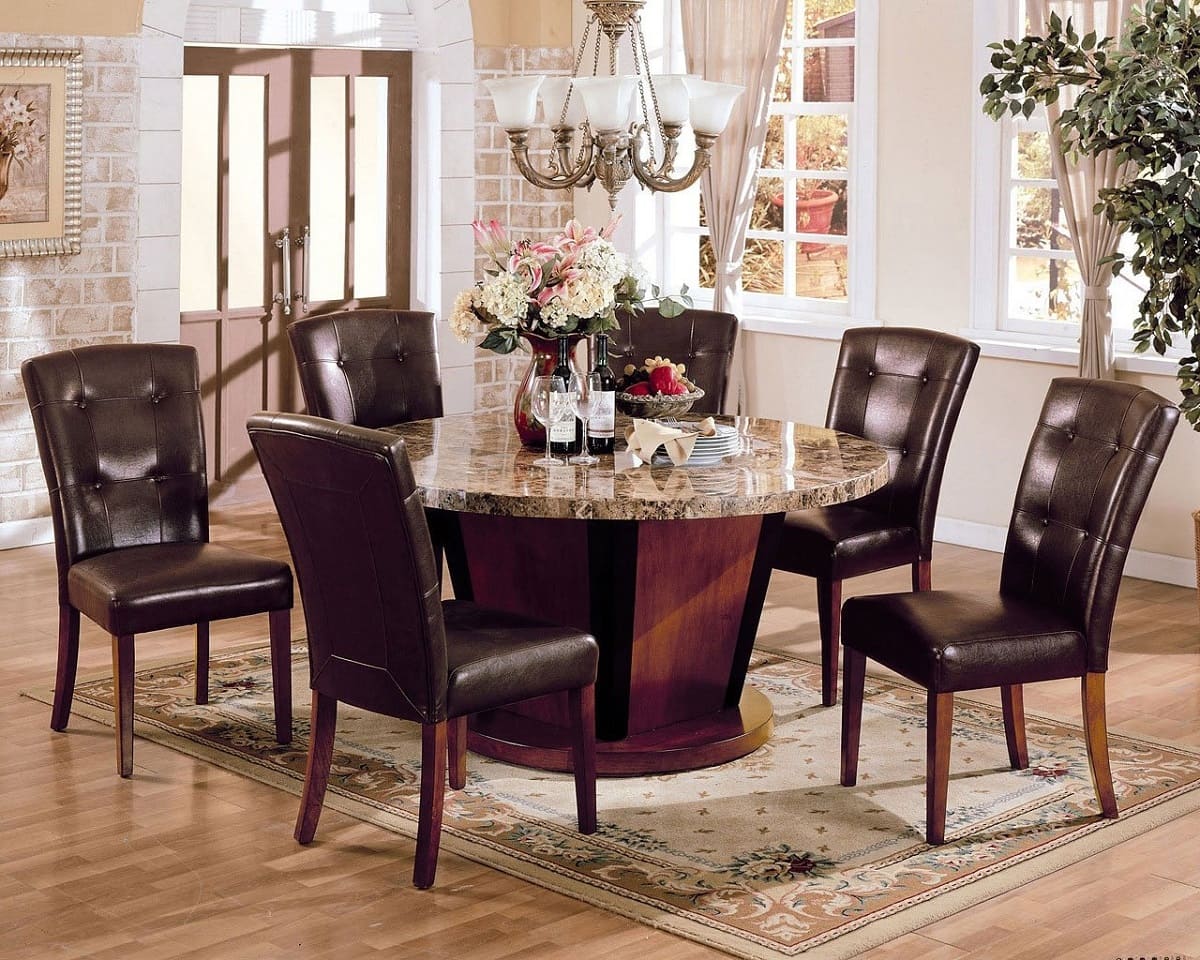
Welcome to the world of furniture design and craftsmanship! If you're looking to add a touch of elegance and functionality to your dining space, crafting a round dining table base can be a rewarding and fulfilling project. A well-crafted table base not only serves as a sturdy support for your tabletop but also adds a unique aesthetic appeal to your dining area.
Designing and creating a round dining table base allows you to infuse your personal style into your furniture, ensuring that it complements your home decor perfectly. Whether you prefer a modern, minimalist look or a rustic, farmhouse-inspired design, building your own table base provides the freedom to customize every detail to suit your taste.
In this guide, we'll walk through the process of creating a round dining table base, from selecting the right materials to assembling and finishing the piece. With a few essential tools and a creative mindset, you can embark on this DIY journey and craft a stunning table base that will be the centerpiece of your dining room. So, roll up your sleeves, gather your tools, and let's dive into the art of crafting a bespoke round dining table base.
Key Takeaways:
- Crafting a round dining table base allows you to personalize your dining space with a unique and functional piece of furniture that reflects your style and creativity.
- By carefully selecting materials, precision cutting, and meticulous assembly, you can create a stunning round dining table base that will serve as the centerpiece of your dining area.
Read more: How To Decorate A Round Dining Table
Materials and Tools
Before diving into the construction process, it’s essential to gather the necessary materials and tools to ensure a smooth and efficient crafting experience. Here’s a comprehensive list of what you’ll need:
Materials:
- Wood: Select a high-quality wood species that suits your design preferences and budget. Popular choices include oak, maple, cherry, and walnut.
- Wood Glue: A reliable wood adhesive is crucial for ensuring the structural integrity of the table base.
- Screws or Nails: Choose the appropriate fasteners based on the type of joinery you plan to use.
- Sandpaper: Assorted grits for smoothing and refining the wood surfaces.
- Wood Finish: Whether it's a stain, varnish, or paint, the finish will protect the wood and enhance its visual appeal.
Tools:
- Measuring Tape and Pencil: Essential for marking and measuring wood pieces accurately.
- Saw: Depending on your preference and the available tools, you can use a circular saw, jigsaw, or table saw for cutting the wood to size.
- Drill and Bits: For creating holes for screws or nails and accommodating any necessary hardware.
- Clamps: These will help hold the wood pieces together during assembly and glue application.
- Sandpaper or Sander: To smooth the wood surfaces and achieve a polished finish.
- Protective Gear: Safety goggles, gloves, and a dust mask to ensure a safe working environment.
By having these materials and tools at your disposal, you’ll be well-equipped to begin the construction process and bring your vision of a round dining table base to life. With everything in place, let’s move on to the first step: cutting the wood.
Step 1: Cutting the Wood
Once you have gathered all the necessary materials and tools, it’s time to embark on the first step of crafting your round dining table base: cutting the wood. This stage is crucial as it sets the foundation for the entire construction process and determines the dimensions and shape of the table base.
Read more: How To Style A Round Dining Table
1.1 Planning and Marking:
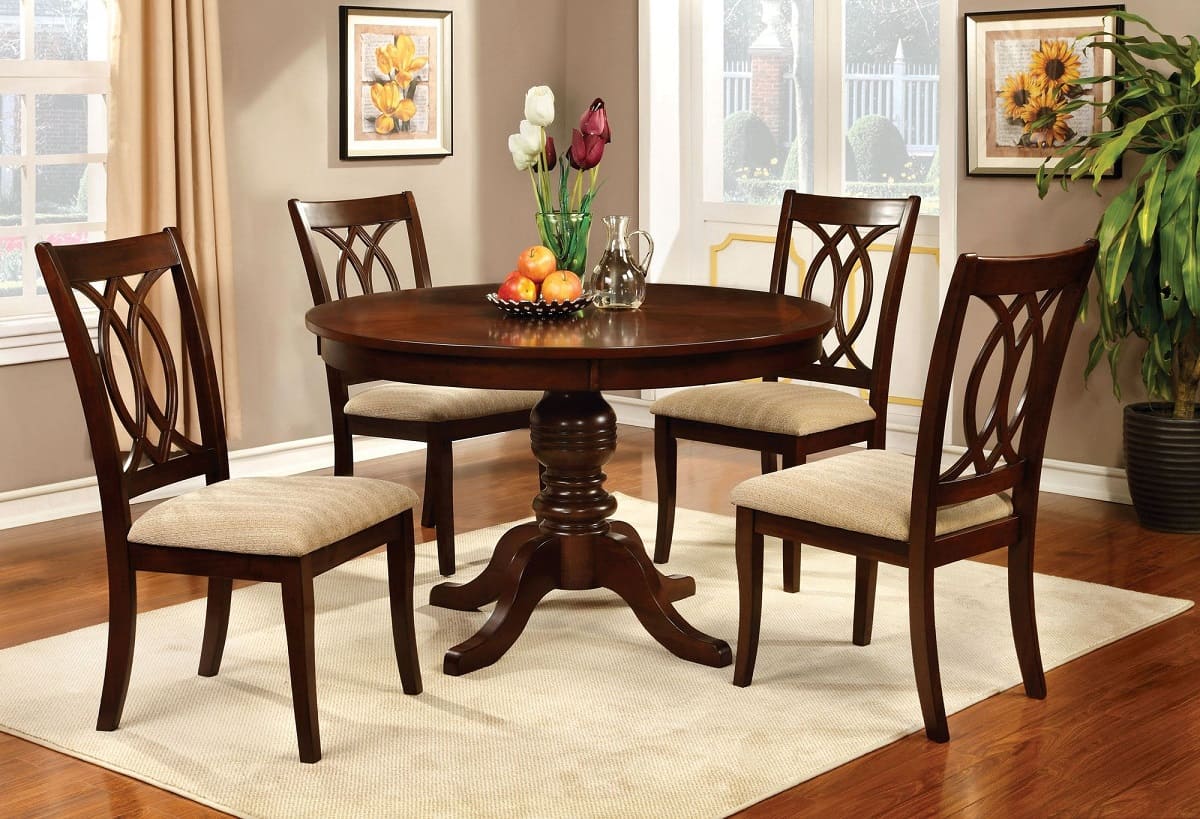
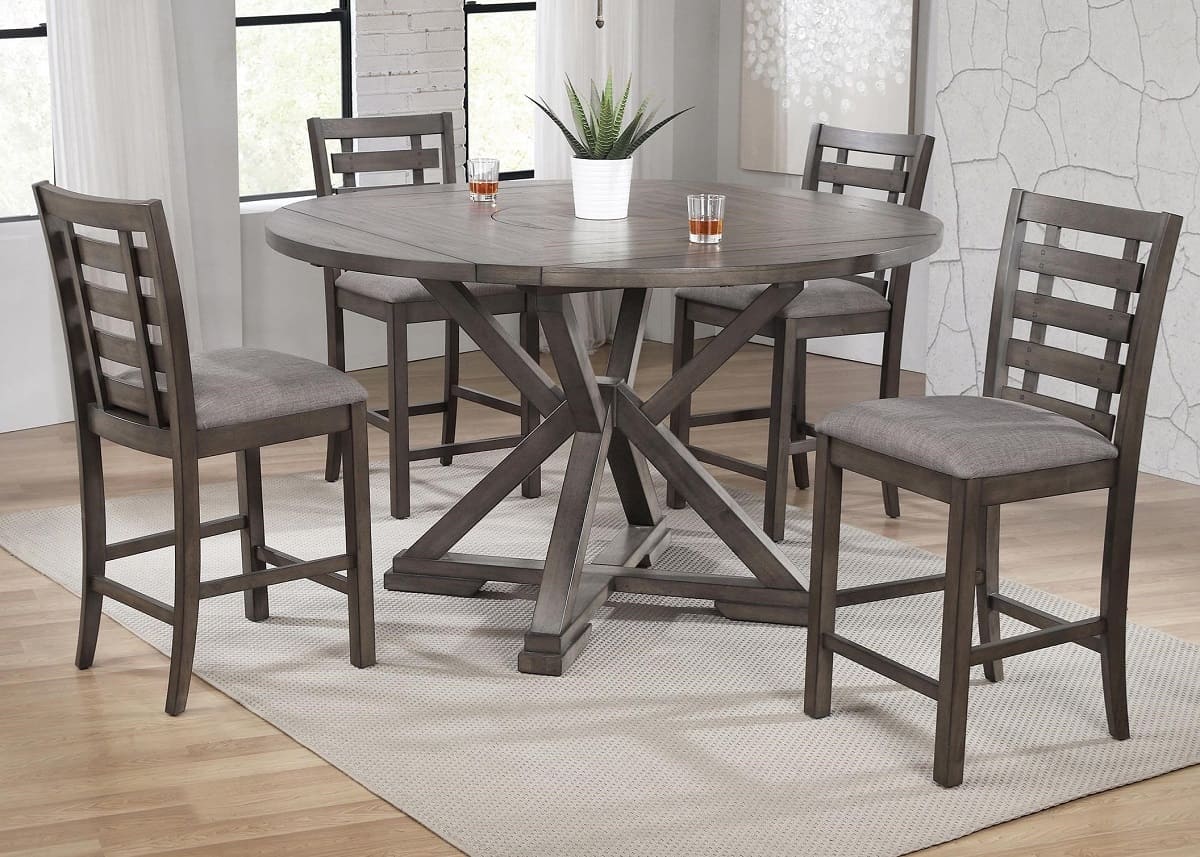
Before making any cuts, carefully plan the dimensions of your table base. Whether you prefer a traditional pedestal design or a more intricate trestle base, precise measurements are key. Use a measuring tape and pencil to mark the wood according to your chosen design and dimensions. Ensure that the markings are clear and accurate to avoid errors during the cutting process.
1.2 Cutting the Components:
Using a saw appropriate for the type of wood you’re working with, carefully cut the wood pieces according to the marked measurements. Whether you’re creating curved elements for a pedestal base or straight components for a trestle design, precision is essential. Take your time with each cut to achieve clean and accurate pieces that will fit together seamlessly during assembly.
1.3 Sanding and Smoothing:
After cutting the wood components, use sandpaper or a sander to smooth the edges and surfaces of each piece. This step is vital for achieving a professional finish and ensuring that the components fit together snugly during assembly. Pay attention to detail and aim for uniformity in the smoothness of the wood surfaces.
By completing the cutting stage with precision and care, you’ll have the foundational elements ready for the next phase: assembling the base. With the wood pieces prepared and refined, you’re one step closer to bringing your custom round dining table base to fruition.
Step 2: Assembling the Base
With the wood components cut to size and prepped, it’s time to move on to the exciting phase of assembling the round dining table base. This step brings your vision to life as the individual pieces come together to form the foundation of your table. Follow these essential steps for a seamless assembly process:
2.1 Dry Fit the Components:
Before applying any adhesive or fasteners, conduct a dry fit by assembling the wood components to ensure that they align correctly and form the desired shape of the table base. This step allows you to make any necessary adjustments before proceeding to the permanent assembly stage.
2.2 Apply Wood Glue:
Once you’re satisfied with the fit of the components, apply wood glue to the joining surfaces according to the assembly plan. Use a brush or a small roller to spread the glue evenly, ensuring thorough coverage for a strong bond between the wood pieces.
2.3 Secure the Joints:
Depending on your design and preference, use screws or nails to secure the joints and reinforce the bond created by the wood glue. Ensure that the fasteners are strategically placed to provide structural support without compromising the aesthetics of the table base.
2.4 Support and Alignment:
During the assembly process, use clamps to hold the wood components together, maintaining pressure until the wood glue dries completely. This step is crucial for achieving tight, secure joints and ensuring that the base maintains the intended shape and alignment.
Read more: What Size Rug For A Round Dining Table
2.5 Verify Stability:
Once the assembly is complete, verify the stability and sturdiness of the table base. Test for any wobbling or unevenness, and make any necessary adjustments to ensure that the base provides a solid and balanced support for the tabletop.
With the base fully assembled and stable, you’ve successfully completed a significant phase of the construction process. The next step involves refining the base’s surfaces and adding the finishing touches to prepare it for the dining table’s tabletop. Let’s proceed to step 3: sanding and finishing.
Step 3: Sanding and Finishing
As you near the completion of your round dining table base, the sanding and finishing stage plays a pivotal role in refining the wood surfaces and enhancing the overall appearance of the piece. This step adds a touch of finesse and durability to the base, ensuring that it’s ready to support your dining table for years to come. Follow these essential steps to achieve a polished and professional finish:
3.1 Sanding the Wood Surfaces:
Begin by sanding the entire surface of the table base using progressively finer grits of sandpaper. Start with a coarser grit to remove any rough spots, tool marks, or imperfections, and gradually work your way to a finer grit for a smooth and refined finish. Pay special attention to the edges and corners, ensuring that they are rounded and smooth to the touch.
3.2 Smoothing Curves and Contours:
If your table base features curved or intricate contours, use sanding blocks or flexible sanding pads to smooth these areas thoroughly. This step is crucial for achieving a consistent and flawless surface, especially in areas that may be more challenging to sand with traditional sandpaper.
Read more: What Shape Rug For A Round Dining Table
3.3 Applying the Wood Finish:
Once the wood surfaces are impeccably smooth, it’s time to apply the chosen wood finish. Whether you opt for a natural wood stain to enhance the grain or a protective varnish for a glossy sheen, ensure that the finish is applied evenly and generously. Use a brush, cloth, or sprayer to achieve a uniform coat that brings out the natural beauty of the wood.
3.4 Drying and Curing:
Allow the applied finish to dry and cure according to the manufacturer’s instructions. This crucial waiting period ensures that the finish sets properly, providing long-lasting protection and visual appeal to the table base. Avoid handling the base during this time to prevent any blemishes or smudges on the finish.
3.5 Final Inspection:
Once the finish has fully cured, inspect the table base meticulously for any imperfections or areas that may require additional touch-ups. Address any minor flaws or unevenness to achieve a flawless and professional result.
With the sanding and finishing stage complete, your custom round dining table base is now ready to support the tabletop and take its place as the centerpiece of your dining area. This marks the culmination of your craftsmanship and attention to detail, resulting in a stunning and functional piece of furniture that reflects your unique style and creativity.
Conclusion
Congratulations on completing the journey of crafting your very own round dining table base! Throughout this process, you’ve delved into the art of woodworking, honing your skills and creativity to bring a unique piece of furniture to life. As you admire the finished table base, take pride in the craftsmanship and dedication that have gone into every step of its creation.
By selecting high-quality materials, meticulously cutting and assembling the wood components, and refining the base with precision sanding and finishing techniques, you’ve not only created a functional piece of furniture but also a work of art that embodies your personal style and attention to detail.
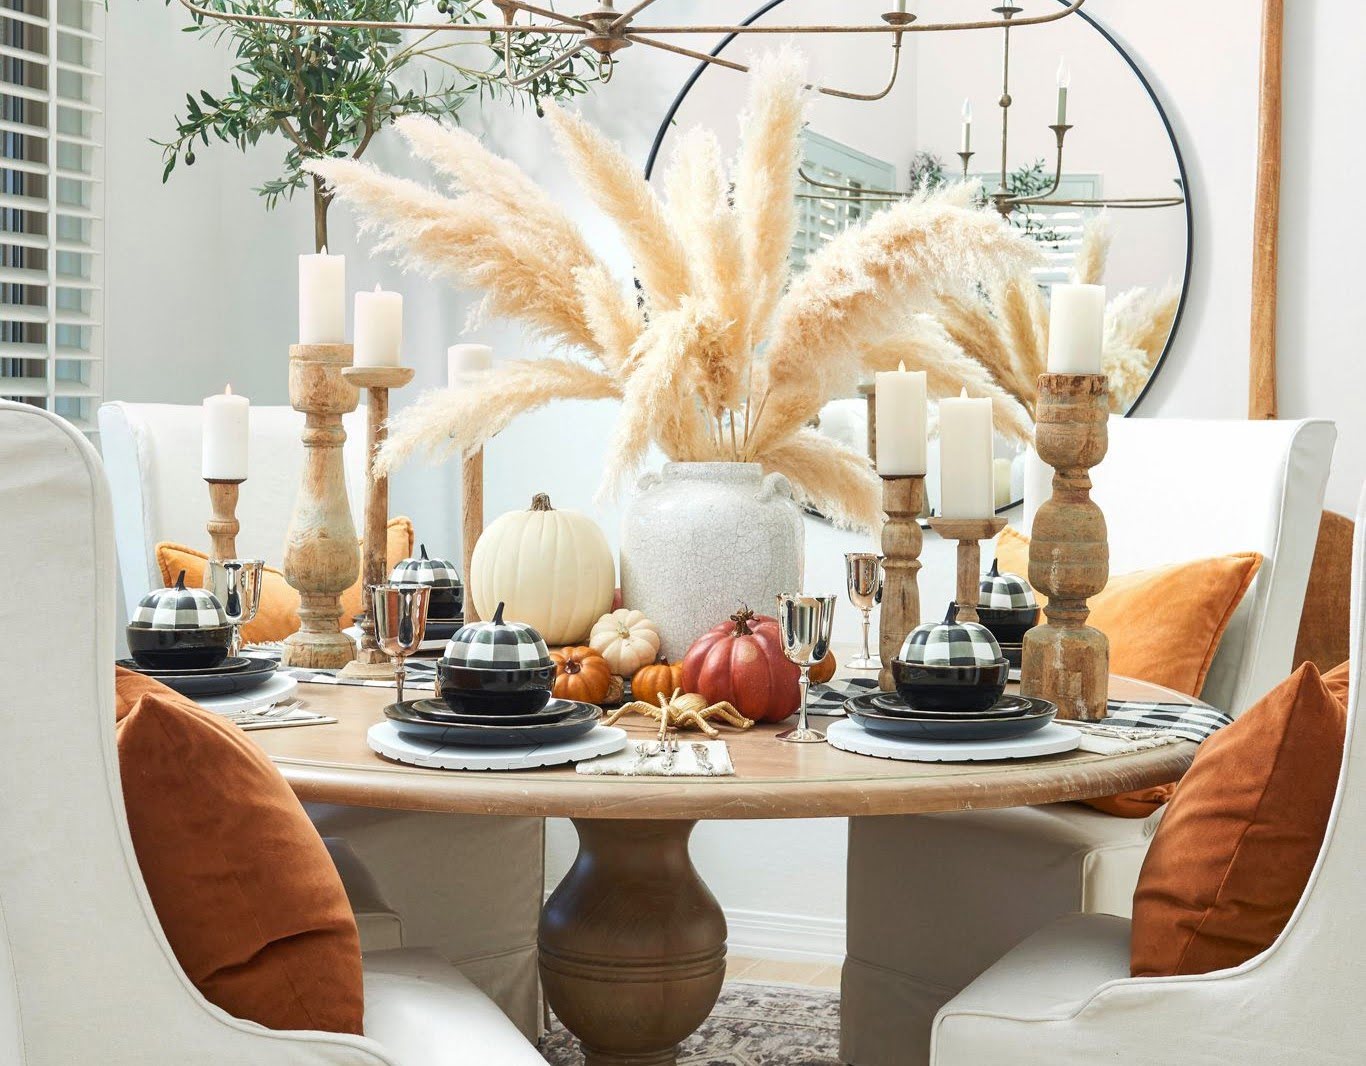
As you integrate the table base into your dining space, envision the countless gatherings, meals, and conversations that will take place around it. Your creation will serve as the foundation for cherished moments and shared experiences, making it a truly meaningful addition to your home.
Furthermore, the skills and knowledge you’ve gained through this project open the door to endless possibilities for future woodworking endeavors. Whether you embark on crafting additional furniture pieces or explore new design concepts, the experience of creating a round dining table base has equipped you with valuable insights and capabilities in the realm of furniture design and construction.
Remember, the journey of woodworking is a continuous evolution, and each project offers the opportunity for learning, growth, and self-expression. Embrace the satisfaction of bringing your ideas to life through craftsmanship, and let your creativity guide you as you embark on future woodworking ventures.
With your newfound expertise and a stunning round dining table base as a testament to your skills, you’re poised to infuse your living space with the warmth and character of custom-crafted furniture. Embrace the artistry and fulfillment that come with woodworking, and may your creations continue to enrich your home and inspire those around you.
Frequently Asked Questions about How To Make A Round Dining Table Base
Was this page helpful?
At Storables.com, we guarantee accurate and reliable information. Our content, validated by Expert Board Contributors, is crafted following stringent Editorial Policies. We're committed to providing you with well-researched, expert-backed insights for all your informational needs.


0 thoughts on “How To Make A Round Dining Table Base”