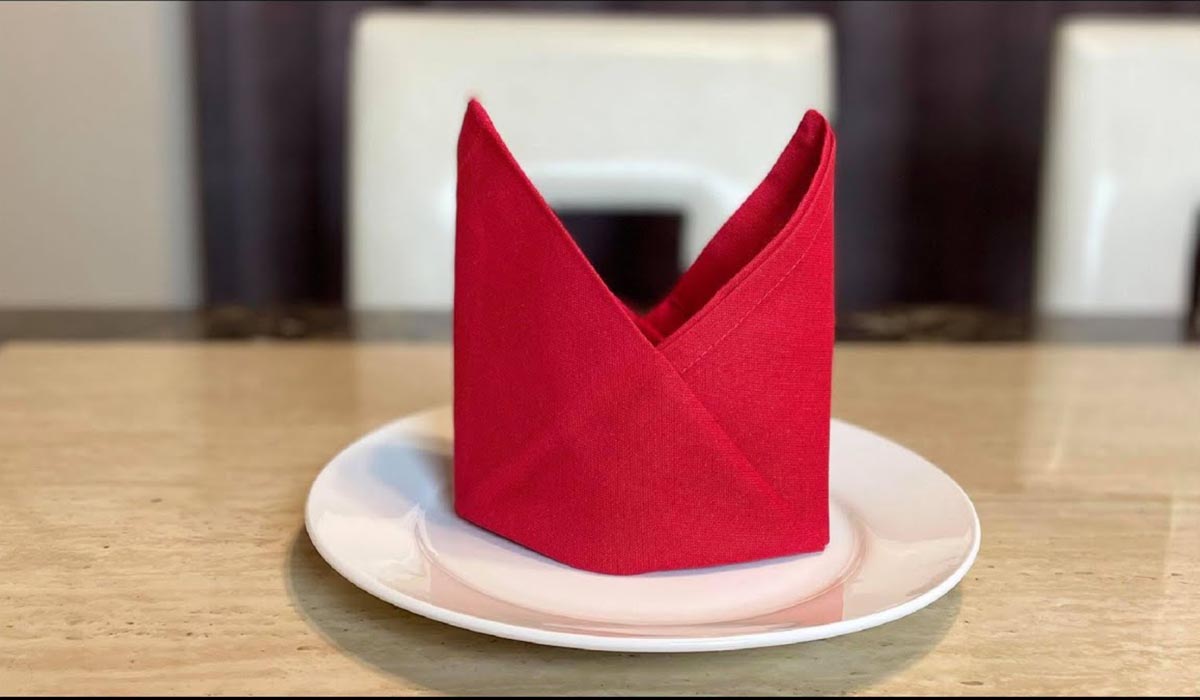

Tableware
How To Make A Napkin Hat
Modified: December 7, 2023
Learn how to make a napkin hat with tableware! Impress your guests with this easy and creative DIY project. Perfect for any occasion!
(Many of the links in this article redirect to a specific reviewed product. Your purchase of these products through affiliate links helps to generate commission for Storables.com, at no extra cost. Learn more)
Introduction
Have you ever wanted to add a touch of whimsy to your dinner table? Well, look no further than the humble napkin hat. This quirky and charming accessory can turn any ordinary dinner into a fun-filled event. Whether you’re hosting a themed party, celebrating a special occasion, or simply looking to add a dash of creativity to your table setting, making a napkin hat is a surefire way to spark conversations and bring smiles to your guests’ faces.
In this article, we will guide you through the step-by-step process of creating your very own napkin hat. With just a few materials and a little bit of patience, you’ll be able to master this delightful tableware trick. So, get ready to unleash your inner artist and let’s dive into the world of napkin hat making!
Key Takeaways:
- Add a Touch of Whimsy to Your Table
Create delightful napkin hats to elevate any meal or celebration. With just a few materials and a dash of creativity, you can charm your guests and spark joyful conversations. - Unleash Your Inner Artist
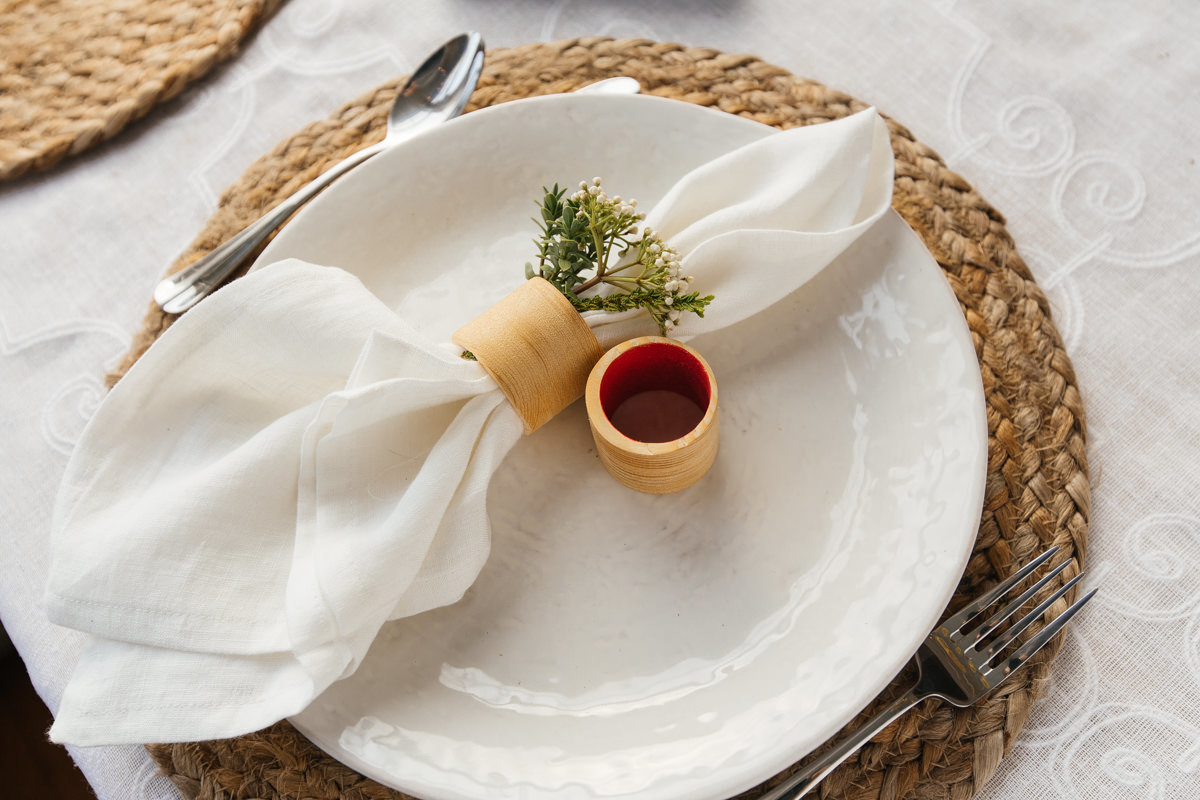
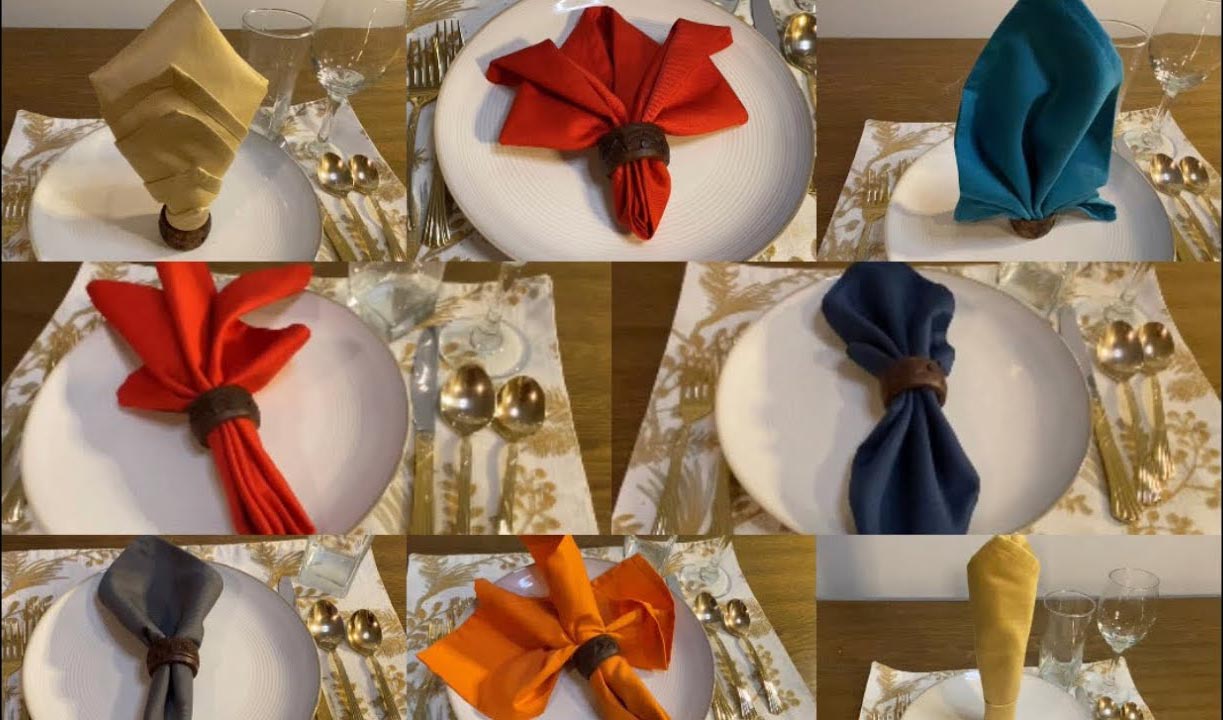
Fold napkins into charming hat shapes and adorn them with stylish hat bands. Experiment with different fabrics, colors, and embellishments to create unique napkin hats that bring smiles to your guests’ faces.
Read more: How To Make A Rose With A Napkin
Materials Needed
Before we begin, let’s gather the materials required to make a napkin hat:
- A square napkin: Choose a sturdy and medium-sized fabric napkin. Avoid using paper napkins, as they may tear easily.
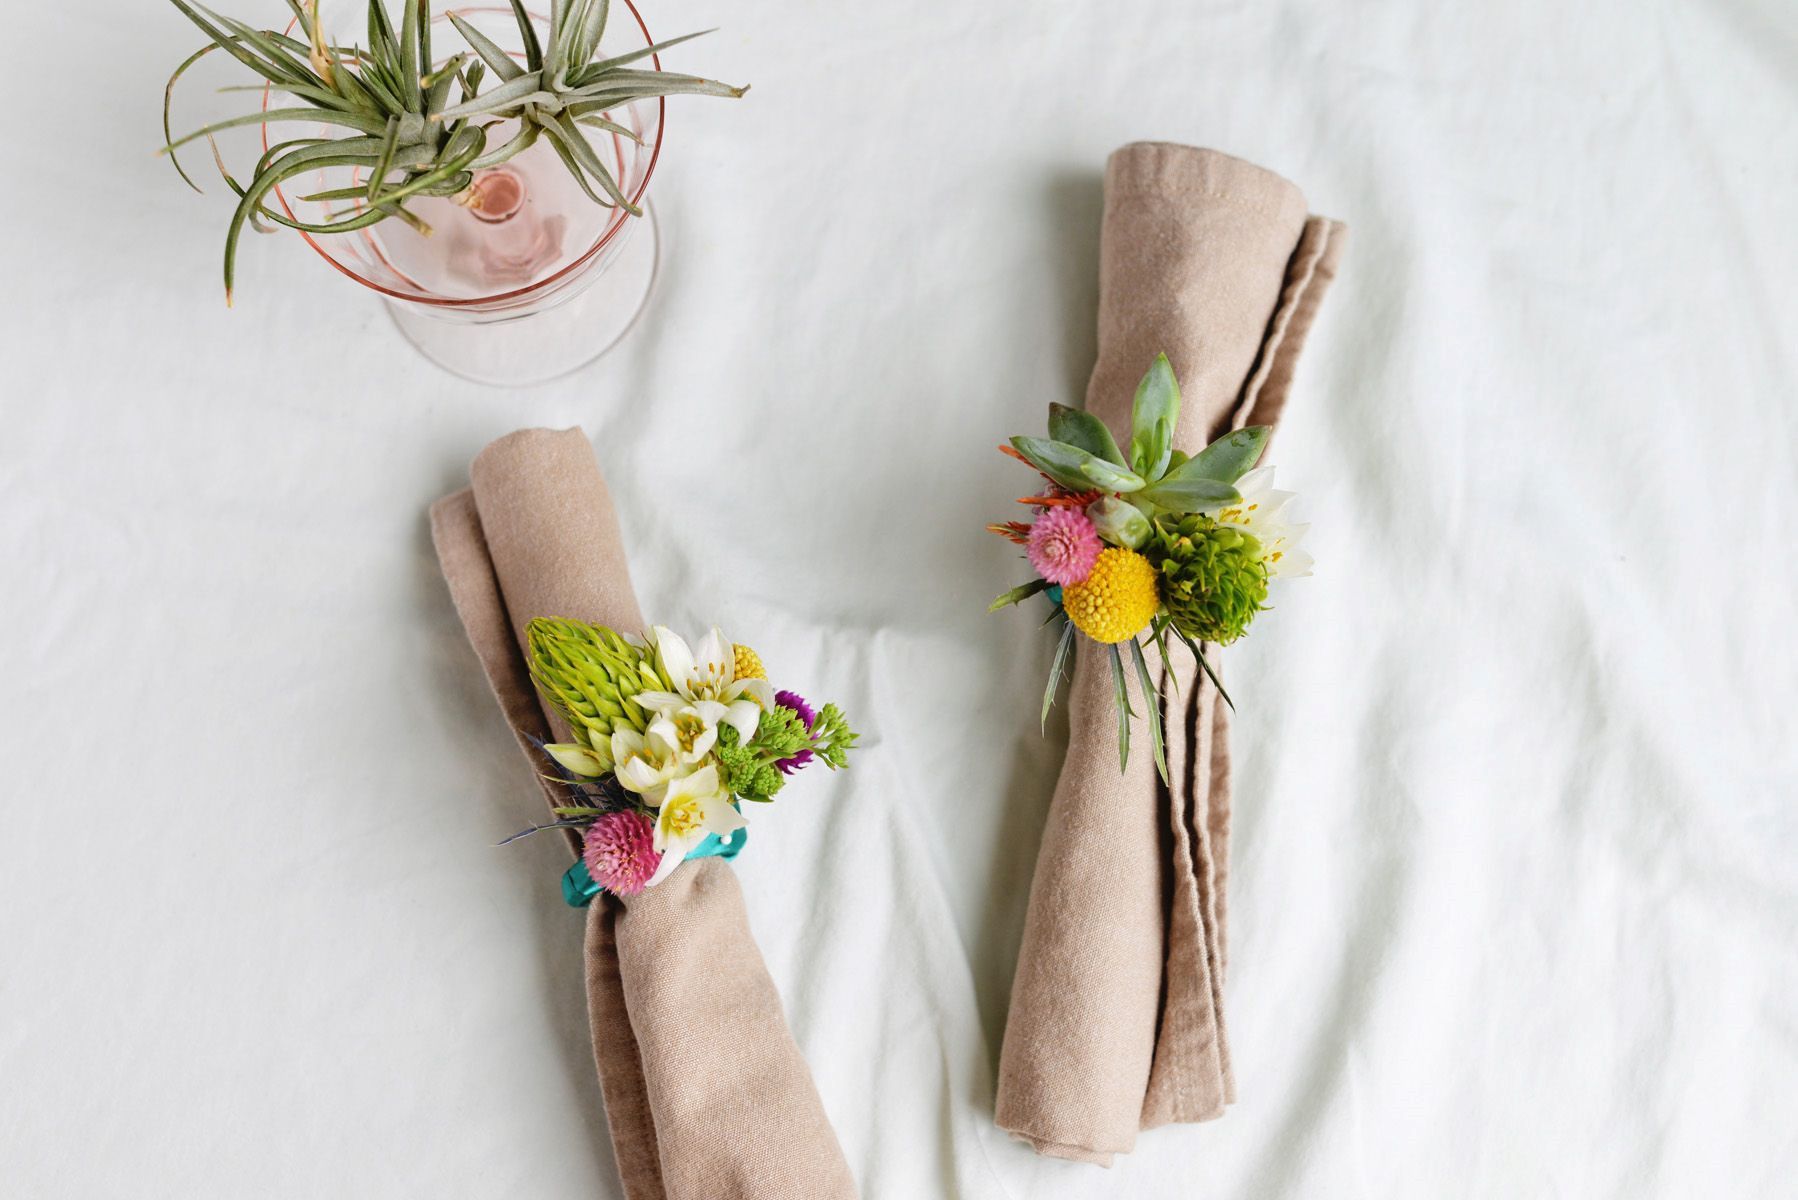
- Decorative accessories (optional): You can enhance your napkin hat by adding fun and festive embellishments such as ribbons, flowers, or small trinkets.
Now that you have everything you need, let’s move on to the next steps of creating your very own napkin hat!
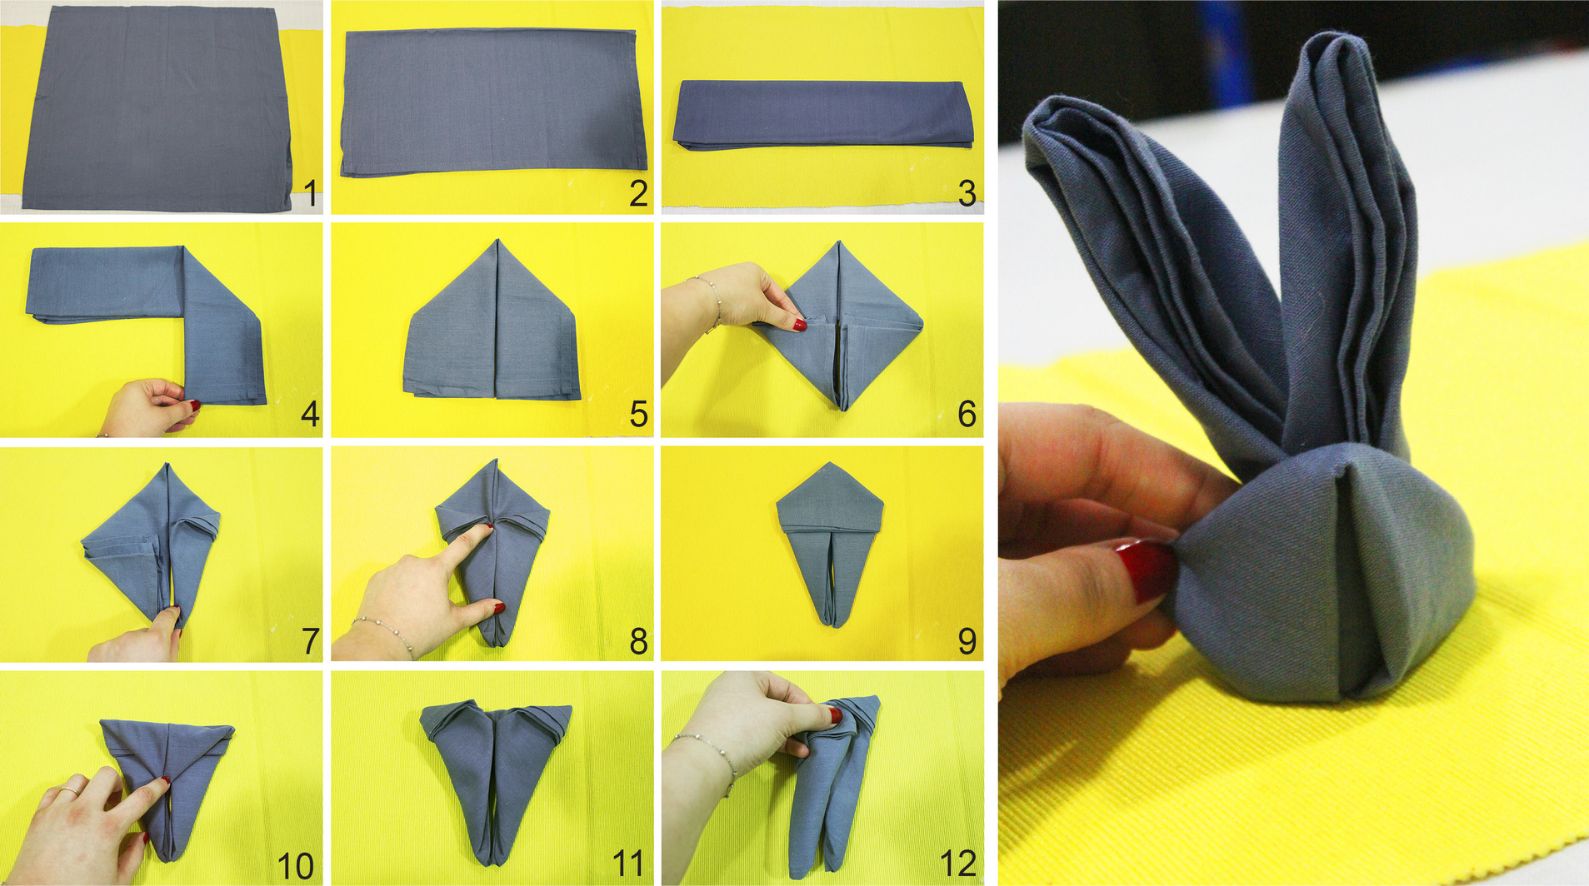
Step 1: Folding the Napkin
The first step in making a napkin hat is to fold the napkin into a square shape:
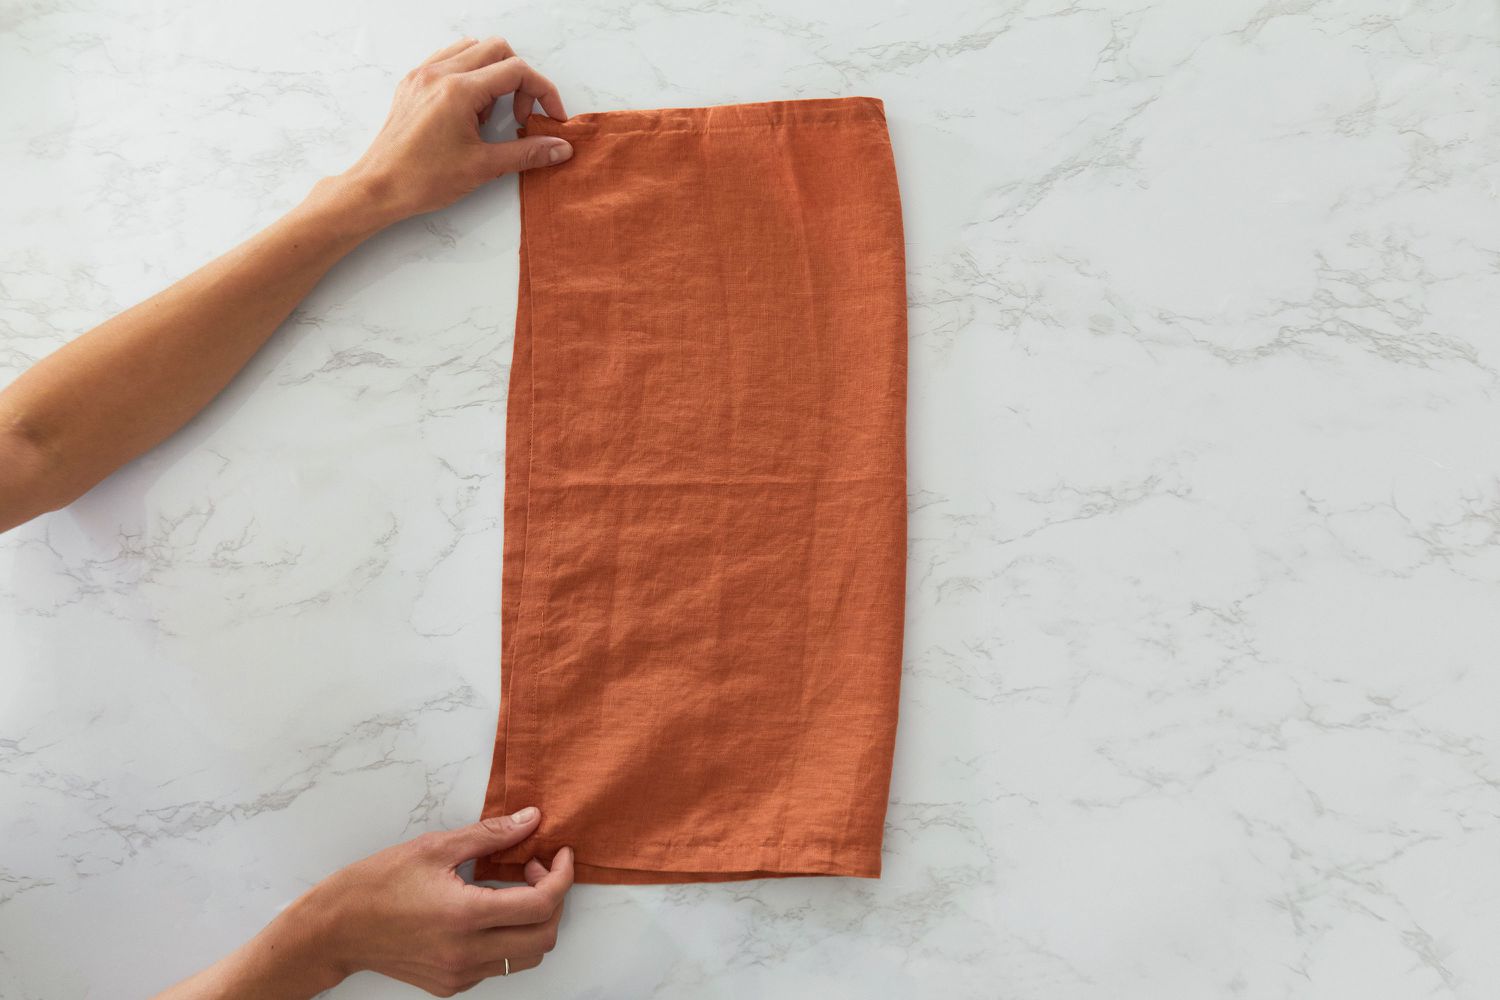
- Start by laying the napkin flat on a clean and flat surface.
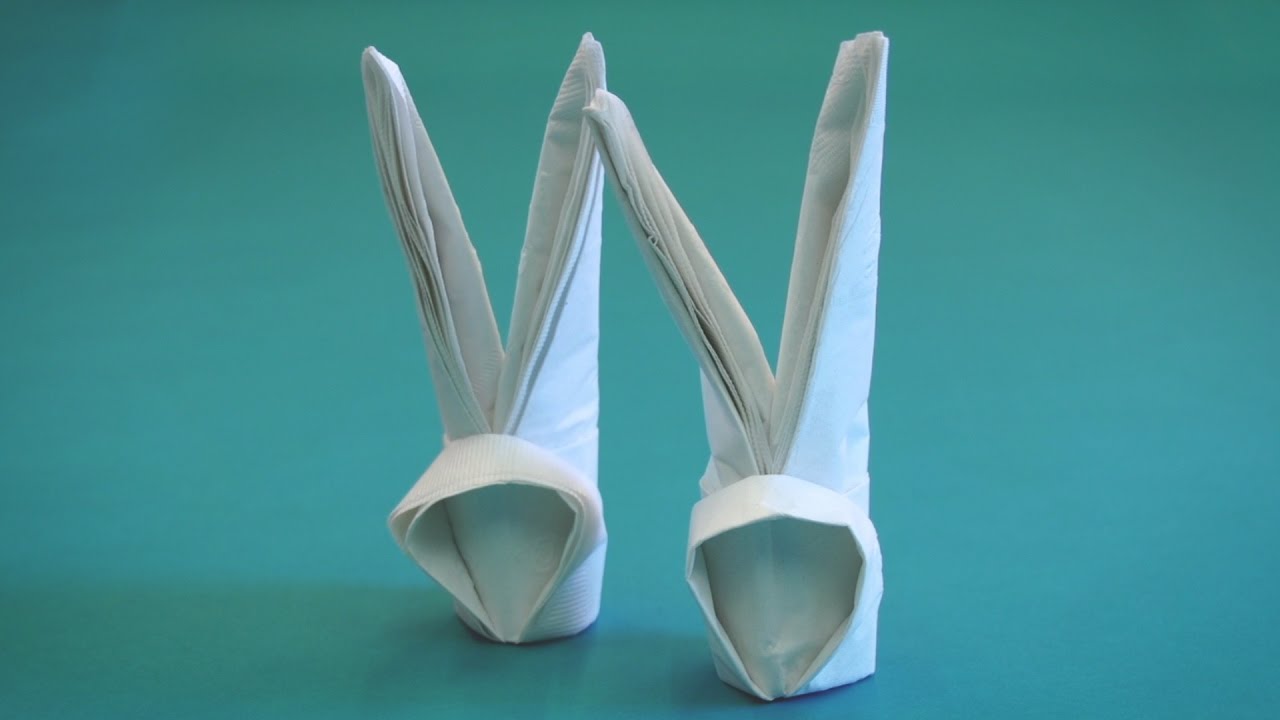
- Fold the napkin in half diagonally, forming a triangle.
- Now, take the left corner of the triangle and fold it towards the right corner.
- Repeat the previous step, taking the right corner and folding it towards the left corner.
- You should now have a smaller triangle with a folded edge at the bottom.
- Flip the napkin over, keeping the folded edge at the bottom.
- Take the bottom corner of the triangle and fold it towards the top corner, creating a smaller triangle.
- Finally, take the left and right corners of the smaller triangle and fold them towards the center, overlapping slightly.
Voila! You have successfully folded the napkin into a square shape, which will serve as the base for your napkin hat.
Now, onto the next step – creating the hat band!
Step 2: Creating the Hat Band
The hat band adds a stylish touch to your napkin hat. Here’s how you can create it:
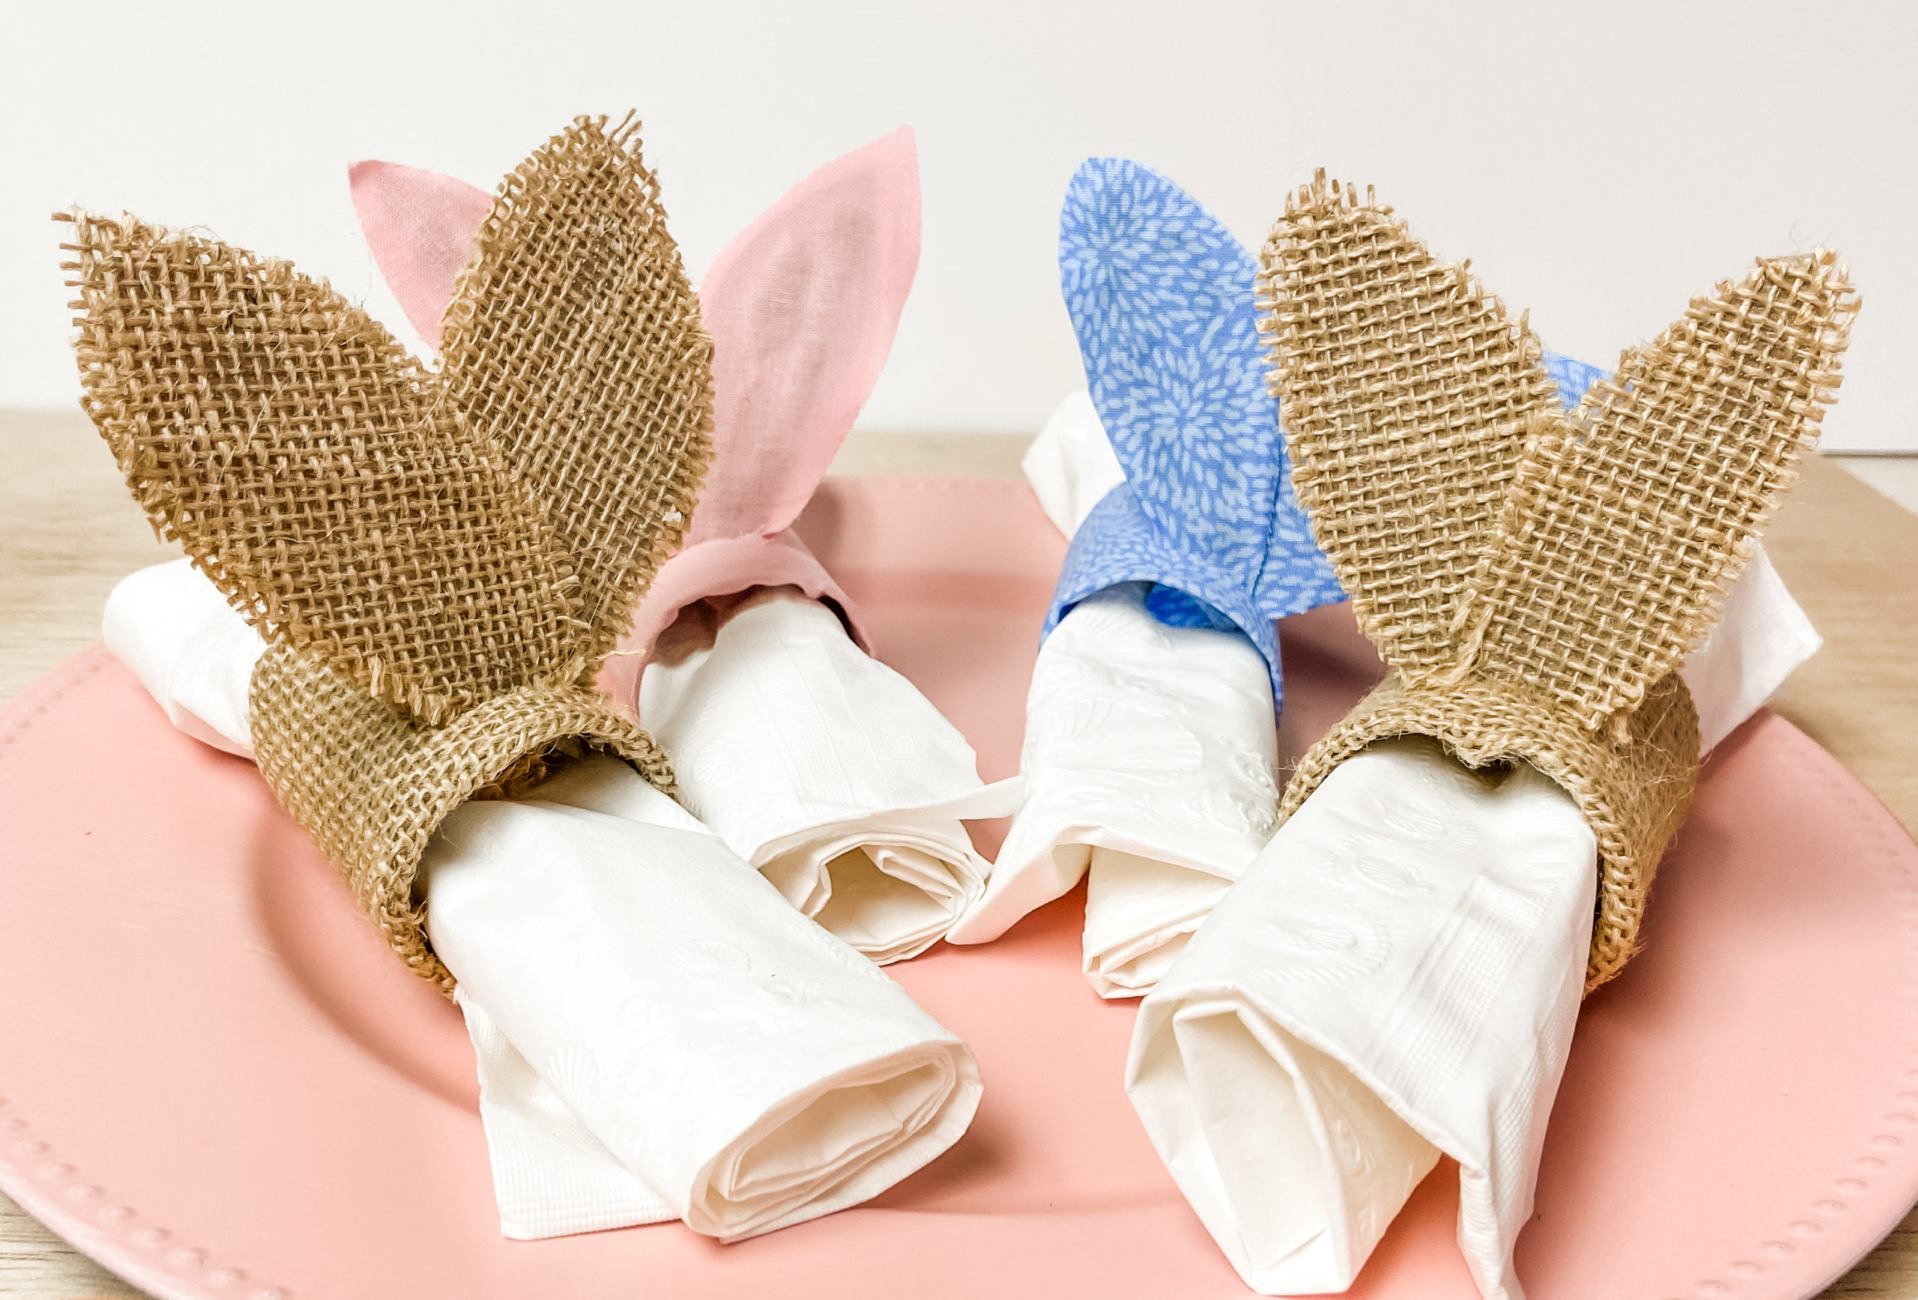
- Take a long, thin strip of fabric, ribbon, or paper. This will serve as the hat band.
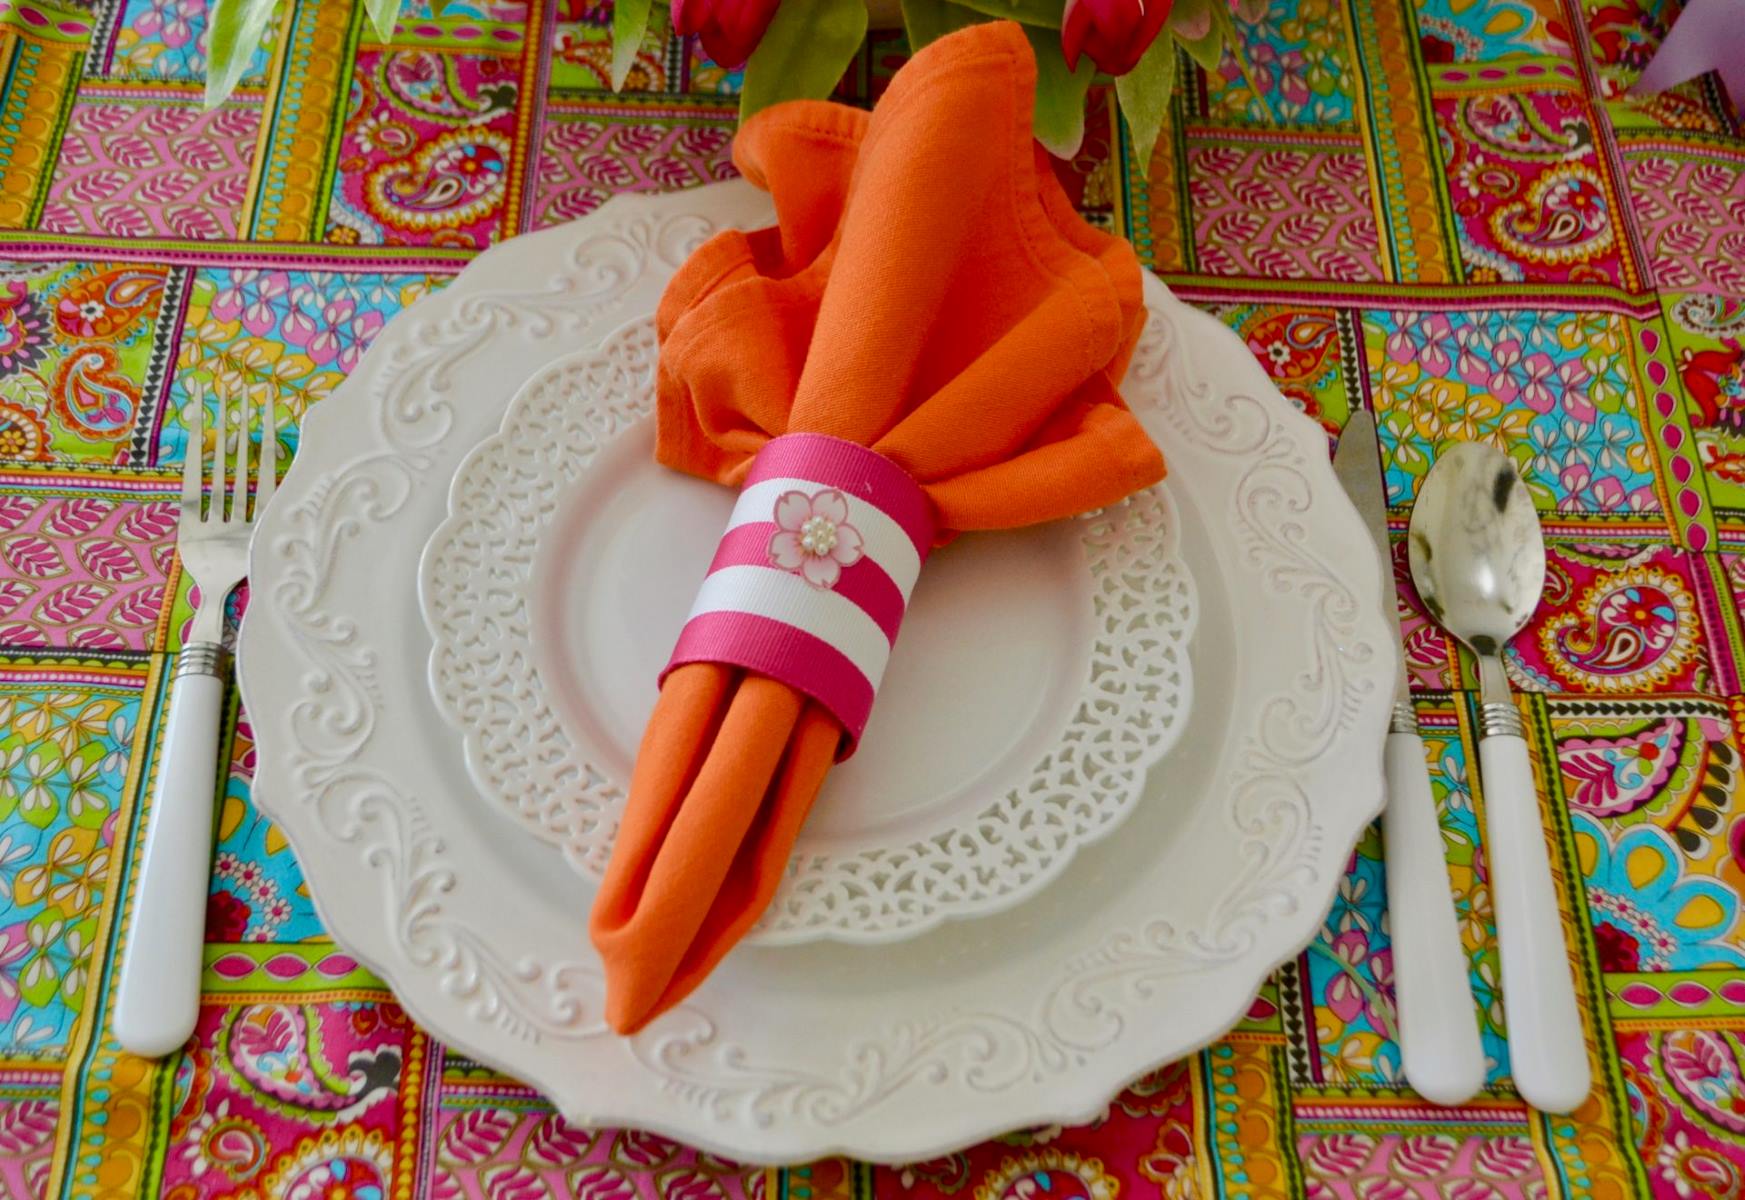
- Wrap the strip around the top edge of the folded napkin, making sure it fits snugly but not too tight.
- Overlap the ends of the strip and secure them with a small dab of glue or adhesive tape. Alternatively, you can tie a small knot to hold the ends together.
- If you wish to add some flair to your hat band, feel free to decorate it with additional ribbons, bows, or even a small charm.
Wow, your napkin hat is already starting to take shape! Let’s move on to the next step to complete the final assembly.
When making a napkin hat, choose a sturdy and large napkin to ensure it holds its shape. Avoid using thin or flimsy napkins that may not stay in place.
Step 3: Attaching the Hat Band to the Napkin
Now that you have created the hat band, it’s time to attach it to the folded napkin:
- Place the folded napkin on a flat surface, with the hat band facing down.
- Gently lift the edges of the hat band and slide them under the folded napkin, aligning them with the bottom edge.
- Keep adjusting and pulling the hat band until it sits securely on the napkin, creating a hat-like shape.
- Make sure to position the hat band evenly around the napkin, ensuring it looks symmetrical from all angles.
Great job! Your napkin hat is now fully assembled. All that’s left is to make some final adjustments to perfect the look.
Let’s move on to the last step to ensure your napkin hat is ready for its grand appearance!
Read more: How To Make A Napkin Holder
Step 4: Adjusting the Hat
To give your napkin hat a polished and professional look, it’s important to make some final adjustments:
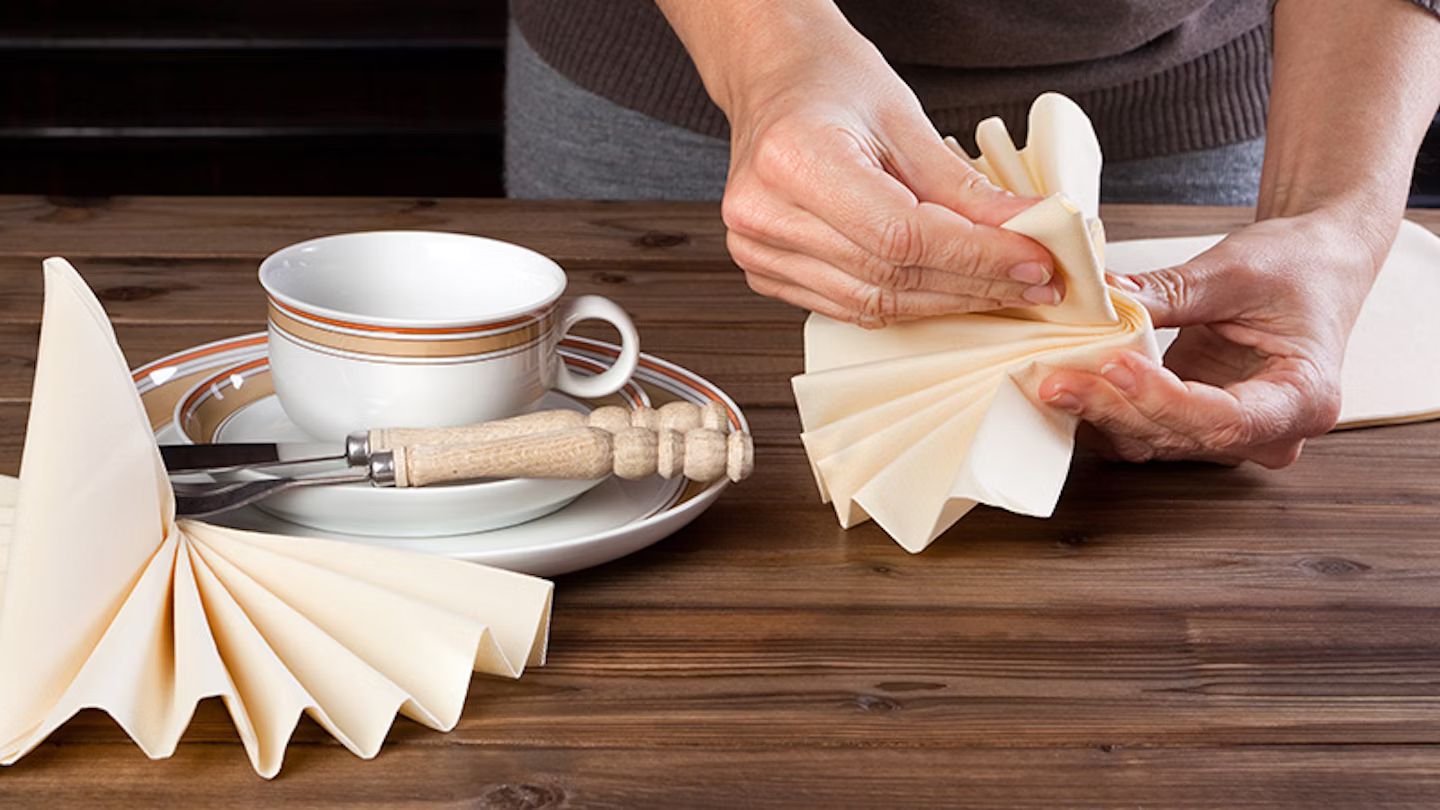
- Gently fluff and shape the top of the hat by delicately pulling on the top edges of the folded napkin.
- Ensure that the hat band is snug and secure, but not too tight, as you want it to comfortably fit on top of a plate or a guest’s head, if desired.
- If needed, you can make slight adjustments to the fold lines of the napkin to create a more symmetrical shape or to achieve the desired style.
- Take a step back and admire your handiwork! If you’re happy with the overall look, your napkin hat is now ready to charm your guests.
Congratulations! You’ve successfully created your own napkin hat. Now, let your creativity flow and experiment with different fabrics, colors, and embellishments to make a variety of unique hat designs for various occasions.
Remember, the purpose of a napkin hat is to add a touch of fun and playfulness to your table setting. So have fun with it and enjoy the smiles and laughter it brings to your guests.
Now, go ahead and impress your friends and family with your newly acquired napkin hat folding skills. Happy hat-making!
Conclusion
Creating a napkin hat is a delightful and whimsical way to add a unique touch to your table setting. It’s a simple and creative activity that can elevate any meal or celebration, making it memorable and enjoyable for everyone involved.
By following the step-by-step instructions outlined in this article, you can easily fold a napkin into a hat shape and adorn it with a stylish hat band. The process is not only fun but also allows you to showcase your personal style and creativity.
Whether you’re hosting a festive party, a themed dinner, or simply want to bring a smile to someone’s face, a napkin hat is sure to do the trick. It’s a small detail that can make a big impact, creating a whimsical and joyful atmosphere that enhances the overall dining experience.
So, the next time you’re setting the table, consider adding a touch of whimsy with a napkin hat. Your guests will be charmed by this unexpected and delightful addition, and it will surely become a conversation starter.
Remember to experiment with different fabrics, colors, and accessories to create a variety of unique napkin hats. Let your imagination run wild and have fun with it!
Now, go ahead and give it a try. Unleash your creativity and enjoy the process of making your own napkin hats. Get ready to impress and bring joy to your guests with this simple yet enchanting tableware trick!
Frequently Asked Questions about How To Make A Napkin Hat
Was this page helpful?
At Storables.com, we guarantee accurate and reliable information. Our content, validated by Expert Board Contributors, is crafted following stringent Editorial Policies. We're committed to providing you with well-researched, expert-backed insights for all your informational needs.

0 thoughts on “How To Make A Napkin Hat”