Home>Kitchen & Cooking>Kitchen Furniture & Decor>How To Make Bunny Napkin Rings
Kitchen Furniture & Decor
How To Make Bunny Napkin Rings
Published: February 16, 2024
Learn how to create adorable bunny napkin rings to add a charming touch to your kitchen furniture and decor. Follow our simple tutorial for a delightful DIY project.
(Many of the links in this article redirect to a specific reviewed product. Your purchase of these products through affiliate links helps to generate commission for Storables.com, at no extra cost. Learn more)
Introduction
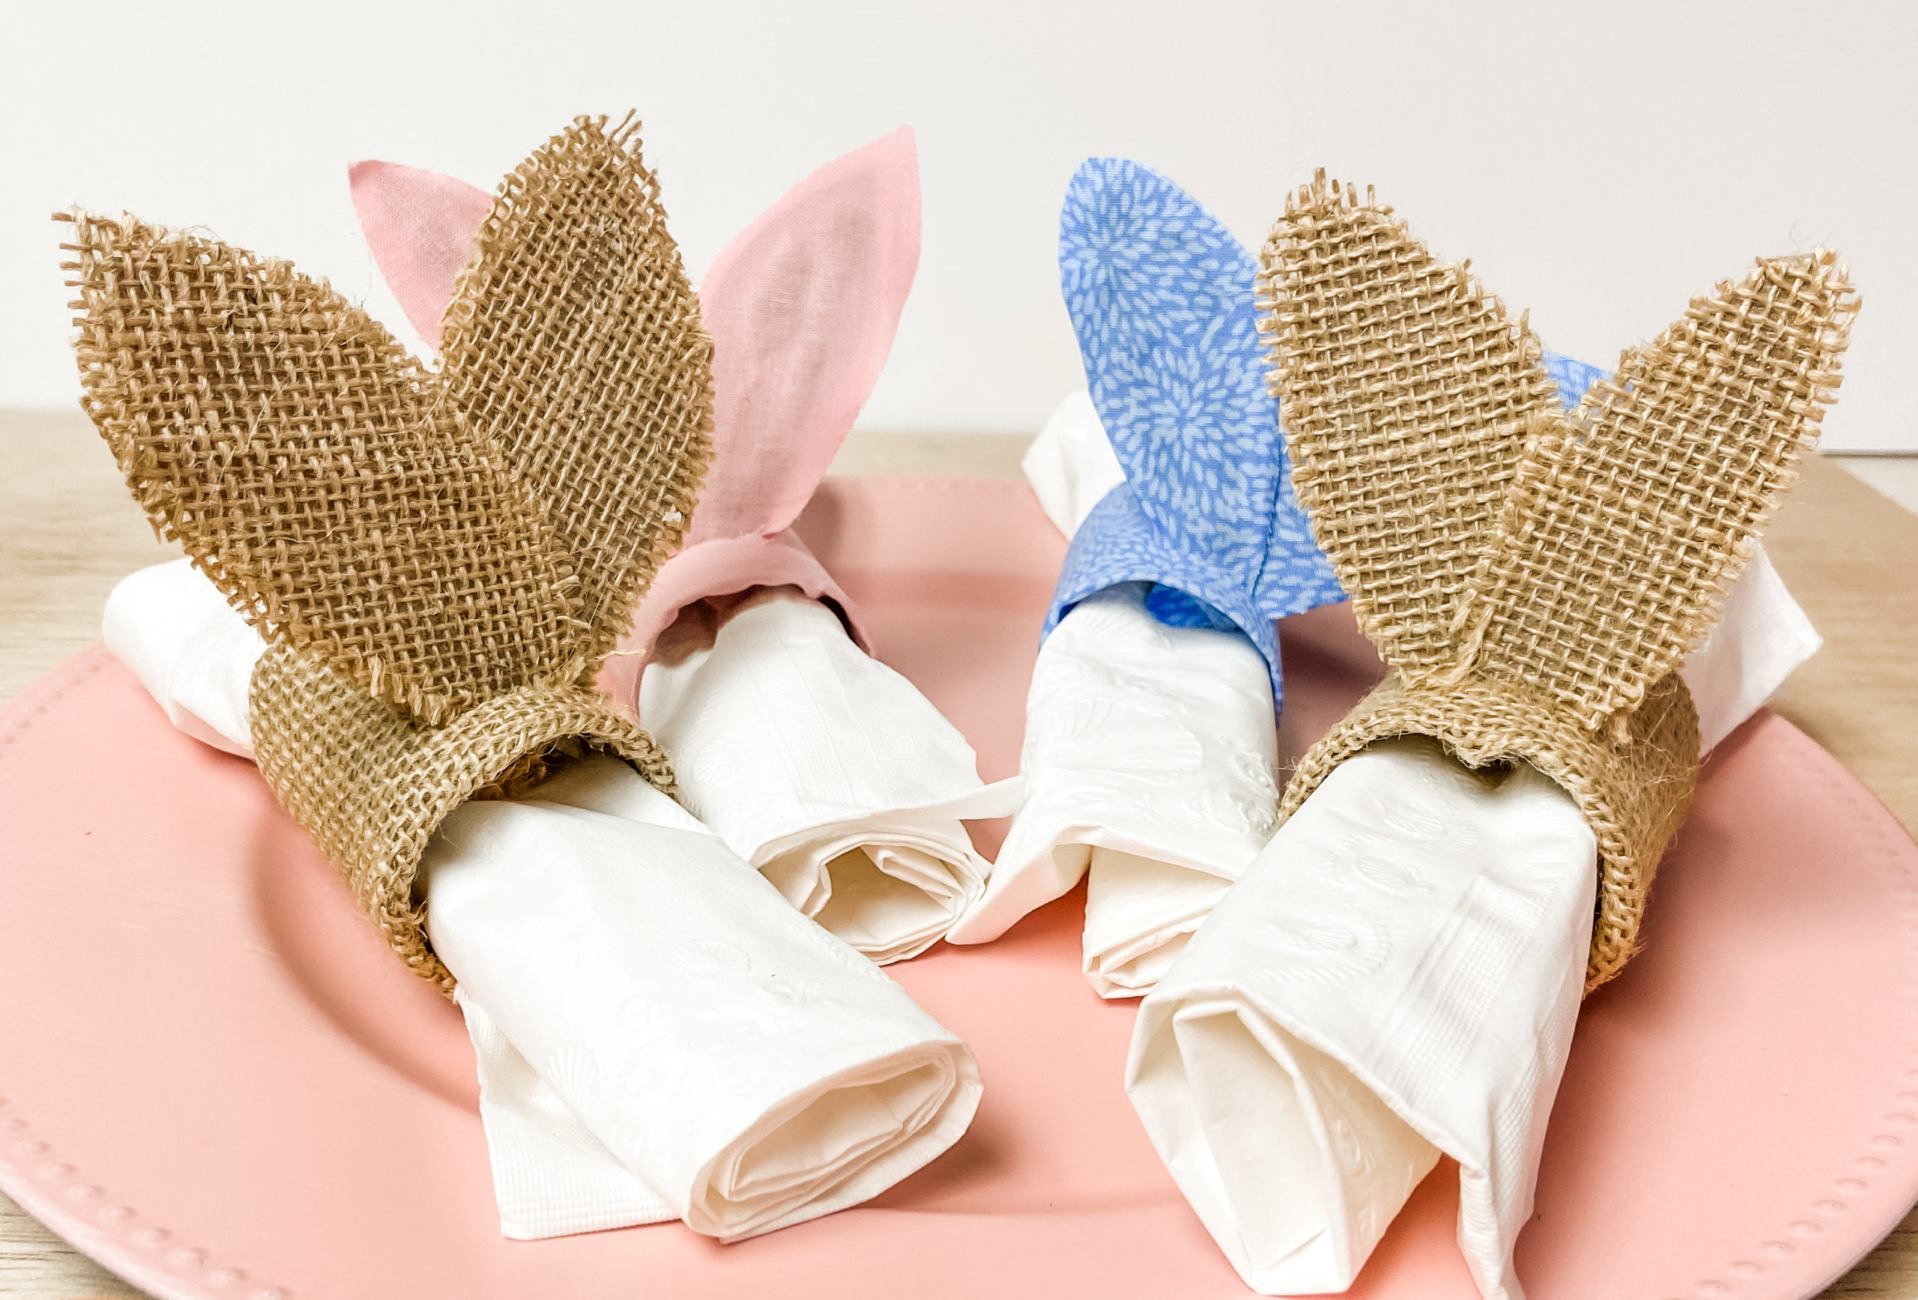
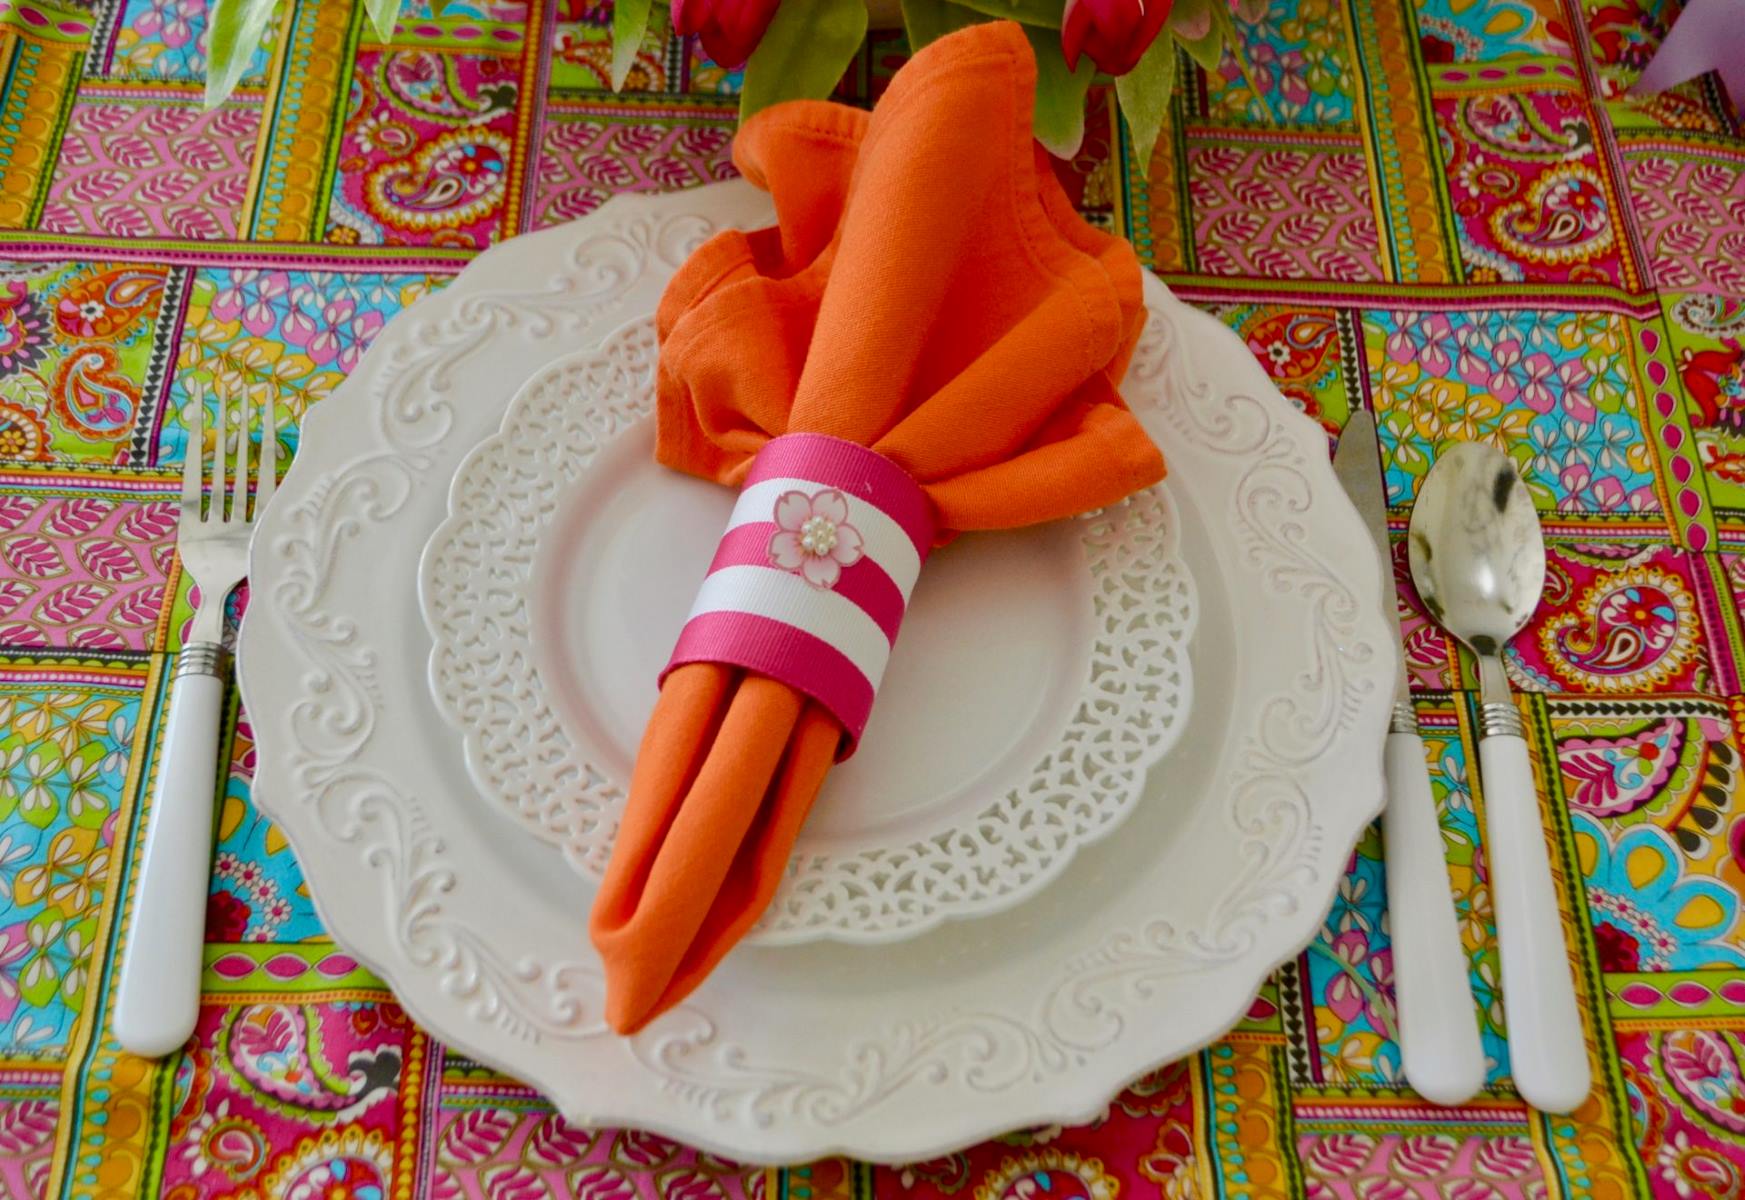
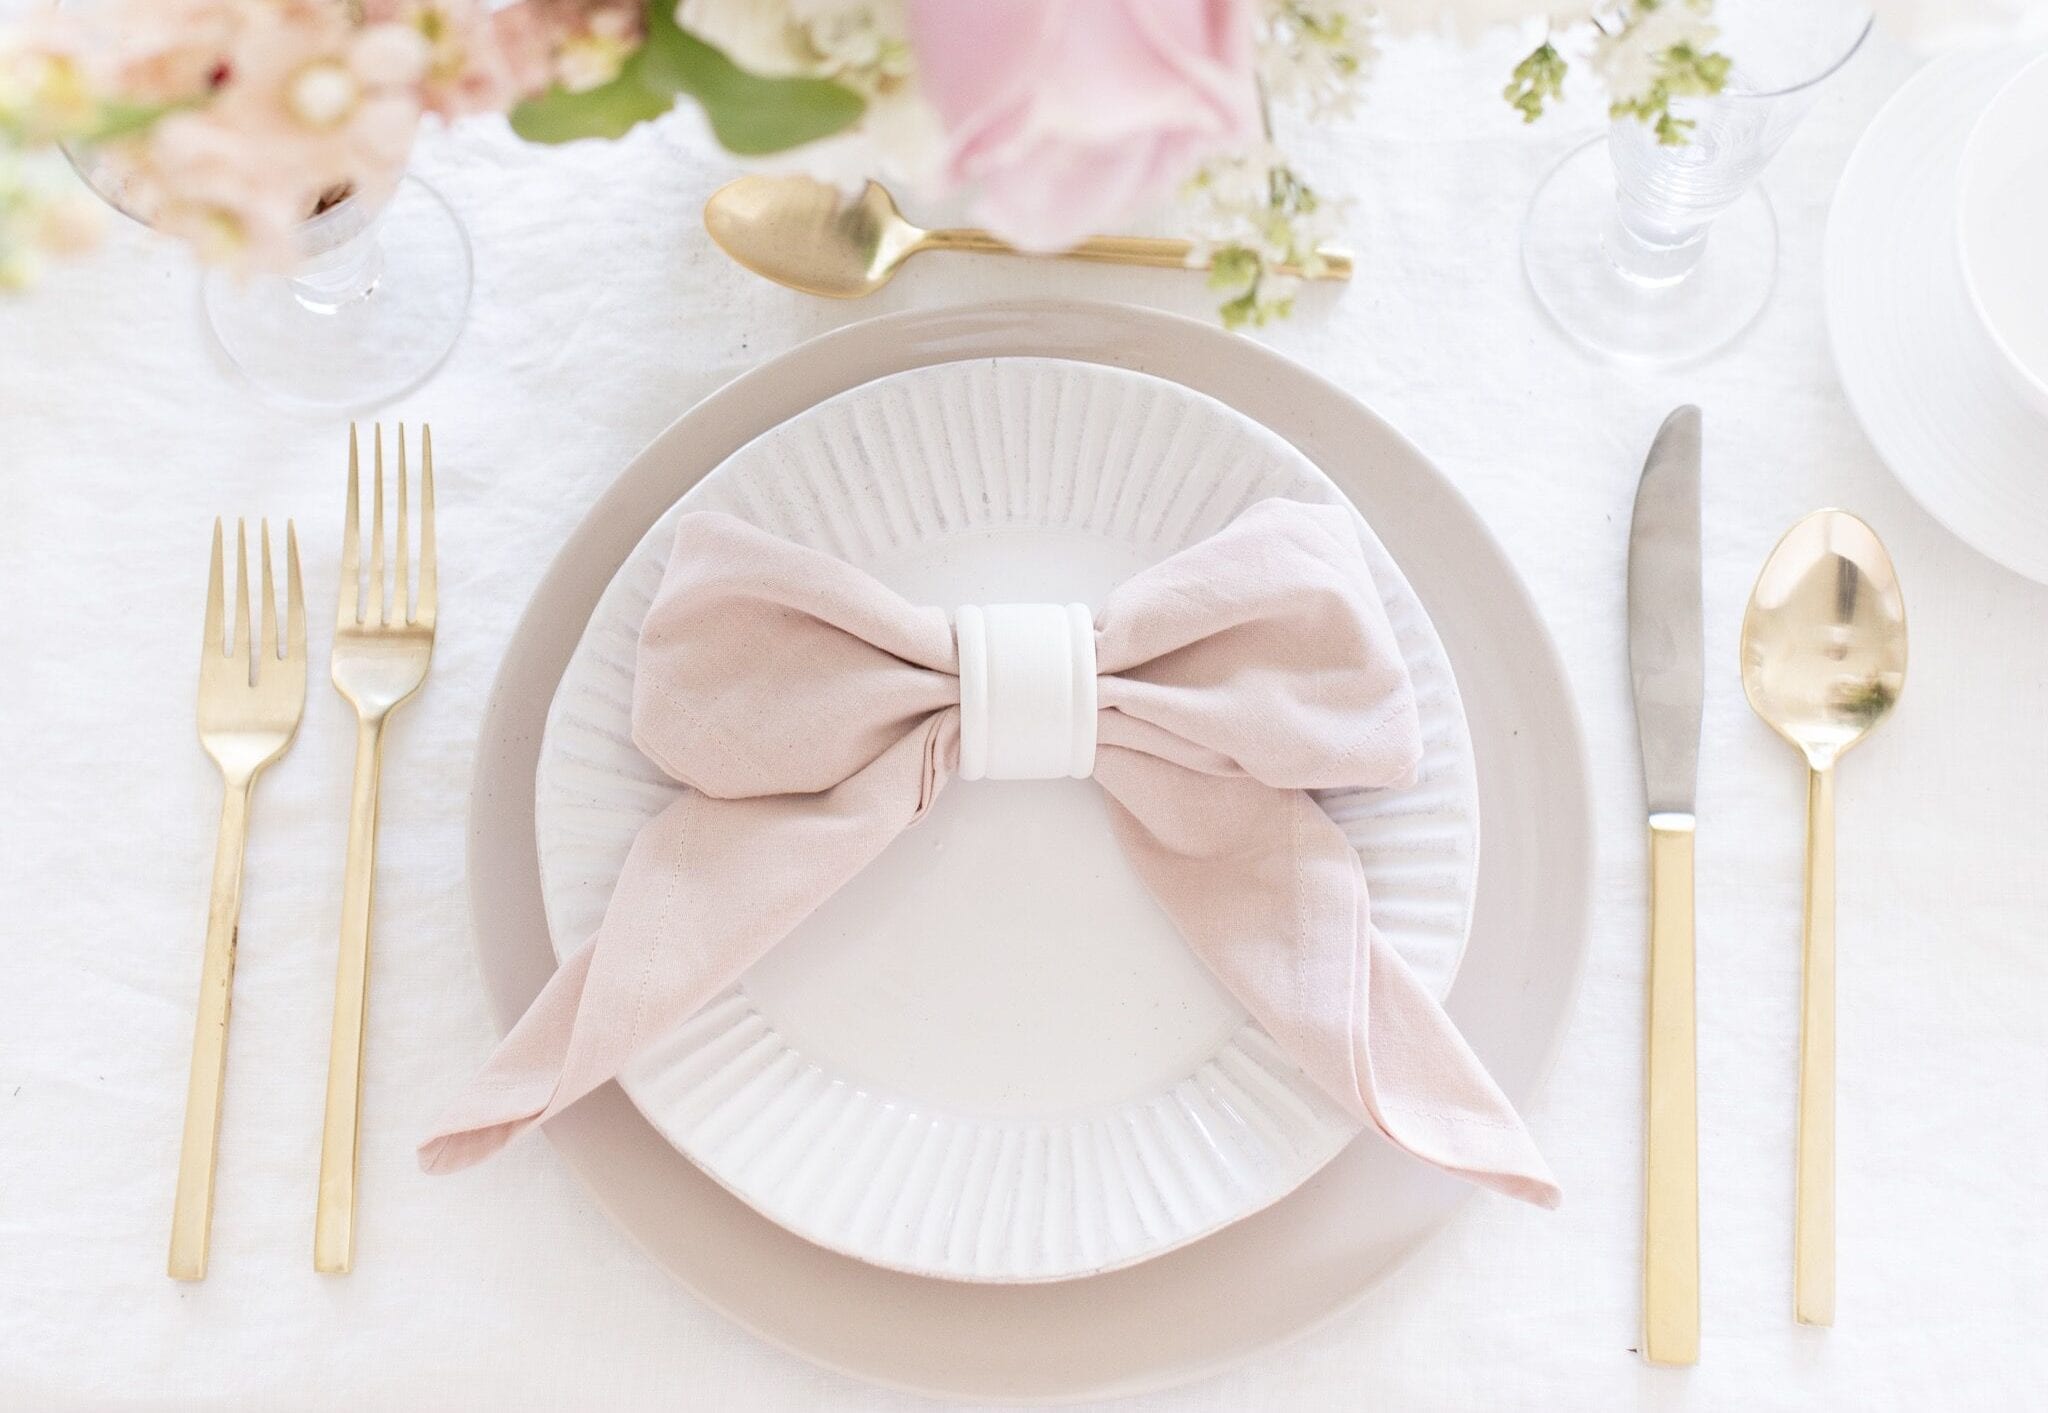
Are you looking to add a touch of charm and whimsy to your dining table? Creating your own bunny napkin rings is a delightful way to infuse a dash of personality into your table setting. These adorable napkin rings not only serve a practical purpose but also bring a sense of joy and creativity to your dining experience. Whether you're hosting a festive gathering or simply want to elevate your everyday meals, these DIY bunny napkin rings are a wonderful addition to your table decor.
Crafting your own bunny napkin rings allows you to customize them to suit your personal style and the theme of your event. You can choose fabrics that complement your existing table linens or opt for playful patterns and colors to make a bold statement. Additionally, handmade napkin rings add a special, personalized touch to your table setting, showcasing your creativity and attention to detail.
By embarking on this DIY project, you'll not only create charming table decor but also enjoy the process of crafting something unique with your own hands. It's an opportunity to engage in a fun and rewarding activity that yields delightful results. Whether you're an experienced crafter or trying your hand at DIY projects for the first time, making bunny napkin rings is a gratifying endeavor that allows you to express your creativity while enhancing your dining space.
In the following sections, we'll explore the materials needed and the step-by-step process to create these adorable bunny napkin rings. Get ready to embark on a crafting adventure that will bring a touch of whimsy and warmth to your dining table. Let's dive into the delightful world of DIY bunny napkin rings and discover how to bring these charming creations to life.
Key Takeaways:
- Create personalized bunny napkin rings to add charm and whimsy to your dining table. Customize with fabrics and details to elevate your table decor and showcase your creativity.
- Crafting bunny napkin rings is a fun and rewarding DIY project. Infuse your dining space with warmth and personality, delighting guests with charming and unique table decor.
Read more: How To Make A Bunny Out Of A Napkin
Materials Needed
To embark on the delightful journey of creating your own bunny napkin rings, you'll need a few essential materials to bring your vision to life. Gathering these supplies is the first step towards crafting charming and personalized napkin rings that will add a whimsical touch to your dining table. Here's a comprehensive list of the materials you'll need for this DIY project:
-
Fabric: Select a fabric of your choice to form the body of the bunny napkin rings. Opt for soft, durable fabrics such as cotton or linen to ensure a comfortable and long-lasting finish. Consider choosing fabrics in colors and patterns that complement your existing table linens or align with the theme of your event. Whether you prefer pastel hues for a springtime gathering or vibrant patterns for a festive occasion, the fabric will set the tone for your bunny napkin rings.
-
Felt: Felt serves as an ideal material for creating the intricate details of the bunny napkin rings, such as the ears and facial features. Choose felt in colors that contrast or harmonize with the fabric of the napkin rings, allowing you to craft charming and expressive bunny faces that exude personality.
-
Thread: High-quality thread is essential for sewing the fabric and felt together securely. Opt for thread that complements the color of your chosen fabric, ensuring a seamless and polished finish for your bunny napkin rings.
-
Scissors: Sharp, precise scissors are indispensable for cutting the fabric and felt with accuracy. Ensure that your scissors are suitable for cutting fabric, allowing you to achieve clean and neat edges as you bring your bunny napkin rings to life.
-
Sewing Needle: A fine sewing needle is necessary for stitching the fabric and felt together with precision. Select a needle that is appropriate for the weight of your chosen fabric, enabling you to create intricate details and secure seams as you craft the bunny napkin rings.
-
Craft Glue: A reliable craft glue will come in handy for attaching small embellishments and securing the finishing touches of the bunny napkin rings. Choose a glue that is suitable for fabric and felt, providing a strong and durable bond to ensure that your creations withstand regular use.
-
Embellishments (Optional): If you wish to add extra flair to your bunny napkin rings, consider incorporating embellishments such as miniature bows, pom-poms, or decorative buttons. These charming additions can infuse your napkin rings with a playful and whimsical charm, elevating them to delightful works of art that captivate the eye.
Gathering these materials will set the stage for a delightful crafting experience as you bring your bunny napkin rings to life. With these essentials at your disposal, you're ready to embark on a creative journey that will culminate in charming and personalized table decor.
Step 1: Cutting the Fabric
The first step in creating your enchanting bunny napkin rings is to cut the fabric to the desired dimensions. Begin by laying out your chosen fabric on a clean, flat surface, ensuring that it is free from wrinkles or creases. Using a ruler or measuring tape, carefully mark and measure the fabric to achieve the ideal width and length for your napkin rings. The standard dimensions for a napkin ring are approximately 1.5 inches in width and 6 inches in length, but feel free to adjust these measurements to suit your preferences.
Once you have marked the fabric with the precise measurements, use sharp scissors to cut along the lines, ensuring clean and straight edges. Precision is key during this step, as accurately cut fabric will contribute to the professional and polished appearance of your bunny napkin rings. Take your time to ensure that each piece of fabric is cut to the exact dimensions, maintaining uniformity across all the napkin rings you intend to create.
As you cut the fabric, envision the charming bunny napkin rings taking shape, and revel in the anticipation of the delightful table decor you are bringing to life. Whether you have chosen pastel fabrics for a soft and elegant aesthetic or vibrant patterns for a playful and festive ambiance, the act of cutting the fabric marks the beginning of a creative journey that will culminate in captivating and personalized table settings.
With the fabric cut to perfection, you are one step closer to completing your bunny napkin rings. The precision and care invested in this initial stage will lay the foundation for the subsequent steps, allowing you to craft napkin rings that exude charm and craftsmanship. As the fabric pieces are neatly cut and ready for the next phase of the process, you are poised to move forward with confidence and enthusiasm, eager to bring the adorable bunny napkin rings to fruition.
Step 2: Sewing the Fabric
With the fabric pieces meticulously cut to the desired dimensions, the next step in creating your charming bunny napkin rings is to embark on the sewing process. This pivotal stage allows you to bring the fabric together, forming the foundation of the napkin rings with precision and care.
Begin by folding a fabric piece in half lengthwise, ensuring that the pattern or color is facing inward. This creates a long, narrow strip of fabric that will serve as the body of the napkin ring. Secure the folded edge with pins to maintain alignment and prevent shifting during the sewing process.
Next, thread a fine sewing needle with a thread that complements the color of the fabric, ensuring a seamless and polished finish. Starting at one end of the fabric strip, begin stitching along the raw edges, securing them together with small, even stitches. The goal is to create a secure seam that runs along the length of the fabric, joining the two layers together effectively.
As you sew, maintain a steady and even pace, ensuring that the stitches are neat and consistent. Attention to detail during this stage will result in a professional and refined appearance for your bunny napkin rings. Take pride in the precision of your stitches, knowing that each one contributes to the overall quality of the finished napkin rings.
Continue sewing along the length of the fabric strip, gradually joining the edges with meticulous care. As you approach the end of the strip, secure the stitches with a small knot to prevent unraveling and ensure the durability of the seam.
Once the sewing process is complete, carefully trim any excess thread and remove the pins, unveiling the neatly sewn fabric strip that forms the basis of your bunny napkin rings. Admire the seamless seam and the craftsmanship invested in this essential stage of the creation process.
With the fabric securely sewn into a cohesive loop, you have achieved a significant milestone in the crafting of your bunny napkin rings. The precision and attention to detail exhibited during the sewing process lay the groundwork for the subsequent steps, bringing you closer to the delightful completion of your personalized table decor.
When making bunny napkin rings, use a sturdy fabric like felt to ensure the rings hold their shape. This will make your napkin rings durable and long-lasting.
Step 3: Adding the Details
With the foundation of the bunny napkin rings established through the meticulous cutting and sewing of the fabric, it's time to infuse these charming creations with personality and character by adding delightful details. This crucial step allows you to transform the fabric loops into endearing bunny figures that will captivate and enchant your dining table.
To begin, select felt in contrasting or harmonizing colors to craft the intricate details that will bring the bunny napkin rings to life. Start by cutting out two identical ear shapes from the felt, ensuring that they are proportionate to the size of the fabric loops. The ears can be classic bunny ear shapes or stylized to reflect your personal aesthetic, adding a touch of whimsy and individuality to each napkin ring.
Once the ear shapes are cut, position them on the fabric loops to determine the ideal placement. Secure the ears in place with pins, ensuring that they are aligned symmetrically and complement the overall design of the bunny napkin rings. This preparatory step allows you to visualize the charming bunny characters taking shape, setting the stage for the next phase of the process.
With the ear placement finalized, thread a sewing needle with a coordinating thread and begin stitching the ears onto the fabric loops. Employ small, precise stitches to secure the felt ears firmly in place, ensuring that they withstand regular use and maintain their delightful appearance over time. The act of sewing the ears onto the fabric loops infuses the bunny napkin rings with a sense of whimsy and charm, elevating them from simple fabric loops to enchanting table decor.
Once the ears are securely attached, it's time to add the facial features that will imbue the bunny napkin rings with personality and expression. Cut out tiny felt shapes to form the eyes, nose, and mouth of the bunnies, allowing your creativity to guide the design process. Whether you opt for endearing button-like eyes or intricately stitched features, each detail contributes to the individuality of the bunny napkin rings.
Position the facial features on the fabric loops, experimenting with different arrangements until you achieve the desired expression for each bunny. Once satisfied with the placement, carefully sew the facial features onto the fabric, ensuring that they are securely affixed and exude charm and character.
As you add the intricate details to the bunny napkin rings, revel in the opportunity to infuse each creation with your unique vision and creativity. The addition of ears and facial features transforms the fabric loops into delightful bunny characters, ready to grace your dining table with their whimsical presence.
With the details meticulously added, the bunny napkin rings are on the brink of completion, radiating charm and personality. The care and artistry invested in this stage of the process culminate in enchanting table decor that reflects your creativity and attention to detail.
Read more: How To Make Nautical Napkin Rings
Step 4: Forming the Ring
With the charming details meticulously added to the fabric loops, the final step in creating your enchanting bunny napkin rings is to form them into cohesive and functional rings that will elegantly cradle your napkins. This pivotal stage allows you to transform the adorned fabric loops into fully functional and visually captivating accessories for your table setting.
To begin, bring the ends of the fabric loop together, ensuring that they align seamlessly to create a circular shape. The precision and care invested in this step will contribute to the polished and professional appearance of the completed bunny napkin rings. As you join the ends of the fabric, envision the delightful bunnies coming to life, ready to grace your dining table with their whimsical charm.
Once the ends are aligned, secure them in place with pins, ensuring that the circular shape is maintained throughout the subsequent steps. This preparatory measure sets the stage for the final sewing process, allowing you to form durable and reliable rings that will securely hold your napkins in place.
Next, thread a sewing needle with a matching thread, ready to secure the ends of the fabric loop together. Employ small, precise stitches to join the ends, ensuring a strong and resilient seam that withstands regular use. The act of sewing the ends together not only forms the functional rings but also adds a touch of craftsmanship and attention to detail to the bunny napkin rings.
As you sew, maintain an even and steady pace, ensuring that the stitches are neat and consistent. Each stitch contributes to the structural integrity of the rings, guaranteeing that they provide a secure and elegant enclosure for your napkins. Take pride in the precision of your stitches, knowing that they elevate the bunny napkin rings to delightful and practical table accessories.
Once the sewing process is complete, carefully trim any excess thread and remove the pins, unveiling the fully formed bunny napkin rings. Admire the seamless circular shape and the craftsmanship invested in this essential stage of the creation process. The rings are now ready to cradle your napkins, infusing your table setting with charm and whimsy.
With the rings securely formed, the bunny napkin rings are now complete, radiating elegance and personality. The care and artistry invested in this final stage of the process culminate in enchanting table decor that reflects your creativity and attention to detail.
Conclusion
In conclusion, the journey of creating your own bunny napkin rings is a delightful and rewarding endeavor that culminates in enchanting table decor. From the initial selection of fabrics and felt to the meticulous cutting, sewing, and detailing processes, every step contributes to the creation of personalized and whimsical accessories that elevate your dining experience.
Crafting bunny napkin rings allows you to infuse your table setting with a touch of charm and individuality, showcasing your creativity and attention to detail. The materials chosen, from soft and durable fabrics to vibrant and contrasting felt, serve as the building blocks for the delightful bunny characters that grace your dining table.
The step-by-step process, from cutting the fabric to forming the rings, embodies precision and artistry, resulting in napkin rings that exude craftsmanship and personality. Each stitch and embellishment adds to the character of the bunnies, infusing them with a sense of whimsy and joy.
As you embark on the journey of creating bunny napkin rings, you not only engage in a fun and creative activity but also bring a touch of warmth and personality to your dining space. Whether you're hosting a festive gathering, a casual brunch, or an intimate family dinner, these charming napkin rings serve as delightful accents that spark joy and conversation.
The completion of the bunny napkin rings marks the culmination of a crafting adventure that allows you to express your unique style and creativity. These personalized accessories not only cradle your napkins with elegance but also serve as conversation starters, captivating the hearts of your guests with their endearing charm.
In essence, the process of creating bunny napkin rings transcends the realm of crafting; it embodies the joy of infusing everyday moments with creativity and warmth. As you adorn your table with these delightful creations, you not only showcase your crafting skills but also invite your guests to partake in the whimsical and inviting ambiance that defines your dining space.
Embrace the art of crafting and storytelling as you adorn your table with these charming bunny napkin rings, and revel in the joy of bringing a touch of whimsy and warmth to every meal.
Frequently Asked Questions about How To Make Bunny Napkin Rings
Was this page helpful?
At Storables.com, we guarantee accurate and reliable information. Our content, validated by Expert Board Contributors, is crafted following stringent Editorial Policies. We're committed to providing you with well-researched, expert-backed insights for all your informational needs.


0 thoughts on “How To Make Bunny Napkin Rings”