Tableware
How To Make A Bow With A Napkin
Modified: December 7, 2023
Learn how to make a charming bow using a napkin as a tableware accessory. Elevate your table setting effortlessly with this simple and elegant DIY guide.
(Many of the links in this article redirect to a specific reviewed product. Your purchase of these products through affiliate links helps to generate commission for Storables.com, at no extra cost. Learn more)
Introduction
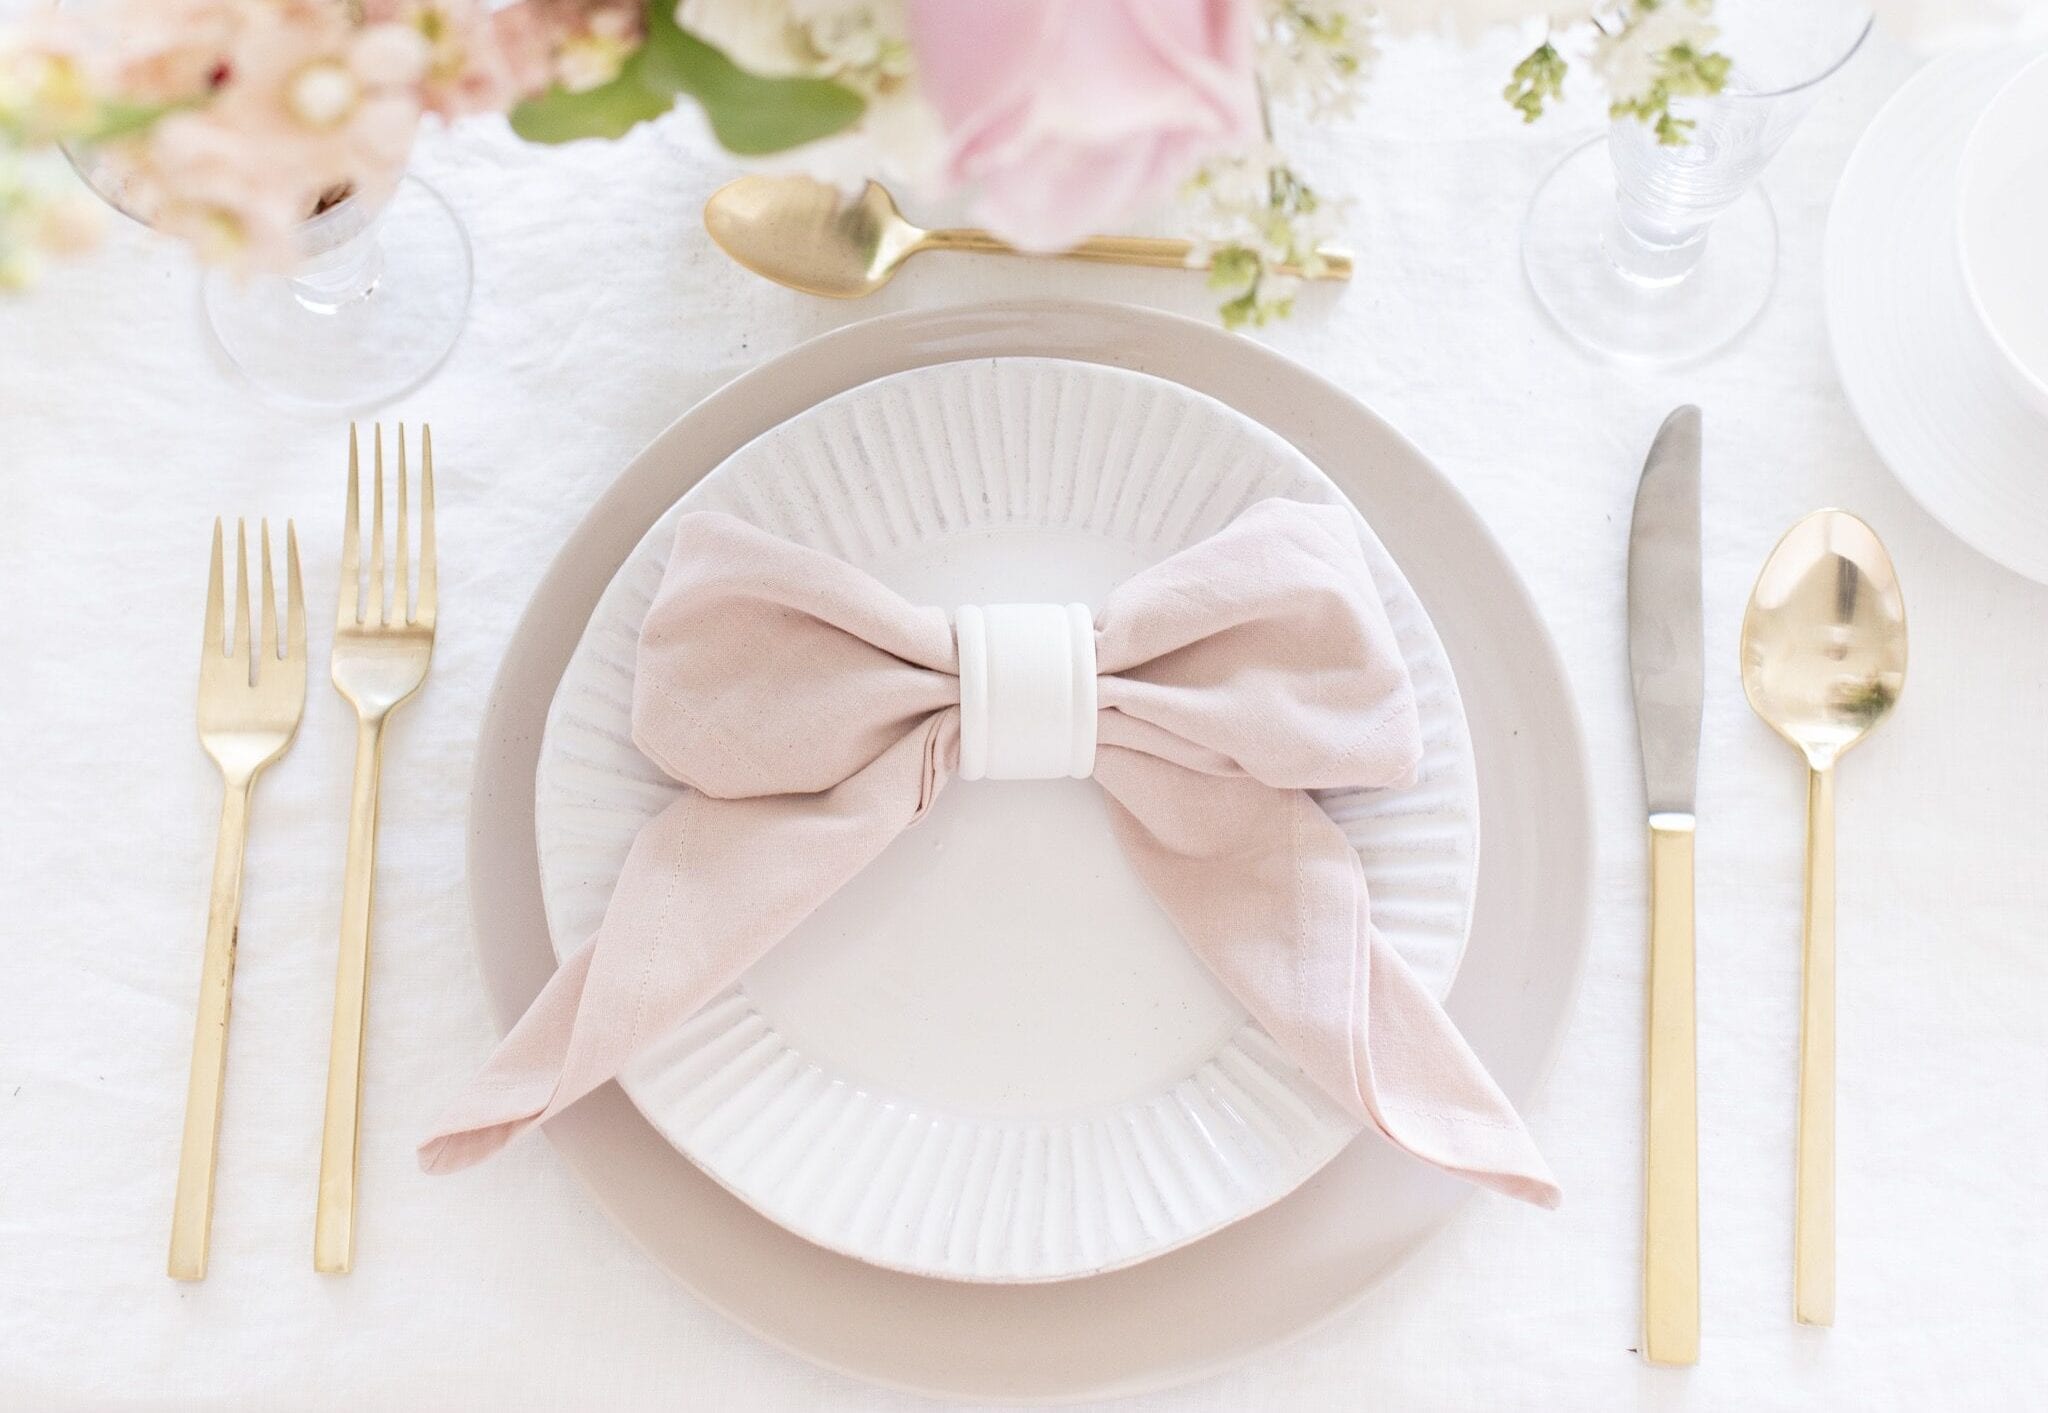
Welcome to our guide on how to make a bow with a napkin! Napkins are not just practical tools for wiping away food stains; they can also be used to create beautiful decorative accessories. Making a bow with a napkin is a simple yet creative way to add a touch of elegance to your dining table, party decorations, or gift wrapping.
Whether you are hosting a fancy dinner party, planning a wedding, or simply want to impress your guests, learning how to make a bow with a napkin can surely elevate the visual appeal of any setting. With a few simple folds and twists, you can transform an ordinary napkin into a stunning bow that will catch everyone’s attention.
In this guide, we will take you through the step-by-step process of creating a bow with a napkin. We will explain the materials you need, demonstrate the folding techniques, and provide tips for securing the bow in place.
So, let’s dive into the world of creative tableware and master the art of making a bow with a napkin!
Key Takeaways:
- Elevate your table settings and gift wrapping with stunning napkin bows. Impress your guests and add a touch of elegance to any occasion with this simple yet impactful decorative skill.
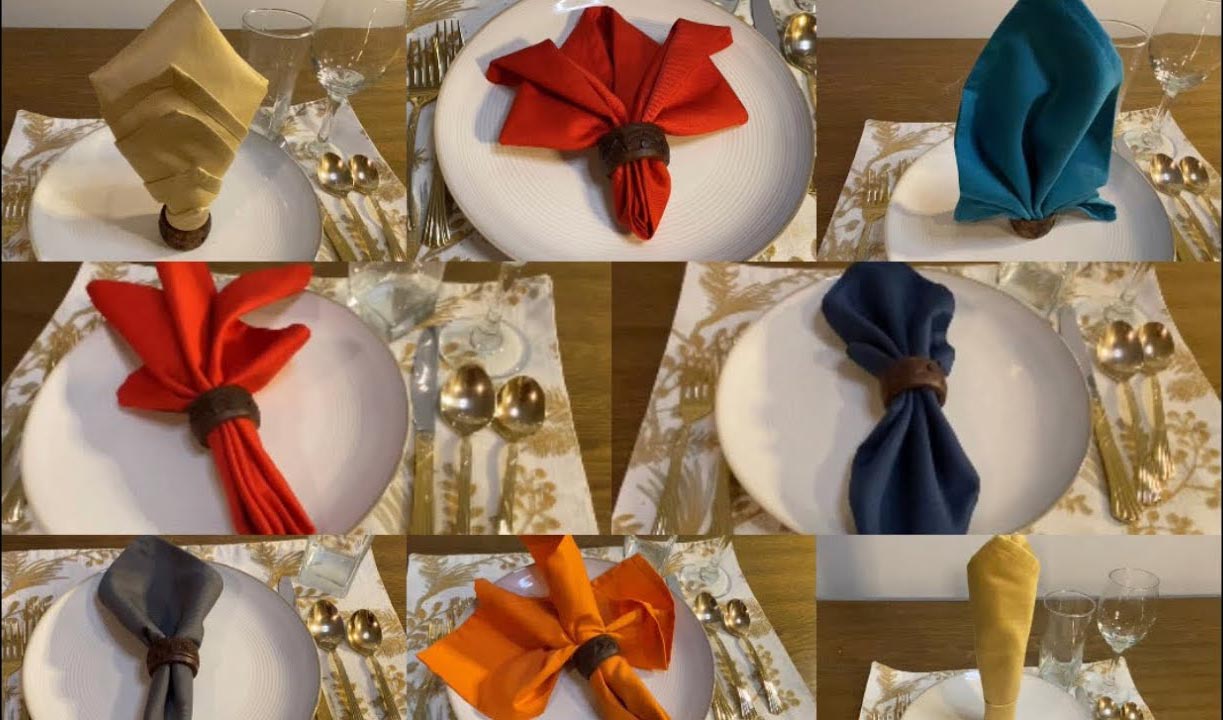
- Unleash your creativity and experiment with different napkin sizes, colors, and folding techniques to create unique and eye-catching bow designs. Transform ordinary napkins into extraordinary decorative accents!
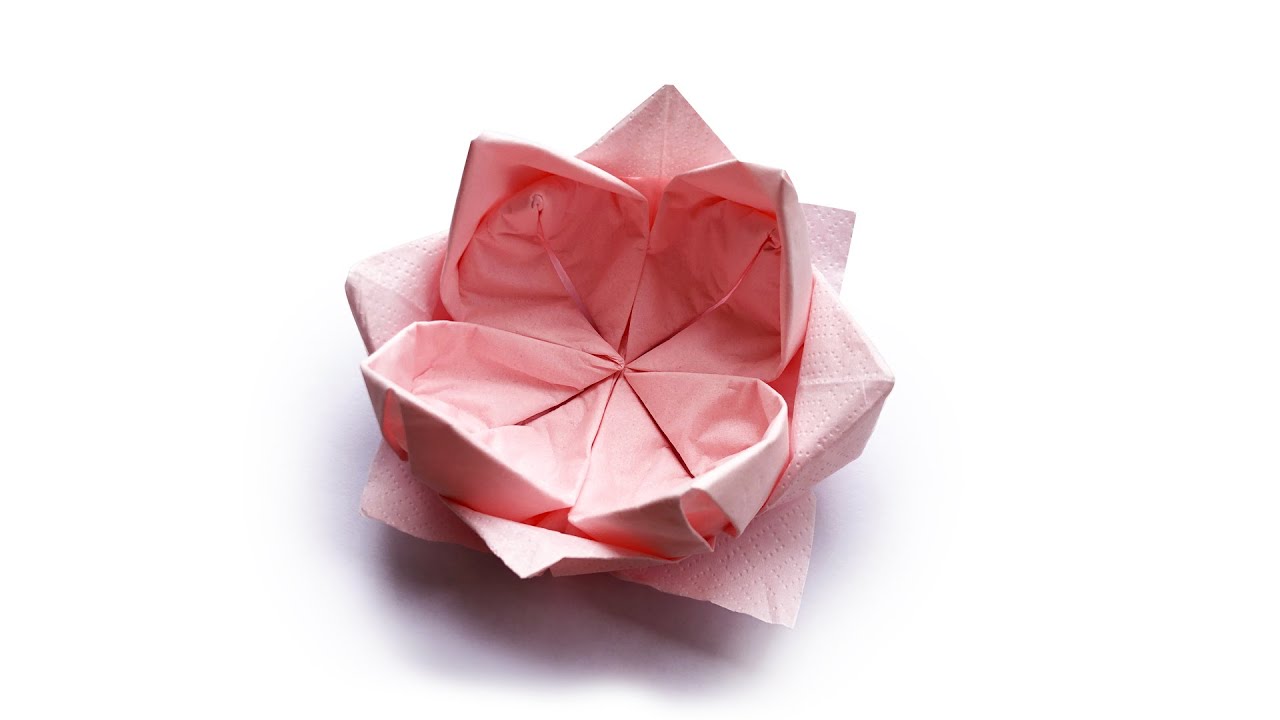
Read more: How To Make A Rose With A Napkin
Materials Needed
To make a bow with a napkin, you will need a few basic materials. Don’t worry, you probably already have these items in your kitchen or dining room. Here’s what you’ll need:
- A napkin: Choose a fabric napkin of your choice. The size and color can vary depending on your preferences and occasion. For a more formal look, opt for a crisp white napkin. If you’re going for a festive vibe, consider using a napkin in a vibrant color or with a pattern.
- A clean, flat surface: Find a smooth and clean surface to work on. This could be your dining table, kitchen counter, or even a large cutting board.
- Optional: Ribbon or string: If you want to add an extra touch to your bow, you can use a ribbon or string to tie around the center of the bow or to secure it in place.
That’s it! With just a napkin and a flat surface, you’re ready to start creating your beautiful napkin bow. If you decide to use a ribbon or string, make sure to have it handy before you begin.
Now that we have all the necessary materials, let’s move on to the step-by-step process of folding and forming the bow with the napkin.
Step 1: Folding the Napkin
The first step in making a bow with a napkin is to fold it into a square shape. Follow these instructions to fold the napkin:
- Lay the napkin flat on your working surface, with one corner pointing towards you. This corner will serve as the bottom point of the napkin bow.
- Take the top corner of the napkin and fold it down to meet the bottom corner, creating a triangle shape.
- Adjust the triangle so that the point is facing downwards and the folded edges meet.
- Rotate the triangle so that the long edge is facing towards you.
- Take the left corner of the triangle and fold it towards the center, creating a smaller triangle.
- Repeat the previous step with the right corner, folding it towards the center to form an even smaller triangle.
At this point, you should have a small triangular shape with a pointed end. Make sure the edges are aligned and the folds are crisp.
Now that you have successfully folded the napkin, it’s time to move on to the next step: creating the loops of the bow.
Step 2: Creating the Loops
Now that you have folded the napkin into a small triangular shape, it’s time to create the loops of the bow. Follow these instructions to create the loops:
- Hold the napkin at the pointed end with one hand to keep it secure.
- With your other hand, carefully fold the left side of the napkin towards the center, creating a loop shape.
- Repeat the previous step with the right side of the napkin, folding it towards the center to form another loop.
- Hold the loops in place with your hand while you move on to the next step.
Ensure that the loops are symmetrical and evenly sized. This will contribute to the overall aesthetic of the napkin bow. Additionally, make sure that the loops are secured in place with your hand to prevent any unwraveling.
With the loops created, we are now ready to move on to the next step: forming the bow shape.
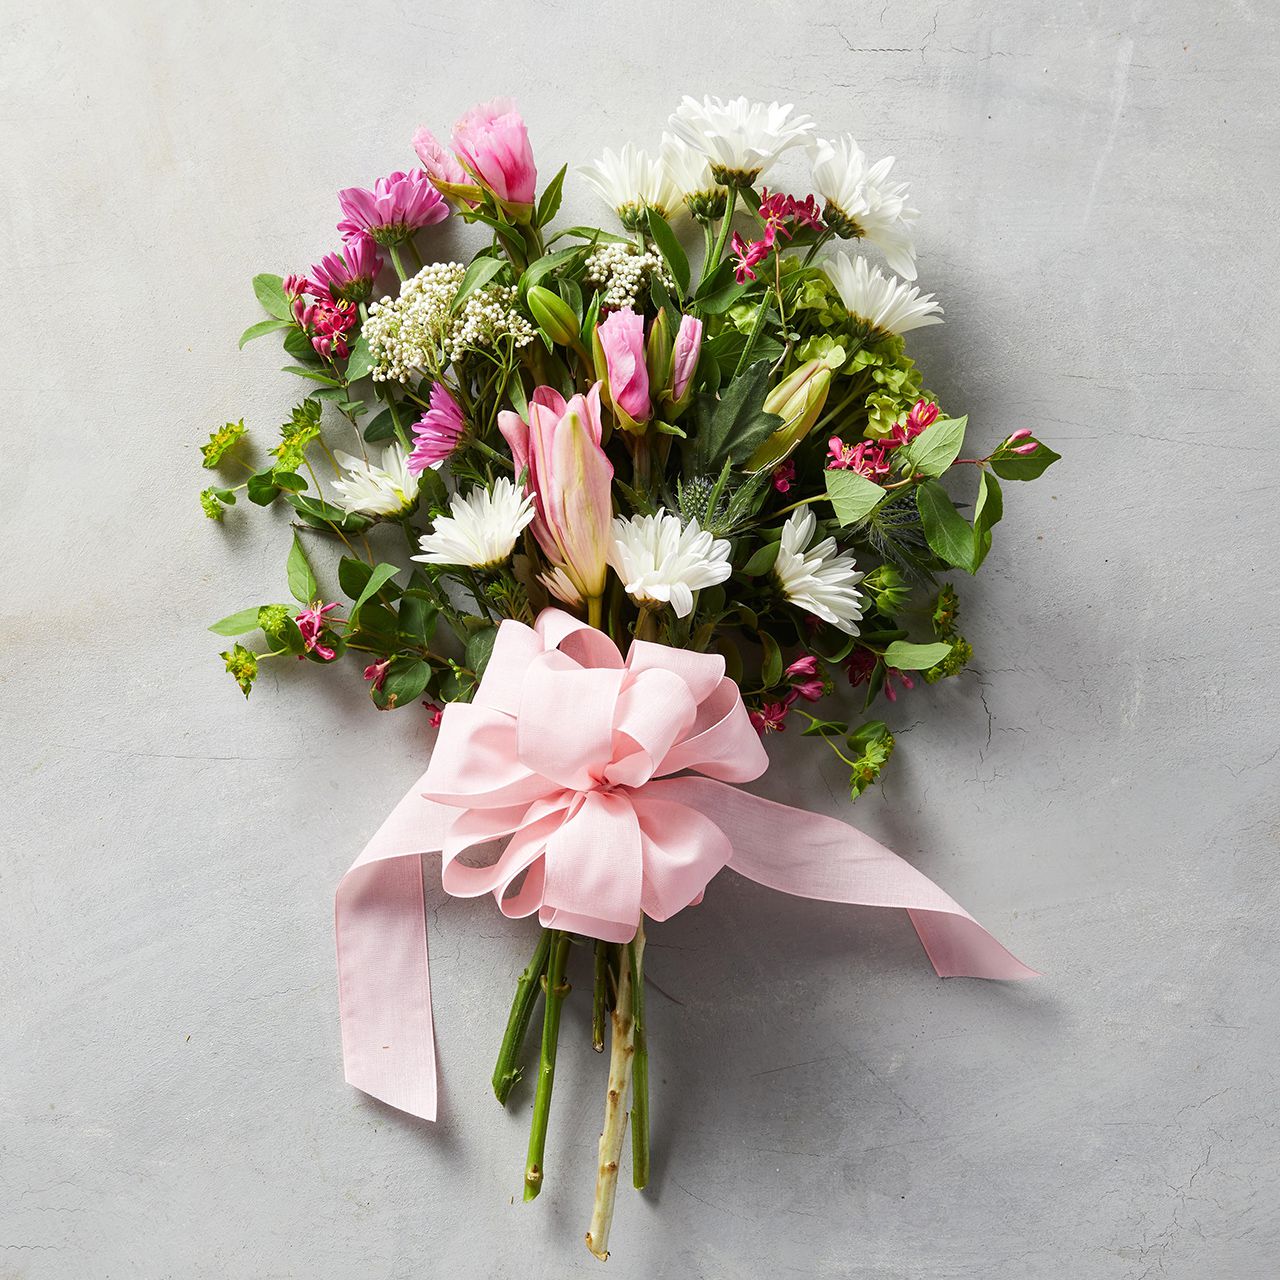
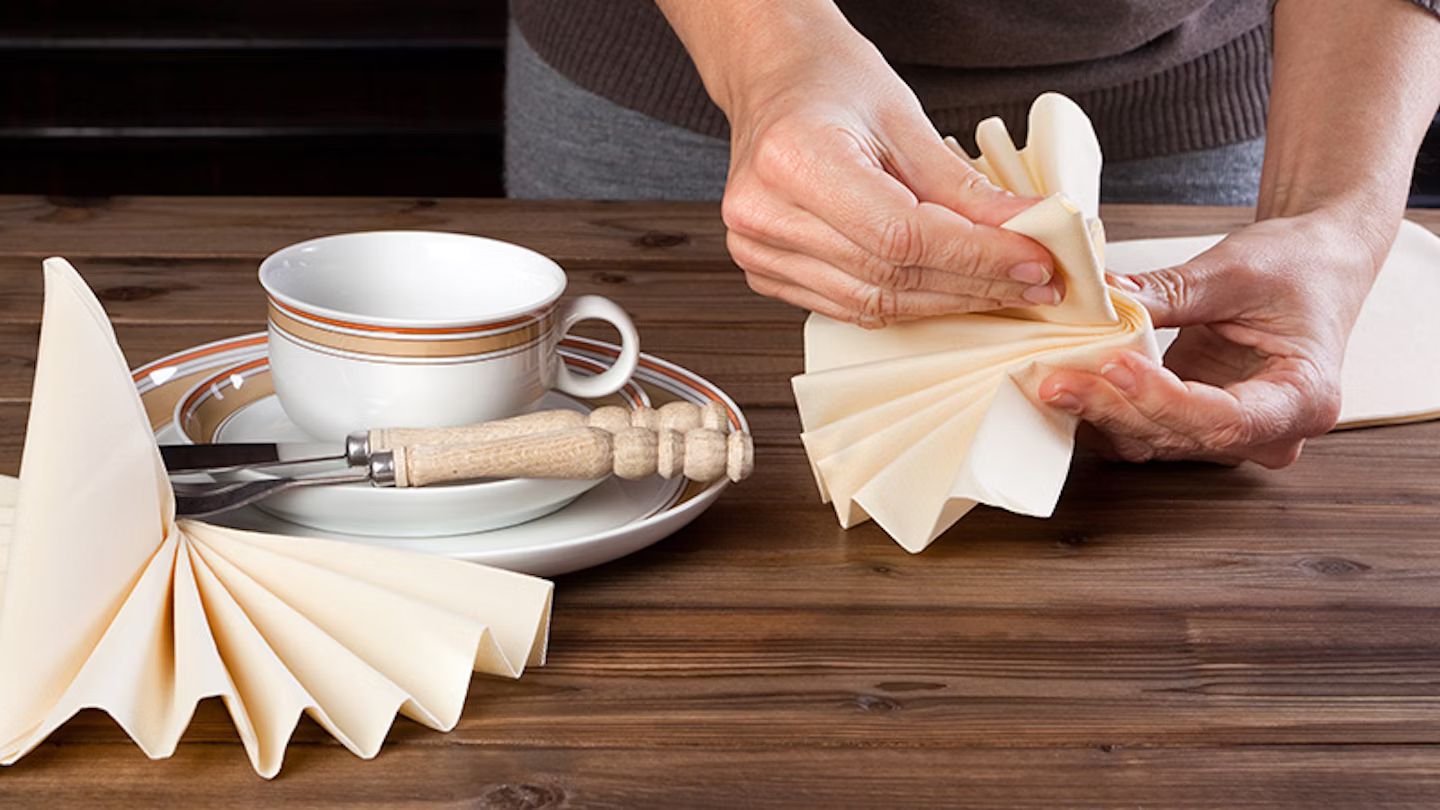
When making a bow with a napkin, use a larger napkin for a fuller bow. Fold the napkin accordion-style, tie a ribbon around the middle, and fluff out the ends for a beautiful bow.
Step 3: Forming the Bow
In this step, we will transform the loops into a beautiful bow shape. Follow these instructions to form the bow:
- While still holding the loops in place, gently twist the loops in opposite directions.
- Continue twisting until the loops form a figure-eight shape. This will create the appearance of a bow with two loops.
- Adjust the size and shape of the loops as needed to achieve the desired look. You can make them larger or smaller depending on your preferences and the size of the napkin.
As you twist the loops, be careful not to unravel the napkin or make the loops too tight, as that may cause the napkin to tear. The key is to maintain a balance between secure twists and gentle handling of the napkin.
Once you are satisfied with the shape of the bow, it’s time to move on to the final step: securing the bow in place.
Read more: How To Make A Napkin Holder
Step 4: Securing the Bow
In this final step, we will secure the bow in place to ensure that it maintains its shape and appearance. Here’s how to secure the bow:
- Pinch the center of the bow where the loops intersect. This will help hold the shape of the bow together.
- If you have a ribbon or string, you can now wrap it around the pinched center of the bow to add an extra decorative touch. Simply tie it in a knot or a bow to secure it.
- Adjust the loops of the bow as needed to make them appear fuller and more symmetrical.
If you don’t have a ribbon or string, you can skip the previous step and simply hold the pinched center of the bow firmly to maintain its shape.
Once you have secured the bow in place, give it a final fluff and adjust the loops as needed. This will add dimension and volume to the bow, making it look more visually appealing.
And there you have it! You have successfully created a beautiful bow with a napkin.
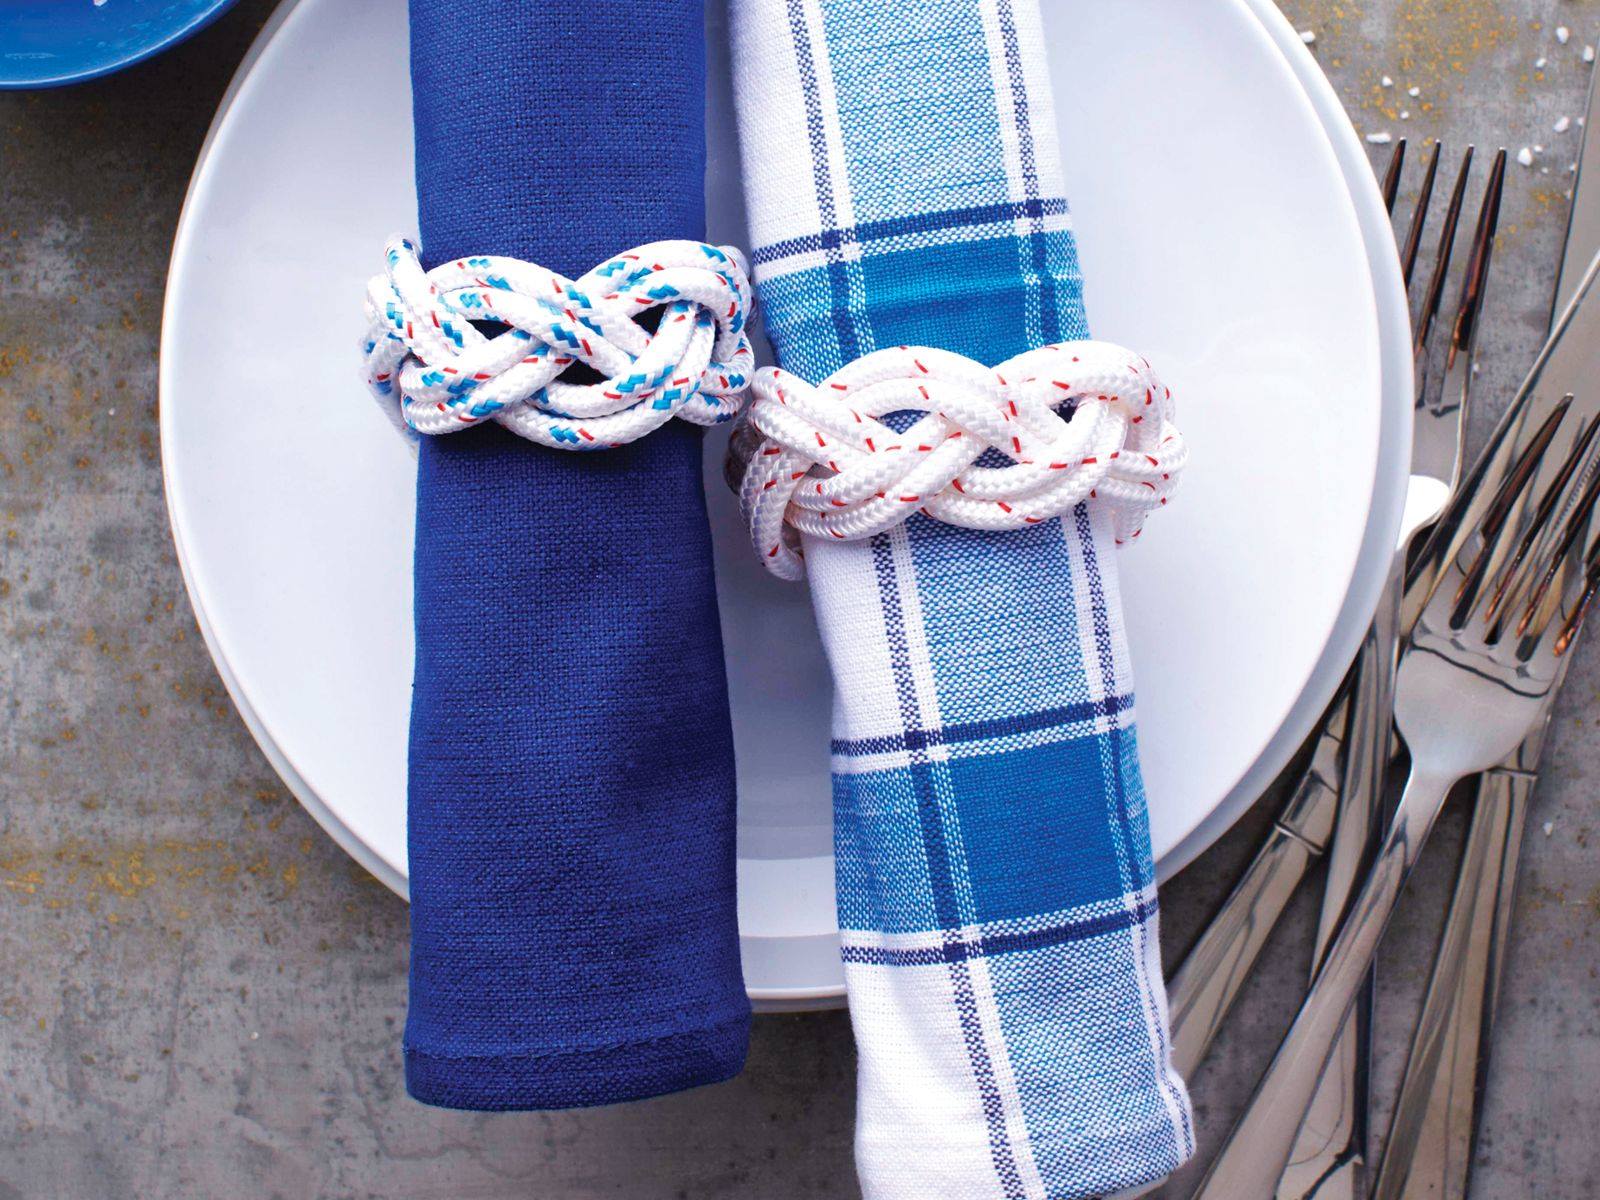
Feel free to experiment with different napkin sizes, colors, and folding techniques to create various bow designs. You can use these napkin bows to embellish table settings, centerpieces, gift wrapping, or any other creative projects you can imagine.
We hope you enjoyed learning how to make a bow with a napkin. Have fun exploring your tableware creativity and impressing your guests with your newfound skill!
Conclusion
Congratulations on mastering the art of making a bow with a napkin! You now have a versatile skill that can add a touch of elegance and creativity to any dining table or event. By following the simple steps outlined in this guide, you can transform an ordinary napkin into a stunning decorative bow.
Whether you’re hosting a formal dinner party, setting up a festive table for a special occasion, or looking to add a special touch to your gift wrapping, the napkin bow is sure to make a lasting impression. It’s a simple yet impactful way to elevate the visual appeal of any setting.
Remember to choose a napkin that complements your overall theme or color scheme. Experiment with different folding techniques and sizes to create bows of various shapes and sizes. Don’t be afraid to get creative and mix and match napkin bows to create unique and eye-catching designs.
Now that you know how to make a bow with a napkin, let your imagination run wild. Impress your guests with thoughtfully crafted table settings, adorn your gifts with elegant bow accents, or simply enjoy the beauty of your own creativity. The possibilities are endless!
Thank you for joining us on this bow-making journey. We hope you have found this guide helpful and inspiring. Keep practicing, have fun, and enjoy the art of tableware decoration!
Frequently Asked Questions about How To Make A Bow With A Napkin
Was this page helpful?
At Storables.com, we guarantee accurate and reliable information. Our content, validated by Expert Board Contributors, is crafted following stringent Editorial Policies. We're committed to providing you with well-researched, expert-backed insights for all your informational needs.

0 thoughts on “How To Make A Bow With A Napkin”