Home>Kitchen & Cooking>Kitchen Furniture & Decor>How To Make Napkin Rings Out Of Ribbon
Kitchen Furniture & Decor
How To Make Napkin Rings Out Of Ribbon
Modified: February 18, 2024
Learn how to make beautiful napkin rings out of ribbon to add a touch of elegance to your kitchen furniture and decor. Follow our simple DIY tutorial for stunning results!
(Many of the links in this article redirect to a specific reviewed product. Your purchase of these products through affiliate links helps to generate commission for Storables.com, at no extra cost. Learn more)
Introduction
Napkin rings are a delightful addition to any table setting, adding a touch of elegance and charm to mealtimes and special occasions. Crafting your own napkin rings out of ribbon is a wonderful way to personalize your table decor and impress your guests with your creativity. Whether you're hosting a dinner party, a holiday gathering, or simply want to elevate your everyday dining experience, handmade napkin rings can elevate the ambiance and showcase your attention to detail.
Creating napkin rings out of ribbon is a simple yet rewarding DIY project that allows you to unleash your imagination and tailor the design to complement your table setting. With just a few materials and a dash of creativity, you can craft beautiful napkin rings that reflect your personal style and add a custom touch to your dining space.
In this guide, we will walk you through the step-by-step process of making napkin rings out of ribbon. From selecting the perfect ribbon to adding embellishments, you'll learn how to create stunning napkin rings that will impress your guests and elevate the visual appeal of your table. Whether you're a seasoned crafter or new to DIY projects, this tutorial is designed to inspire and guide you through the enjoyable process of crafting your own unique napkin rings.
So, gather your materials, clear a workspace, and let's embark on this creative journey to craft charming and stylish napkin rings that will add a touch of sophistication to your table setting. Let's get started!
Key Takeaways:
- Crafting your own napkin rings out of ribbon is a fun and rewarding DIY project that allows you to personalize your table decor and impress your guests with your creativity. It’s a simple way to add elegance and charm to any dining occasion.
- By selecting the perfect ribbon, measuring and cutting with precision, and skillfully adding embellishments, you can create charming and personalized napkin rings that reflect your dedication to creating a visually captivating dining environment.
Read more: How To Make Nautical Napkin Rings
Materials Needed
To create your own beautiful napkin rings out of ribbon, you will need a few essential materials that are easily accessible and can be found at your local craft store or online. Here's a list of the items you'll need to embark on this delightful DIY project:
-
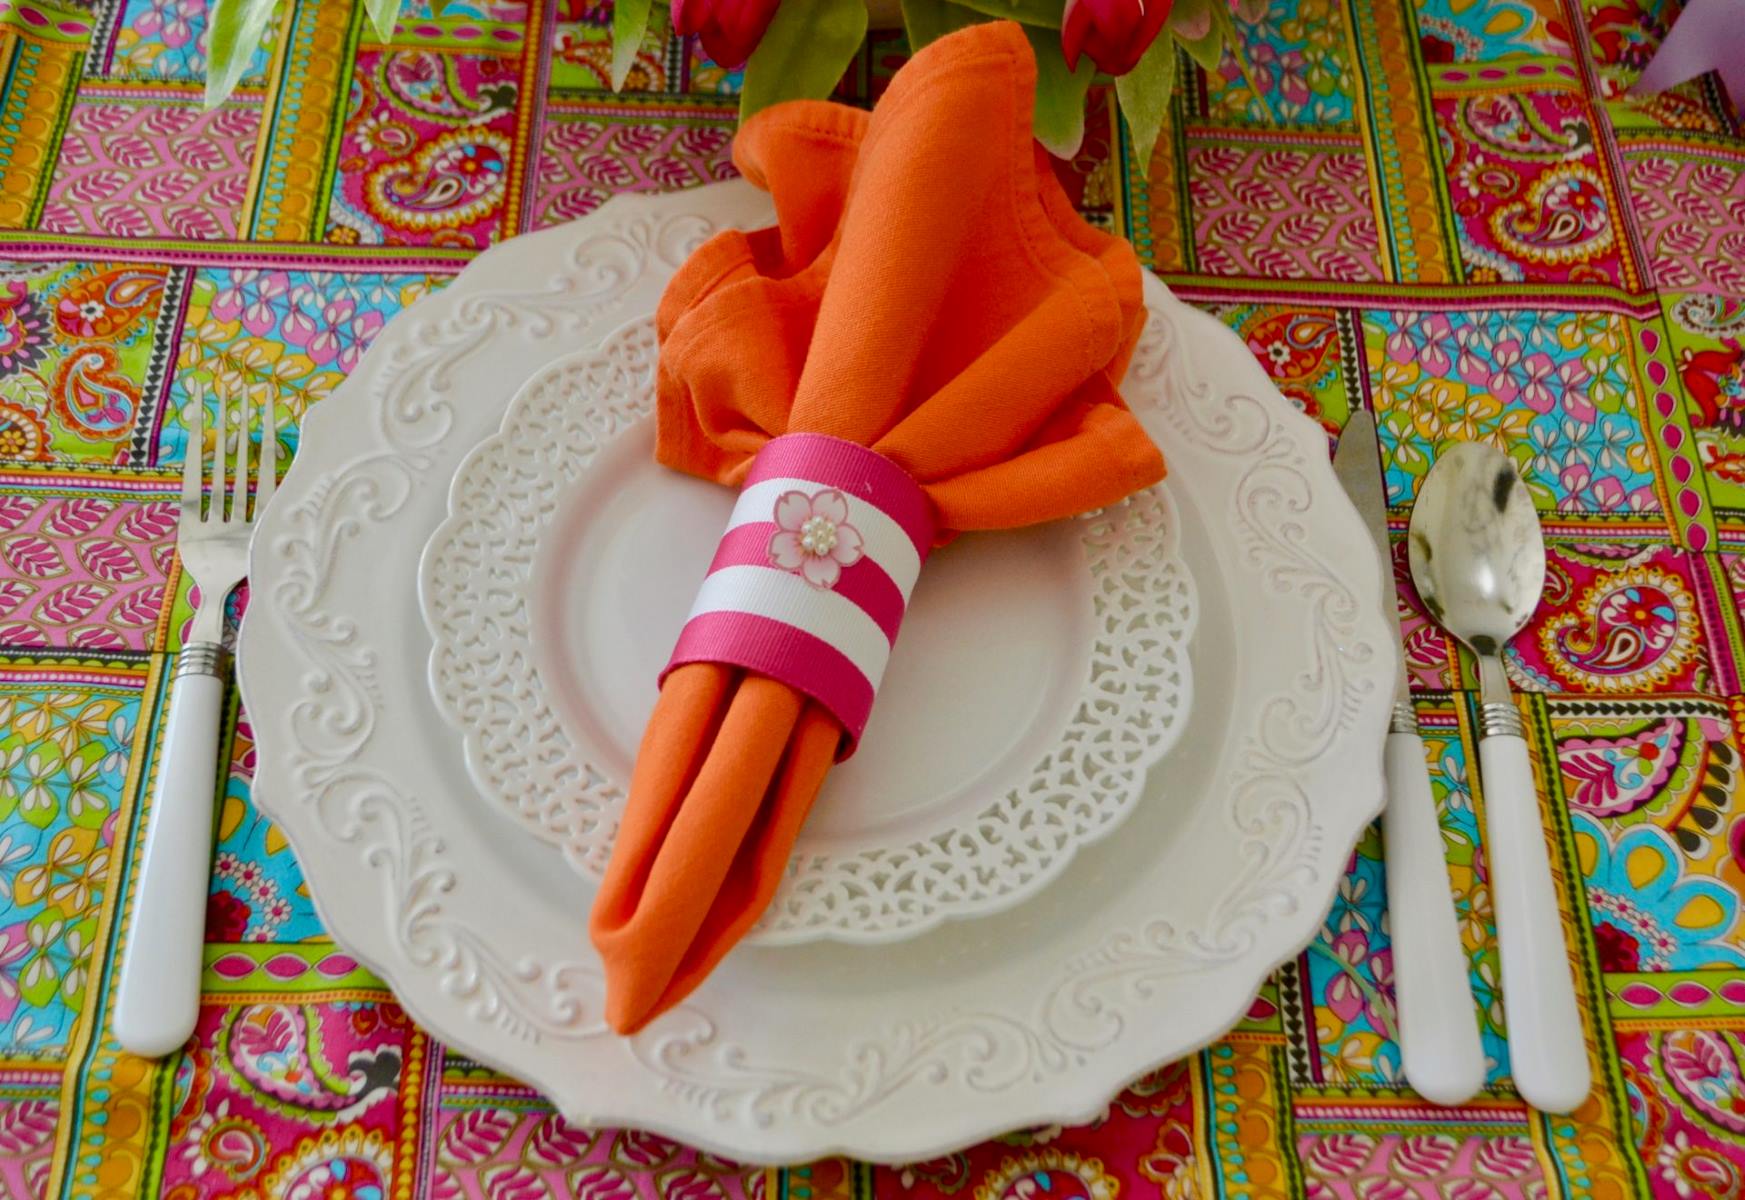
Ribbon: Select a ribbon of your choice, ensuring that it is wide enough to create a visually appealing napkin ring. Satin, grosgrain, or velvet ribbons are popular choices, and you can opt for a color that complements your table setting or a pattern that adds a touch of whimsy.
-
Scissors: A pair of sharp scissors is essential for cutting the ribbon to the desired length and ensuring clean, precise edges.
-
Craft Glue or Hot Glue Gun: Depending on your preference, you can use craft glue or a hot glue gun to secure the ends of the ribbon and any embellishments in place. Both options provide a strong hold, allowing you to create durable napkin rings.
-
Embellishments (Optional): If you wish to add a decorative touch to your napkin rings, consider embellishments such as faux flowers, beads, charms, or decorative buttons. These embellishments can be coordinated with your table decor or themed to suit a specific occasion.
-
Ruler or Measuring Tape: To ensure accuracy when cutting the ribbon to the desired length, a ruler or measuring tape will be handy for precise measurements.
-
Flat Surface: A flat, clean surface to work on is essential for assembling the napkin rings and ensuring that the ribbon and embellishments are secured effectively.
-
Protective Covering (Optional): If you are working on a surface that you want to protect from glue or potential mess, consider using a protective covering such as a crafting mat or a layer of parchment paper.
By gathering these materials, you'll be well-equipped to embark on the creative journey of crafting your own unique napkin rings out of ribbon. With these supplies at your disposal, you can infuse your personal style and creativity into each napkin ring, resulting in a charming and custom addition to your table setting. Now that you have your materials ready, it's time to dive into the step-by-step process of creating stunning napkin rings that will elevate your dining experience.
Step 1: Measure and cut the ribbon
The first step in creating your own beautiful napkin rings out of ribbon is to measure and cut the ribbon to the desired length. This step sets the foundation for the size and style of your napkin rings, allowing you to customize them to perfectly complement your table setting.
Begin by selecting the ribbon of your choice, ensuring that it is wide enough to create a visually appealing napkin ring. Whether you opt for a luxurious satin ribbon, a classic grosgrain ribbon, or a plush velvet ribbon, the width of the ribbon will contribute to the overall look and feel of the finished napkin rings. Consider the color and texture of the ribbon, keeping in mind how it will harmonize with your table decor and the occasion for which you are crafting the napkin rings.
Once you have chosen the perfect ribbon, use a ruler or measuring tape to determine the ideal length for your napkin rings. A standard napkin ring typically measures around 1.5 to 2 inches in diameter, so you'll want to cut the ribbon to a length that allows for a slight overlap when securing the ends together. This overlap ensures a snug fit around the napkin while allowing for easy placement and removal.
Carefully use a pair of sharp scissors to cut the ribbon to the measured length, ensuring clean, straight edges for a polished finish. Precision is key in this step, as accurately cut ribbon will contribute to the professional and refined appearance of the completed napkin rings.
As you proceed with measuring and cutting the ribbon, consider the number of napkin rings you intend to create. It's advisable to measure and cut all the ribbon pieces needed for your entire set of napkin rings at once, ensuring consistency in size and appearance across the collection.
By taking the time to measure and cut the ribbon with precision, you are laying the groundwork for crafting exquisite napkin rings that will enhance your table setting. This foundational step sets the stage for the subsequent stages of creating the napkin rings, allowing you to proceed with confidence and creativity as you bring your vision to life.
Step 2: Create the loop
With the ribbon pieces cut to the desired length, the next step in crafting your own napkin rings is to create the loop that will form the main structure of each ring. This pivotal step sets the foundation for the elegant and functional design of the napkin rings, allowing you to shape the ribbon into a visually appealing and secure loop that will gracefully encircle your napkins.
To begin, take one of the cut ribbon pieces and bring the two ends together, overlapping them slightly to form a loop. The amount of overlap will depend on the width of the ribbon and your preference for how snugly the napkin ring will fit around the napkin. Holding the ends securely in place, assess the size and shape of the loop to ensure it meets your desired specifications.
Once you are satisfied with the loop's size and appearance, it's time to secure the ends together to create a cohesive ring. Depending on your preference and the type of ribbon you are using, you can choose to use craft glue or a hot glue gun to bond the overlapping ends. If using craft glue, apply a small amount to one end of the ribbon and press it firmly against the other end, holding them together until the glue sets. For a quicker and more secure bond, a hot glue gun can be used to join the ends, ensuring a strong and durable connection.
As you secure the ends to form the loop, pay attention to the alignment and symmetry of the ribbon, ensuring that the loop maintains an even and balanced shape. This attention to detail will contribute to the professional and polished appearance of the finished napkin rings, elevating them from simple accessories to stylish accents for your table setting.
Once the loop is securely formed and the ends are bonded together, take a moment to admire your handiwork and assess the overall look of the napkin ring. Ensure that the loop is smooth and free from any twists or kinks, as a well-crafted loop will serve as the foundation for the embellishments that will be added in the subsequent steps.
By creating a flawless loop with precision and care, you are one step closer to completing your handmade napkin rings. This foundational element sets the stage for the final embellishments and ensures that each napkin ring is crafted with attention to detail and a touch of artistry.
When making napkin rings out of ribbon, use a strong adhesive to secure the ends together, and consider adding embellishments like beads or charms for a personalized touch.
Step 3: Secure the ends
After creating the loop for your napkin ring, the next crucial step is to securely fasten the ends to ensure the loop maintains its shape and provides a snug fit around your napkin. This step is essential for guaranteeing the durability and functionality of the napkin rings, allowing them to withstand repeated use while retaining their elegant appearance.
To begin, carefully inspect the loop to ensure that it is symmetrical and free from any twists or misalignments. This visual assessment will help you identify any adjustments needed before proceeding to secure the ends, ensuring that the napkin rings are crafted to the highest standard.
Once you are satisfied with the loop's appearance, it's time to secure the ends using your chosen adhesive. Whether you opt for craft glue or a hot glue gun, it's important to apply the adhesive with precision and care to create a strong and seamless bond. If using craft glue, apply a small amount to one end of the ribbon and press it firmly against the other end, holding them together until the glue sets. This method allows for a secure connection while ensuring that the adhesive is evenly distributed along the bond.
Alternatively, a hot glue gun can provide a quick and robust bond, ideal for securing the ends of the ribbon with efficiency and strength. Carefully apply a small bead of hot glue to one end of the ribbon and press it firmly against the other end, allowing the hot glue to create a durable and resilient connection. Exercise caution when using a hot glue gun to avoid any accidental burns and ensure that the adhesive is applied precisely to prevent any unsightly residue on the ribbon.
As the adhesive sets, take a moment to inspect the bond and ensure that the ends are securely fastened, forming a seamless and continuous loop. This attention to detail will contribute to the professional and refined appearance of the napkin rings, elevating them from simple accessories to stylish and functional additions to your table setting.
By securely fastening the ends of the ribbon, you are ensuring that each napkin ring is crafted with durability and precision, ready to adorn your table with elegance and charm. This step marks the final structural element of the napkin rings, setting the stage for the delightful embellishments that will add a personalized touch to each creation.
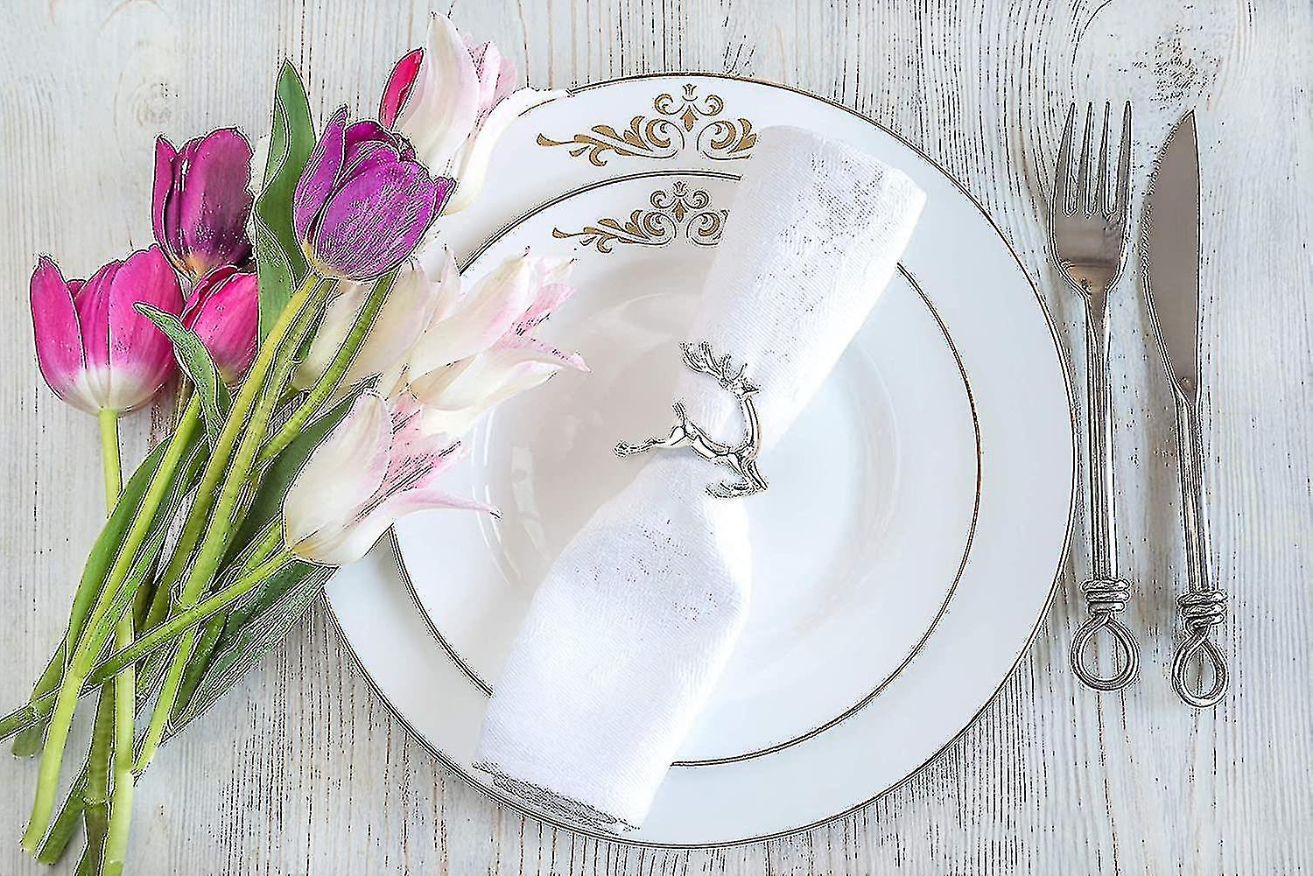
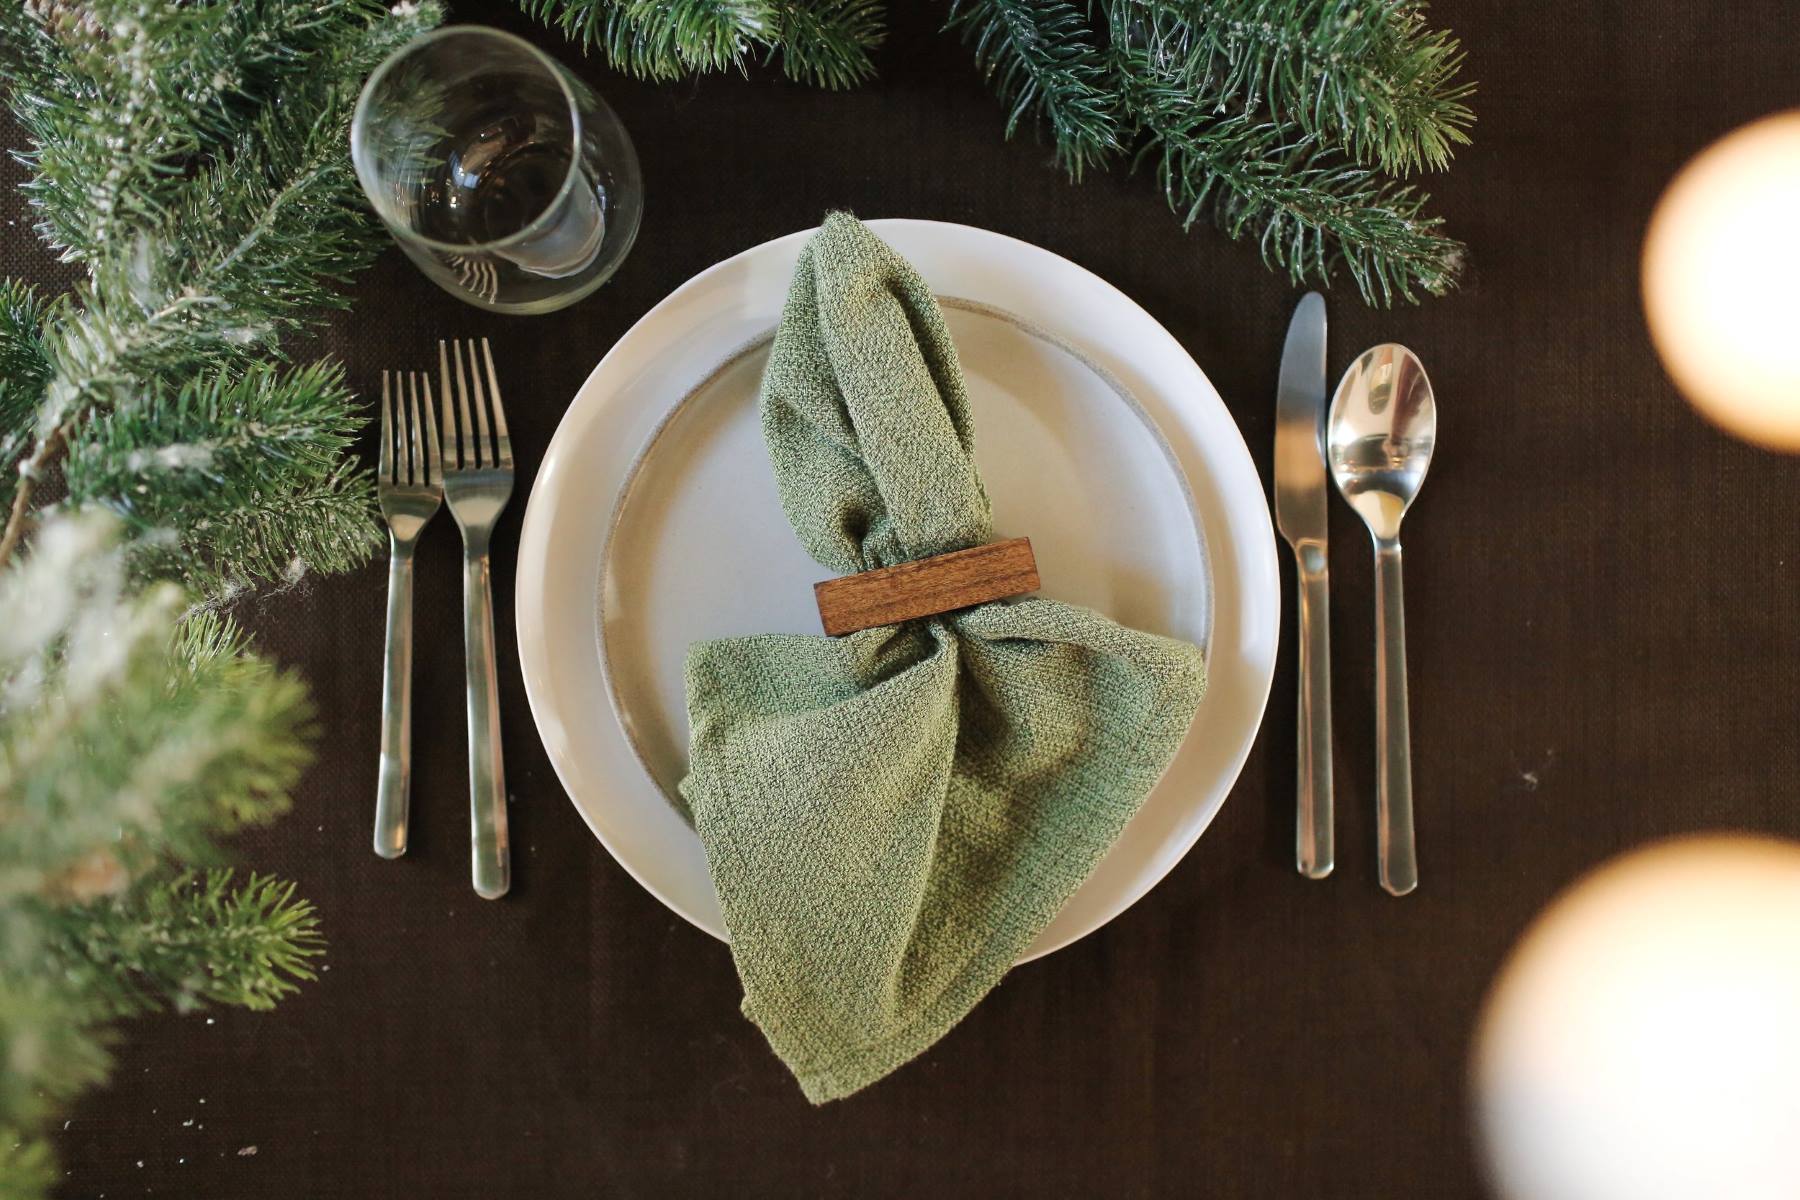
Read more: How To Make A Napkin Ring Holder
Step 4: Add embellishments
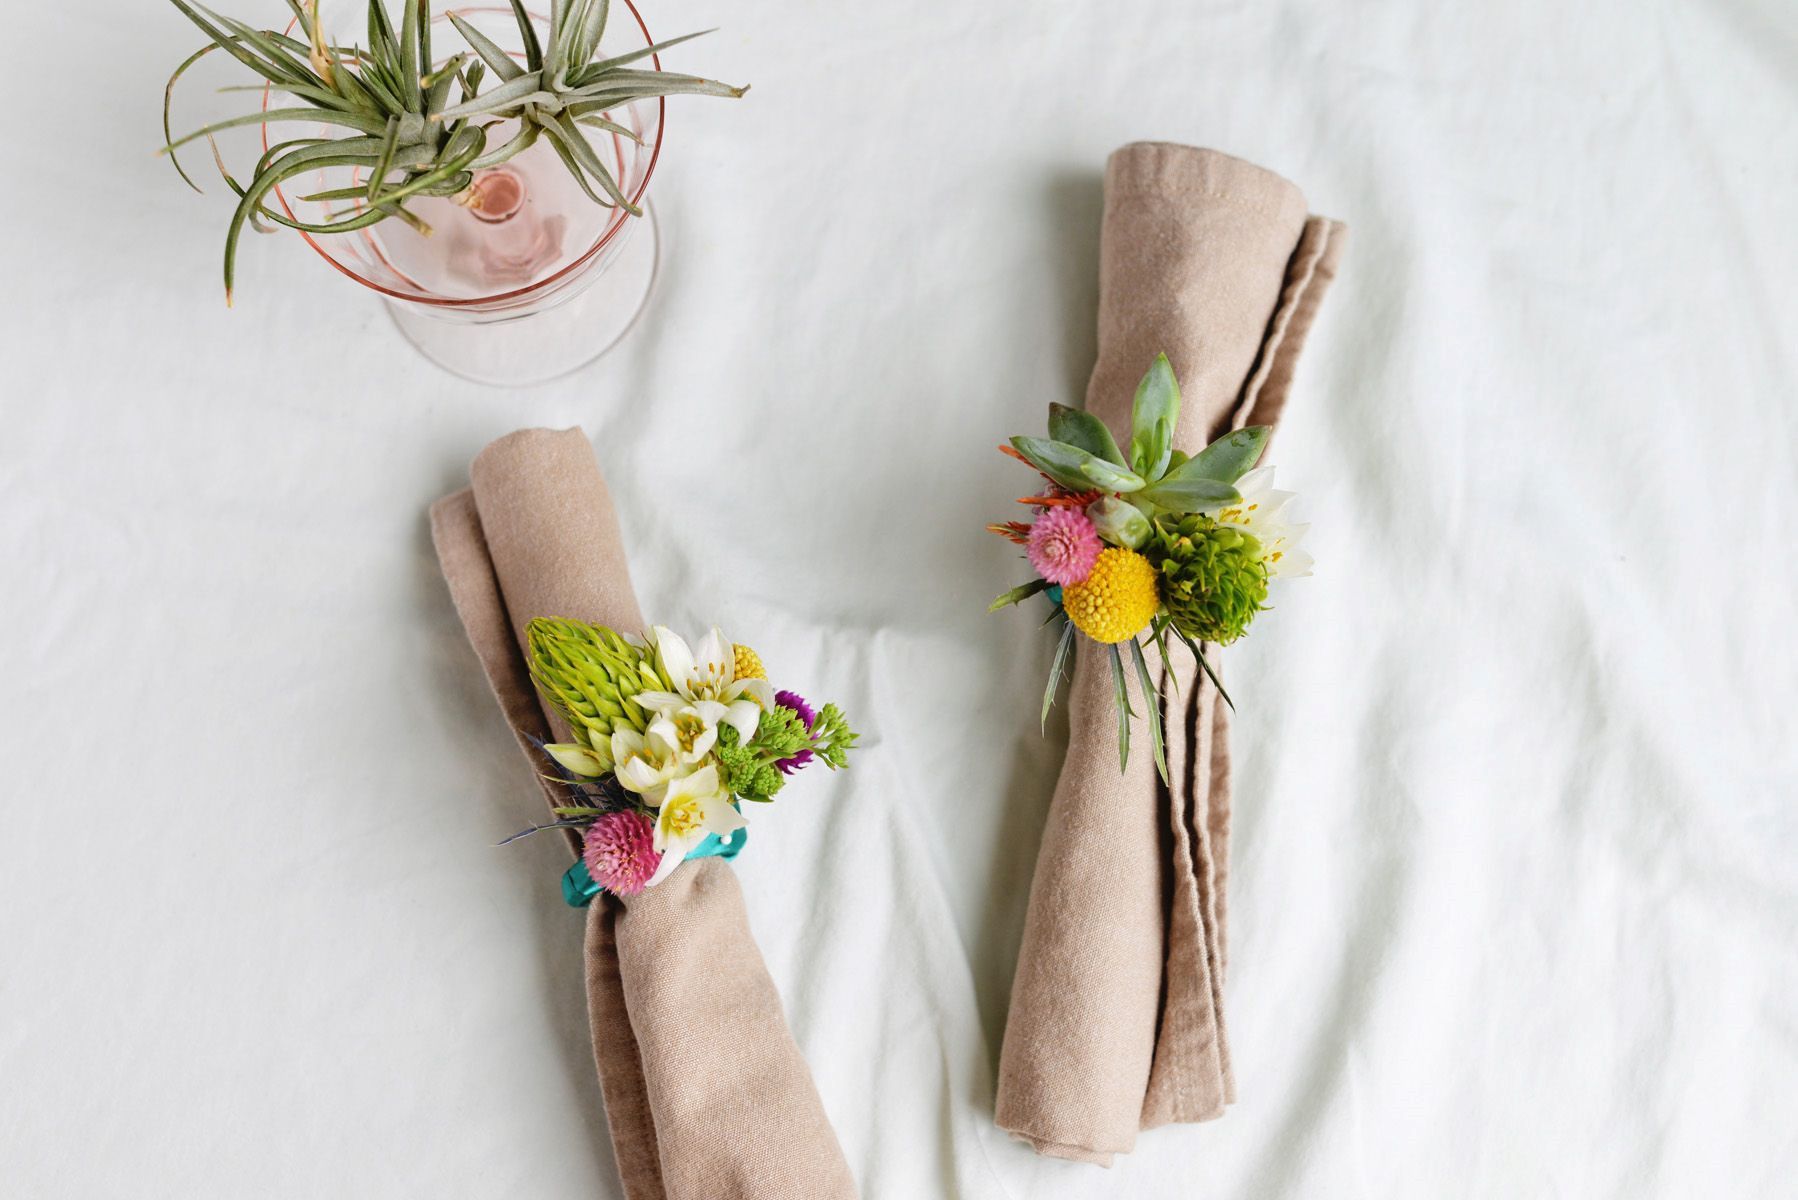
With the structural foundation of the napkin rings in place, it's time to infuse them with personality and charm by adding delightful embellishments. This step allows you to unleash your creativity and tailor each napkin ring to suit your unique style and the theme of your table setting. Whether you're aiming for a touch of glamour, a hint of rustic charm, or a festive flourish, the addition of embellishments will elevate the napkin rings from functional accessories to eye-catching accents that captivate attention.
When selecting embellishments, consider the overall aesthetic you wish to achieve. Faux flowers, such as delicate silk blooms or vibrant fabric blossoms, can bring a touch of natural beauty to the napkin rings, infusing them with a sense of freshness and elegance. Alternatively, decorative buttons in various shapes, sizes, and colors can add a whimsical and playful element, allowing you to mix and match designs to create a captivating visual impact.
For a touch of opulence, consider incorporating shimmering beads, sequins, or rhinestones that catch the light and impart a sense of luxury to the napkin rings. These sparkling embellishments can add a glamorous touch to formal gatherings and special occasions, creating a captivating display that exudes sophistication and refinement.
To add a personalized and thematic touch to the napkin rings, consider incorporating charms or trinkets that reflect the essence of the event or celebration. For example, tiny star-shaped charms for a celestial-themed dinner, miniature seashells for a beachside gathering, or festive holiday-themed trinkets for seasonal festivities can infuse the napkin rings with character and significance, making them memorable and meaningful additions to the table setting.
When attaching the embellishments to the napkin rings, precision and attention to detail are key. If using craft glue, apply a small amount to the back of the embellishment and carefully position it on the napkin ring, ensuring that it is securely affixed in the desired location. For a more robust bond, a hot glue gun can be used to attach the embellishments with confidence, providing a durable connection that withstands handling and use.
As you add embellishments to each napkin ring, take a moment to step back and admire the evolving beauty of your creations. The thoughtful addition of embellishments infuses the napkin rings with character and individuality, transforming them into captivating adornments that elevate the entire table setting.
By adding embellishments with care and creativity, you are infusing the napkin rings with a touch of artistry and personal flair, ensuring that they become standout features of your table decor. This step allows you to express your unique style and create napkin rings that are not only functional but also visually striking, leaving a lasting impression on your guests and enhancing the overall ambiance of your dining experience.
Step 5: Repeat for additional napkin rings
Once you have completed the meticulous process of crafting your first napkin ring, it's time to replicate the steps to create additional napkin rings that will complement and unify your table setting. This step allows you to maintain consistency in design and craftsmanship across all the napkin rings, ensuring a cohesive and harmonious presentation that enhances the visual appeal of your dining space.
As you embark on creating additional napkin rings, it's essential to approach each one with the same attention to detail and precision that you dedicated to the initial creation. Begin by selecting another cut piece of ribbon, ensuring that it matches the dimensions and style of the first napkin ring to maintain uniformity. Consistency in the size and shape of the loops is crucial for achieving a polished and professional look across the entire set of napkin rings.
Carefully measure and cut the ribbon to the desired length, using the first napkin ring as a reference to ensure that the dimensions align seamlessly. This approach will help you achieve uniformity in size and appearance, allowing the napkin rings to harmonize effortlessly when placed on the table.
As you progress through the steps of creating the loop and securing the ends, pay close attention to maintaining consistency in the execution of each stage. Ensuring that the loops are formed with precision and the ends are securely fastened will contribute to a cohesive collection of napkin rings that exude quality and craftsmanship.
When it comes to adding embellishments to the additional napkin rings, aim to maintain a cohesive theme or design element that ties the entire set together. Whether you opt for matching embellishments or a complementary variation, the goal is to create a sense of unity and visual harmony among the napkin rings.
By repeating the process for additional napkin rings, you are not only expanding your collection of handmade table accents but also honing your skills and attention to detail. Each napkin ring presents an opportunity to refine your technique and express your creativity, resulting in a set of charming and personalized table adornments that reflect your dedication to creating a welcoming and visually captivating dining environment.
As you complete the final napkin ring in the set, take a moment to admire the collective beauty and craftsmanship of your creations. The cohesive and thoughtfully crafted napkin rings are ready to take their place as enchanting embellishments that elevate your table setting and leave a lasting impression on your guests.
Conclusion
In conclusion, the art of crafting napkin rings out of ribbon is a delightful and rewarding endeavor that allows you to infuse your table setting with elegance, charm, and a personalized touch. Through the step-by-step process outlined in this guide, you have embarked on a creative journey that has empowered you to transform simple materials into captivating table accents that elevate the dining experience.
By selecting the perfect ribbon, measuring and cutting with precision, and skillfully forming the loops, you have laid the foundation for exquisite napkin rings that exude craftsmanship and attention to detail. The secure fastening of the ends ensures the durability and functionality of the napkin rings, guaranteeing that they will adorn your table with grace and style for numerous occasions to come.
The addition of embellishments has allowed you to express your creativity and tailor each napkin ring to suit your unique style and the theme of your table setting. Whether you've opted for delicate silk flowers, shimmering beads, or thematic charms, the embellishments have infused the napkin rings with character and individuality, transforming them into captivating adornments that leave a lasting impression.
As you've repeated the meticulous process to create a cohesive set of napkin rings, you've honed your skills and attention to detail, resulting in a collection of charming and personalized table accents that reflect your dedication to creating a welcoming and visually captivating dining environment.
With your handmade napkin rings ready to grace your table, you are poised to impress your guests and elevate any dining occasion, from everyday meals to special celebrations. The effort and creativity invested in crafting these napkin rings have not only yielded beautiful table adornments but have also provided a fulfilling and enjoyable creative outlet.
As you set your table with the finished napkin rings, take pride in the artistry and craftsmanship that you have infused into each piece. Your handmade napkin rings are not just accessories; they are reflections of your creativity and attention to detail, enriching the dining experience and leaving a lasting impression on all who gather around your table.
Frequently Asked Questions about How To Make Napkin Rings Out Of Ribbon
Was this page helpful?
At Storables.com, we guarantee accurate and reliable information. Our content, validated by Expert Board Contributors, is crafted following stringent Editorial Policies. We're committed to providing you with well-researched, expert-backed insights for all your informational needs.


0 thoughts on “How To Make Napkin Rings Out Of Ribbon”