Tableware
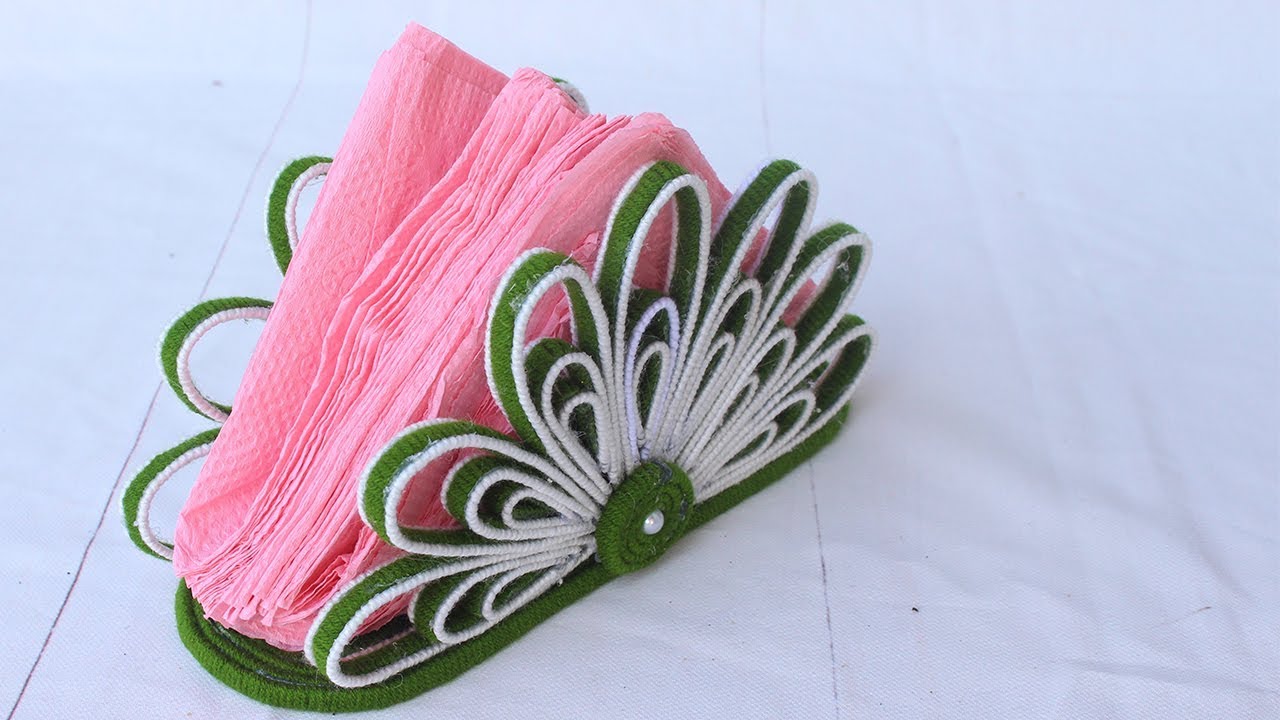
How To Make A Napkin Holder
Modified: August 28, 2024
Discover how to make a stylish napkin holder for your tableware collection with this easy DIY tutorial. Perfect for adding a touch of elegance to your dining experience.
(Many of the links in this article redirect to a specific reviewed product. Your purchase of these products through affiliate links helps to generate commission for Storables.com, at no extra cost. Learn more)
Introduction
Welcome to this comprehensive guide on how to make a napkin holder! If you enjoy hosting gatherings or simply want to add a touch of elegance to your dining table, a napkin holder is a must-have accessory. Not only does it keep your napkins neatly organized, but it also adds a decorative element to your table setting.
In this tutorial, we will walk you through the step-by-step process of creating your own unique napkin holder. Whether you’re a seasoned DIY enthusiast or a beginner looking to try your hand at a simple project, this guide is suitable for all skill levels. So, let’s gather our materials and get started!
Key Takeaways:
- Create a personalized napkin holder by following this DIY guide, adding elegance and functionality to your dining table. Experiment with finishes and designs to showcase your creativity and craftsmanship.
- Prioritize safety and precision while crafting a napkin holder from scratch. Enjoy the satisfaction of a handmade creation that adds a personal touch to your table setting and becomes a conversation starter during gatherings.
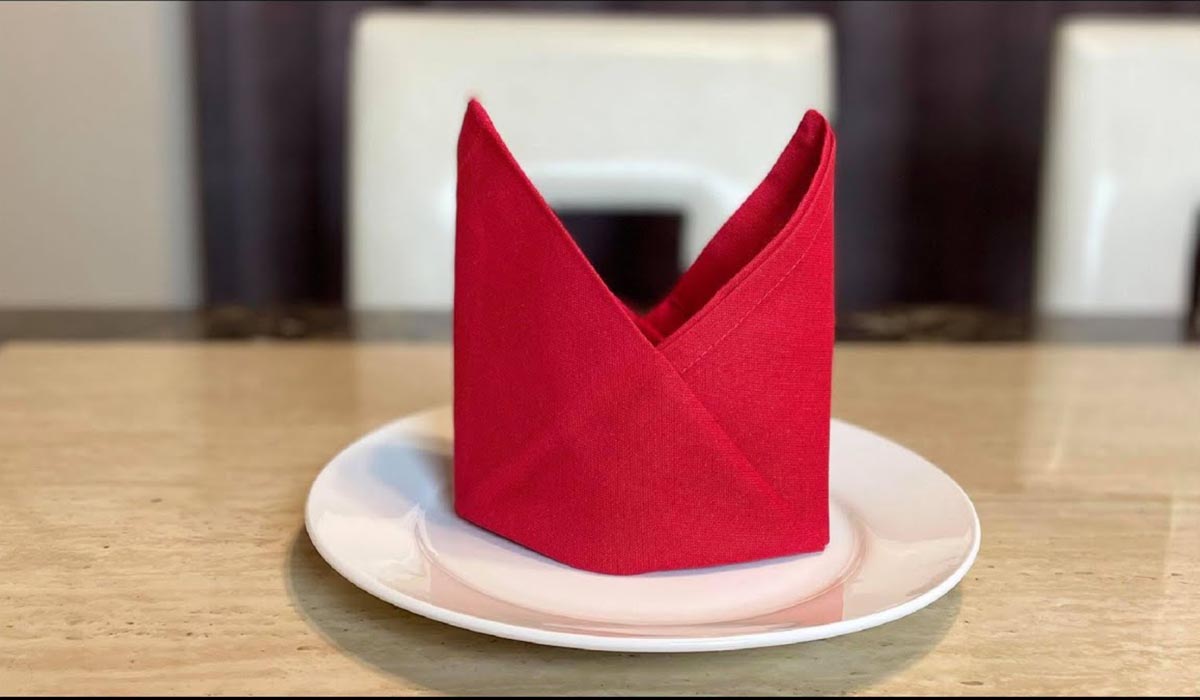
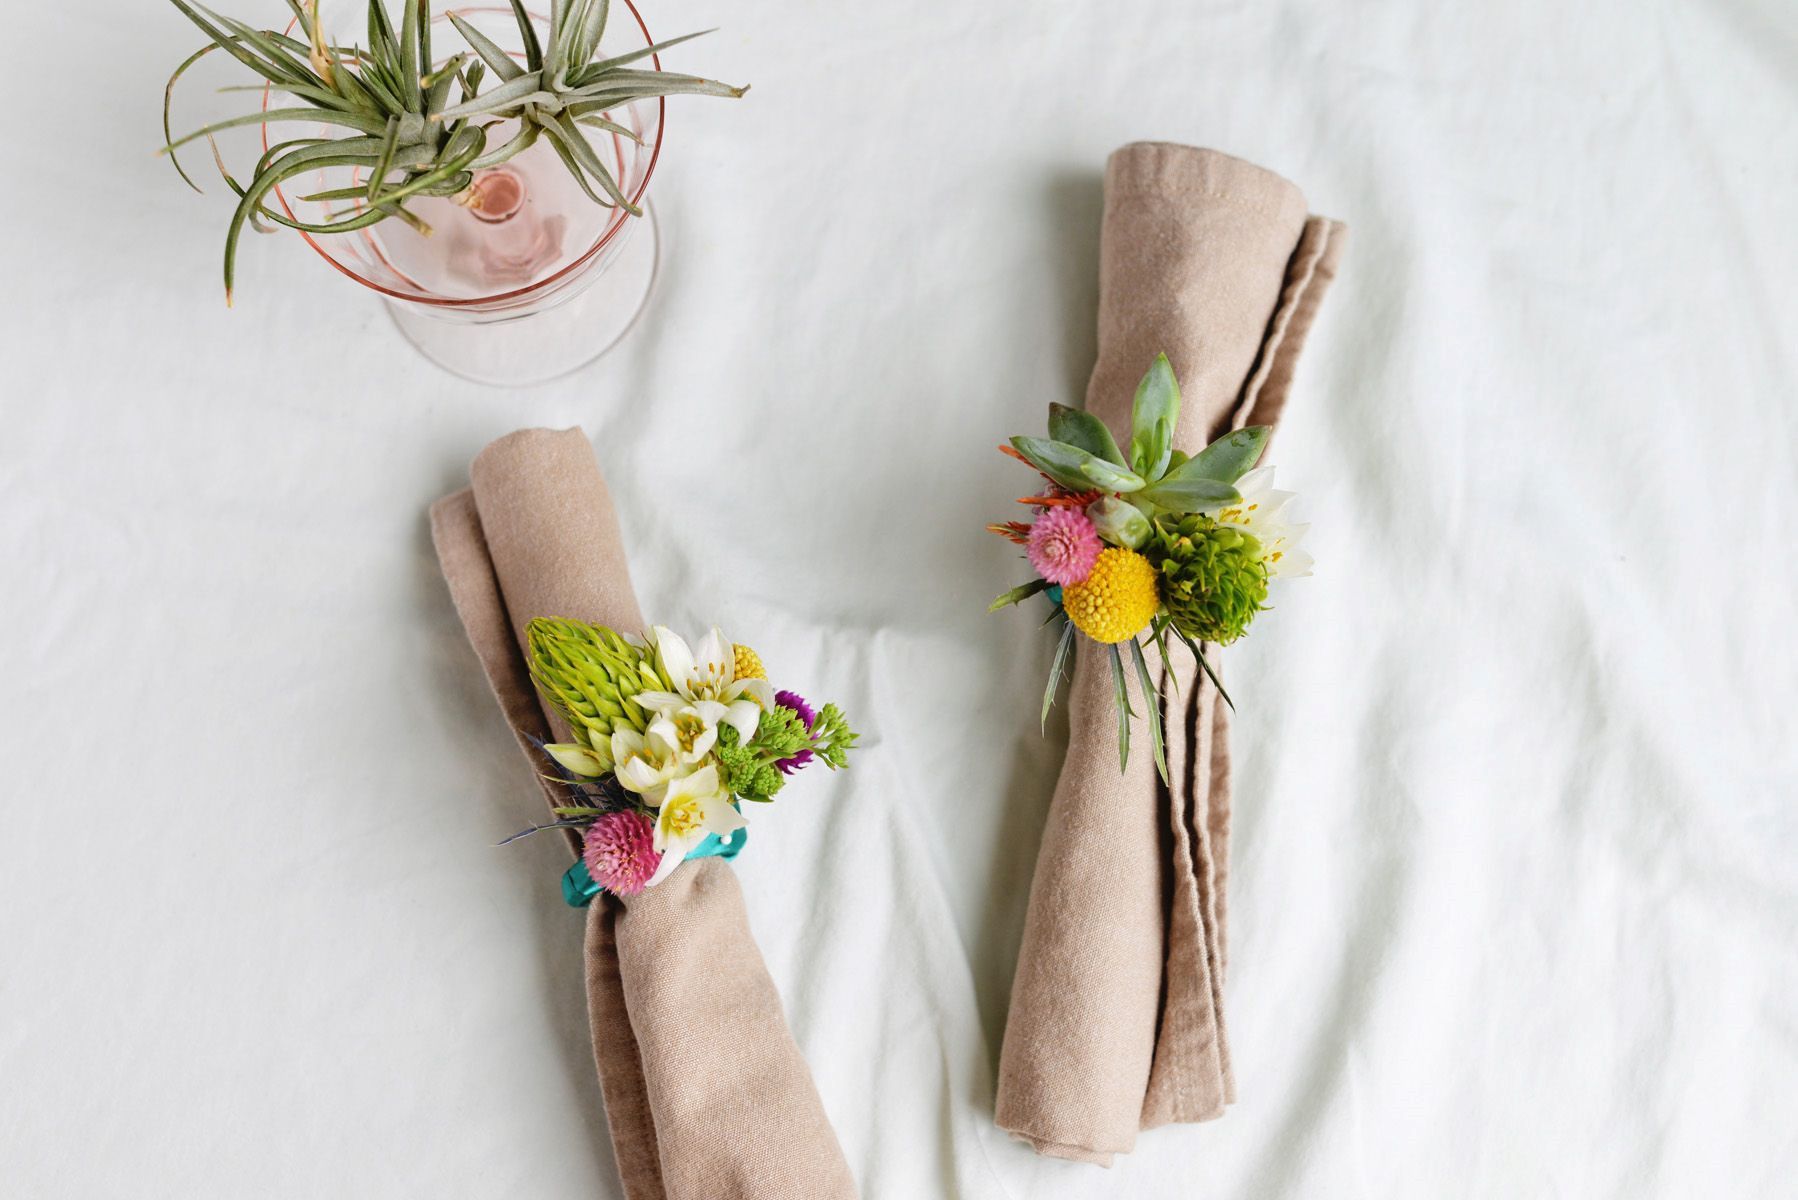
Read more: How To Make A Napkin Ring Holder
Materials Needed
Before we dive into the construction process, let’s take a look at the materials you will need to make your own napkin holder:
- Wooden plank: Choose a sturdy and durable wooden plank of your desired size. Make sure it is thick enough to hold the weight of the napkins.
- Saw: You will need a saw to cut the wooden plank into the appropriate dimensions.
- Sandpaper: To smoothen the edges of the wooden pieces and create a polished finish.
- Wood glue: This will be used to securely attach the different components of the napkin holder.
- Clamps: Clamps are essential for holding the pieces together while the glue dries.
- Wooden dowels: These will serve as the uprights of the napkin holder.
- Drill: You will need a drill to create holes to insert the wooden dowels.
- Hammer and nails: If you prefer a more traditional approach, you can use a hammer and nails instead of wood glue.
- Paint or stain (optional): If you want to add a pop of color or enhance the natural wood grain, you can use paint or stain to finish your napkin holder.
- Brushes: Brushes of varying sizes will come in handy for applying paint or stain.
Now that you have gathered all the necessary materials, let’s move on to the next step in creating your own napkin holder.
Step 1: Gathering Supplies
The first step in making a napkin holder is gathering all the necessary supplies. Take inventory of the materials listed above to ensure you have everything you need before you begin the project. This will help streamline the construction process and prevent any delays.
If you are missing any items on the list, take a moment to gather them from your local hardware store or online retailer. It’s important to have all the materials on hand to avoid interruptions during the construction process.
Once you have all the supplies, find a suitable work area where you can comfortably complete the project. A well-lit workspace with a sturdy surface is ideal for woodworking projects. Ensure that you have enough space to maneuver the tools and materials without any constraints.
It’s also a good idea to gather any additional tools you may need, such as a tape measure, pencil, and safety equipment like safety goggles and gloves. These tools will assist you in accurately measuring and marking the wooden plank, ensuring a precise and professional-looking napkin holder.
Now that you have your supplies and a dedicated work area, you’re ready to move on to the next step: measuring and cutting the wooden plank.
Step 2: Measuring and Cutting
Now that you have all your supplies ready, it’s time to measure and cut the wooden plank to the desired dimensions for your napkin holder.
Start by measuring the length and width for the base of the napkin holder. The size can vary depending on your preference and the number of napkins you want it to hold. A common size for the base is around 6 to 8 inches in length and 4 to 6 inches in width.
Using a tape measure, mark the measurements on the wooden plank. Ensure the lines are straight and accurately represent the dimensions you want. A pencil or a small marking tool can be used for this purpose.
Next, using a saw, carefully cut along the marked lines to create the base of the napkin holder. Take your time to make precise and straight cuts, ensuring that the edges are clean and smooth.
After cutting the base, consider if you want to add any decorative designs or patterns to the wood. You can use a router or a chisel to create a decorative edge or engraving, giving your napkin holder a unique and personalized touch.
Once you have cut the base, set it aside and proceed to measure and cut the wooden dowels for the uprights of the napkin holder. Measure the desired height for the uprights, keeping in mind that they should be slightly taller than the height of the napkins to ensure they stay in place.
Mark the measurements on the wooden dowels and, using the saw, carefully cut the dowels to the desired height. Remember to make straight and clean cuts to achieve a professional look.
Now that you have measured and cut the wooden plank for the base and the dowels for the uprights, you are ready to move on to the next step: sanding the edges.
Step 3: Sanding the Edges
After measuring and cutting the wooden pieces for your napkin holder, it’s important to sand the edges to create a smooth and polished finish. Sanding not only enhances the appearance of the holder but also removes any rough or sharp edges that could potentially harm your hands or snag the napkins.
To sand the edges, you will need sandpaper with a medium grit. Start by folding the sandpaper into a small square and holding it firmly. Then, gently sand the edges of the wooden plank and dowels in a back-and-forth motion. Be cautious not to apply too much pressure, as this could damage the wood.
Continue sanding until the edges feel smooth to the touch. Take your time with this step to ensure a high-quality finish. You may also use a sanding block or an electric sander for more convenience and even results.
Once you have sanded all the edges, wipe away any dust or debris with a clean cloth. This will ensure that the surface is clean and ready for the next steps of assembly.
Remember to wear safety goggles and a dust mask during the sanding process to protect yourself from inhaling the fine wood particles. Safety should always be a priority when working with tools and materials.
With the edges now sanded, you are ready to move on to the next step: assembling the base of the napkin holder.
Read more: How To Put Napkins In A Napkin Holder
Step 4: Assembling the Base
With the edges of the wooden pieces sanded, it’s time to start assembling the base of your napkin holder. The base provides stability and support for the napkins, ensuring they stay in place.
Before you begin, gather your wood glue and clamps to secure the pieces together. You may also use a hammer and nails if you prefer a more traditional approach.
Apply a thin layer of wood glue along one of the longer edges of the wooden plank that you cut earlier for the base. Make sure the glue coats the entire surface evenly.
Then, align the cut edges of the base and press them firmly together. Wipe away any excess glue using a damp cloth to avoid visible residue.
If you are using clamps, gently clamp them onto the base to hold the pieces together while the glue dries. Ensure that the base remains aligned and straight. Allow the glue to dry according to the manufacturer’s instructions, typically for a few hours.
If you prefer using nails, insert them at regular intervals along the glued edge to secure the base. Be careful not to split the wood by hammering the nails too forcefully.
Once the glue has dried or the nails are in place, carefully remove the clamps if used. Inspect the base to ensure it is sturdy and firmly held together.
Congratulations! You have successfully assembled the base of your napkin holder. The next step is to create the uprights that will hold the napkins in place.
When making a napkin holder, consider using a durable and easy-to-clean material such as wood or metal to ensure longevity and practicality.
Step 5: Creating the Uprights
Now that you have assembled the base of your napkin holder, it’s time to create the uprights that will hold the napkins in an upright position. These uprights can be made from wooden dowels, providing a simple yet effective design.
To begin, measure the desired height for the uprights. Keep in mind that they should be slightly taller than the height of the napkins to ensure they hold the napkins securely in place.
Using a tape measure, mark the measurements on the wooden dowels. Double-check to ensure accuracy and consistency in the size of the uprights.
Next, use a saw to carefully cut the wooden dowels at the marked measurements. Aim for clean, straight cuts to achieve a professional and uniform appearance.
Once the dowels have been cut to the desired height, you may consider adding decorative touches to the top of each upright. This could include rounding off the edges or creating a pointed or decorative design.
To do this, use sandpaper or a small handheld tool to shape and smooth the top ends of the dowels. Be mindful of creating consistent designs across all the uprights to maintain visual symmetry.
After shaping the tops of the uprights, wipe away any sawdust or debris with a clean cloth. This will ensure a smooth surface for the next step of attaching the uprights to the base.
With the uprights now created and prepared, it’s time to move on to the next step of the process: attaching the uprights to the base.
Step 6: Attaching the Uprights to the Base
Now that you have your uprights ready, it’s time to attach them securely to the base of your napkin holder. This step is crucial in ensuring stability and functionality.
Start by determining the placement of the uprights on the base. Consider spacing them evenly to accommodate the size of your napkins. Mark the desired positions lightly with a pencil or marking tool.
Once you have marked the positions, apply a small amount of wood glue to the bottom end of each upright. Alternatively, you can use a small amount of adhesive using a hot glue gun or epoxy resin. This will help provide a strong bond between the uprights and the base.
Carefully align the bottom ends of the uprights with the marked positions on the base. Press them firmly into place, ensuring they are perpendicular to the base and upright.
If you prefer a more secure attachment, you can also reinforce the connection by using small finishing nails. Pre-drill holes slightly narrower than the width of the nails to prevent the wood from splitting. Then, gently hammer the nails into place, securing the uprights to the base.
After attaching all the uprights, wipe away any excess glue or adhesive with a clean cloth. Double-check that the uprights are firmly and evenly attached to the base.
Allow the glue or adhesive to dry completely according to the manufacturer’s instructions. This typically takes a few hours, but it’s best to leave it overnight to ensure a strong bond.
Once the uprights are securely attached, your napkin holder is beginning to take shape. In the next step, we will look at how to apply a finish to enhance the appearance and durability of the holder (optional).
Step 7: Applying a Finish (Optional)
Applying a finish to your napkin holder can add a touch of elegance and protect the wood from moisture or other potential damage. While this step is optional, it can enhance the appearance and durability of your creation.
Before you begin, decide on the type of finish you would like to apply. There are various options to choose from, such as paint, stain, or varnish. Each finish has its own unique characteristics, so consider the look and functionality you desire for your napkin holder.
If you opt for paint, choose a color that complements your table setting or matches your personal style. Use brushes of varying sizes to apply the paint evenly to the wooden surfaces, including the base and uprights. Apply multiple thin coats for better coverage, allowing each coat to dry before applying the next.
If you prefer to enhance the natural beauty of the wood, you can use a stain. Pick a stain that matches the color or tone you desire. Apply the stain evenly using a brush or a clean cloth, following the manufacturer’s instructions. Allow the stain to soak into the wood and dry completely.
Another option is to use a clear varnish or sealant to protect and enhance the wood grain. Apply the varnish with a brush, making sure to cover all wooden surfaces. Allow each coat to dry before applying additional coats, following the manufacturer’s instructions for drying times.
Remember to work in a well-ventilated area when applying finishes. This will ensure proper air circulation and minimize exposure to fumes.
After applying the finish, allow the napkin holder to dry completely according to the manufacturer’s instructions. This may take a few hours or even overnight, depending on the type of finish you used.
Once the finish is dry, inspect your napkin holder for any touch-ups or additional coats if needed. If you’re satisfied with the appearance and functionality, move on to the next step to test and make any necessary adjustments.
Read more: How To Make A Rose With A Napkin
Step 8: Testing and Adjusting
Now that your napkin holder is almost complete, it’s time to test its functionality and make any necessary adjustments to ensure it works perfectly.
Start by placing a stack of napkins inside the holder. Gently pull out a single napkin from the stack to check if the holder keeps the remaining napkins in place. The uprights should provide enough tension to prevent the napkins from falling out while still allowing easy access to them.
If the napkins slide out too easily or if the tension is too tight, you may need to make adjustments to the placement of the uprights. Try repositioning them slightly closer or farther apart to achieve the desired tension. This step may require some trial and error, so be patient and make small adjustments until you achieve the optimal result.
Additionally, check the overall stability of the napkin holder. Ensure that it sits flat on a tabletop and doesn’t wobble or tip over. If you notice any instability, you may need to adjust the length of the uprights or the positioning of the base. Sand down any uneven edges or make minor modifications as needed.
Take this opportunity to inspect the appearance of the napkin holder as well. Look for any areas that require touch-up paint or touch-up varnish. If you’re not satisfied with the finish, now is the time to make any final aesthetic adjustments.
Once you are satisfied with the functionality and appearance of your napkin holder, your DIY project is complete! You can now proudly display it on your dining table or use it to add a touch of elegance to any special occasion.
Remember, the joy of DIY projects lies not only in creating something tangible but also in the satisfaction of using your own hands to craft something functional and beautiful. Enjoy the fruits of your labor and showcase your creativity for all to see!
By following this comprehensive guide, you have successfully made a napkin holder from scratch. Congratulations and happy hosting!
Conclusion
Creating your own napkin holder is a rewarding DIY project that allows you to showcase your craftsmanship and creativity while adding a beautiful and functional piece to your dining table. By following the step-by-step instructions in this guide, you have learned how to make a napkin holder from start to finish.
Throughout the process, we covered everything from gathering the necessary materials to measuring and cutting the wooden pieces, sanding the edges, assembling the base, creating the uprights, attaching them to the base, applying a finish (optional), and testing and adjusting for functionality and stability.
Remember, always prioritize safety by wearing appropriate protective gear and working in a well-ventilated area. Take your time with each step to ensure accuracy and precision.
This DIY project not only allows you to express your creativity but also provides a practical solution for keeping your napkins organized and within reach. Plus, your handmade napkin holder adds a personal touch to your table setting and can become a conversation starter during meals and gatherings.
Feel free to customize your napkin holder by experimenting with different finishes, shapes, and sizes. Add decorative touches or incorporate unique designs to make it truly your own.
Now that you have completed this guide, you have the knowledge and skills to make beautiful napkin holders. So gather your materials, unleash your creativity, and get started on your next DIY project.
Enjoy the satisfaction of crafting something with your own hands and the pride of showcasing your handmade creation. Happy crafting!
Frequently Asked Questions about How To Make A Napkin Holder
Was this page helpful?
At Storables.com, we guarantee accurate and reliable information. Our content, validated by Expert Board Contributors, is crafted following stringent Editorial Policies. We're committed to providing you with well-researched, expert-backed insights for all your informational needs.


0 thoughts on “How To Make A Napkin Holder”