Tableware
How To Make A Napkin Ring Holder
Modified: May 23, 2024
Learn how to make a stylish napkin ring holder for your tableware collection. Perfect for adding a touch of elegance to your dining experience.
(Many of the links in this article redirect to a specific reviewed product. Your purchase of these products through affiliate links helps to generate commission for Storables.com, at no extra cost. Learn more)
Introduction
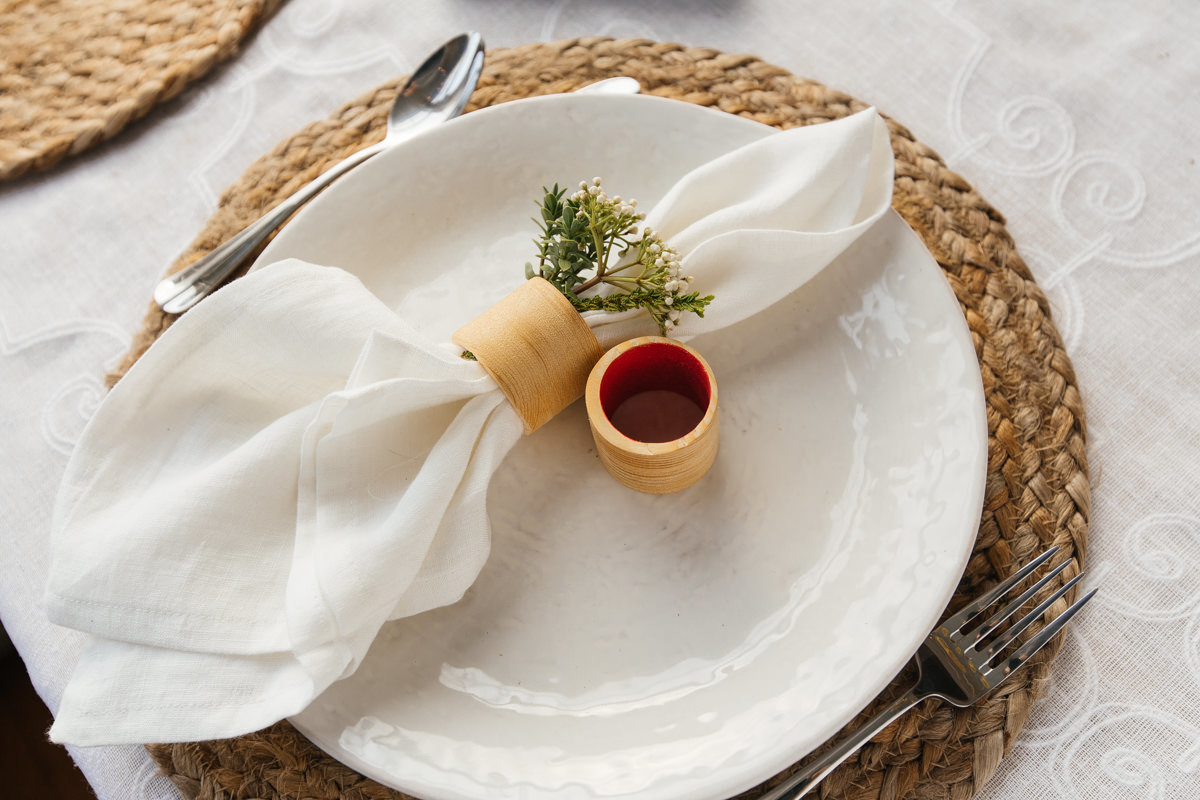
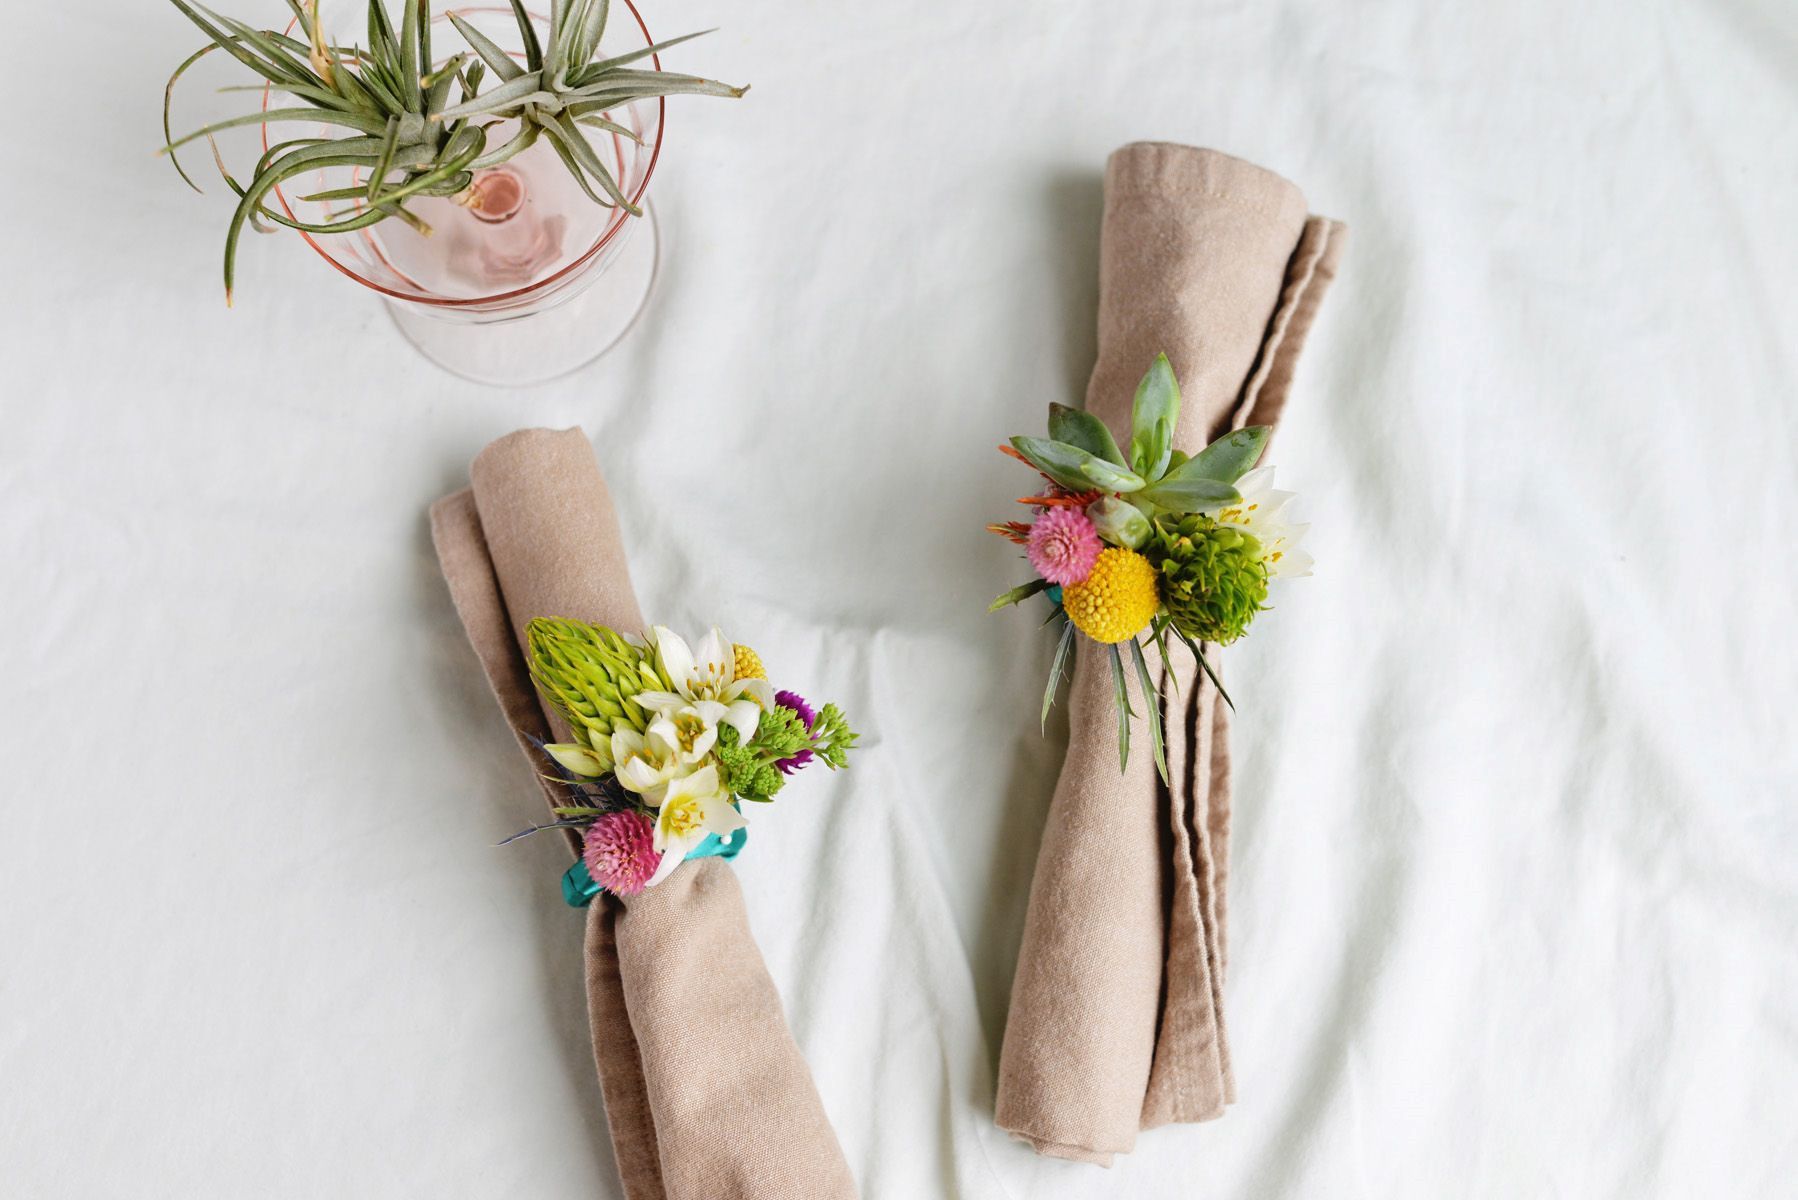
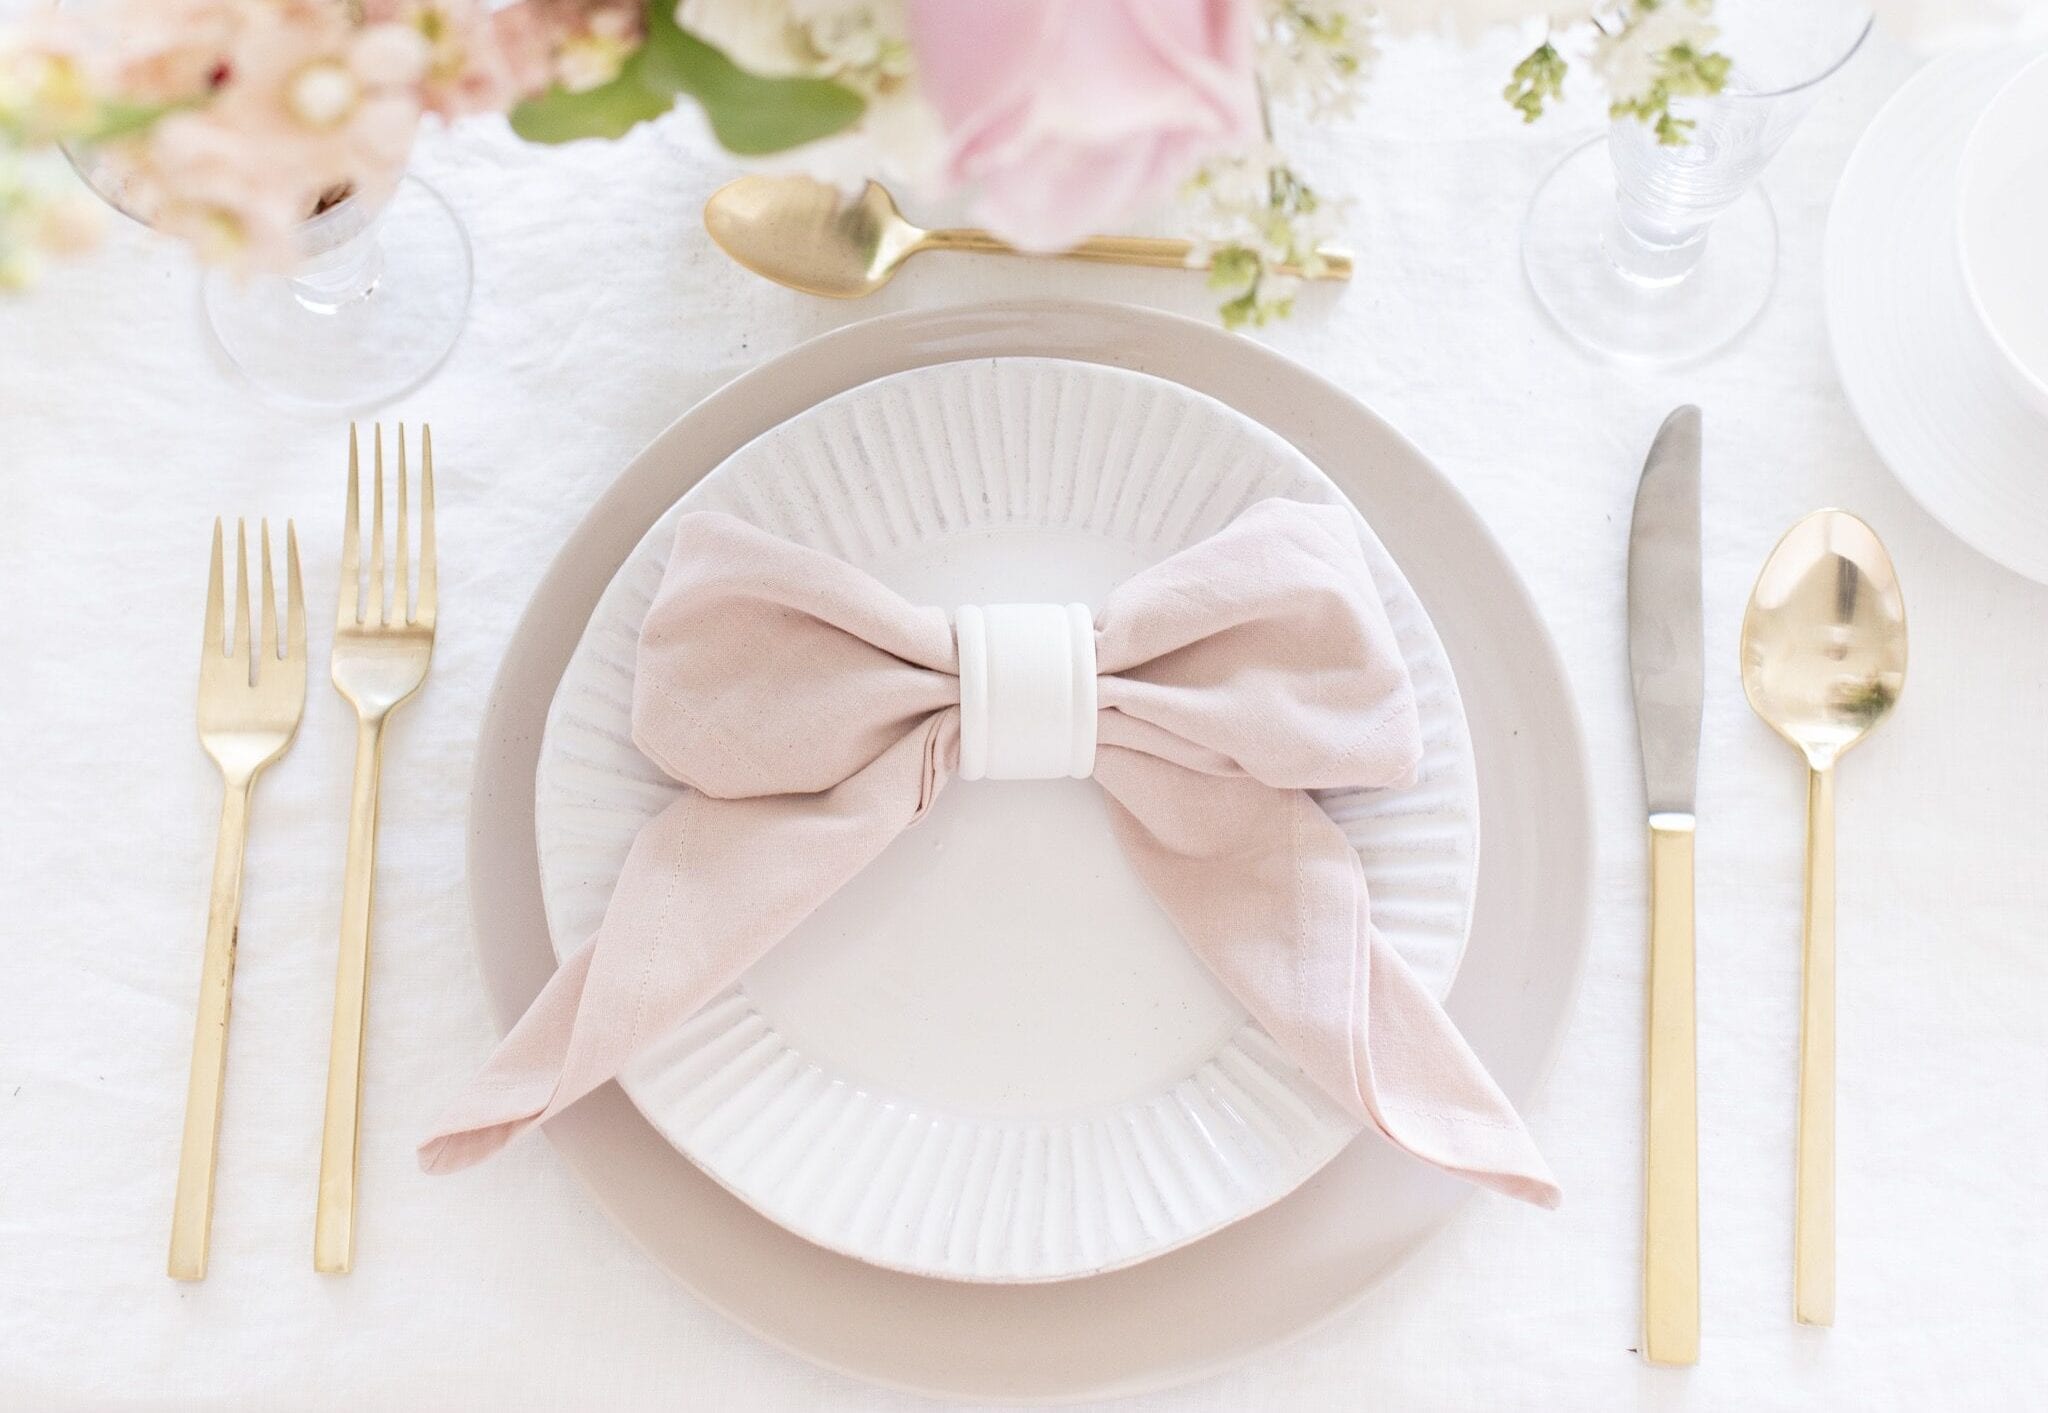
Welcome to the world of tableware, where even the smallest details matter. When it comes to setting a beautiful table, napkin ring holders play a vital role in elevating the overall look and feel. These small but impactful accessories not only keep your napkins neatly folded but also add a touch of elegance to your table setting.
In this article, we will guide you through the process of creating your very own napkin ring holder. With just a few simple steps and some creativity, you can craft a unique and personalized accessory that will impress your guests. So, gather your supplies and let’s get started!
Key Takeaways:
- Elevate your table setting with personalized napkin ring holders. Crafted with simple supplies and creativity, these DIY accessories add a touch of elegance and showcase your attention to detail.
- Impress guests with handmade napkin ring holders that reflect your style. From measuring and cutting to adding decorative touches, creating these unique accessories is a fulfilling and creative way to enhance your dining experience.
Read more: How To Make A Napkin Holder
Supplies Needed
Before diving into the DIY process, it’s important to gather all the necessary supplies. Here’s a list of what you’ll need to create your own napkin ring holder:
- Cardboard tube (such as a toilet paper or paper towel roll)
- Scissors
- Decorative paper or fabric
- Ribbon or trim
- Glue or double-sided tape
- Embellishments (optional)
These supplies are easily accessible and can be found at your local craft store or even repurposed from items you already have at home. Feel free to get creative with your selection of decorative materials to suit your personal style and the theme of your table setting.
Step 1: Measure and Cut the Cardboard Tube
The first step in creating your napkin ring holder is to measure and cut the cardboard tube to your desired length. This will depend on the size of your napkins and personal preference.
Start by measuring the circumference of the tube using a measuring tape or a ruler. This will help you determine the width of your napkin ring holder. Once you have the measurement, mark it on the tube using a pencil or a marker.
Next, using a pair of scissors, carefully cut along the marked line to create your napkin ring holder. Make sure to cut in a straight line to ensure a clean and even finish.
Remember, you can always adjust the length of the tube based on your individual needs. If you prefer a shorter napkin ring holder, simply trim the tube accordingly.
Once you have cut the cardboard tube to the desired length, set it aside for the next step of decorating and personalizing.
Step 2: Decorate the Cardboard Tube
Now that you have your cut cardboard tube, it’s time to let your creativity shine by decorating it. This step allows you to personalize your napkin ring holder and incorporate your own unique style into the final product.
Start by selecting the decorative paper or fabric of your choice. You can choose a patterned paper that complements your table setting or opt for a solid color that adds a pop of contrast. Cut a strip of the chosen material that is slightly wider than the cardboard tube and long enough to wrap around it.
Using glue or double-sided tape, attach one end of the paper strip to the tube. Slowly wrap the strip around the tube, making sure to smooth out any wrinkles or creases as you go. Secure the other end of the strip with more glue or tape. Make sure the paper is tightly adhered to the tube for a neat and polished look.
If you prefer to use fabric instead of paper, follow the same process of cutting a strip of fabric and attaching it to the tube. However, you may need to use fabric glue or sew the ends together to ensure a secure hold.
Get creative with your designs by incorporating additional embellishments such as lace, ribbons, or rhinestones. These small details can add an extra touch of elegance and charm to your napkin ring holder. Apply them with glue or adhesive to achieve the desired look.
Once you’re satisfied with the decoration, set the tube aside to allow the glue to dry and secure everything in place. Moving on to the next step, we will attach the ribbon to complete the napkin ring holder.
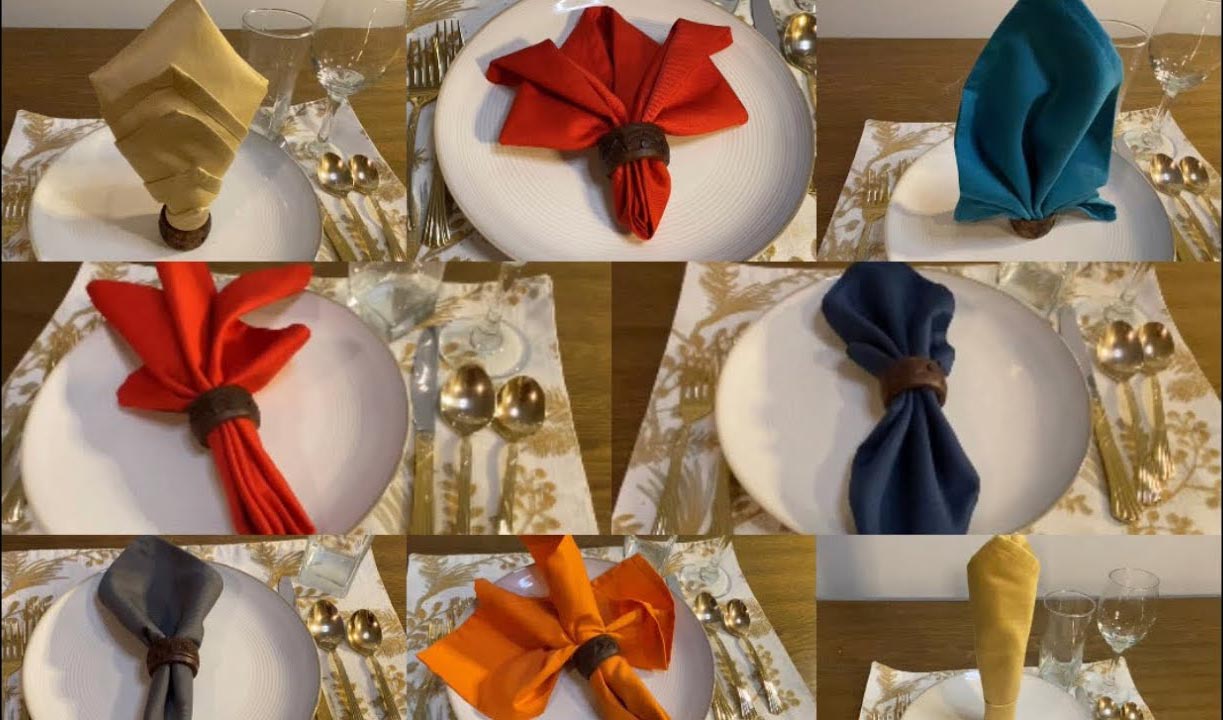
When making a napkin ring holder, consider using materials such as wire, ribbon, or decorative beads to add a personal touch and match your table setting.
Step 3: Attach the Ribbon
Attaching a ribbon to your napkin ring holder not only adds a decorative element but also provides a practical way to secure the napkins. You can choose a ribbon that matches your overall design or opt for a contrasting color to create a visually appealing contrast.
Start by measuring the length of the ribbon needed to wrap around the cardboard tube. Add a few extra inches to allow for securing the ends and creating a decorative bow.
Once you have the correct length, cut the ribbon accordingly. You can use scissors to achieve a clean, straight edge or consider using pinking shears for a decorative edge.
To attach the ribbon, place a small amount of glue or use double-sided tape on one end of the ribbon. Secure it to the backside of the cardboard tube, ensuring it is centered and straight. Wrap the ribbon tightly around the tube, overlapping slightly to conceal any gaps.
When you reach the opposite end, apply glue or tape to secure it in place. If desired, you can trim the excess ribbon, leaving a little extra length to create a decorative bow.
To create a bow, form a loop with one end of the ribbon and pinch it in the center. Then, create another loop with the other end and cross it over the pinched center. Secure the bow by tying a small piece of ribbon or string around the center.
Adjust the loops of the bow to your liking, fluffing them out and arranging them in a visually pleasing manner. This will add an elegant finishing touch to your napkin ring holder.
Allow the glue to dry completely before moving on to the next step of creating the napkin ring itself.
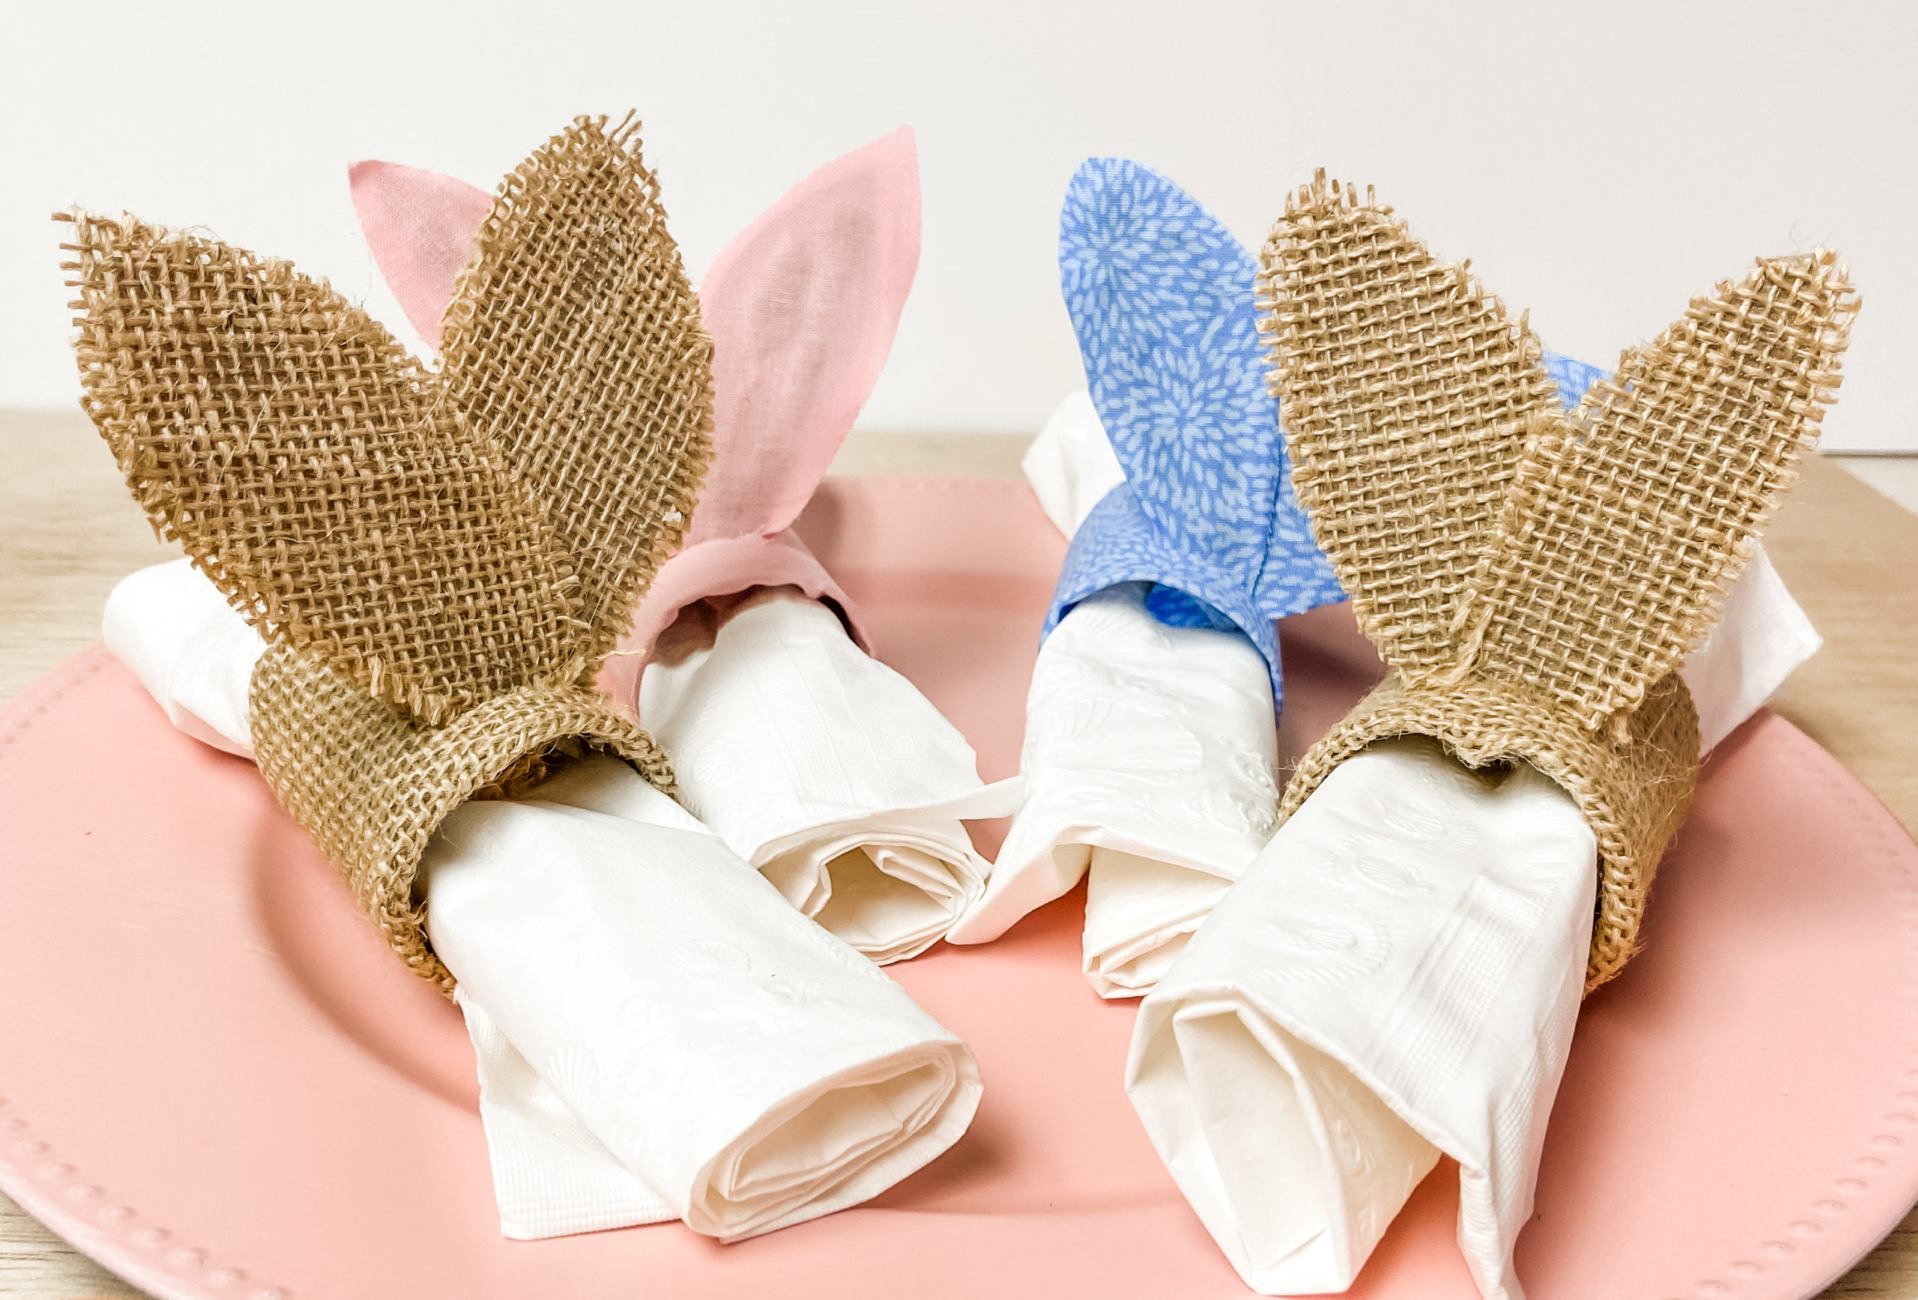
Read more: How To Make Nautical Napkin Rings
Step 4: Create the Napkin Ring
With the decorative elements of the napkin ring holder in place, it’s time to create the actual ring that will hold the napkins. This step involves using the cardboard tube and securing it to ensure a sturdy and functional napkin ring.
Start by measuring the circumference of the tube to determine the size of your napkin ring. Keep in mind that you want it to be snug enough to hold the napkin securely but not too tight that it becomes difficult to insert and remove the napkin.
Once you have the measurement, mark it on the tube using a pencil or a marker. Use a pair of scissors to carefully cut along the marked line, creating the napkin ring.
After cutting out the ring, you may notice that the ends of the cardboard are exposed. To create a polished finish, consider covering these ends with additional decorative paper or fabric. Cut a small strip of the material and wrap it around the exposed ends, securing it with glue or double-sided tape.
Make sure to smooth out any wrinkles or creases as you wrap the strip around the ends. This will give the napkin ring a cohesive and finished look.
Once the ends are covered and everything is secure, gently test the napkin ring by inserting a napkin and making sure it fits comfortably. Adjust the size if necessary by trimming the cardboard ring slightly.
Now that your napkin ring is complete, let’s move on to the final step of adding some finishing touches.
Step 5: Final Touches
Congratulations! You’ve reached the final step of creating your homemade napkin ring holder. This step is all about adding those extra finishing touches to make your creation truly stand out.
Consider embellishing your napkin ring holder with additional decorative elements. You can attach small charms, beads, or buttons that complement your chosen design. These add-ons will elevate the overall look and make your napkin ring holder unique.
Another option is to include a personalized touch by adding name tags or labels to the napkin ring holder. This can be particularly useful for formal occasions or when seating arrangements are in place. You can write the names of your guests on small cards or use a calligraphy pen to make it look elegant.
Don’t forget to step back and assess the overall appearance of your napkin ring holder. Make any final adjustments or tweaks to ensure that it matches the theme and style of your table setting.
Once you are satisfied with the final touches, set your homemade napkin ring holder aside to allow any glue or adhesive to dry completely. This will ensure that everything is securely in place and ready for use.
Now, when it’s time to set your table for a special occasion or a dinner gathering, you can proudly display your handmade napkin ring holders. Guests will be impressed by your creativity and attention to detail, and your table setting will surely make a lasting impression.
Enjoy your beautifully customized napkin ring holders!
Conclusion
Creating your own napkin ring holder is a fulfilling and creative way to enhance your table setting. With just a few simple steps and a touch of personalization, you can craft unique and stylish accessories that will impress your guests.
By measuring and cutting a cardboard tube, decorating it with your chosen materials, and attaching a ribbon, you can transform a simple tube into a stunning napkin ring holder. The final touches, such as embellishments and personalized name tags, add an extra layer of elegance and individuality.
Not only does making your own napkin ring holder allow you to showcase your creativity, but it also provides an opportunity to customize your table setting according to your style and the theme of your event. Whether it’s a formal dinner party or a casual gathering, your handmade napkin ring holders will add a touch of class and sophistication to the occasion.
Remember to gather the necessary supplies before starting the crafting process. You can easily find the required materials at your local craft store or repurpose items you already have at home. Let your imagination run wild as you choose decorative papers, fabrics, ribbons, and embellishments to create napkin ring holders that reflect your personal style.
With each homemade napkin ring holder, you are not only adding a decorative element to your table, but you are also showcasing your attention to detail and your dedication to creating a memorable dining experience for your guests.
So, what are you waiting for? Gather your supplies, unleash your creativity, and make your own napkin ring holders to elevate your table setting to new heights. Your guests will be impressed, and you will have the satisfaction of knowing that you added a personal touch to every aspect of your dining experience.
Enjoy the process of crafting and creating, and have fun setting your beautifully arranged table with your handmade napkin ring holders!
Frequently Asked Questions about How To Make A Napkin Ring Holder
Was this page helpful?
At Storables.com, we guarantee accurate and reliable information. Our content, validated by Expert Board Contributors, is crafted following stringent Editorial Policies. We're committed to providing you with well-researched, expert-backed insights for all your informational needs.


0 thoughts on “How To Make A Napkin Ring Holder”