
Tableware
How To Make A Bunny Out Of A Napkin
Modified: December 7, 2023
Learn how to make an adorable bunny out of a napkin with our step-by-step guide. Perfect for adding a touch of whimsy to your tableware collection.
(Many of the links in this article redirect to a specific reviewed product. Your purchase of these products through affiliate links helps to generate commission for Storables.com, at no extra cost. Learn more)
Introduction
Creating unique and decorative tableware can elevate any dining experience, adding charm and whimsy to your setting. One delightful way to impress your guests is by making a bunny out of a napkin. This playful and creative addition to your table not only showcases your artistic skills but also adds a touch of enchantment to any occasion, be it Easter, a spring celebration, or a children’s birthday party.
In this step-by-step guide, we will walk you through the process of transforming a simple napkin into an adorable bunny. With just a few folds and creative flourishes, you can turn an everyday table item into a conversation starter. Let’s get started and bring some magic to your table!
Key Takeaways:
- Impress your guests with a charming bunny napkin fold, adding whimsy and enchantment to any occasion. Elevate your tableware presentation and create lasting memories with this delightful and creative technique.
- Transform a simple napkin into a playful bunny centerpiece, perfect for Easter, spring celebrations, or children’s parties. Add a touch of magic to your table and impress your guests with this fun and creative napkin fold.
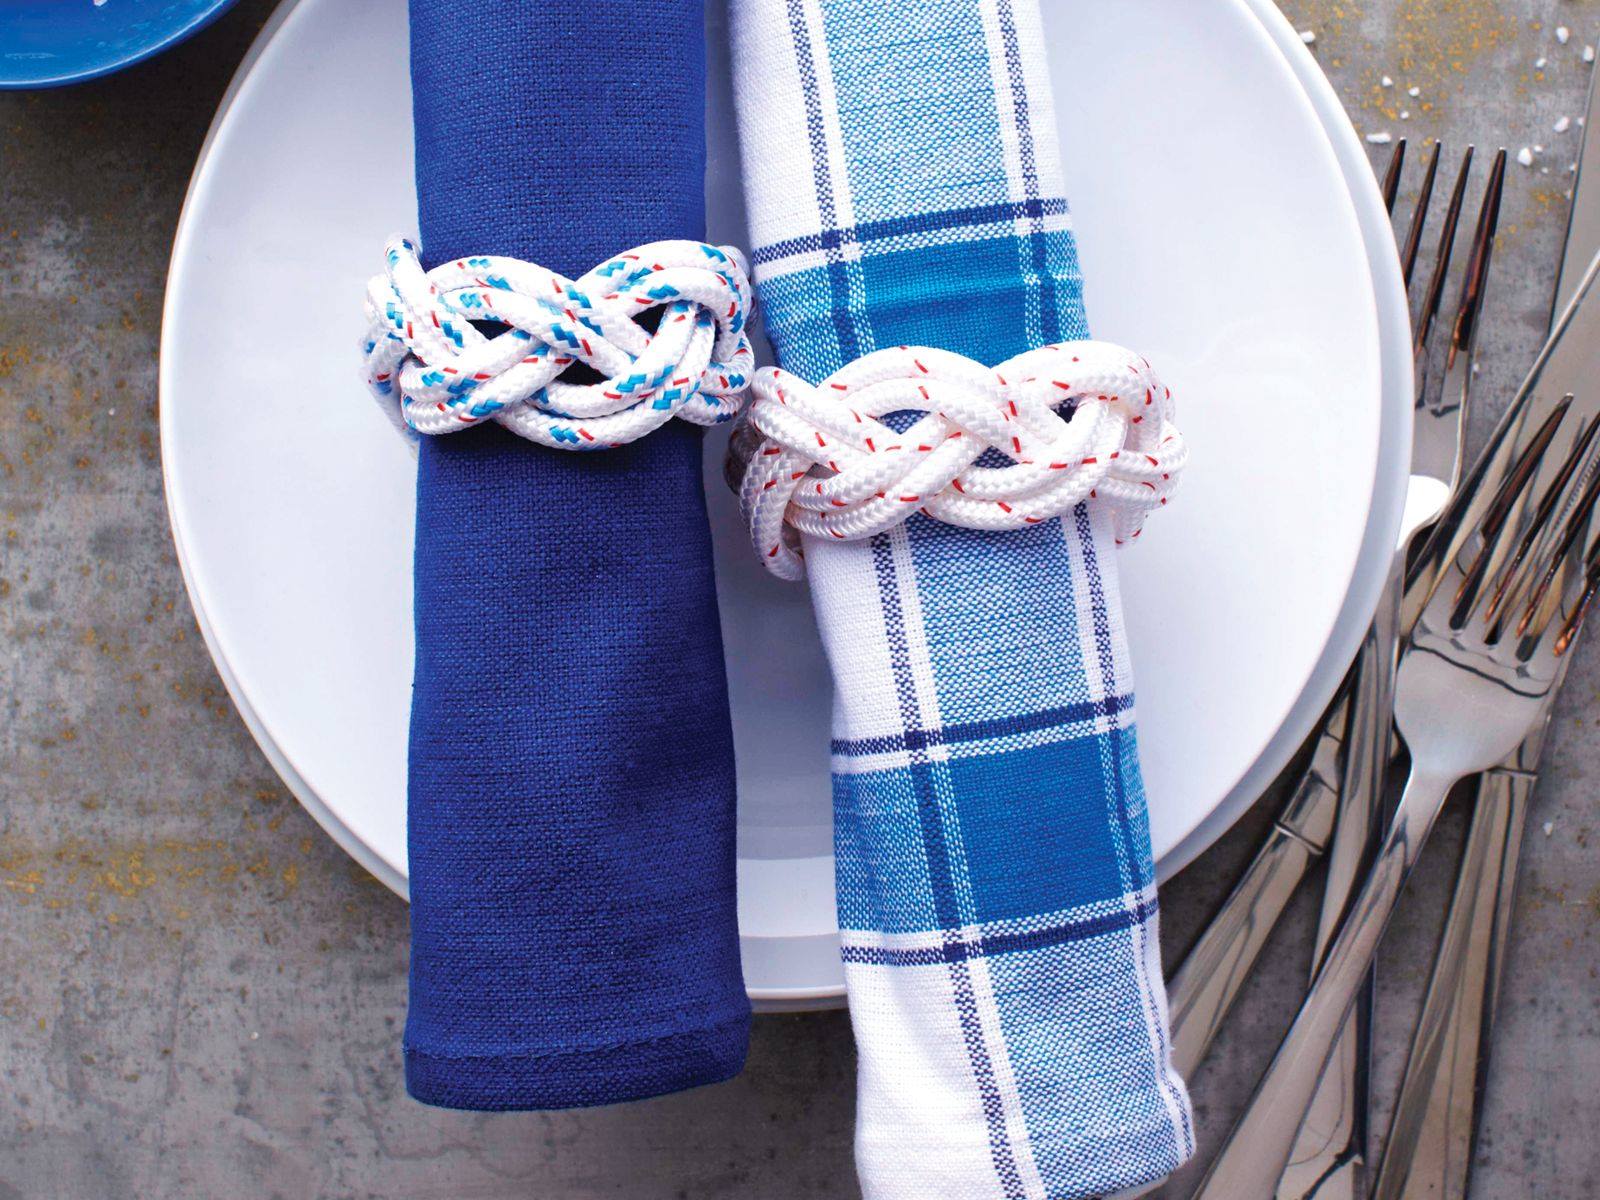
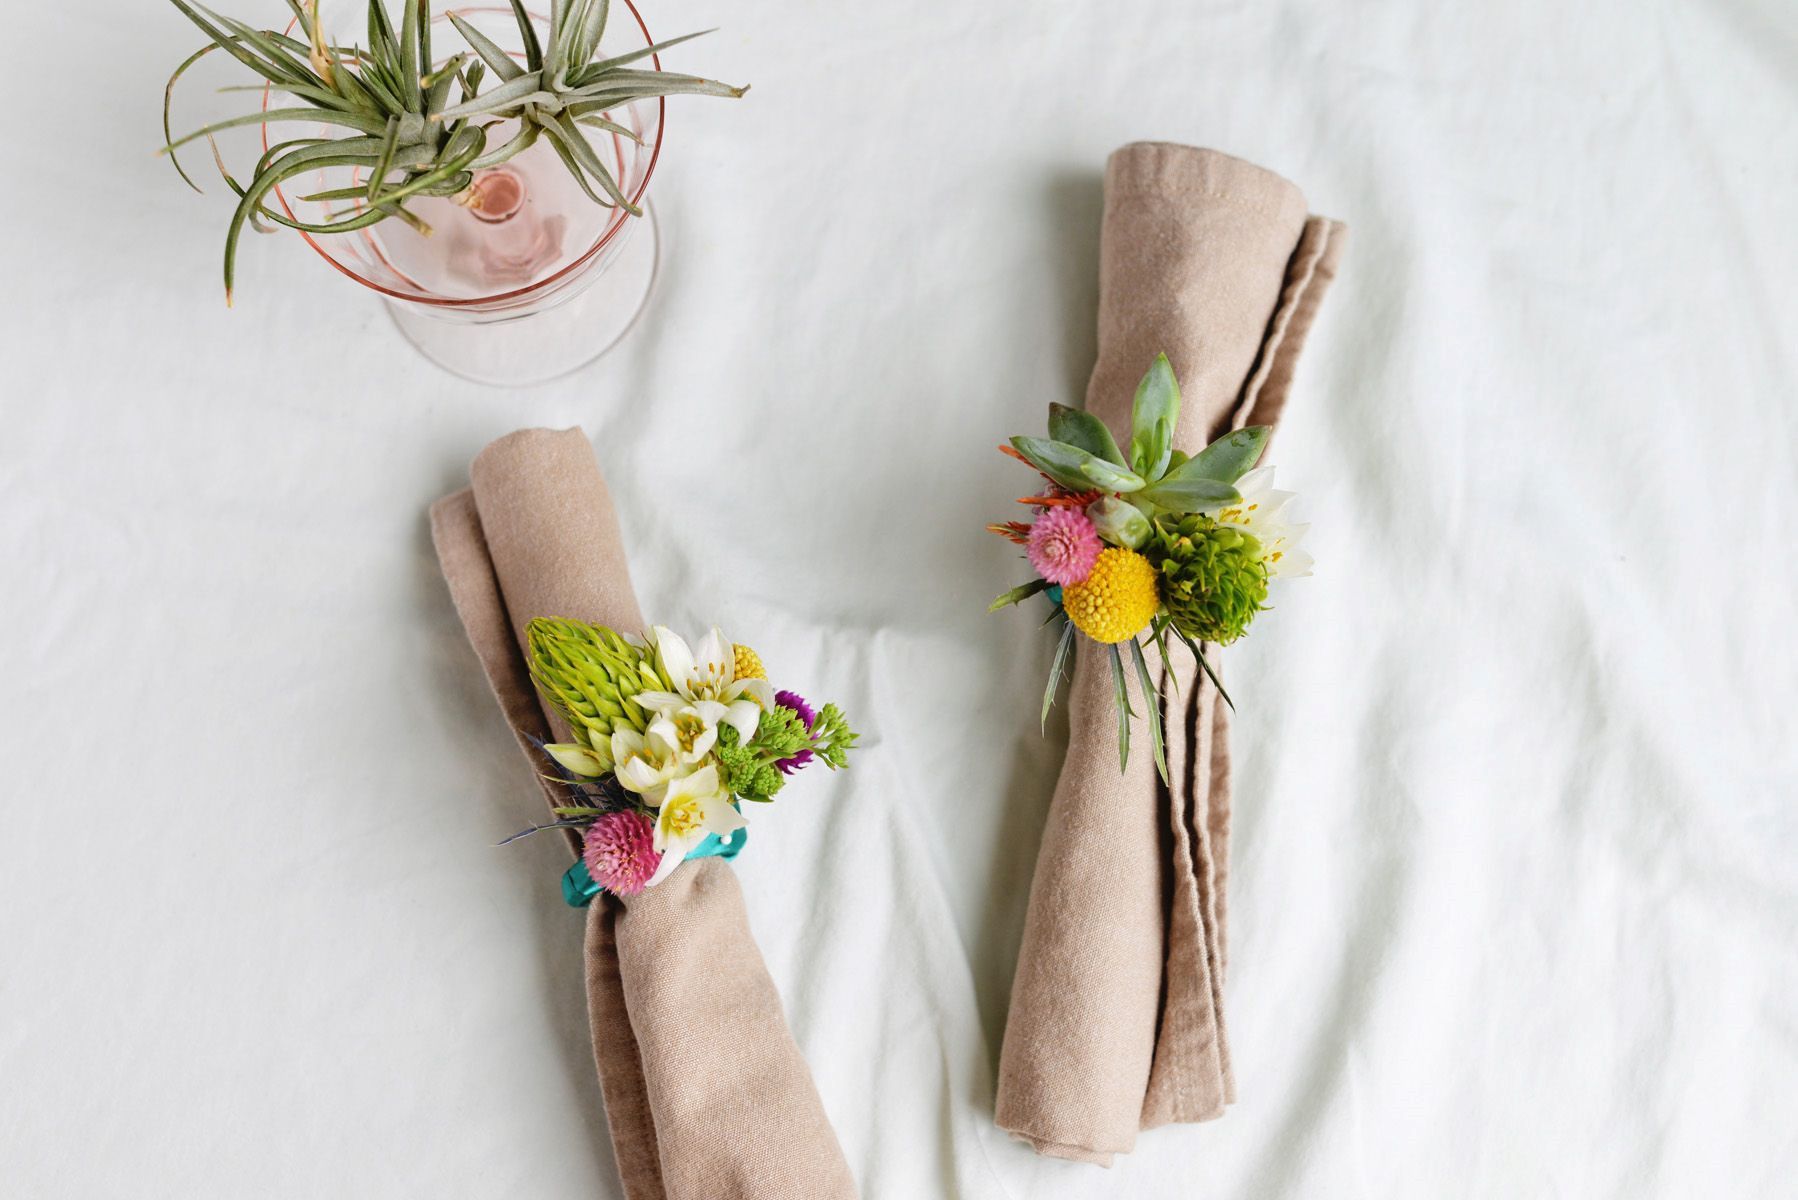
Read more: How To Make Bunny Napkin Rings
Materials Required
Before you embark on this creative journey, gather the following materials:
- A square-shaped cloth napkin
- A clean, flat surface to work on
- A pair of nimble hands
- A dash of imagination
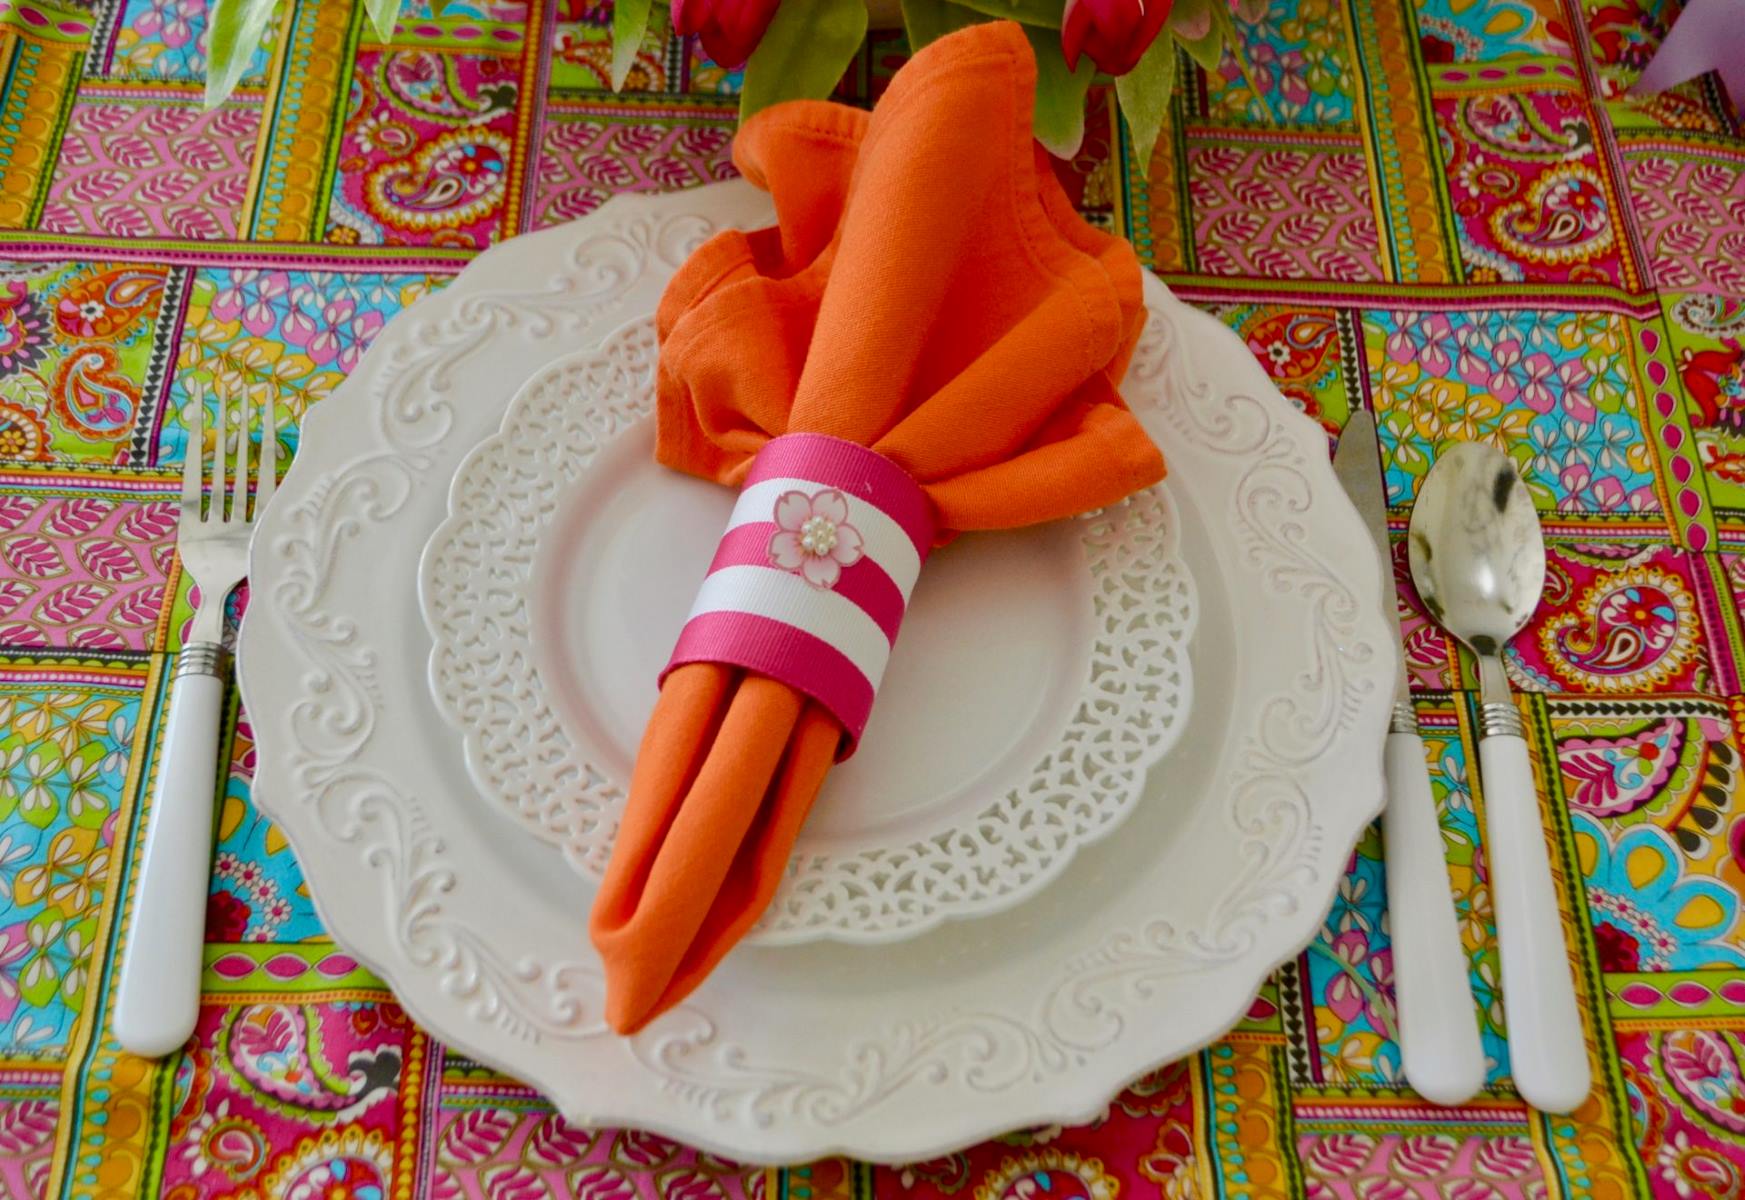
Make sure the napkin is clean and free from any wrinkles. Choosing a napkin in a pastel color or one with a playful pattern will add extra charm to your bunny creation. Now that you have everything you need, let’s dive into the steps of making a bunny out of a napkin!
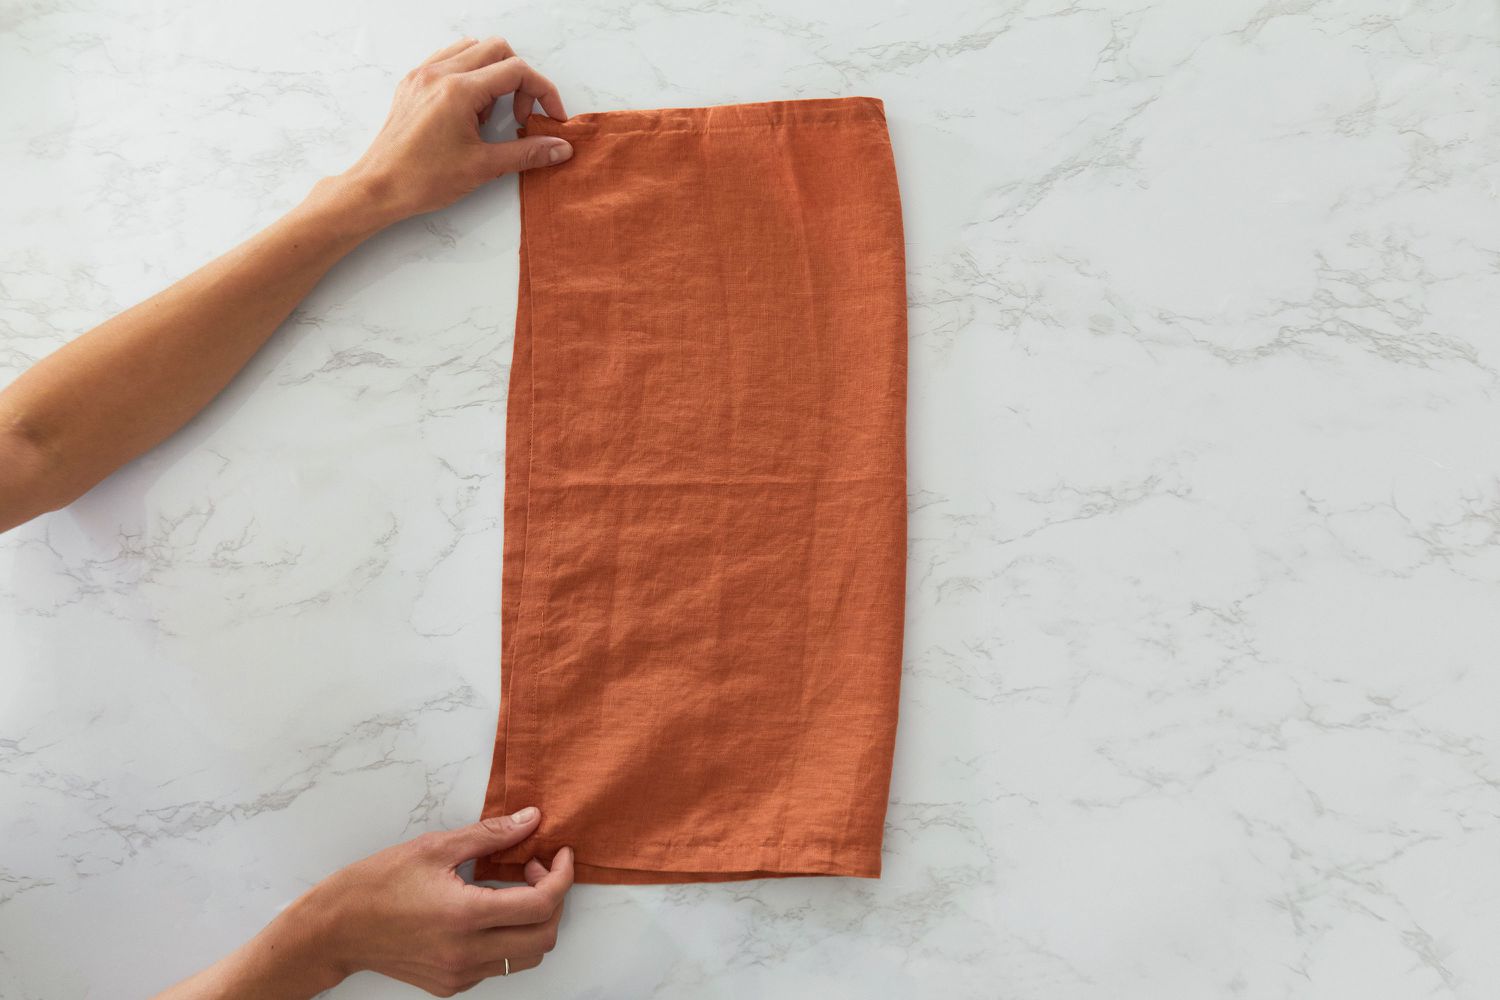
Step 1: Folding the Napkin
Start by laying the napkin on a clean, flat surface. Smooth out any wrinkles or creases to ensure a crisp and neat final result. Follow these simple steps to fold the napkin into a basic square shape:
- Take the napkin and fold it in half diagonally, matching two opposite corners.
- Next, fold the napkin in half again diagonally, bringing the remaining two corners together. You should now have a smaller triangle shape.
- Hold the middle point of the longest side of the triangle, and fold it up towards the top point. This will create a smaller triangle with a layer of the napkin tucked inside.
- Flip the napkin over and fold each side of the triangular shape towards the center, creating a rectangle shape.
- Finally, fold the napkin in half horizontally, ensuring the opening is facing away from you. You have now successfully folded the napkin into a square shape, which forms the foundation of your bunny creation.
Take a moment to admire your neatly folded napkin. Now that you have the base ready, it’s time to move on to shaping the bunny ears!
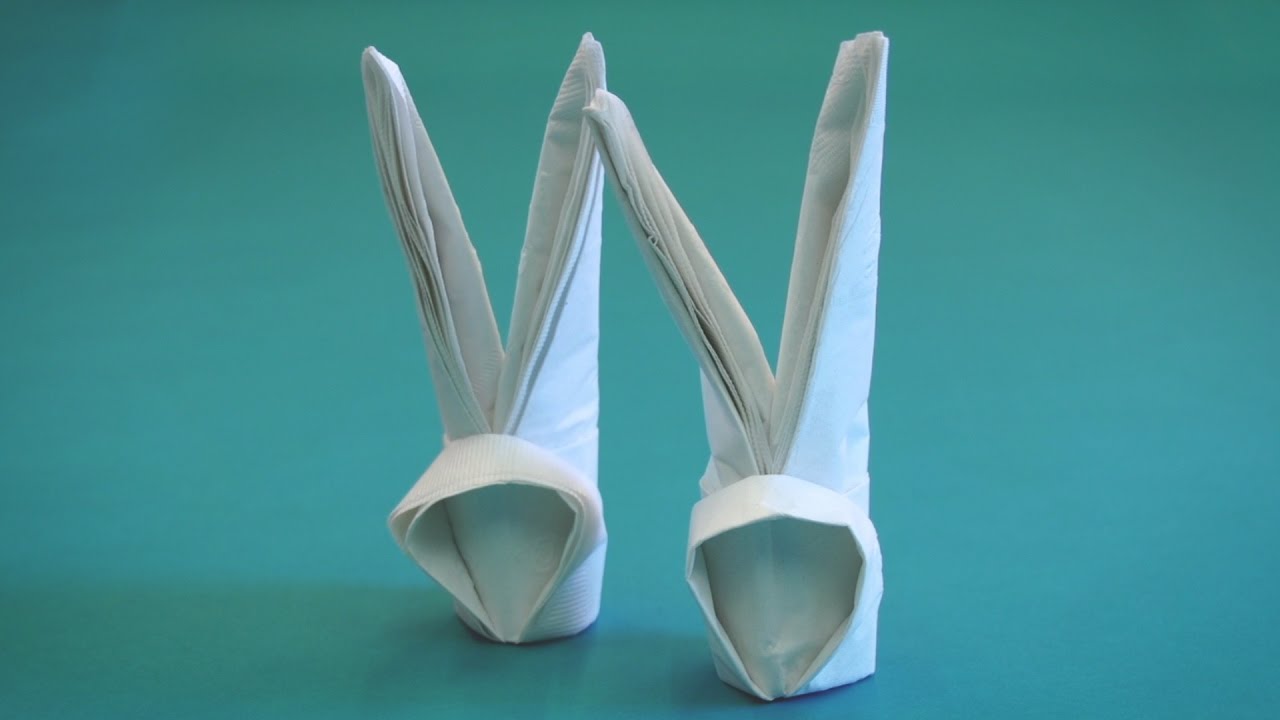
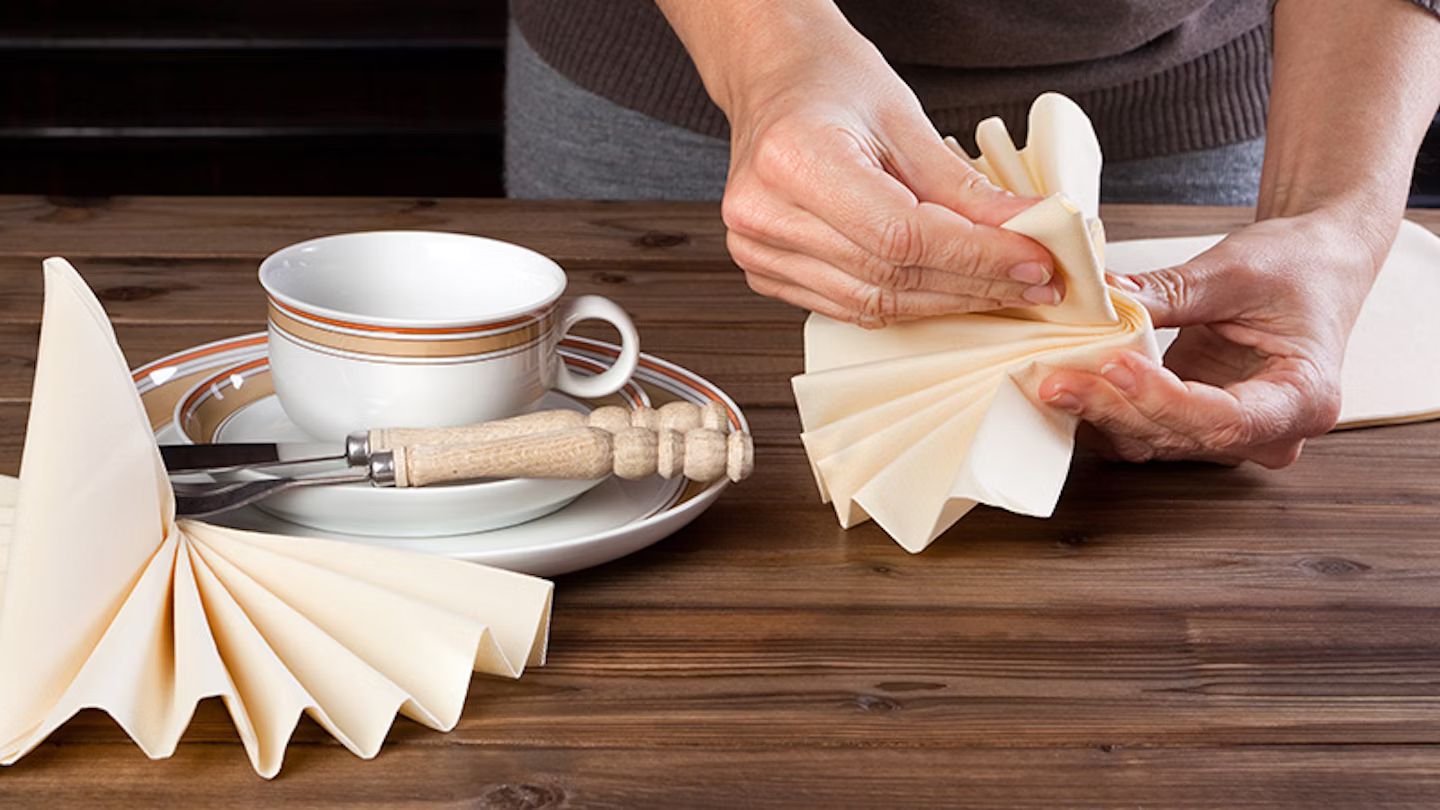
Step 2: Shaping the Bunny Ears
Now that you have the square-shaped napkin, let’s bring the bunny ears to life. Follow these steps to create the adorable bunny ears:
- With the folded edge of the napkin facing you, take the top layer of the napkin and fold it diagonally towards the opposite corner. This will create a smaller triangle shape.
- Next, fold the left and right corners of the triangle towards the center, overlapping them slightly. This will form the bunny ears.
- Flip the napkin over, keeping the ears intact, and adjust the placement of the ears to your desired height and shape. Play around with different angles to give your bunny a unique personality.
Take a step back and admire your bunny ears taking shape. The next step involves adding the charming bunny face, so let’s move on!
When folding a napkin into a bunny shape, make sure to use a large, square napkin for best results. This will give you more material to work with and create a more defined bunny shape.
Step 3: Creating the Bunny Face
Now that you have the bunny ears in place, it’s time to add the adorable bunny face. Follow these steps to give your bunny its unique personality:
- Take a small napkin or a napkin corner and fold it into a thin strip. This will be used to create the bunny’s mouth.
- Position the folded strip under the bunny ears, slightly below the center of the napkin.
- For the eyes, you can use small edible decorations, such as chocolate chips or candy eyes. Place them just above the bunny’s mouth, creating a cute expression.
- If desired, you can use a small fruit, such as a blueberry or a raspberry, as the bunny’s nose. Position it in the center just below the eyes.
Take a moment to adjust the position and spacing of the facial features until you are satisfied with the bunny’s expression. Your bunny is now starting to take shape, but let’s add some final touches to complete the look!
Read more: How To Make A Flower Out Of A Napkin
Step 4: Adding the Final Touches
Now that your bunny’s face is complete, it’s time to add some final touches to make it truly remarkable. Consider the following options to enhance your bunny creation:
- Give your bunny a fluffy tail by attaching a cotton ball or a small pom-pom to the back. Simply secure it with a small dab of glue or by tucking it into the folds of the napkin.
- Add some decorative elements around the bunny to create a whimsical scene. Consider including colorful flowers, small figurines, or even a mini basket filled with Easter eggs.
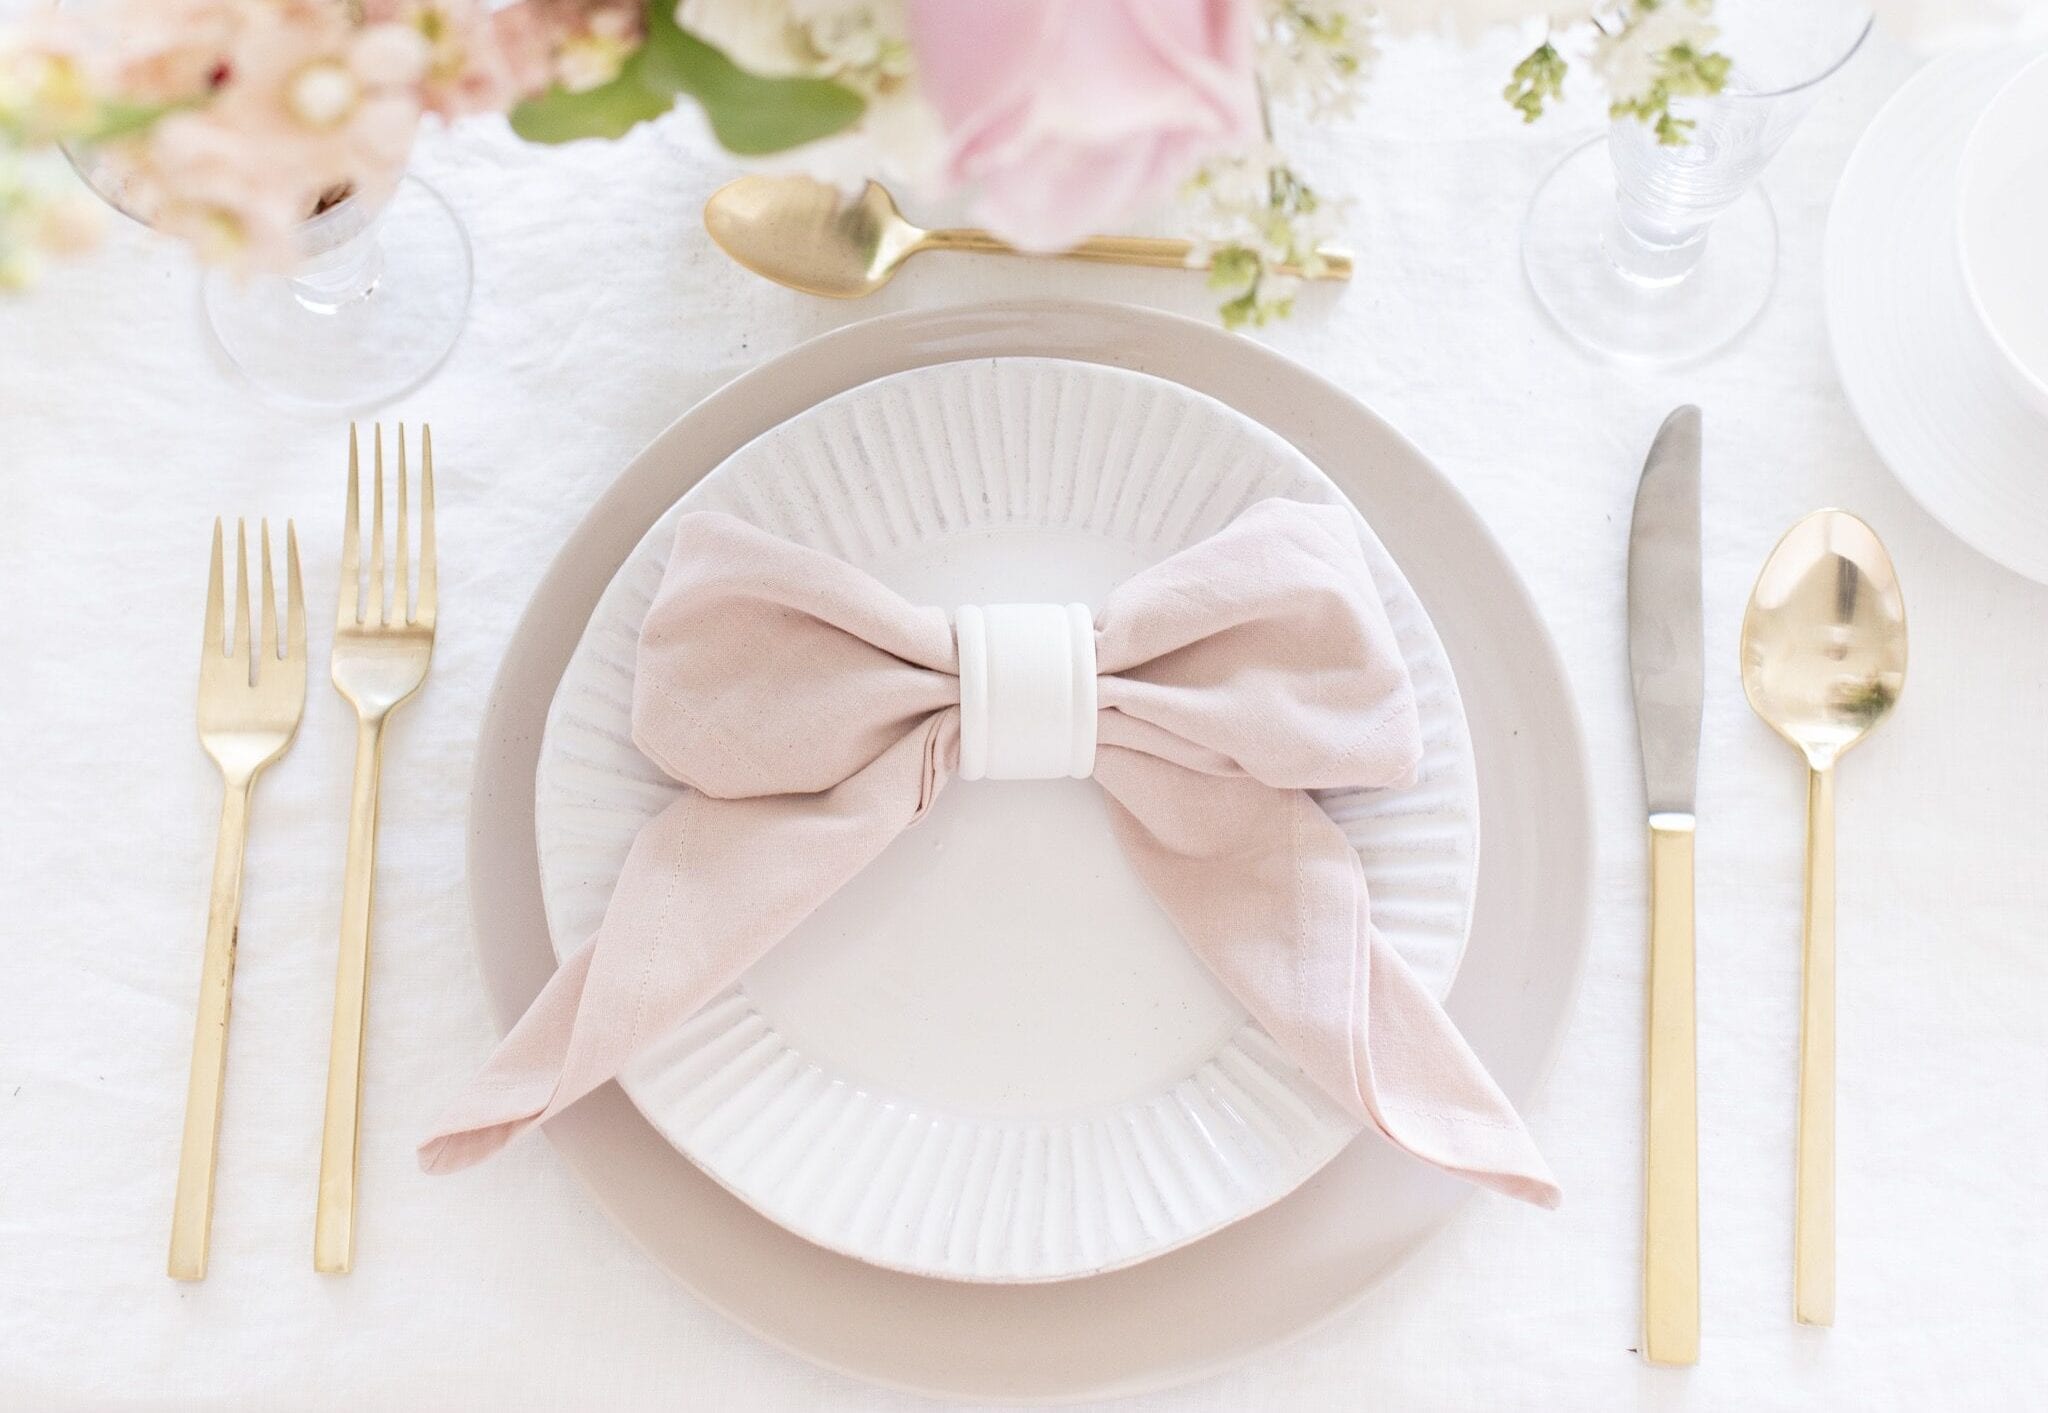
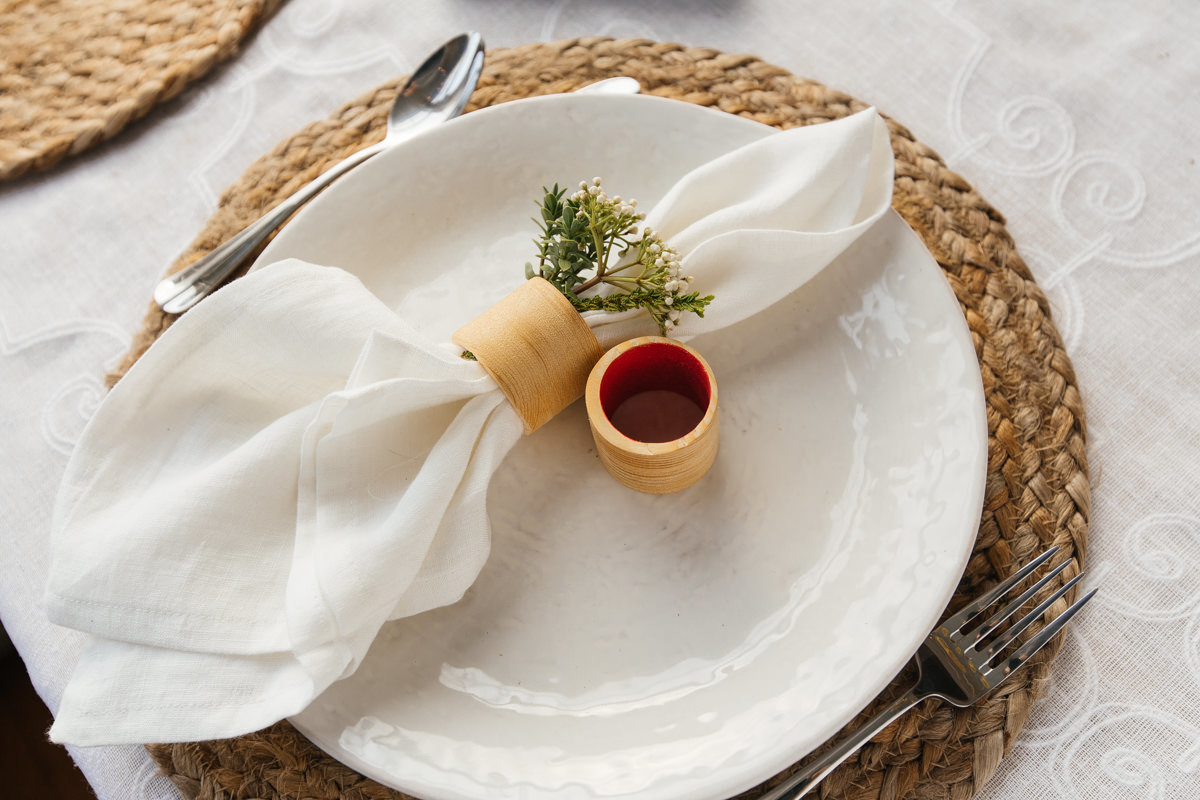
- Place your bunny creation on a plate or a larger napkin to showcase its charm. Add some colorful garnishes or ribbons to further enhance the presentation.
Remember, the possibilities are endless, so feel free to get creative and customize your bunny according to your preferences and the occasion. Once you are satisfied with the final touches, step back and admire your adorable bunny creation.
Your tableware will now be the center of attention, impressing and delighting your guests. It’s a surefire way to add a fun and festive touch to any gathering.
Conclusion
Congratulations! You have successfully learned how to transform a simple napkin into a charming bunny centerpiece. By following these steps and adding your own creative flair, you can create a delightful and whimsical table decoration that will impress your guests.
Whether you’re hosting an Easter brunch, a spring celebration, or a children’s birthday party, the bunny napkin fold is a fantastic way to add a touch of enchantment to your table. It’s a simple yet effective way to elevate your dining experience and create lasting memories.
Don’t be afraid to experiment with different colors, patterns, and accessories to make your bunny creation truly unique. Let your imagination run wild and have fun with the process.
So, next time you’re setting the table, remember this fun and creative napkin fold technique. Your guests will be amazed at your artistic skills and the attention to detail you’ve put into your tableware presentation.
Get ready to impress and bring a smile to everyone’s face with your adorable bunny napkin fold. Happy folding!
Frequently Asked Questions about How To Make A Bunny Out Of A Napkin
Was this page helpful?
At Storables.com, we guarantee accurate and reliable information. Our content, validated by Expert Board Contributors, is crafted following stringent Editorial Policies. We're committed to providing you with well-researched, expert-backed insights for all your informational needs.

0 thoughts on “How To Make A Bunny Out Of A Napkin”