Home>Dining>Tableware>How To Make A Swan With A Cloth Napkin
Tableware
How To Make A Swan With A Cloth Napkin
Modified: August 22, 2024
Learn how to impress your guests with a beautiful swan made from a simple cloth napkin. Elevate your tableware game with this elegant and easy DIY tutorial.
(Many of the links in this article redirect to a specific reviewed product. Your purchase of these products through affiliate links helps to generate commission for Storables.com, at no extra cost. Learn more)
Introduction
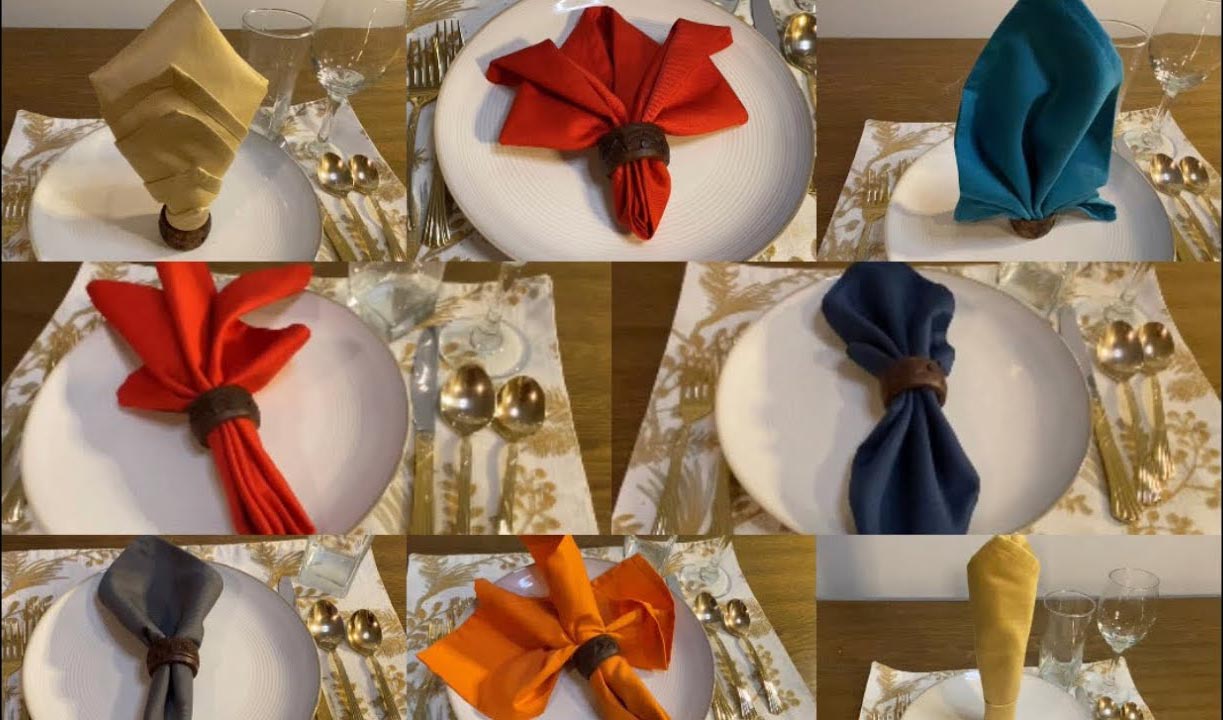
Welcome to the wonderful world of tableware art! If you’re looking to add a touch of elegance and creativity to your dining experience, there’s no better way than by incorporating beautiful cloth napkin folding techniques into your table setting. One particularly impressive and eye-catching design is the swan-folded napkin.
A swan is a symbol of grace and beauty, and by learning how to create one using a cloth napkin, you can truly elevate your table décor. Whether you’re hosting a formal dinner party, a wedding reception, or simply want to impress your family and friends at a special gathering, the swan-folded napkin is sure to steal the show.
In this article, we will walk you through the step-by-step process of creating a swan with a cloth napkin. You don’t need to be an expert in tableware art to achieve stunning results. With a bit of practice and patience, you’ll be able to fold a swan that will leave everyone in awe.
So, gather your materials, set aside some time, and let’s dive into the world of napkin folding!
Key Takeaways:
- Elevate your dining experience with the art of napkin folding. Master the graceful swan design to impress guests and add a touch of elegance to any occasion.
- Transform simple cloth napkins into captivating works of art. With patience and practice, create stunning swan-folded napkins to elevate your table setting and dining experience.
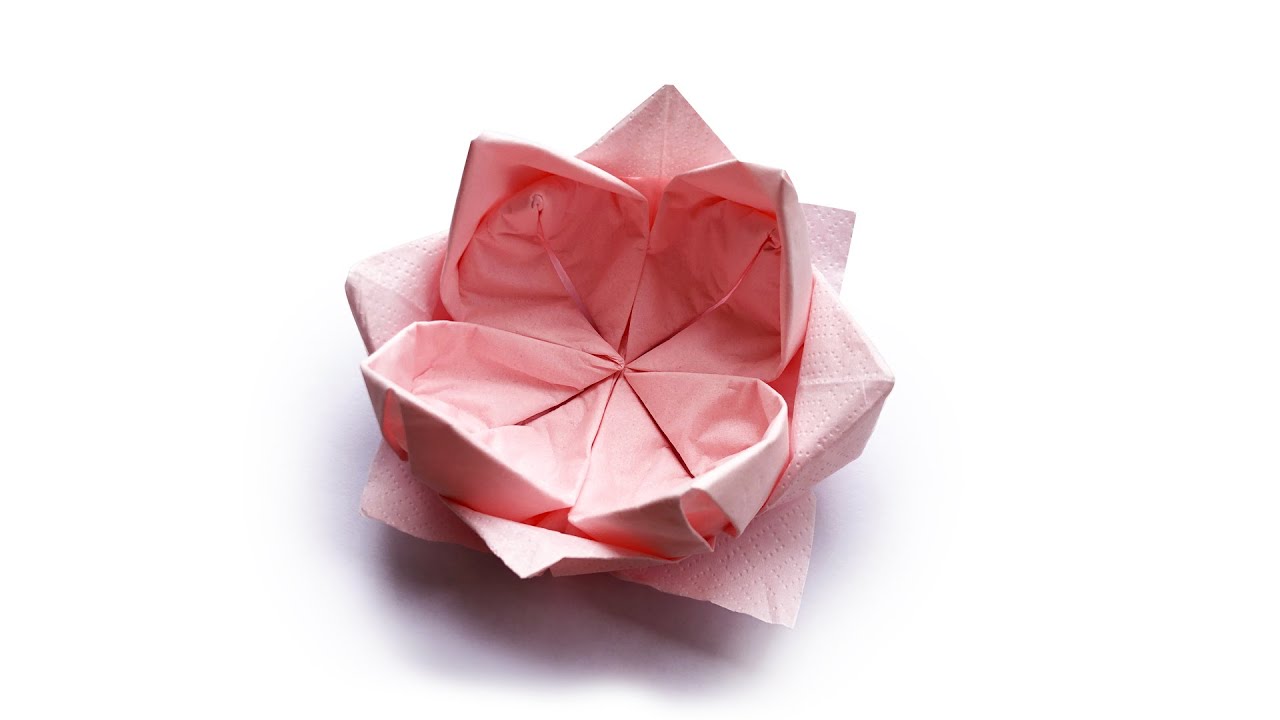
Read more: How To Fold A Napkin Into A Swan
Materials
Before we begin, let’s gather all the materials you’ll need to create a swan with a cloth napkin. Luckily, the materials required for this project are simple and easy to find. Here’s what you’ll need:
- A cloth napkin: Choose a square-shaped napkin with a size of about 20 x 20 inches. You can experiment with different colors and patterns to match your table setting or the occasion.
- A flat surface: Find a clean and spacious area, such as a table or countertop, where you can comfortably fold the napkin and have enough room to work.
- Patience and attention to detail: While the swan fold may look intricate, it’s important to take your time and pay attention to the small details. With a bit of practice, you’ll master the technique and create stunning swan napkins every time.
That’s it! With these basic materials on hand, you’re ready to dive into the art of swan napkin folding. Remember to have fun and enjoy the process. Creating beautiful table decorations can be a therapeutic and rewarding experience.
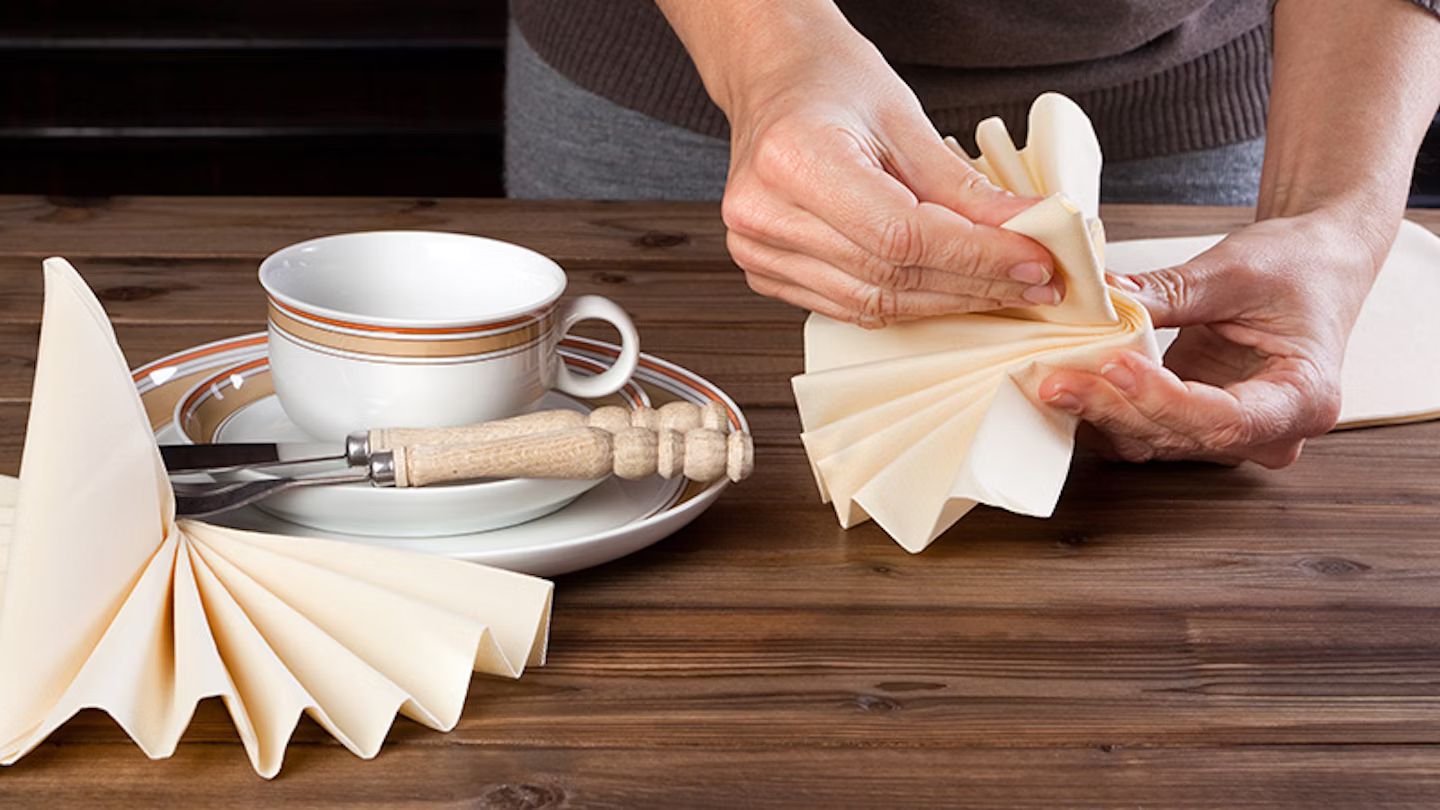
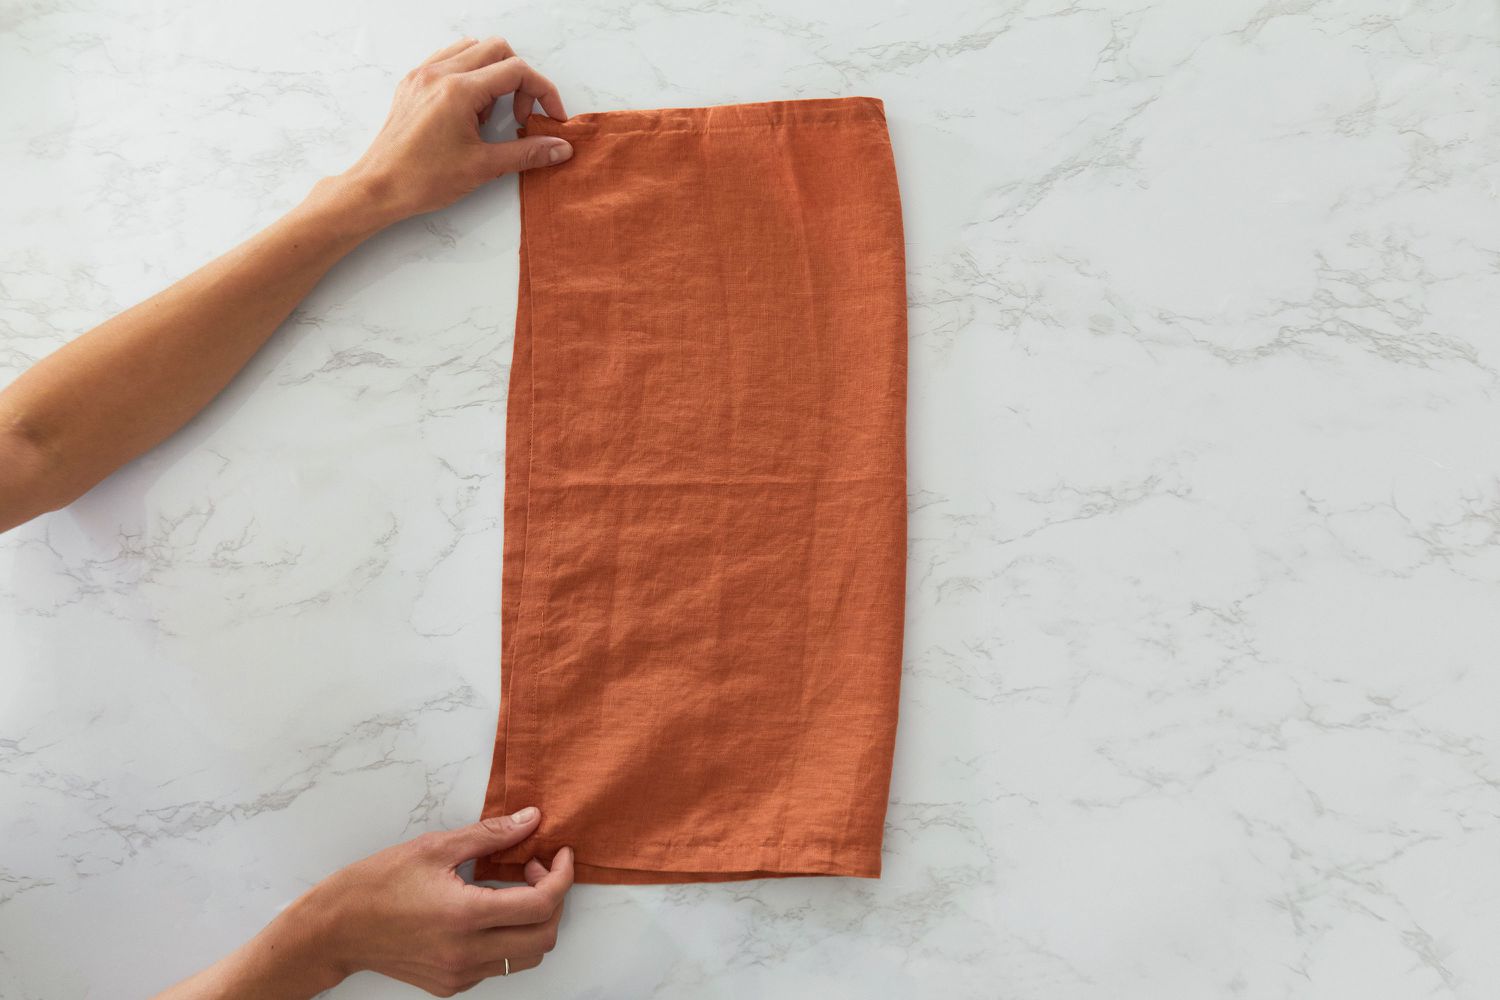
Step 1: Folding the Napkin diagonally
The first step in creating a swan with a cloth napkin is to fold it diagonally. Follow these instructions to complete this step:
- Start with the cloth napkin laid flat on your work surface, ensuring that one corner is facing you.
- Take the opposite corner of the napkin and fold it diagonally, bringing it towards the corner closest to you. Align the edges of the napkin to create a triangle shape.
- Smooth out the folded napkin to remove any wrinkles and ensure clean and crisp lines.
- Now, you should have a triangle-shaped napkin with one corner pointing towards you.
By folding the napkin diagonally, you have created the foundation for the swan design. This step sets the stage for the further folds and manipulations that will transform the napkin into a graceful swan.
Once you’ve completed this step, you’re ready to move on to the next phase of the folding process. Remember to work carefully and pay attention to the details to achieve the best results.
Step 2: Folding the corners inward
Now that you have folded the napkin diagonally, it’s time to create the swan’s wings by folding the corners inward. Follow these instructions to complete this step:
- Take the bottom corner of the triangle and fold it upwards, towards the top corner. This fold should be approximately one-third of the way from the bottom.
- Repeat the same fold on the other side by taking the remaining bottom corner and folding it upwards, mirroring the first fold. The two corners should meet at the top, creating a diamond-shaped figure.
- Smooth out the folds to ensure the wings are symmetrical and well-defined. It’s important to take your time during this step to ensure precision.
By folding the corners inward, you have created the wings of the swan. These folds give shape and dimension to the napkin, bringing the swan to life. Once you’ve completed this step, you’re ready to move on to the next phase of the folding process.
Remember to keep a steady hand and remain patient as you fold the corners inward. Attention to detail will contribute to the final result, so take your time and enjoy the process.
Step 3: Folding the bottom edge up
Now that you have folded the corners inward to create the wings, it’s time to fold the bottom edge of the napkin upward. This step will help shape the body of the swan. Follow these instructions to complete this step:
- Take the bottom edge of the diamond-shaped figure and fold it upwards, towards the top. The fold should be about one-third of the way from the bottom.
- Smooth out the fold to ensure it is neat and even. This will create a defined body for the swan.
- At this point, you should see the wings and body of the swan starting to take shape. The folded bottom edge forms the base of the swan’s body.
By folding the bottom edge up, you have given structure to the swan’s body, adding a touch of elegance to the design. Take your time during this step to ensure a clean and precise fold.
Once you’ve completed this step, you’re ready to move on to the next phase of the folding process. Keep your attention to detail and enjoy watching your napkin transform into a beautiful swan.
When folding a cloth napkin into a swan shape, make sure to use a stiff fabric that holds its shape well. Smooth out any wrinkles before starting the folding process to achieve a clean and polished look.
Read more: How To Store Cloth Napkins
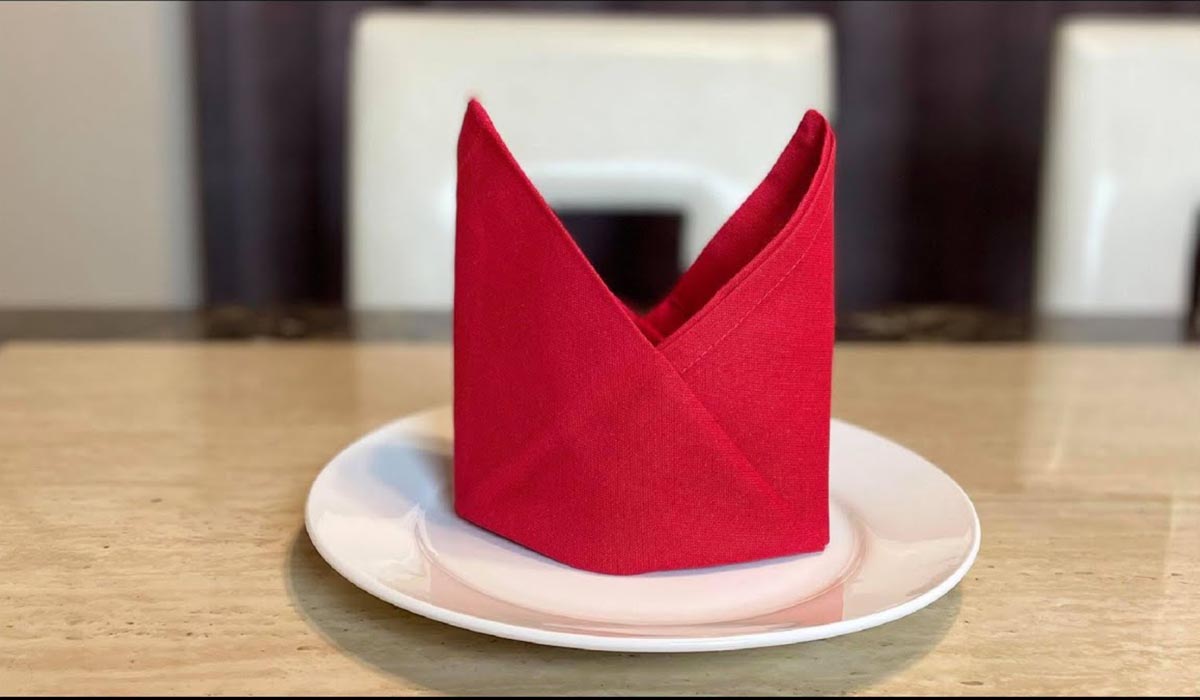
Step 4: Folding the top layer down
Now that you have folded the bottom edge up to create the body of the swan, it’s time to fold the top layer down. This step will form the graceful neck of the swan. Follow these instructions to complete this step:
- Take the top layer of the napkin and fold it downward at an angle, creating a triangular shape. The fold should start from the top point of the diamond-shaped figure and extend towards the folded bottom edge.
- Smooth out the fold to ensure it is neatly aligned and secure.
- As you fold the top layer down, you will notice that it forms the elegant neck of the swan.
By folding the top layer down, you are bringing the swan to life by giving it a distinctive and graceful neck. This fold adds an element of elegance and sophistication to the overall design.
Once you have completed this step, you are ready to move on to the next phase of the folding process. Continue to work with care and precision as you bring your swan napkin to perfection.
Step 5: Shaping the body and neck
Now that you have folded the napkin to create the body and neck of the swan, it’s time to shape them to emphasize their graceful curves. Follow these instructions to complete this step:
- Take the folded napkin in your hands and gently pinch and shape the body, creating a round and curved shape. This will give the swan a more lifelike appearance.
- Similarly, carefully shape and curve the neck of the swan, bending it slightly to achieve a natural-looking curve.
- Hold the swan securely by the body and neck, ensuring that it holds its shape and stands upright.
Shaping the body and neck of the swan is a crucial step in bringing out the elegance of the design. By curving and molding the napkin, you give it depth and dimension, making it even more visually appealing.
Take your time during this step to achieve the desired curves and shapes. Remember, practice makes perfect, so don’t be discouraged if it doesn’t turn out exactly as you envision it on your first attempt. With each folding session, you’ll improve your skills and create even more beautiful swans.
Once you’re satisfied with the shape of your swan, you’re ready to move on to the next step to add the finishing touches.
Step 6: Fluffing the wings
Now that you have shaped the body and neck of the swan, it’s time to add some volume and texture to the wings. Fluffing the wings will give the swan a more dynamic and realistic appearance. Follow these instructions to complete this step:
- Gently hold the body of the swan with one hand to keep it steady.
- Using the other hand, reach underneath the wings and carefully separate the layers of the napkin.
- Gently pull on the layers from the center outwards to create a fuller and more voluminous look.
- Continue fluffing the wings until you are satisfied with their appearance. Take care not to tug too hard to avoid tearing the napkin.
Fluffing the wings of the swan adds a touch of elegance and grandeur to the overall design. It brings the napkin to life, making it appear as if the swan is ready to take flight.
Take your time during this step to ensure that both wings are fluffed evenly and that the napkin remains intact. With a gentle touch and attention to detail, you’ll achieve beautifully fluffed wings.
Once you’ve completed this step, your swan is almost complete. Now, it’s time to add the final touches and refine the details.
Step 7: Adjusting and refining the details
With the main body, neck, and wings of the swan complete, it’s time to focus on the final touches and refining the details. This step will help bring out the swan’s elegance and ensure that it looks polished. Follow these instructions to complete this step:
- Take a moment to assess the overall appearance of the swan. Look for any areas that may need slight adjustments or smoothing out.
- Gently shape and mold the swan’s body, neck, and wings to maintain their desired forms. Make any necessary refinements to create smoother lines and curves.
- Pay attention to the head of the swan and adjust its position or angle, if necessary, to achieve the desired look.
- Smooth out any wrinkles or creases on the napkin, carefully using your fingers to straighten and tidy up the folds.
By adjusting and refining the details, you will elevate the overall presentation of the swan. This step allows you to fine-tune the napkin and ensure that it exudes a sense of elegance and grace.
Take your time during this step and pay attention to the small details. The beauty of the swan lies in its subtle nuances, so don’t rush through this final stage of the folding process.
Once you’re satisfied with the adjustments and refinements, your swan is complete and ready to grace your table setting with its beauty and sophistication.
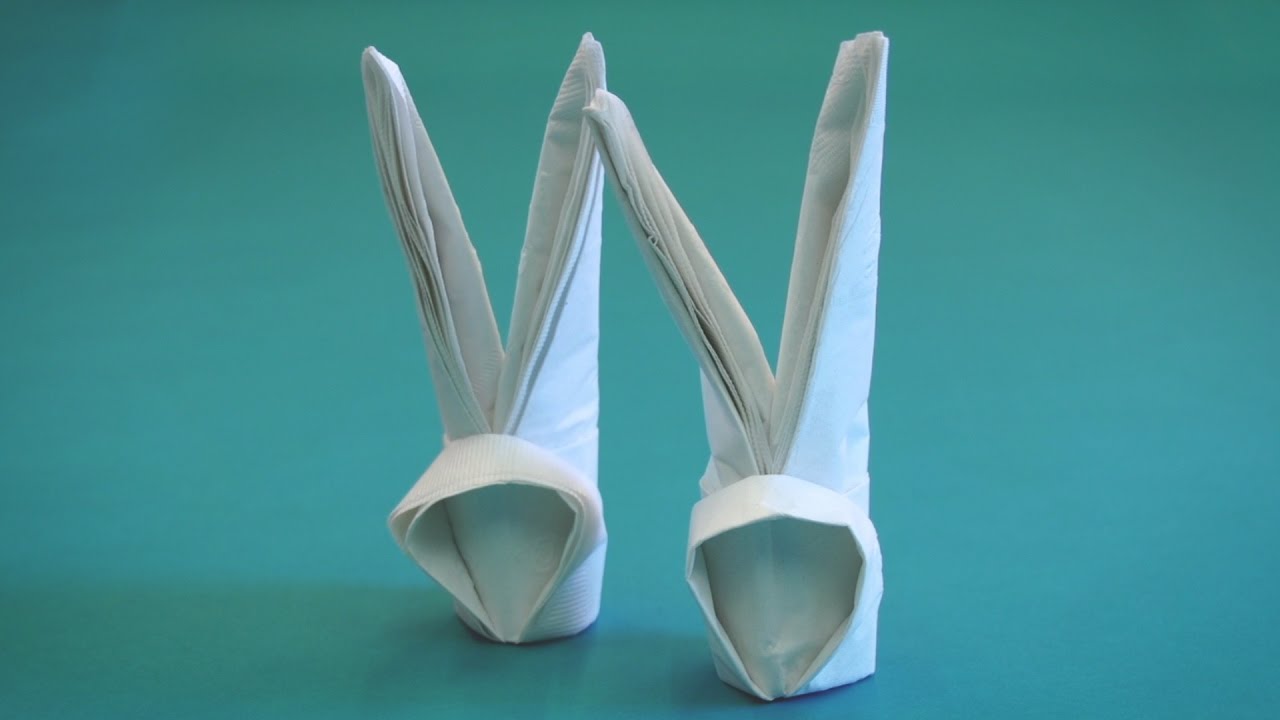
Read more: How To Make A Rose With A Napkin
Conclusion
Congratulations! You’ve successfully learned how to create a stunning swan with a cloth napkin. By following the step-by-step instructions and putting in a little practice, you’ve mastered the art of napkin folding and added a touch of elegance to your table setting.
The swan-folded napkin is a beautiful and captivating centerpiece that will impress your guests and elevate any dining experience. Its graceful curves and intricate design make it a perfect choice for formal dinners, weddings, or special occasions.
Remember, patience and attention to detail are key when it comes to napkin folding. Take the time to perfect each fold and shape, and don’t be afraid to experiment with colors and patterns to match your table décor.
Now that you’ve mastered the swan fold, you can explore other fascinating napkin folding techniques and create an array of unique and eye-catching designs. Let your creativity soar and have fun transforming simple cloth napkins into works of art.
Whether you’re hosting a dinner party, celebrating a milestone, or simply want to add a touch of elegance to your everyday meals, the art of napkin folding is sure to elevate your dining experience and impress your guests.
So, gather your materials, practice your folds, and let your tableware shine with the beauty of a swan-folded napkin. Enjoy the process and let your creativity flourish as you create stunning table decorations that leave a lasting impression.
Frequently Asked Questions about How To Make A Swan With A Cloth Napkin
Was this page helpful?
At Storables.com, we guarantee accurate and reliable information. Our content, validated by Expert Board Contributors, is crafted following stringent Editorial Policies. We're committed to providing you with well-researched, expert-backed insights for all your informational needs.

0 thoughts on “How To Make A Swan With A Cloth Napkin”