Home>Storage & Organization>Living Room Organization>How To Make A Standing Coat Rack
Living Room Organization
How To Make A Standing Coat Rack
Modified: April 22, 2024
Learn how to make a stylish standing coat rack for your living room organization needs. Discover DIY tips and ideas for efficient space management.
(Many of the links in this article redirect to a specific reviewed product. Your purchase of these products through affiliate links helps to generate commission for Storables.com, at no extra cost. Learn more)
Introduction
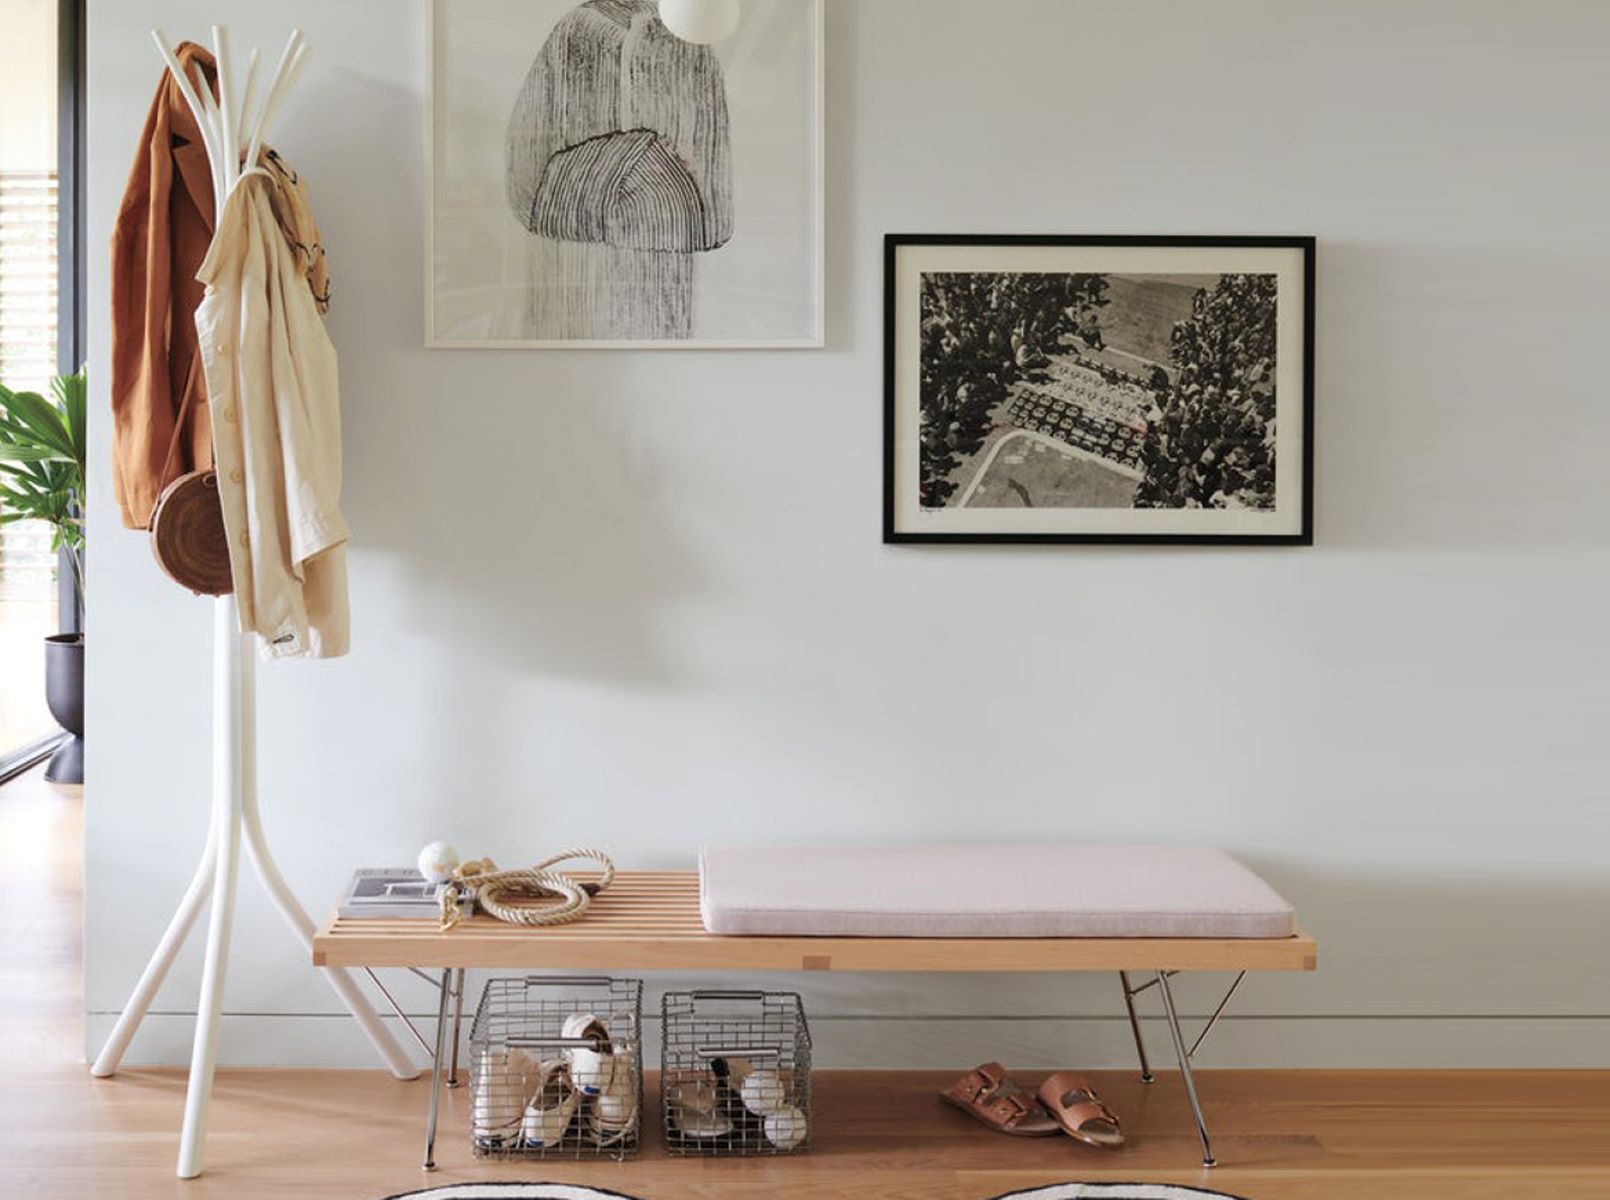
Creating a standing coat rack is a fantastic way to add both functionality and style to your living room. Not only does it provide a convenient place to hang coats, hats, and scarves, but it also serves as a decorative element that can enhance the overall ambiance of the room. Whether you're a seasoned DIY enthusiast or just starting to explore the world of woodworking, this project offers a perfect opportunity to unleash your creativity and craftsmanship.
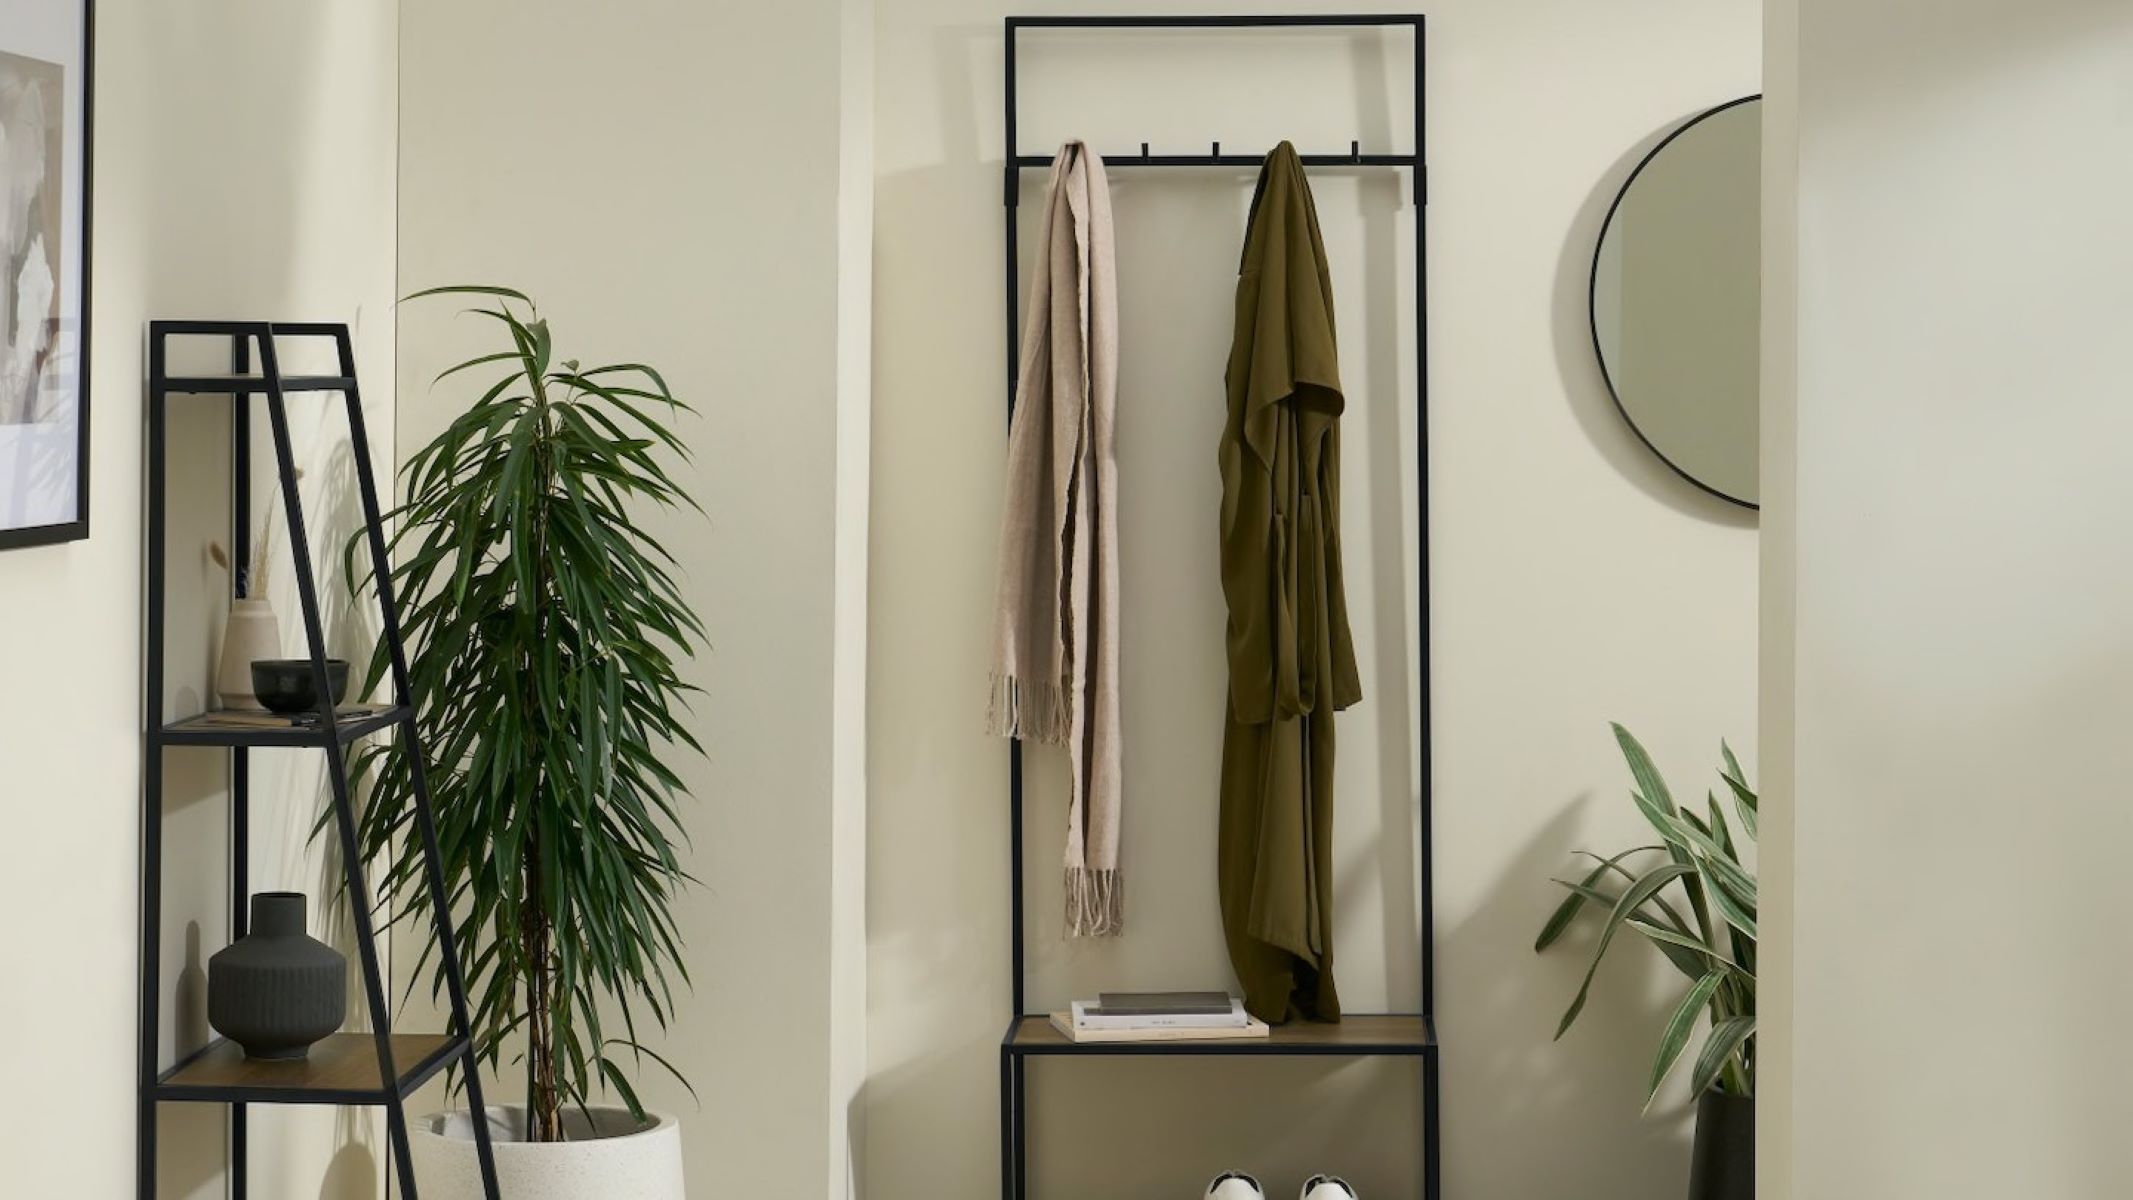
A standing coat rack can be a striking focal point in any living room, offering a practical solution for keeping outerwear organized and easily accessible. By crafting your own coat rack, you have the freedom to customize its design to complement your existing decor or to make a bold statement with a unique, eye-catching piece. Additionally, the satisfaction of creating something functional and visually appealing with your own hands is truly rewarding.
In this guide, we will walk through the process of creating a standing coat rack step by step. From gathering the necessary materials to assembling and adding the finishing touches, you'll gain valuable insights into the art of woodworking and furniture making. Whether you're a novice looking for a beginner-friendly project or an experienced woodworker seeking a new challenge, this guide will equip you with the knowledge and inspiration to bring your vision to life.
So, roll up your sleeves, gather your tools, and let's embark on this exciting journey of crafting a standing coat rack that will not only serve a practical purpose but also become a conversation piece in your living room. Get ready to unleash your creativity and woodworking skills as we dive into the step-by-step process of creating a stunning and functional standing coat rack.
Key Takeaways:
- Crafting a standing coat rack is a fun way to add style and organization to your living room. With the right materials and tools, you can create a functional and visually appealing piece that reflects your personal style and woodworking skills.
- Adding a standing coat rack to your living room not only provides practical storage but also showcases your creativity and craftsmanship. It’s a rewarding DIY project that can become a conversation piece and a source of inspiration for future woodworking endeavors.
Read more: How To Decorate A Coat Rack
Materials Needed
To bring your standing coat rack to life, you'll need a selection of materials and tools that are essential for this woodworking project. Here's a comprehensive list of everything you'll need to get started:
-
Wooden Base: The foundation of your standing coat rack, the wooden base provides stability and support. Opt for a sturdy and visually appealing piece of wood that complements your living room decor. Consider using a pre-cut wooden round or square base for convenience.
-
Wooden Post: This will serve as the central pillar of your coat rack. Choose a wooden post that is tall enough to accommodate multiple coats and accessories. You can select a pre-cut post or craft one from a solid piece of wood.
-
Coat Hooks: These are the functional elements of the coat rack. Select a set of stylish and durable coat hooks that will securely hold coats, hats, and scarves. The number of hooks you'll need depends on the size of your rack and the amount of hanging space you desire.
-
Wood Screws: Essential for securing the wooden post to the base and attaching the coat hooks. Choose screws that are appropriate in length and thickness for the materials you are working with.
-
Drill and Drill Bits: A power drill is necessary for creating holes for the screws and attaching the coat hooks. Ensure you have the appropriate drill bits for the size of the screws and hooks you'll be using.
-
Sandpaper: Smooth out any rough edges and surfaces on the wooden base and post to create a polished and splinter-free finish.
-
Wood Stain or Paint: If you desire a colored or stained finish for your coat rack, select a wood stain or paint that complements your living room decor. This will add a personal touch and enhance the visual appeal of the finished piece.
-
Paintbrushes or Stain Applicators: To apply the wood stain or paint evenly and precisely, you'll need a set of paintbrushes or stain applicators.
-
Protective Gear: Safety should always be a priority. Equip yourself with safety goggles, gloves, and a dust mask to protect against potential hazards during the woodworking process.
-
Measuring Tape and Pencil: Accurate measurements and markings are crucial for ensuring the components of your coat rack are aligned and balanced.
With these materials and tools at your disposal, you're well-equipped to embark on the journey of creating a stunning standing coat rack that will elevate the functionality and aesthetics of your living room.
Step 1: Prepare the Base
The first step in creating a standing coat rack is to prepare the base, which serves as the foundation for the entire structure. The base provides stability and support, ensuring that the coat rack stands securely in your living room. Here's a detailed guide on how to prepare the base for your standing coat rack:
-
Select the Wooden Base: Begin by choosing a wooden base that suits your design preferences and complements the overall aesthetic of your living room. You can opt for a pre-cut wooden round or square base for convenience, or if you prefer a more customized approach, you can craft a base from a solid piece of wood. Ensure that the base is sturdy and has a flat surface to provide a stable foundation for the coat rack.
-
Sand the Base: Once you have the wooden base selected, use sandpaper to smooth out any rough edges and surfaces. This step is essential for creating a polished and splinter-free finish, ensuring that the base is safe to handle and visually appealing.
-
Apply Wood Stain or Paint (Optional): If you desire a colored or stained finish for your coat rack, this is the stage to apply wood stain or paint to the base. Select a wood stain or paint that complements your living room decor and use paintbrushes or stain applicators to apply the finish evenly and precisely. Allow sufficient time for the stain or paint to dry completely before proceeding to the next step.
-
Mark the Position for the Wooden Post: With the base prepared and, if applicable, the finish applied, it's time to mark the position where the wooden post will be attached. Use a measuring tape and pencil to make accurate markings on the base. The placement of the post should be centered and balanced to ensure the stability of the coat rack.
By following these steps, you will have successfully prepared the base for your standing coat rack, setting the stage for the next phase of the woodworking project. With the base ready, you're one step closer to creating a functional and visually appealing addition to your living room.
Step 2: Assemble the Post
Assembling the post is a crucial step in creating a sturdy and visually appealing standing coat rack. The post serves as the central pillar of the coat rack, providing the structure onto which the coat hooks will be attached. Here's a detailed guide on how to assemble the post for your standing coat rack:
-
Select the Wooden Post: Begin by choosing a wooden post that aligns with your design vision and complements the overall aesthetic of your living room. The post should be tall enough to accommodate multiple coats and accessories while maintaining stability. You can opt for a pre-cut wooden post or craft one from a solid piece of wood, ensuring that it is robust and capable of supporting the weight of hanging items.
-
Smooth the Post Surface: Use sandpaper to smooth out any rough edges and surfaces on the wooden post. This step is essential for creating a polished and splinter-free finish, ensuring that the post is safe to handle and visually appealing. Pay close attention to the top end of the post, as this is where the coat hooks will be attached.
-
Attach the Post to the Base: With the base prepared and the position marked, it's time to attach the wooden post to the base. Position the post at the marked center on the base and use wood screws to secure it in place. Ensure that the post is straight and securely fastened to the base, as this will contribute to the overall stability of the coat rack.
-
Stabilize the Post: To further enhance the stability of the post, consider adding additional support by inserting a brace or weight at the bottom of the post. This will prevent the coat rack from tipping over when loaded with coats and accessories, ensuring that it stands securely in your living room.
-
Personalize the Post (Optional): If you desire a colored or stained finish for the post, this is the stage to apply wood stain or paint. Select a finish that complements the base and your living room decor, and use paintbrushes or stain applicators to apply the finish evenly. Allow sufficient time for the stain or paint to dry completely before proceeding to the next step.
By following these steps, you will have successfully assembled the post for your standing coat rack, laying the groundwork for the final phase of the woodworking project. With the post securely in place, you're one step closer to creating a functional and visually appealing addition to your living room.
When making a standing coat rack, make sure to use sturdy materials like wood or metal to ensure it can support the weight of multiple coats. Additionally, consider adding a weighted base for stability.
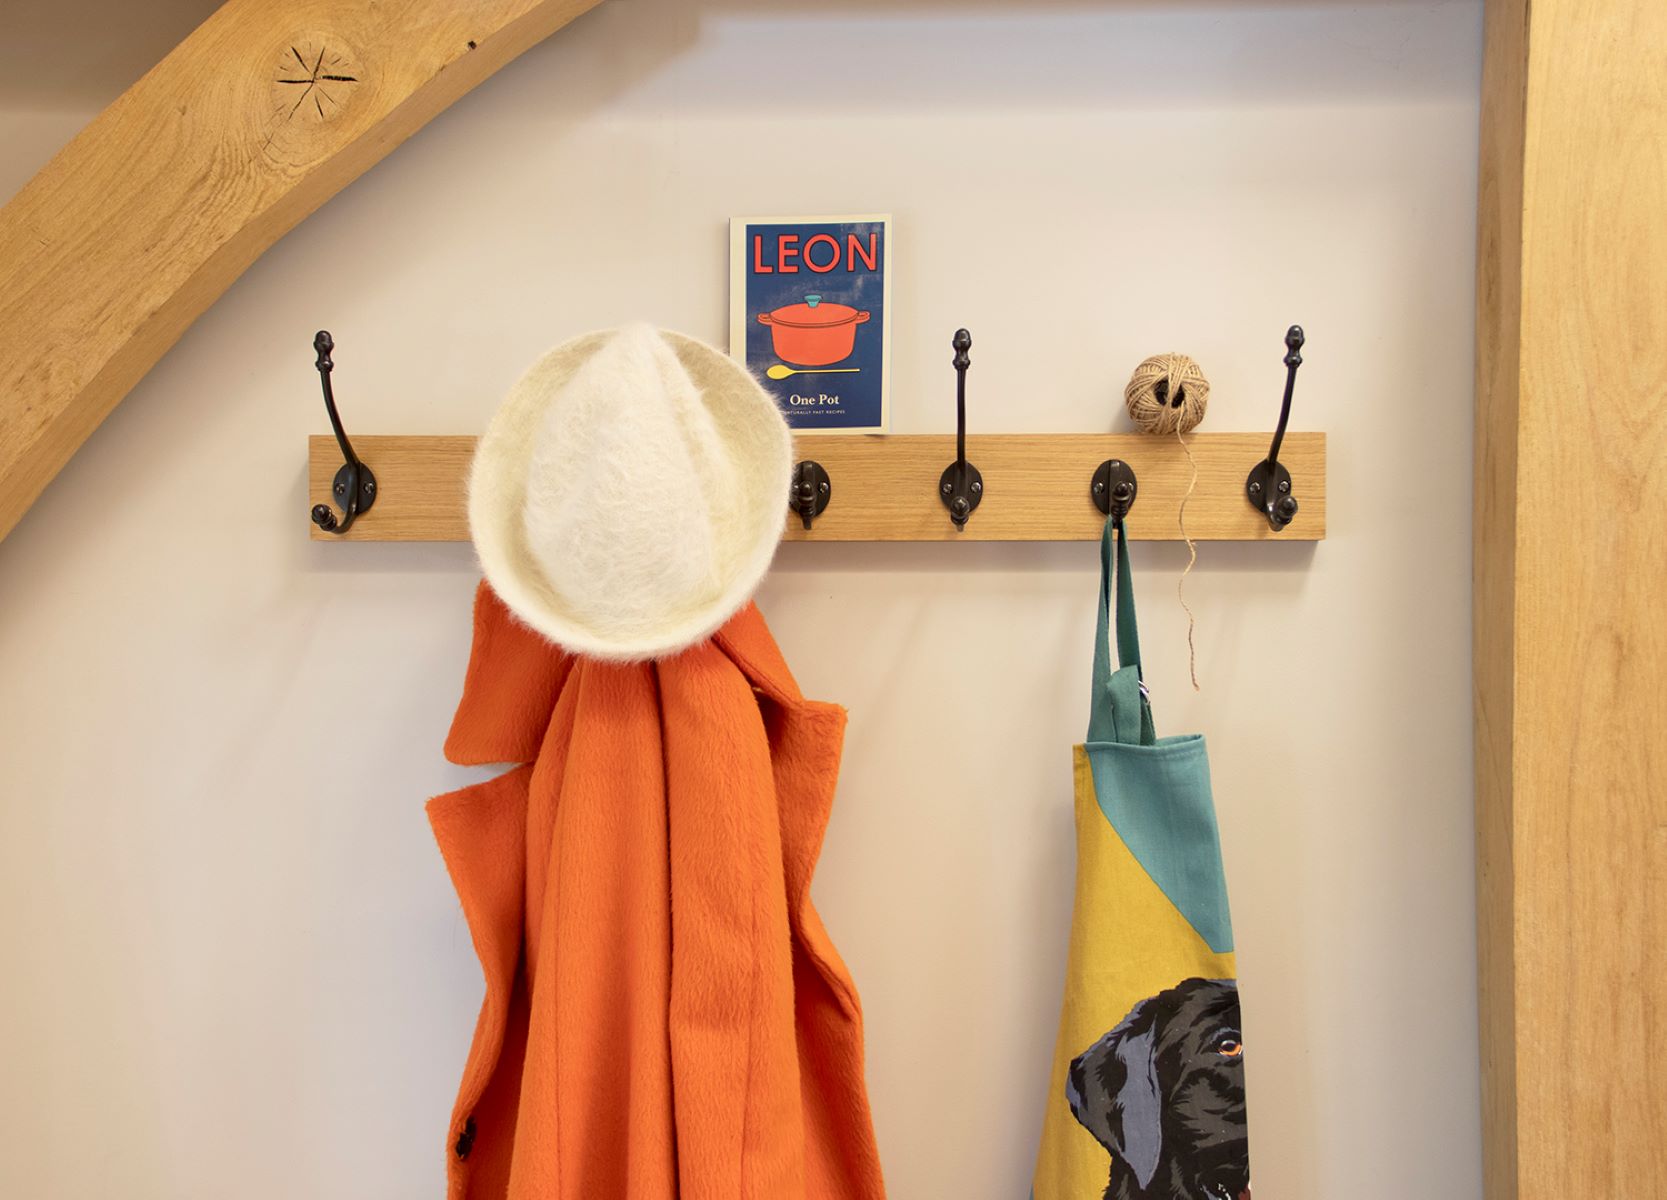
Step 3: Attach the Hooks
Attaching the hooks is a pivotal stage in the construction of your standing coat rack, as it transforms the wooden post into a functional and practical storage solution for your living room. The carefully selected coat hooks will not only serve as utilitarian elements but also contribute to the overall aesthetic appeal of the finished piece. Here's a detailed guide on how to expertly attach the hooks to your standing coat rack:
-
Select the Coat Hooks: Begin by choosing a set of coat hooks that align with your design preferences and complement the overall style of your living room. Whether you opt for classic metal hooks, sleek modern designs, or rustic wooden hooks, ensure that they are durable and capable of securely holding coats, hats, and scarves. Consider the number of hooks needed based on the size of your rack and the amount of hanging space desired.
-
Mark the Hook Placement: Using a measuring tape and pencil, carefully mark the placement of each hook on the wooden post. Ensure that the markings are evenly spaced and aligned to create a balanced and visually appealing arrangement. The positioning of the hooks will determine the functionality and visual symmetry of the coat rack.
-
Pre-drill Holes for the Hooks: To facilitate the attachment of the hooks, use an appropriately sized drill bit to pre-drill pilot holes at the marked positions on the wooden post. Pre-drilling prevents the wood from splitting and ensures that the hooks can be securely fastened without causing damage to the post.
-
Attach the Hooks: With the pilot holes in place, proceed to attach the coat hooks to the wooden post using wood screws. Ensure that the hooks are firmly secured and aligned with the markings made earlier. Take care to space the hooks evenly to accommodate various sizes of coats and accessories.
-
Stabilize and Test: Once all the hooks are attached, stabilize the coat rack to ensure that it stands securely. Test the hooks by hanging a few items to gauge their strength and stability. Make any necessary adjustments to the positioning or tightness of the hooks to ensure that they can support the weight of hanging items without bending or slipping.
By following these steps, you will have expertly attached the hooks to your standing coat rack, elevating it from a wooden post to a fully functional and visually appealing piece of furniture. The carefully positioned and securely fastened hooks will provide a practical and stylish solution for organizing outerwear in your living room, adding both functionality and charm to the space.
Read more: How To Build A Coat Rack Bench
Step 4: Finishing Touches
As you approach the final phase of creating your standing coat rack, it's time to add the finishing touches that will elevate its visual appeal and ensure a polished, professional look. This step involves refining the details and enhancing the overall aesthetics of the coat rack, transforming it from a functional piece of furniture into a captivating addition to your living room decor.
Here's a detailed guide on how to add the finishing touches to your standing coat rack:
-
Smooth and Polish: Begin by carefully inspecting the entire coat rack for any rough edges, imperfections, or uneven surfaces. Use sandpaper to smooth out any blemishes and ensure that all wooden components have a refined finish. Pay particular attention to areas where the wood has been cut or drilled, as these may require additional smoothing to achieve a seamless appearance.
-
Apply a Protective Finish (Optional): Consider applying a protective finish, such as a clear varnish or sealant, to the entire coat rack. This step not only enhances the natural beauty of the wood but also provides protection against wear and tear, moisture, and other environmental factors. A protective finish can prolong the lifespan of your coat rack and maintain its pristine appearance over time.
-
Inspect and Tighten: Carefully inspect all the screws and attachments to ensure that they are securely fastened. Tighten any loose screws and make any necessary adjustments to ensure that the coat rack is structurally sound and stable. This step is essential for guaranteeing the longevity and reliability of your creation.
-
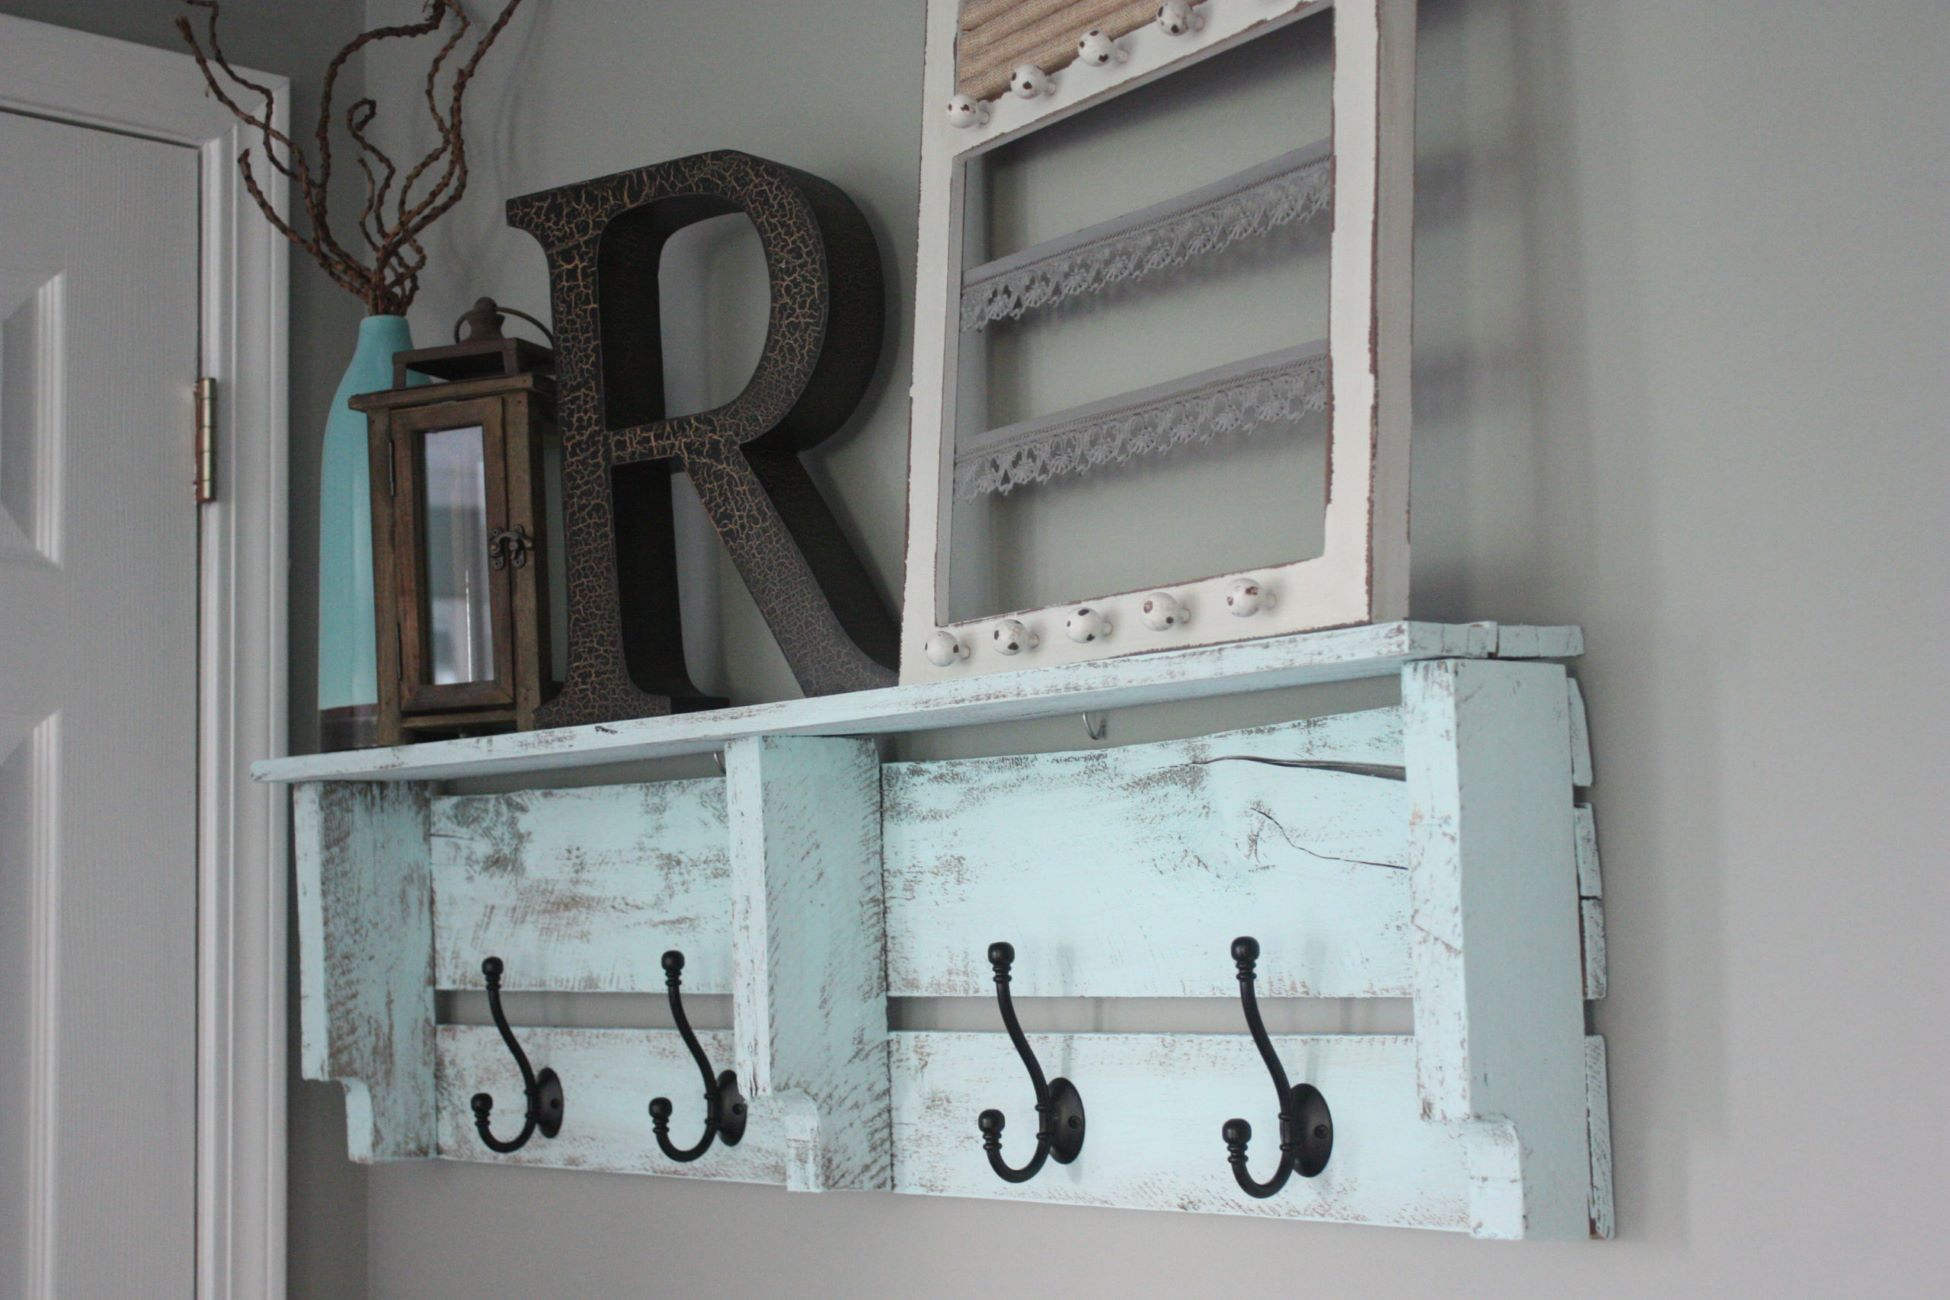
Personalize with Decorative Elements (Optional): If you desire to infuse your coat rack with a personal touch, consider adding decorative elements such as ornamental knobs, embellishments, or a decorative trim. These details can reflect your individual style and further enhance the visual appeal of the coat rack, making it a unique and eye-catching feature in your living room.
-
Final Inspection and Testing: Before declaring your standing coat rack complete, perform a final inspection to ensure that all components are in place and that the overall appearance meets your expectations. Test the functionality of the coat rack by hanging a few items to ensure that it can accommodate the intended load without any issues.
By following these steps, you will have added the finishing touches to your standing coat rack, transforming it into a stunning and functional piece of furniture that will enhance the ambiance of your living room. The attention to detail and the meticulous refinement of the coat rack will showcase your craftsmanship and creativity, resulting in a truly remarkable addition to your home.
Conclusion
Congratulations on successfully creating your very own standing coat rack! Through the careful selection of materials, precise assembly, and thoughtful finishing touches, you have transformed a few basic components into a functional and visually appealing piece of furniture that will undoubtedly elevate the ambiance of your living room.
As you stand back and admire your handiwork, take pride in the craftsmanship and creativity that went into every step of the process. Your standing coat rack is not just a practical storage solution; it is a reflection of your woodworking skills and personal style. Whether you chose a classic, rustic design or opted for a modern, sleek aesthetic, your coat rack is a testament to your ability to bring your vision to life.
Beyond its practical utility, your standing coat rack holds the potential to become a conversation piece in your home. Guests will admire not only its functionality but also the artistry and attention to detail that went into its creation. It serves as a testament to the beauty of handmade furniture and the satisfaction that comes from crafting something with your own hands.
As you integrate your new standing coat rack into your living room, take a moment to appreciate the sense of accomplishment that accompanies the completion of a DIY project. The skills you've honed and the knowledge you've gained throughout this process will undoubtedly serve you well in future woodworking endeavors. Whether you're a seasoned woodworker or a novice enthusiast, this project has provided valuable insights and hands-on experience that will continue to inspire and inform your creative pursuits.
Furthermore, your standing coat rack is a testament to the potential for functional items to also be works of art. It stands as a reminder that even everyday objects can be infused with personality and style, adding character and charm to your living space. Every time you hang a coat or hat on your new creation, you'll be reminded of the care and dedication that went into its making.
In conclusion, your standing coat rack represents more than just a practical addition to your living room. It embodies the joy of creation, the satisfaction of craftsmanship, and the potential for everyday items to become objects of beauty. As you enjoy the fruits of your labor, may your standing coat rack serve as a source of inspiration and a testament to the power of creativity and craftsmanship.
Frequently Asked Questions about How To Make A Standing Coat Rack
Was this page helpful?
At Storables.com, we guarantee accurate and reliable information. Our content, validated by Expert Board Contributors, is crafted following stringent Editorial Policies. We're committed to providing you with well-researched, expert-backed insights for all your informational needs.
0 thoughts on “How To Make A Standing Coat Rack”