Home>Dining>Tableware>How To Reduce The Length Of A Dining Table
Tableware
How To Reduce The Length Of A Dining Table
Modified: December 7, 2023
Looking to reduce the length of your dining table? Discover smart tips and tricks for optimizing your tableware space, all in one place!
(Many of the links in this article redirect to a specific reviewed product. Your purchase of these products through affiliate links helps to generate commission for Storables.com, at no extra cost. Learn more)
Introduction
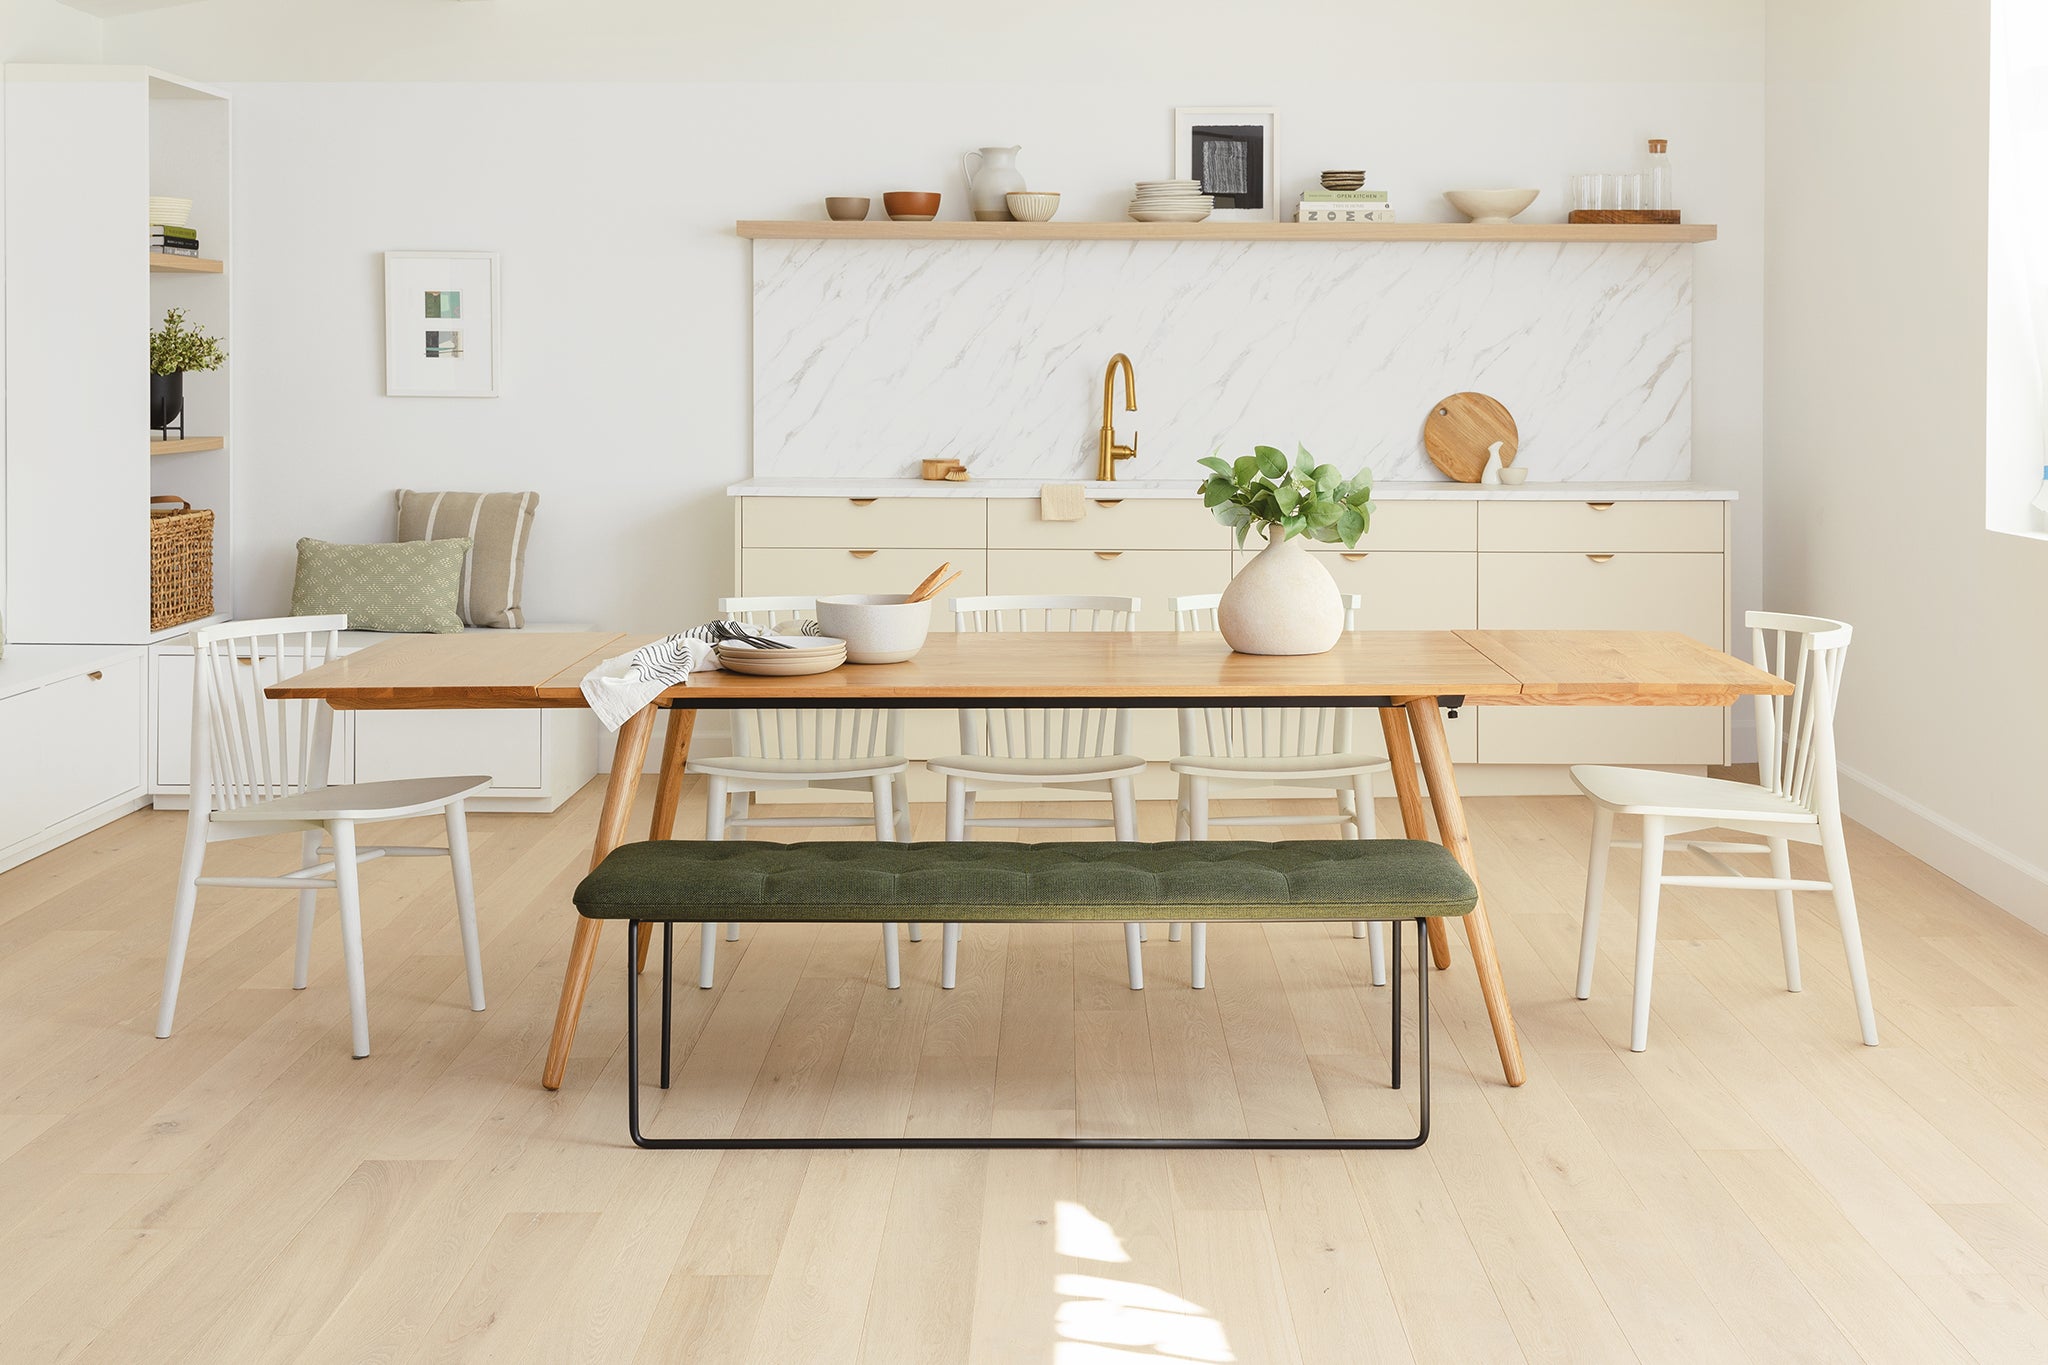
Welcome to our guide on how to reduce the length of a dining table. Whether you have inherited a table that is too long for your space, or you simply want to modify your current table to better suit your needs, this article will provide you with step-by-step instructions to successfully shorten your dining table.
Having a dining table that fits perfectly in your space not only improves the flow and functionality of your dining area but also enhances the overall aesthetic appeal. By customizing the length of your dining table, you can make it more conducive to your needs and create a comfortable and inviting atmosphere for your family and guests.
Before you begin the process of reducing the length of your dining table, it is important to assess the current length and determine your desired length. This will help you plan and execute the modifications in a precise and efficient manner. Additionally, you will need to choose the right materials and tools for the job to ensure the structural integrity and aesthetic integrity of the table. With careful planning and execution, you can successfully transform your dining table to better suit your needs.
In this guide, we will walk you through the process of reducing the length of your dining table step-by-step. We will also provide tips and considerations to help you maintain the stability and quality of your table after the modifications. So, let’s dive in and learn how to shorten a dining table!
Key Takeaways:
- Customizing the length of your dining table allows you to create a functional and aesthetically pleasing piece that perfectly fits your space and style. Prioritize safety, take your time, and enjoy the rewarding process of modification.
- Thoroughly assess your table, choose the right materials, and follow a step-by-step process to successfully reduce its length. Ensure structural stability, maintain the table, and seek professional guidance if needed for a satisfying outcome.
Read more: How To Shorten The Length Of A Dining Table
Assessing the current length of your dining table
Before you can begin the process of reducing the length of your dining table, it is important to assess its current length. This will enable you to determine how much you need to shorten it by in order to achieve your desired dimensions.
Start by measuring the length of your dining table from one end to the other. Use a tape measure to get an accurate measurement. Take note of the exact length, as this will be your reference point throughout the modification process.
Next, consider the overall design and structure of your dining table. Determine if it is a solid wood table, a veneer table, or a table made from a combination of materials. This will impact the approach you take towards shortening the table. Solid wood tables can often be cut and resized easier than veneer tables, which may require more intricate modifications.
Take a close look at the table legs as well. Determine if they are removable or if they are part of the table’s main structure. Removable legs can simplify the modification process, as you can focus on resizing the table surface without having to make adjustments to the legs.
Additionally, consider any existing features or decorative elements on the table that you want to preserve. For example, if your table has intricate carvings or inlays, you may need to adjust your approach to ensure these details are not compromised during the resizing process.
By thoroughly assessing the current length and design of your dining table, you will gain a better understanding of the modifications required to achieve your desired dimensions. This assessment will also help you plan your approach, gather the necessary materials and tools, and ensure the successful completion of the project.
Determining the desired length for your dining table
Once you have assessed the current length of your dining table, the next step is to determine the desired length for your modified table. This will depend on various factors, including the size of your dining area, the number of people you typically accommodate, and your personal preferences.
Start by considering the available space in your dining area. Measure the area where the table will be placed, taking into account any other furniture or obstacles that may affect the size of the table. Ensure that there is enough space for comfortable seating and easy movement around the table.
Next, think about how many people you want to seat at the table on a regular basis. Do you typically entertain larger groups or is it usually just a few people? This will help determine the width and length needed to comfortably accommodate your guests.
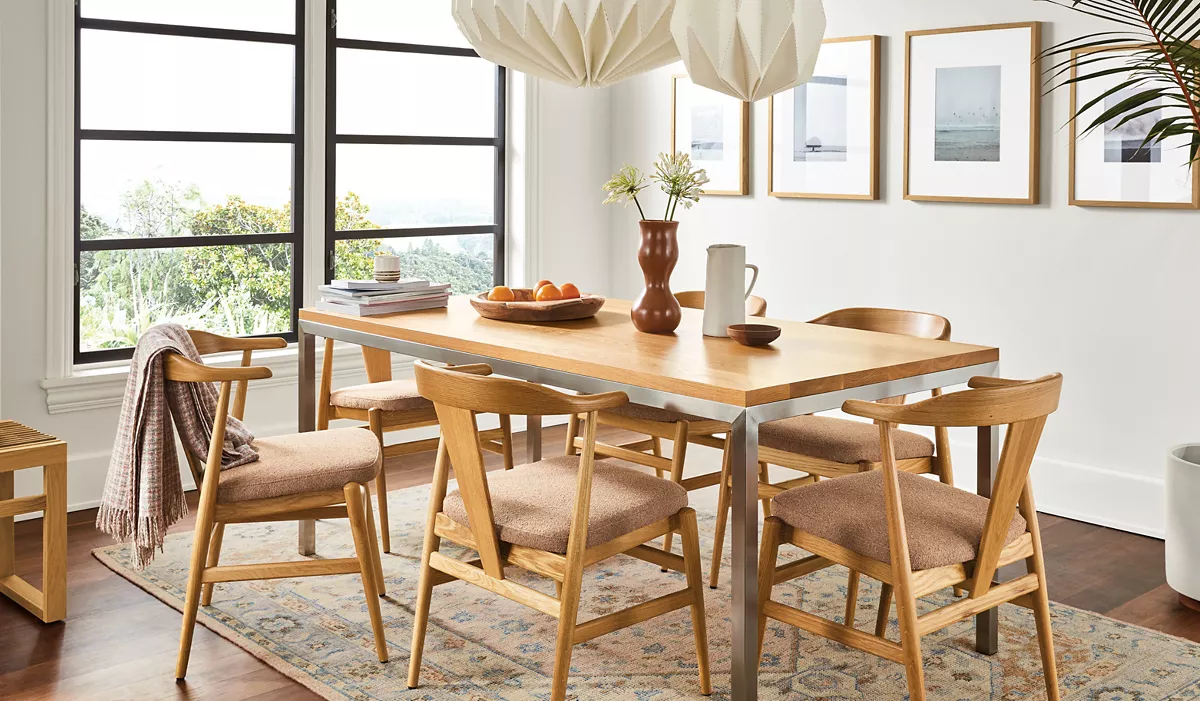
Consider the shape and style of your dining table as well. Rectangular tables are popular for their versatility and ability to seat more people, while round tables can create a more intimate and cozy dining experience. Determine which shape suits your needs and preferences.
It is also important to consider the purpose of your dining table. Will it primarily be used for meals or will it serve as a multifunctional surface for other activities? If you plan to use the table for other purposes, such as crafting or working, you may need to factor in additional space.
Once you have taken all these factors into consideration, you can determine the desired length for your modified dining table. Make sure to write down the exact measurements, as this will serve as your reference point during the modification process.
Remember, the goal is to create a dining table that is functional, comfortable, and aesthetically pleasing. Take your time to carefully determine the desired length, as it will directly impact the overall satisfaction and enjoyment you derive from your modified dining table.
Choosing the right materials for reducing the length of your dining table
When it comes to reducing the length of your dining table, choosing the right materials is crucial to ensure a successful and seamless modification. The materials you select should not only be suitable for the task at hand but also match the existing aesthetic of your table.
If your dining table is made of solid wood, you have the advantage of being able to work with the same material for the modifications. In this case, you will need to source a matching piece of wood that is of the same species, grain pattern, and thickness as the original tabletop. This will ensure a seamless transition and maintain the overall cohesion of the table.
However, if your dining table is made of a different material, such as veneer or laminate, you may need to consider alternative options. In these cases, you might choose to replace the entire tabletop with a suitable alternative material that closely matches the original design and finish of the table.
When selecting the replacement material, consider factors such as durability, resistance to scratching and staining, and ease of maintenance. Hardwoods like oak, maple, and walnut are popular choices for their strength and longevity. However, engineered materials like plywood or MDF can also be used if they provide the desired strength and stability.
In addition to the tabletop, you may also need to consider materials for resizing or replacing the table legs. If your table has removable legs, you can modify or replace them to match the new dimensions. Alternatively, you may choose to replace the entire set of legs to achieve a consistent look throughout the table.
Lastly, consider the hardware needed for attaching the tabletop to the base or legs. Ensure that the screws, brackets, or other fasteners are of the appropriate size and strength to securely hold the modified table together.
By carefully selecting the right materials for reducing the length of your dining table, you can ensure a successful modification that seamlessly integrates with the original design and maintains the structural integrity of the table.
Identifying the appropriate tools and equipment
Before you start the process of reducing the length of your dining table, it is important to gather the necessary tools and equipment. Having the right tools will not only make the process easier but also ensure accurate and efficient modifications. Here are some essential tools you will need:
- Measuring tape: This will be used to measure the current length of the dining table as well as the desired length.
- Saw: Depending on the material and design of your dining table, you may need various types of saws such as a circular saw, jigsaw, or handsaw to cut through the table.
- Clamps: These will come in handy to hold the table securely in place during the cutting process.
- Screwdriver: If you are removing or adjusting the table legs, a screwdriver will be necessary to detach and reattach them.
- Sanding tools: To smooth the edges of the modified table and achieve a clean finish, you will need sandpaper or a sander.
- Finishing materials: Depending on the type of wood or material your table is made of, you may need paint, stain, or varnish to match the finish of the original table or create a new one.
- Protective gear: Safety should always be a priority. Wear protective gear such as safety glasses, gloves, and a dust mask to protect yourself during the cutting and sanding process.
Additionally, having a workbench or a sturdy surface to hold the table while you work will provide stability and ease of use. If you don’t have a workbench, a flat and level floor covered with a protective covering, like a drop cloth, can suffice.
It is important to note that the specific tools and equipment required may vary depending on the design, material, and complexity of your dining table. Consider the unique requirements of your table and consult with professionals or experienced individuals if necessary.
By ensuring you have the appropriate tools and equipment on hand, you can tackle the task of reducing the length of your dining table with confidence and efficiency, achieving the desired results.
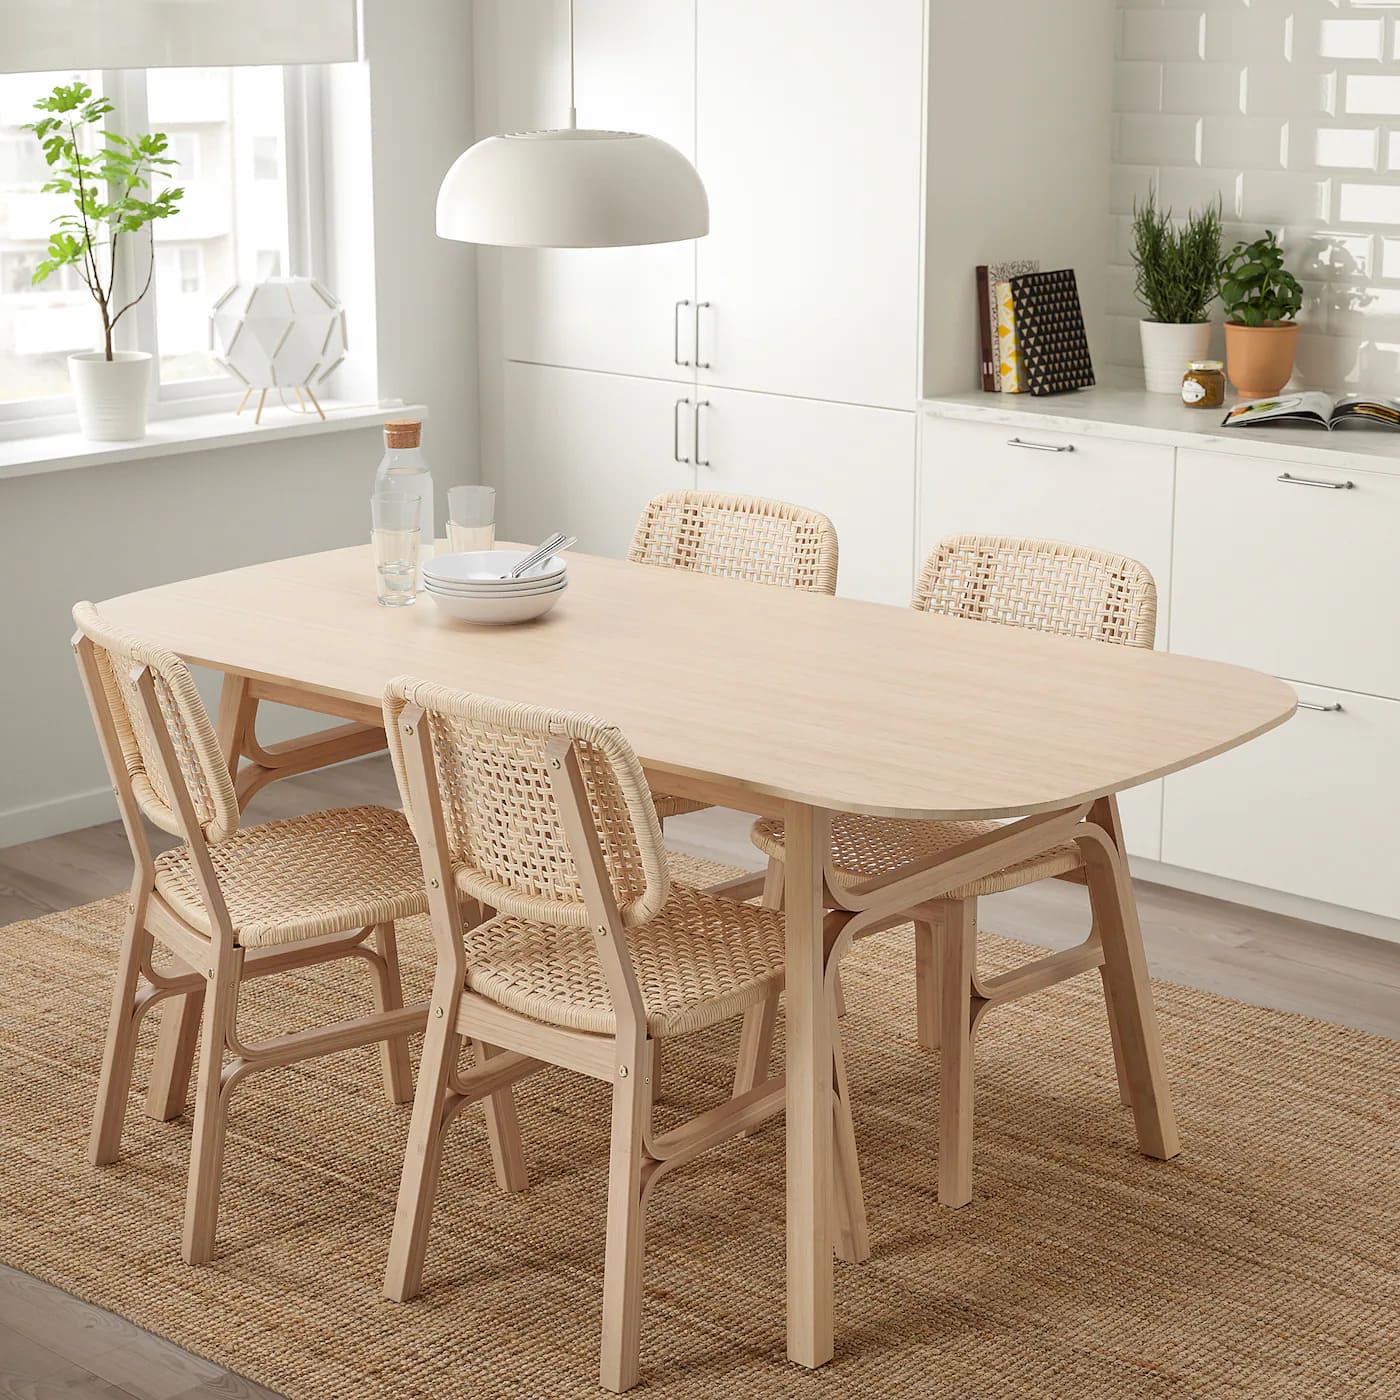
Consider removing any unnecessary extensions or leaves from the dining table to reduce its length. This will instantly make the table more compact and suitable for smaller spaces.
Step-by-step guide to reducing the length of your dining table
Now that you have assessed your dining table, determined the desired length, and gathered the necessary materials and tools, it’s time to dive into the step-by-step process of reducing the length of your dining table. Follow these guidelines to achieve a successful modification:
- Measure and mark: Using a measuring tape, mark the desired length on the table surface, ensuring the marks are accurate and evenly spaced.
- Secure the table: If possible, clamp the table securely to a workbench or stable surface to prevent movement during the cutting process.
- Cut along the marked line: Carefully use the appropriate saw to cut along the marked line. Take your time and ensure a smooth and even cut.
- Remove any excess material: Once the initial cut is complete, remove any excess material using a hand saw or other suitable tools.
- Sand the cut edges: Use sandpaper or a sander to smooth the edges of the modified table. Start with coarse-grit sandpaper and gradually work your way up to finer grits for a polished finish.
- Attach or adjust the legs (if necessary): If your table has removable legs, reattach them according to the new dimensions. If the legs need to be adjusted, use a screwdriver to detach and reposition them.
- Secure the tabletop: Ensure that the tabletop is securely attached to the base or legs using the appropriate screws, brackets, or other fasteners.
- Sand and finish the tabletop: If necessary, sand the entire tabletop to achieve a consistent finish. Apply paint, stain, or varnish to match the original finish of the table or create a new one. Follow the manufacturer’s instructions for the chosen finishing materials.
- Clean and inspect: After completing the modifications, clean off any debris and thoroughly inspect the table for any loose screws or structural issues. Tighten any loose screws and ensure that the table is sturdy and stable.
By following these step-by-step instructions, you can successfully reduce the length of your dining table and achieve a modified table that fits perfectly in your space.
Remember, it is important to approach the cutting and modification process with caution and precision. Take your time, double-check measurements, and prioritize safety throughout the entire process.
Ensuring structural stability and integrity after reducing the length
After successfully reducing the length of your dining table, it is crucial to ensure its structural stability and integrity. This step is essential to maintain the functionality and safety of the modified table. Here are some key considerations to ensure the structural stability of your table:
- Check the connections: Inspect all the connections and joints of the table, including where the legs meet the tabletop and any connectors used during the modification process. Ensure that they are secure and properly fastened. Tighten any loose screws or connectors as needed.
- Test for stability: Gently shake the table to test its stability. If it wobbles or feels unstable, further investigate the cause and make necessary adjustments. This may involve tightening screws, repositioning legs, or adding additional support.
- Consider reinforcement: Depending on the design and material of your dining table, you may need to reinforce it to ensure long-term stability. This can be done by adding additional support beams or braces to strengthen the table’s structure.
- Consider weight capacity: If you have significantly reduced the length of the table, take into account its weight capacity. Ensure that it can still support the weight of items placed on it without compromising its integrity.
- Regular maintenance: Keep your modified dining table in optimal condition by performing regular maintenance. This can include tightening screws periodically, inspecting for any signs of wear or damage, and addressing any issues promptly.
By implementing these measures, you can ensure that your dining table remains structurally sound and stable after the modifications. Regular maintenance and ongoing vigilance will help to address any potential issues before they become major problems.
If you are uncertain about the structural stability of your modified table or require professional assistance, it is recommended to consult a furniture expert or carpenter. They can provide valuable advice and expertise to ensure the long-term stability and integrity of your dining table.
Sanding and finishing the shortened dining table
After reducing the length of your dining table, it is important to sand and finish the modified surface to achieve a smooth and polished look. This process will not only enhance the appearance of the table but also provide protection against moisture, stains, and wear. Follow these steps to sand and finish your shortened dining table:
- Prepare the workspace: Find a well-ventilated area and cover the surrounding surfaces with a drop cloth or protective covering to catch any dust or debris.
- Sand the surface: Begin by using coarse-grit sandpaper (around 80-120 grit) to remove any rough edges, imperfections, or uneven surfaces. Sand in the direction of the grain, applying even pressure. Gradually switch to finer-grit sandpaper (around 180-220 grit) to achieve a smoother finish.
- Remove dust: After sanding, use a soft cloth or vacuum cleaner to remove any dust or debris from the table surface. This will ensure a clean and smooth finish.
- Select the finish: Consider the desired look and feel of your dining table. You can choose to stain the wood to highlight its natural grain or apply paint for a different color. Alternatively, you may opt for a clear varnish or sealer to maintain the natural beauty of the wood.
- Apply the finish: Follow the manufacturer’s instructions for your chosen finish. Use a brush, roller, or cloth to evenly apply the finish in long, smooth strokes, going with the grain of the wood. Allow each coat to dry completely before applying additional coats, if necessary.
- Optional: Sand between coats: If you are applying multiple coats of finish, lightly sand the surface between each coat, using a fine-grit sandpaper (around 400-600 grit). This will help achieve a smoother finish and promote adhesion between layers.
- Final inspection: Once the final coat of finish is dry, inspect the table surface for any imperfections or uneven areas. If needed, lightly sand those areas and apply an additional coat of finish to achieve the desired look.
Remember to work in a well-ventilated area and take necessary safety precautions, such as wearing gloves and a dust mask, when working with finishing products.
By following these steps and taking your time to sand and finish the shortened dining table, you can achieve a professional-looking result that enhances the overall appearance and durability of your modified table.
Final tips and considerations
As you approach the task of reducing the length of your dining table, here are some final tips and considerations to keep in mind:
- Plan and measure carefully: Take the time to plan out the modifications and accurately measure the current and desired dimensions of your table. This will help ensure a successful outcome.
- Safety first: Always prioritize safety when working with tools and equipment. Wear protective gear, such as safety glasses and gloves, and use tools properly to minimize the risk of accidents.
- Take it slow: Cutting and modifying your dining table should be approached with patience and care. Rushing through the process can lead to mistakes or injuries. Take your time and double-check your work at each step.
- Consult professionals if needed: If you are unsure about any aspect of the modification process or if you have a valuable antique or heirloom table, it may be best to consult a professional furniture expert or carpenter to ensure the best possible outcome.
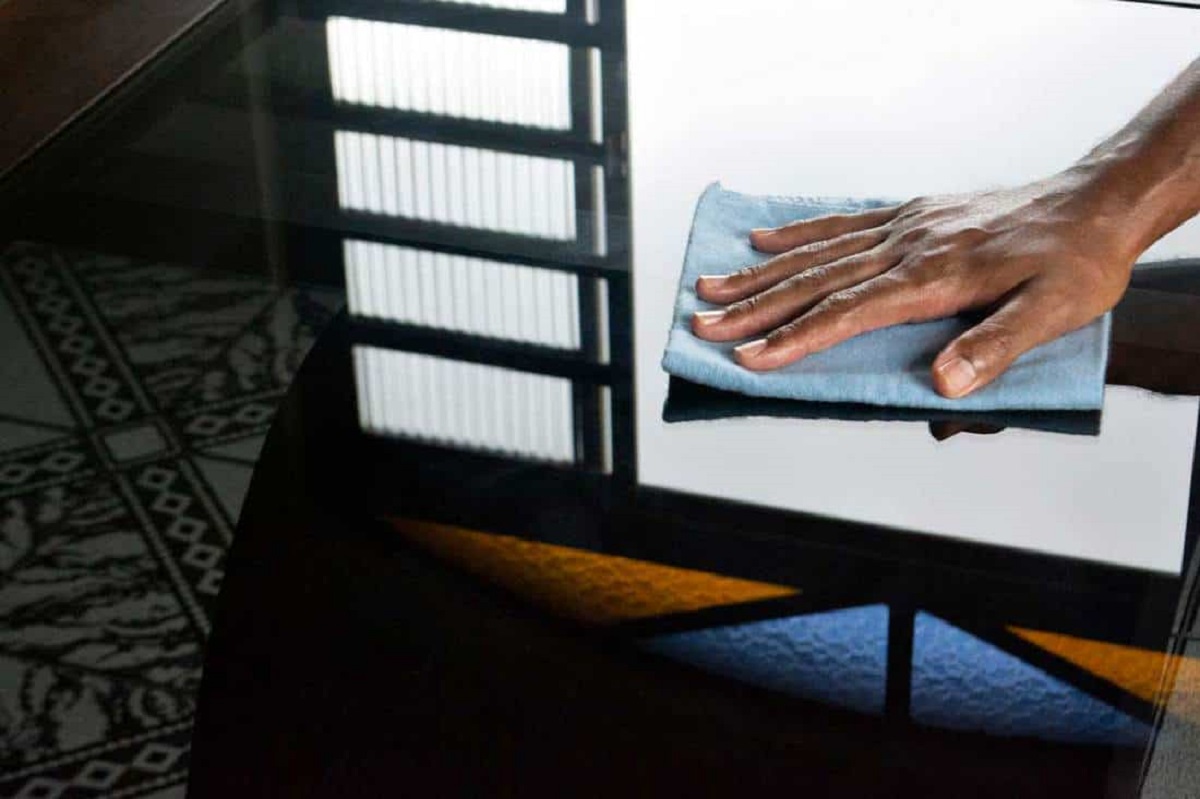
- Maintain the table: Once you have successfully modified your dining table, maintain it properly to preserve its beauty and integrity. Regular cleaning, avoiding placing hot items directly on the surface, and promptly addressing any issues that arise will help prolong the lifespan of your table.
- Consider professional refinishing: Depending on the complexity of the modifications or the desired finish, you may want to consider professional refinishing services to achieve the best results.
Remember that modifying your dining table is a project that requires time, attention to detail, and a certain level of skill. With careful planning, the right tools and materials, and a methodical approach, you can successfully reduce the length of your dining table and create a custom piece that perfectly fits your space and style.
If you are unsure about any aspect of the process or have specific questions, do not hesitate to seek guidance from professionals in the field. Their expertise can help you navigate any challenges and ensure a satisfying outcome.
Read more: How To Seal A Dining Table
Conclusion
Modifying the length of your dining table can be a rewarding project that allows you to create a customized piece that perfectly fits your space and needs. By carefully assessing the current length, determining the desired length, choosing the right materials, and following a step-by-step process, you can successfully reduce the length of your dining table and achieve a beautifully modified piece.
Throughout the process, it is important to prioritize safety, take your time, and pay attention to detail. From measuring and marking to cutting and finishing, each step contributes to the overall outcome of your modified table.
Additionally, don’t forget to ensure the structural stability and integrity of the table once the modifications are complete. Conduct proper inspections, make any necessary adjustments, and maintain the table regularly to keep it in optimal condition for years to come.
Whether you are repurposing a family heirloom or customizing a newly acquired table, the joy of seeing your modified dining table perfectly fit your space is truly satisfying. Not only will you have a functional piece of furniture, but also a reflection of your personal style and creativity.
Remember, if you are uncertain about any aspect of the modification process or have a valuable piece, it is always wise to consult with professionals who can provide expert guidance and assistance.
So take the plunge, gather your tools, and embark on the journey of modifying the length of your dining table. With careful planning, attention to detail, and a little bit of creativity, you’ll be able to achieve a beautiful, functional, and customized table that enhances your dining space.
Now that you've mastered shortening your dining table, why not spruce up its new look? Our next guide, "How To Adorn A Compact Dining Table", offers creative and practical decorating tips. Whether you need to optimize space or simply want to refresh your dining area's style, this article will provide you with all the necessary insights. Dive into a world of aesthetic possibilities and transform your compact dining table into a stunning centerpiece.
Frequently Asked Questions about How To Reduce The Length Of A Dining Table
Was this page helpful?
At Storables.com, we guarantee accurate and reliable information. Our content, validated by Expert Board Contributors, is crafted following stringent Editorial Policies. We're committed to providing you with well-researched, expert-backed insights for all your informational needs.


0 thoughts on “How To Reduce The Length Of A Dining Table”